I just Installed the latest version of ZBrush, version 4R8. I bought the software last year because I really want to learn it. I am more the 2D guy, but I enjoy practicing 3D-Sculpting from time to time. I was just looking at some old files and I stumbled over this.
I just wanted to show you a little breakdown. I started with a Z-Sphere and then started modeling away using DynaMesh in ZBrush. I did not really have a concept when I was doing this. All the textures where created in ZBrush using Poly-Paint.
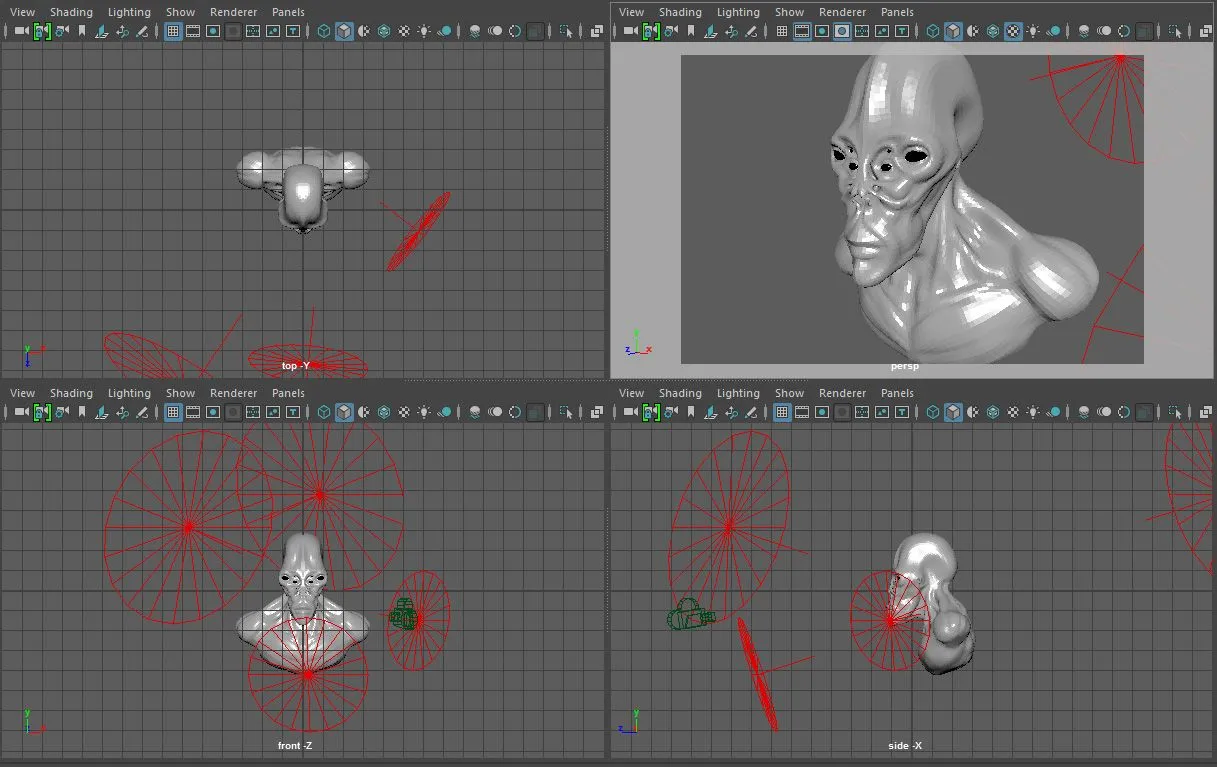
When I was done with high-res model, I imported a low-res version of the model into Maya 2017 (Student version). I exported some textures out of ZBrush and I used them together with a basic Arnold Skin-Shader and tweaked it to my needs. The Bump-Maps gives the high-frequency detail (fine skin details), the displacement maps will displace the geometry at render-time so that it looks like the high-res model I created in ZBrush, by adding back in all the wrinkles and medium-res details . The main diffuse-map gives the main color, and the secondary diffuse-map is used in the skin-shader for the Subsurface Scattering.

After the shader was done I placed some Arnold area-lights inside of Maya.
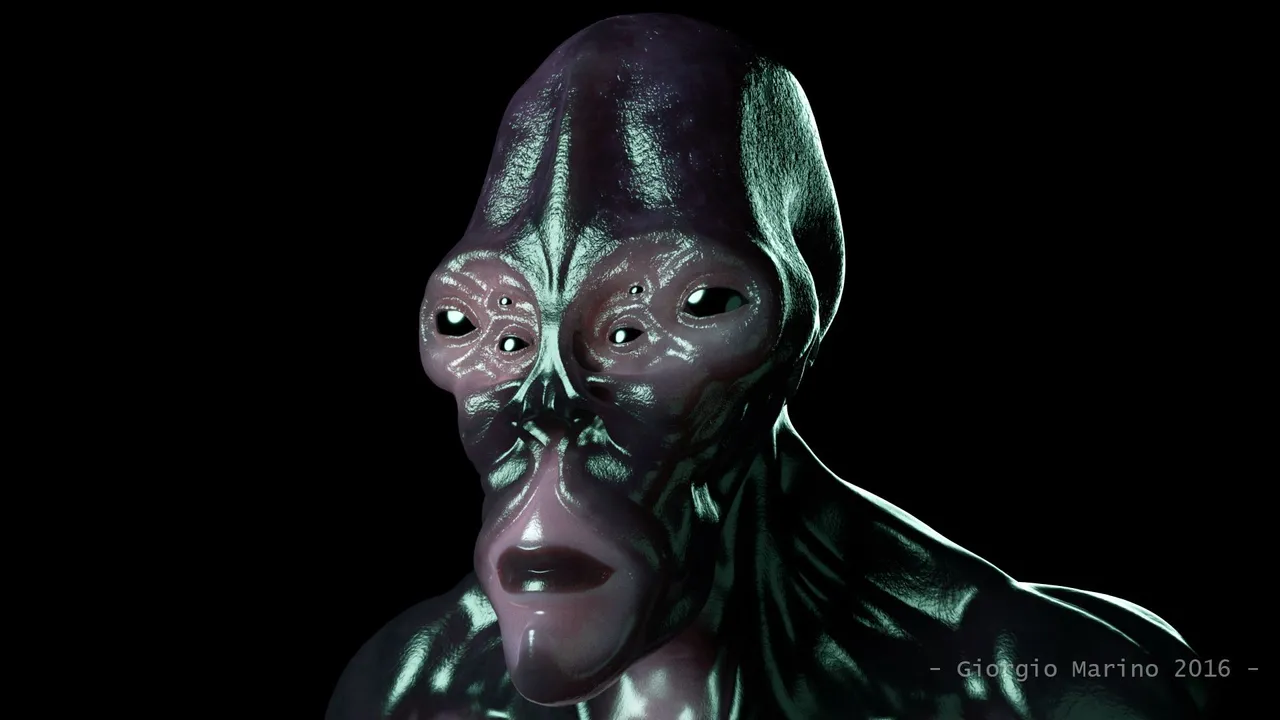
And this is the final result using the Maya Arnold renderer:
Please up-vote/re-steem if you liked this post and follow me. Check out my other posts.
If you have any other suggestions/critique for future posts let me know in the comment section.