"Face painting process"
Gentleman by Daniel Eugene Botha
This is my process I did to create the final artwork of the Gentleman face, In this post I will take you through my workings step by step. This is not a how to guide but rather a how I did it. You can follow along if you like but sit back relax and just enjoy. Remember to up vote or resteem if you found my content awesome :)
Let me start off by showing you the final artwork. Here you can see the Gentleman staring in the distance. Now lets get into the process.

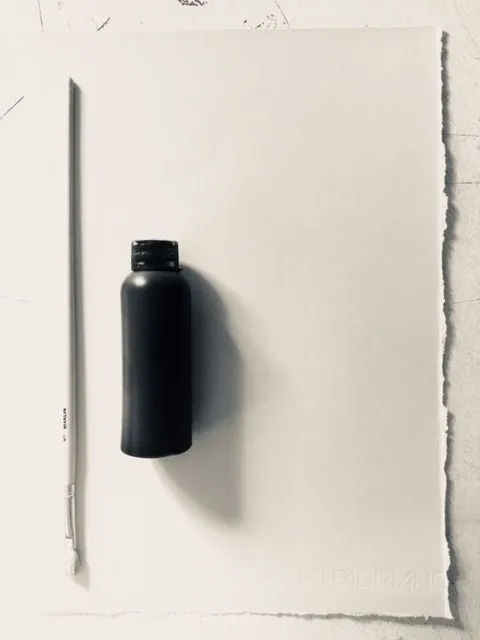
I start off my getting these 3 materials, ink,brush and paper. I generally like using paper with a yellowish tint because it makes the painting feel old and gives an extra level of depth that white paper.
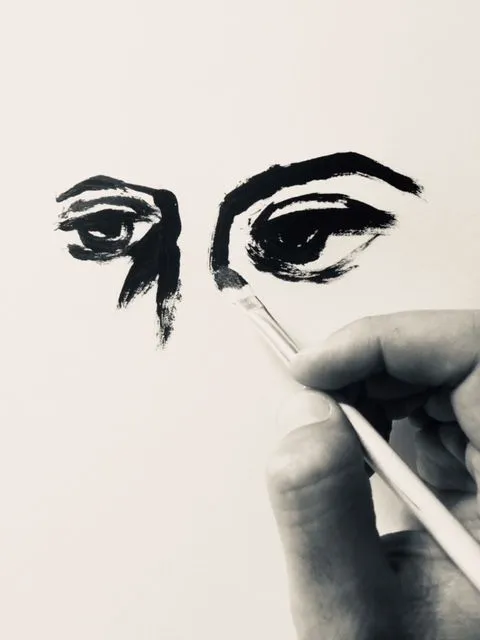
Now I apply the black ink to the paper and start painting the eyes of the man, I always start with the eye because then I have a rough measurement of how big the image will be at the end. remember the eyes sit in the middle of the face.
I carried on painting the nose and then the lips, these are the main features of a face so after you get them down the rest is easy.
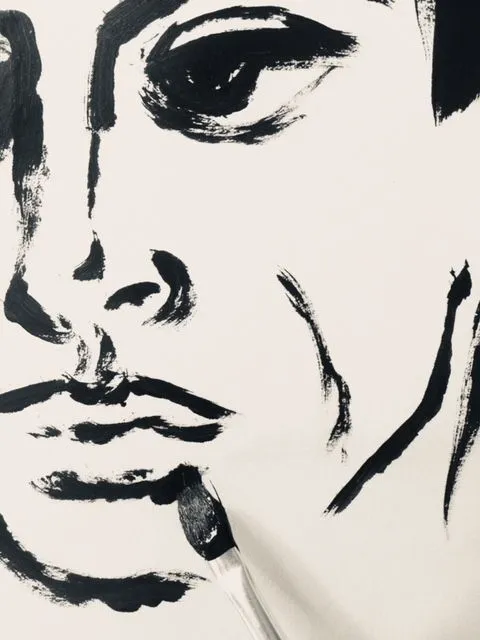
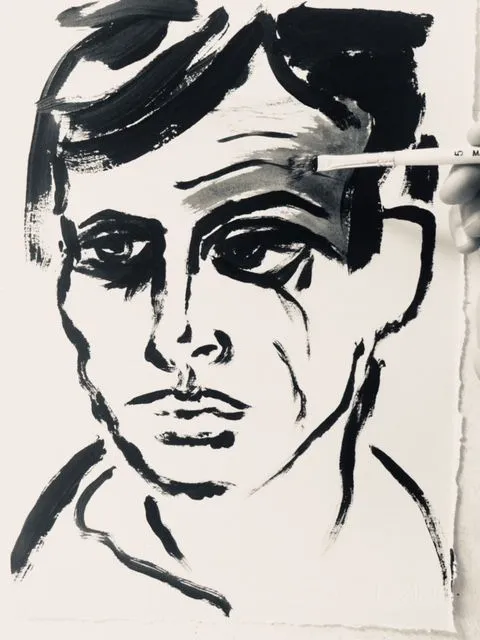
Now that I'm done with all my dark line work I move onto the shadowing. Here is where you bring the image to life a little good shading can make the artwork pop. I generally imagine a light coming from the side of the face and then apply watered down ink on those areas I think shadow should be.
That is it I hope you enjoyed my post if so please follow to see more of the art I do in the future. Thank you for supporting have a nice day.

Steemit: https://steemit.com/@debart
Website: danieleugenebotha.co.za
Twitter: twitter.com/DE_BOTHA
Facebook: facebook.com/danie.botha.16121
#art #artist #artwork