Hello steemians!
I'm back again with my first ever polymer clay tutorial (hopefully a good one). We're going to be making a spider-man piece 😅 So prepare your materials and follow along as we make this not so simple, simple project.
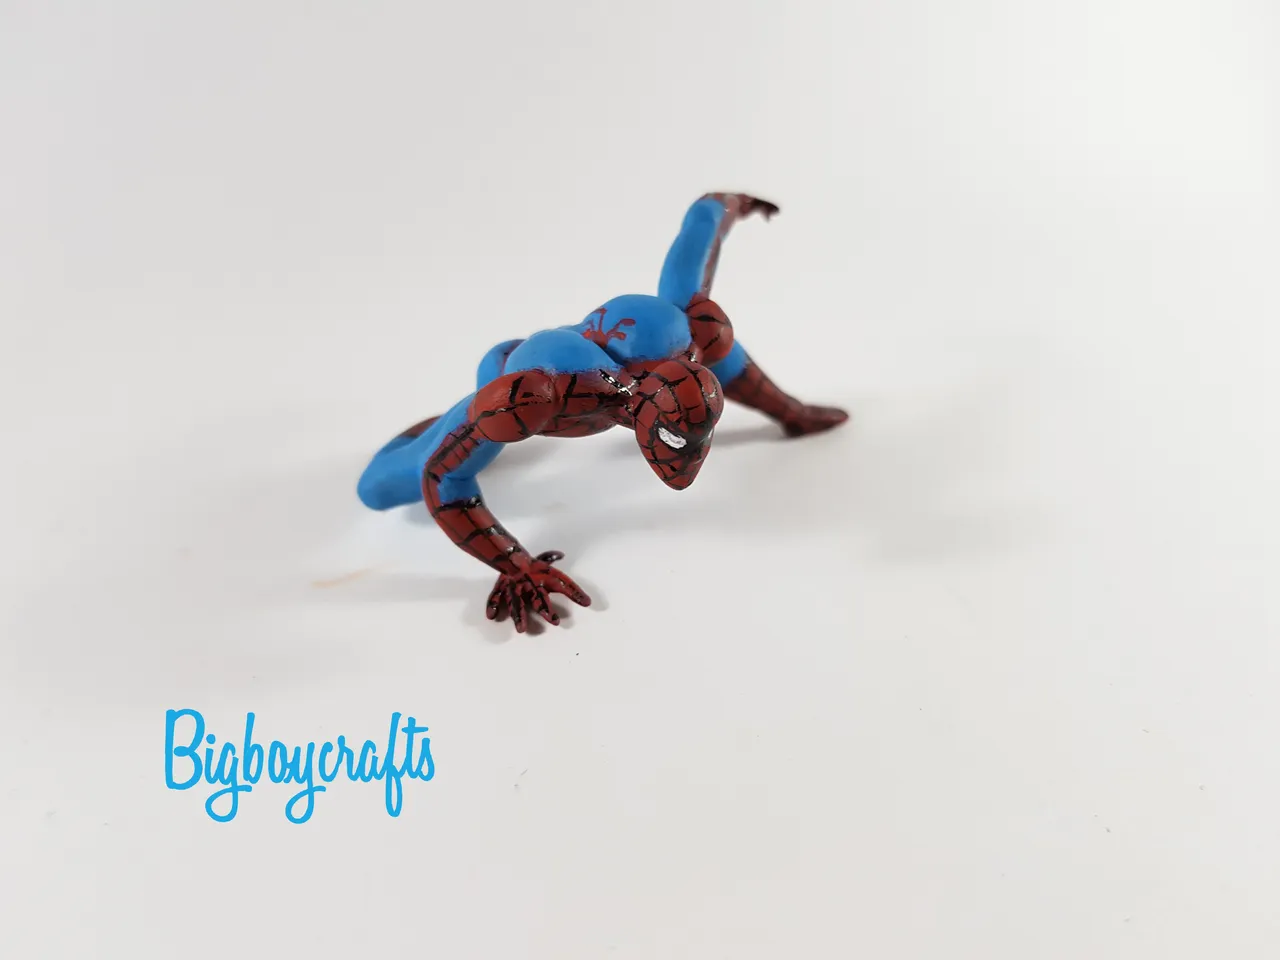
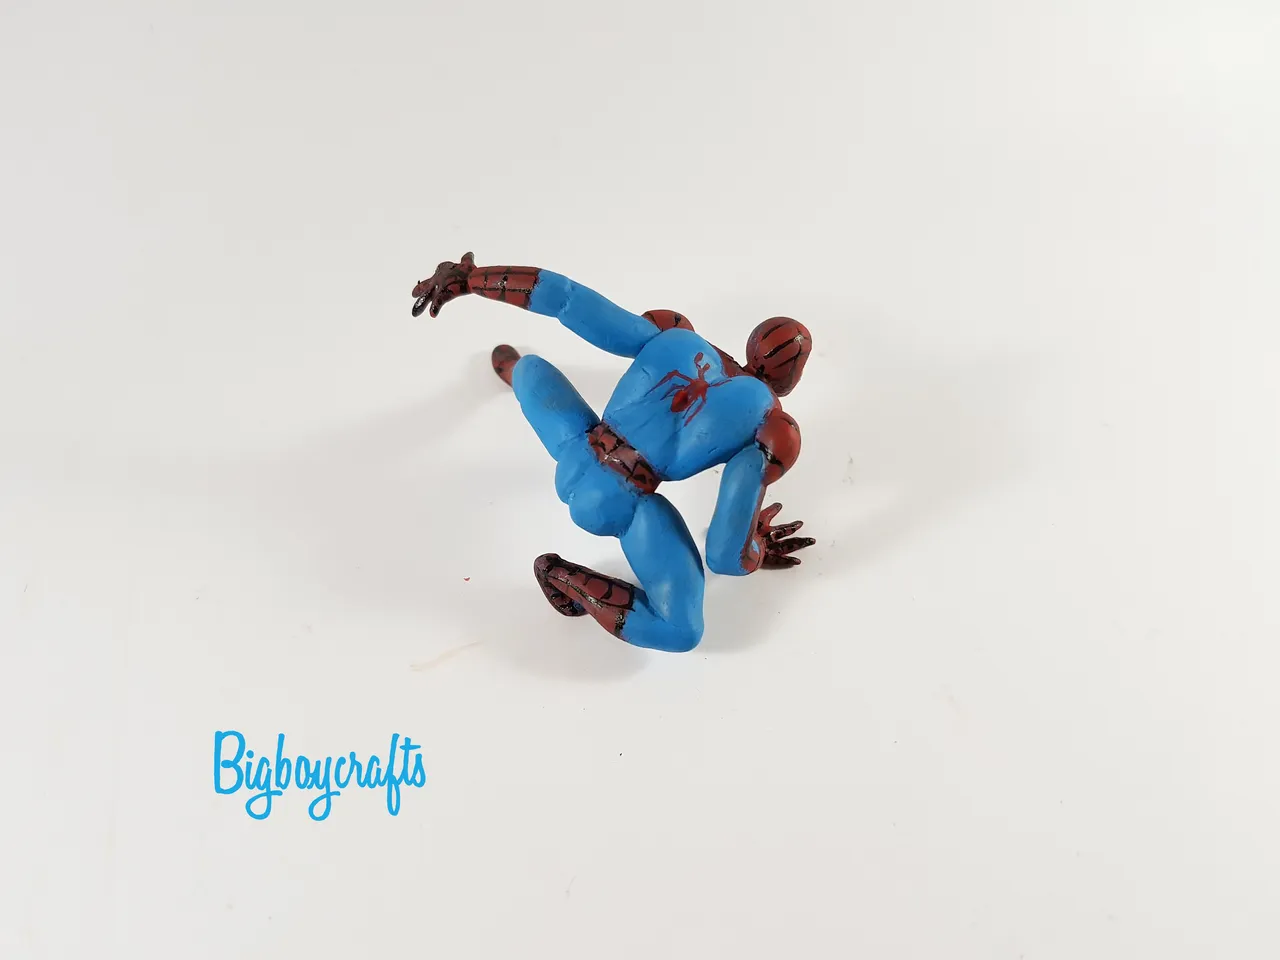
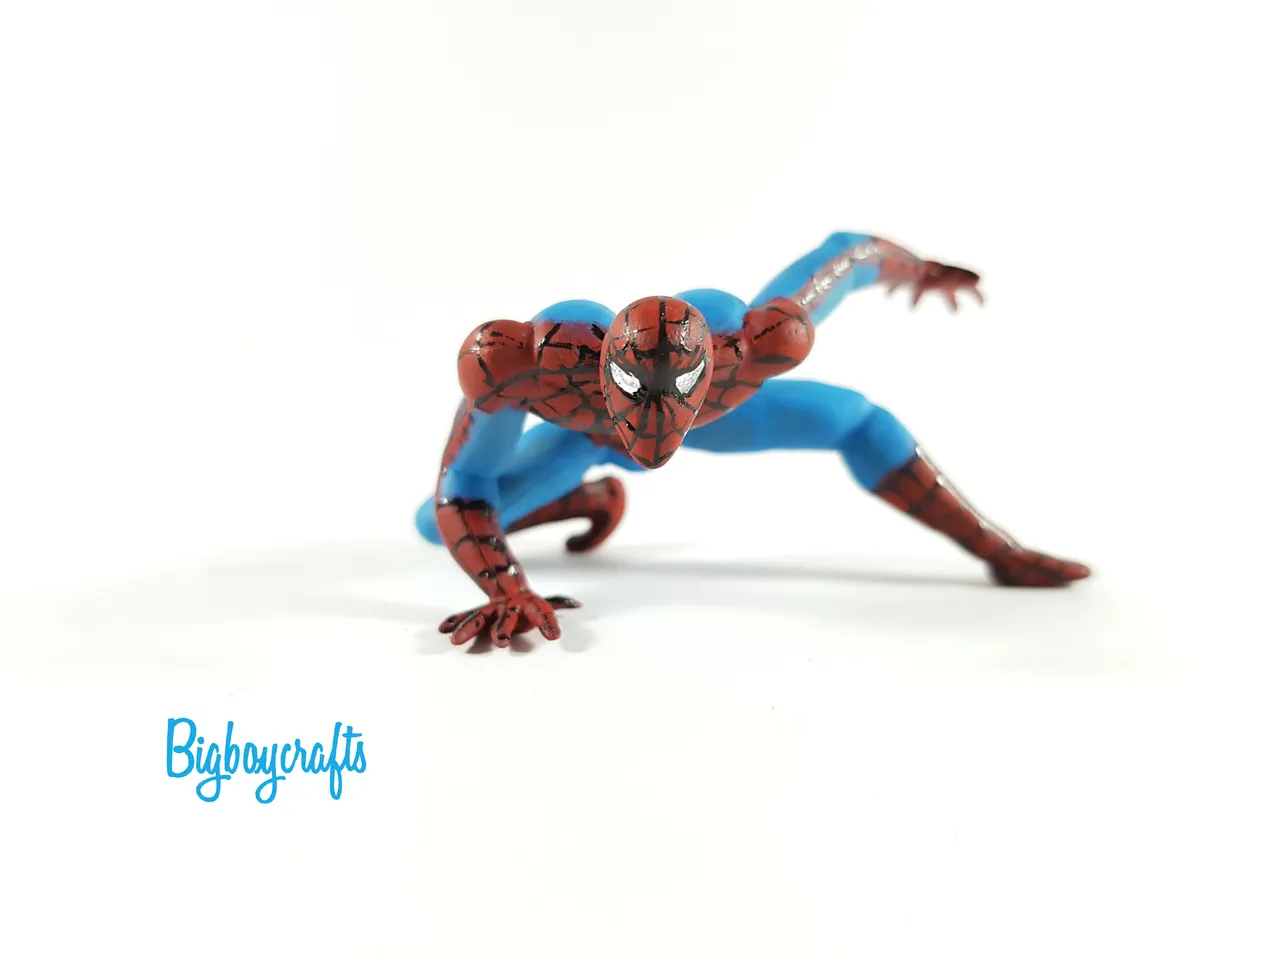
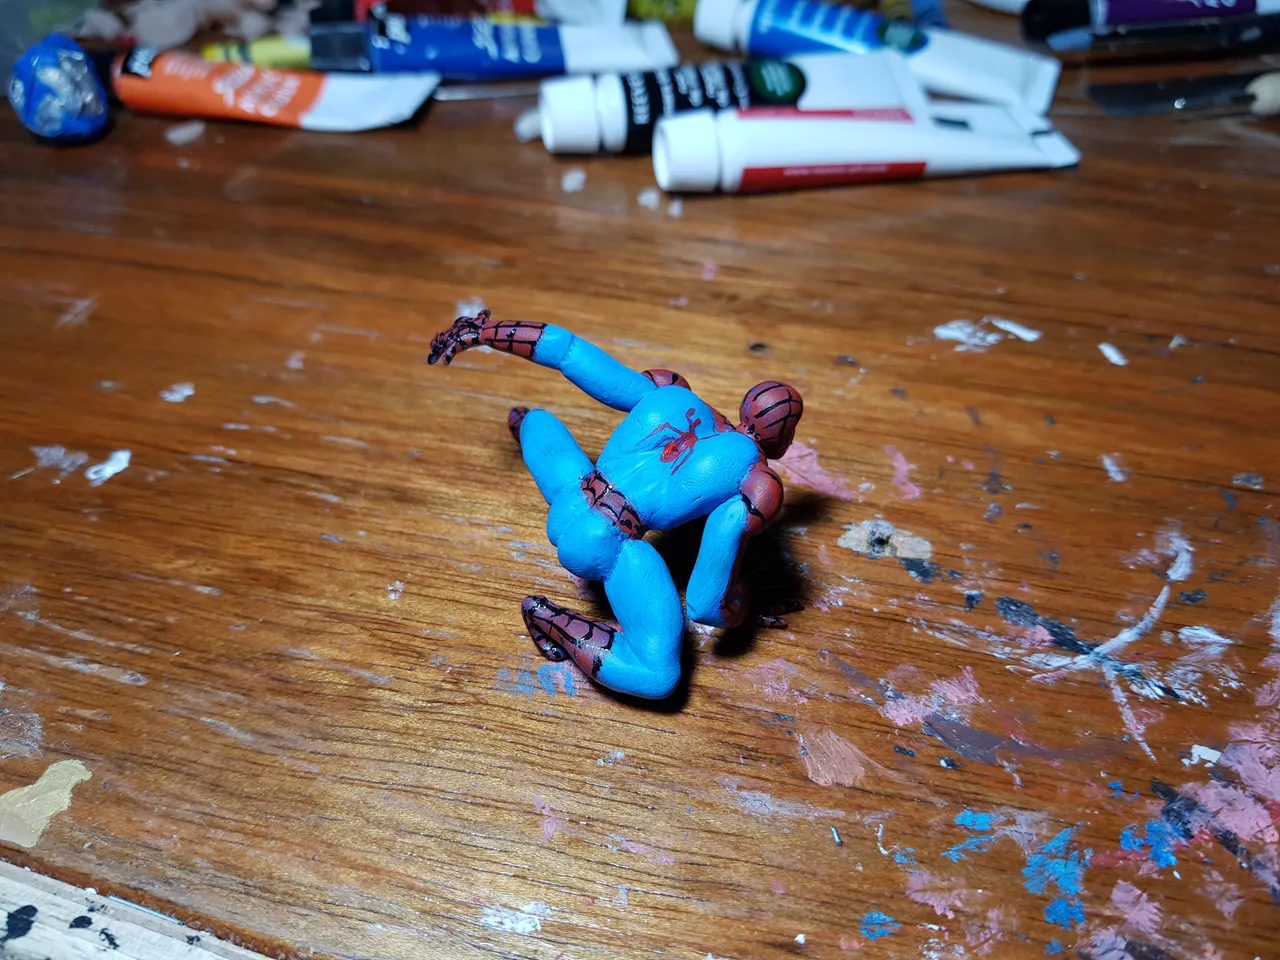
Finished piece
Materials:
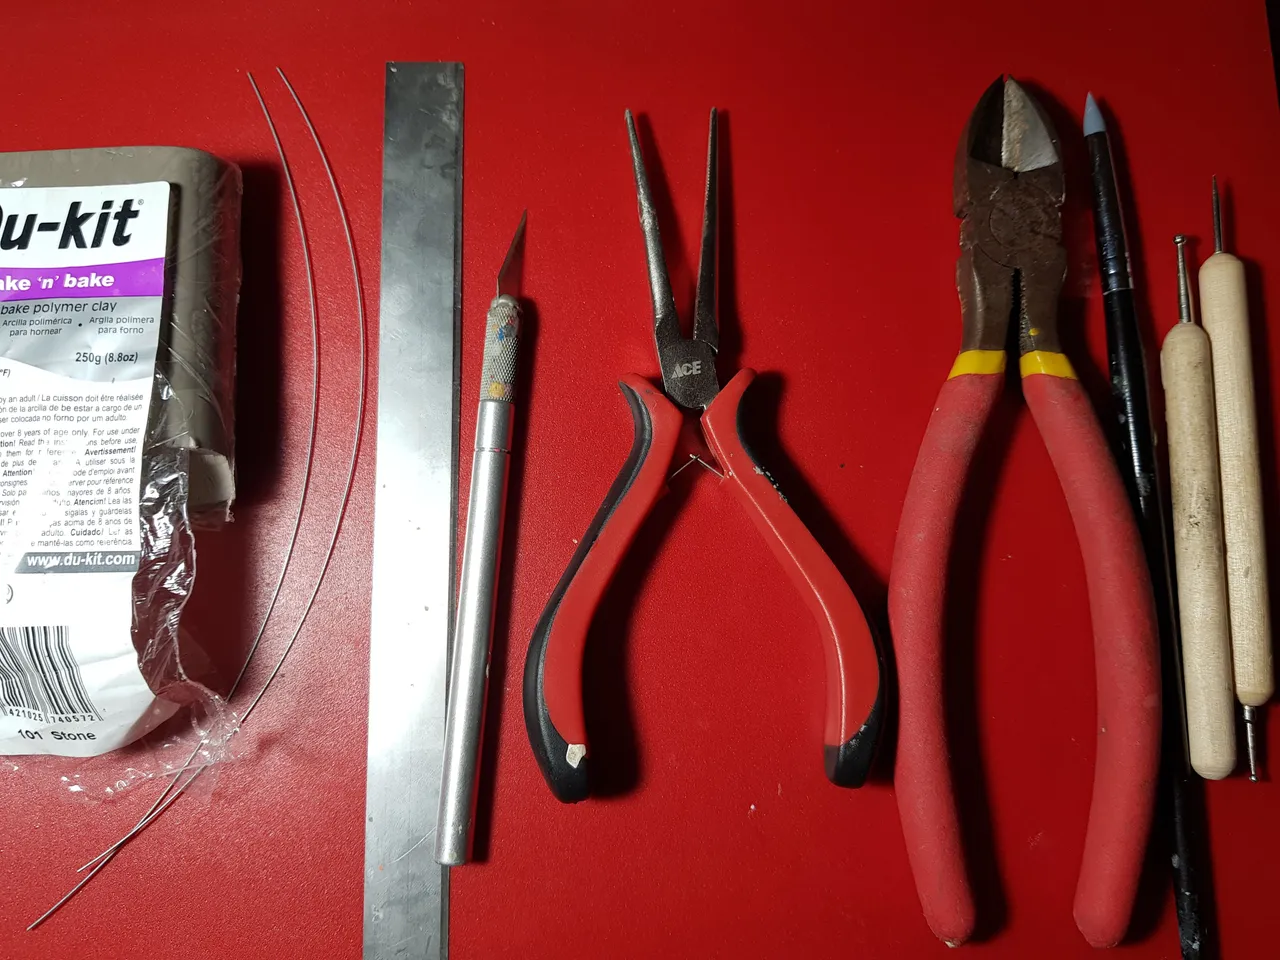
Polymer clay - (I used Du-kit but any will do. I suggest you use fimo soft or sculpey which are softer than the one I used)
Aluminum wire
Cutting tools - (I used a straight knife and hobby knife)
Pliers - (one for bending and one for cutting)
Blending tools - (I used a ball point blender and 2 rubber tipped ones)
Process:
First step is to find a reference pic if you're going to be making a piece inspired by an already existing character or object. In this case I used a spider-man image I found in google.
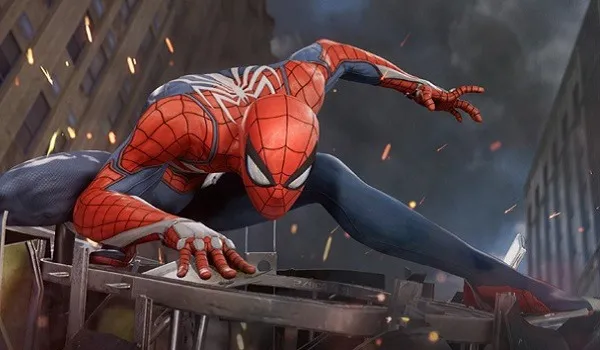
Source: click this for the link
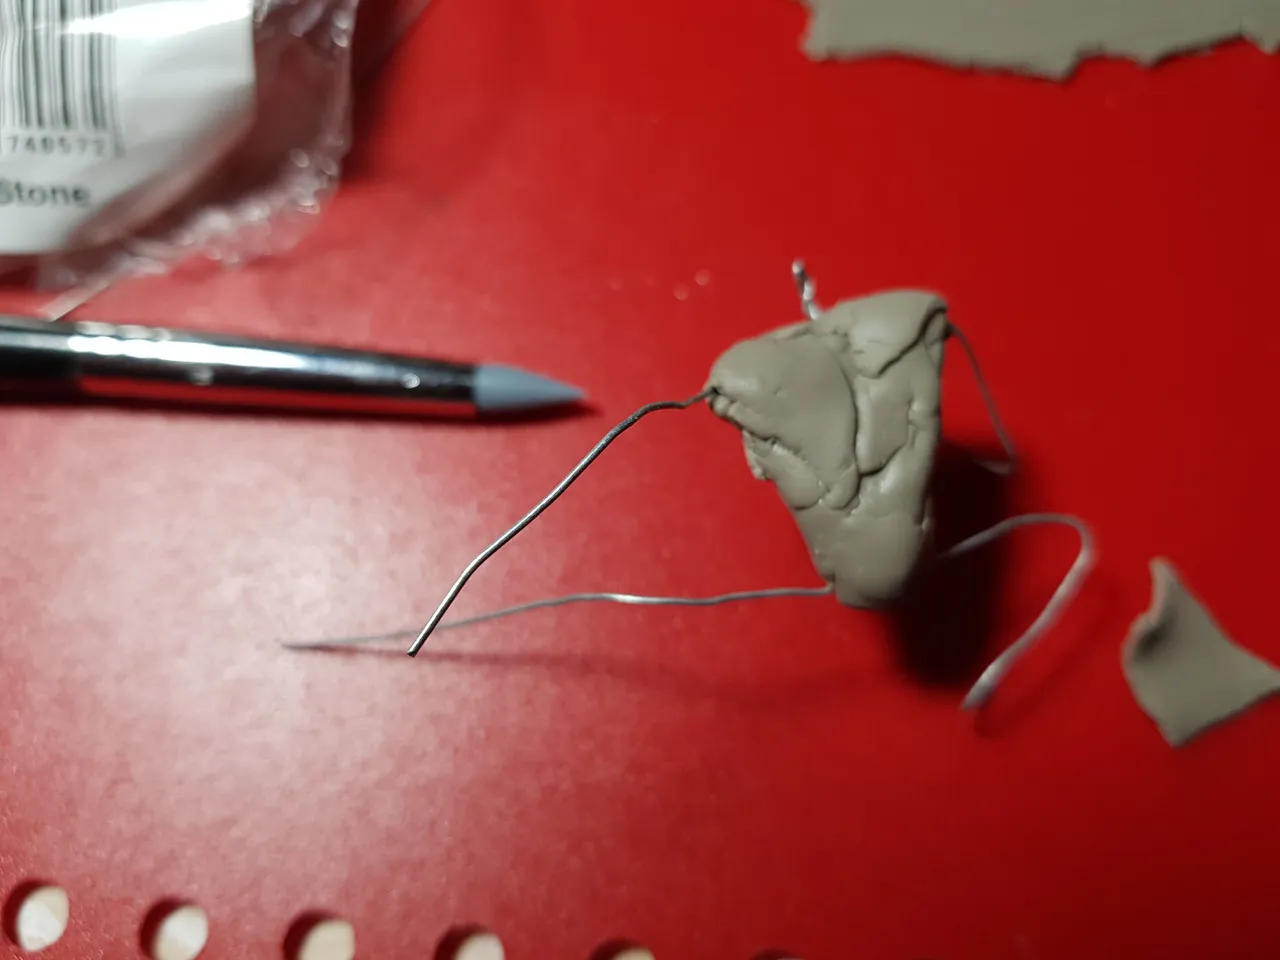
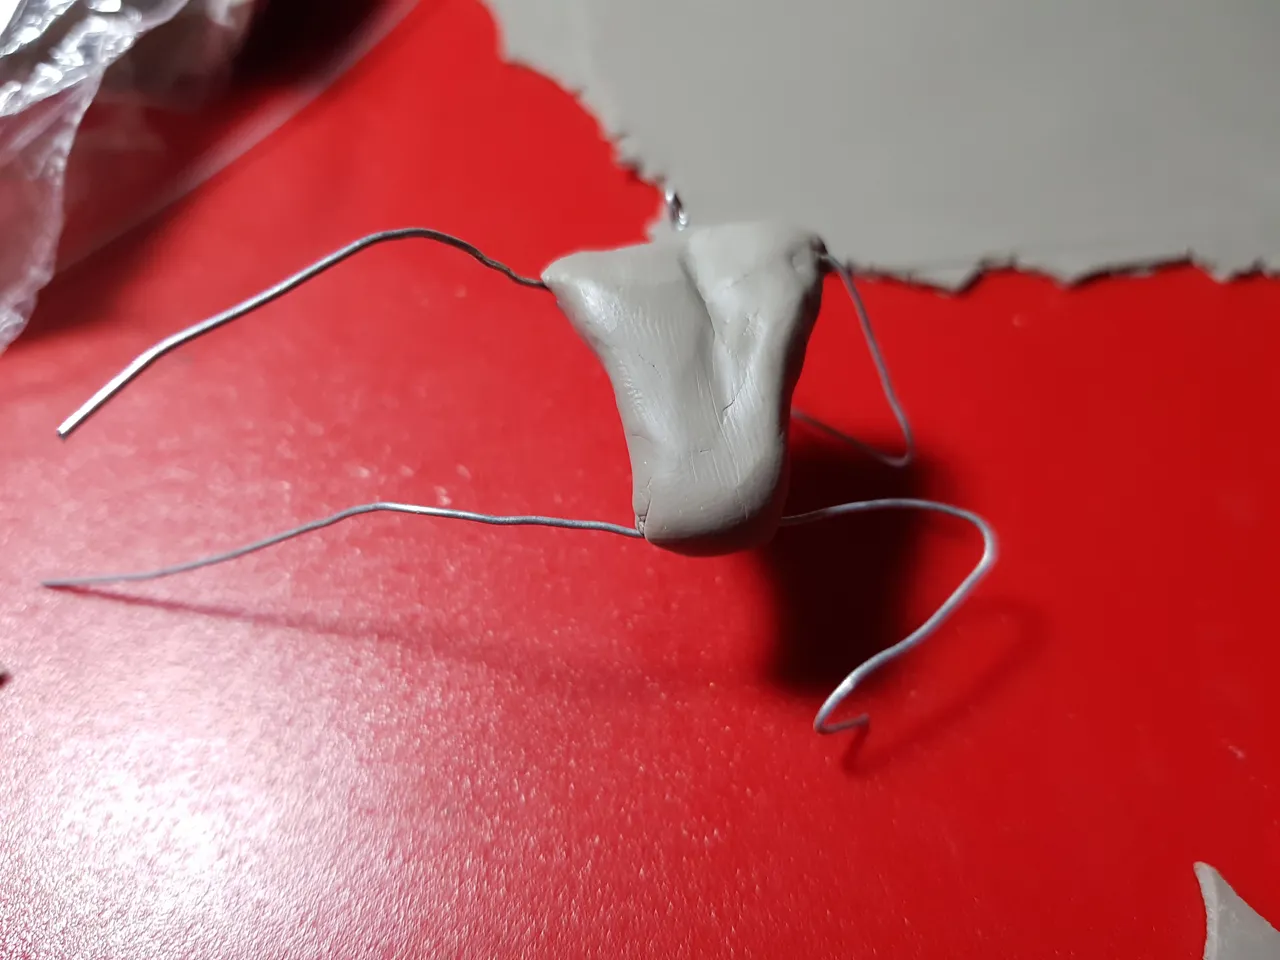
Now we need to make an armature (skeleton) out of aluminum wire.Becareful when handling the wire, the tip can pierce your skin. 😥
Use your cuttig pliers and cut out 2 aluminum wires of the same length. Mine was around 8 inches each
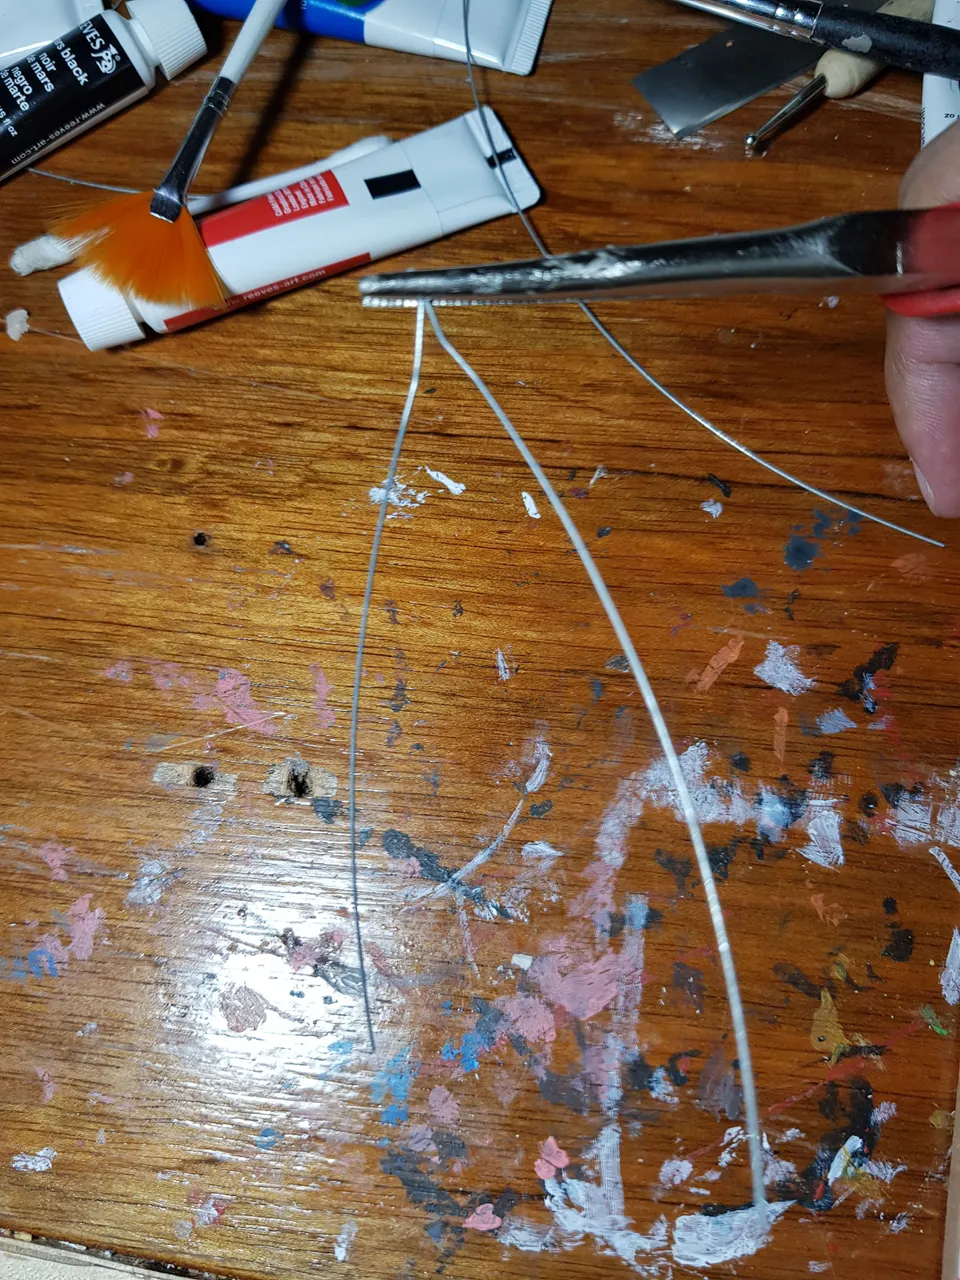
Bend 1 aluminum wire at he center.

Use your pliers to hold the bent center and start twisting. This serves as the neck and arms of the piece.
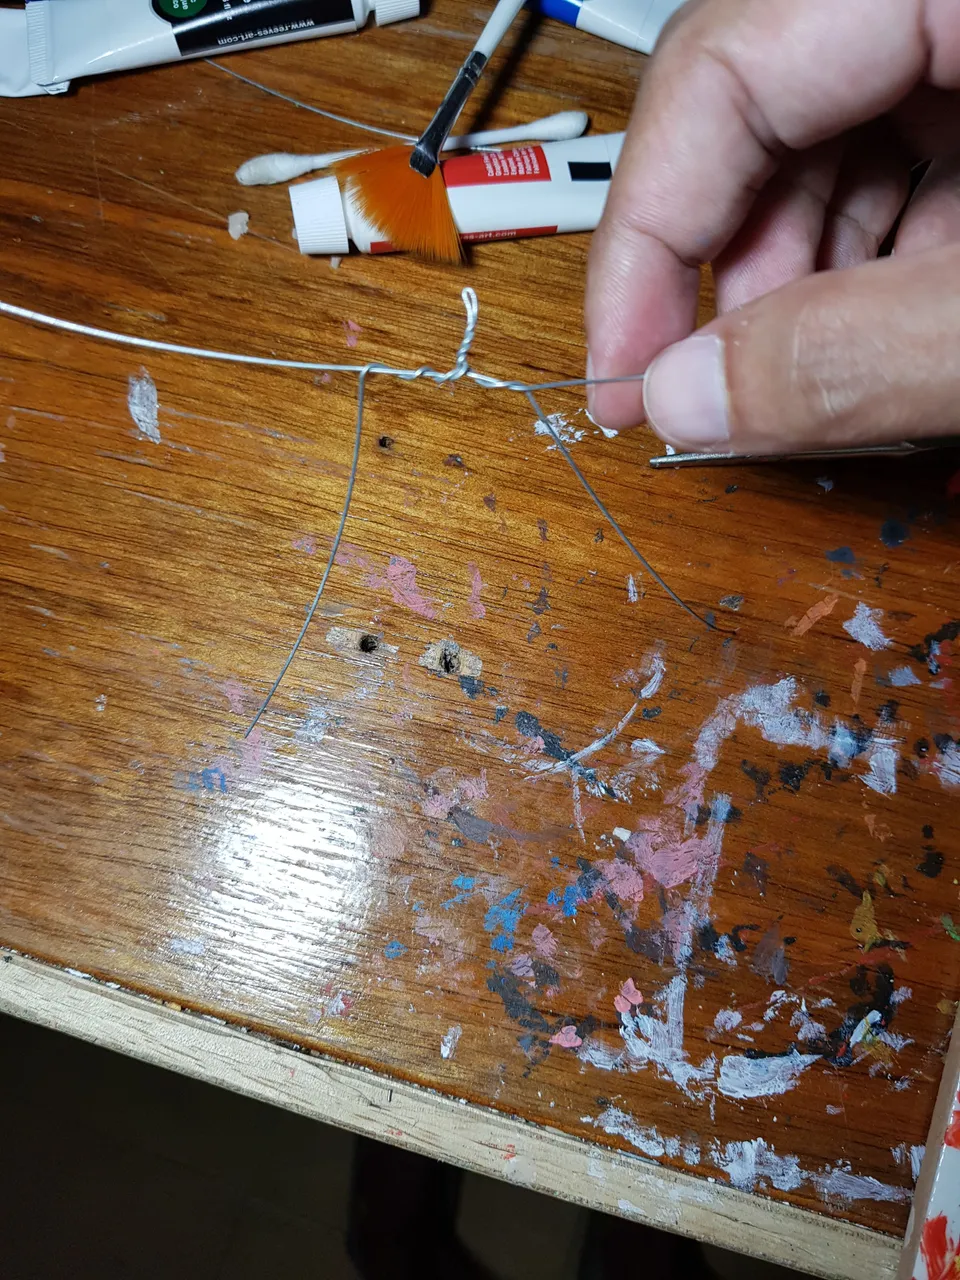
Twist another aluminum wire of the same length from the base of the neck going outward.
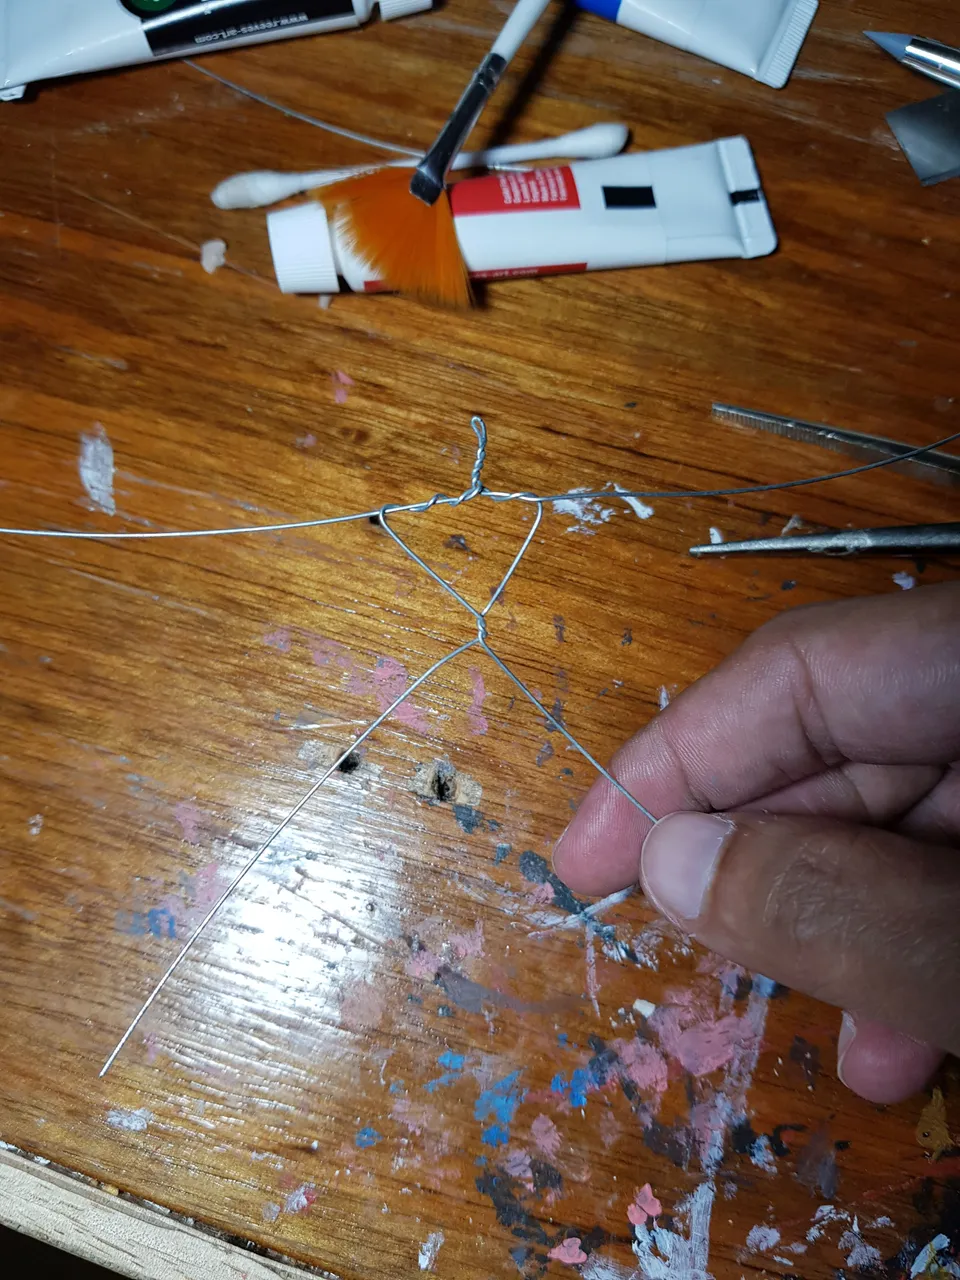
The 2nd wire serves as the torso down to the legs.
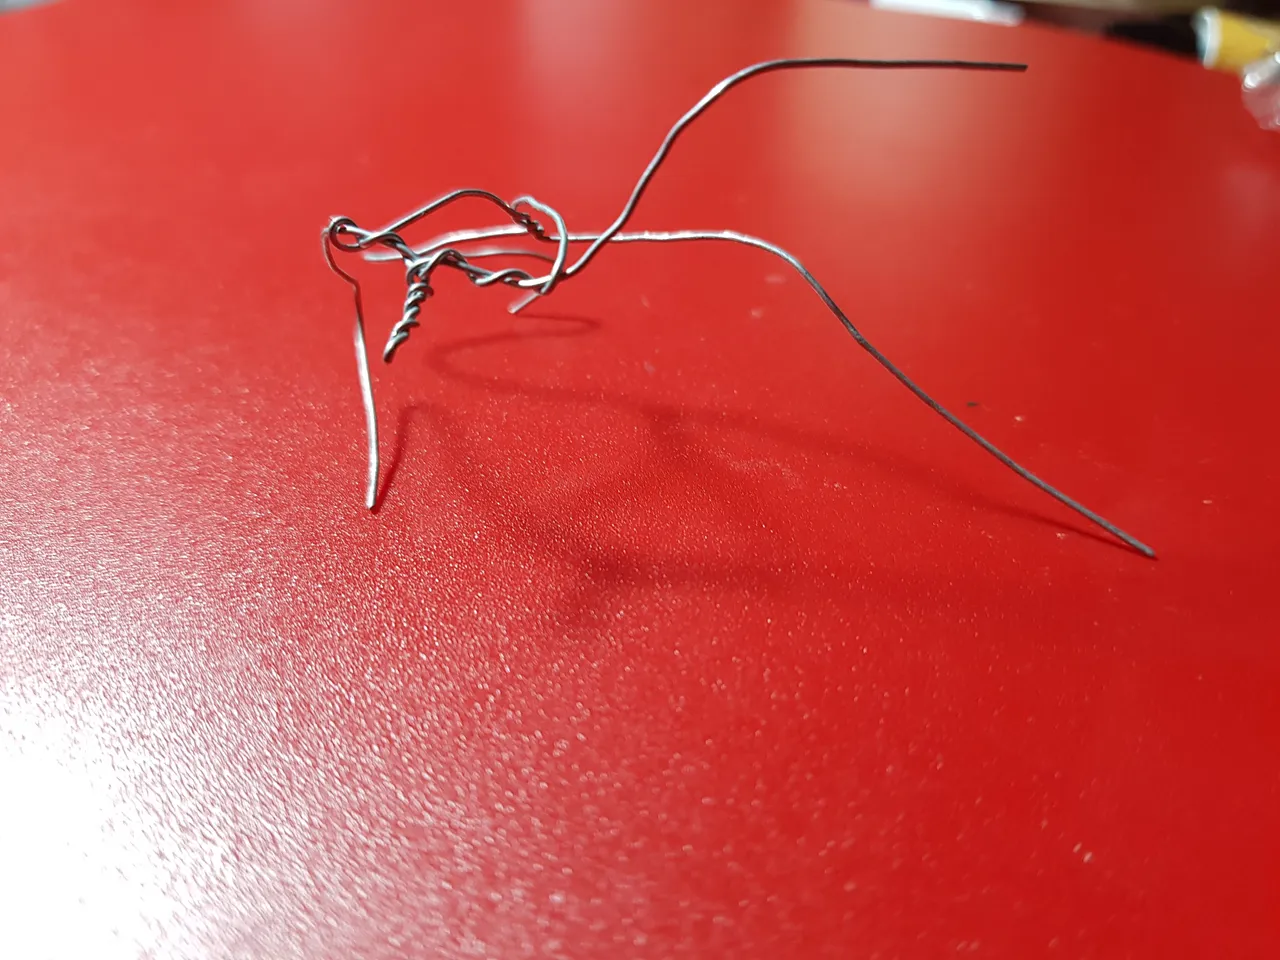
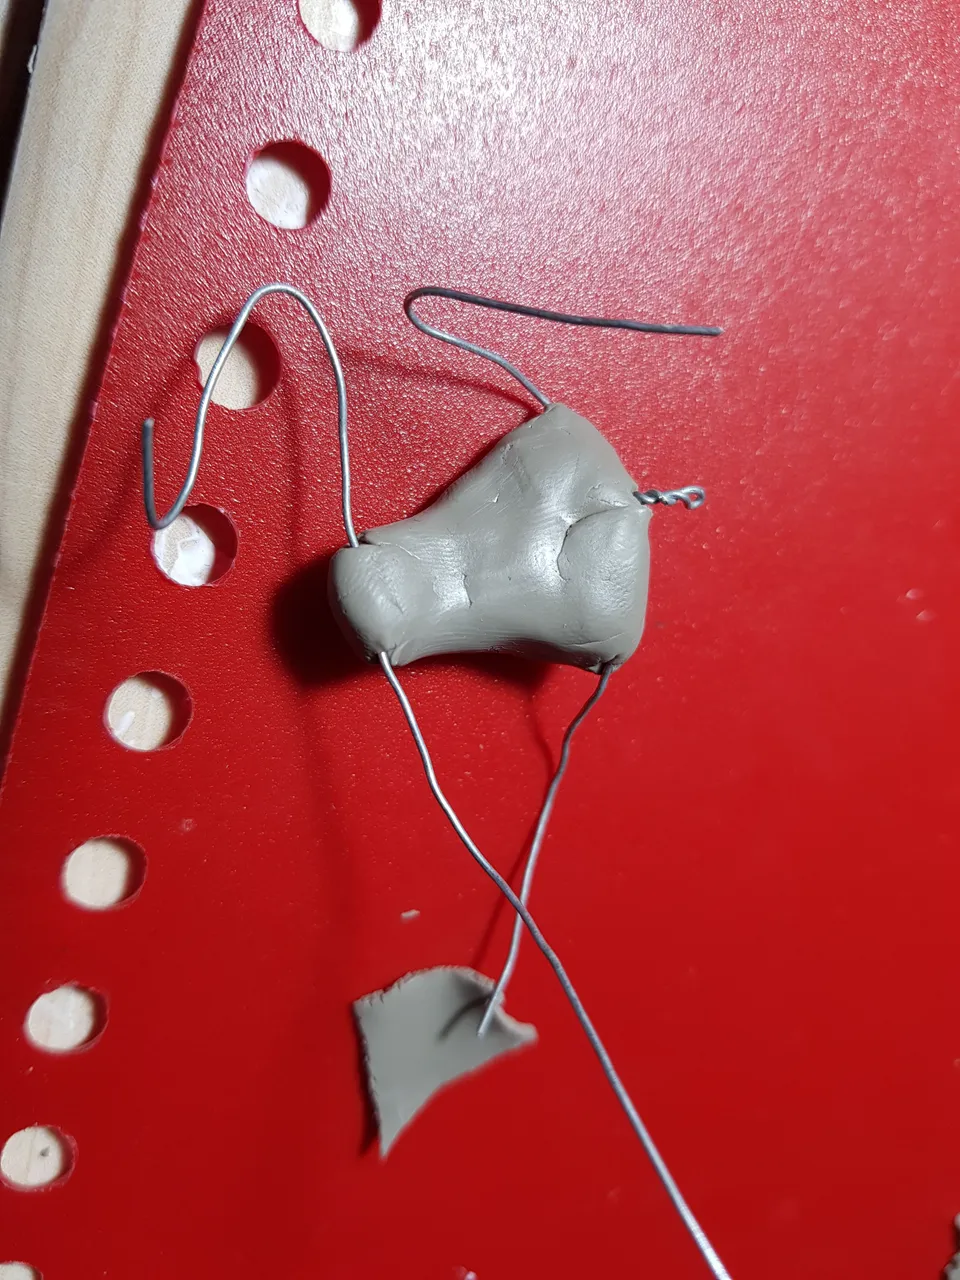
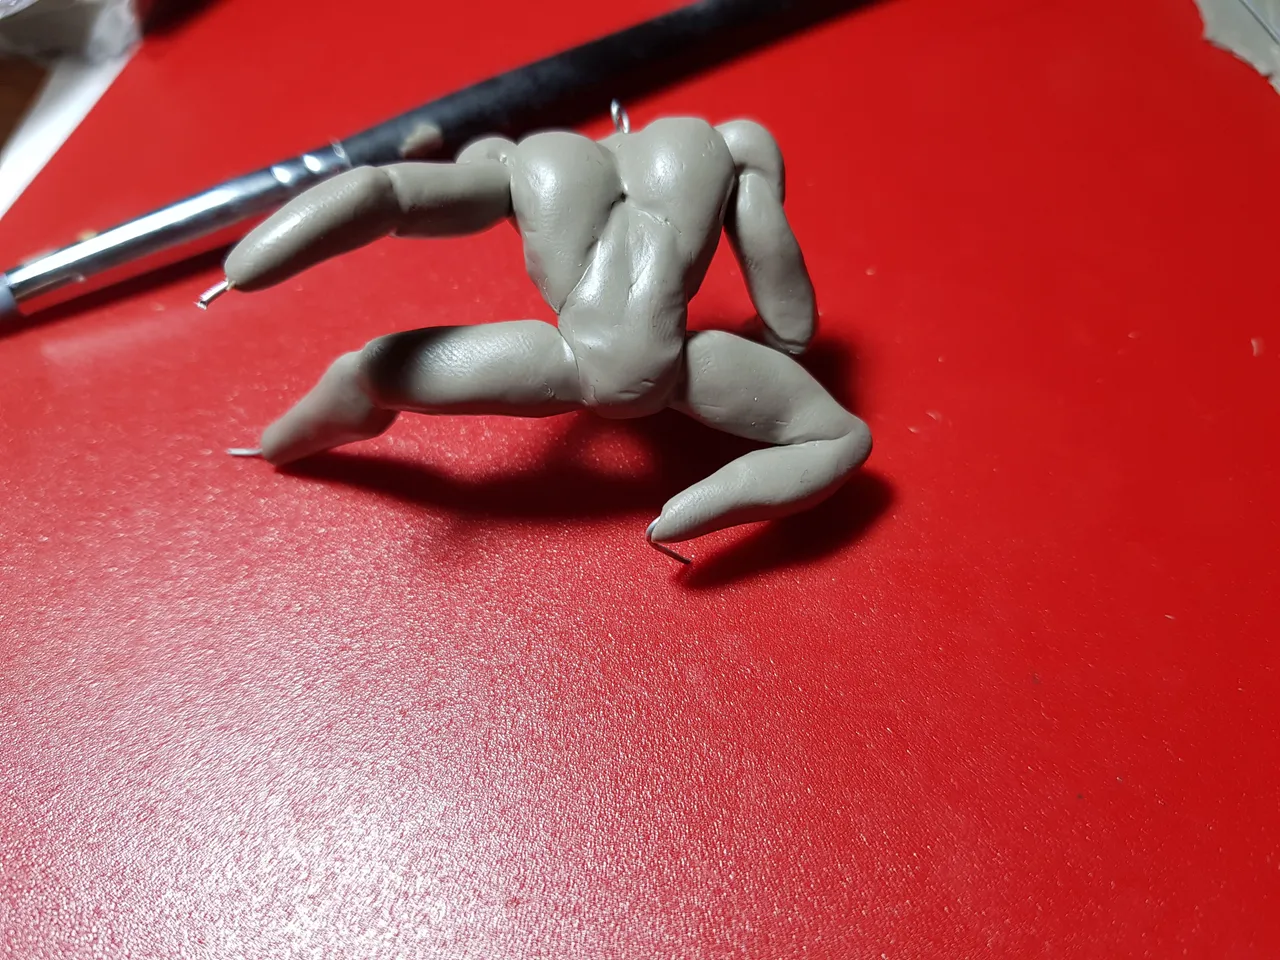
Fix the pose.
Note: there are other ways to make an armature. This way is the one I got used to. You can google more detailed videos.
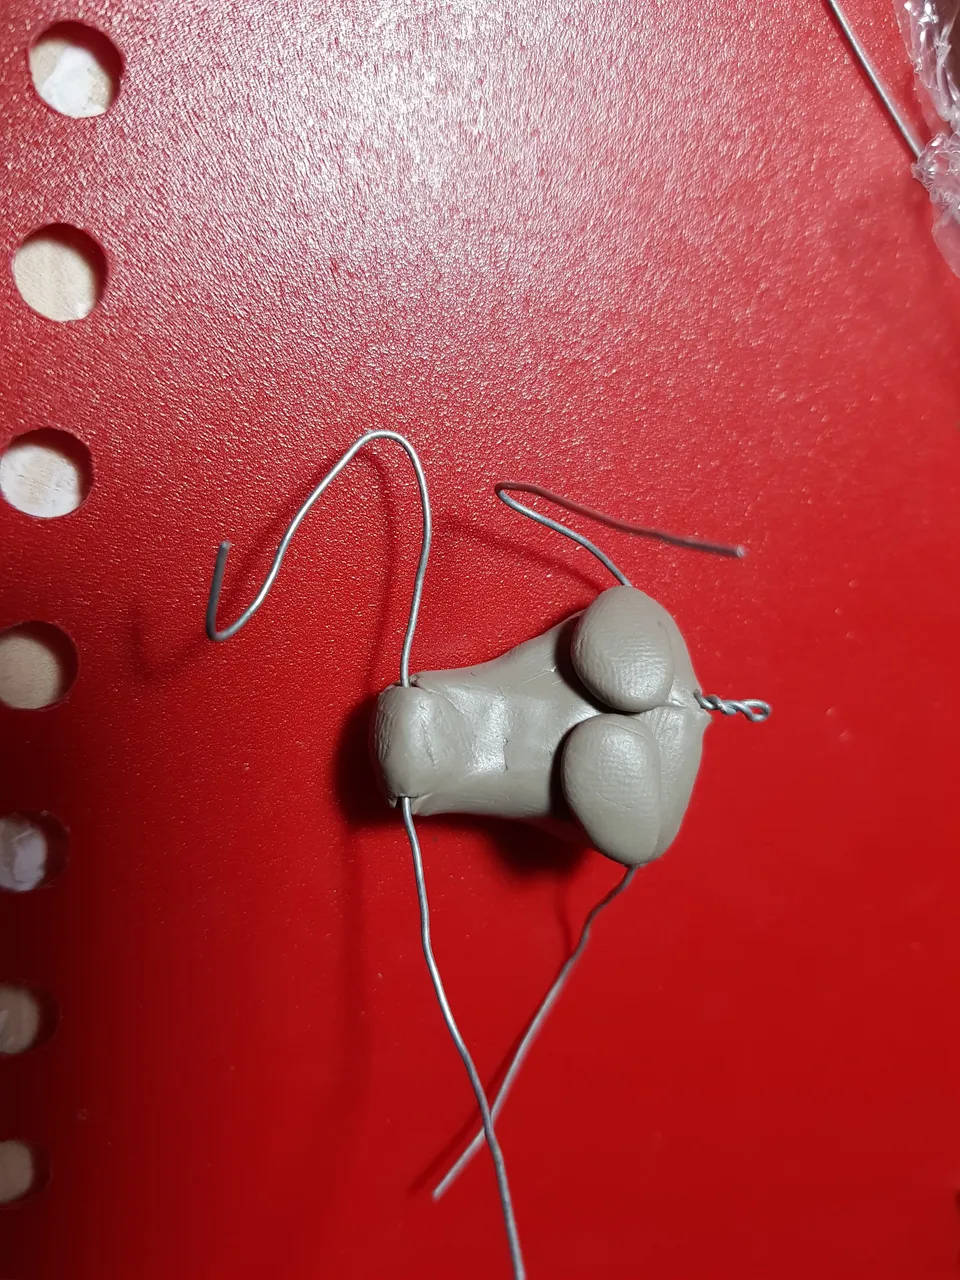
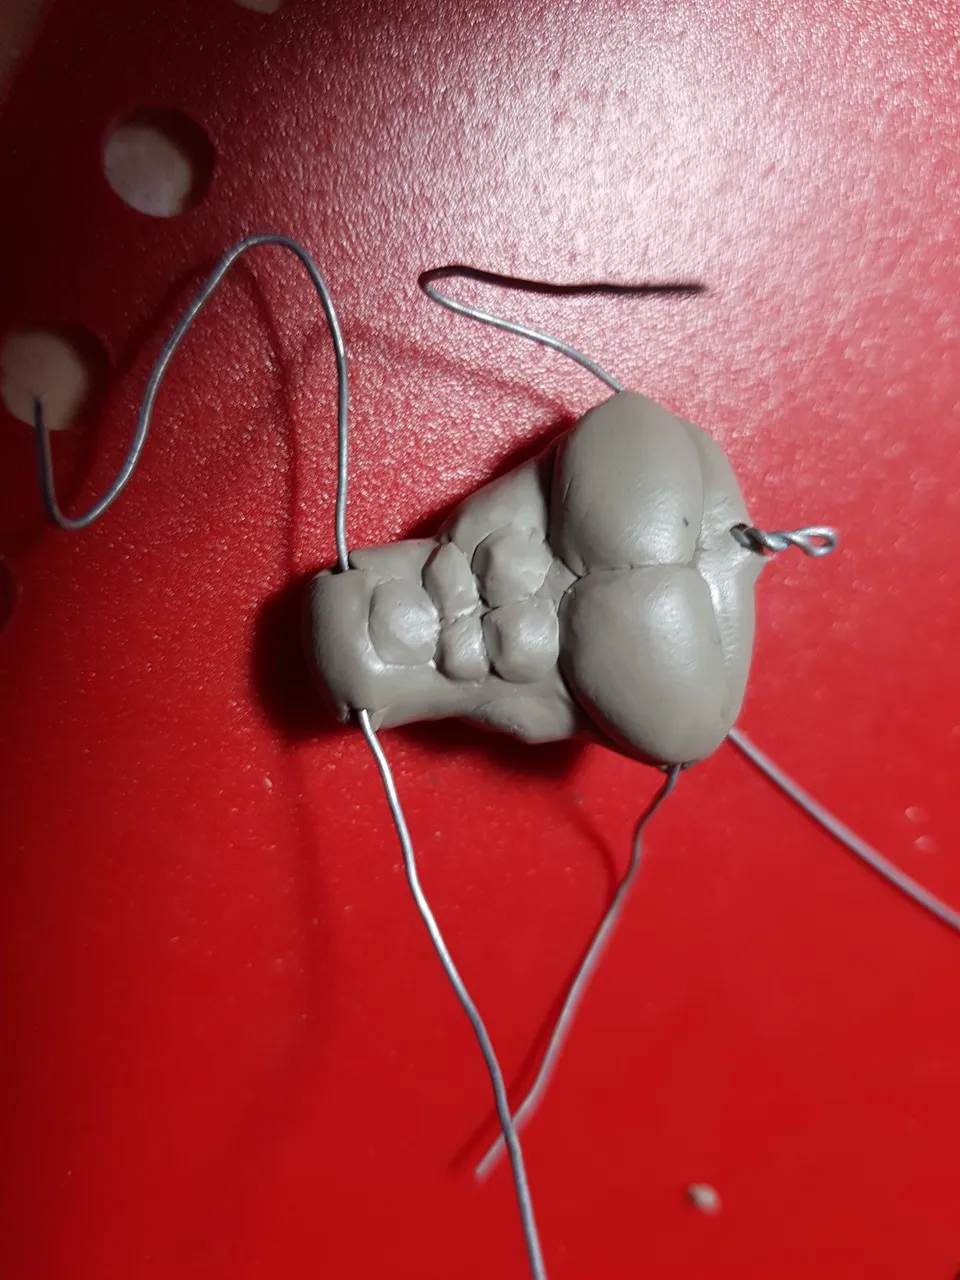
Slowly add tidbits of clay to the armature. I always start with the torso because I find it easier to progress from there.
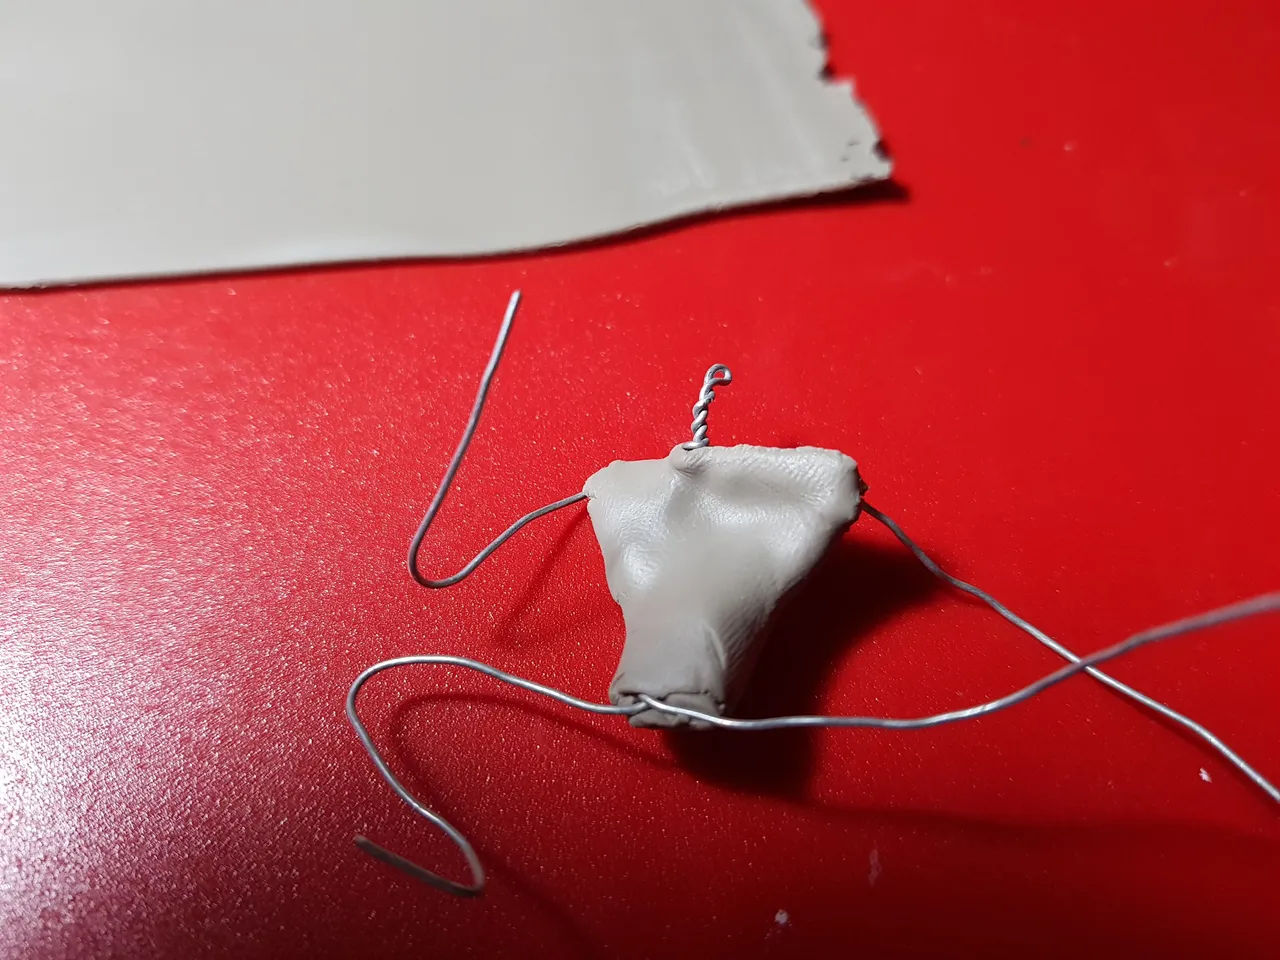
Slowly build the torso up with chunks of clay
Don't forget the back.
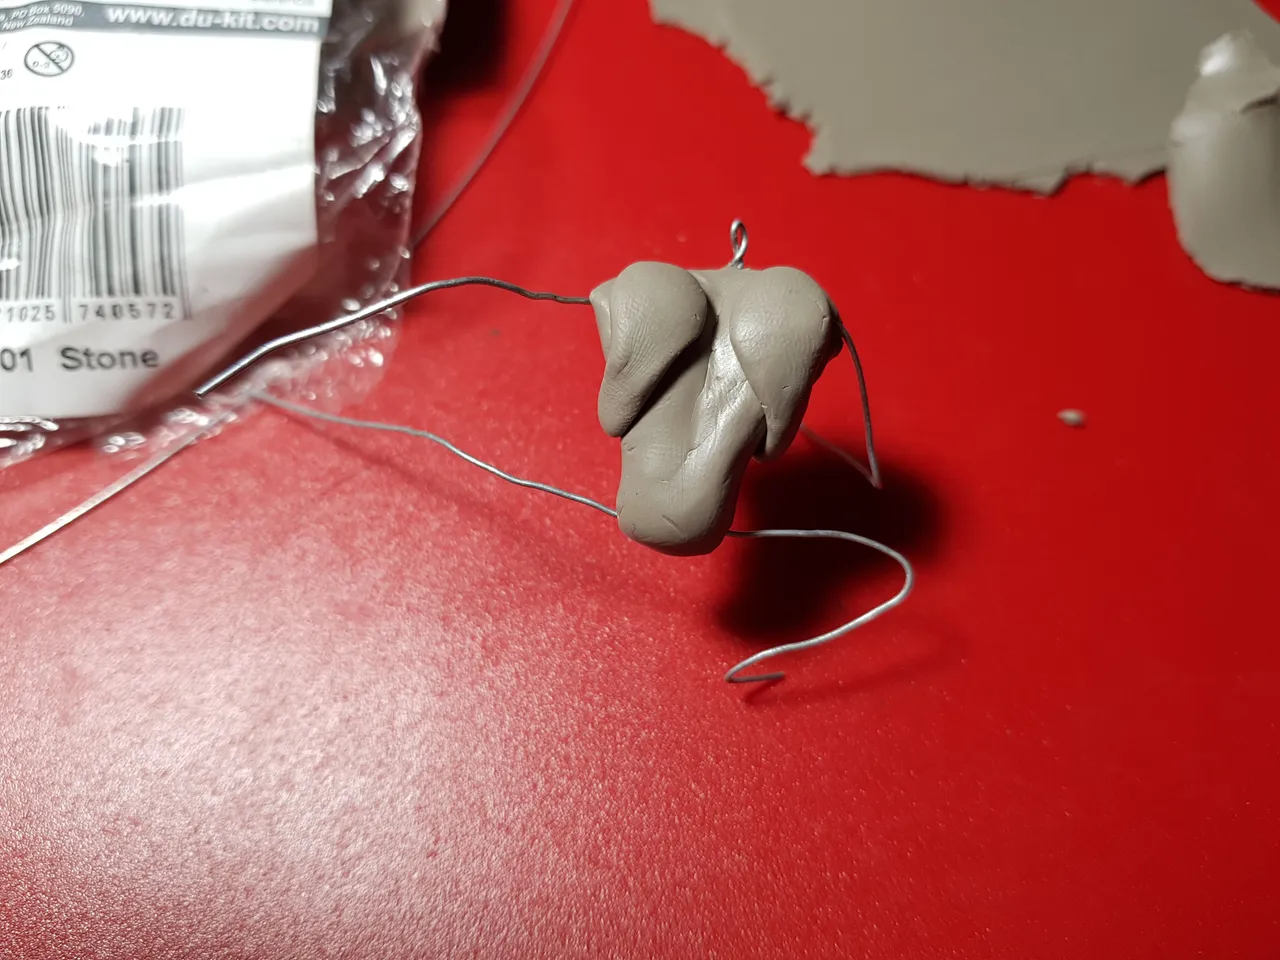
Once you've added enough clay to make the torso, blend it using a tool or your finger to smoothen the piece. Take your time and follow the body shape from your reference.
Done? Okay! We will now add the large muscle parts of the torso to give the piece that "umph". 😅
Add the chest area then blend the sides.
Next up are the big back muscles.

Blend.
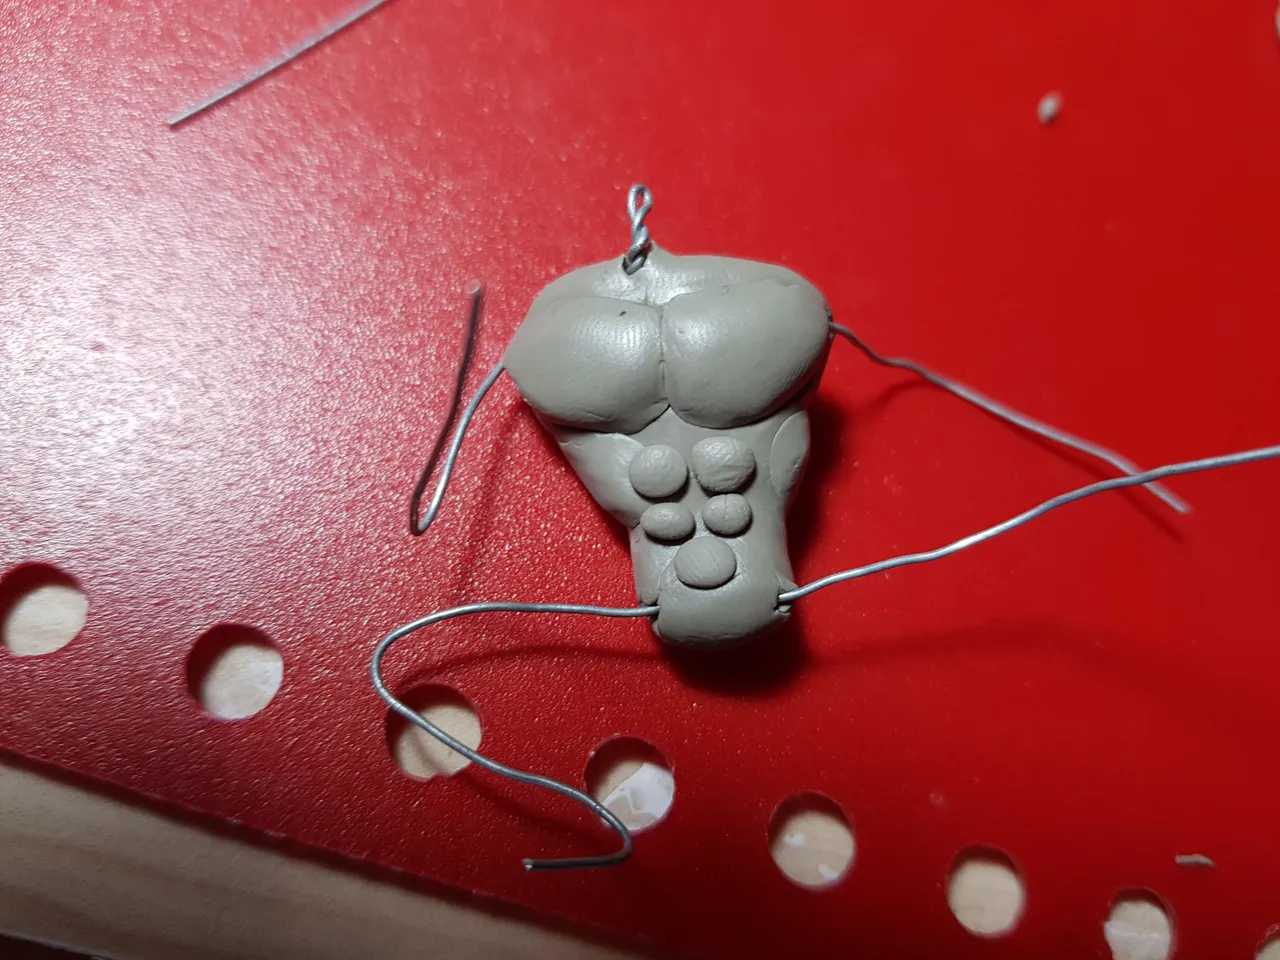
Add the abs.
And as always, BLEND!
Now that is starting to look more and more like a body.
Next up are the arms. Let's divide it in 3 segments shoulder area, upper arm and forearm area to make it easier starting with what's closest to the body. let's leave hands for later because they are hard (at least for me)
😣

Make a circle and cut it in half to make the shoulders.

Make long cylinder shapes for the upper arm.
You can cut half way vertically to make attaching to the wire easier.

Results should more or less look like this.
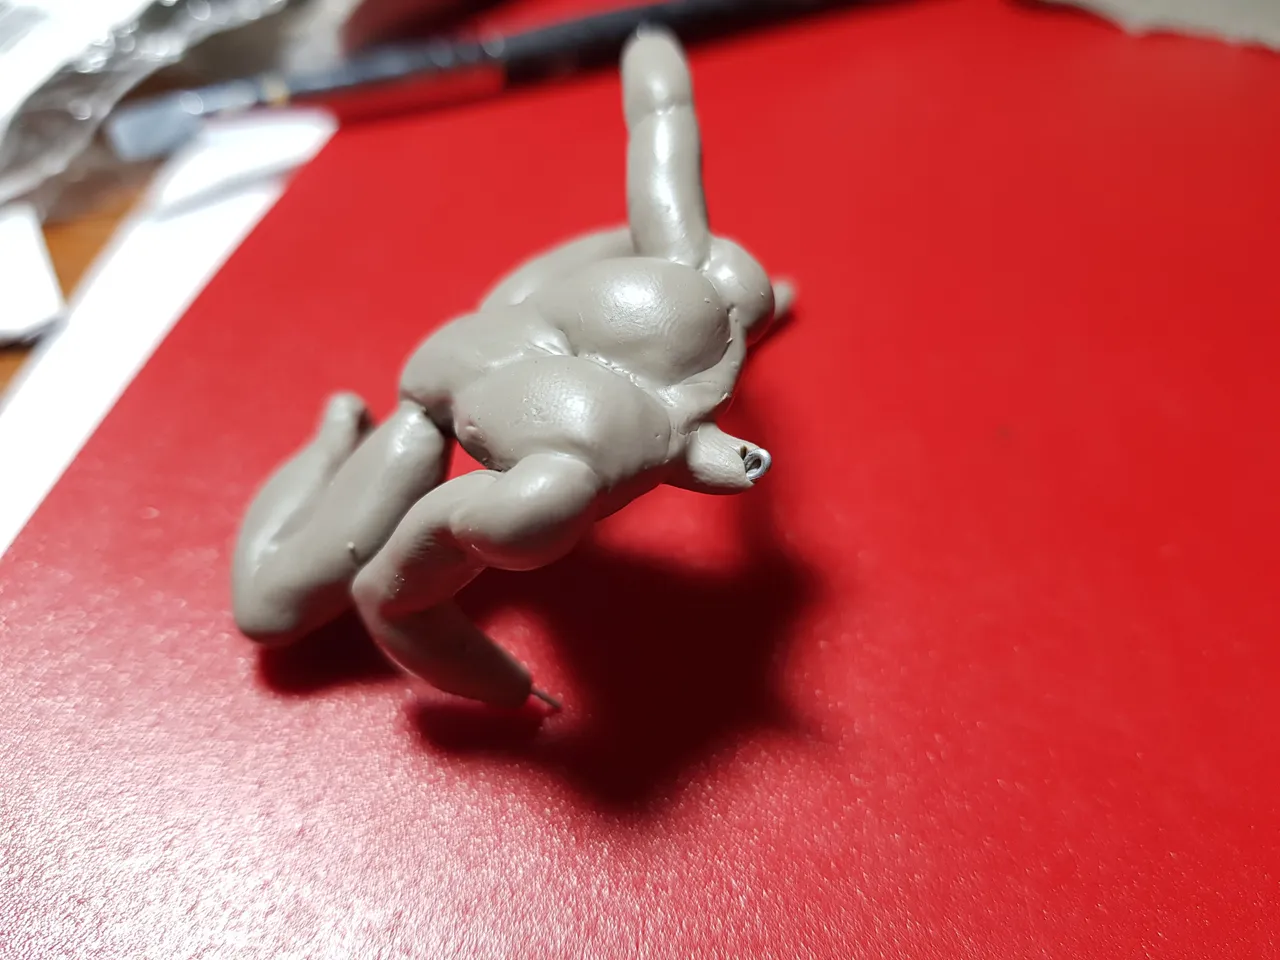
Just follow the basic concept of what we did for the arms and apply it to the leg. Divide the parts. 😊
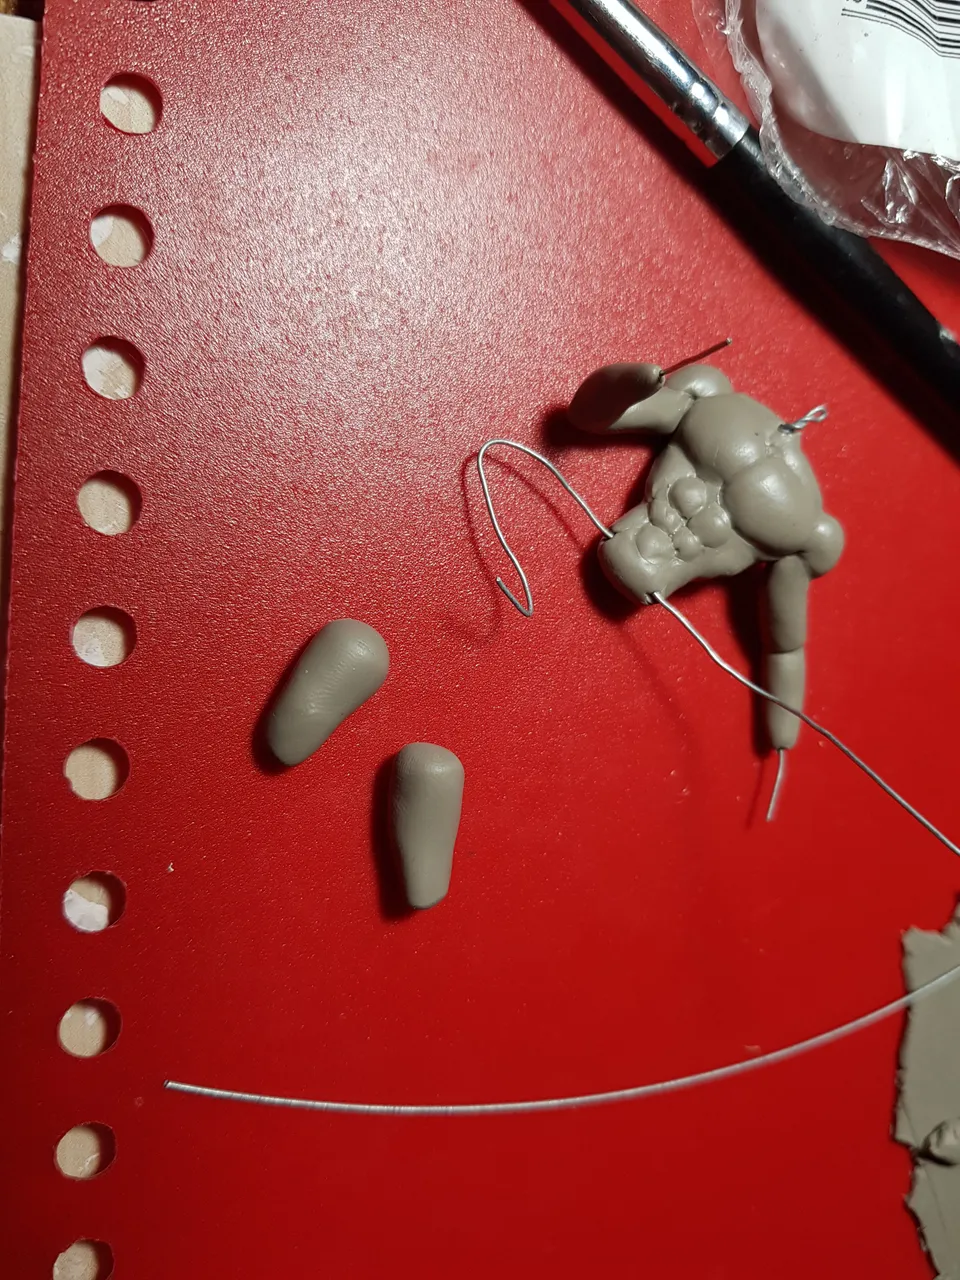
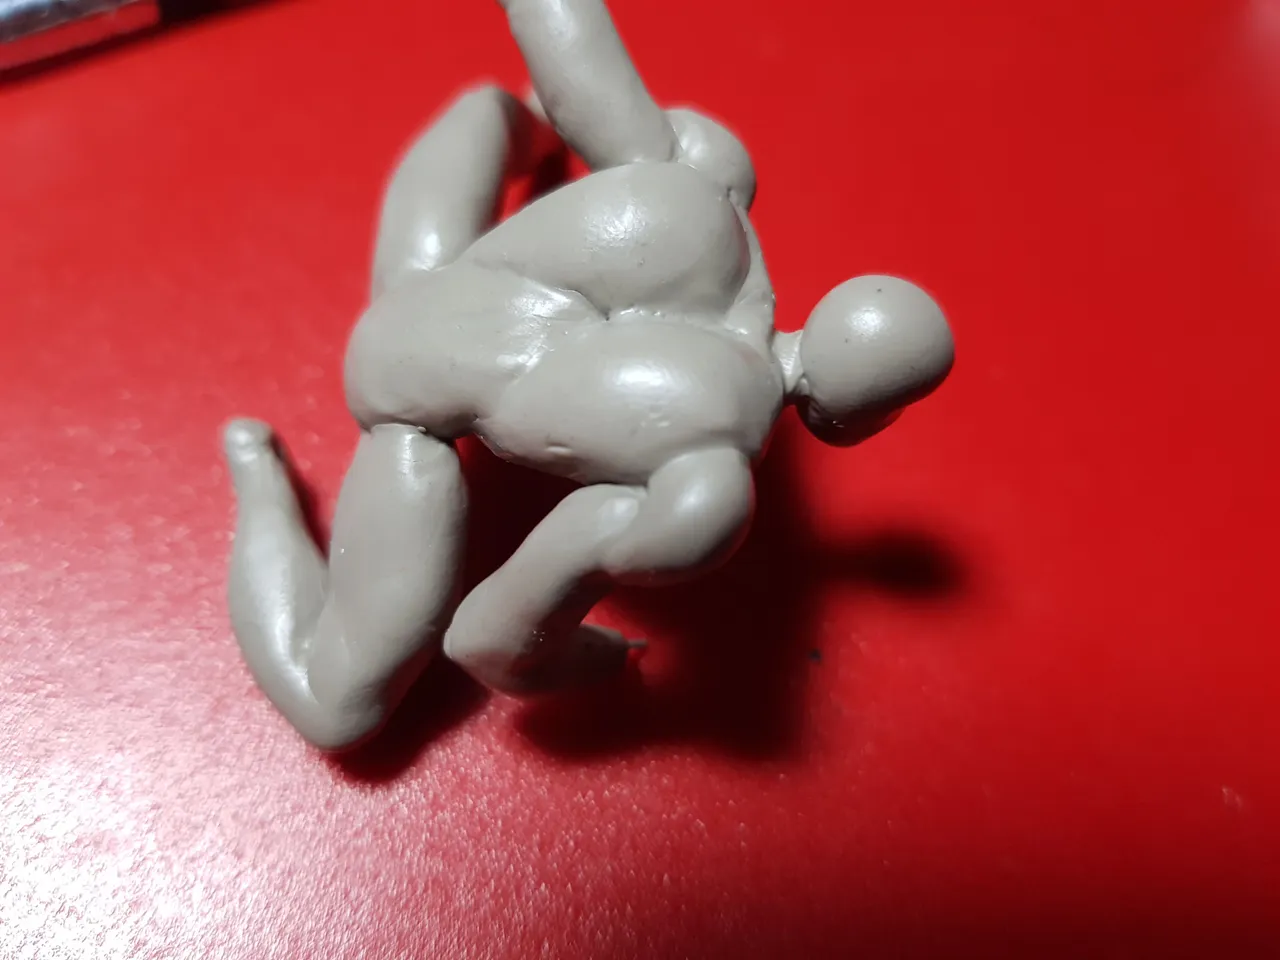
For the thigh area, use a similar piece of clay as the upper arm but slightly bigger.
Add the calves area.
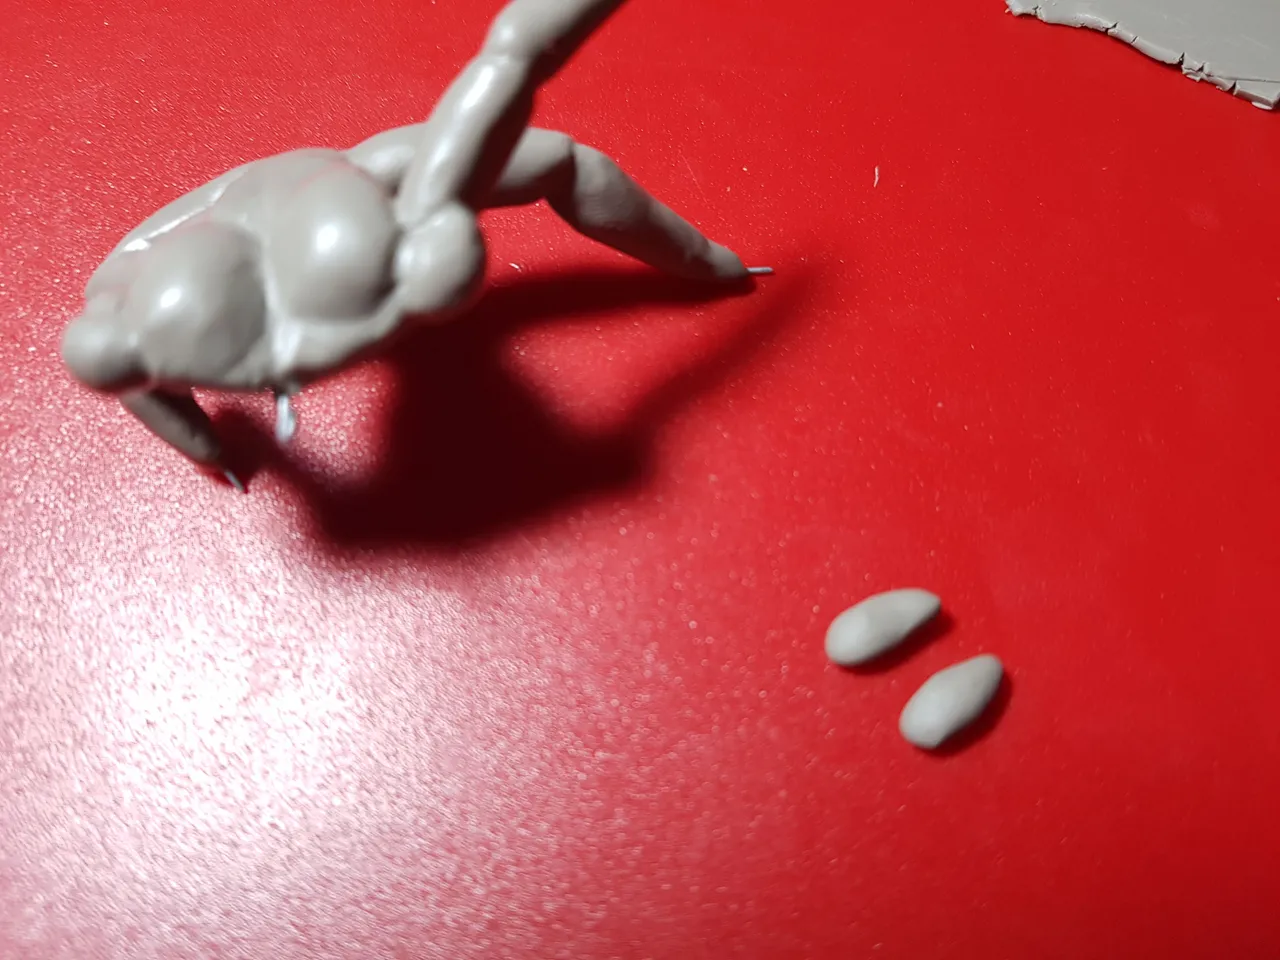
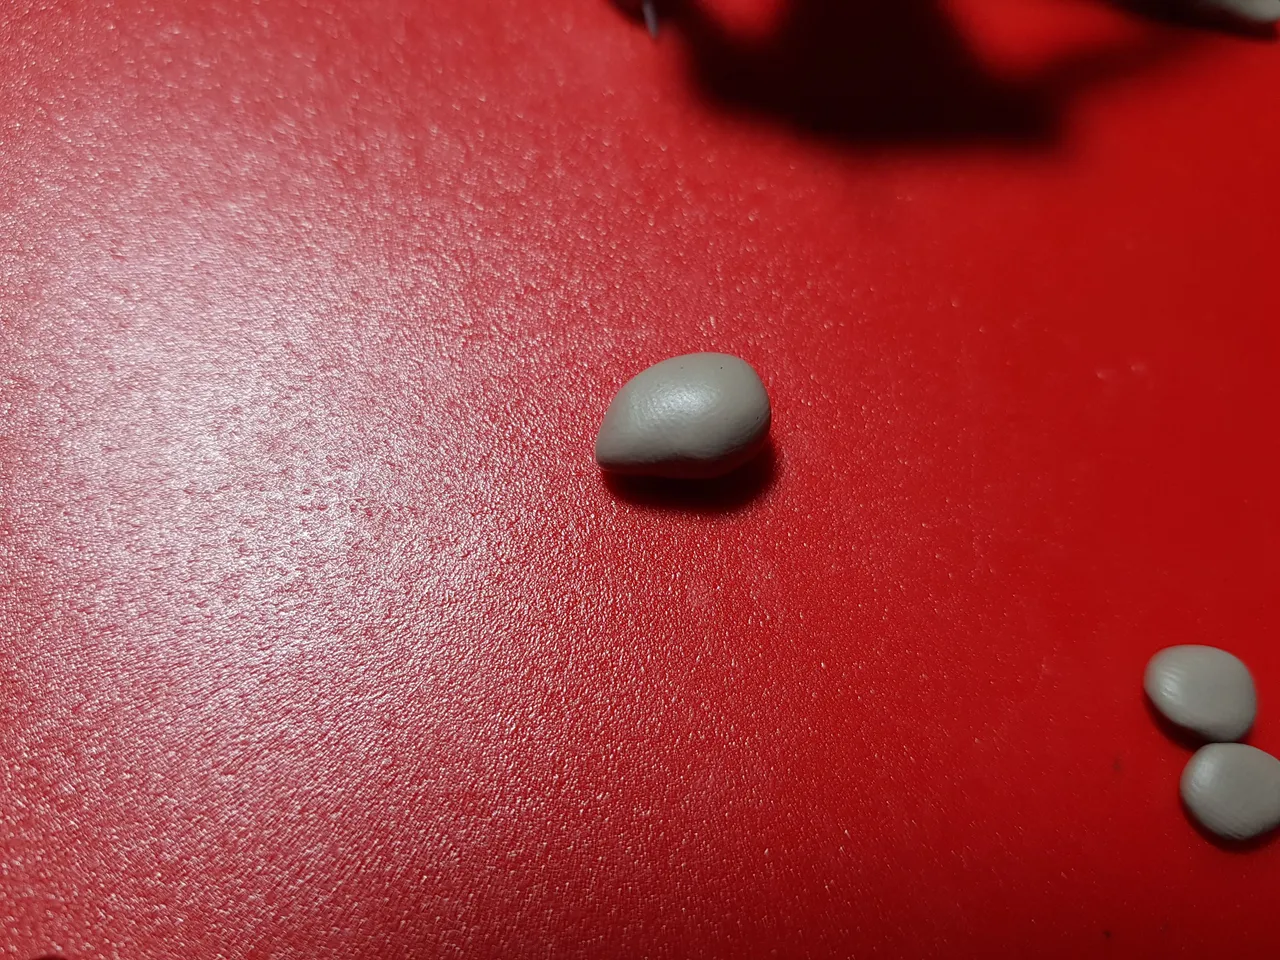
Cut tiny oblongs for the feet.
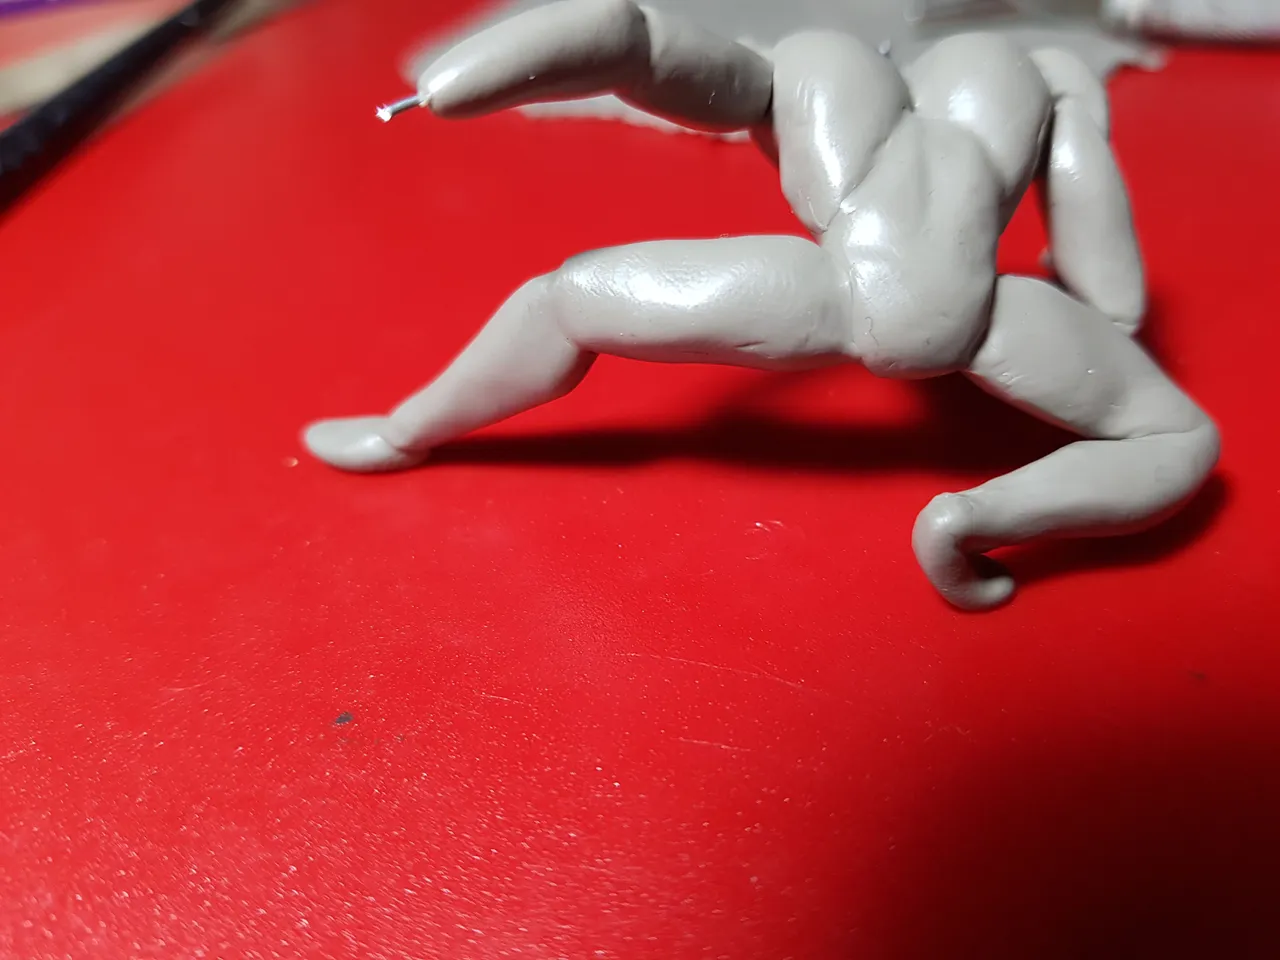
Attach the feet and blend.
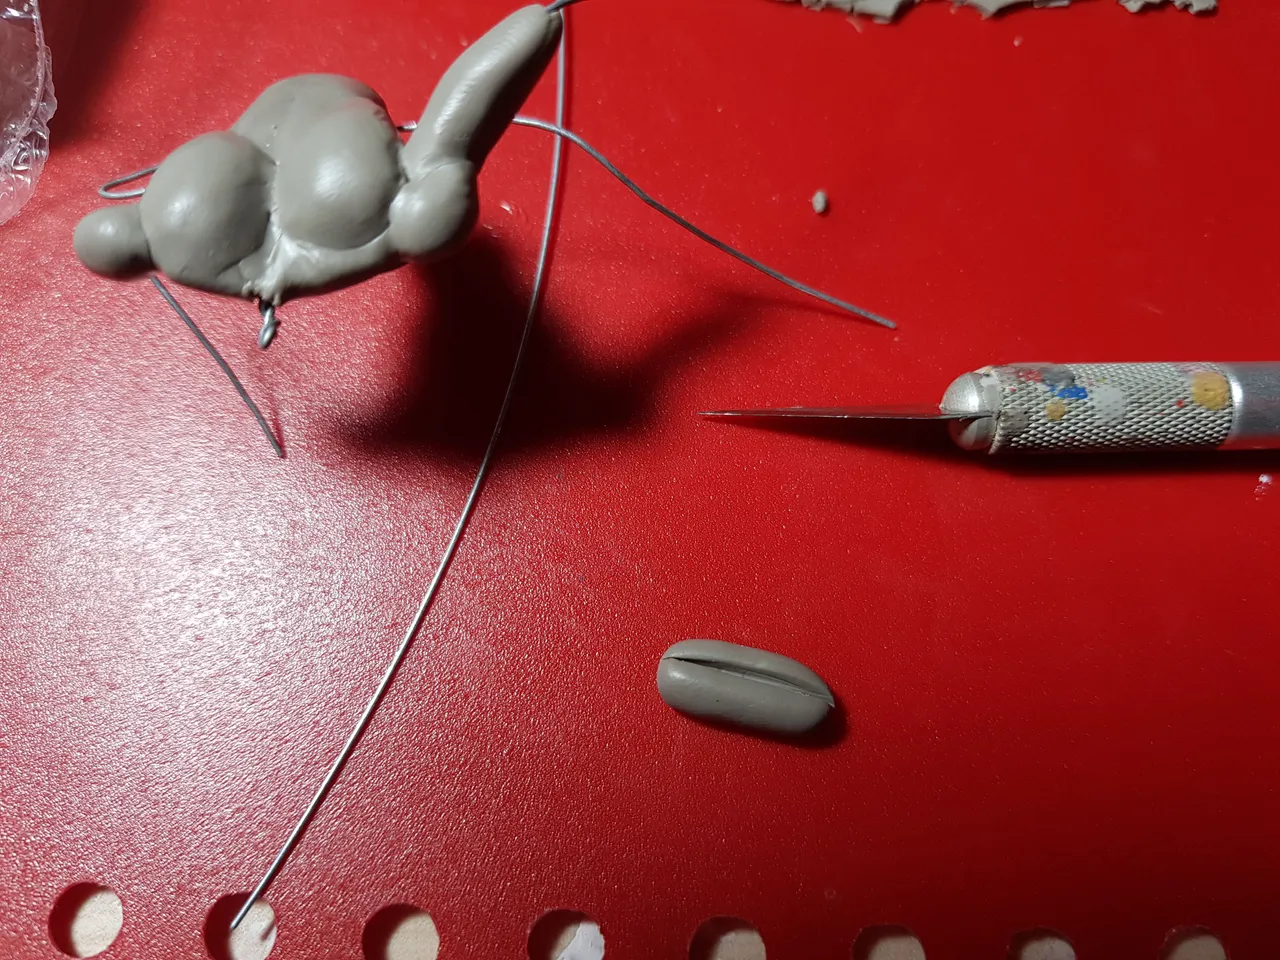
Next up is the head. This is easier compared to the other parts because spider-man does wear a mask 😅
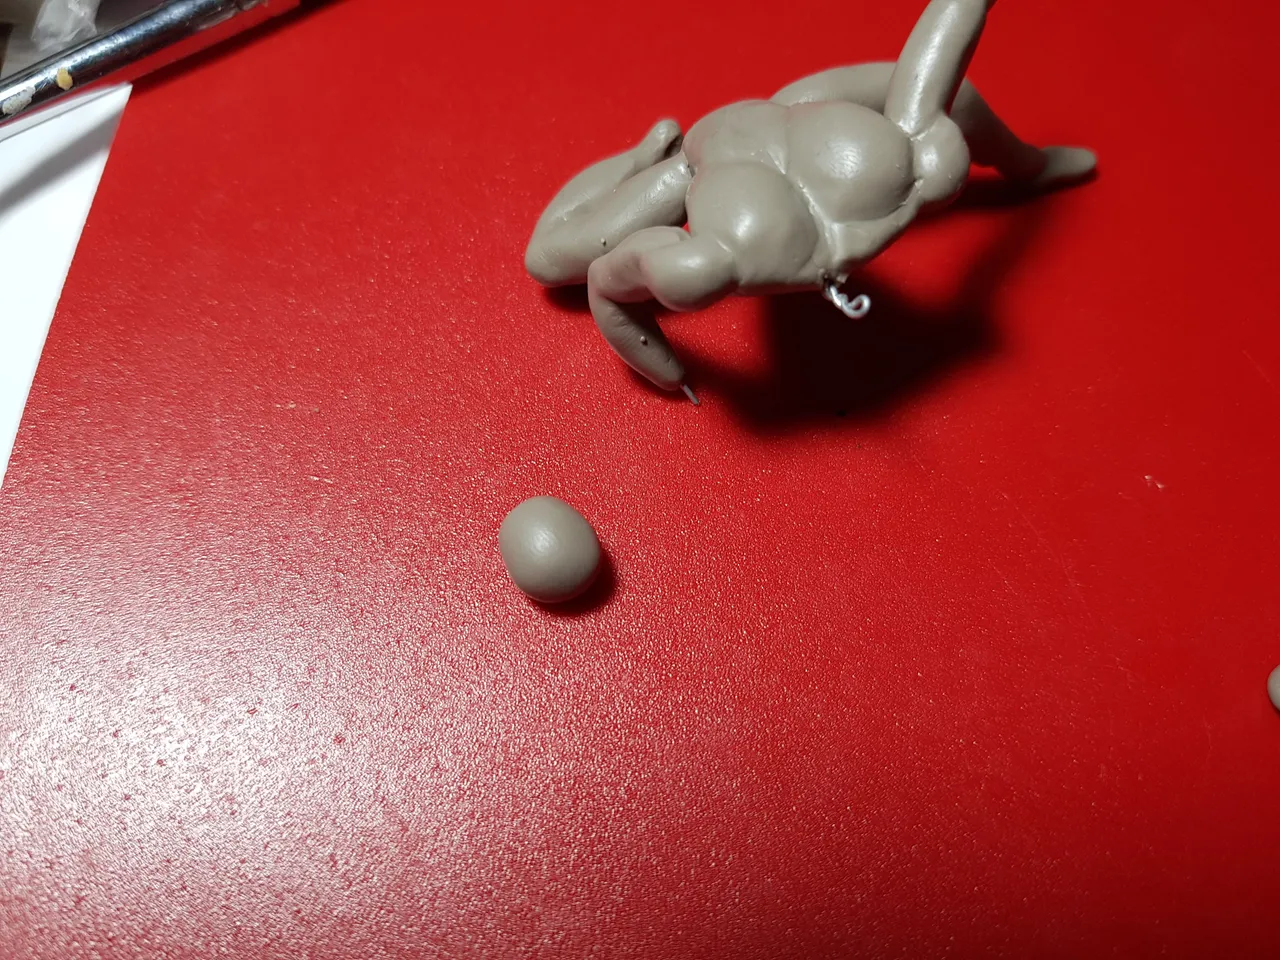
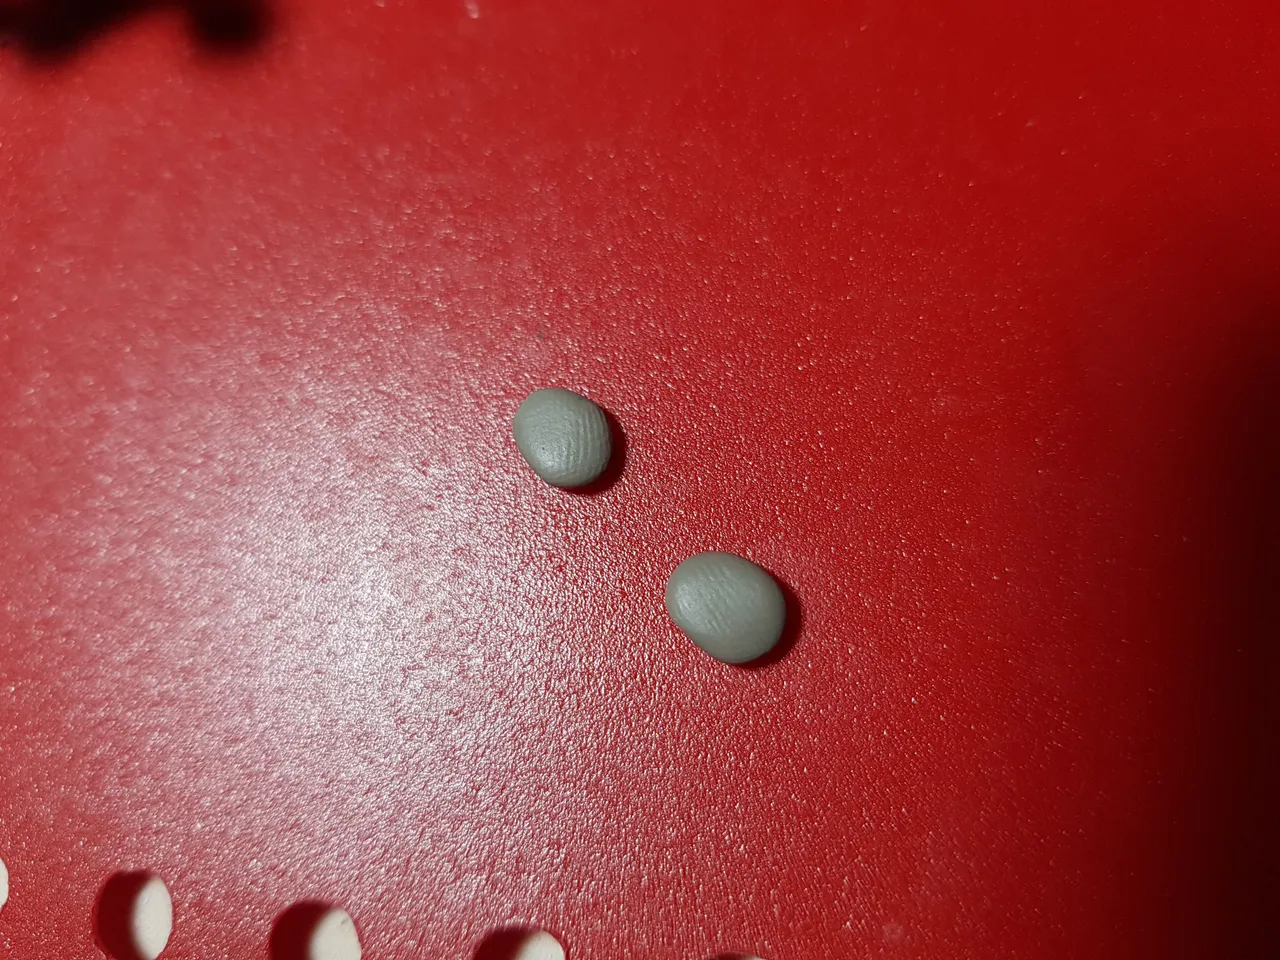
Make a tiny oblong shaped piece
Refer to your picture and shape it accordingly

Use your smallest finger to push the areas where the eyes should be. You can use the blending tools for fine tuning.
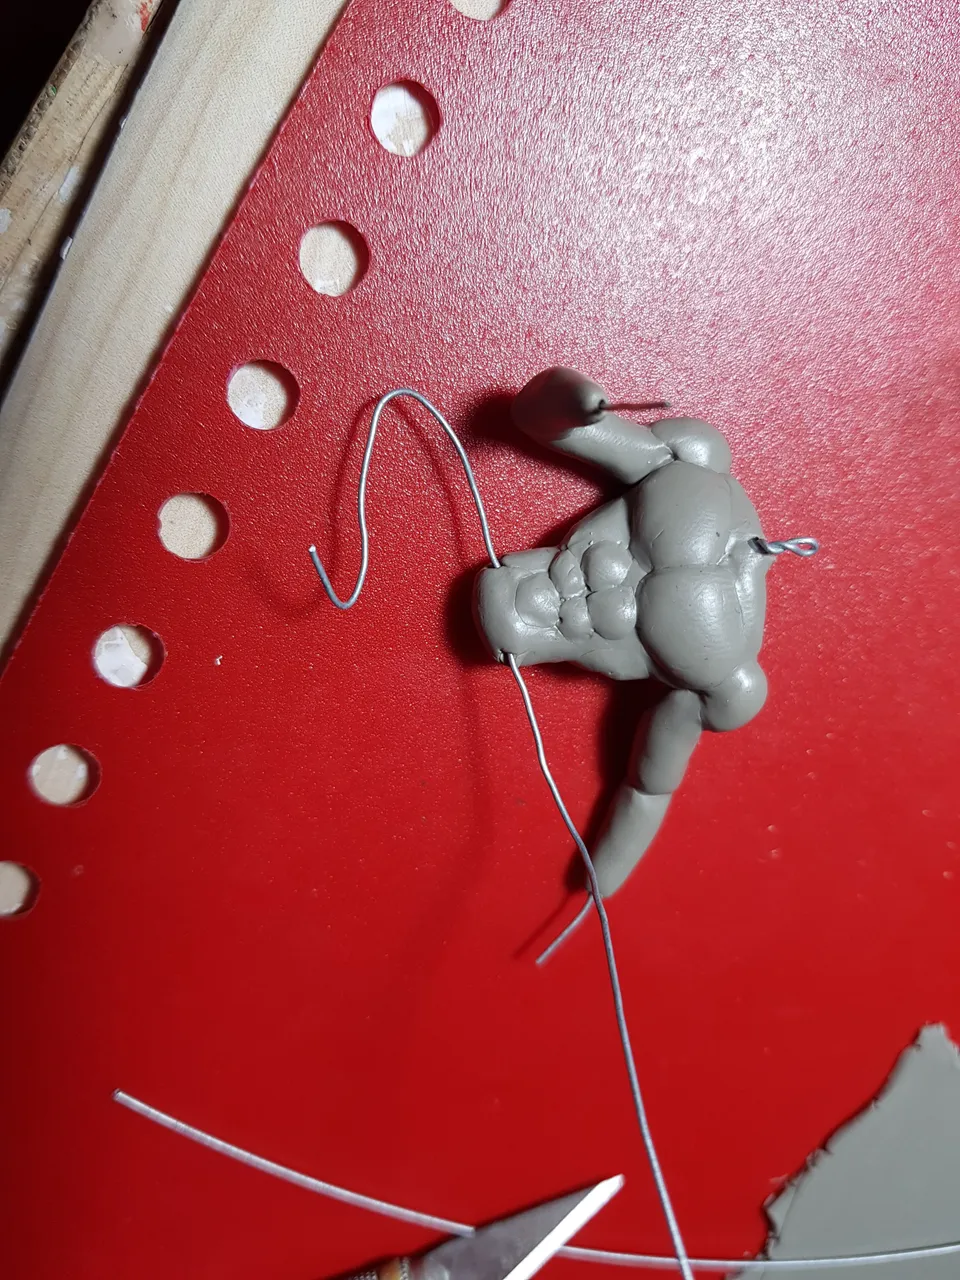
Now add a neck to the body. Just take a small piece of clay and blend it where the neck should be.
Attach the head carefully and blend it to the neck using your blending tools.
Now for the hands dumdumdum!!!! (almost lost my mind here). Difficulty varies depending on the clay you use because some are easier to work with. Take your time with this one.
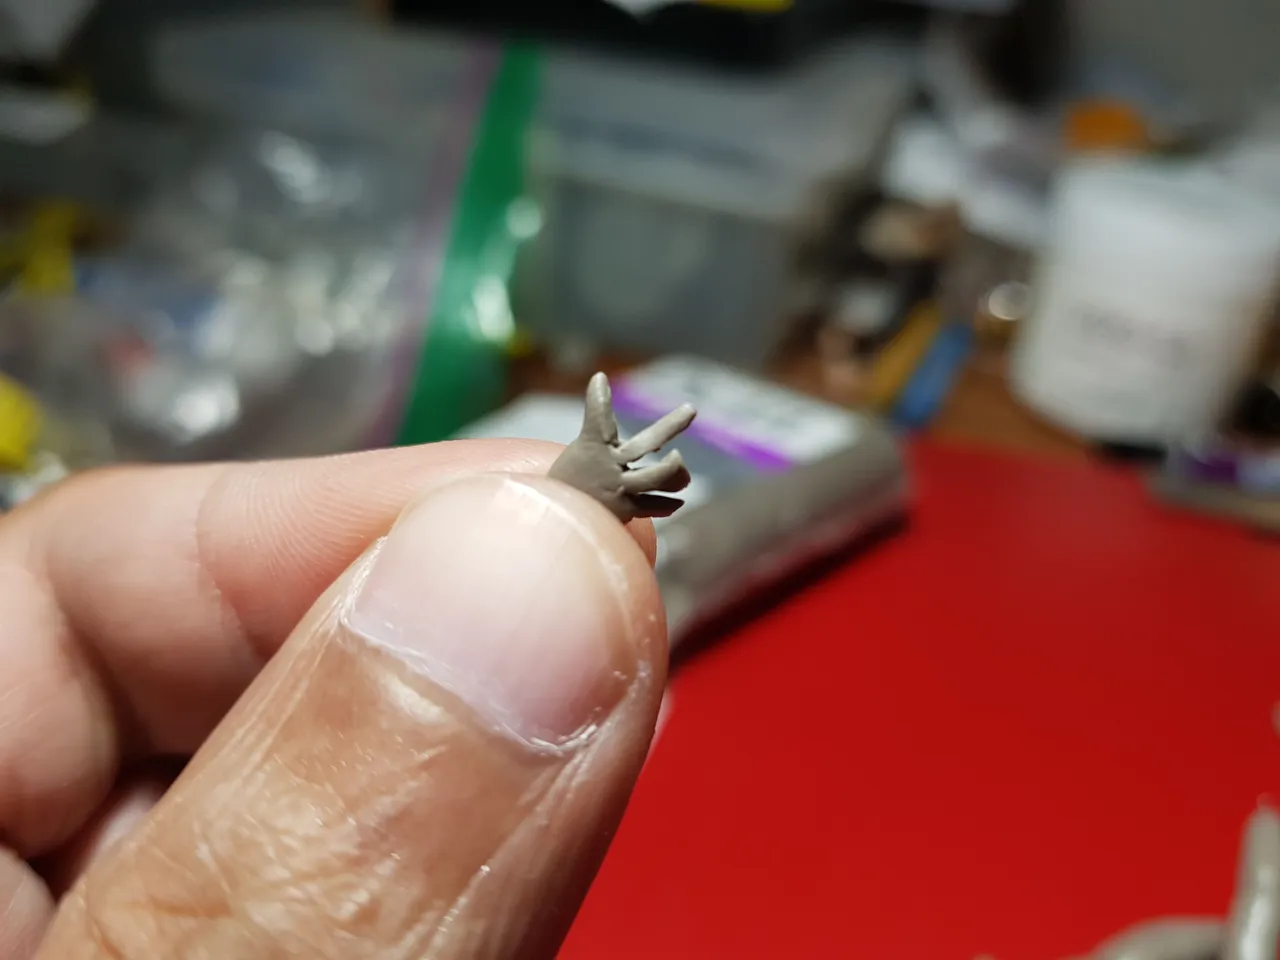
Cut tiny oblong shaped pieces and cut lines for the fingers.
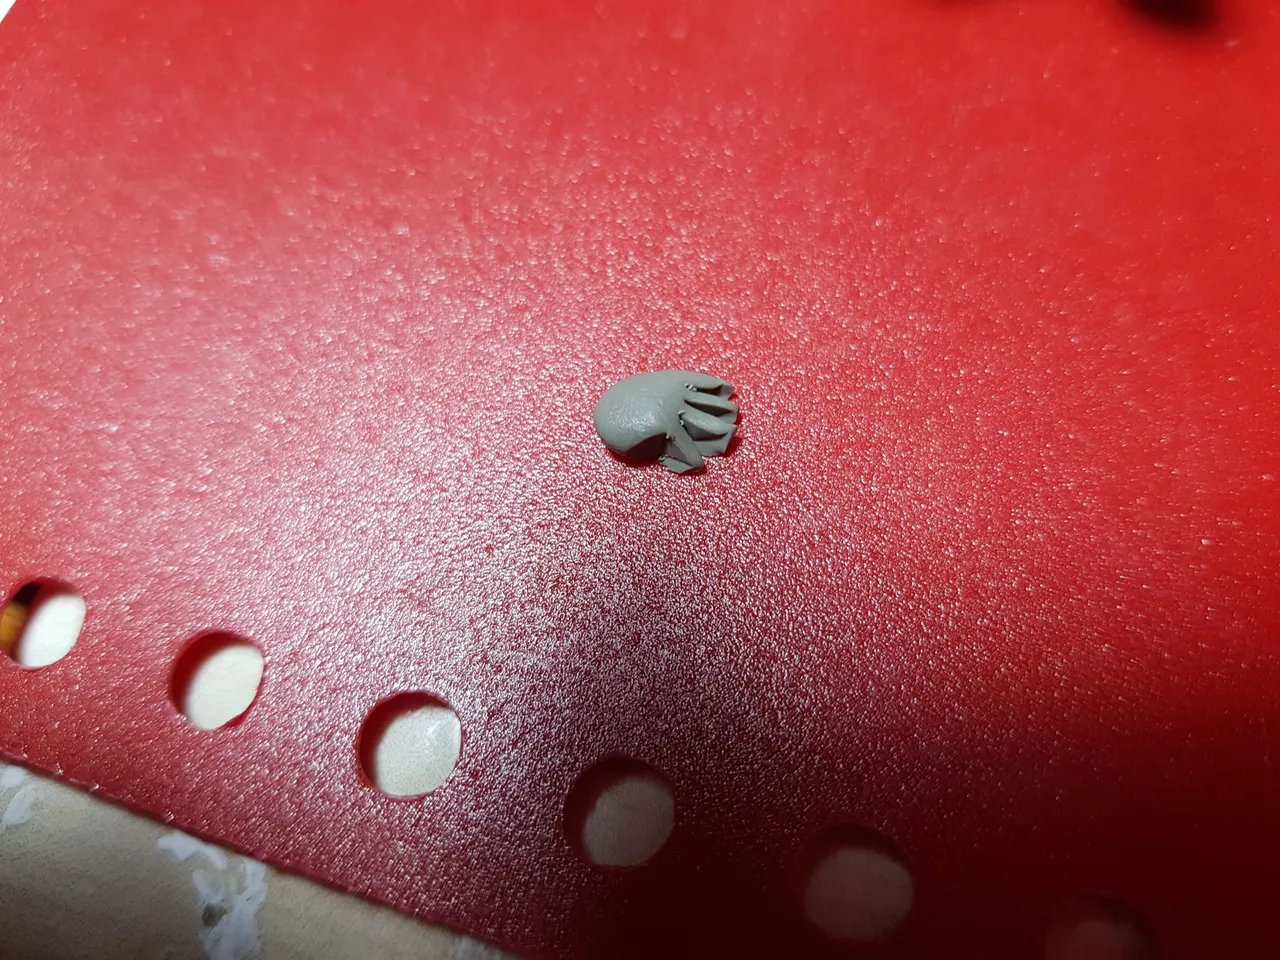
Use your finger to get in between the lines to shape them properly.
Attach and add lines similar to your hand.
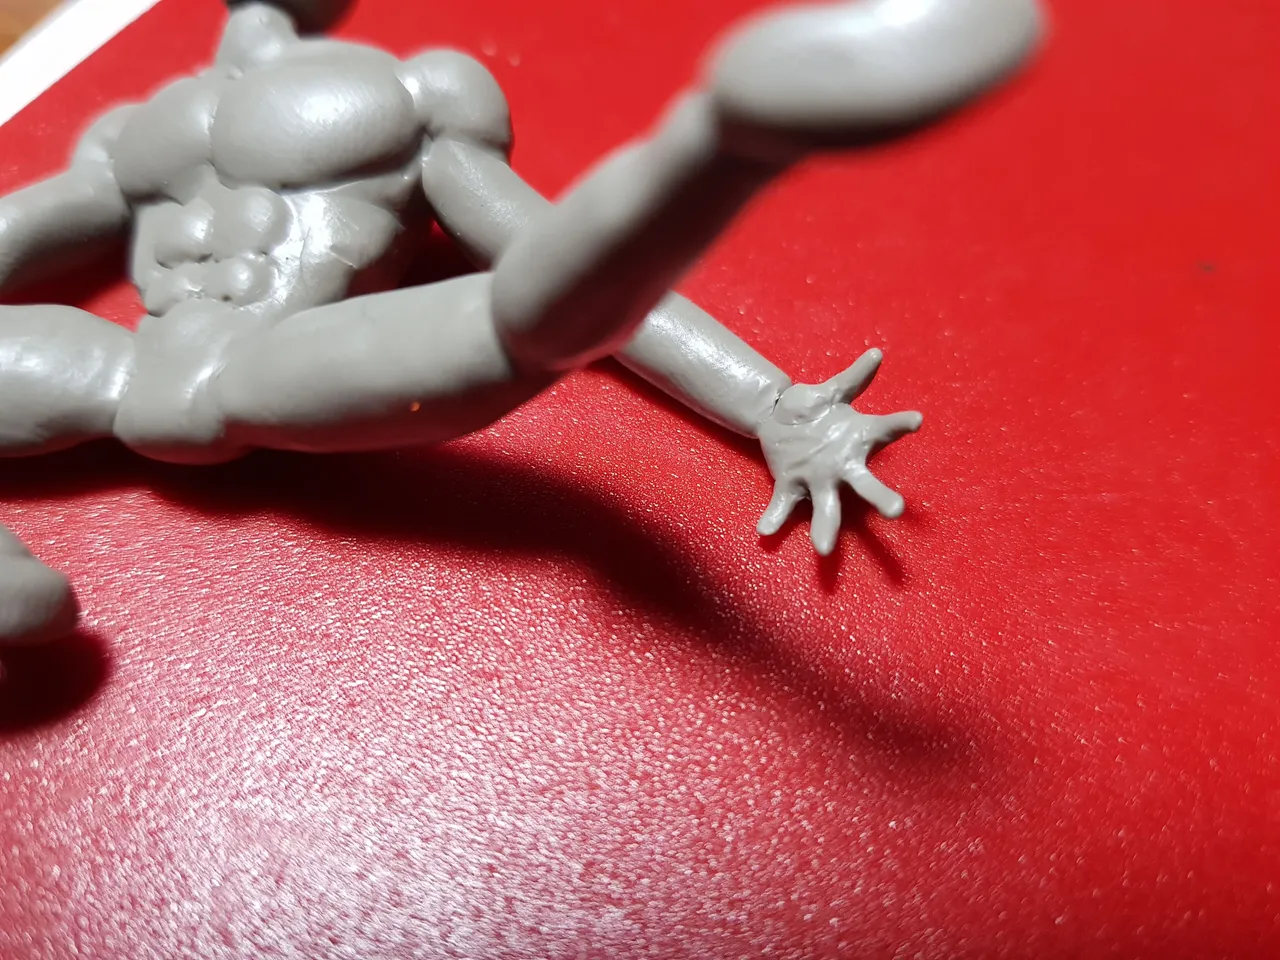
Do the same with the other hand.
Wow! We're basically done. Just add more details to your piece as you see fit.
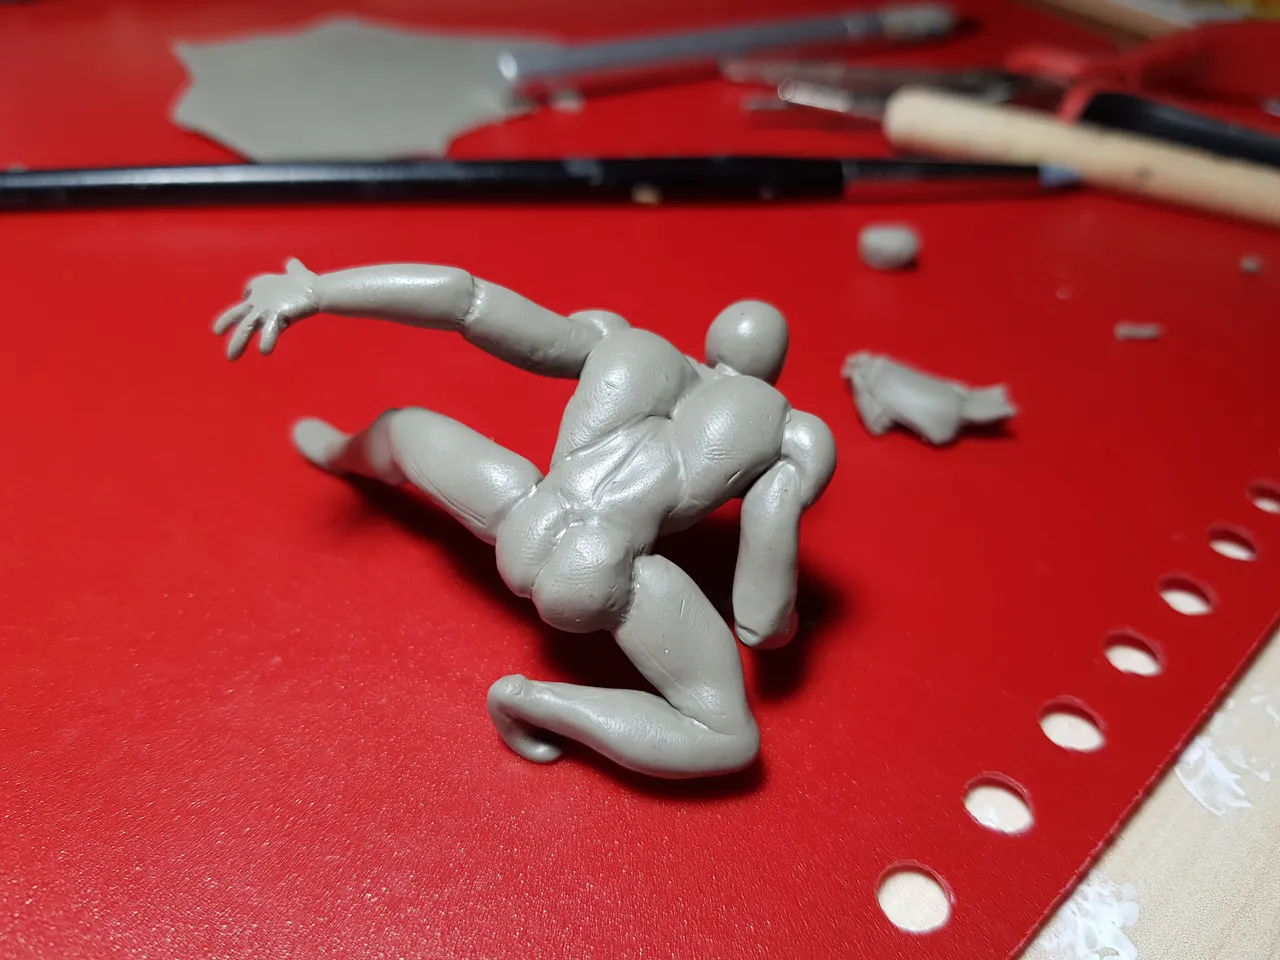
I added a much more detailed butt and some muscle lines.
Time to bake! (refer to the instructions on your clay of choice for the baking time and temperature)
Yey! We did it! Get your acrylics and have fun painting your very own spider-man figurine. 😃
WARNING! I am in no way an expert in painting so feel free to now follow the steps here.
Let's go!
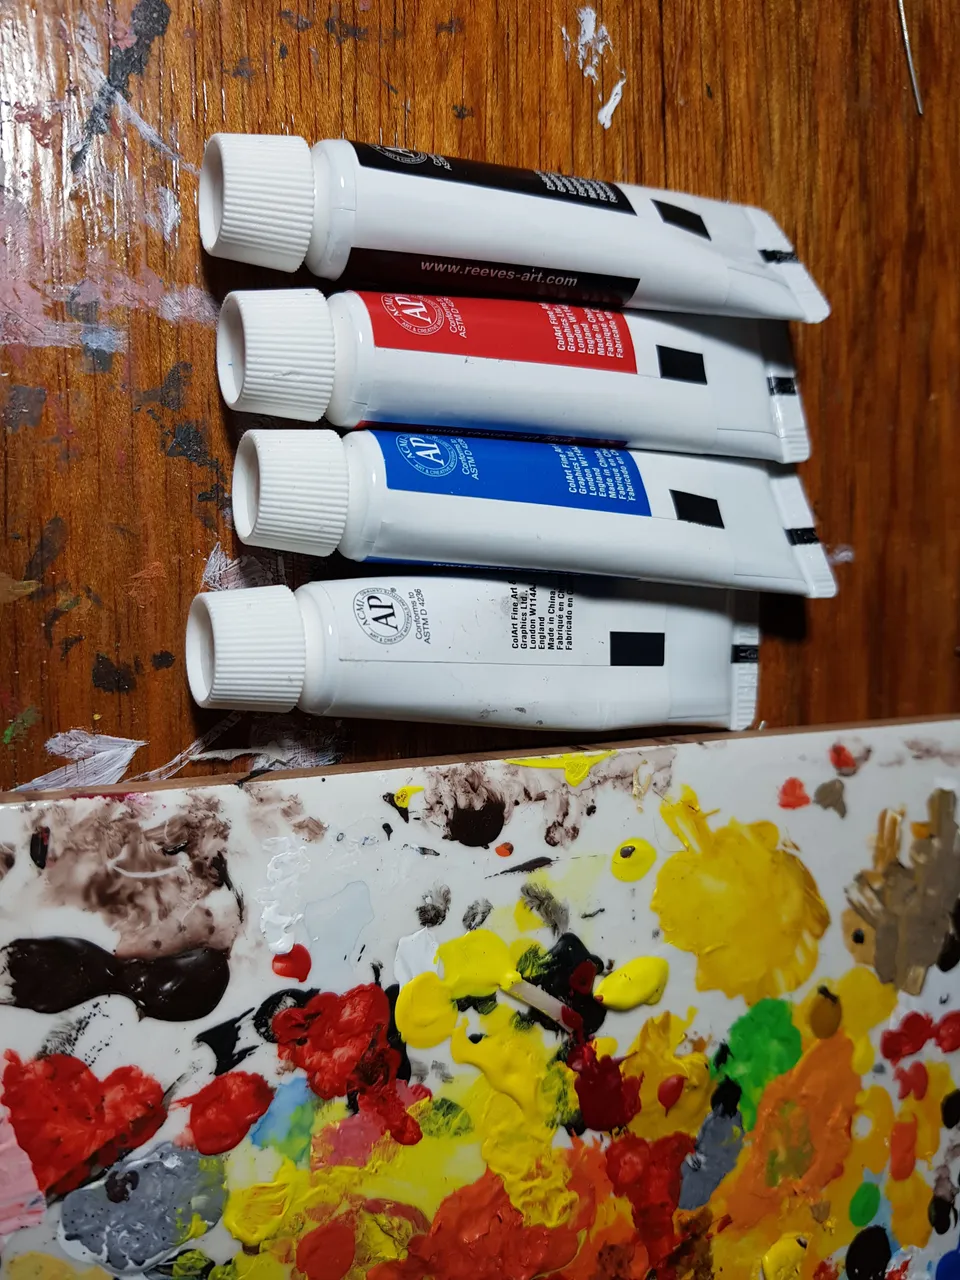
I used black, red, blue and white.
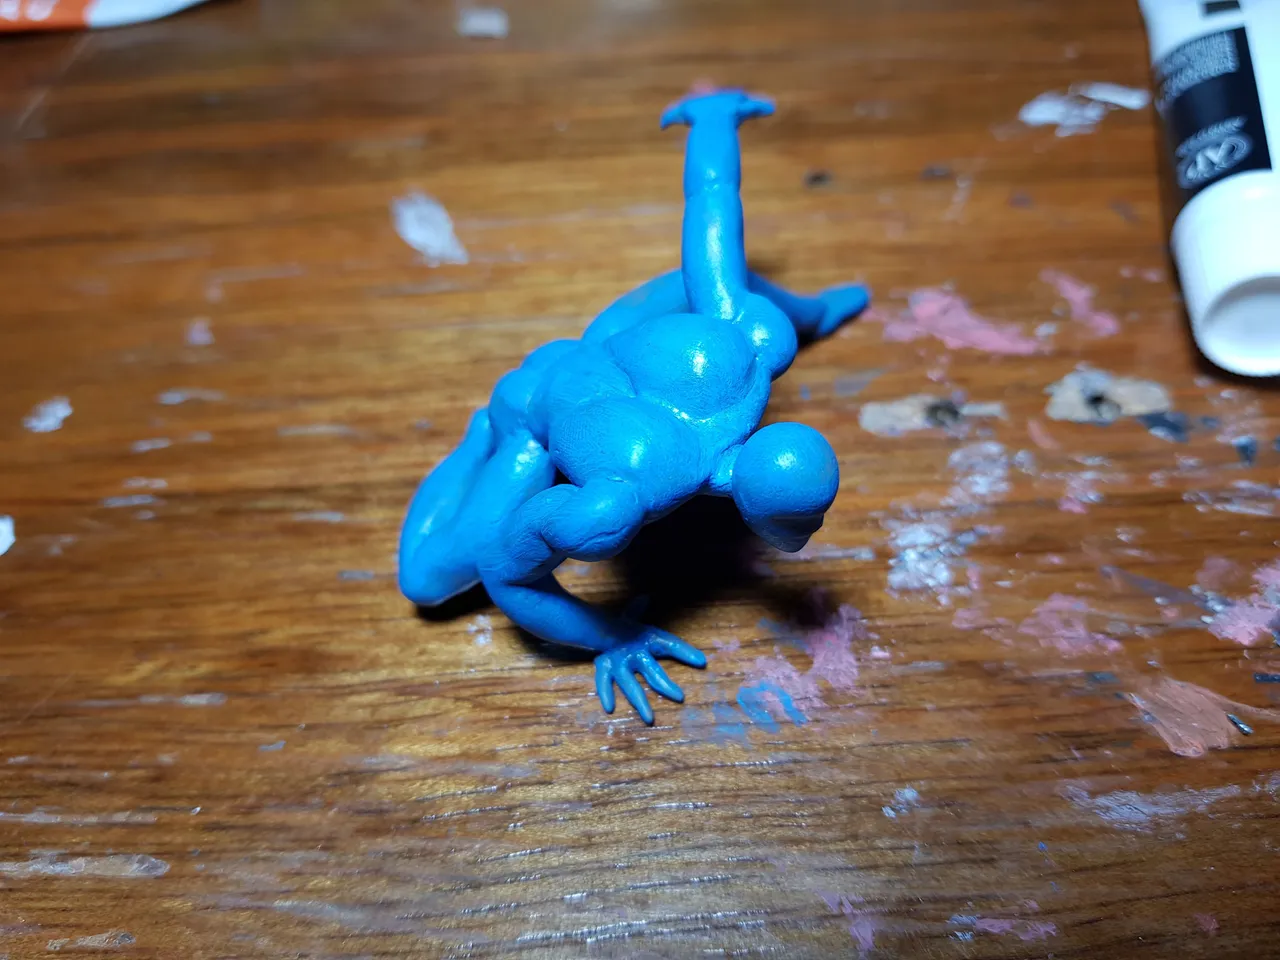
I covered the whole piece with blue first.
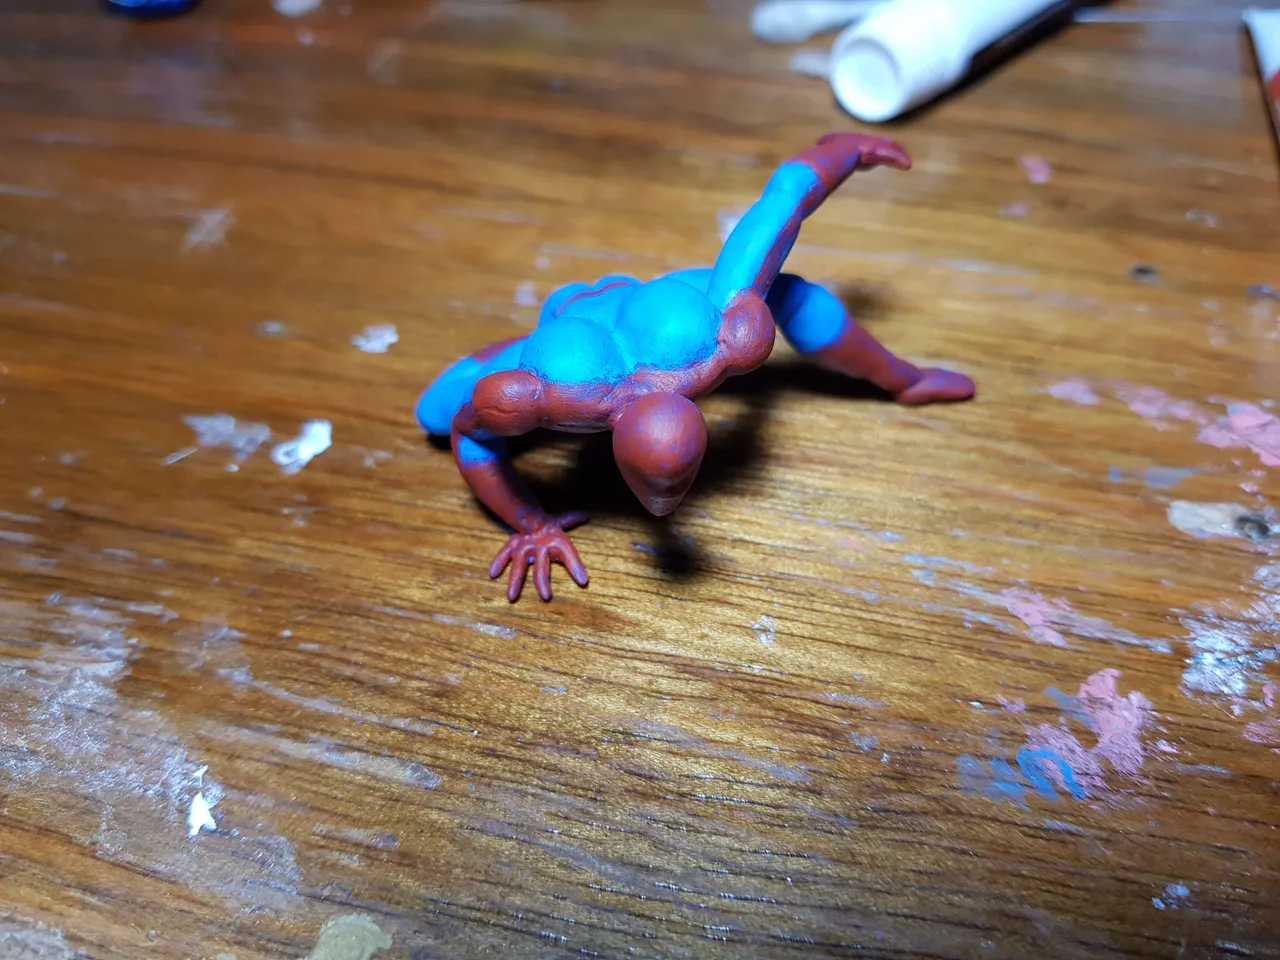
I then proceeded to color the red areas of the piece
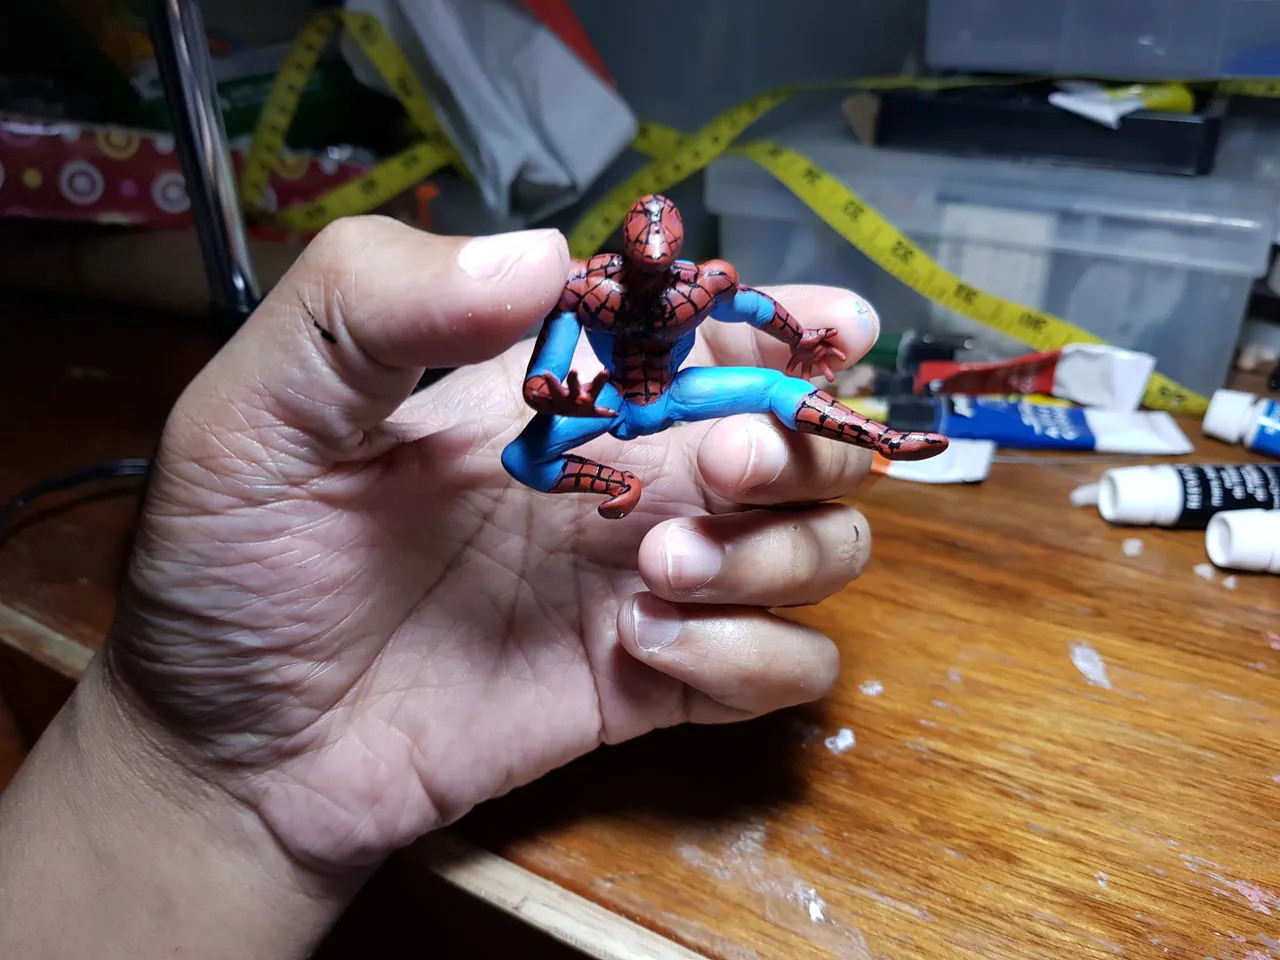
Up next is the line work for the web.
I added in the spider-man logo.

Lastly the eyes.
We're done! Pheeew! Hope you had fun. Hope this will be of help to you. Thanky you! Comment below if you want a specific character tutorial 😄
Photo shoot time!