Welcome To Portrait Tutorial #12!
If your looking to hone your artistic ability, check out how a fellow artist works his pieces or even just appreciate looking at the process of art, you are in THE RIGHT PLACE!
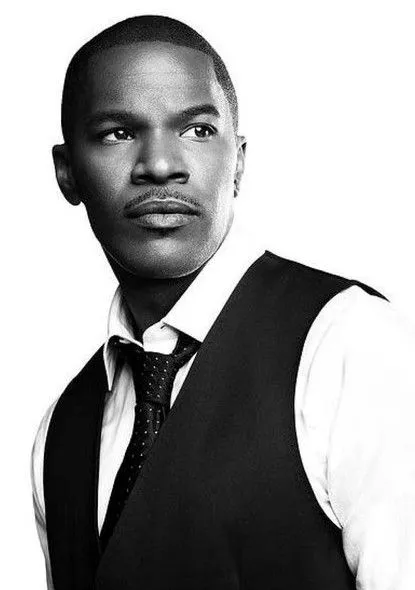
Todays Subject: Jamie Foxx
"If I were an animal, I would be an eagle"
Drawing Duration: 15 hours over 3 days
I have been finding so much solace and joy through the process of creating these art pieces. I'm increasingly creating more and more, constantly trying to accomplish better results. Todays art tutorial is a little bit more detailed and complex, however I will still do my best to talk you through what I am doing in each phase of the project. I created this in such a way so each picture is showing the progression through simple shapes and forms. I hope you will take away from this multiple different techniques and methods to achieve these kinds of results.
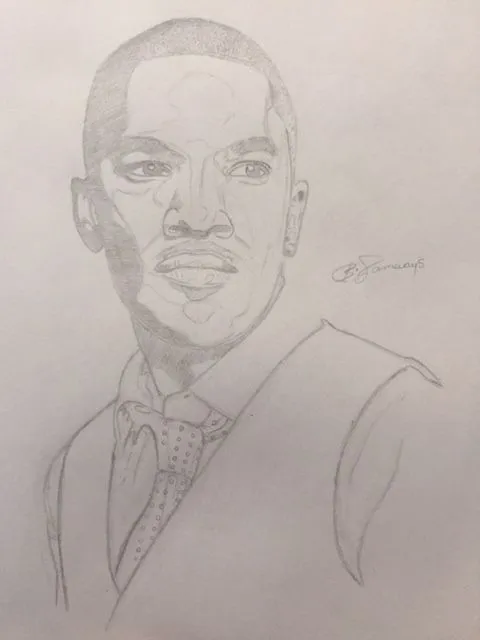
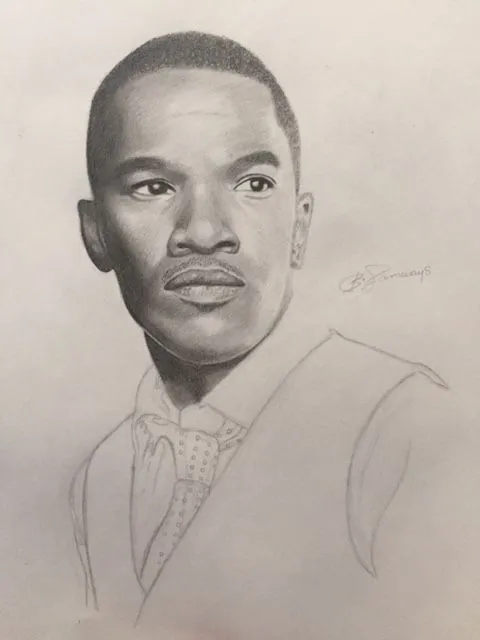
Reference Image
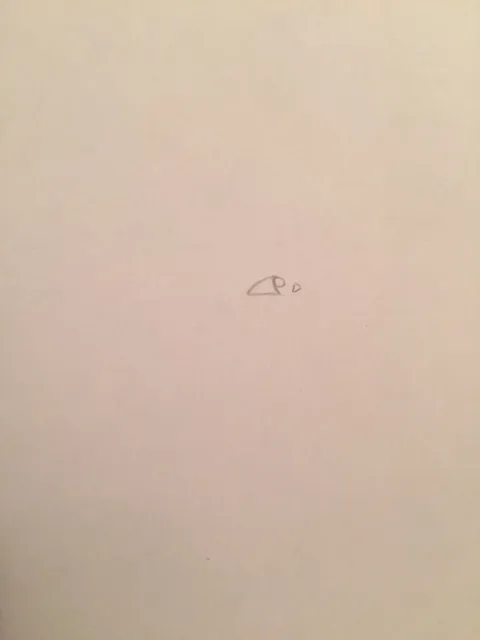
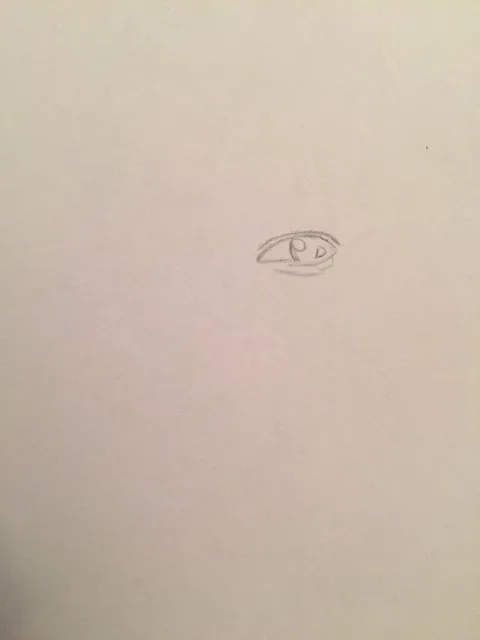
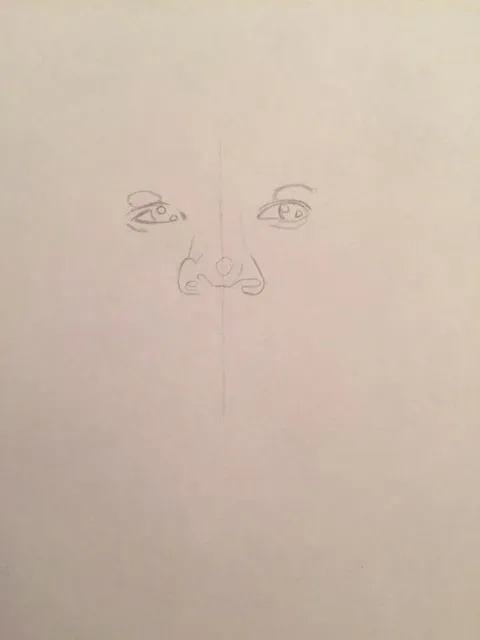
Starting a piece I always try and find the simplest shape I can recreate first. Thinking to big scale and getting ahead of your self can be over whelming. Look at the organic triangle on it's side you see the right eye make. Draw that.

Add in the little spec of white on the other side of the iris creating the width of it.
Connect these lines to create the organic shape of his eye.
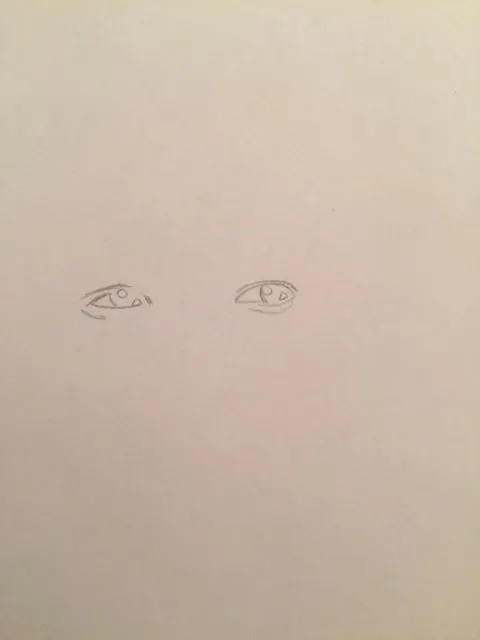
Use this same method of finding the simple shape within the eye for the left side. For the majority of art pieces the general rule of thumb is there is about one eye width in-between , how ever Jamie Foxx is the exception. There is actually slightly more then one eye width in-between. Measure out about a 1 and 1/4 eye width gap.
Block in the general shape the nose makes just to get the right positioning. This method helps speed up drawing as well increase end products likeness and accuracy.
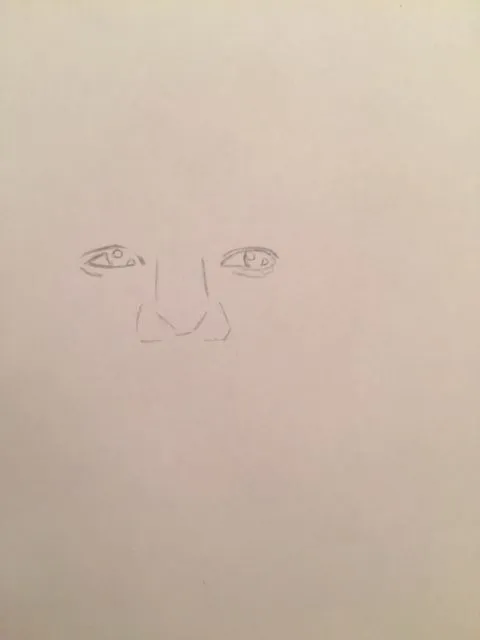
Then spend the time to draw in the organic shape of the nose over your blocked in positioning.
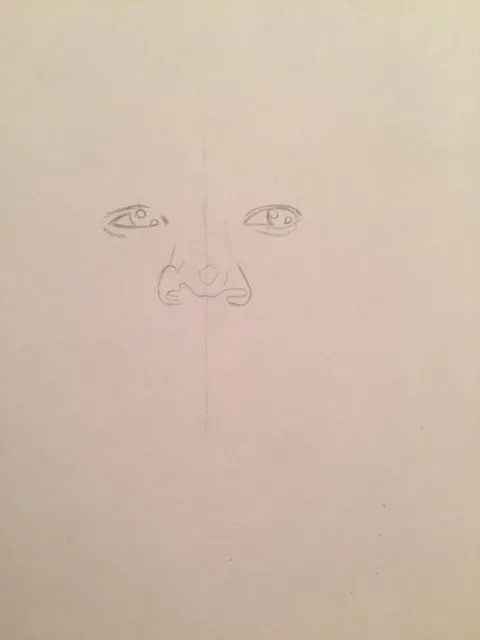
Here I draw in the shape in-between the eyes and eyebrows.
And now bring together the entire eyebrow shape.
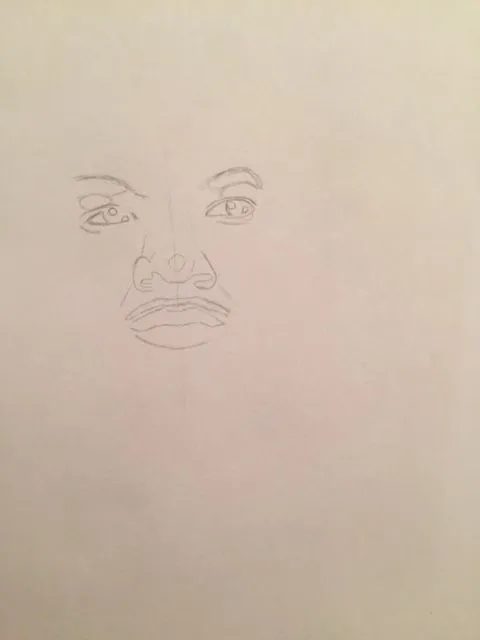
Add a ball on the bottom of his lips to find the right mass for his chin, and add lines on the side of face to border the head shape and angle.
Connect the chin
Add the rectangular forehead shape
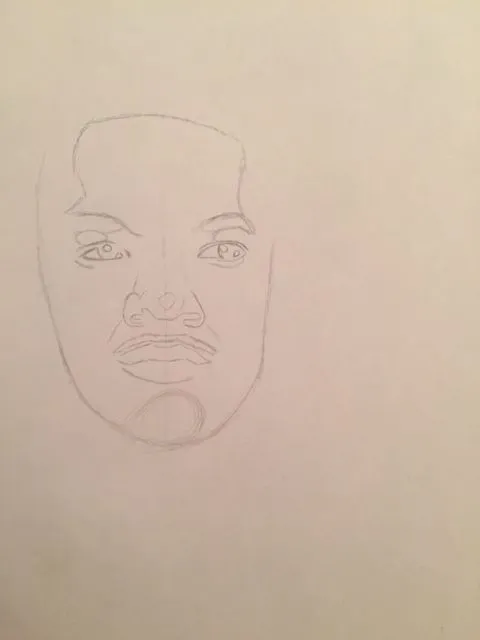
And now the ears and top of hair .
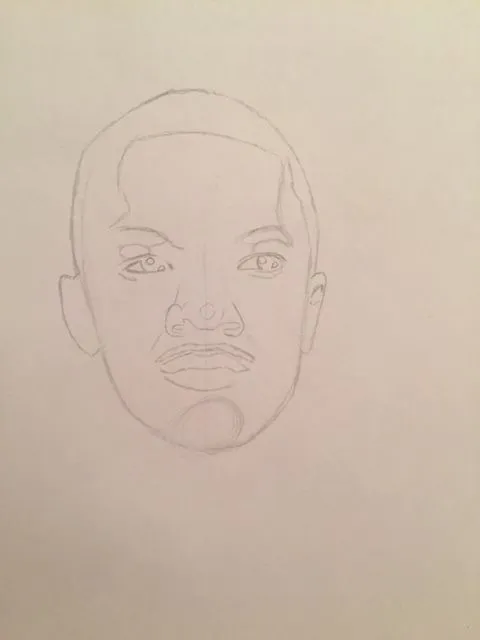
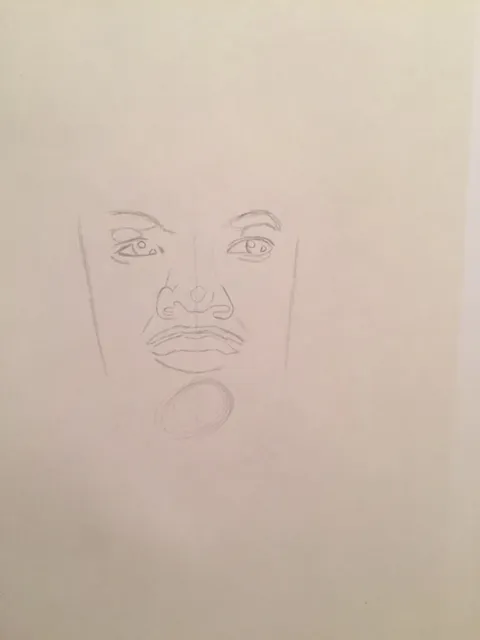
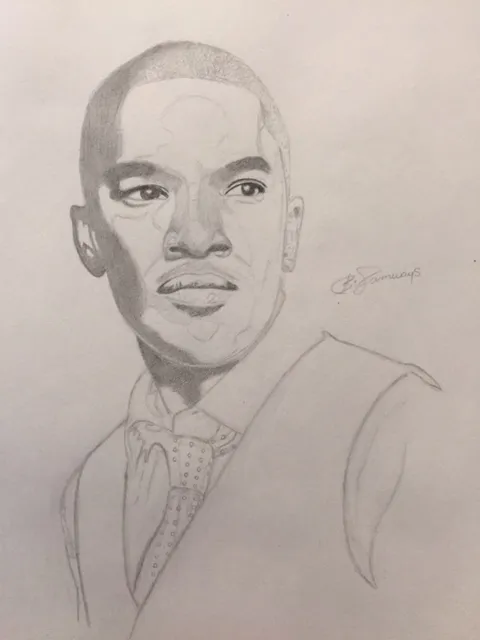
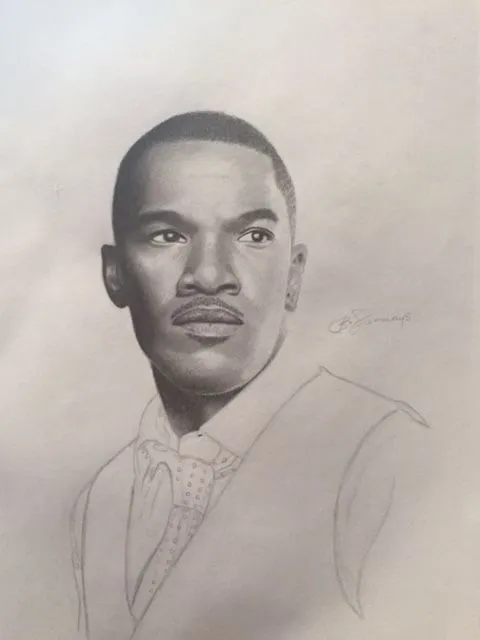
Here I add lines separating the lightest and darkest areas of his face.
Now to recreate his jacket. Don't add a line for the far right side of his collar for the lighting is so white in reference image that it actually blends in with the white background.
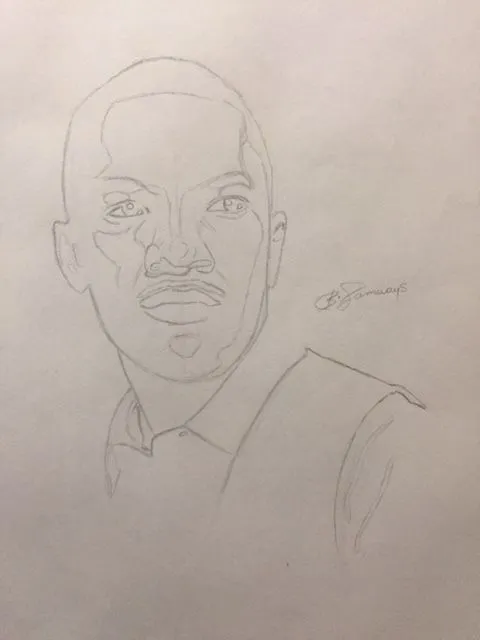
Draw the dots on his tie and the separation lines from the darkest and lightest shaded areas of the tie lighting.
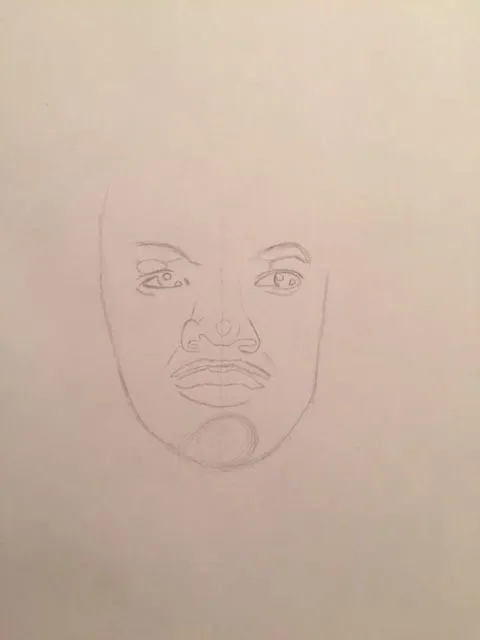
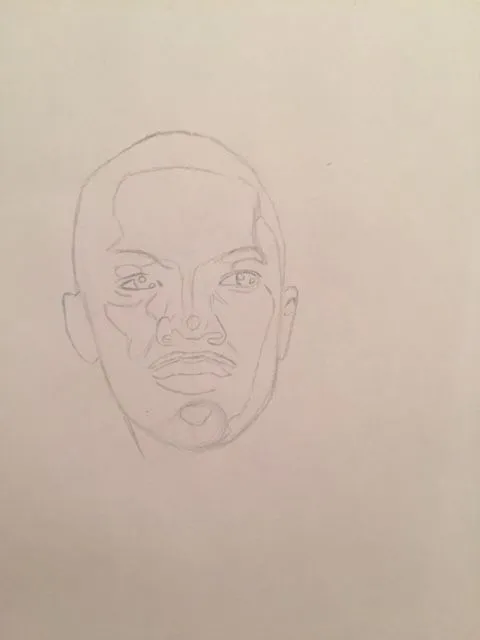
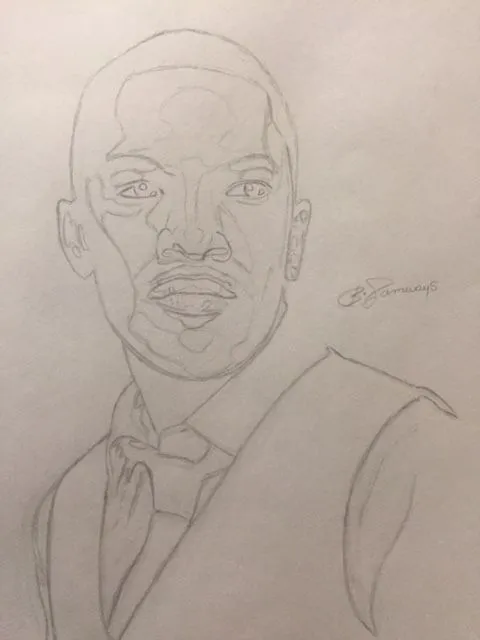
Now the shading begins. Go into the darkest areas of his face and start to deepen the tones. start light and build your way up for smooth transition to other levels of shading and rich texture.
To capture the gradient of tone range on his hair. It goes from a deep black with no light to slight glimmers getting lighter as you go right. Start with a pure black then as your move right start to make very close circles getting further and further and further apart as it gets lighter. This will achieve the slight white glimmers of light that appear in reference image.
I know that the top of his eyes will be one of the darkest areas on the portrait so I go ahead and establish the shade right away so I can reference adjacent tone level.
Start to shade in the second level of lighter tones and blending the two levels smoothly together.
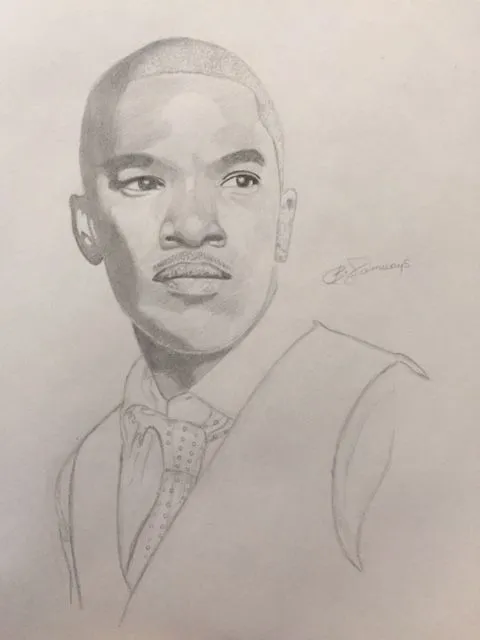
Continue doing this until you have a natural looking transition of lighting on his face.
Smooth all shading out so there isn't much of a hard transition from one level to the next.
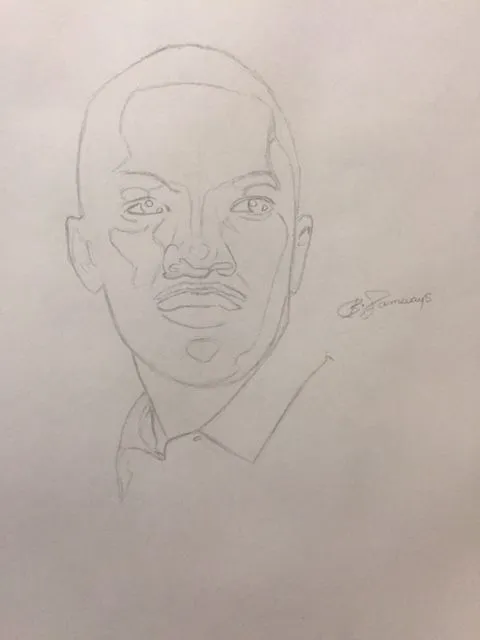
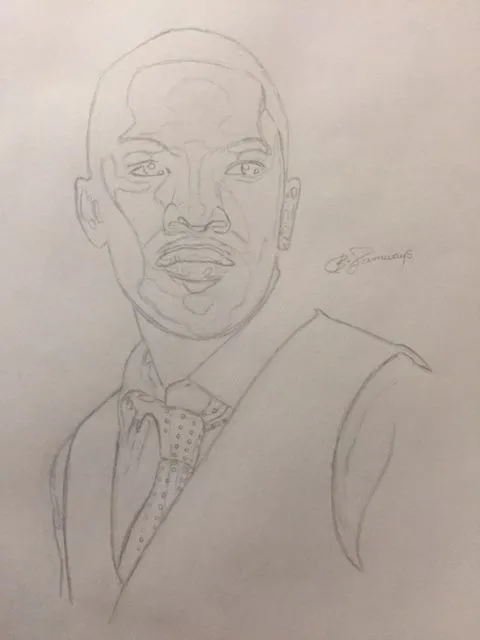
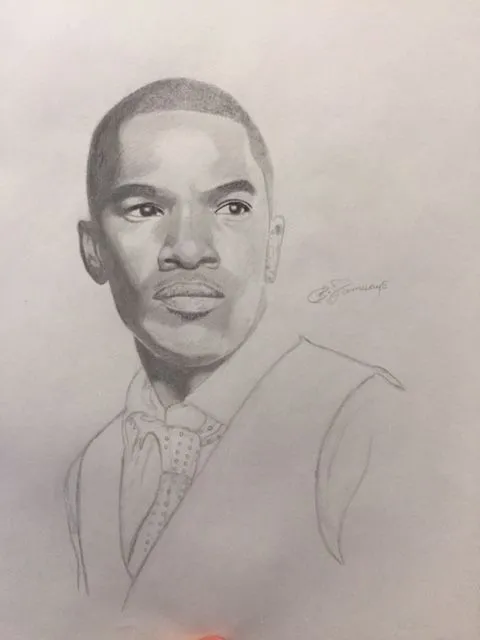
Start to bring his jacket shade to a deep black doing the same as we did with the deepest face shadows. Start light and move your way to a higher B level pencil till its a pure black.
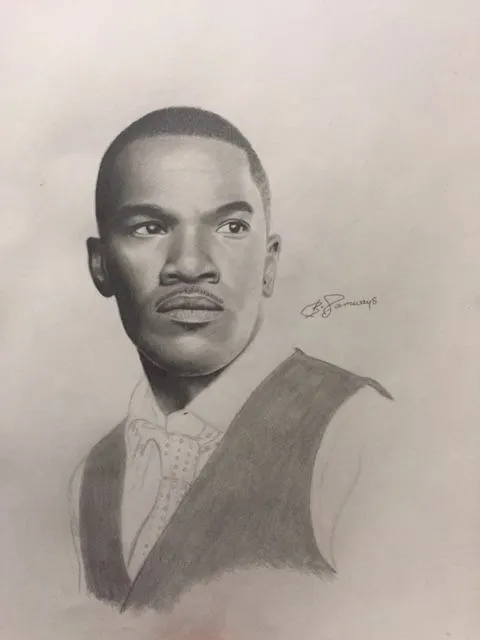
For the tie there is a slight shining of light on the middle part so start to deepen the tones on the outer rim first, Get this a nice dark tone and then use another pencil about one grade lighter to shade in the middle smooth over the whole tie to get a nice even looking gradient.
The last step is making sure everything is well blended and try and deepen the dark tones a little bit more for a higher contrast and more natural look.
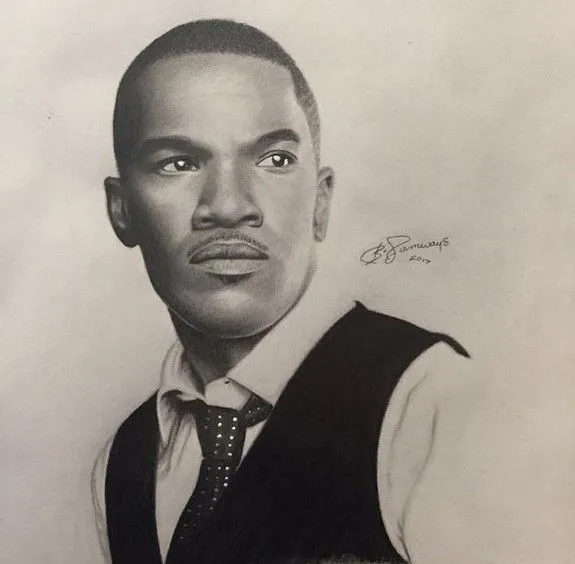
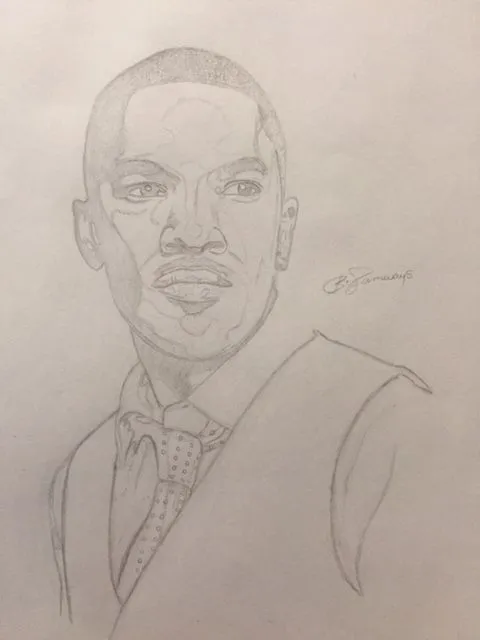
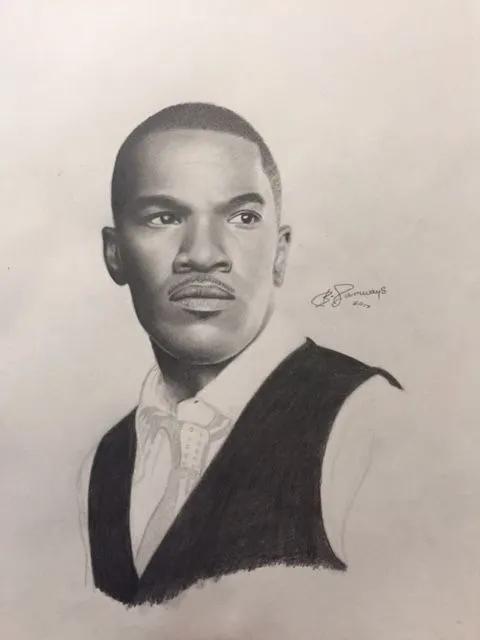
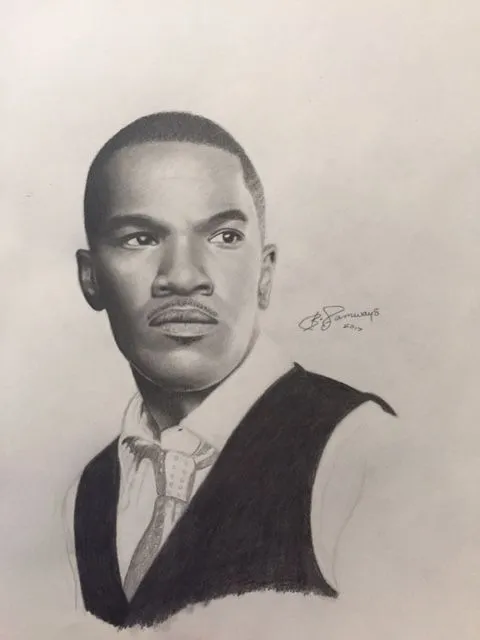
Finished Art piece!
Thank you for joining me for Portrait Tutorial #12!
Do you have hands with fingers that enjoy clicking mouse buttons?
If so you will love pressing that up vote button bellow,
and while your at it go ahead and follow!
Steem On,
Barry F Samways