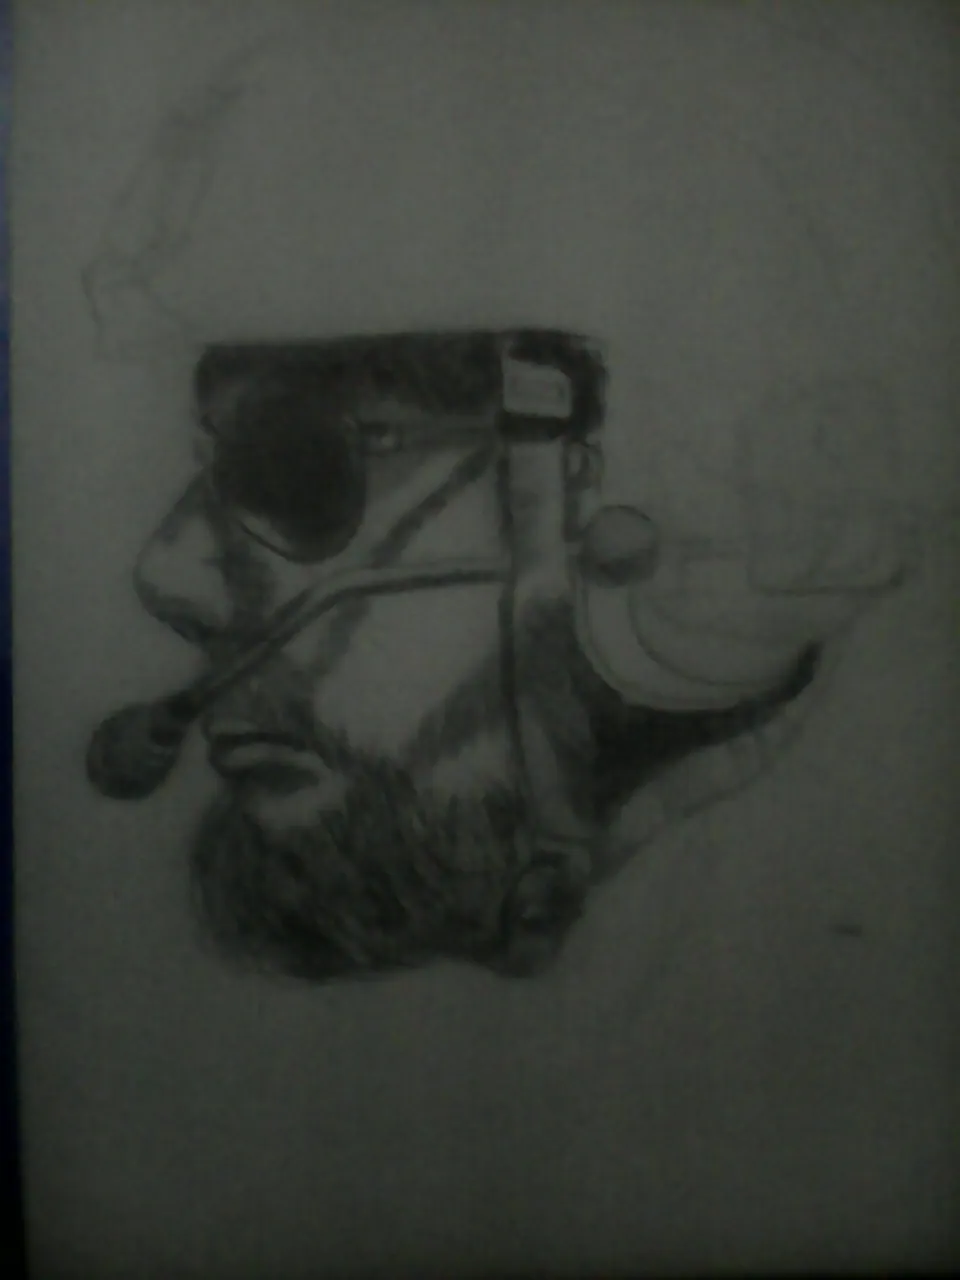
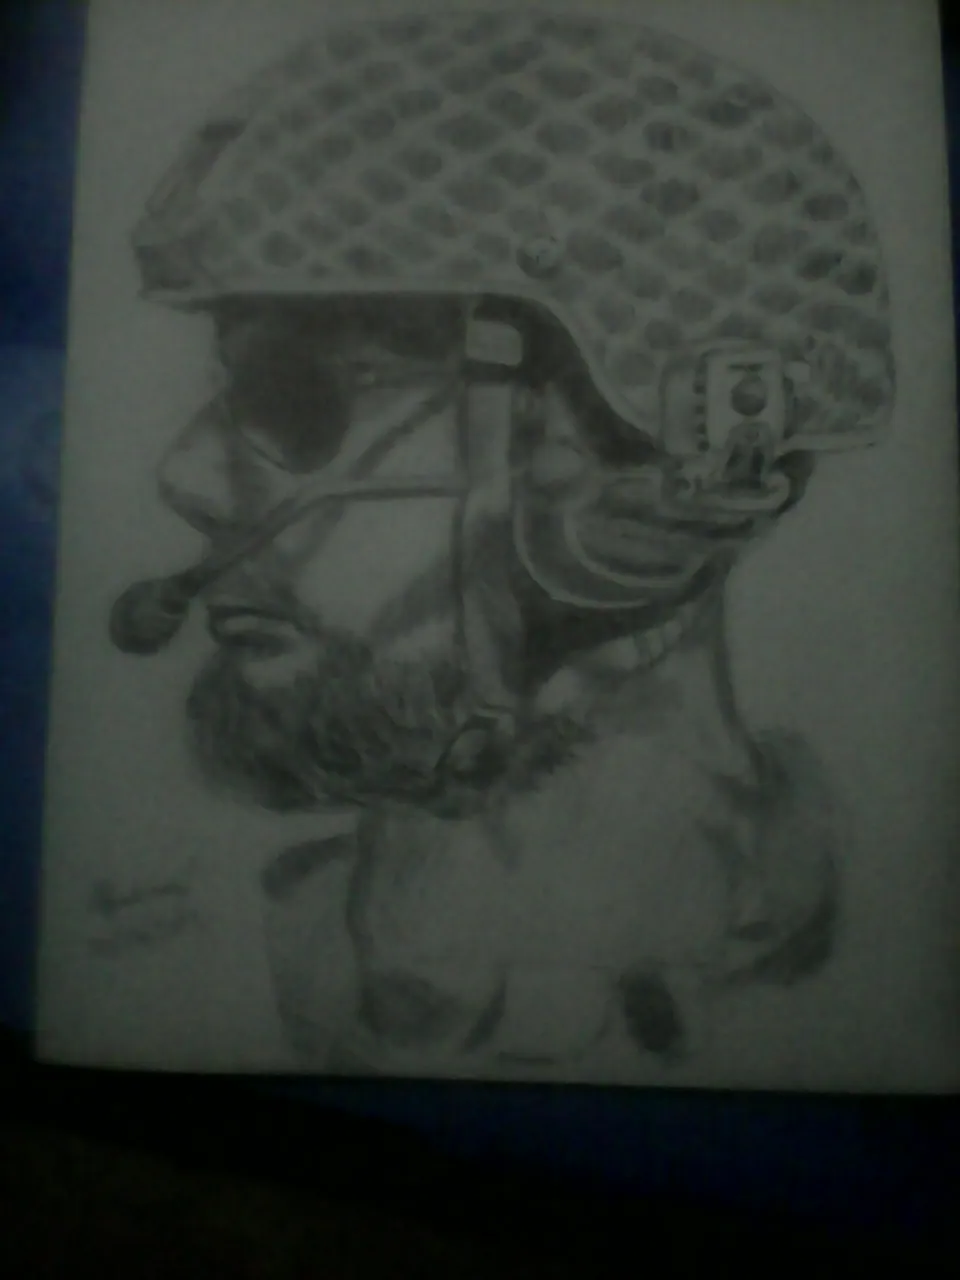
First I would like to start by saying that I admire all the people who have the patience to use crosshatching in their drawings. Second, I would like to explain what crosshatching is for people who don't know, but I'm bad explaining things so I brought you the simplest definition I found on the internet:
"Crosshatching is an extension of hatching, which uses fine parallel lines drawn closely together to create the illusion of shade or texture in a drawing"
Having explained the main thing, now I can tell you about my first experience with the crosshatching that was this drawing. I want to say that this is not a tutorial; I just want to tell my experience and give some tips that I learned the hard way:

Step by step:
1. I draw guide lines, it is necessary to have a pencil guide because an error is fatal when drawn with ink.
Note: Before starting to draw it is important to decide how many layers of lines you need for your darkest tone and for your lightest shade. In my case they are four layers for the darkest and one for the lightest shade

2. Then I started the work with ink, started drawing the shapes and then proceeded to draw parallel lines for the shadows. Depending on the tone of the shadows, I added layers of crossed parallel lines, obscuring certain parts of the drawing to the desired value

Note: Something important that I learned is the importance of NOT drawing messy lines. Maybe you will think that it is not important but that all the lines have the same separation is vital to achieve the desired effect
3. I continued drawing parts of the face and adding layers of lines. Doing the same thing for a while may get tiresome but it is necessary to take a break if you feel your lines are getting messy.

4. Finally after a lot of struggle with layers and layers and layers of lines the drawing is finished
