
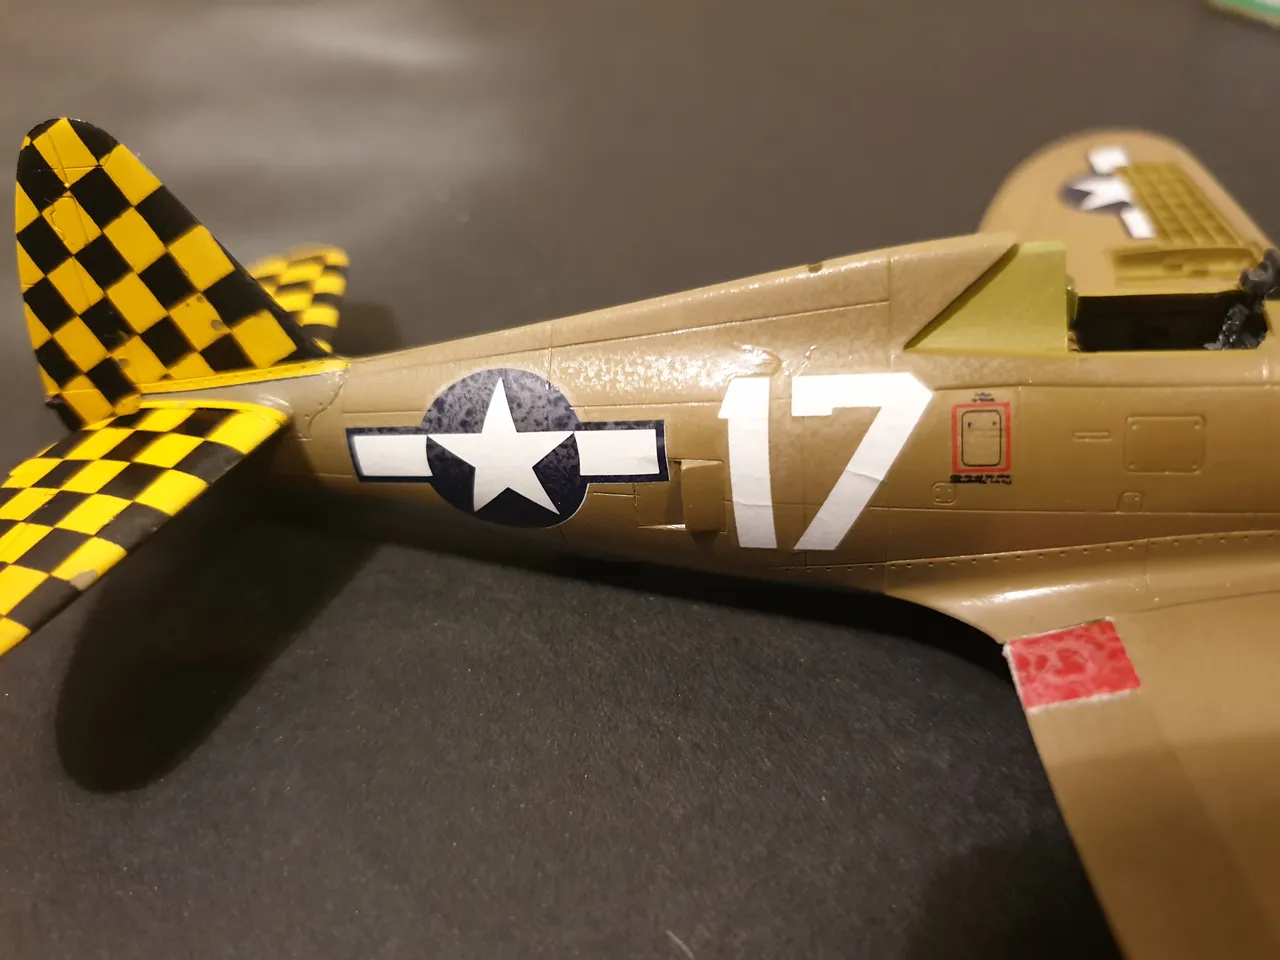
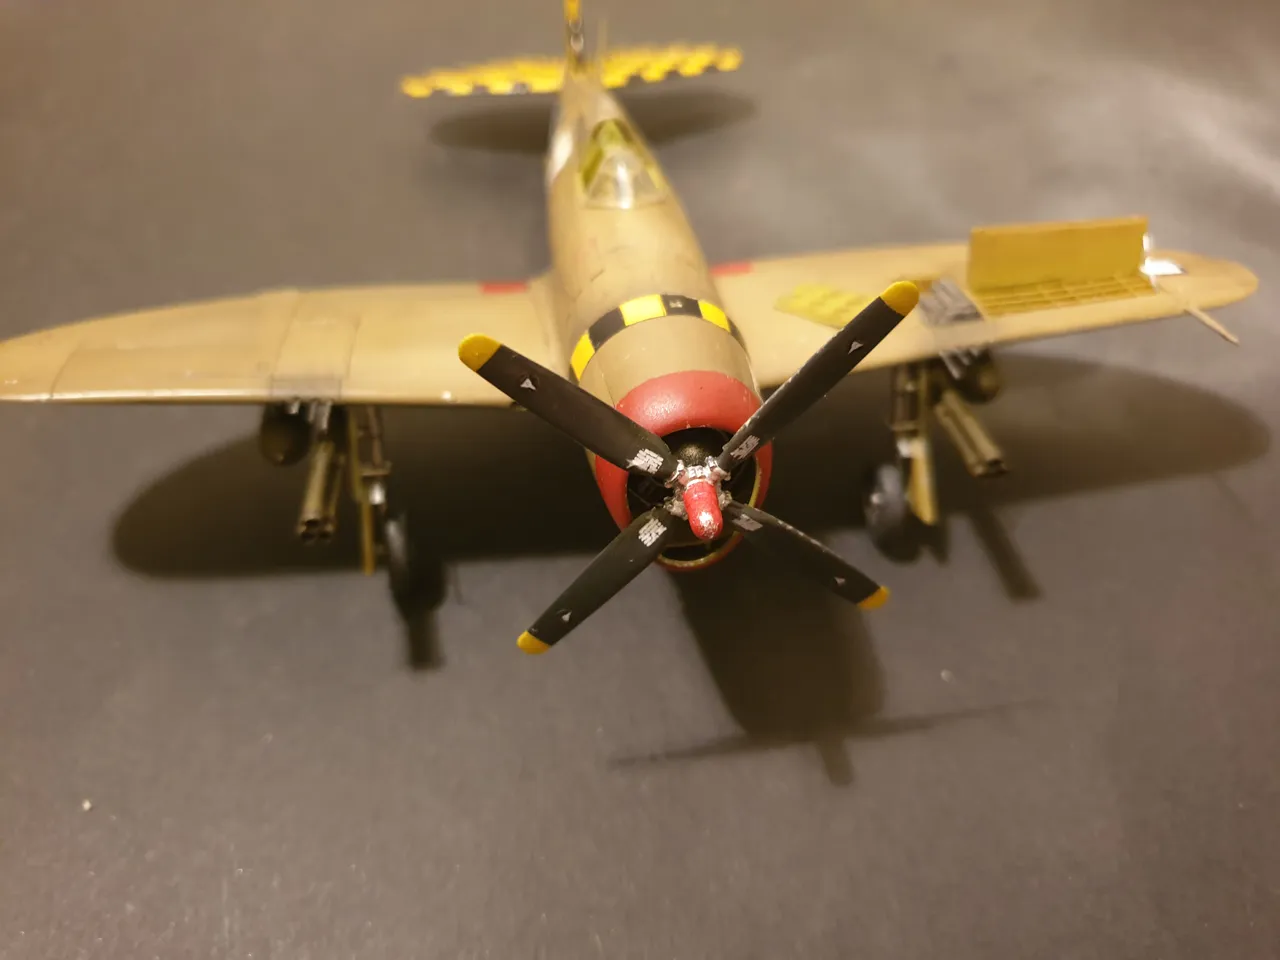
Above is an image of the completed kit :-) It was very nearly unfinished lol. Once I had applied the paintwork and the decals had dried, I took the model outside to give it one final coat of clear lacquer paint. This will protect the paintjob as well as the decals from the stages to come. That is when I became complacent lol.
I made two rookie mistakes that may end up costing me the whole model if I can't correct them.
First, I opened a new can of clear cost and sprayed too close to the surface of the model. Resulting in paint runs that marked the surface of the model.
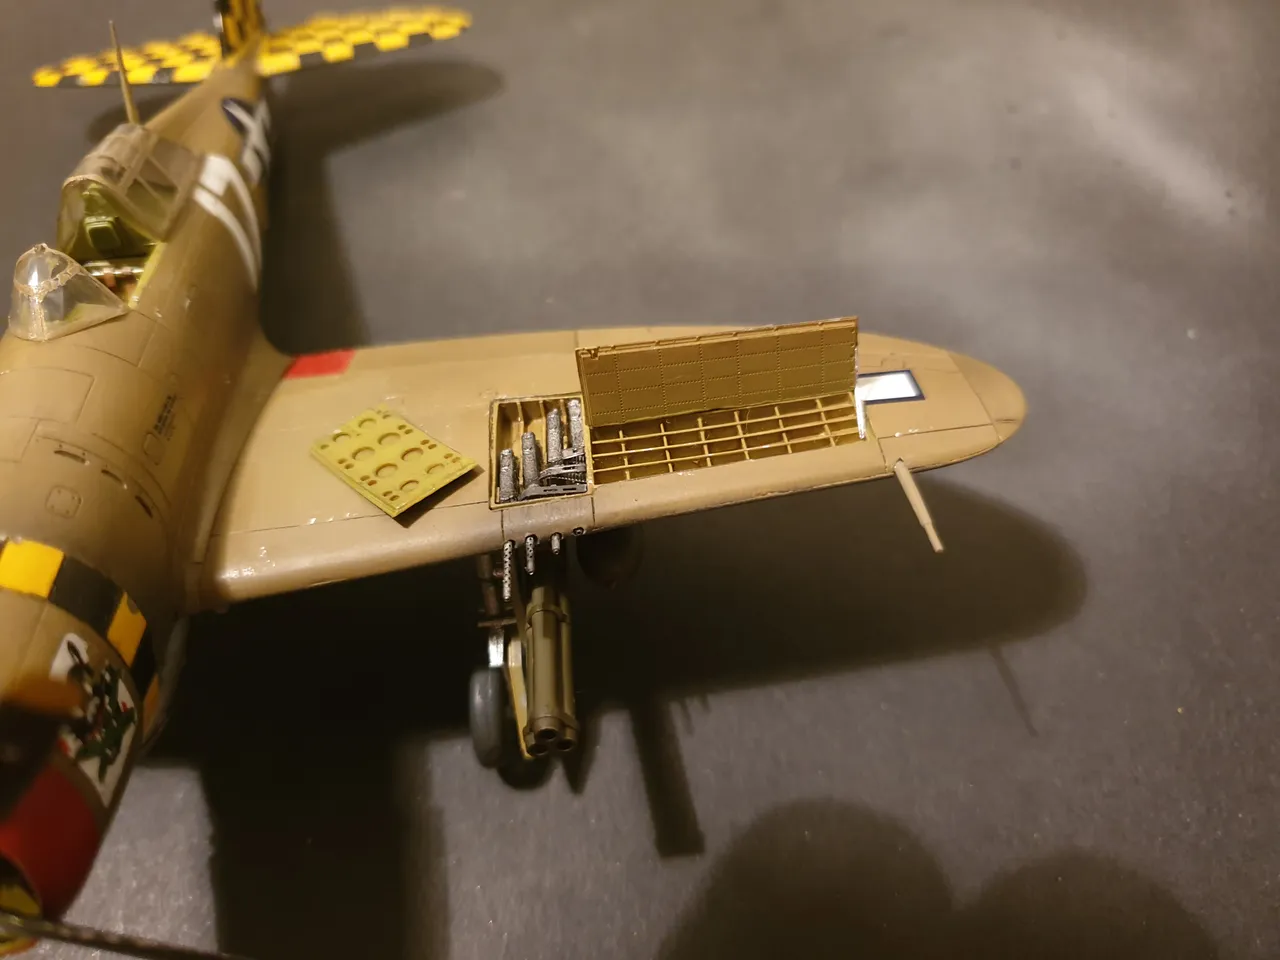
Second, I sprayed the model right after a summer storm. Meaning high humidity in the air. This paint does not react well to humidity :-( It effected the decals on parts of the kit by causing them to ripple and the surface of the model was now quite cloudy due to the moisture in the air. You can see in the above photo the cloudy patchy paintwork and the ripple in the decal of the number 17. The same has happened the red decal on the wing.
This was really going to be the make or break point, I was very disappointed with myself for forgetting about the humidity lol. If I hadn't spent so many hours modifying the kit I may have just put it away. Time to see if I can save my hard work.
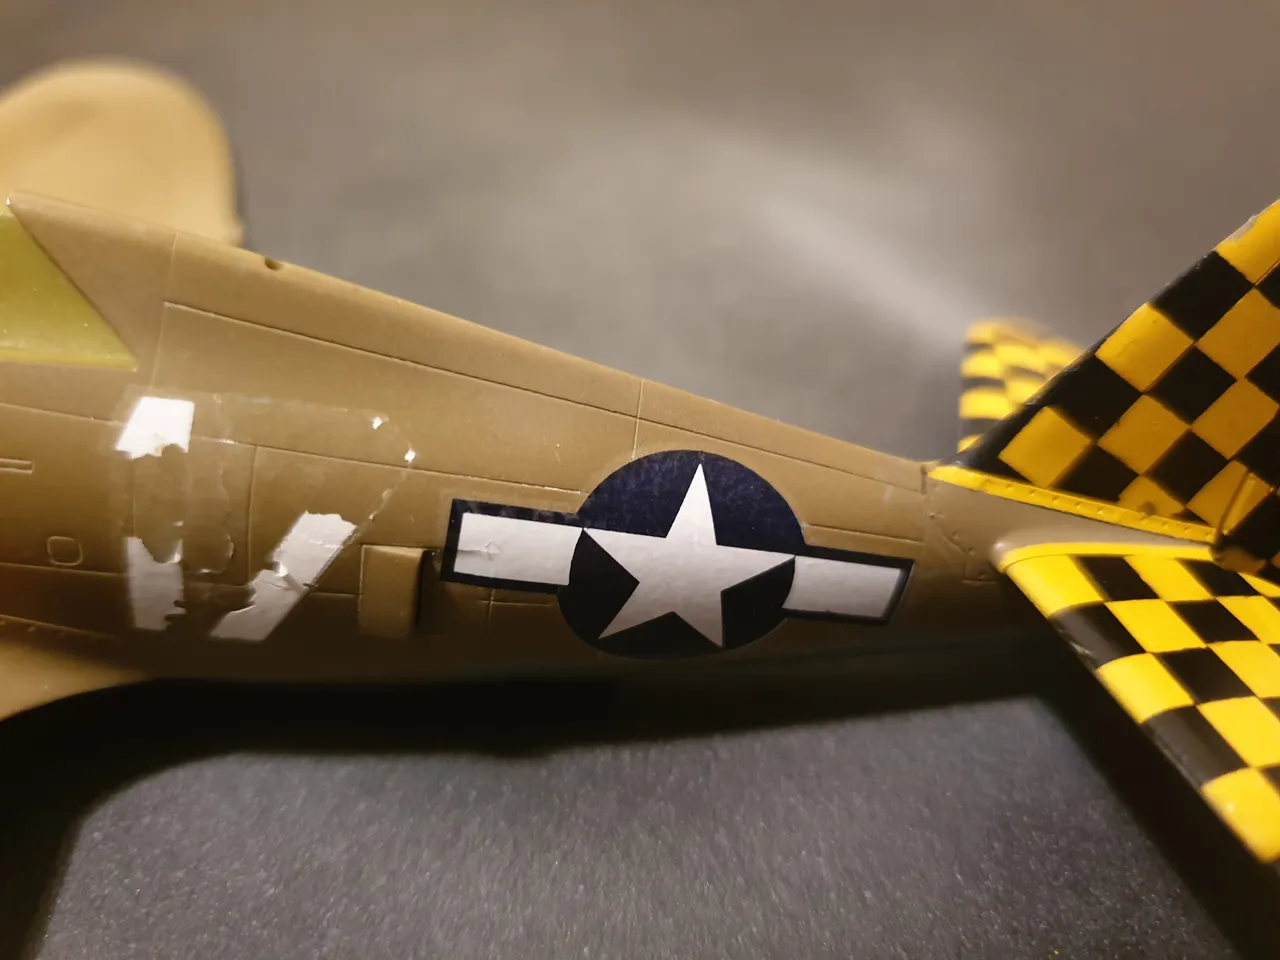
I had to take back the paintwork as best I could and hope I could save a majority of it. First step was a very light sanding with 2000 grit sandpaper. This is just on the major areas where the paint had run. Next I used Tamiya polishing compound to take back the rest of the clear coat and to get to the decals. I managed to polish up the paint on the stars and mostly save these, but I lost the number 17 on both sides and the red patch on the starboard wing.
You can see above the slight improvement on the star on this side, this gets better with more polishing. however the number 17 had cracked and just fell apart whilst polishing.
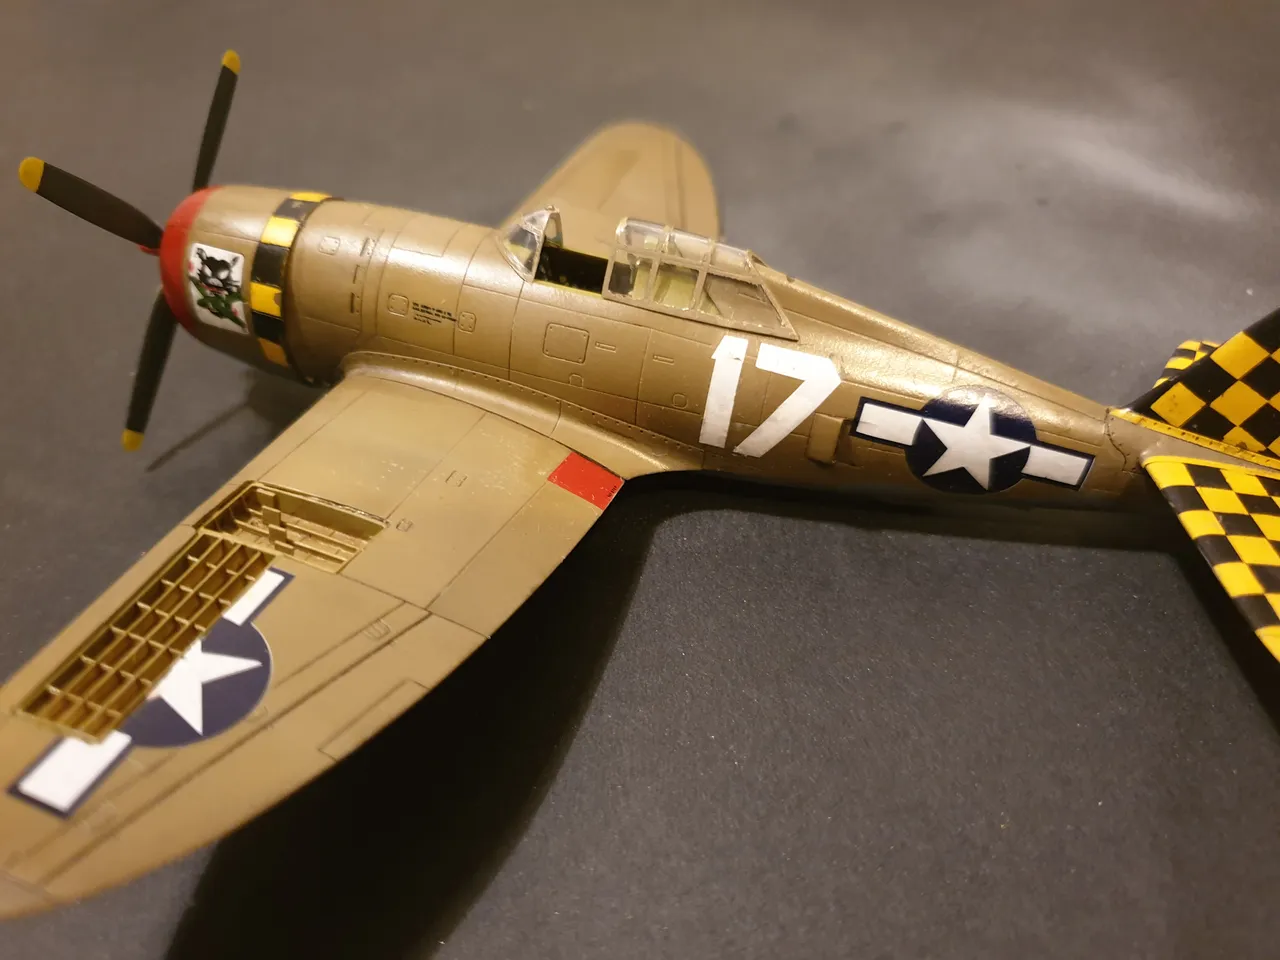
Using decals in my spare I was able to find enough white that I could cut out replacement pieces to match what I had lost. This was very lucky as it is less noticeable than if I had needed to respray them. The number 17 is not exact to the original but good is close enough lol.
I need to repaint some of the starboard wing but this was fairly minor, but I did need to respray the red section on that wing as the decal fell apart and I didn't have a replacement.

You can still see a little damage on this side but it is still much better!
Right... Disaster mostly avoided. :-) Time to finish this little kit and put it away before I ruin it lol. Being somewhat gun shy of the lacquer paint for the moment I use the old acrylic clear instead. I don't like the finish as much but don't have many options due to the persistent humidity.
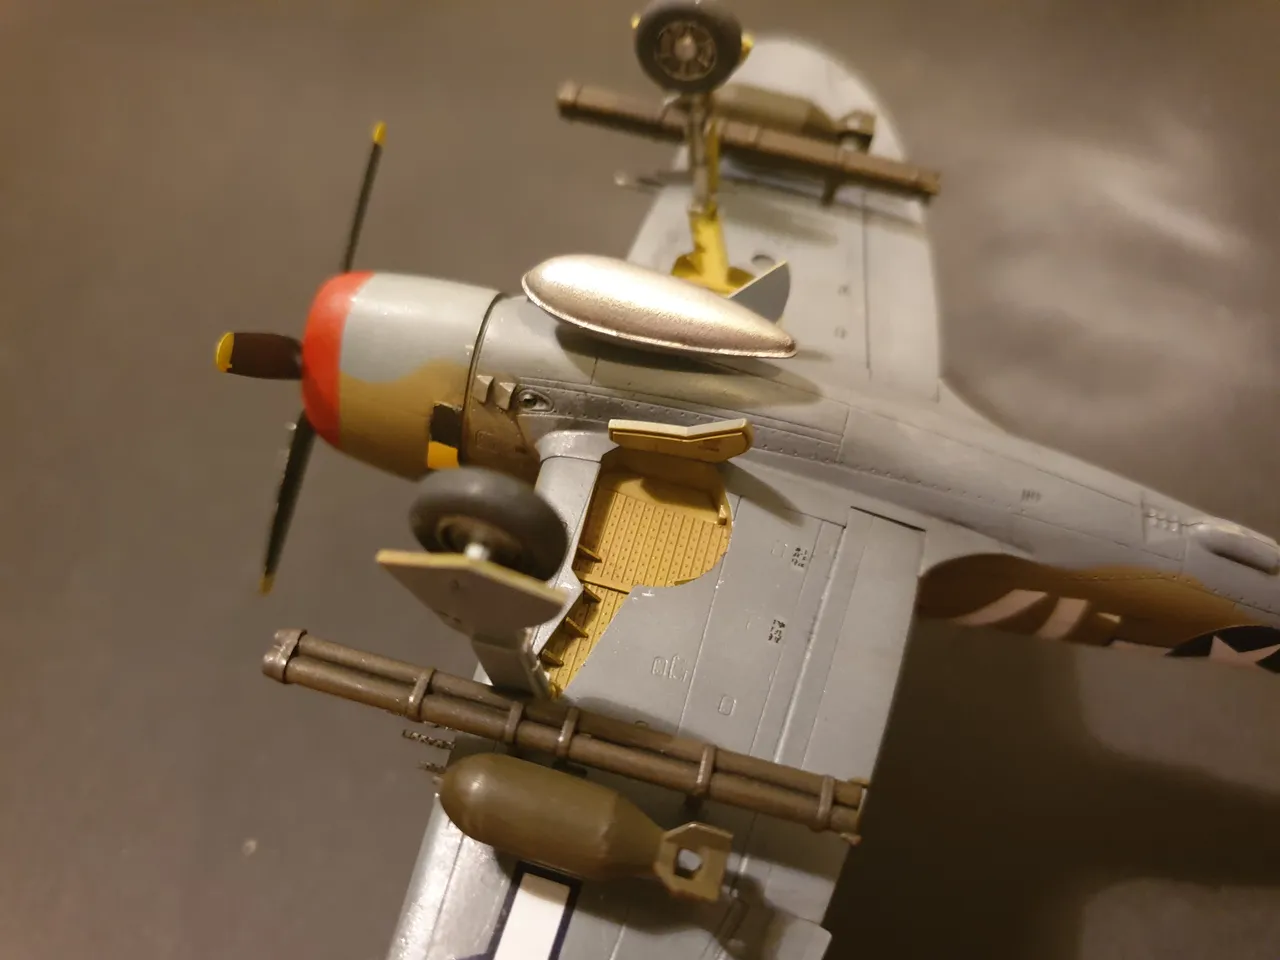
Now I can put the landing gear on, Centerline drop tank, bombs and rockets. Phew! I did a little weathering before putting these on but kept it minimal. A little paint chipping and some exhaust staining.
And just like that I call it a day!

I consider this a very lucky escape lol. Overall I am very pleased with how the model came out, especially given the issues I created for myself lol.
Thank you for stopping by. Once again a massive thank you to everyone who has taken the time to comment, vote and re-steem. Your support is always appreciated. Until next time!