
This is a basic ,step by step, tutorial on how to create my Ecotrain Gif in Motion 5.3 for iMac.
I like to thank @ecoinstant and @hopehuggs for their interest in how to make this gif.
This tutorial is very detailed and aimed at people who are new to Motion and basic animation in general. My own knowledge of Motion is very basic as well. If something can be done better or easier, please let me know. This tutorial will be in three parts.
The first thing to understand while making an animation is that you work in groups and layers. The same when painting a picture one starts with the background.
Let's start a new project.
- Choose: Broadcast HD 1080, 24 fps, 10 seconds duration
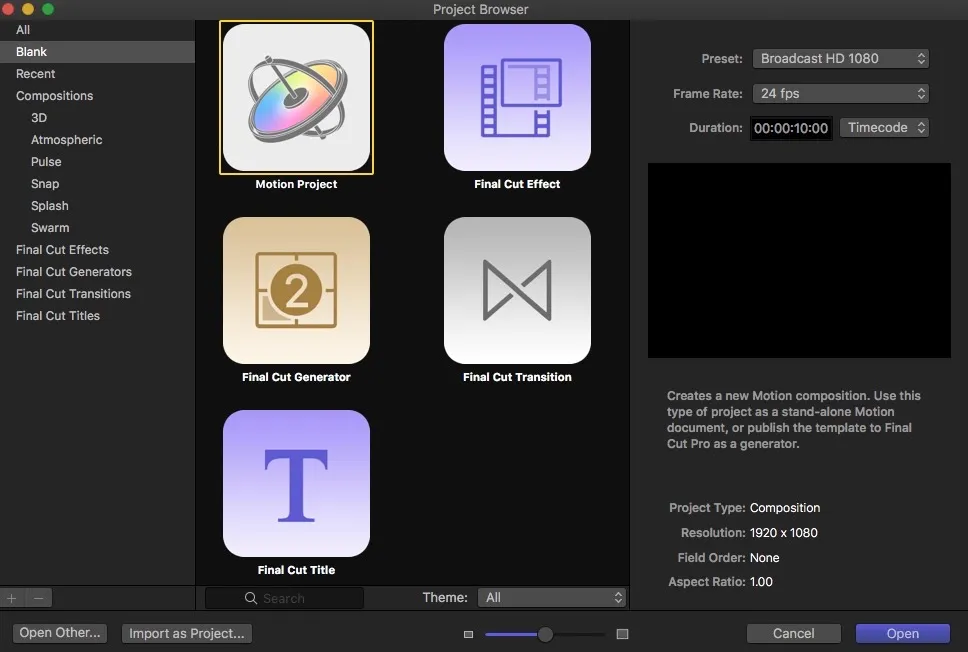
And click open.
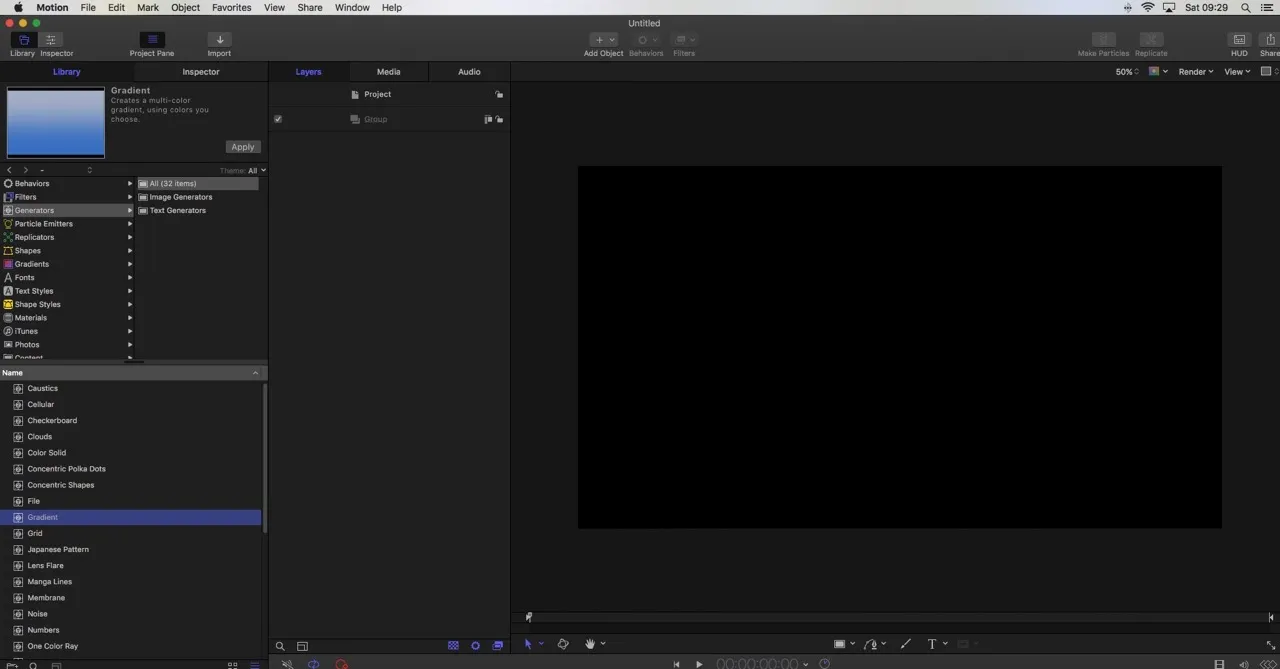
- Go to library, generators, choose gradient and click on apply
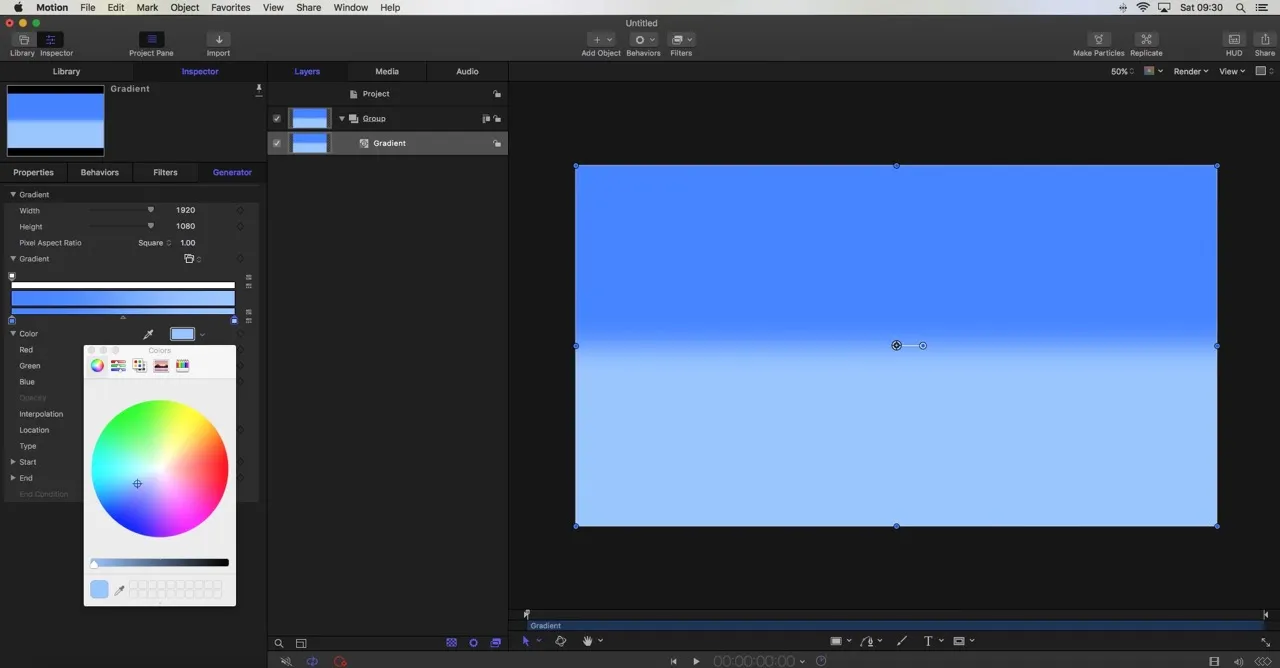
- Go to inspector, generator and open the gradient bar
- Choose a bright blue for the left hand tab and a light blue for the right hand tab
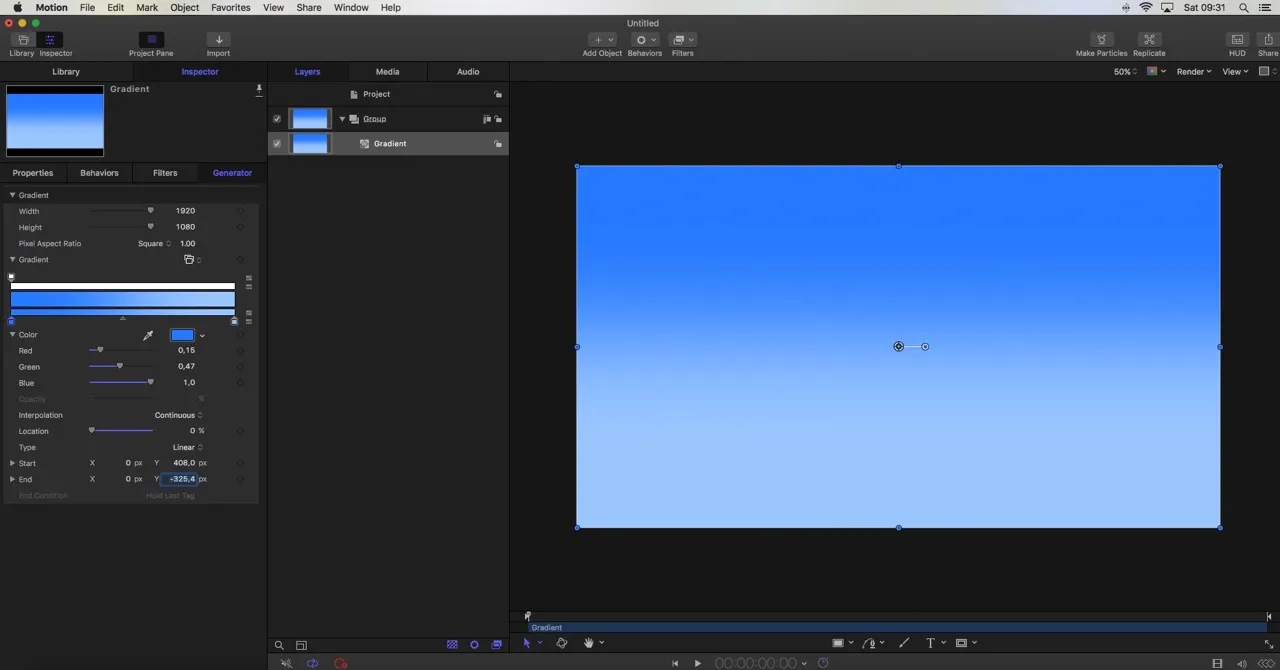
- Fill in an Y Start value of 400 and an Y End value of -400
- Call the group background sky
Click on project. Create a new group: <cmd + shift + n>
- Call this group BG field
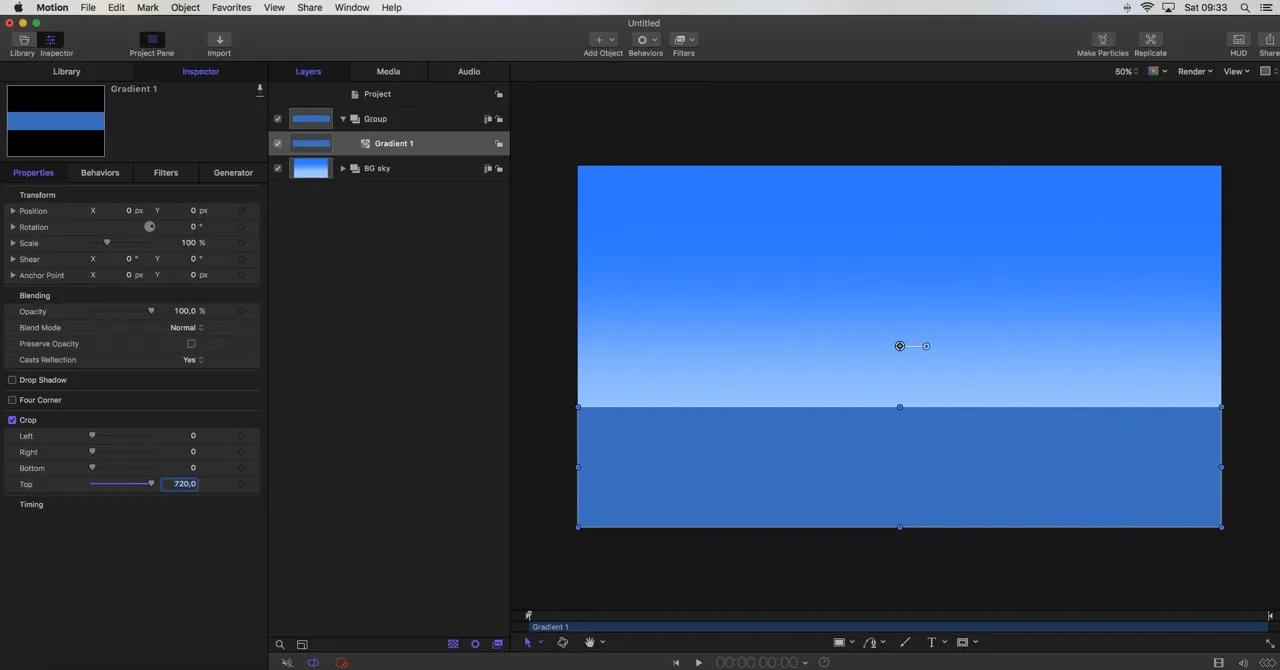
- Go to library, generators, choose gradient and click on apply
- Go to properties and activate and open the crop section
- Crop the top of the picture with 720 pixels; fill in a top value of 720
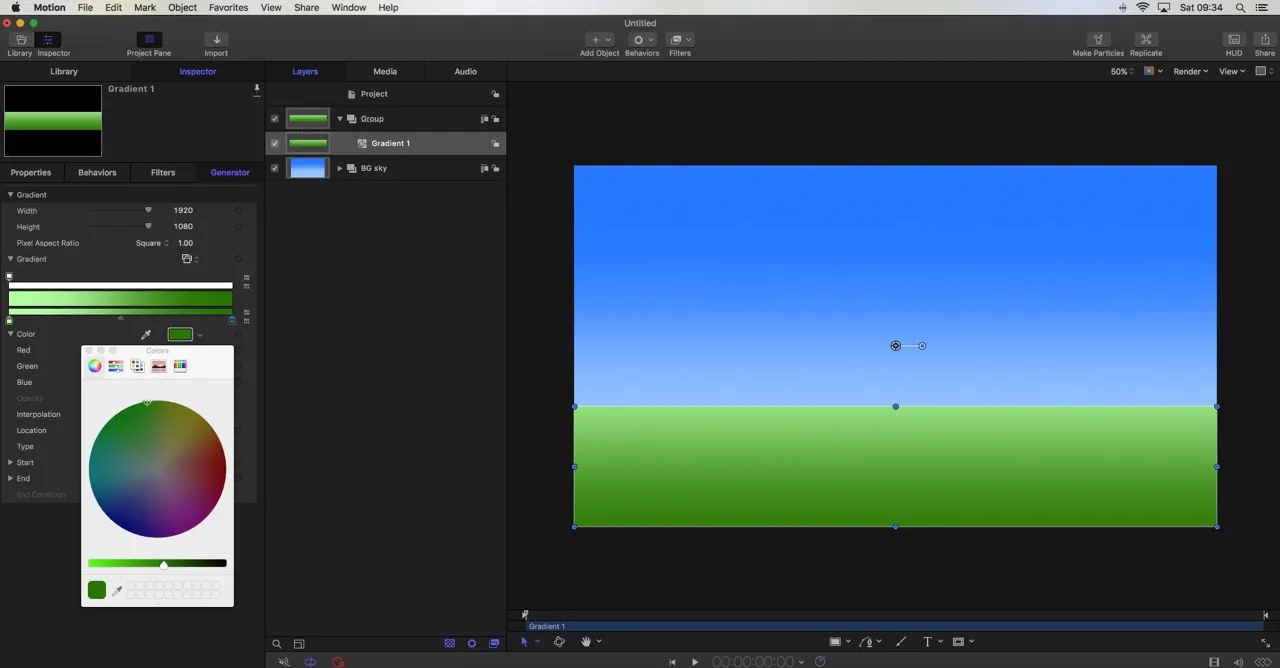
- Go to inspector, generator and open the gradient bar
- Choose a light green for the left hand tab and a darker green for the right hand tab
- Fill in an Y End value of -400
To create the mountains, we are going to use the Bezier Mask.
Click on project. Create a new group: <cmd + shift + n>
- Call this group Mountain layer 1
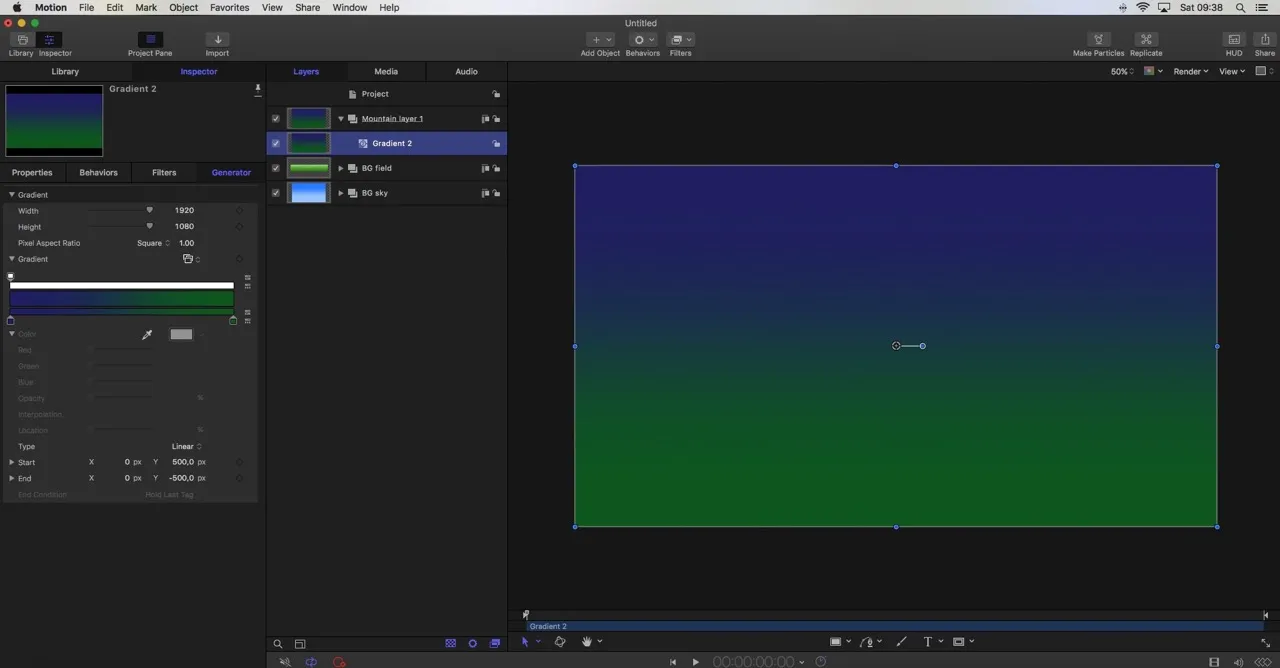
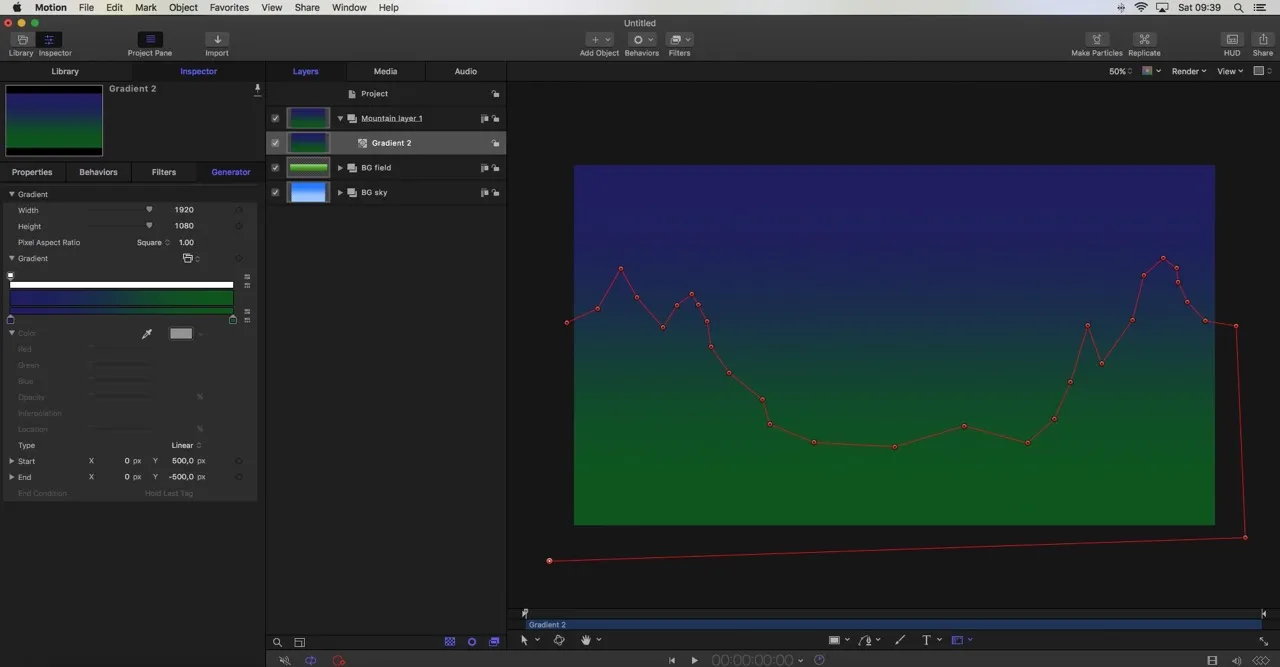
- Go to library, generators, choose gradient and click on apply
- Go to inspector, generator and open the gradient bar
- Choose a dark blue for the left hand tab and a green for the right hand tab
- Fill in an Y start value of 500 and an Y end value of -500
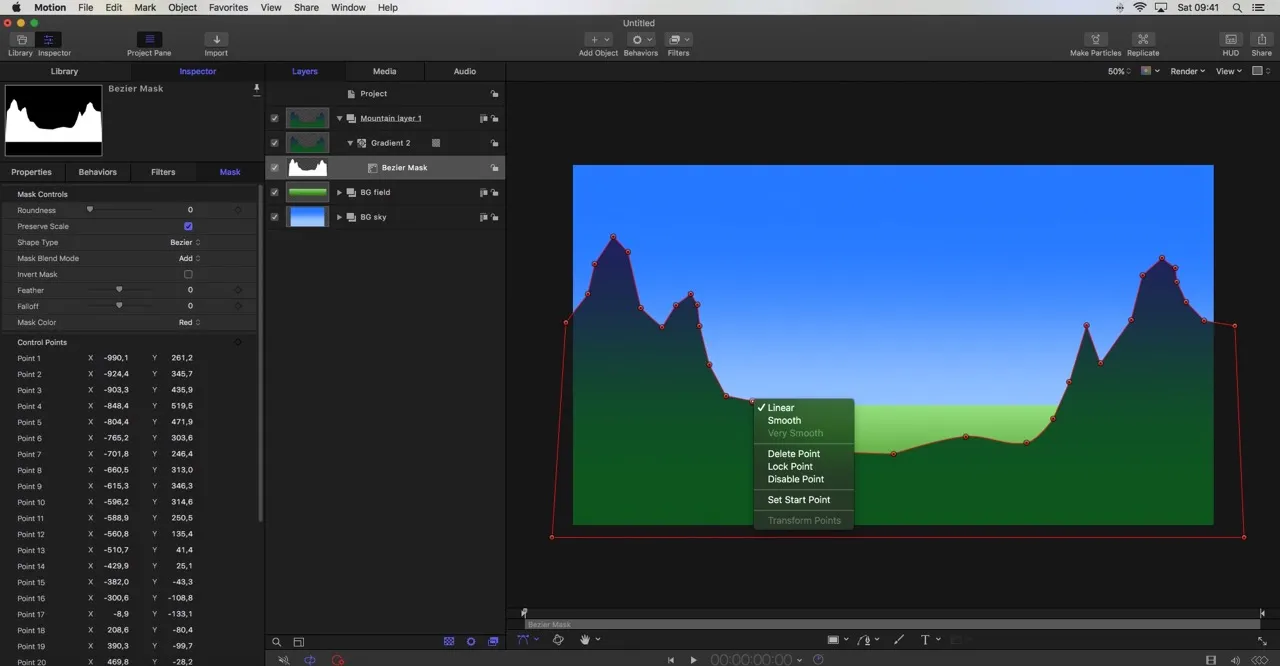
Click on the mask icon and select Bezier Mask.
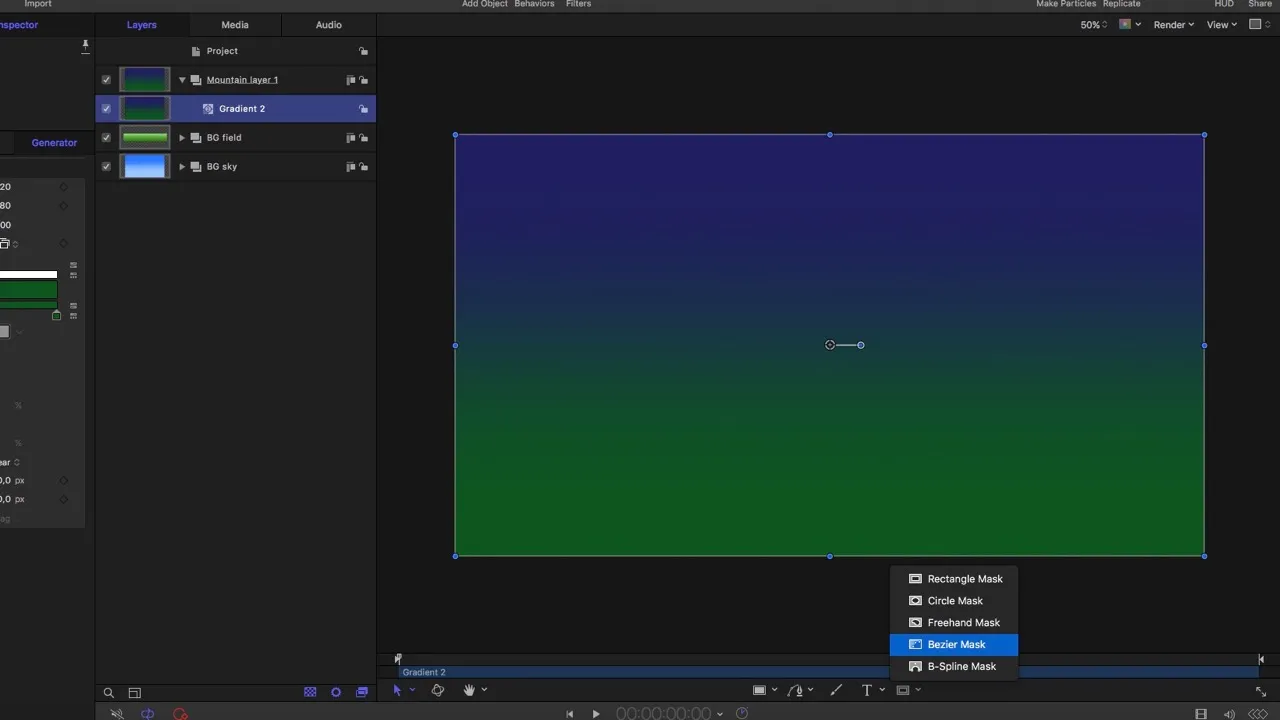
With bezier mask selected draw out a basic mountain shape by clicking on and around the canvas and close the mask. (end point = start point)
- With right clicking on the bezier line one can add a control point.
- With right clicking on a point one can either delete the point, smooth or choose linear etc.
- You can move the points around until one's happy with the result.
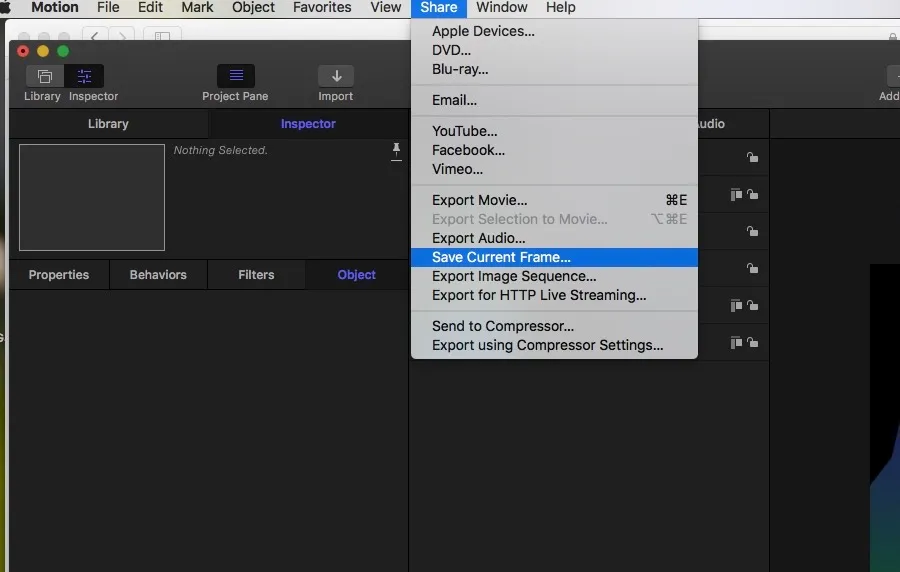
We need a PNG image of the mountain alone to create some snow on top of the mountain. We are going import the saved png and we will use the bezier mask to select the mountain tops where we want to have snow.
- Turn off the back ground groups.
- Go to: menu - share - save current frame
- Save as PNG (this keeps the background transparent)
Now import this picture that I called Mountain layer 2 in a new group.
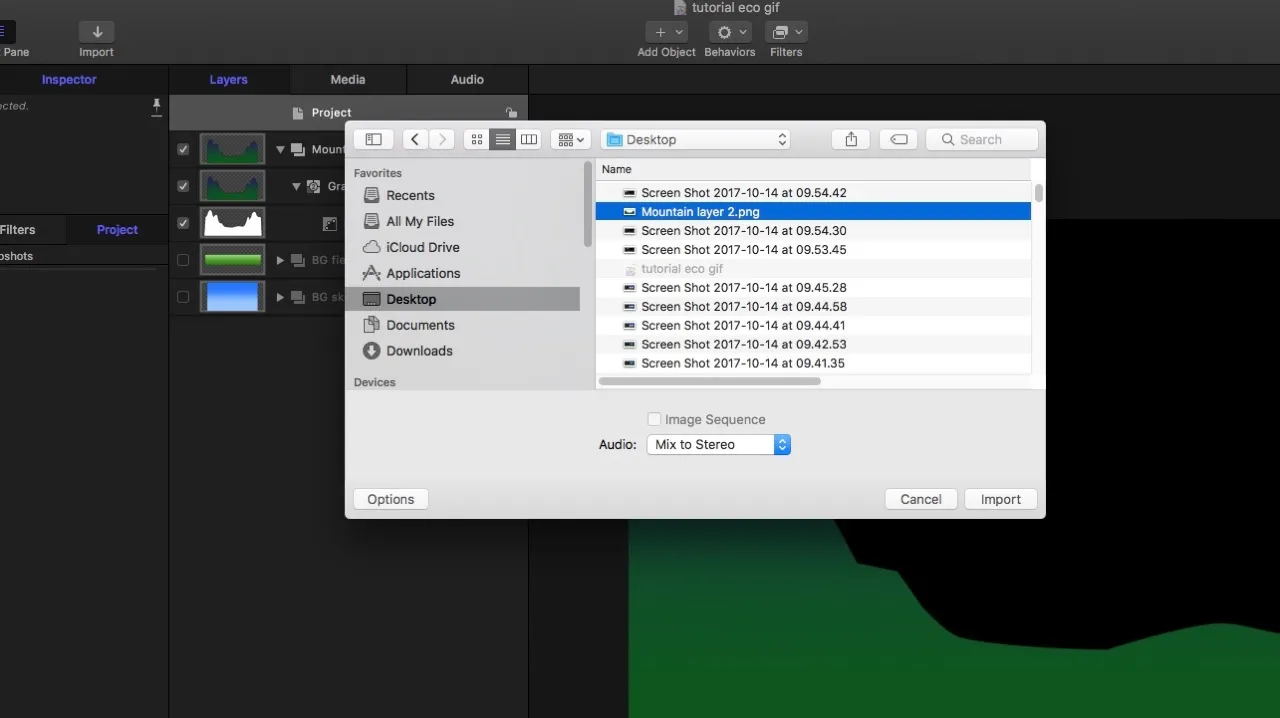
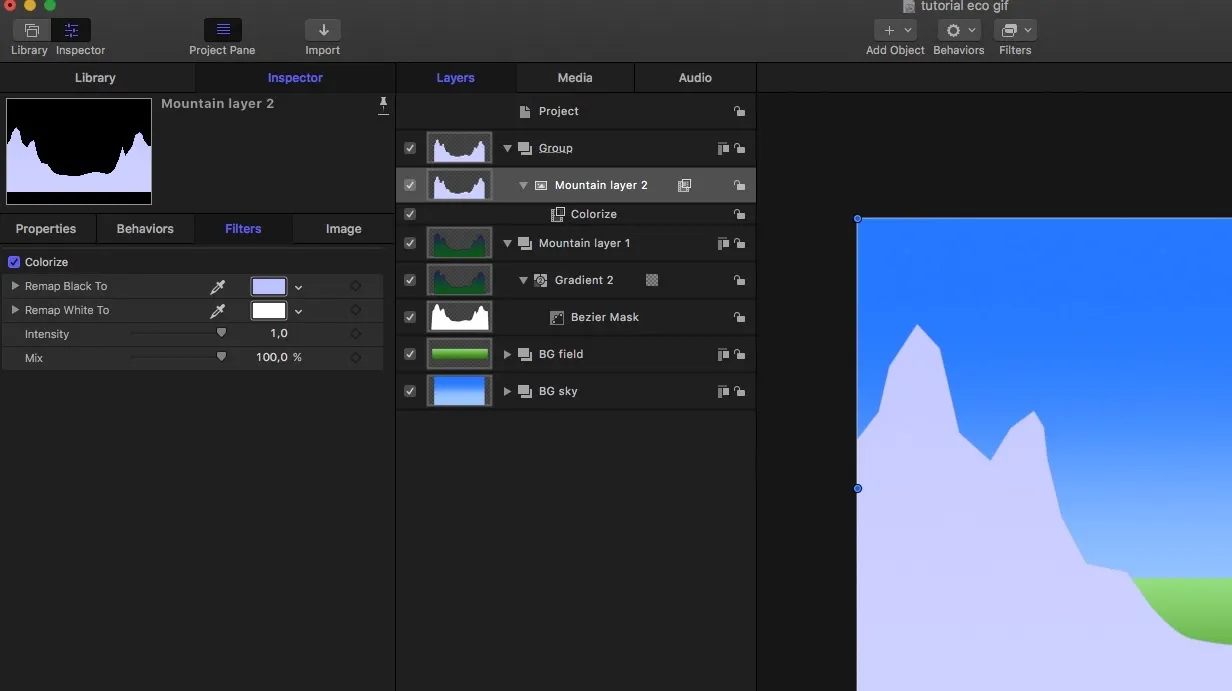
We want to change the colour of this mountain layer 2 in to show white.
- Go to: Library - Filters - Colour Correction - Colorise and apply
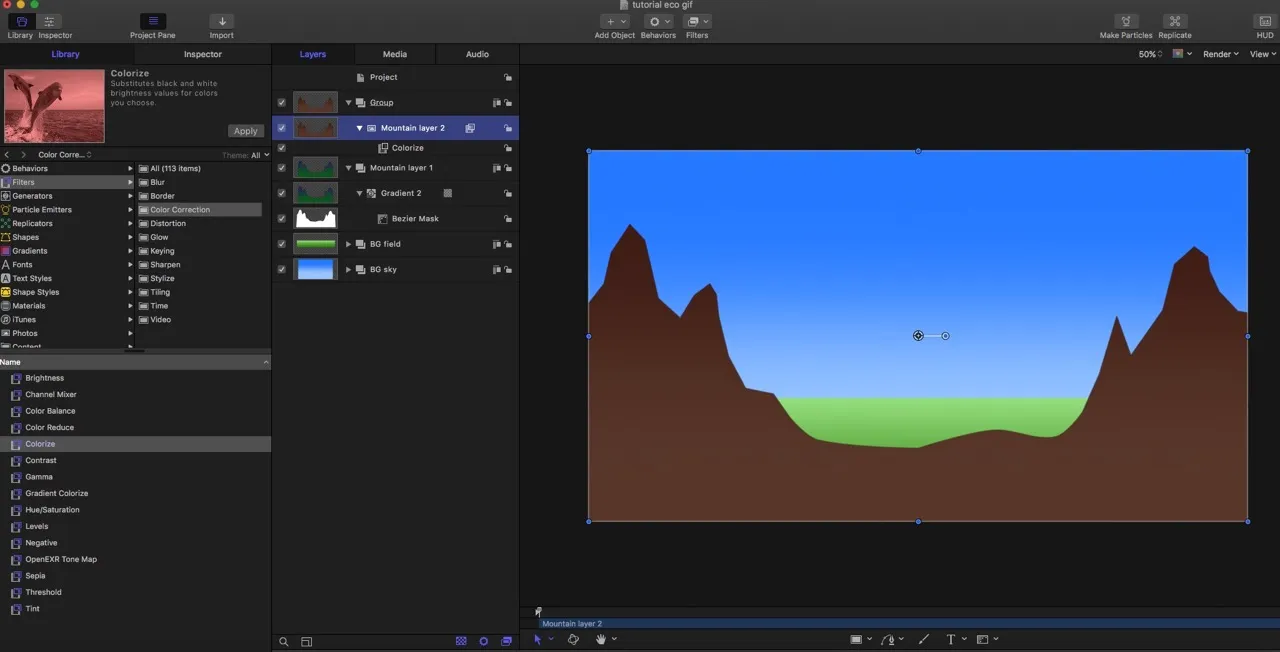
- Go to: Inspector - filters
- Remap Black into a very light blue
- Remap White into white
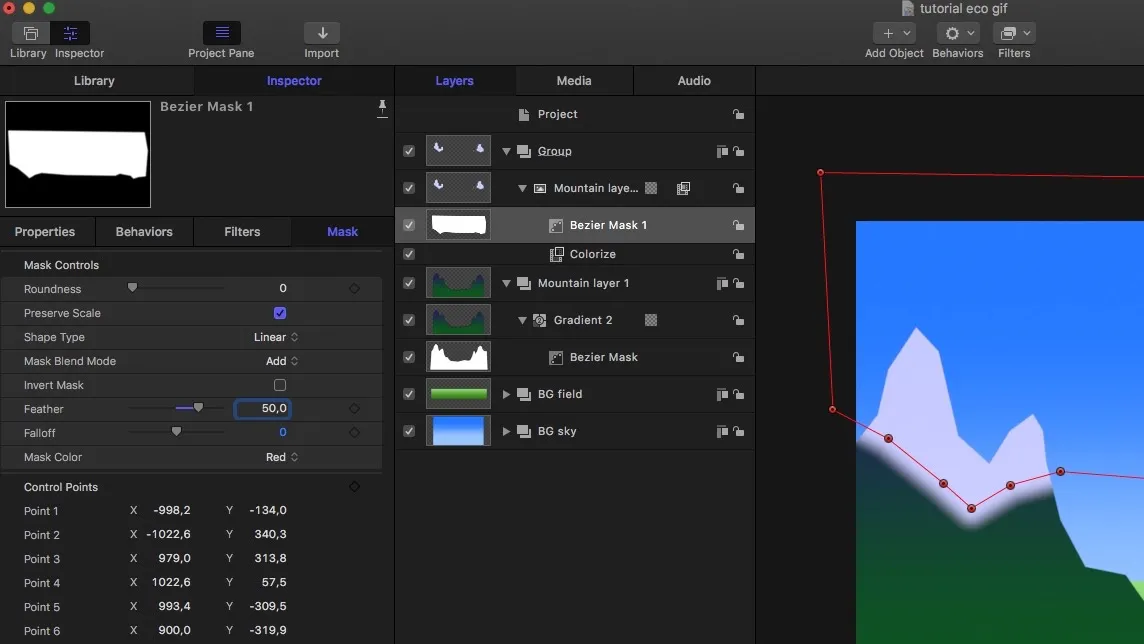
Choose the bezier mask.
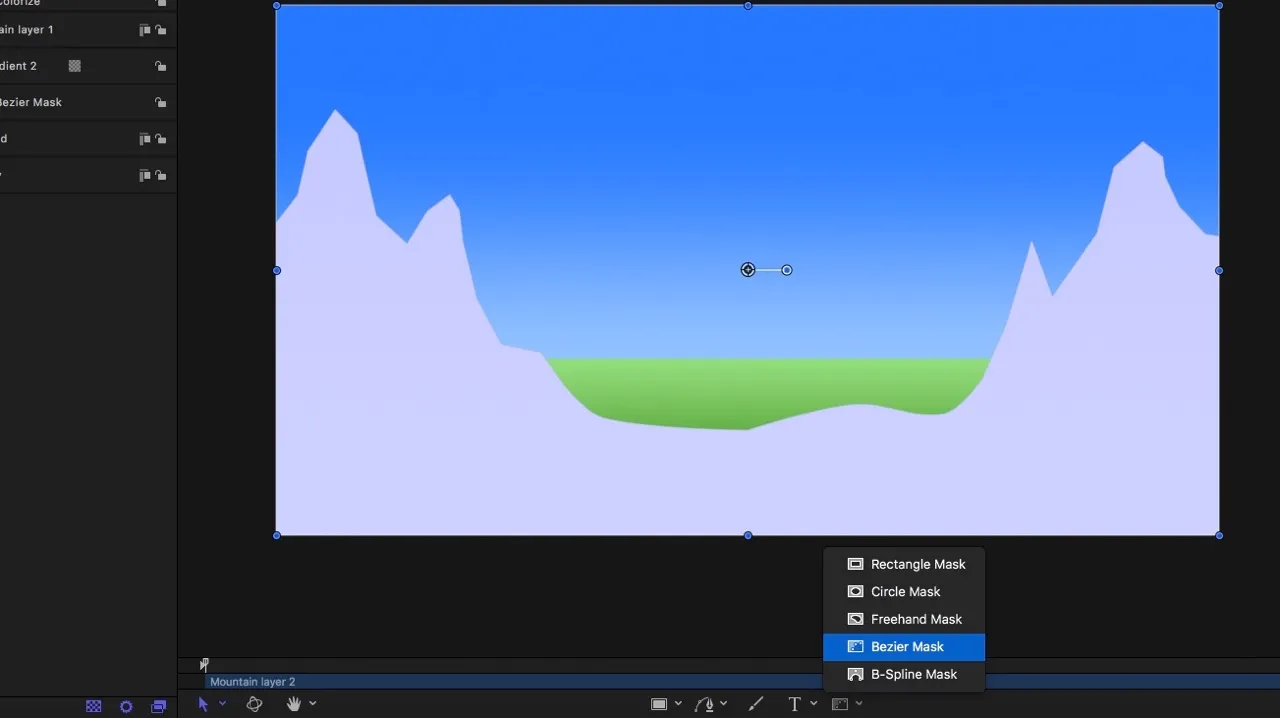
Mask out the mountain tops where you decide there's snow and close the mask.
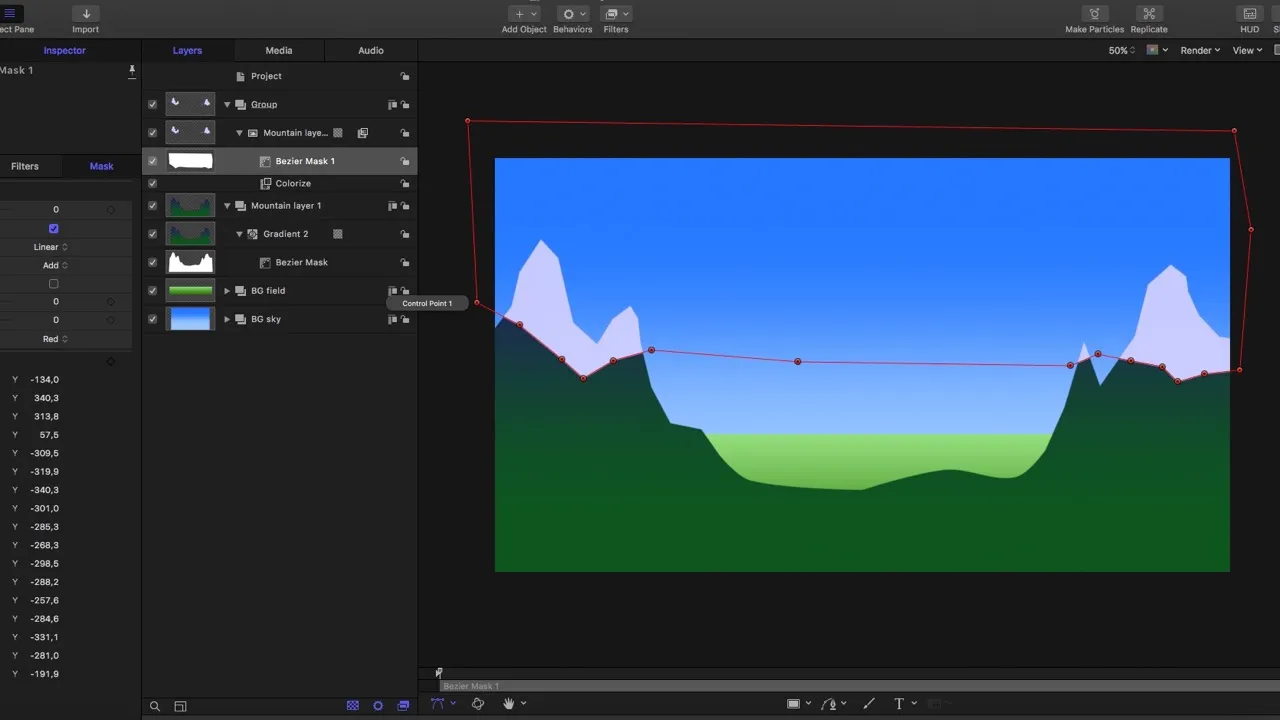
Go to: Inspector - Mask
- Fill in a Feather value of 50. This will soften the edges of the mask.
If you haven't already turn back on the background groups.
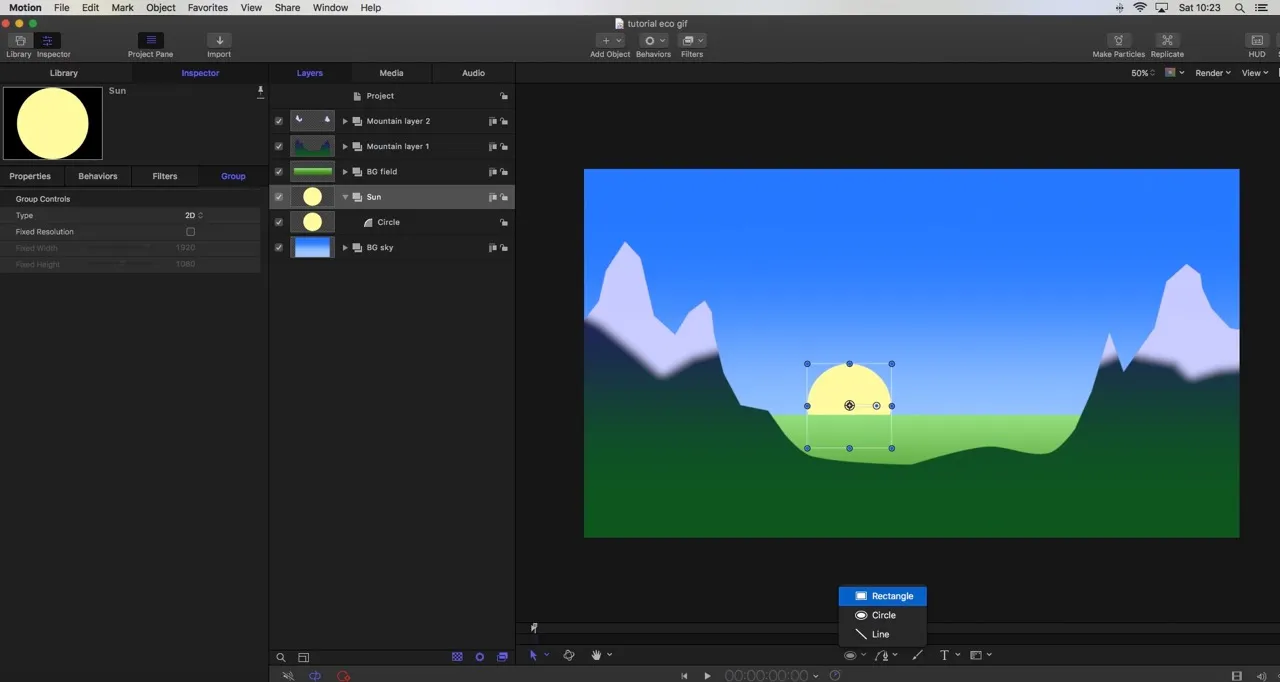
- Click on project and create a new group. (cmd + shift + n)
- Call this group sun
- select the circle tool
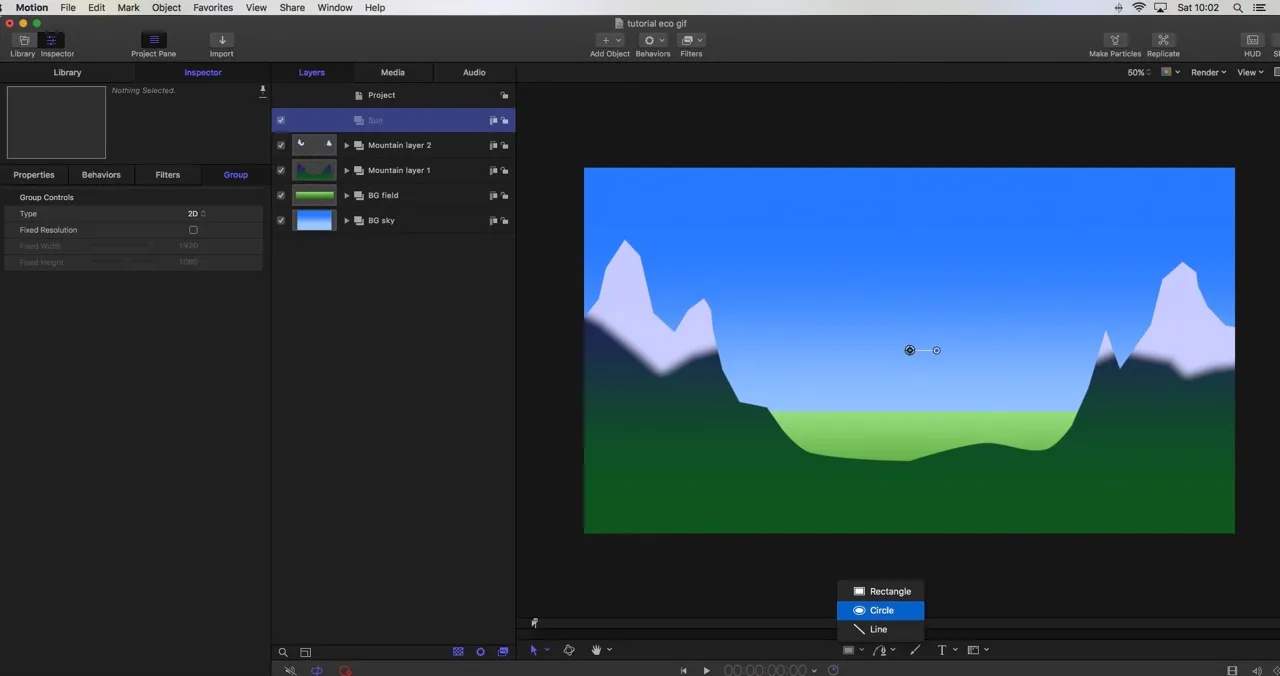
- Draw out a circle while pressing the shift key (this keeps your circle from turning into a oval)
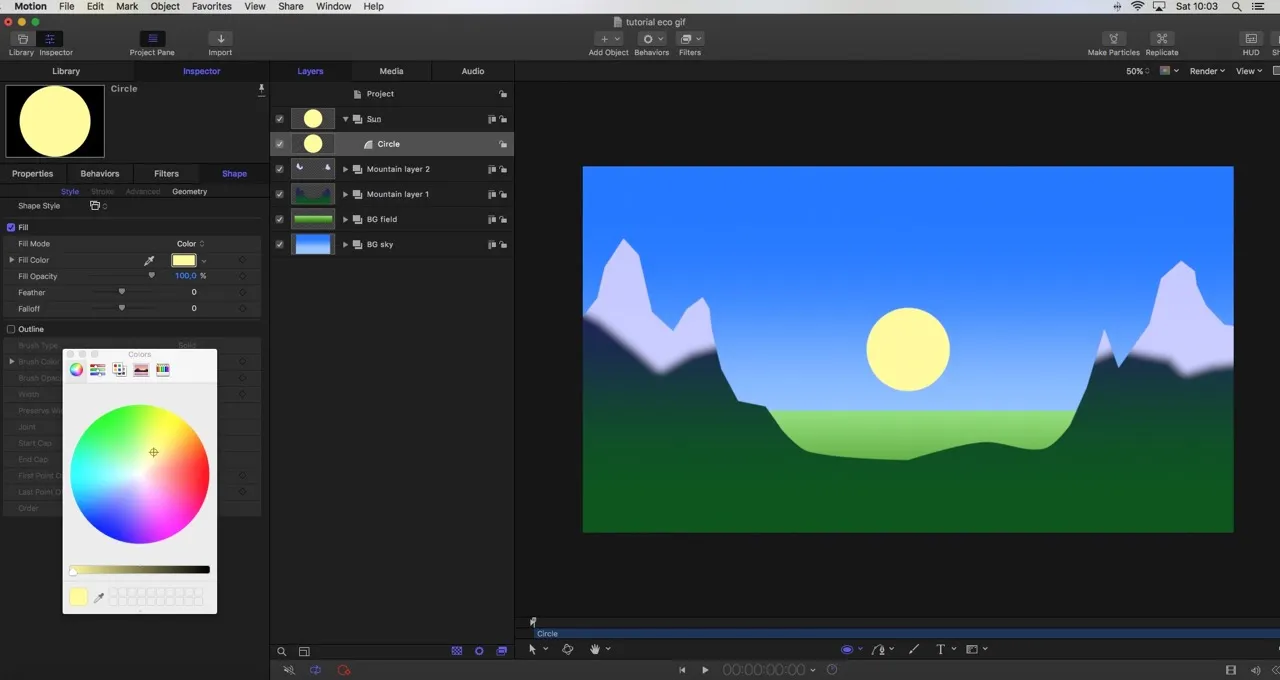
- Go to: Inspector - shape
- Turn off outline and change the fill colour into a bright yellow
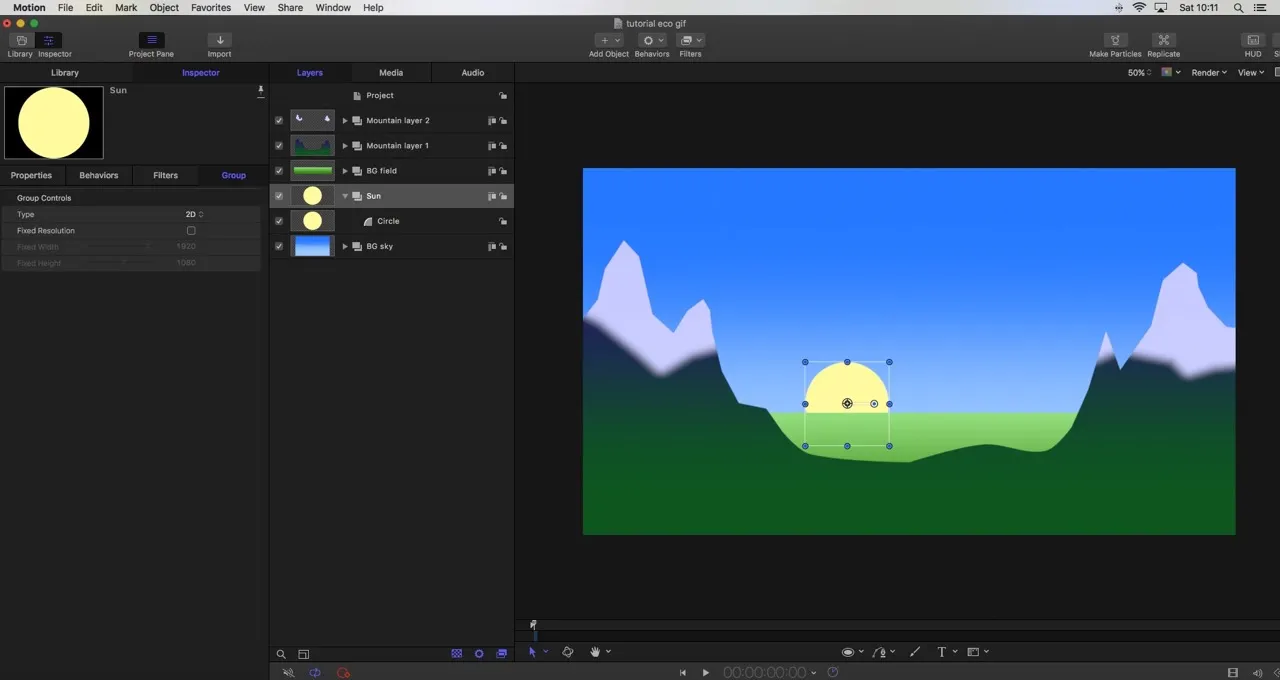
- Press <Shift + s> to select the select/transform tool.
Before you can move the sun into place, the sun group needs to be behind the BG field group.
- The sun group still selected; press <cmd + left hand square bracket> three times so that the sun group is in-between the BG sky group and the BG field group.
We can now move the sun in its desired place.
To create the sunbeams we simply draw out a long vertical rectangle.
Go to: Inspector - Shape - Style
- Turn off the outline and turn on fill
- Choose the colour of the sun with the colour picker
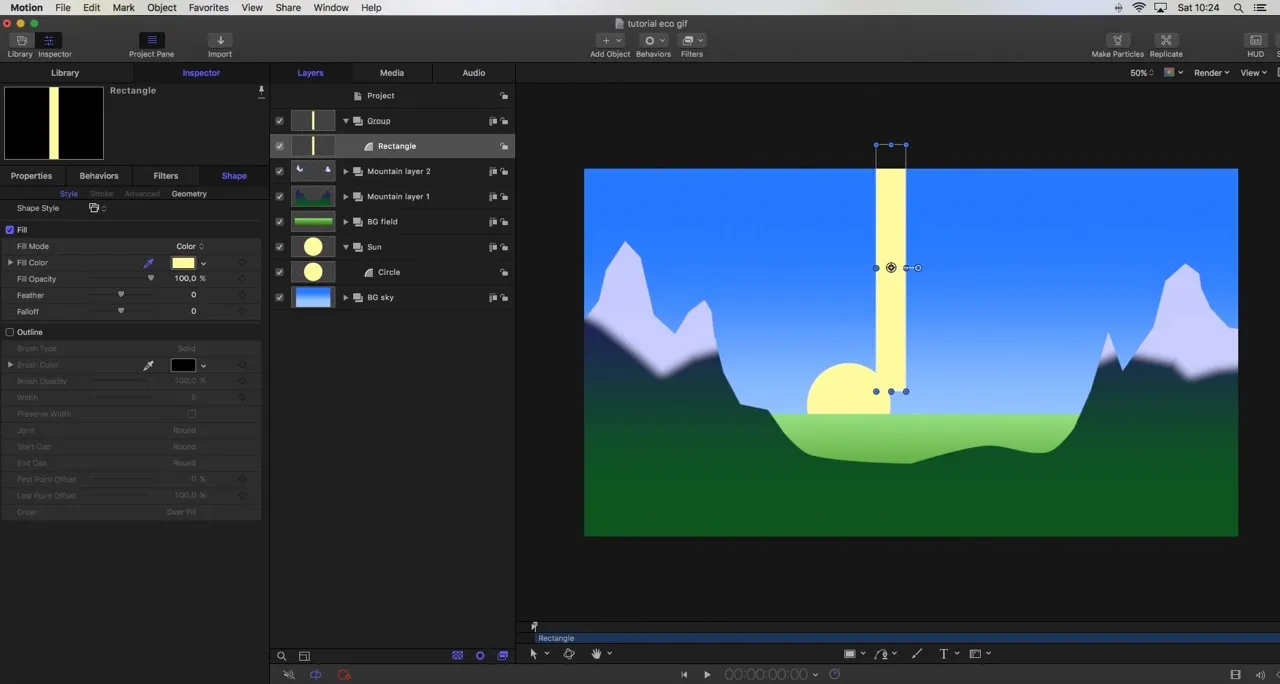
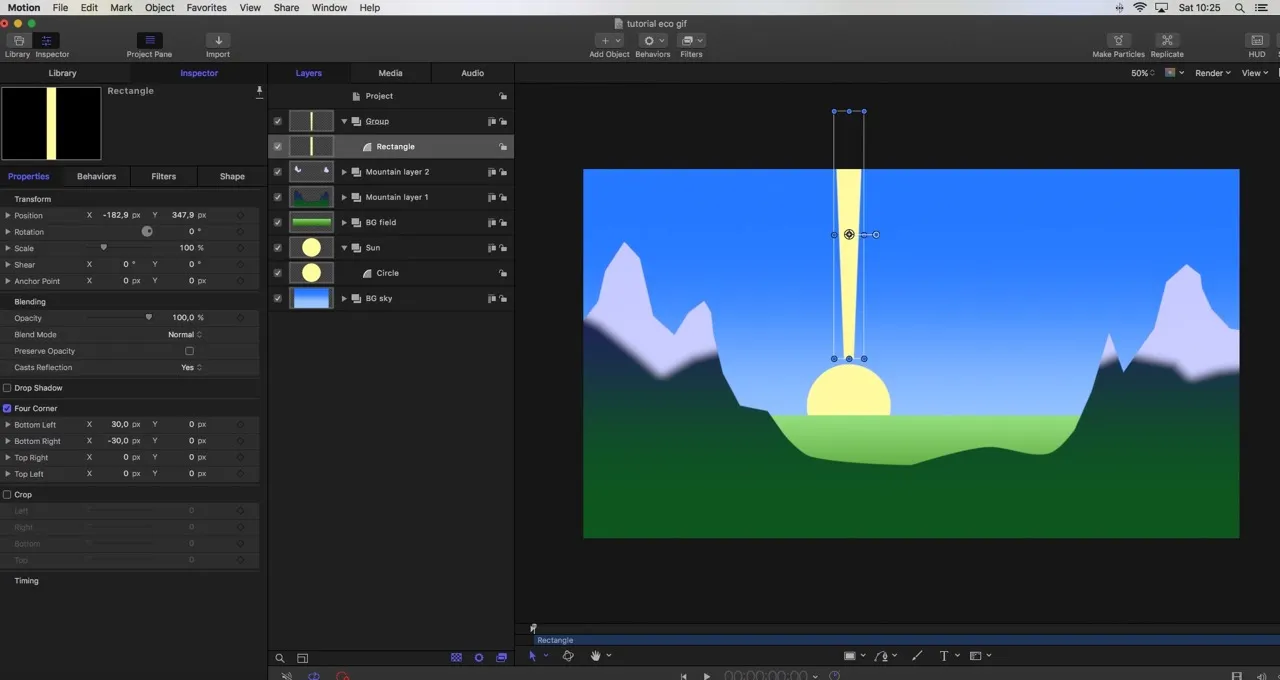
To make this rectangle look like a 'sunbeam' we use the four corner tool.
Go to: Inspector - Properties
- Turn on the four corner tool and click on show
- Set the bottom left x value at -30
- Set the bottom right x value at 30
- Put this beam in its right place
My beam is in the wrong group. It should be in the sun group. Make sure that yours is.
This is a point as good as any to stop part one, I guess. Tomorrow I will post part 2 and Monday the conclusion of this very lengthy tutorial.
It might look all a bit dry and boring, but in the end you can have very nice results.
If your new to motion I hope you find this tutorial useful so far.
Thanks and much love,
Gardenbsquared