Visual Studio code is my editor of choice for the majority of my development these days. In particular Angular development. I love the experience of an integrated terminal, the small foot print and the extensability of this editor. There is an abundance of plugins available so with a few open source tools and a little guidence anyone can get started building web apps like a professional.
It can be a little daunting to get started with so much in the ecosystem so I thought Id share my favorite plugins, some basic setup and all the tools you need to get started today.
1. Download and install Visual Studio Code. Just follow the default installation recommendations. Couldn't be easier.
https://code.visualstudio.com/download

2. I prefer git from the command line so I just install Git for Windows. The installation is pretty straight forward but I do make a couple changes from the defaults.
https://git-scm.com/download/win

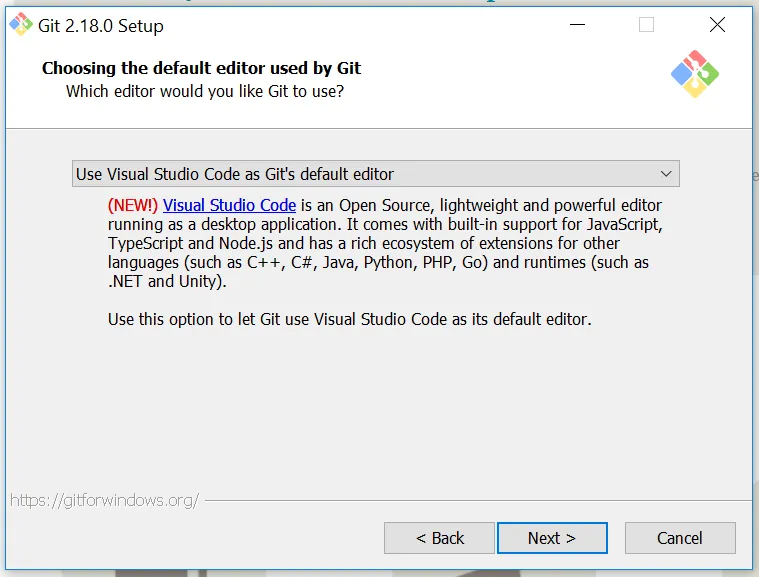
- There is a great new option to use VSCode as the default editor. I make that selection.
- I also make sure to install the optional Unix tools when the installation is adjusting you PATH environment on the Windows Command Path. This option gives you some incredibly handy unix-like commands like pwd, ls, wget, and make among others.

If you're someone who prefers a graphical user interface try Git for Desktop. Its a great alternative and you can have both install simultaneously not problem.
https://desktop.github.com/

3. Nodejs is a must, it speaks for itself. All modern frontend tech stacks depend on it. I always install the current version. NPM is added to your path as part of the installation.
https://nodejs.org/en/

4. Yarn stands for Yet Another Resource Negotiator. Its optional but I highly recommend it. Yarn is faster and more reliable then NPM. I find the syntax easier to remember and there is less typing which is always good. A must have.
https://yarnpkg.com/en/

5. At this point you can open Visual Studio Code, our configuration will continue there. The first thing we are going to do now is install the Angular CLI. CLI stands for command line interface and this is what really allows us to take advantage of the Angular framework to build professional applications. Open up Visual Studio Code and install the Angular CLI . We're going to create a new angular application with the Angular CLI. Once that completes your off to the races. Be sure to go through the Angular documentation on angular.io everything you need to get started with Angular development is there.
https://cli.angular.io/
https://angular.io/
npm install -g @angular/cli
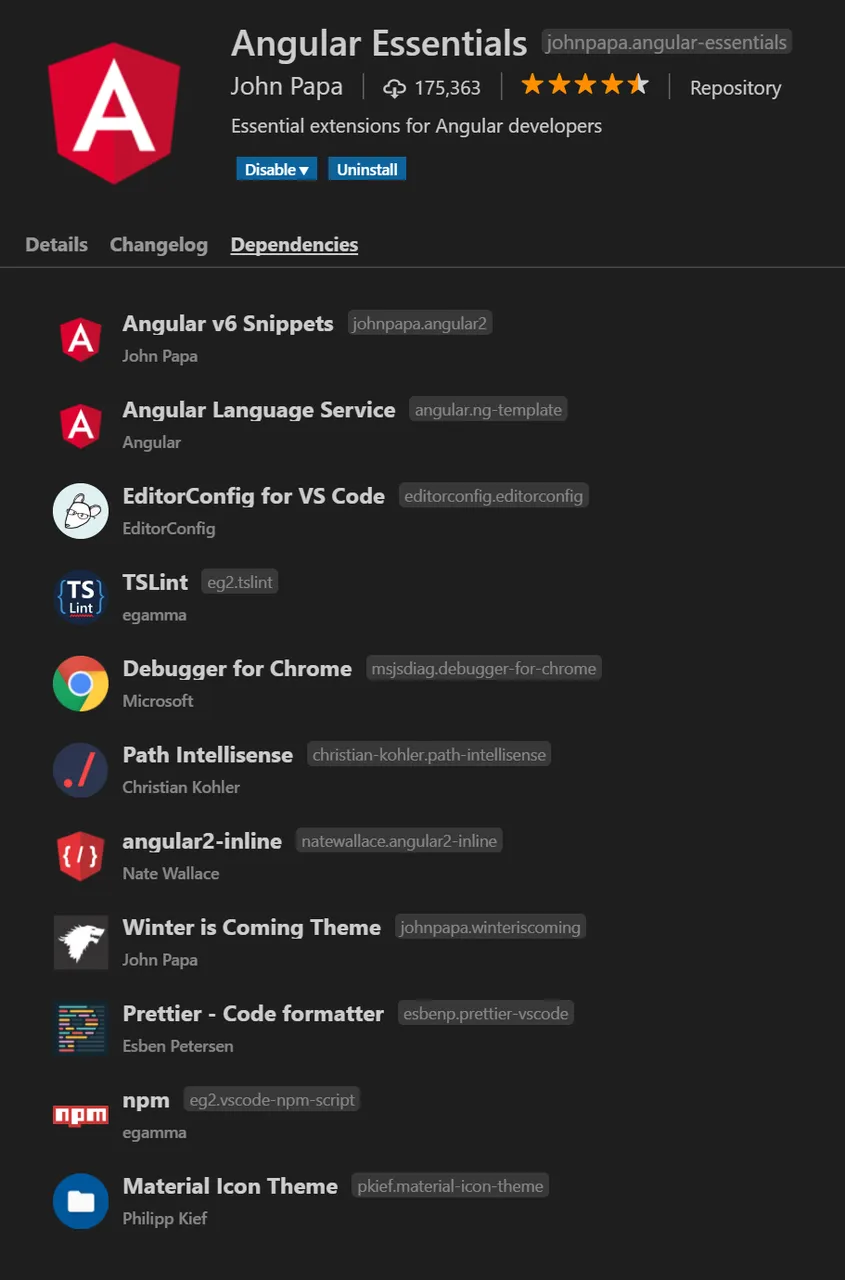
ng new my-dream-app 6. To complete my setup and really get the most of Visual Studio Code and Angular I always install a couple plugins. One is actually a library of plugins from John Papa. Hes pretty much and Angular god and this really has everything else you need.
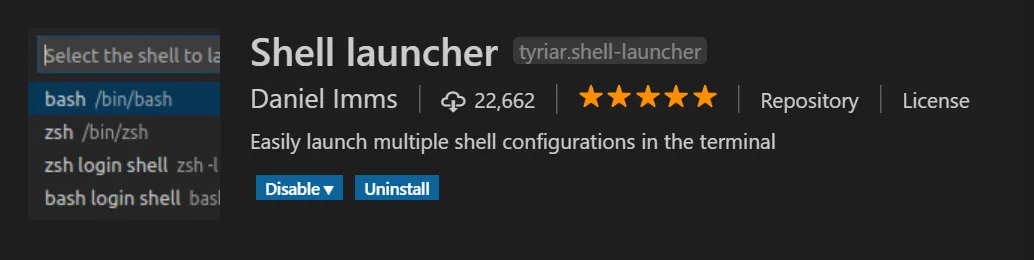
The Shell Launcher plugin by tyriar to get the most out of the Terminal. This lets you have a few different terminal environments at your finger tips. Follow the instructions to add a shortcut. Ctrl-Shift-T and you can launch any number of terminal instances in seconds. Its fantastic. I've included the settings you need to run Windows Commandlet, Powershell and of course Git bash.

That's everything you need to get going like a pro.
Happy coding!