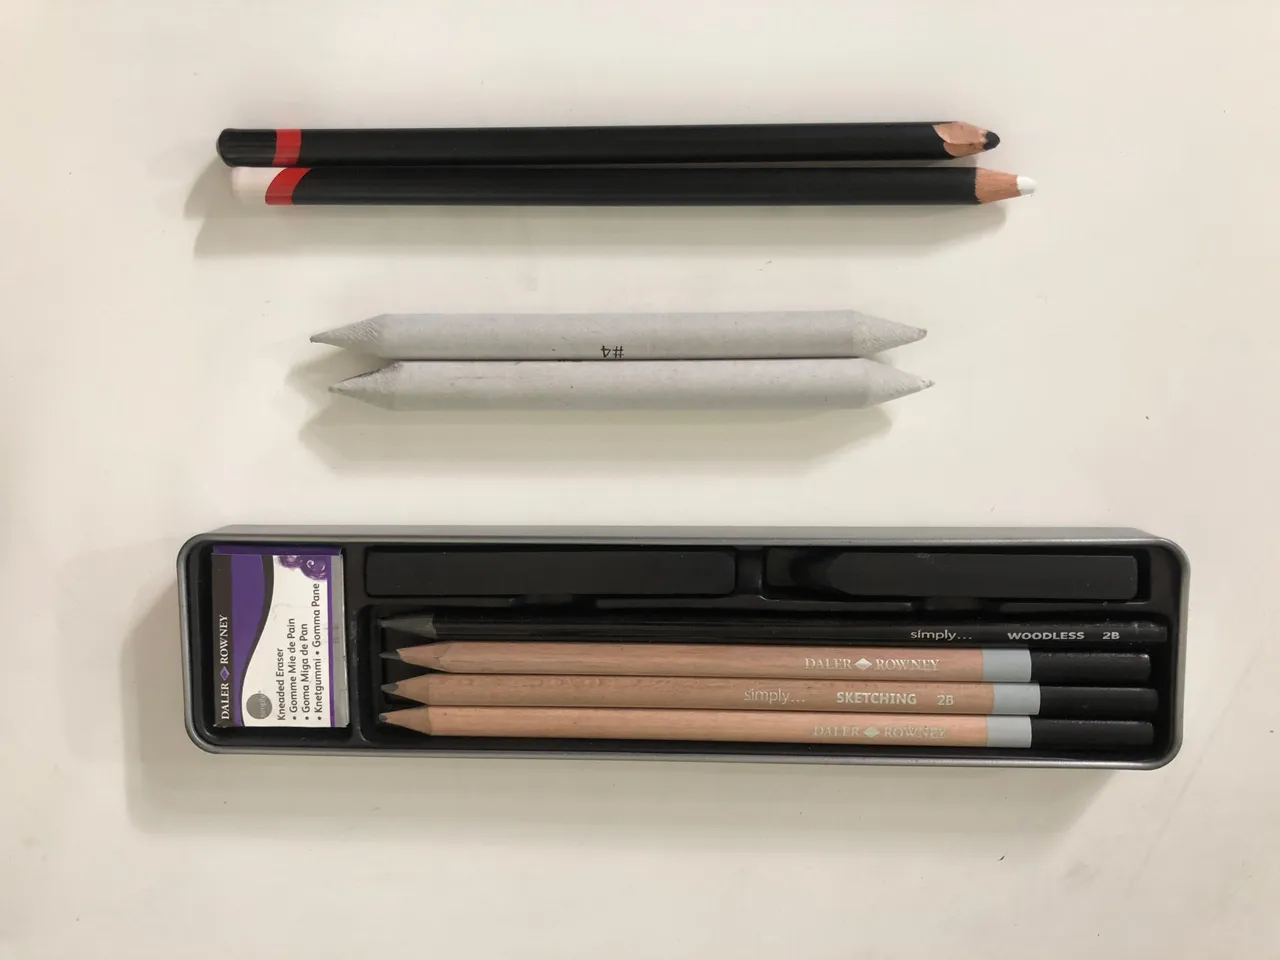
Hello, everyone, it's Vaan here and welcomes to my drawing guide. We break down the whole process of this drawing into separate sections. And then look at them all in depth learning new techniques and methods of drawing. The equipment and equipment and supplies we will need for creating this drawing. Now there's a lot of materials and equipment out there. For the paper that I draw and I use bristol board and it's a thick card that has a really smooth drawing surface. I really recommend using this stuff because you can apply a lot of pressure to it and it's not going to tear or bleed through on to the other side. You don't want to use anything like printer paper or anything like that because it's not good quality. Next up we have pencils and there are a lot of different brands out there I've only ever used Faber-Castell or Daler Rowney they seem to be perfectly fine to use but you should get a full set of them so you have a range of different grids to work with. And one white and one black Derwent charcoal pencils.

I mainly used maybe a 2b for sketching outlines and then a 4B onwards for drawing for the darker areas.
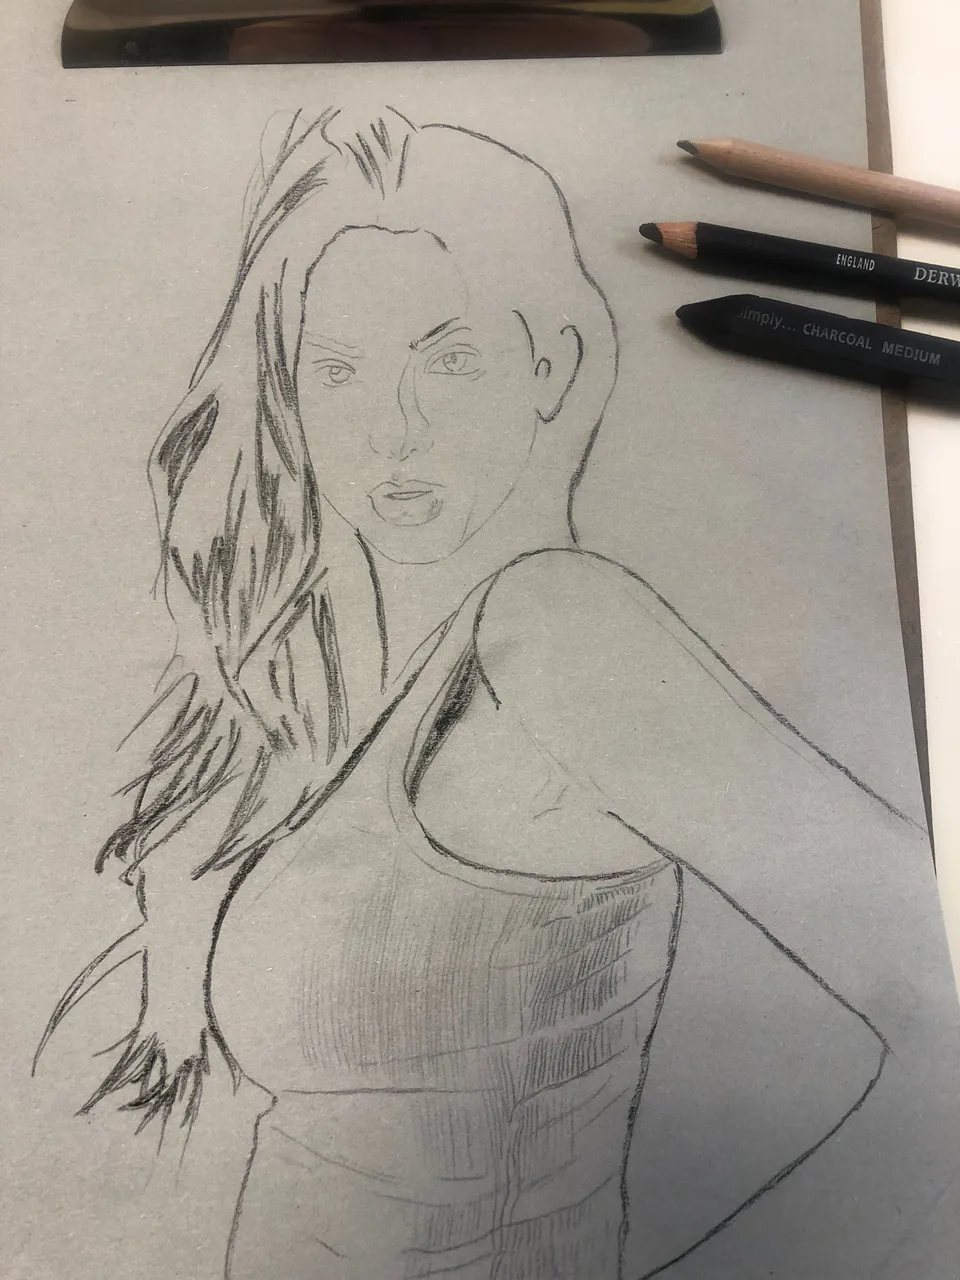
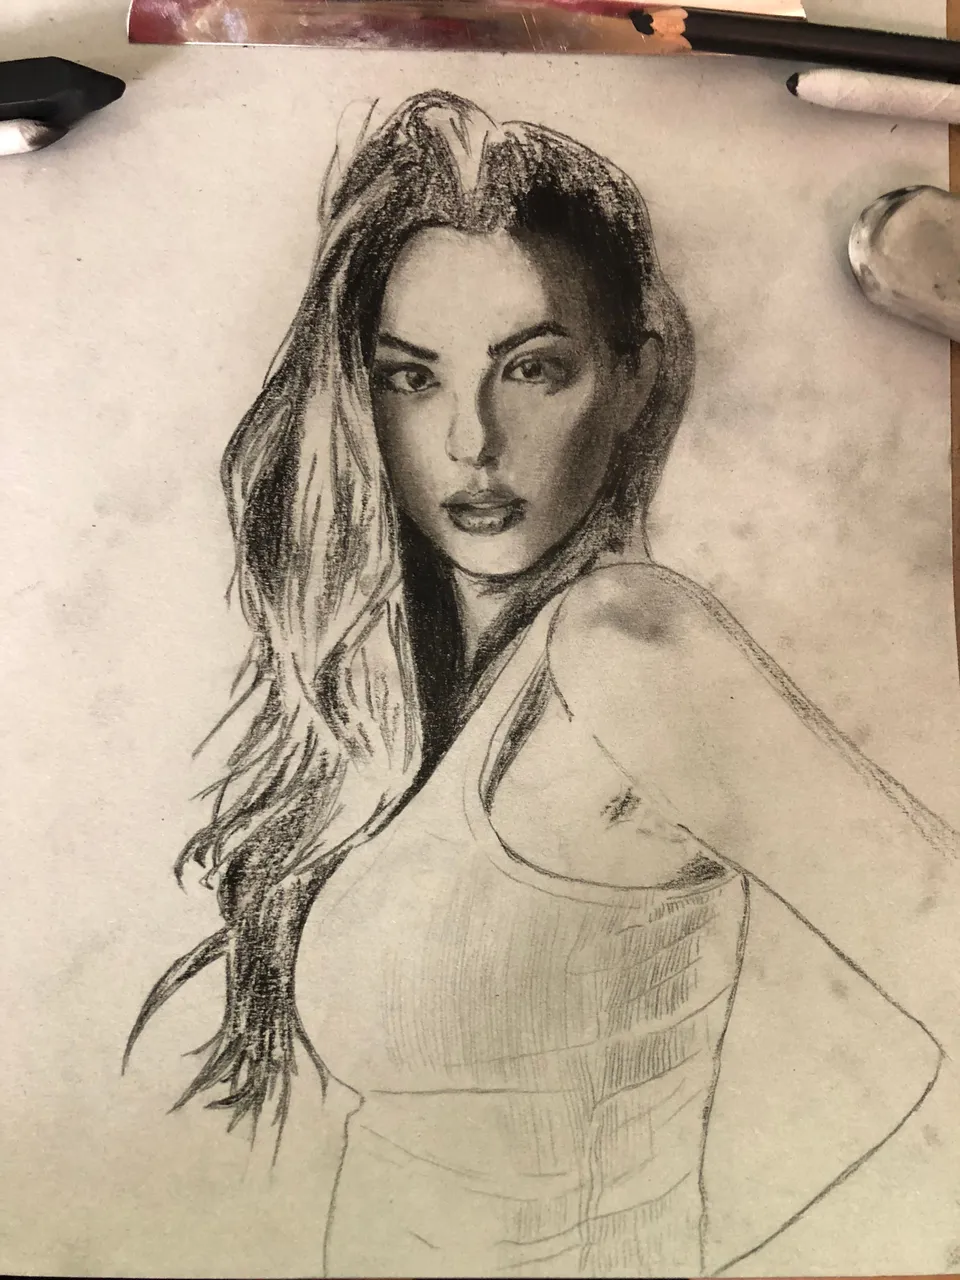
First, one is going in freehand and judging the proportions by sketching them. If you do a lot of freehand drawing you will naturally become better at it and be able to sketch it more accurately. Here I'm firstly outlining her head and then once we have that down I'll start outlining the facial features. We have a big shadow down the side of his face and under the neck. We are going to start working on the drawing looking more in-depth for how to start laying down some realistic qualities that involve things like light and shadow.
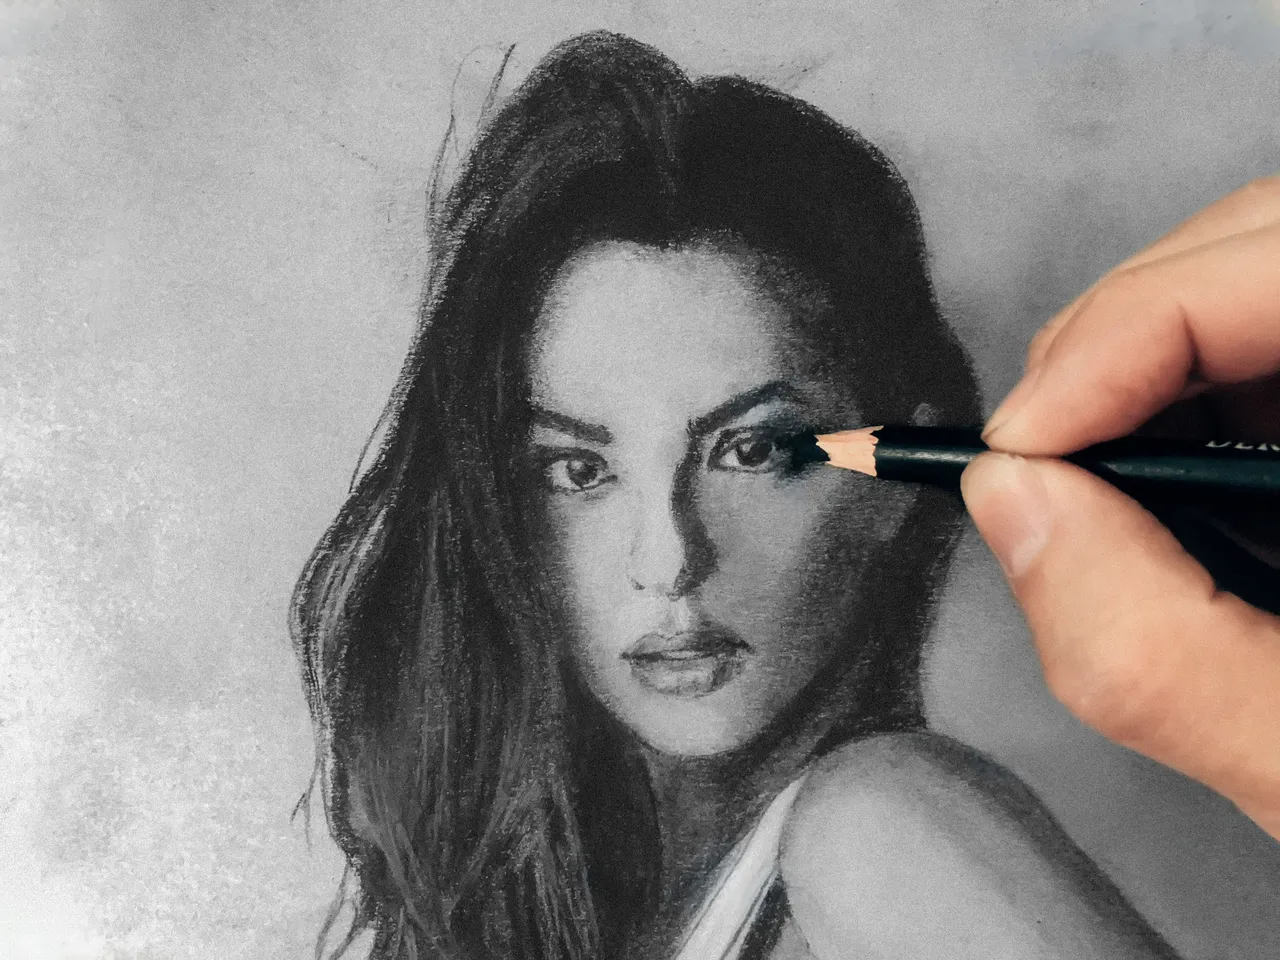
One of the eyes and I usually start by laying down those really solid outlines mainly the darker areas around the pupil and even some of the eyebrow above it now it's a bit of a commitment going straight into creating more solid outlines. until we get further into the eyebrow where it slowly fades into solid black but the shape still remains. We go we have drawn the eyebrow and now we have pretty much got the whole eye and the eyebrow. We have our outlines and we know where everything will need to go. It's just a matter of laying down some pencil and drawing in the skin. Forehead will have horizontal lands whereas under the eyes and around the cheeks there are a lot more shape and structure. I'm also using a piece of paper to rest on so that I don't smudge the drawing as I go along.
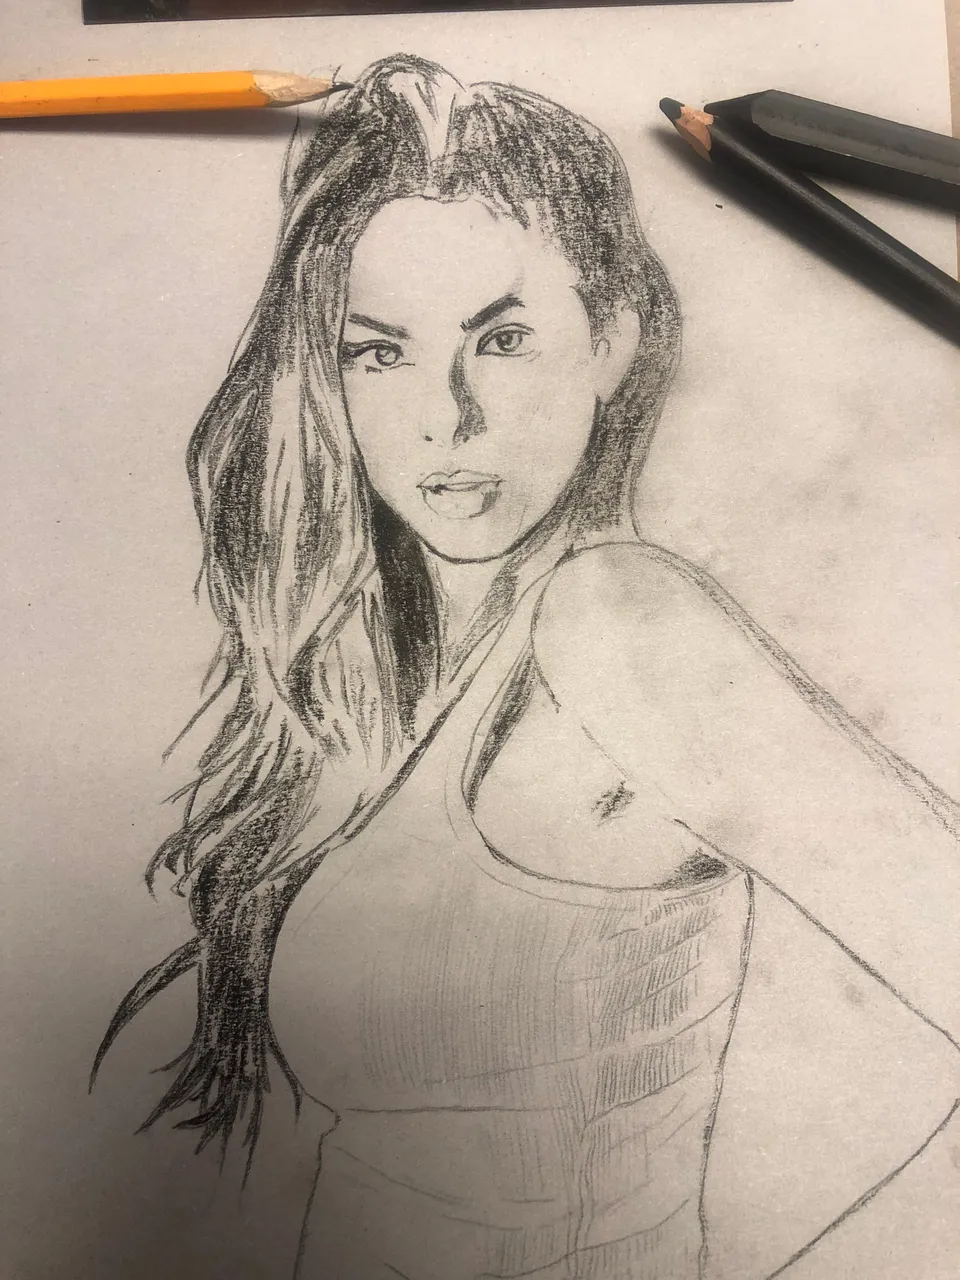
So we the face finished but on the other side and ballooned around the neck we have this solid black shadow. Under the neck where the majority is just a solid black shadow there is this large area of color so you might not be able to achieve the solid black straight away. Applying a lot of pressure we can get something close to a solid black by using charcoal or charcoal pencils. I also work into the ears a little bit and I'm going to go ahead now and color in the hair.
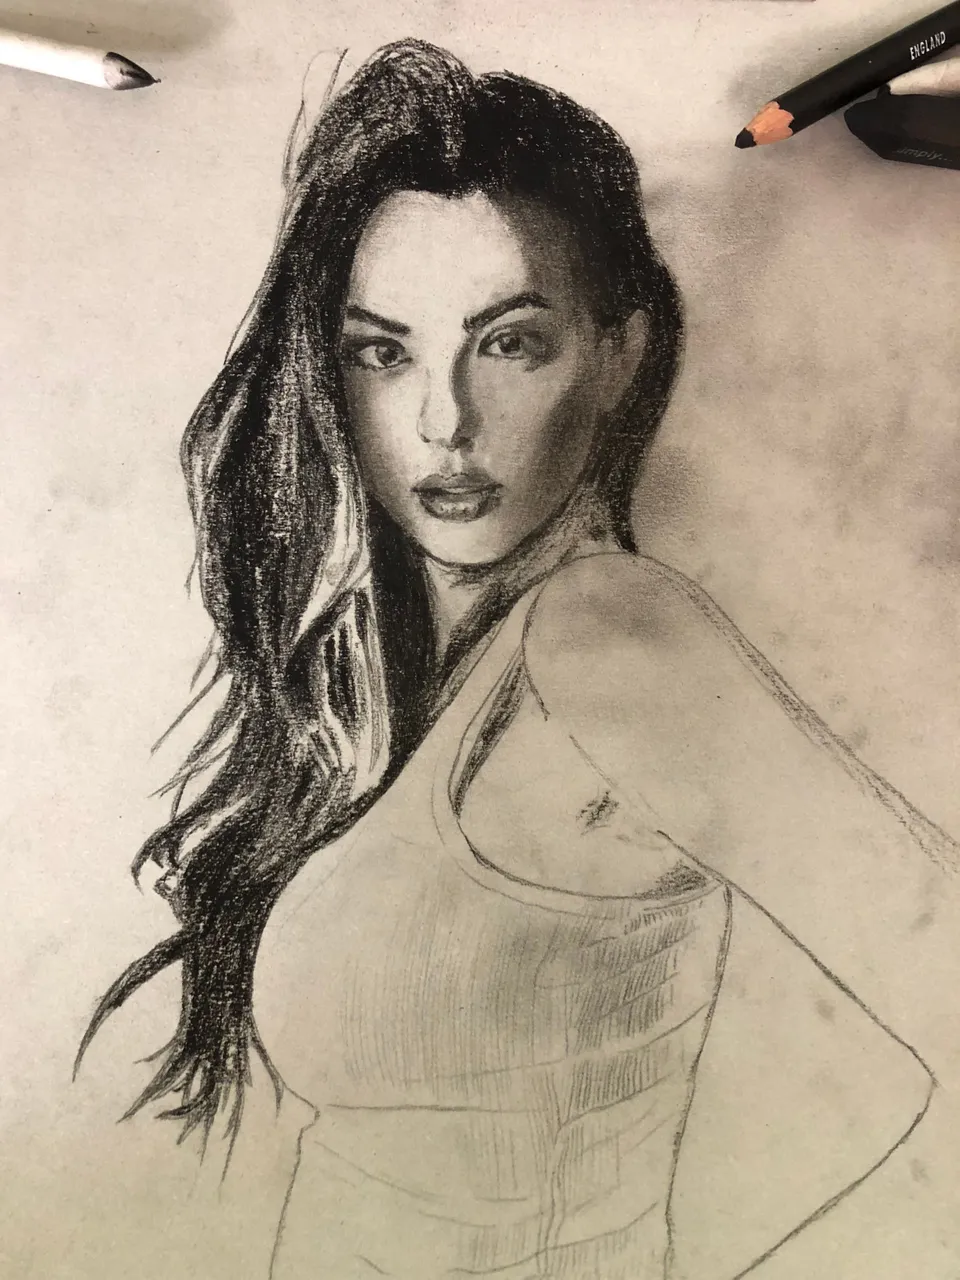
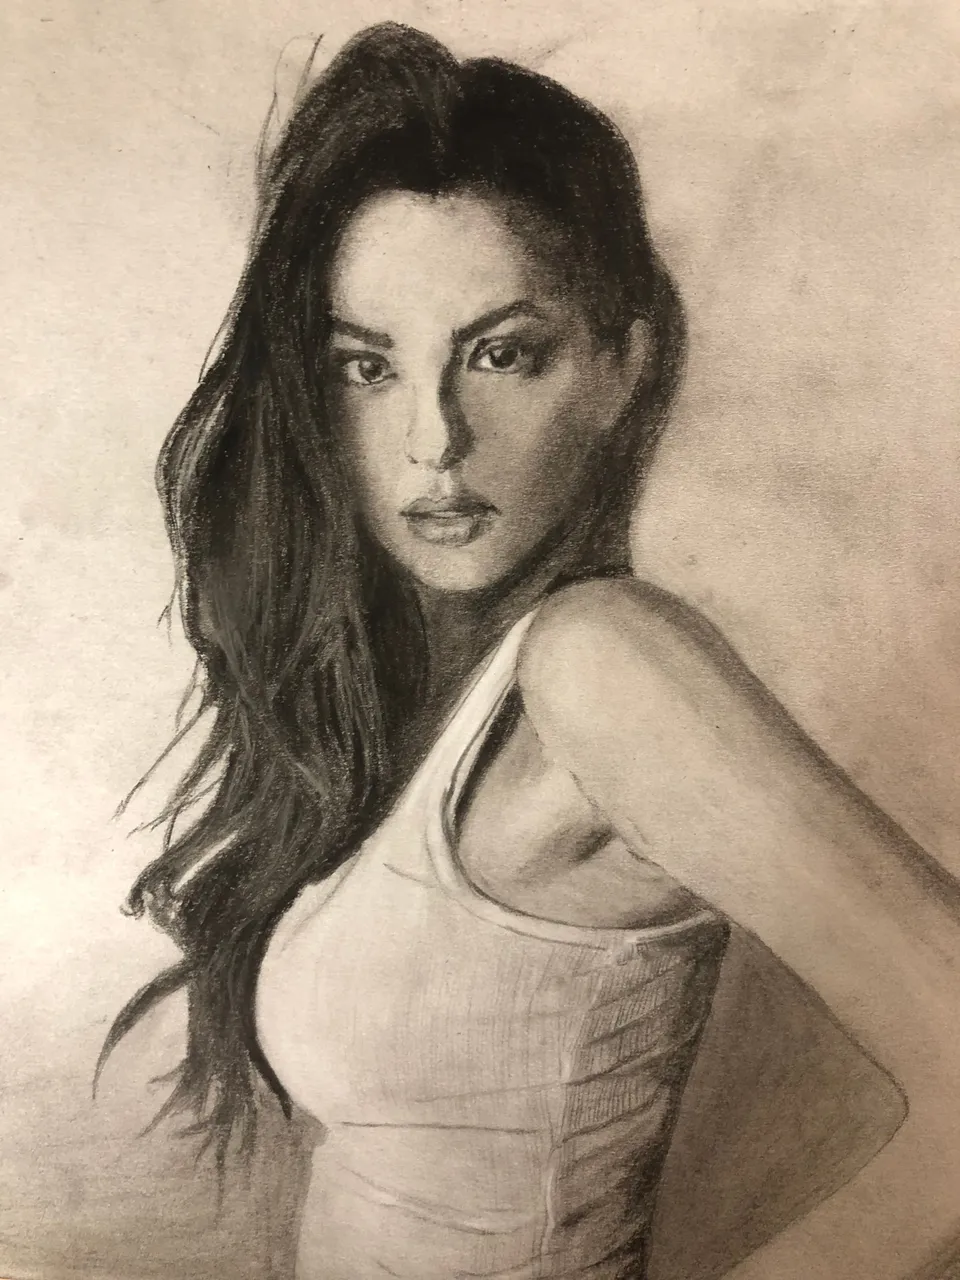
Finally, we have things coming together and looking more realistic we have a base layer and charcoal pencil shading down and we also have blended it to create a smooth gradient. Skin texture which can prove to be quite difficult. Sometimes helpful if you step back and look at the drawing from a different angle and see if everything is looking as good as you want.
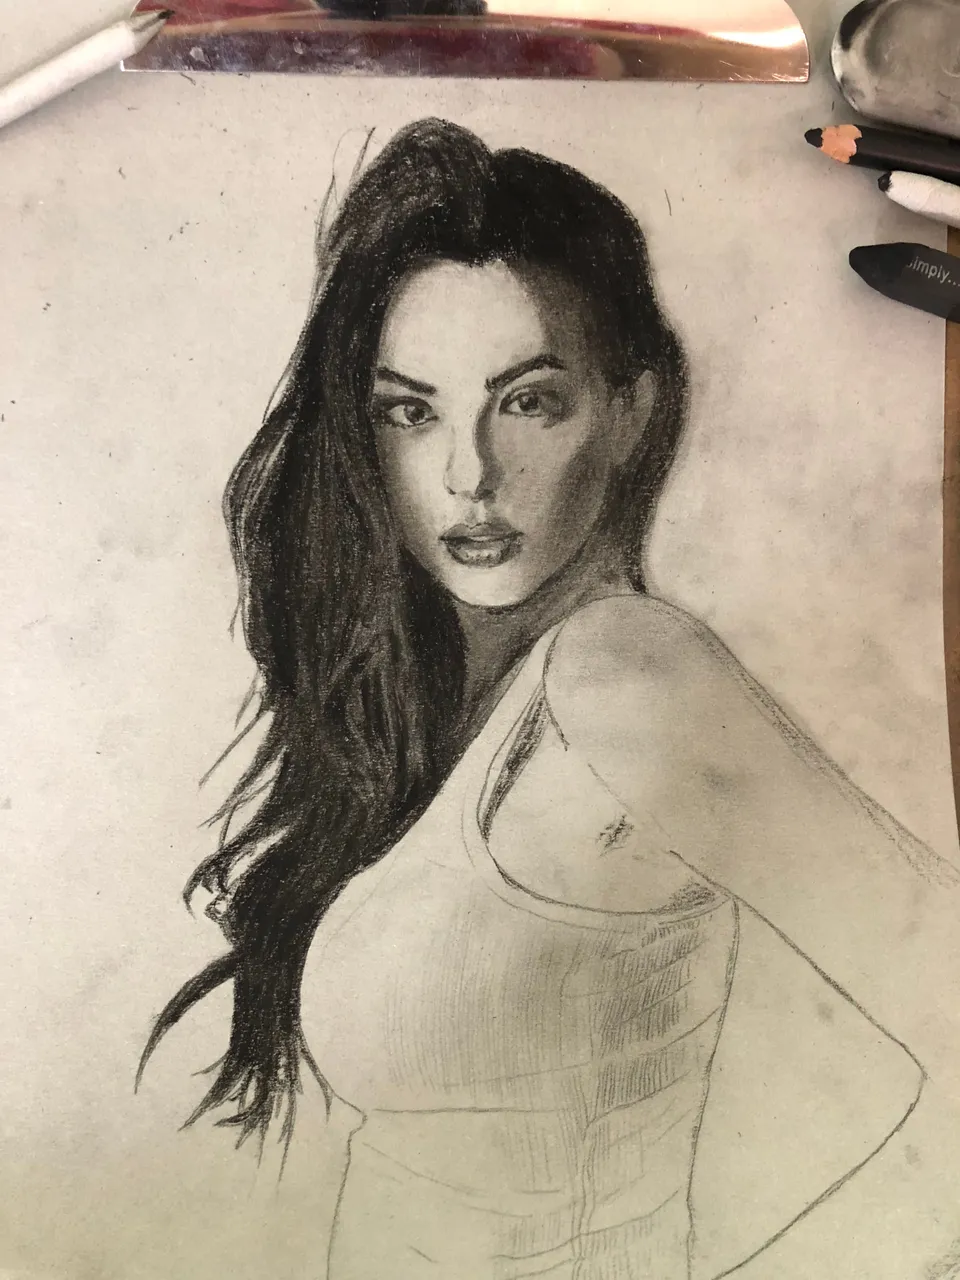
So now that that's done I'm going to move on to the arm and we have a similar texture. So it's pretty much the same process. I'm going to start back cleaning up these edges and going over these shadows a bit. these shadows a bit more on this side of the arm, it's more smooths out. Just by changing the pressure I apply to the paper with the pencil I can different shades and terms.
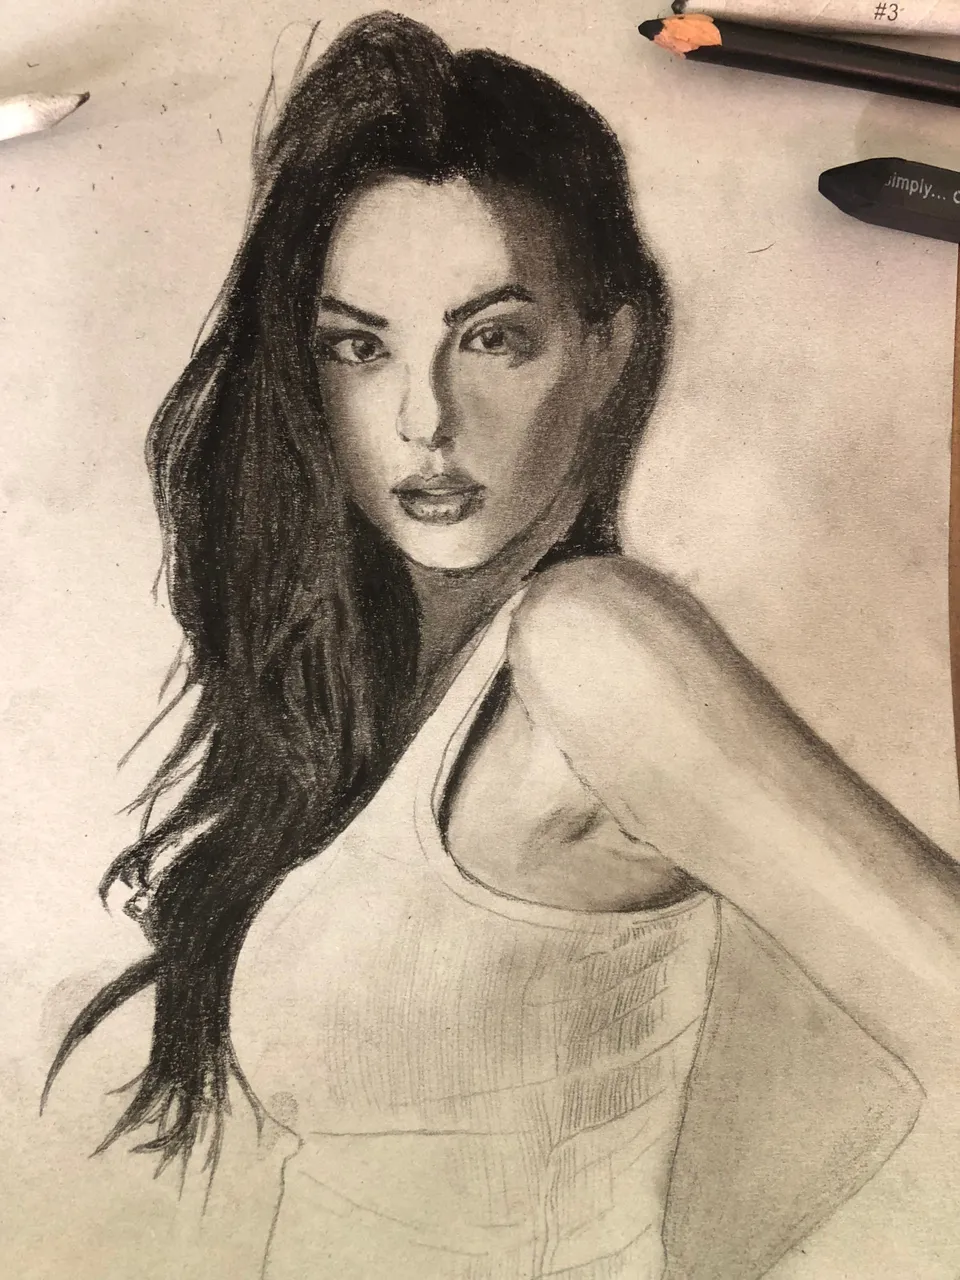
We will have to produce you can see here on the top of the arm and mostly on the shirt because in between them there are the lighter areas and that will bring them out as well. We need to almost match the same turns as the shadow in order for it to stand out. I've also erased some areas of the shadow and filled it in with more of a texture once we have a texture laid down. Looking at the rest of the fabric here it seems to have these vertical lines all over most likely from the stage in our texture of the shirt. Follow the shape of the creases and the shadows on the clothing. When we got that done, we can then we can extend the shadow over the hairs by just going over with white charcoal pencil marks. I always suggest working from light to dark. This is the stage where it's good to review everything and to step back from the whole drawing and see what need more details.
So there we go that pretty much concludes the whole drawing process and this realistic drawing with pencils and charcoal. I look forward to creating more in the future. I want to say thank you for commenting and voting on my pages. You guys are awesome!