

¡Hola de nuevo comunidad! Espero que se encuentren muy bien el día de hoy. 🙏
Como les había comentado en anteriores publicaciones, he estado trabajando en varias ilustraciones casi que al mismo tiempo, tratando de organizarme un poco mejor para estar mas activo dentro de la red.
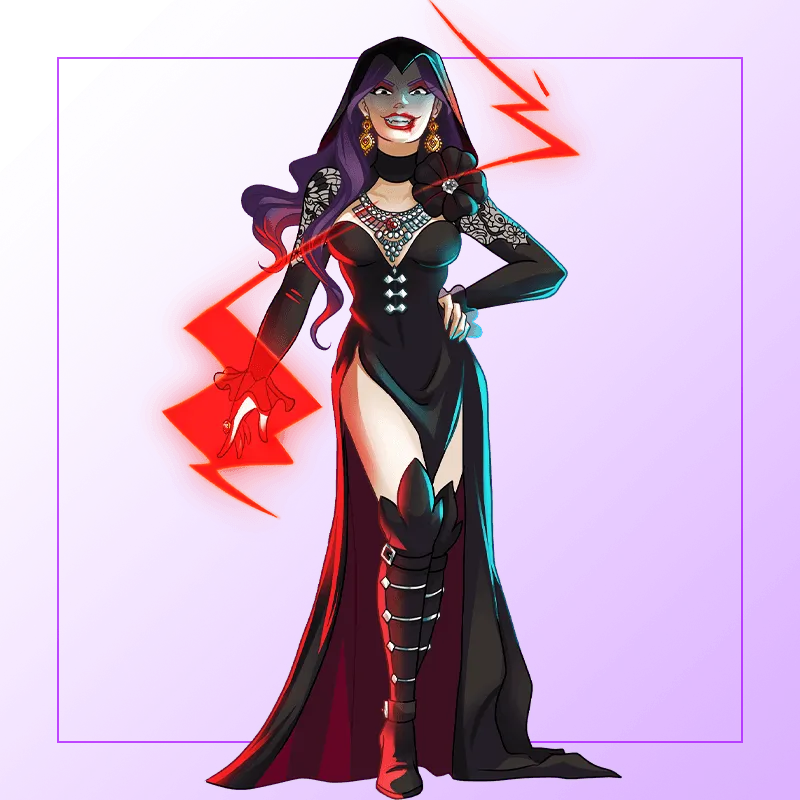
Finalmente he culminado una de ellas la cual me gusto muchísimo y que quiero agregar a mi portafolio personal si no hay problema, se trata de un fanart del personaje Lira the Dark de @splinterlands, sin duda es un diseño que llevaba mucho tiempo con ganas de hacer y hasta ahora fue que pude realizar mi propia versión del personaje, en esta ilustración me vi altamente influenciado por el anime para el diseño y estuve utilizando varios recursos y acabados que en lo personal considero que quedaron muy bien con el personaje. Espero les guste esta versión y sin mas les comparto un poco de mi proceso creativo.
! [English version]
Hello again community! I hope you are doing well today. 🙏 As I told you in previous posts, I've been working on several illustrations almost at the same time, trying to organize myself a bit better to be more active on the net.
Finally I have finished one of them which I really liked and I want to add to my personal portfolio if there is no problem, it is a fanart of the character Lira the Dark from @splinterlands, it is certainly a design that I had long wanted to do and until now I could make my own version of the character, in this illustration I was highly influenced by the anime for the design and I was using various resources and finishes that I personally consider that they were very well with the character. I hope you like this version and without further ado I'll share with you a little bit of my creative process.
Creative Process | Proceso Creativo📘✏️
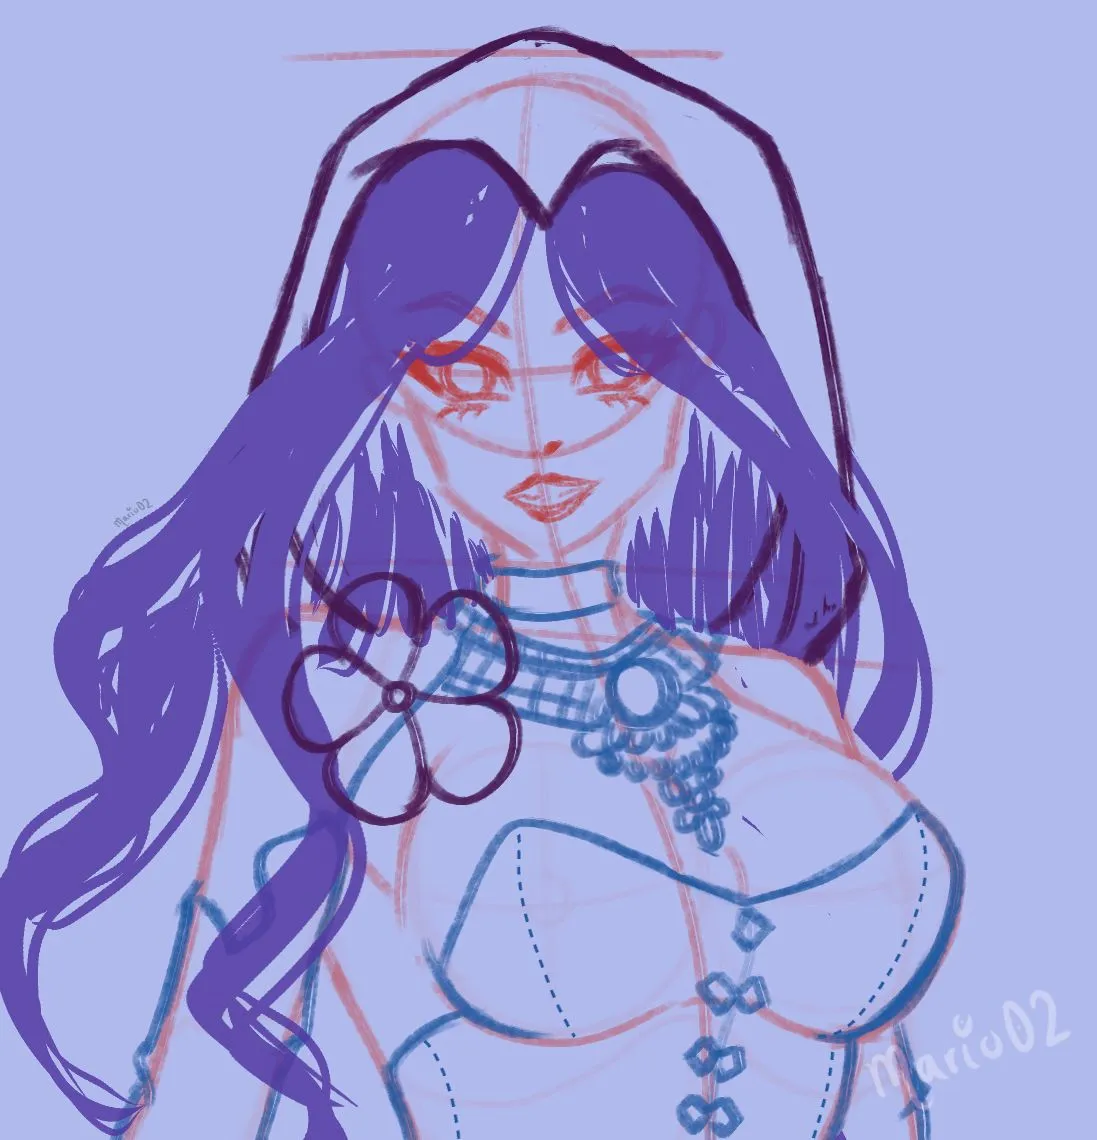
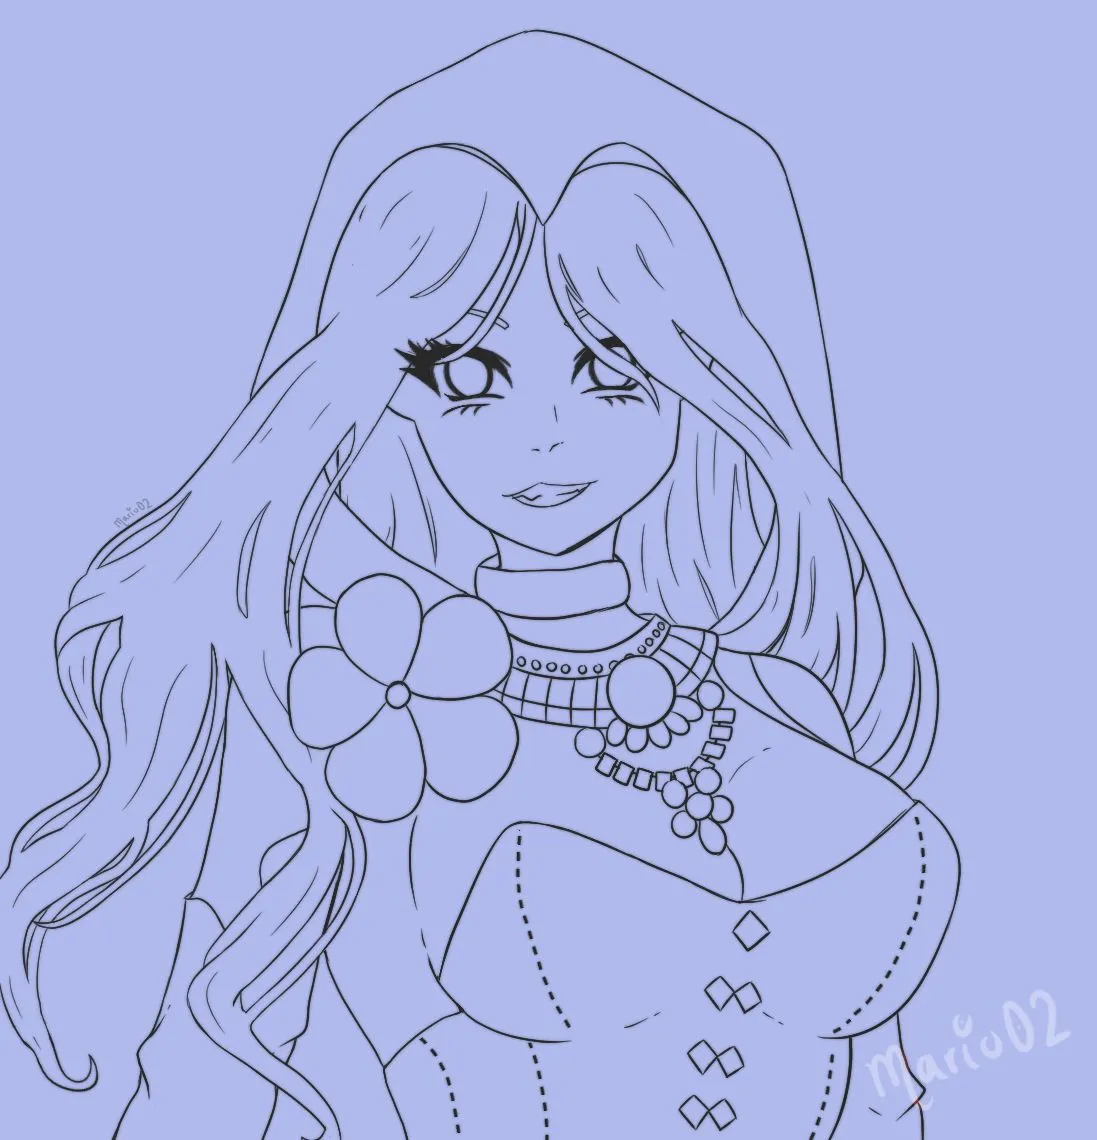
Comencé realizando el boceto para esta ilustración y quise mostrarles un poco mas el como llevo a cabo mi proceso. Siempre separo por capas y colores cada elemento del personaje. Para el cabello, en este caso utilicé una técnica de silueta para definir los límites y la forma del cabello sin trazar líneas. Luego, apliqué un lineart con un pincel delgado y uniforme sin textura.
! [English version]
I started making the sketch for this illustration and I wanted to show you a little bit more about how I carry out my process. I always separate each element of the character by layers and colours. For the hair, in this case I used a silhouette technique to define the boundaries and shape of the hair without drawing lines. Then, I applied a lineart with a thin, even brush without texture.
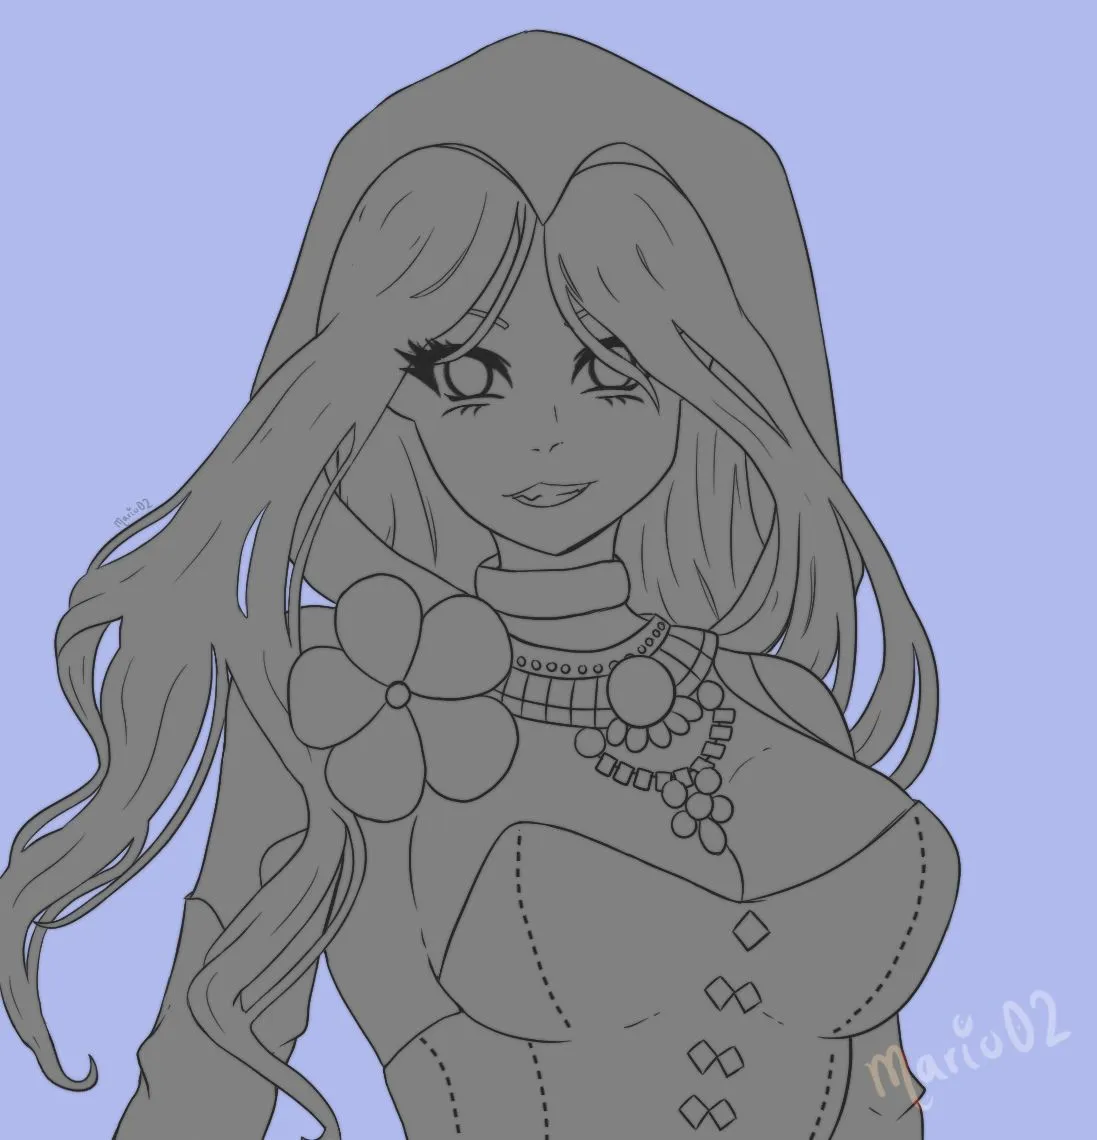
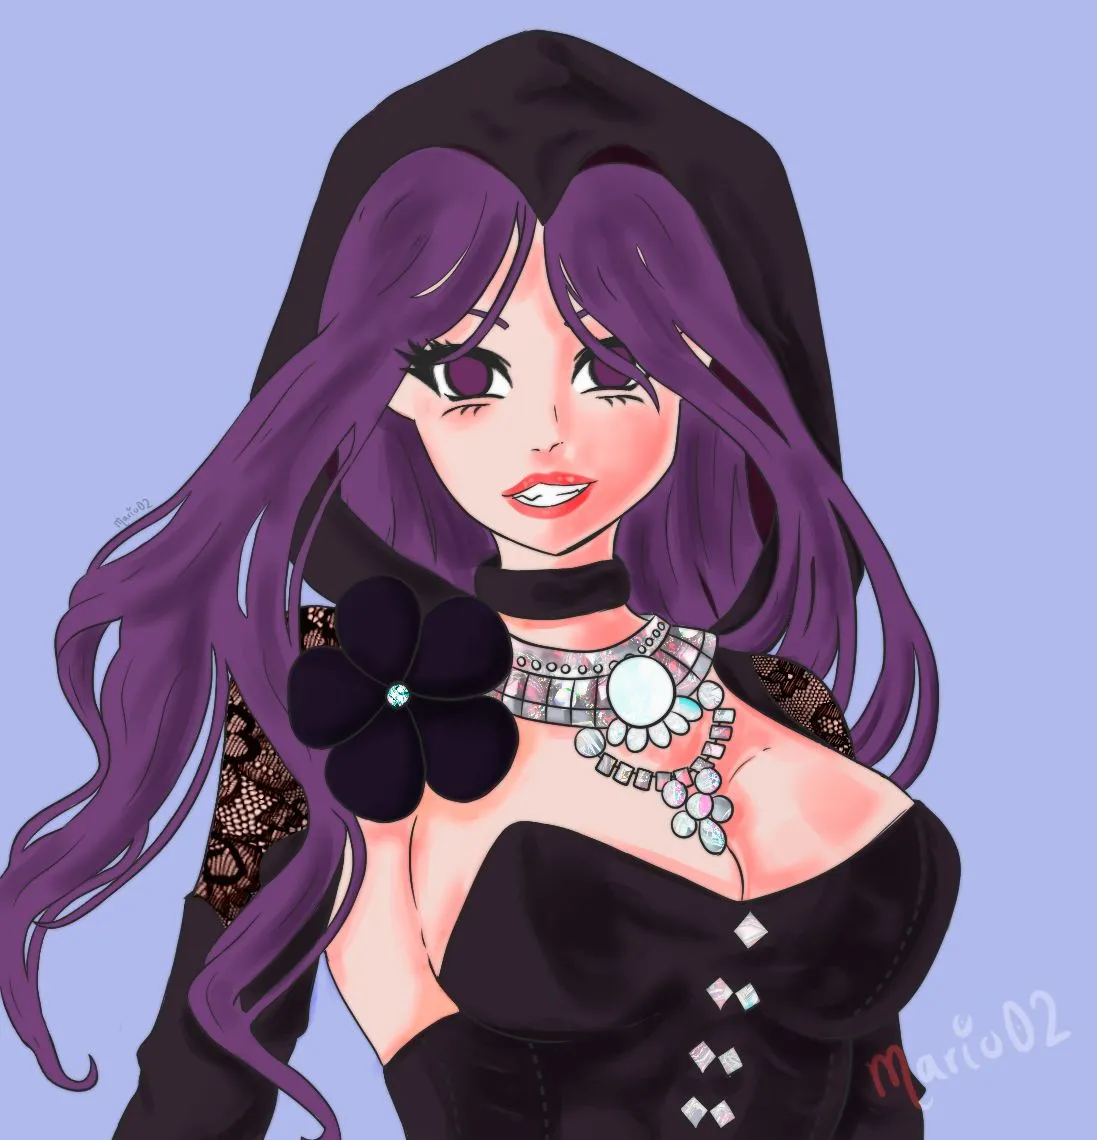
Después de terminar con las líneas, rellene con un color gris todo el personaje para luego comenzar a agregar los colores base que tendría el personaje, guiándome de la referencia original pero variando los tonos y saturación de la referencia. Luego hice uso de una textura de encaje la cual coloque en los brazos del personaje.
! [English version]
After finishing with the lines, I filled with a grey colour all the character and then I started to add the base colours that the character would have, following the original reference but varying the tones and saturation of the reference. Then I made use of a lace texture which I placed on the arms of the character.
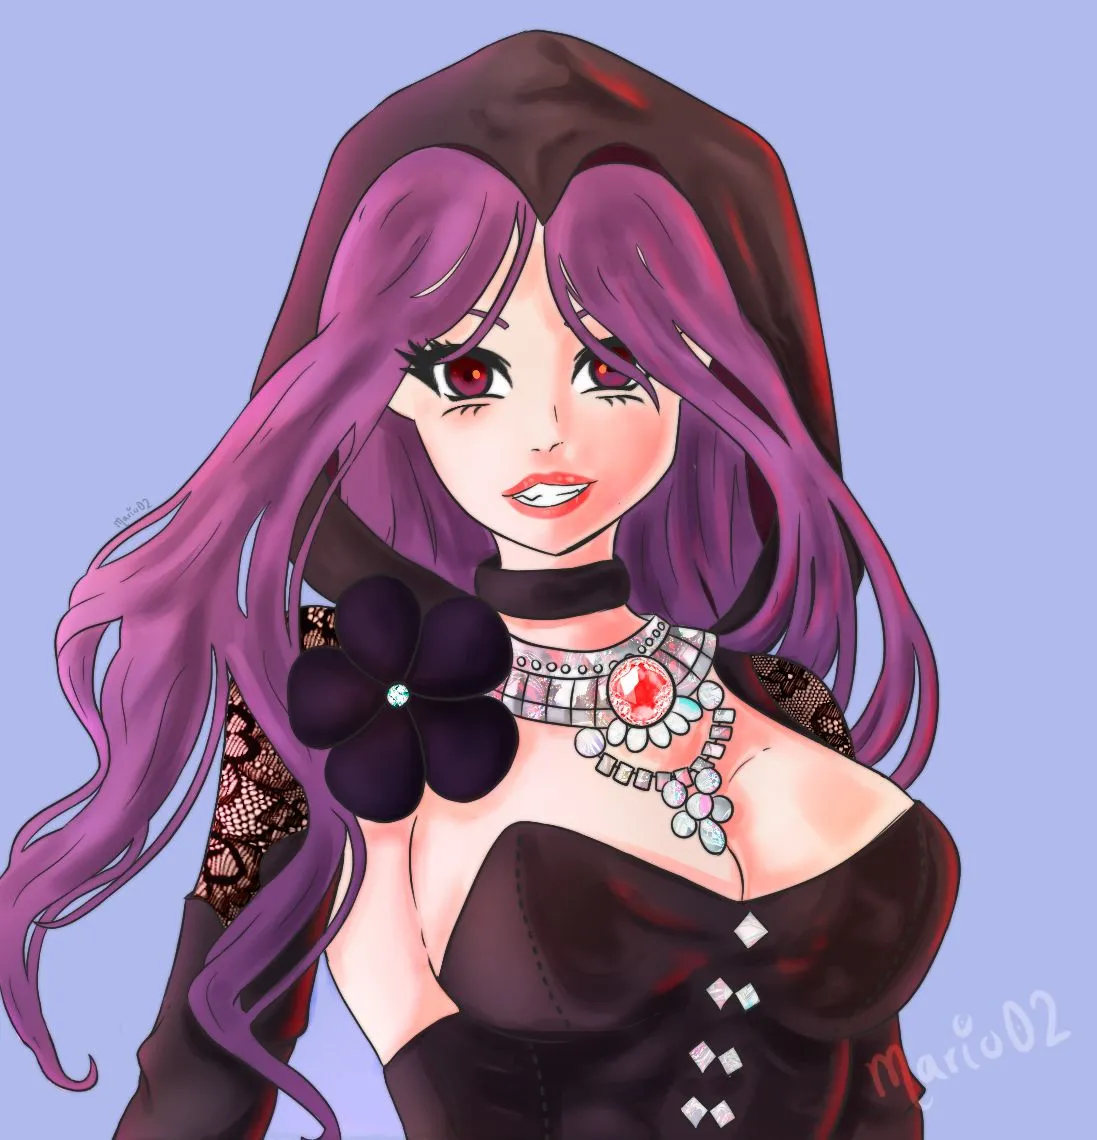
En una nueva capa trabajé en las sombras, aquí pensé en hacer un coloreado tipo cell shading pero opte por un acabado mas suave, el cual suelo hacer un poco mas rápido que sombras duras. En este punto utilice un pincel de baja opacidad el cual me permitió jugar con las texturas y acabados de los elementos.
Luego trabaje las iluminaciones en una nueva capa, aquí me fue de gran ayuda los modos de fusión de capa, específicamente el de superponer lo estuve utilizando mucho para agregar las luces necesarias. También utilice una contraluz de color rojo y agregue algunos acabados al collar del personaje y por ultimo trabaje en sus ojos.
! [English version]
In a new layer I worked on the shadows, here I thought about doing a cell shading type colouring but I opted for a softer finish, which I usually do a bit faster than hard shadows. At this point I used a low opacity brush which allowed me to play with the textures and finishes of the elements.
Then I worked on the lights in a new layer, here I found the layer blending modes very helpful, specifically the overlay mode I was using it a lot to add the necessary lights. I also used a red backlight and added some finishing touches to the character's necklace and finally I worked on his eyes.
Final Art | Arte Final
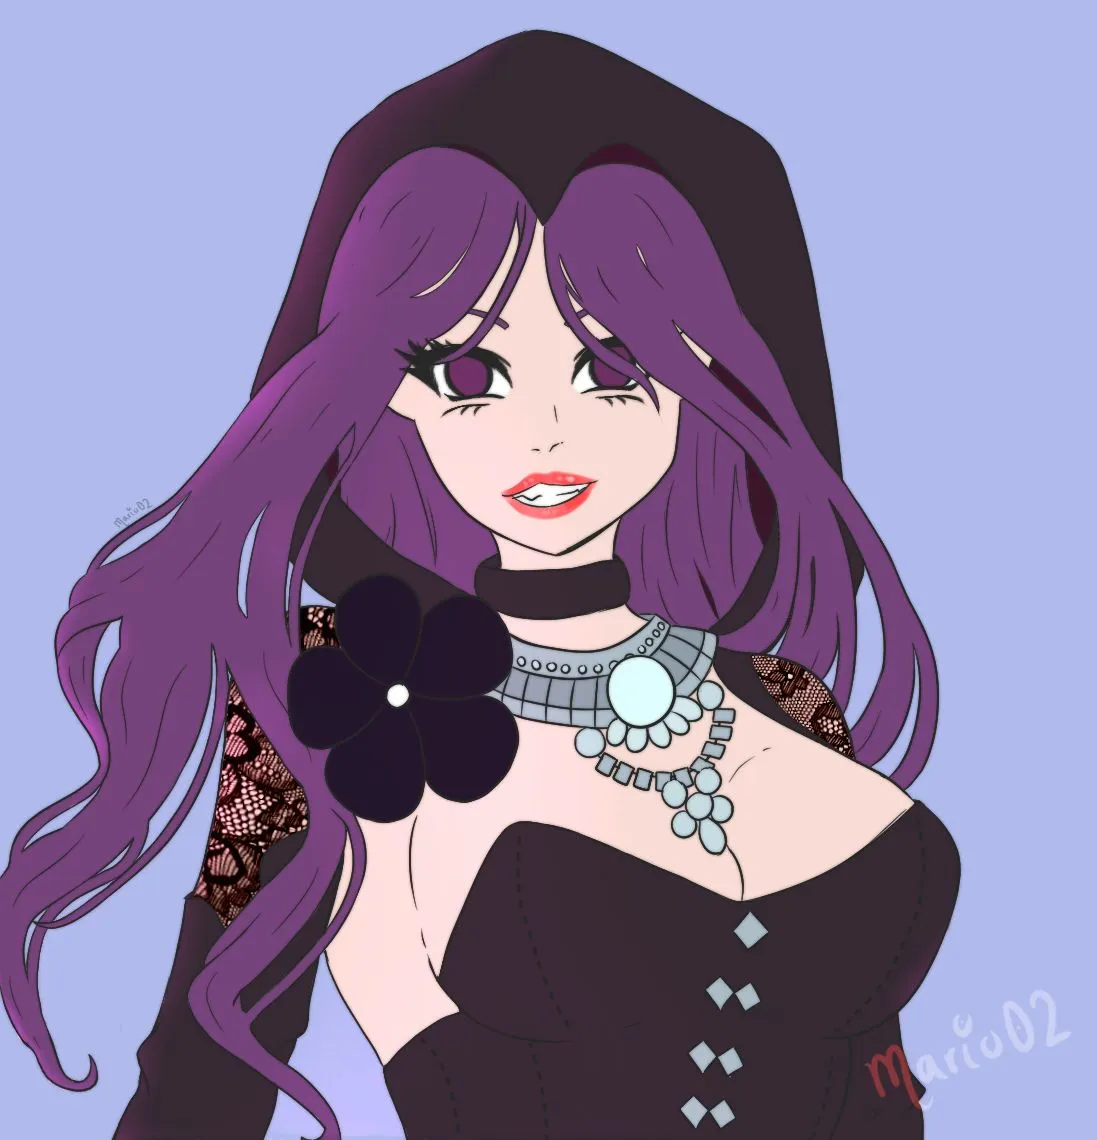
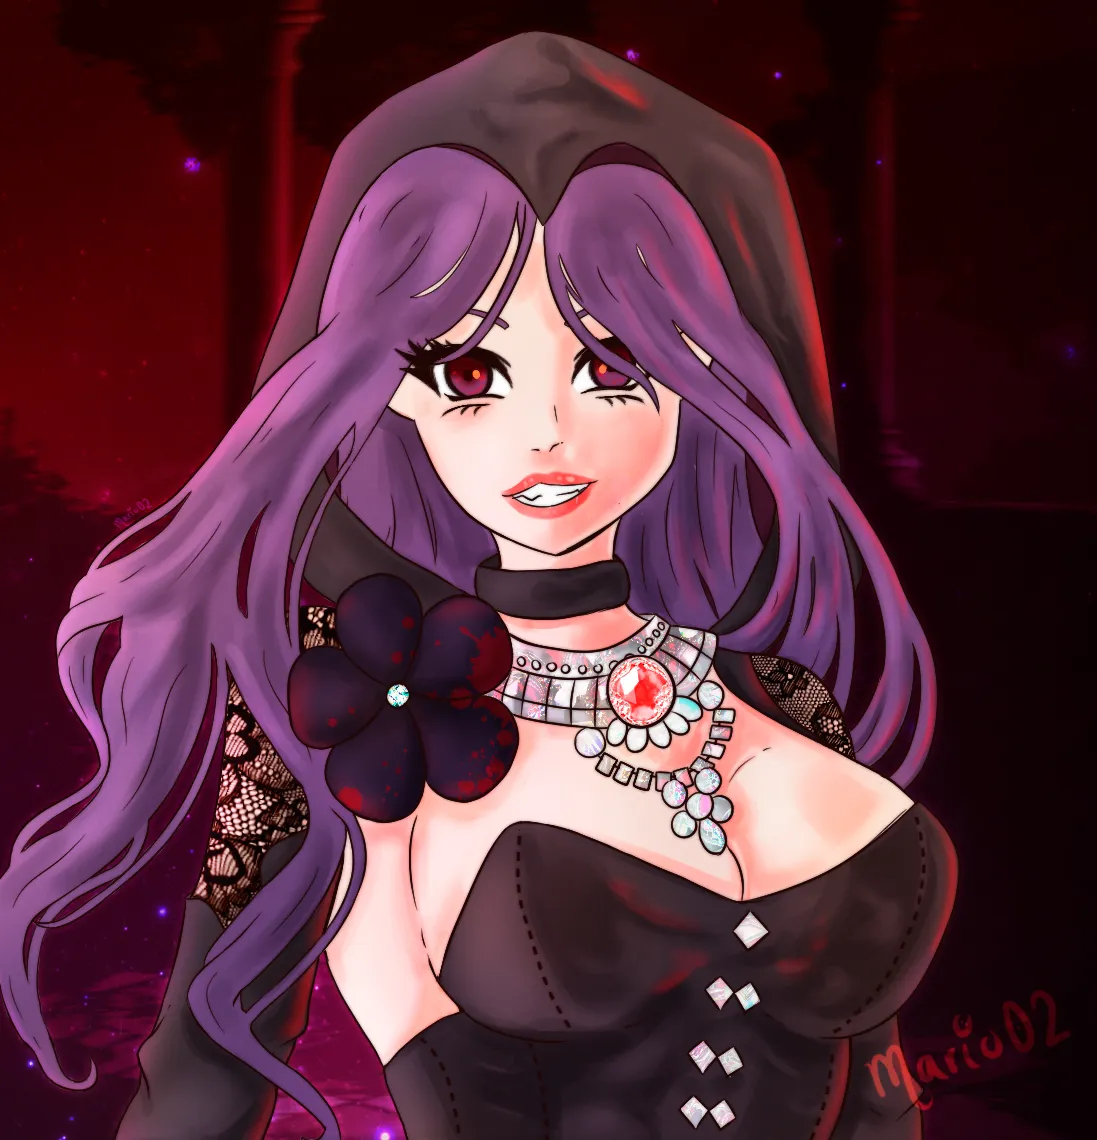
Para finalizar hice un pequeño fondo para presentar al personaje, utilice algunos degradados y efectos de partículas para lograr un efecto algo mágico, también agregue algunos detalles y hice algunas correcciones en los tonos, ¿Que les pareció este fanart? Espero les haya gustado y nos vemos en un próximo post.
¡Muchas gracias por todo el apoyo! 🙏
! [English version]
Finally I made a small background to present the character, I used some gradients and particle effects to achieve a magical effect, I also added some details and made some corrections in the tones, what did you think about this fanart? I hope you liked it and see you in a next post.
Thanks so much for all the support! 🙏
Tools Used | Herramientas Utilizadas:
- Photoshop CC versión 64 bits
- Tablet Huion H610 PRO V2
REFERENCE
The illustration and separators used in the post are my property.
Translated with DeepL (free versión)