
As promised, Victor |
 @wwwiebe
Digital Pinhole Camera
Blurry Experiment
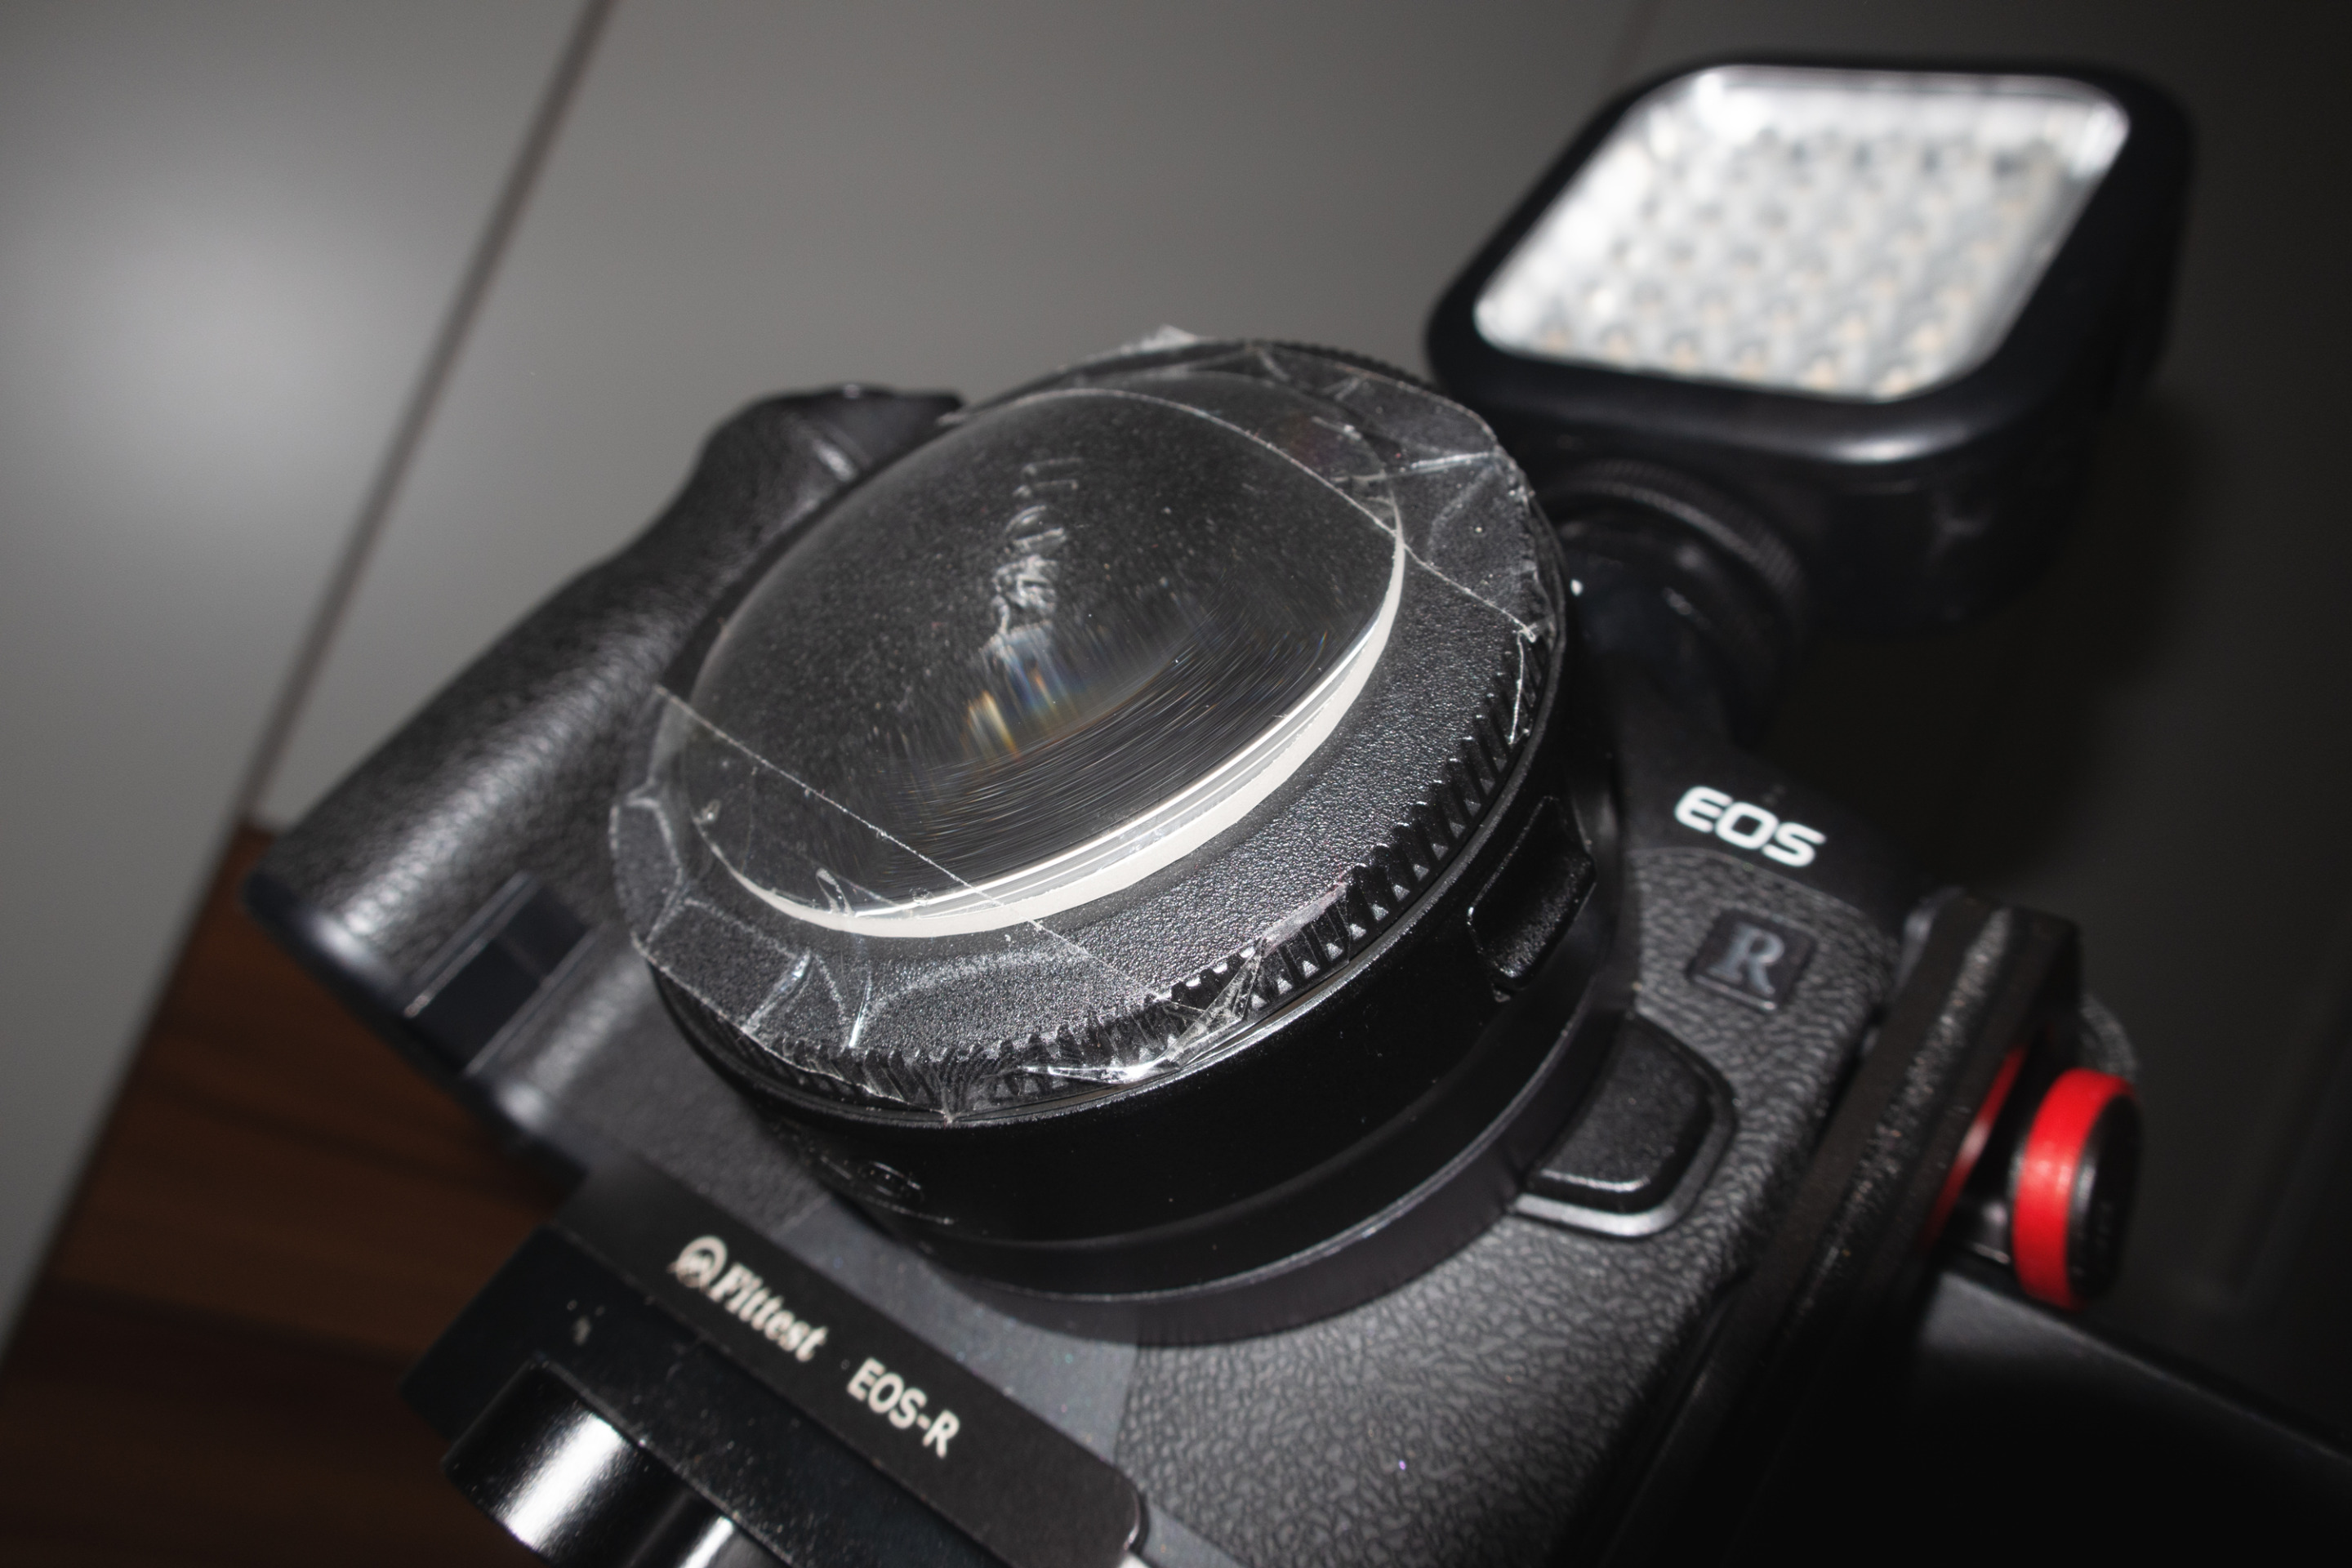
Thanks to Victor's post Behind the Photo: The Digital Pinhole Camera I already knew what to do and with this knowledge in mind I thought I couldn't make any mistakes 😉 but I dameged two needles before I decided to take a small nail which I hammered through the only camera body cap I have got for my Canon EOS R ;) |
Canon G9X
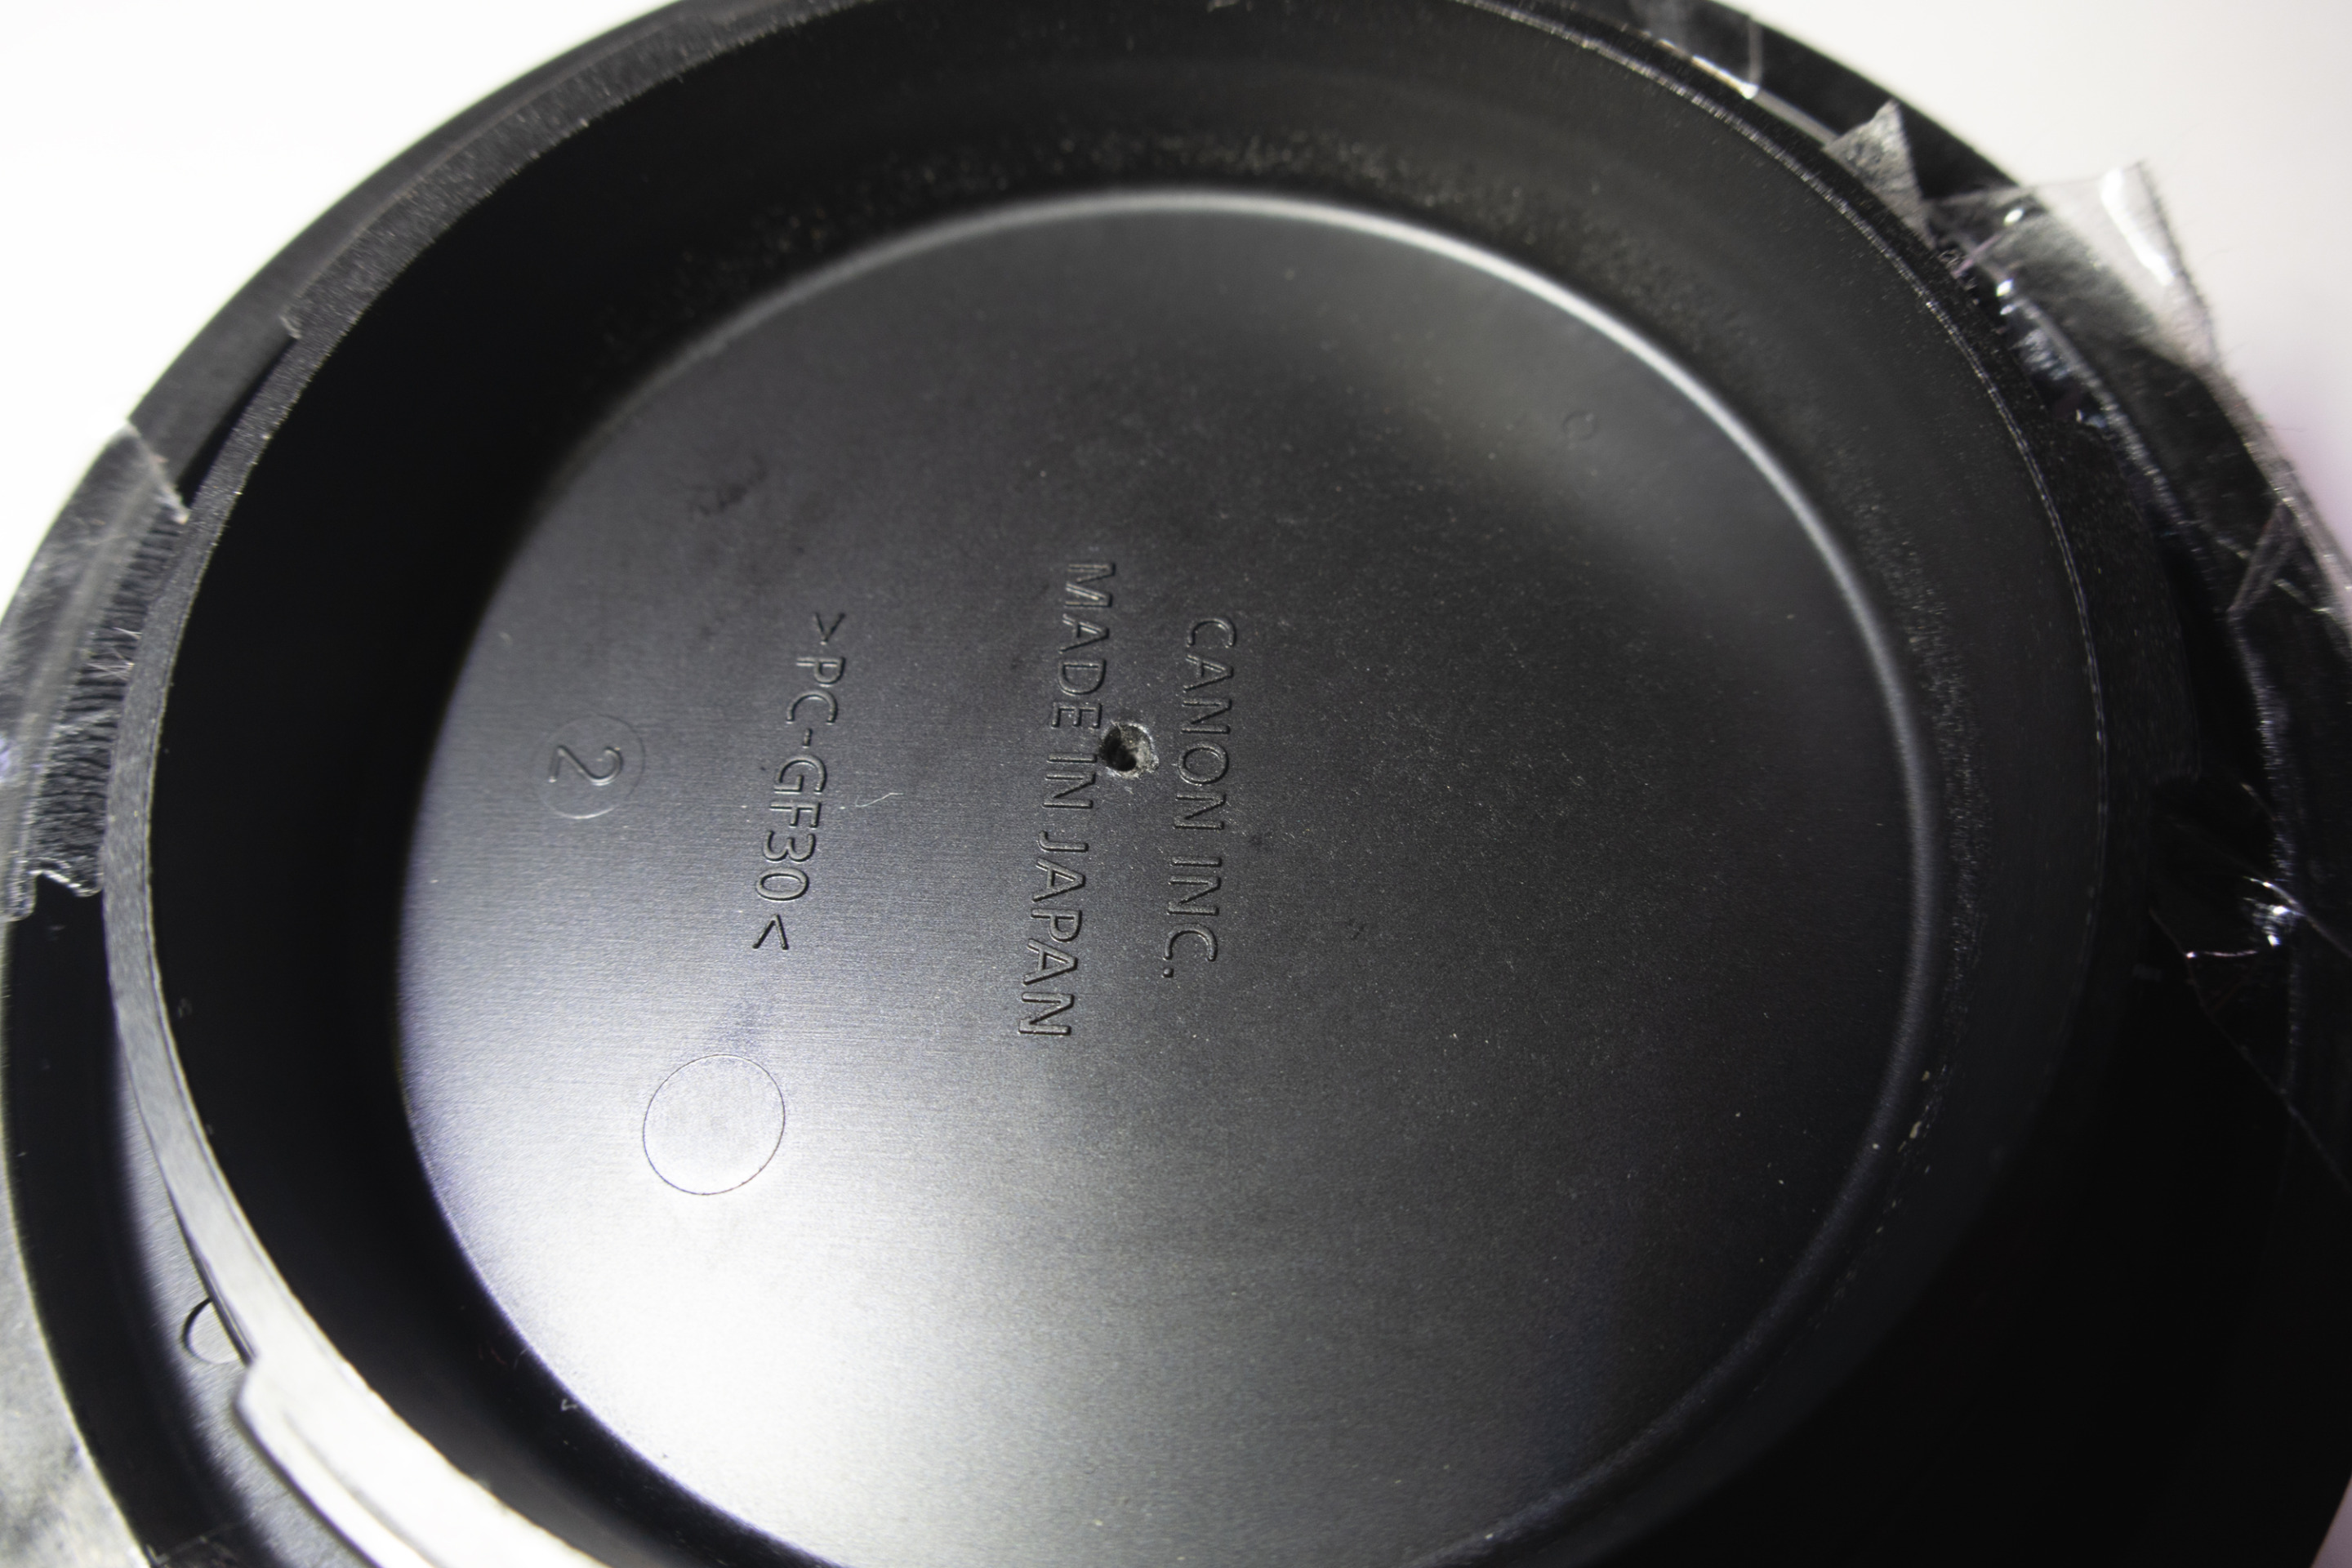
Thinking of Victor's / Some adhesive tape was useful to attach the lens to the cap and voilà, my new pinhole lens was ready to shoot. |
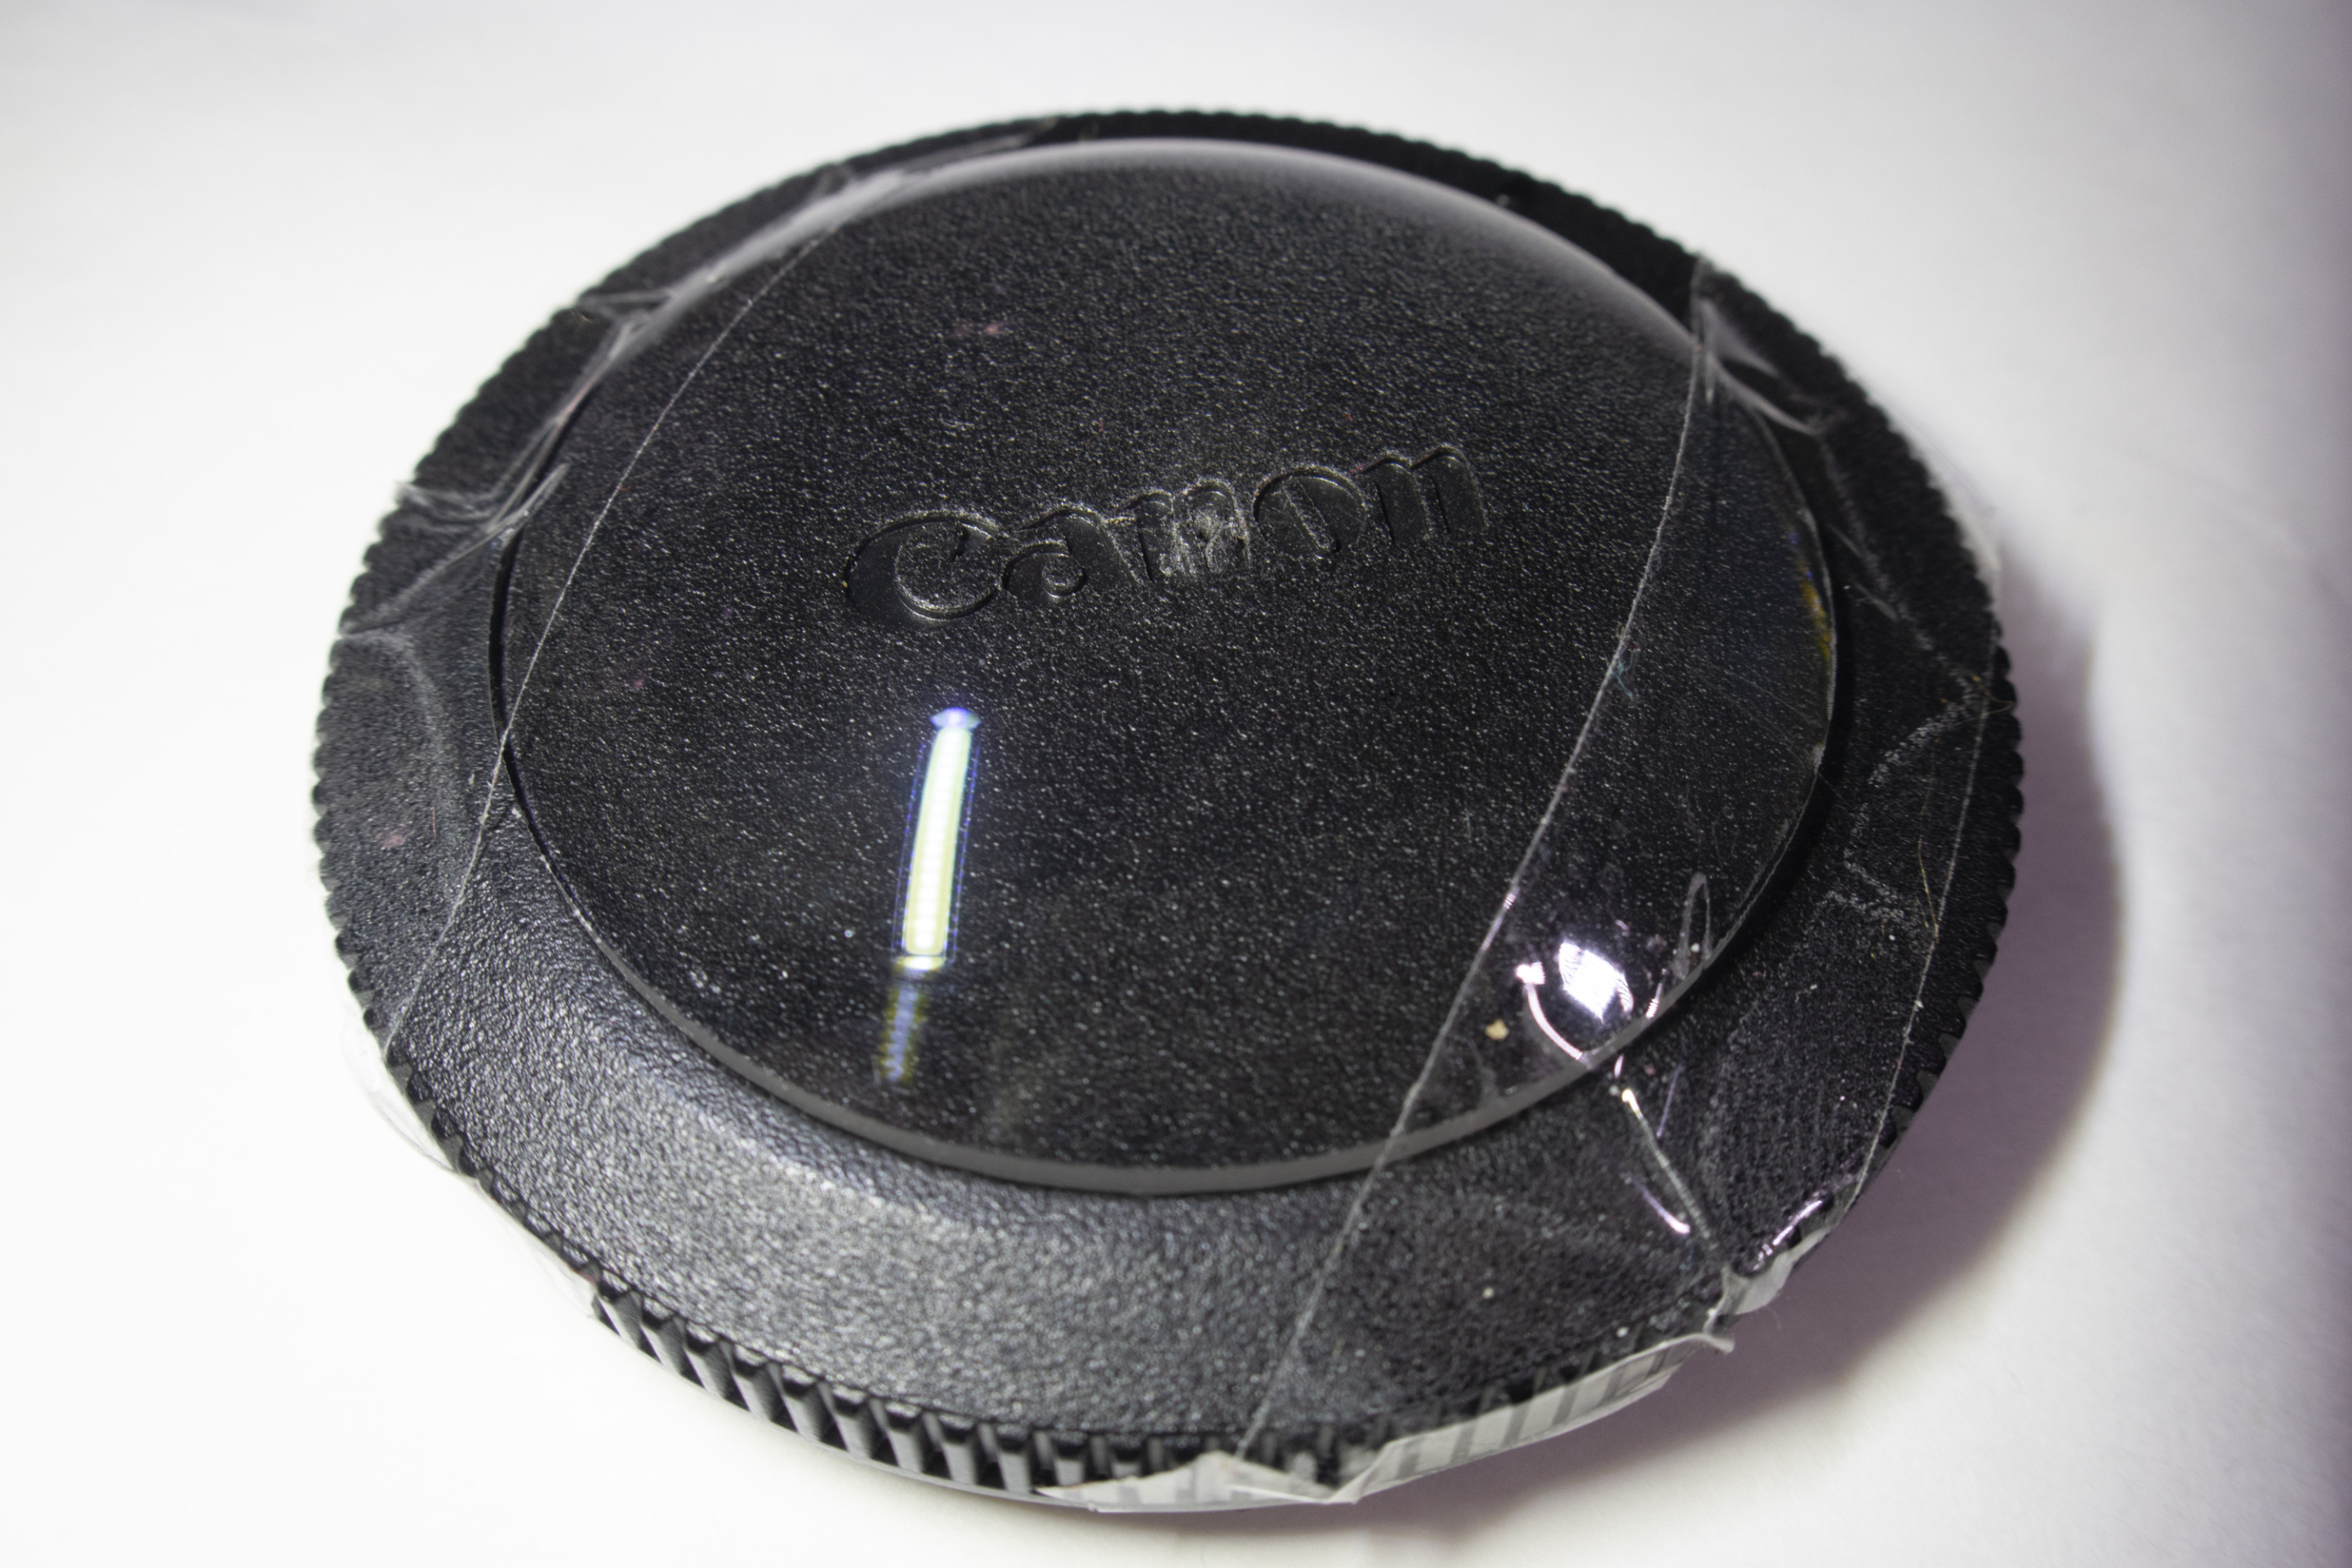 Canon G9X | 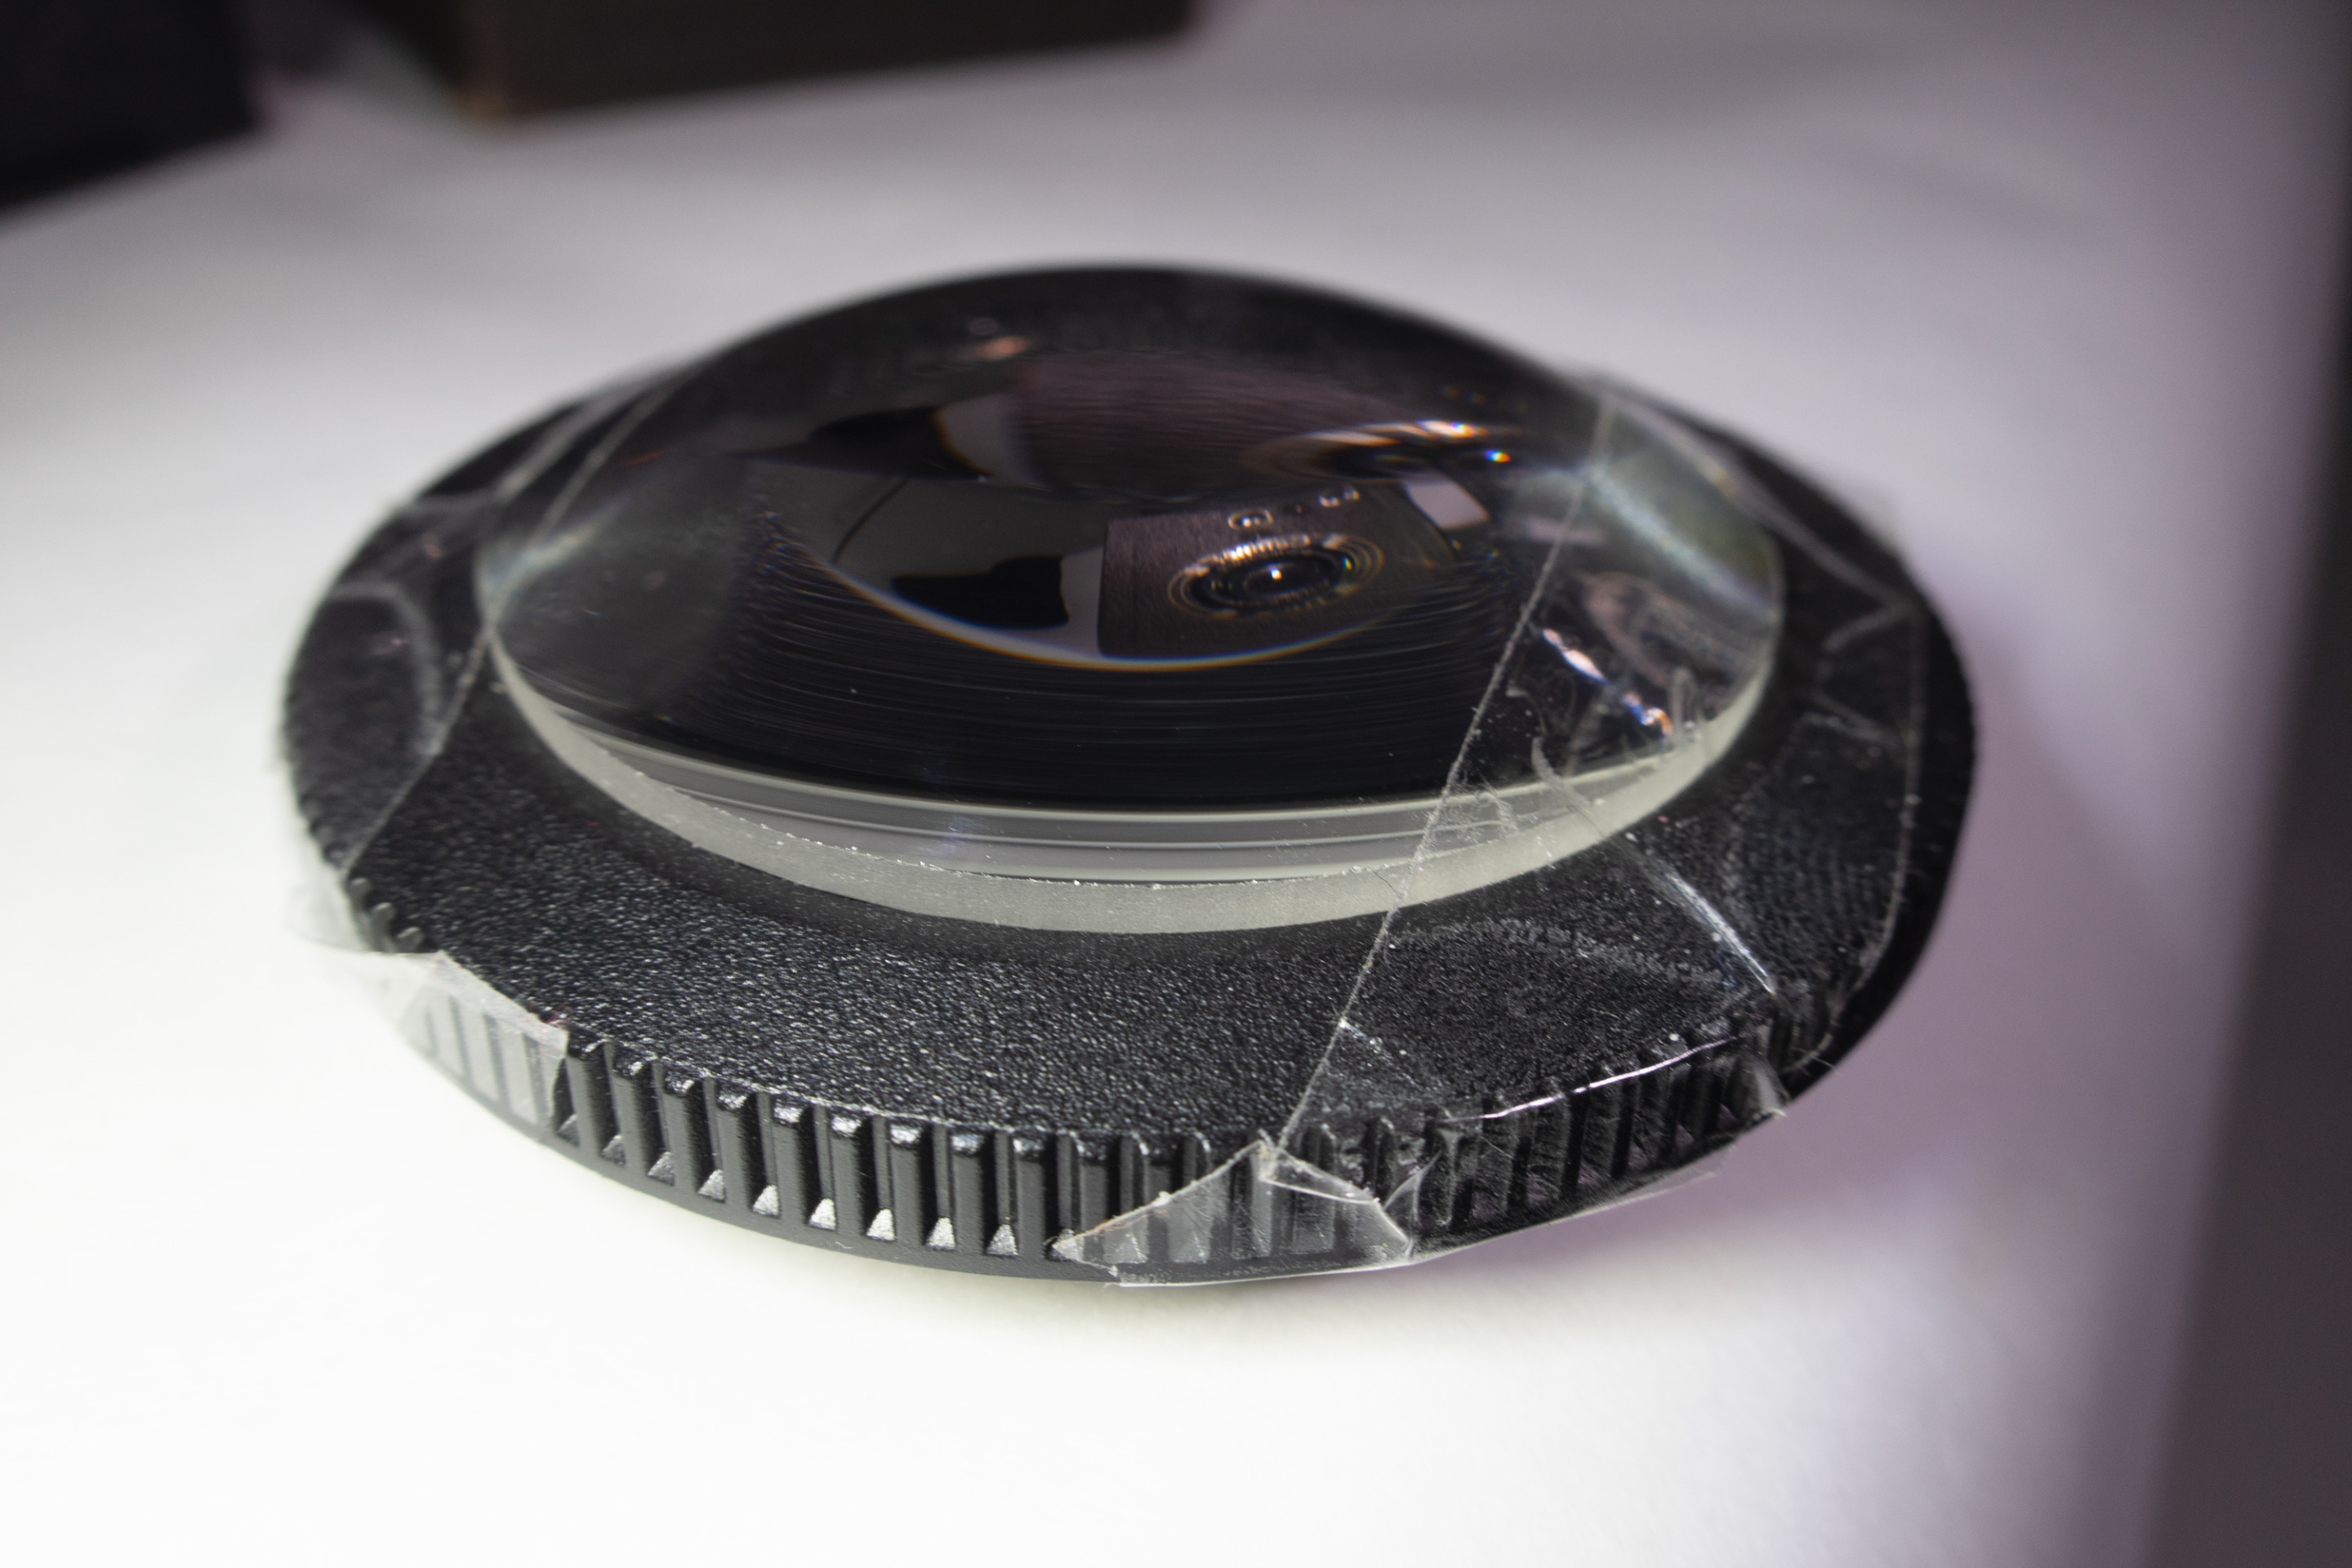 Canon G9X |
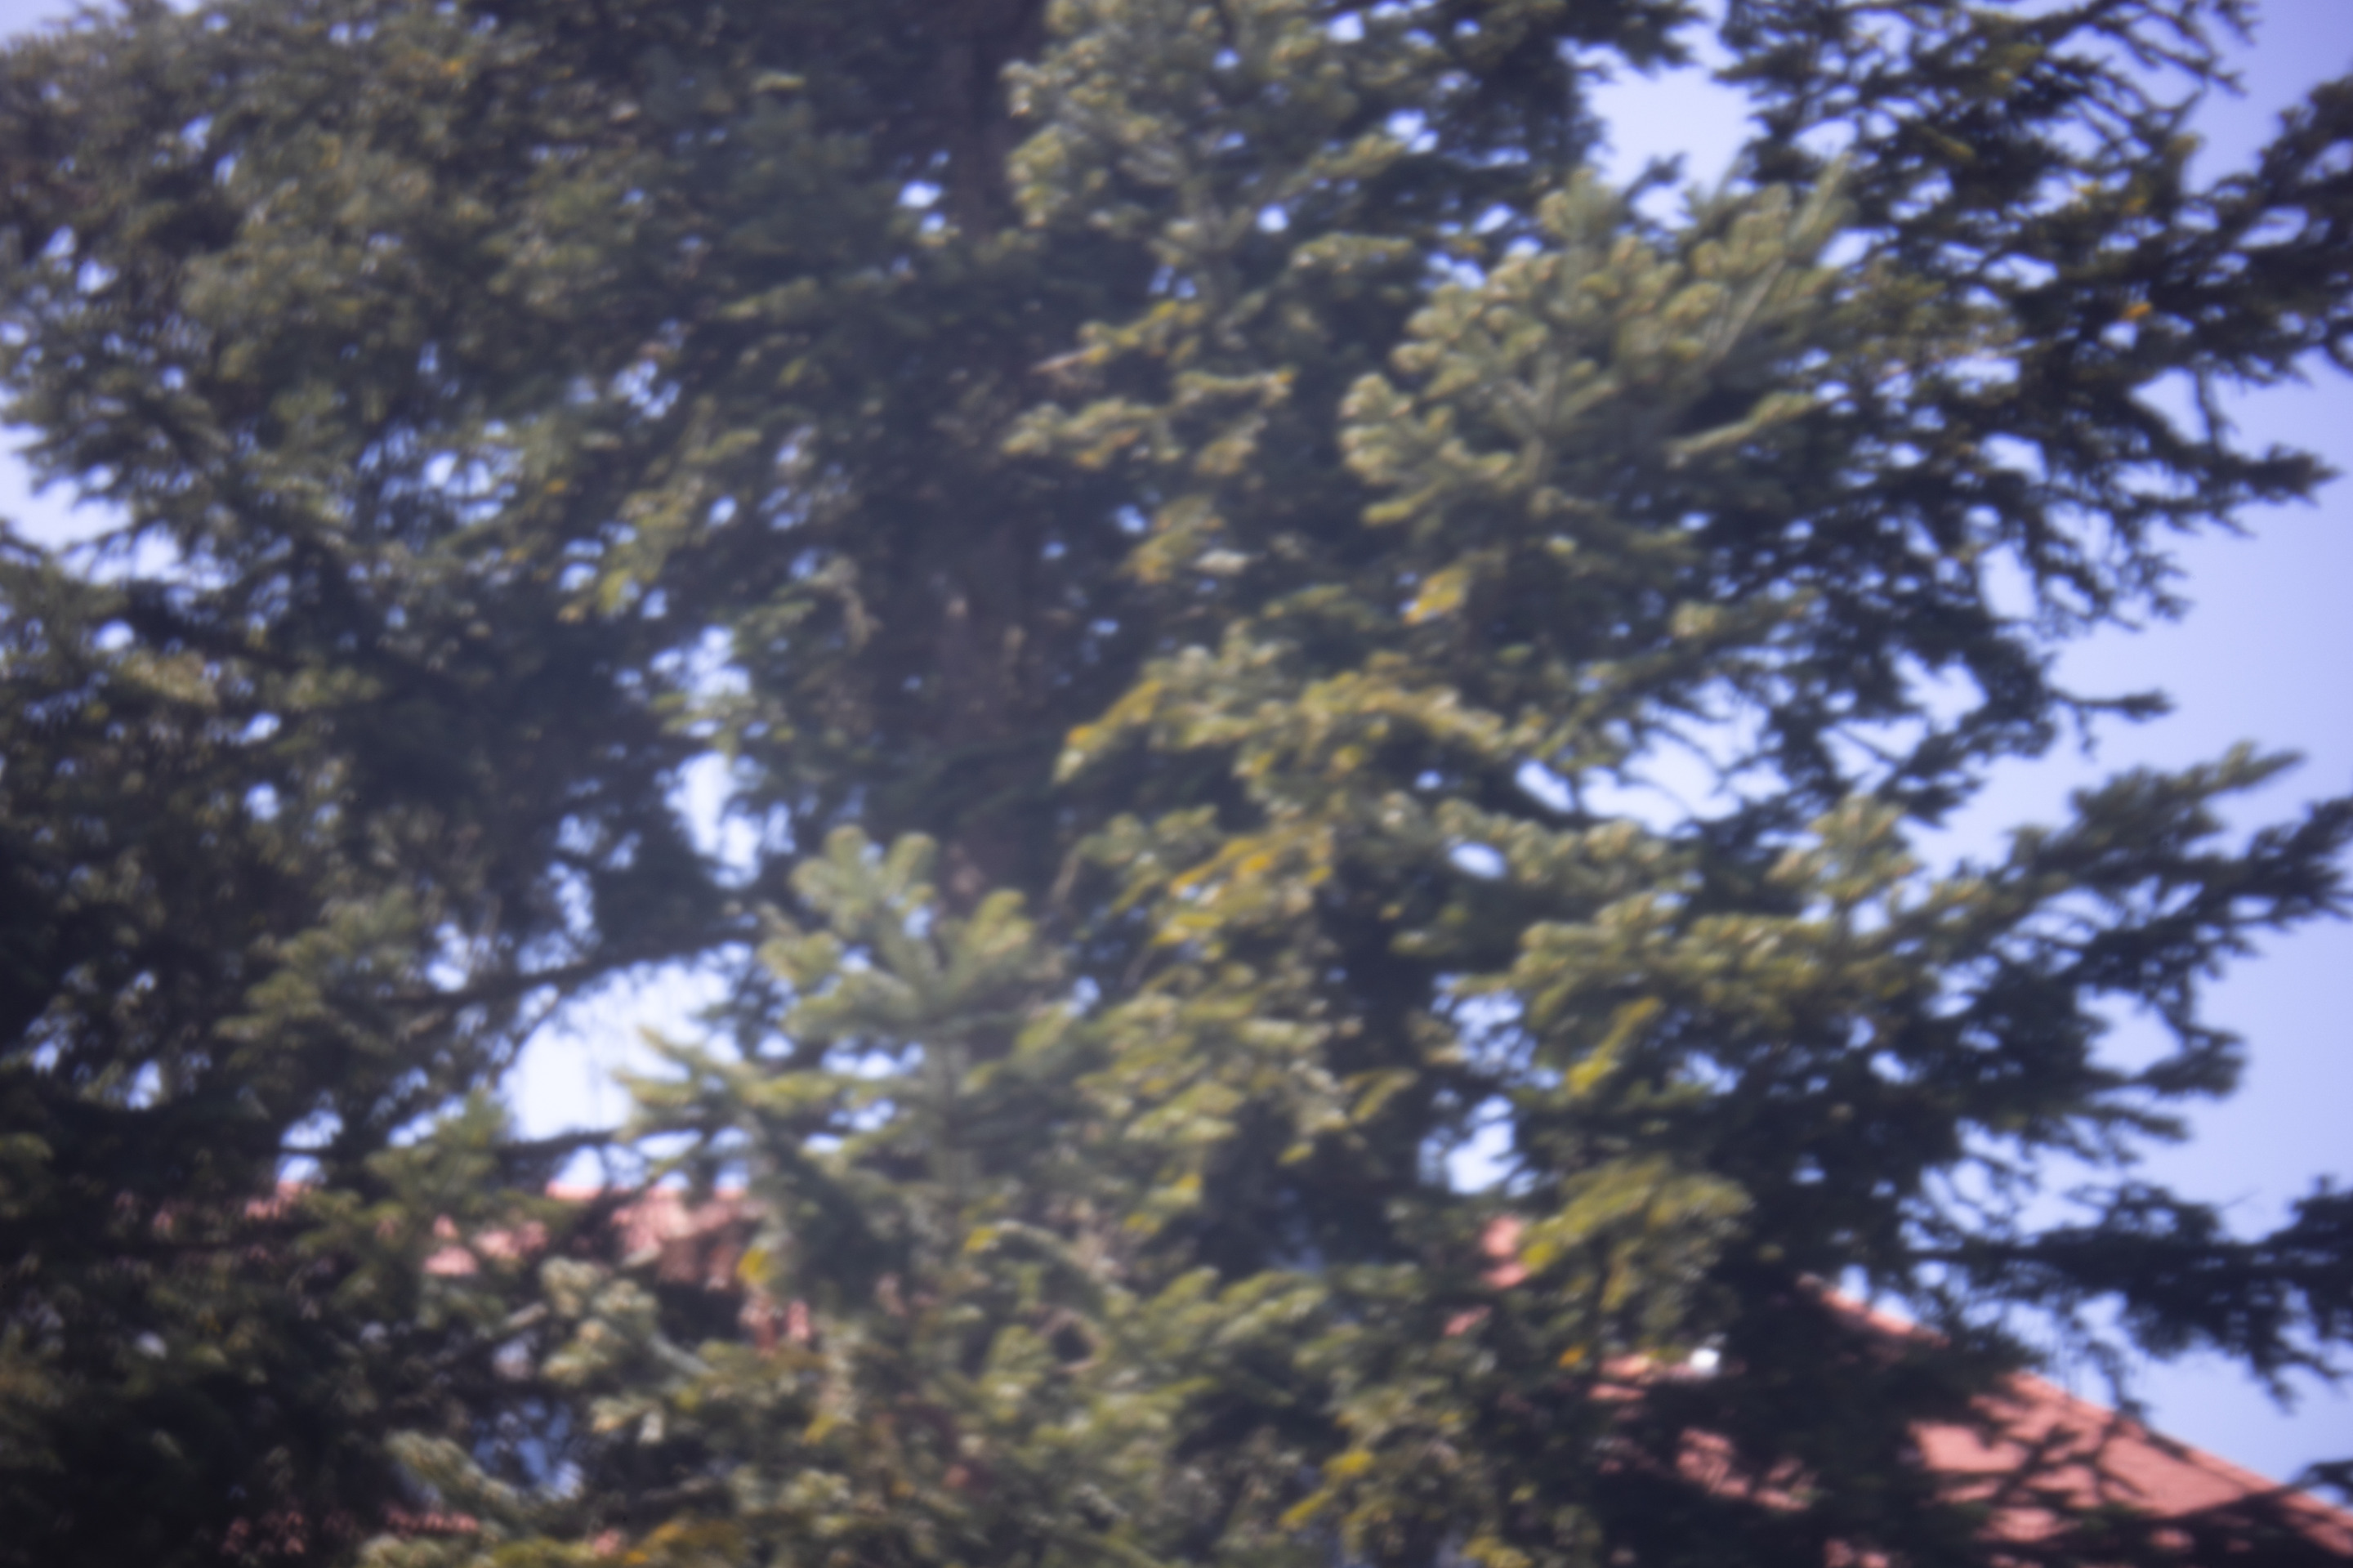
To test whether I need this extension tube I have shot one photo from our balcony without the RF-EF lens adapter and one with it. The adapter magnifies the image quite a lot, the image looks a bit sharper and has not such a vignette like the first photo has. |
Without the EF-RF adapter - quite a vignette
❖ please click the image for fullsize view ❖
Canon EOS R | Pinhole lens ;)
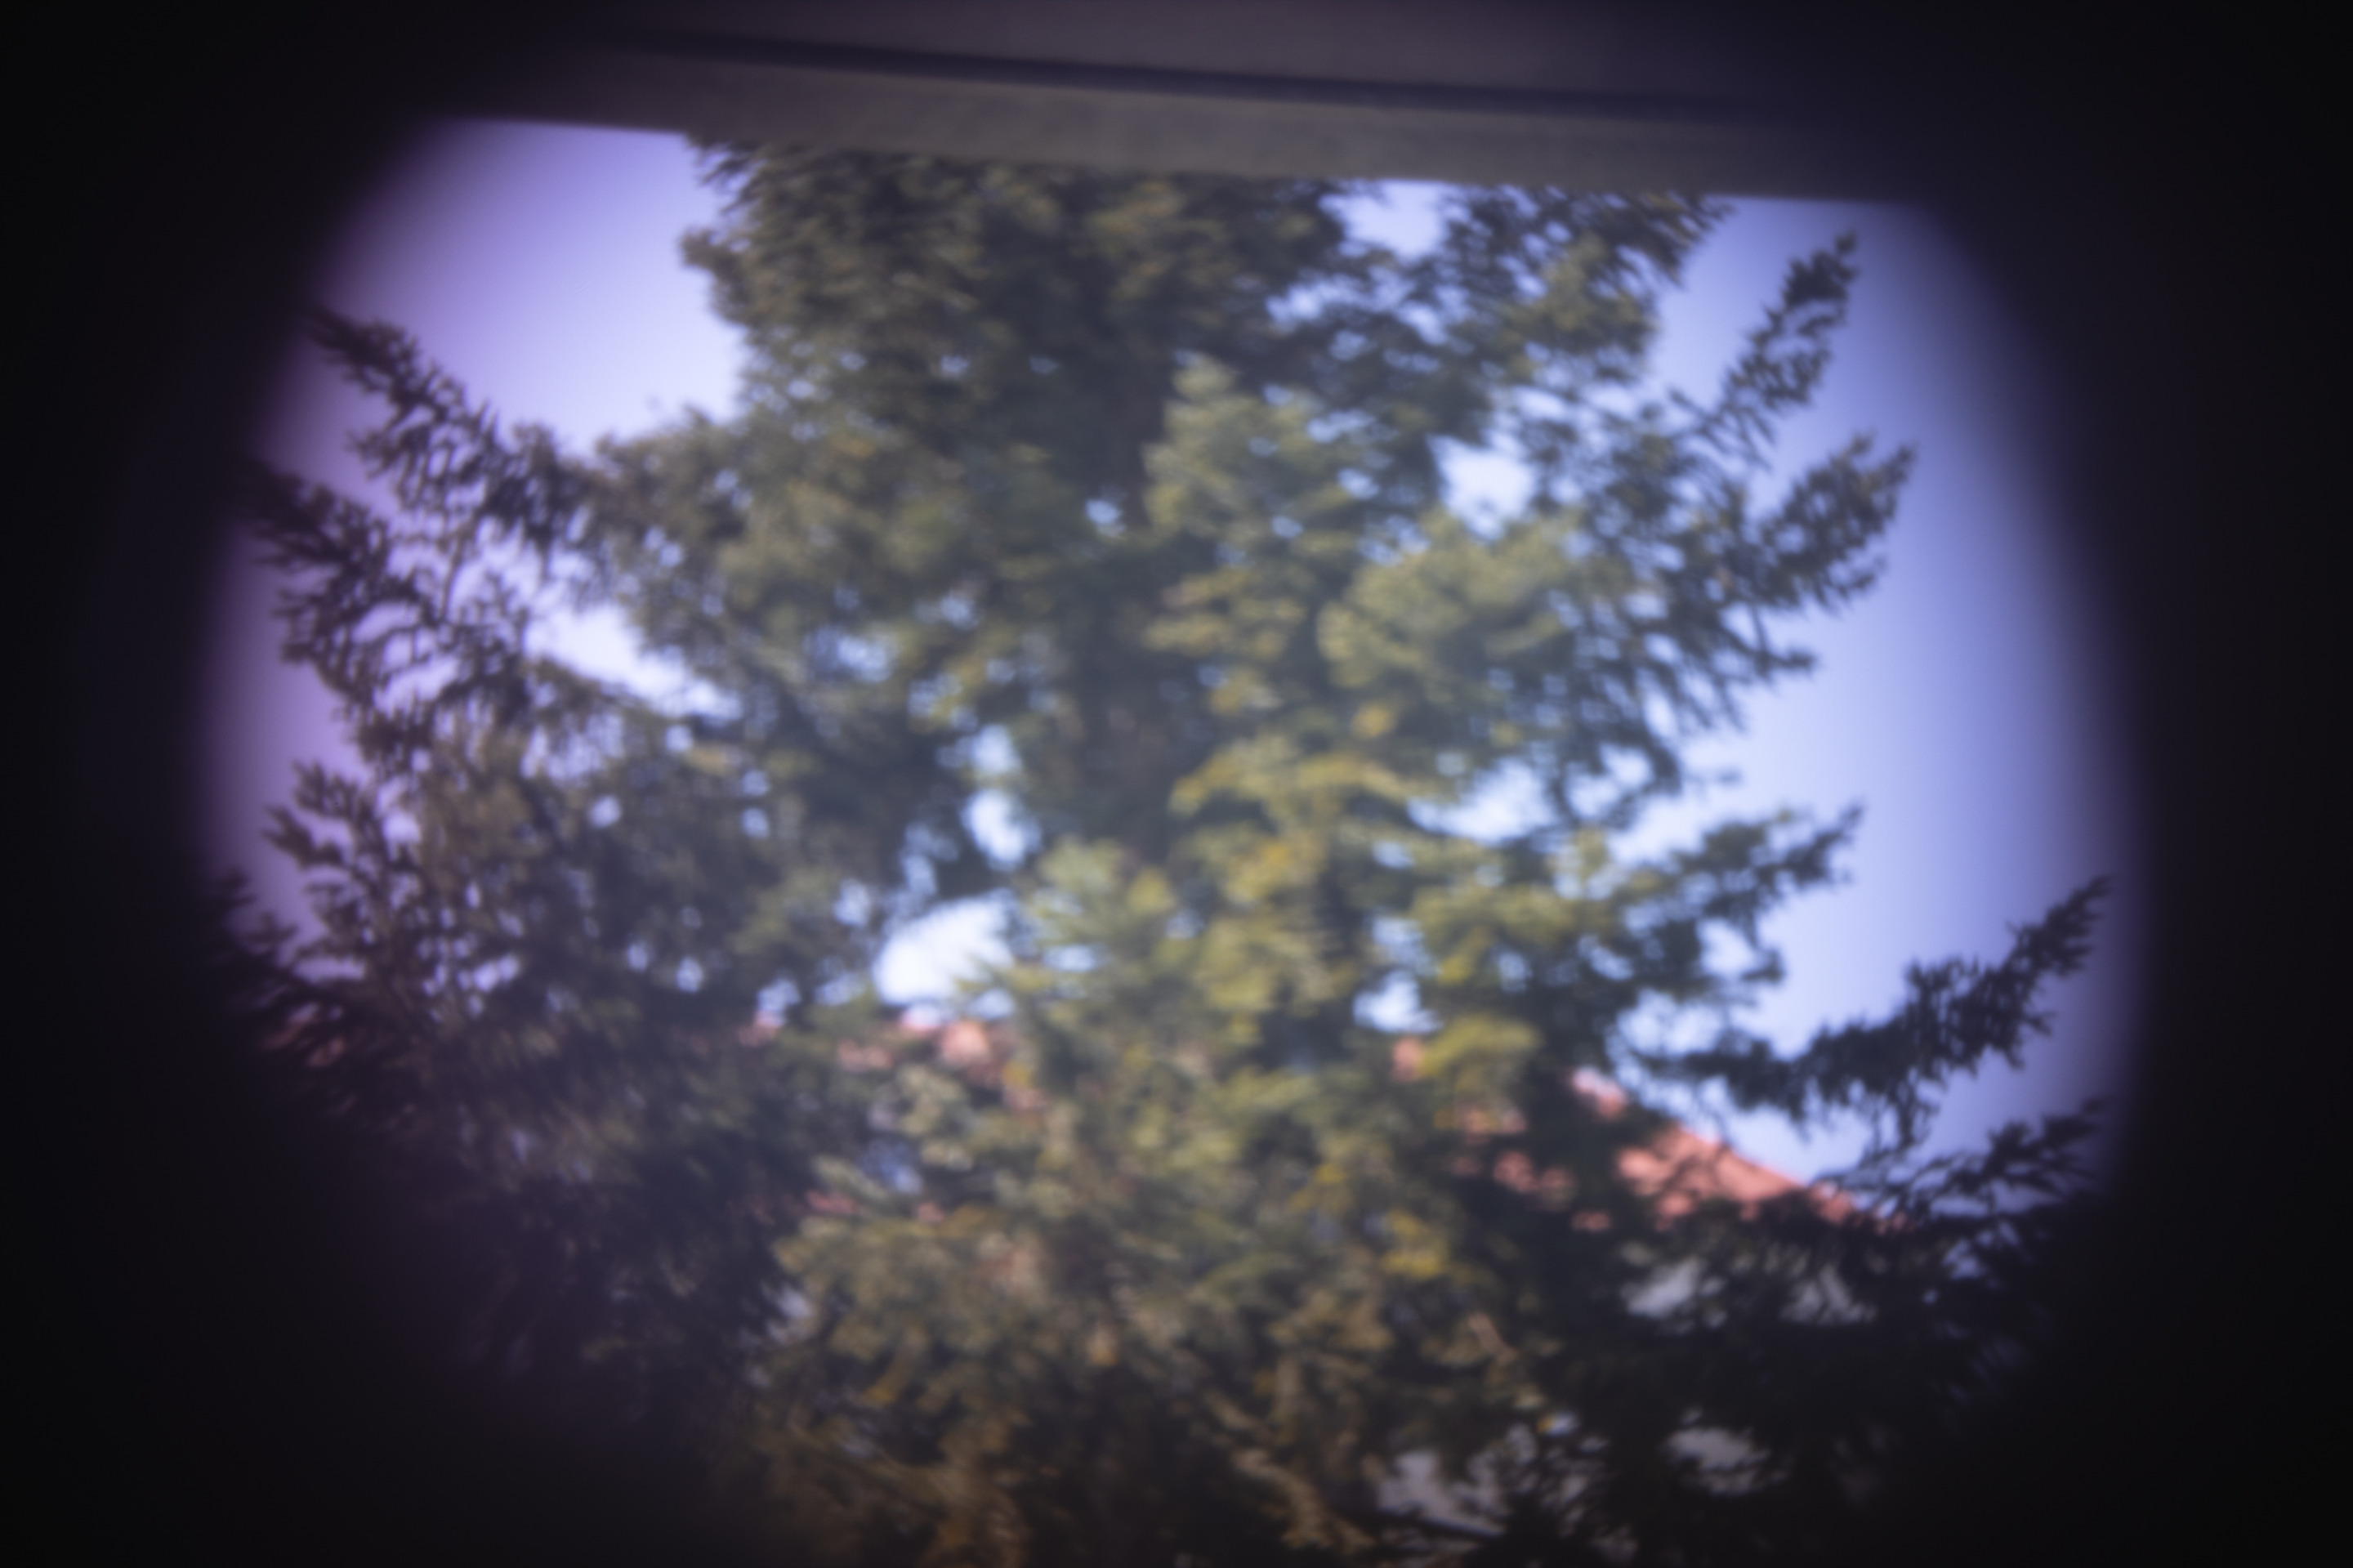
Without the EF-RF adapter - magnified and even a bit sharper
❖ please click the image for fullsize view ❖
Canon EOS R | Pinhole lens ;)
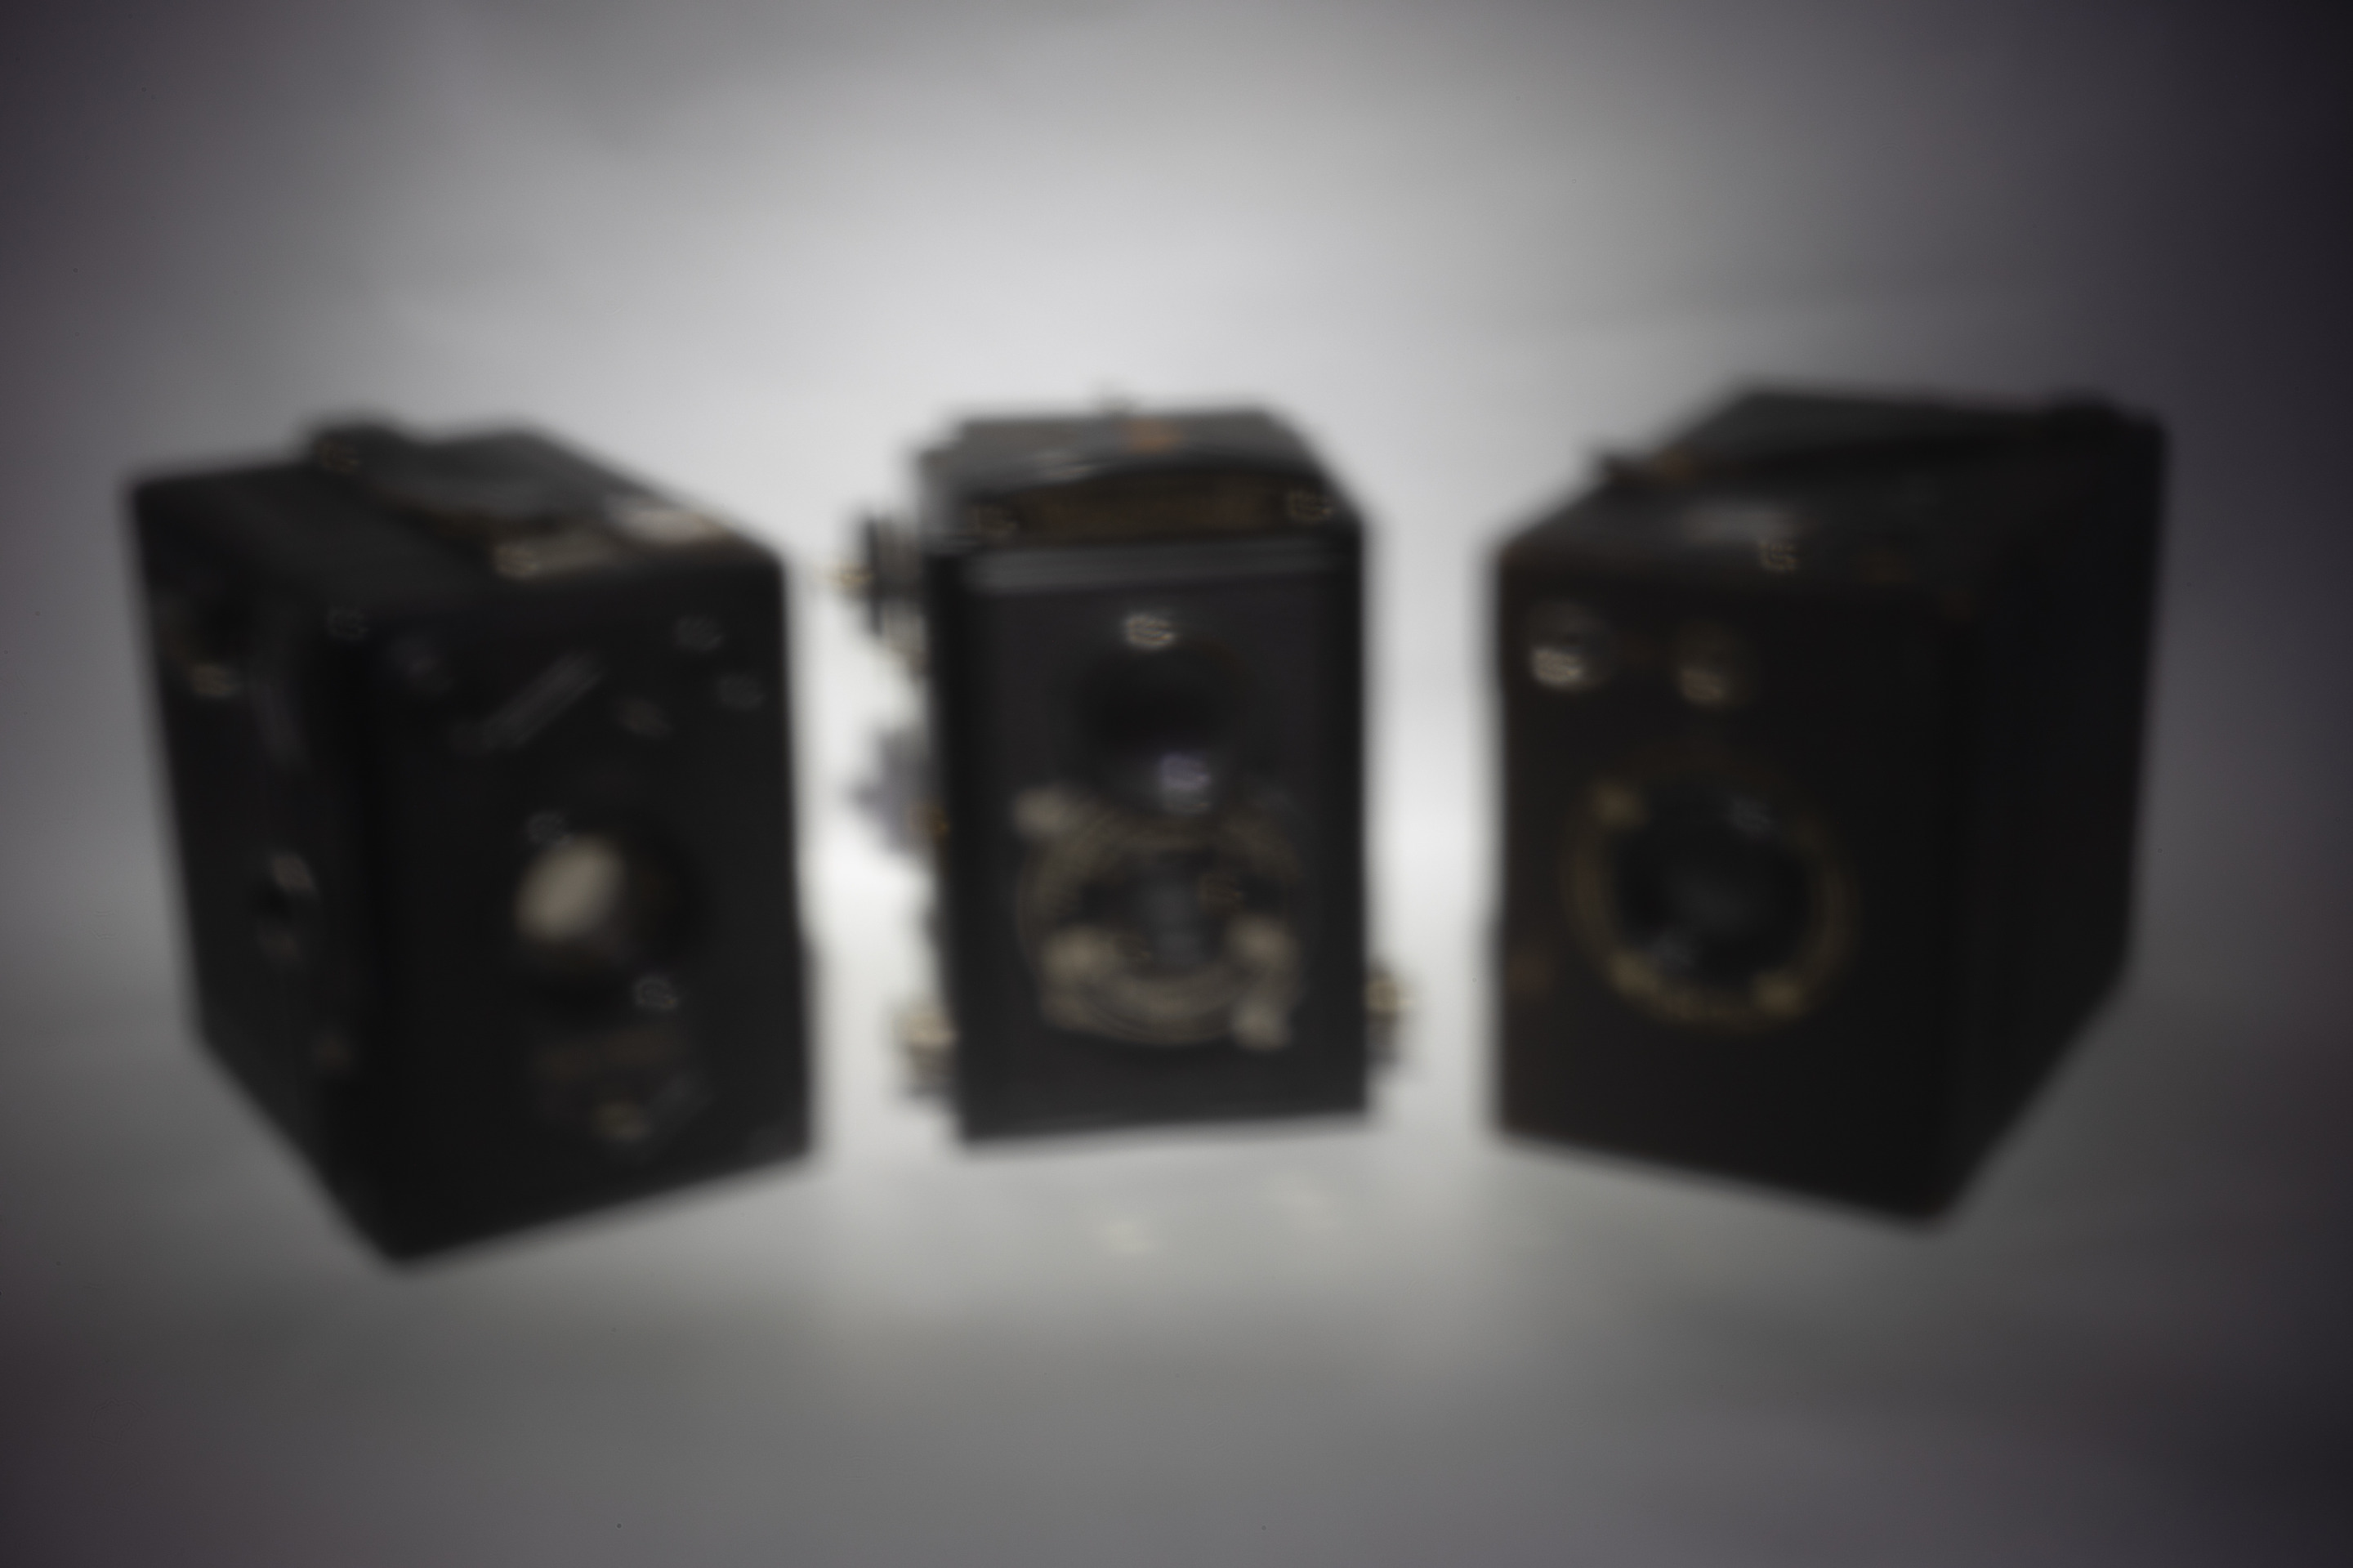
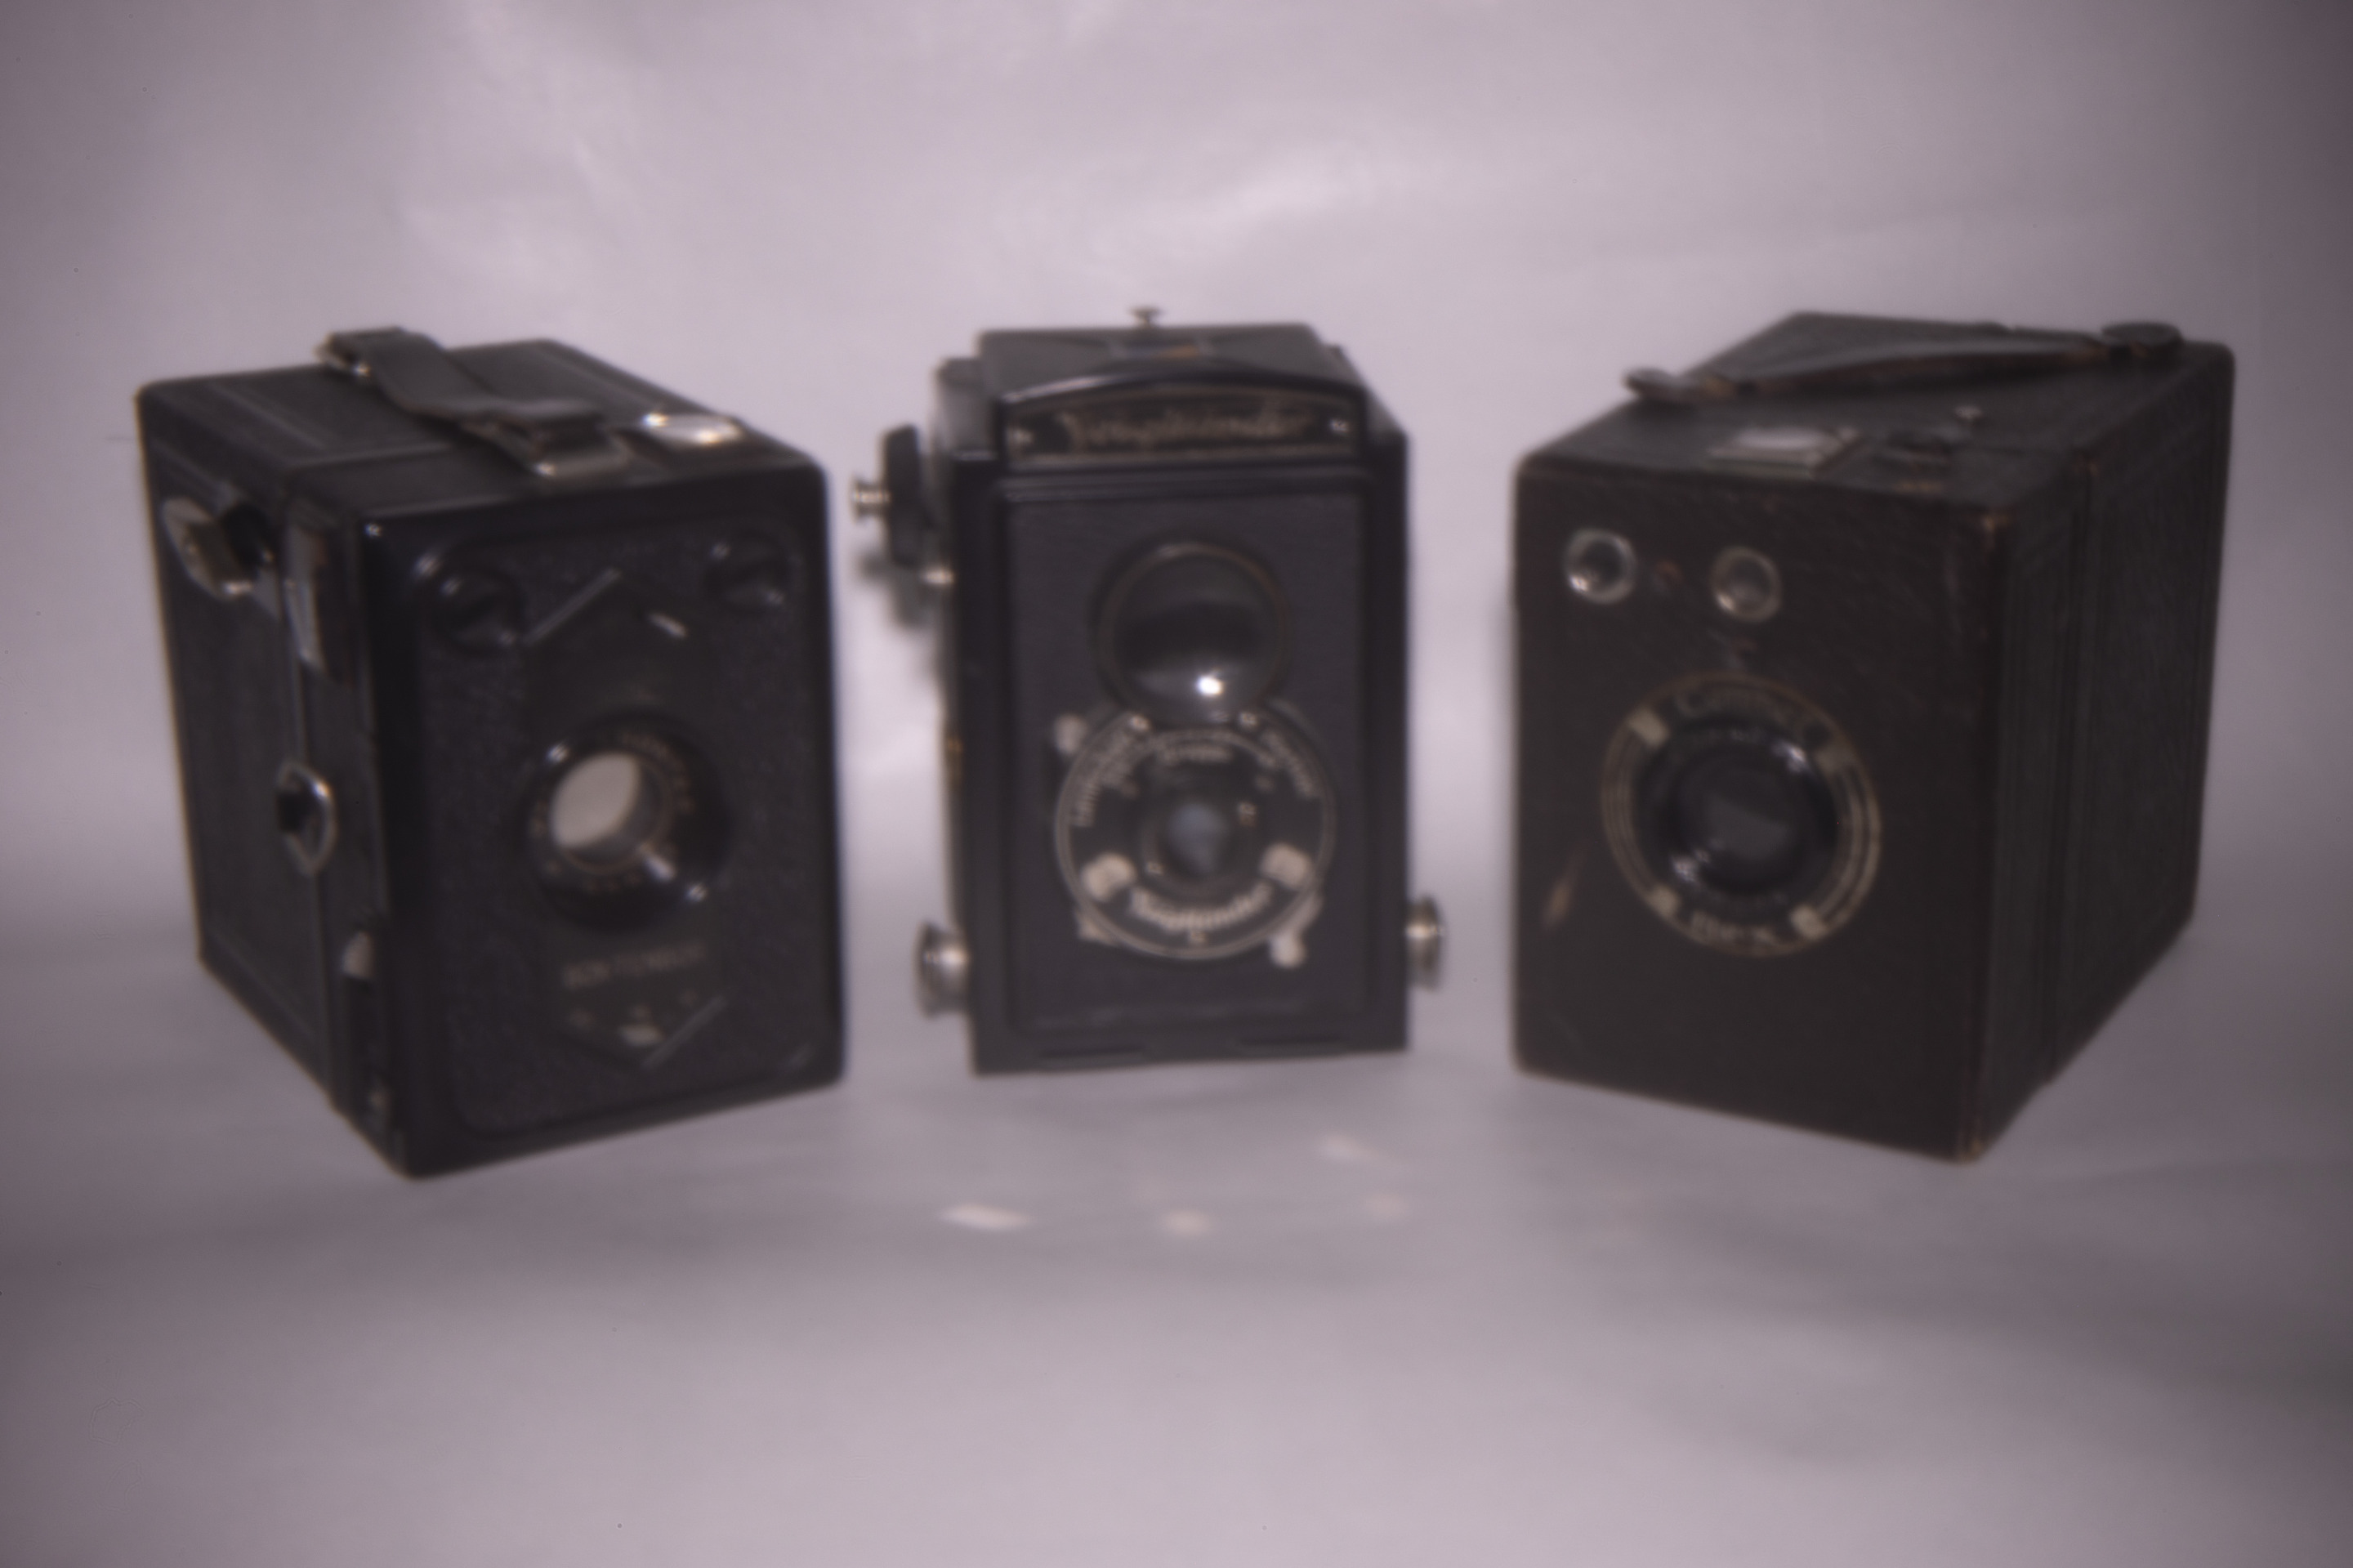
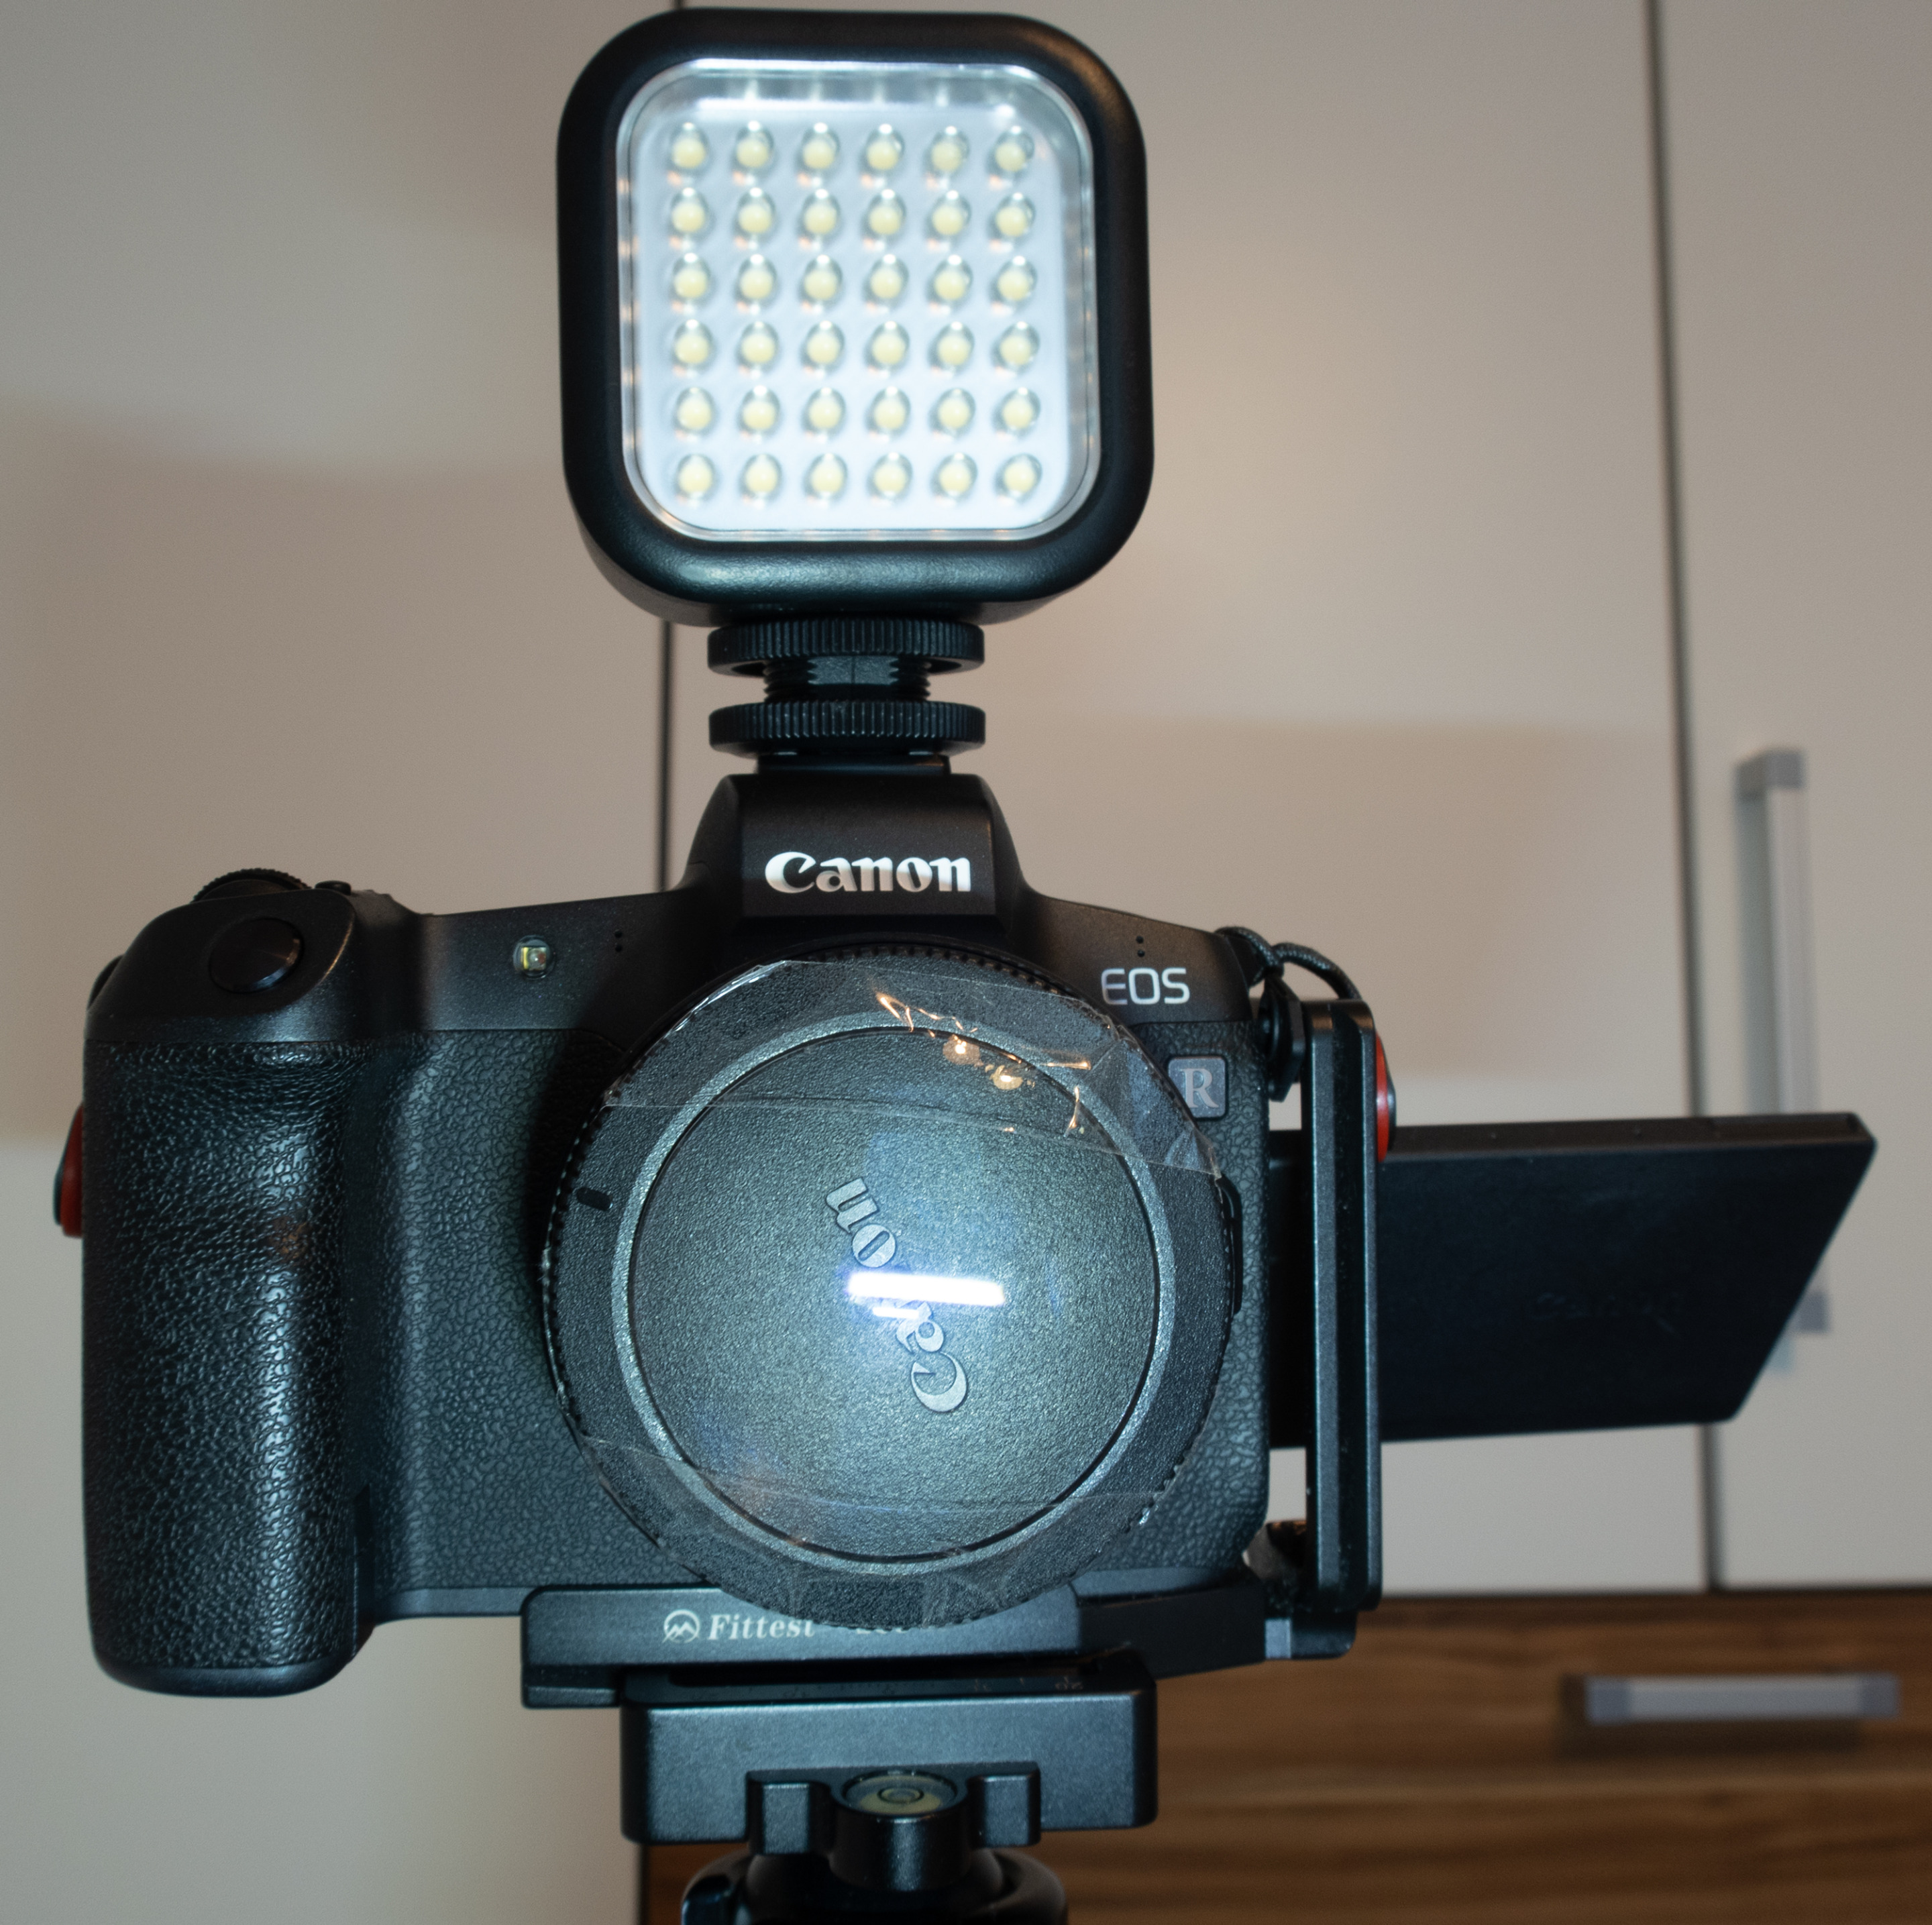
It took a few seconds until I realized that I couldn't focus and the images didn't get any sharper when I moved the camera closer and further away. So I just mounted my little Godox LED light to the camera and took one shot without the glass lens and a second one with the glass lens attached. With the glass lens the image is still blurred, but you can decide for yourself ;) |
First shot without the glass lens
❖ please click the image for fullsize view ❖
Canon EOS R | Pinhole lens ;)
Second shot with the glass lens mounted
❖ please click the image for fullsize view ❖
Canon EOS R | Pinhole lens ;)
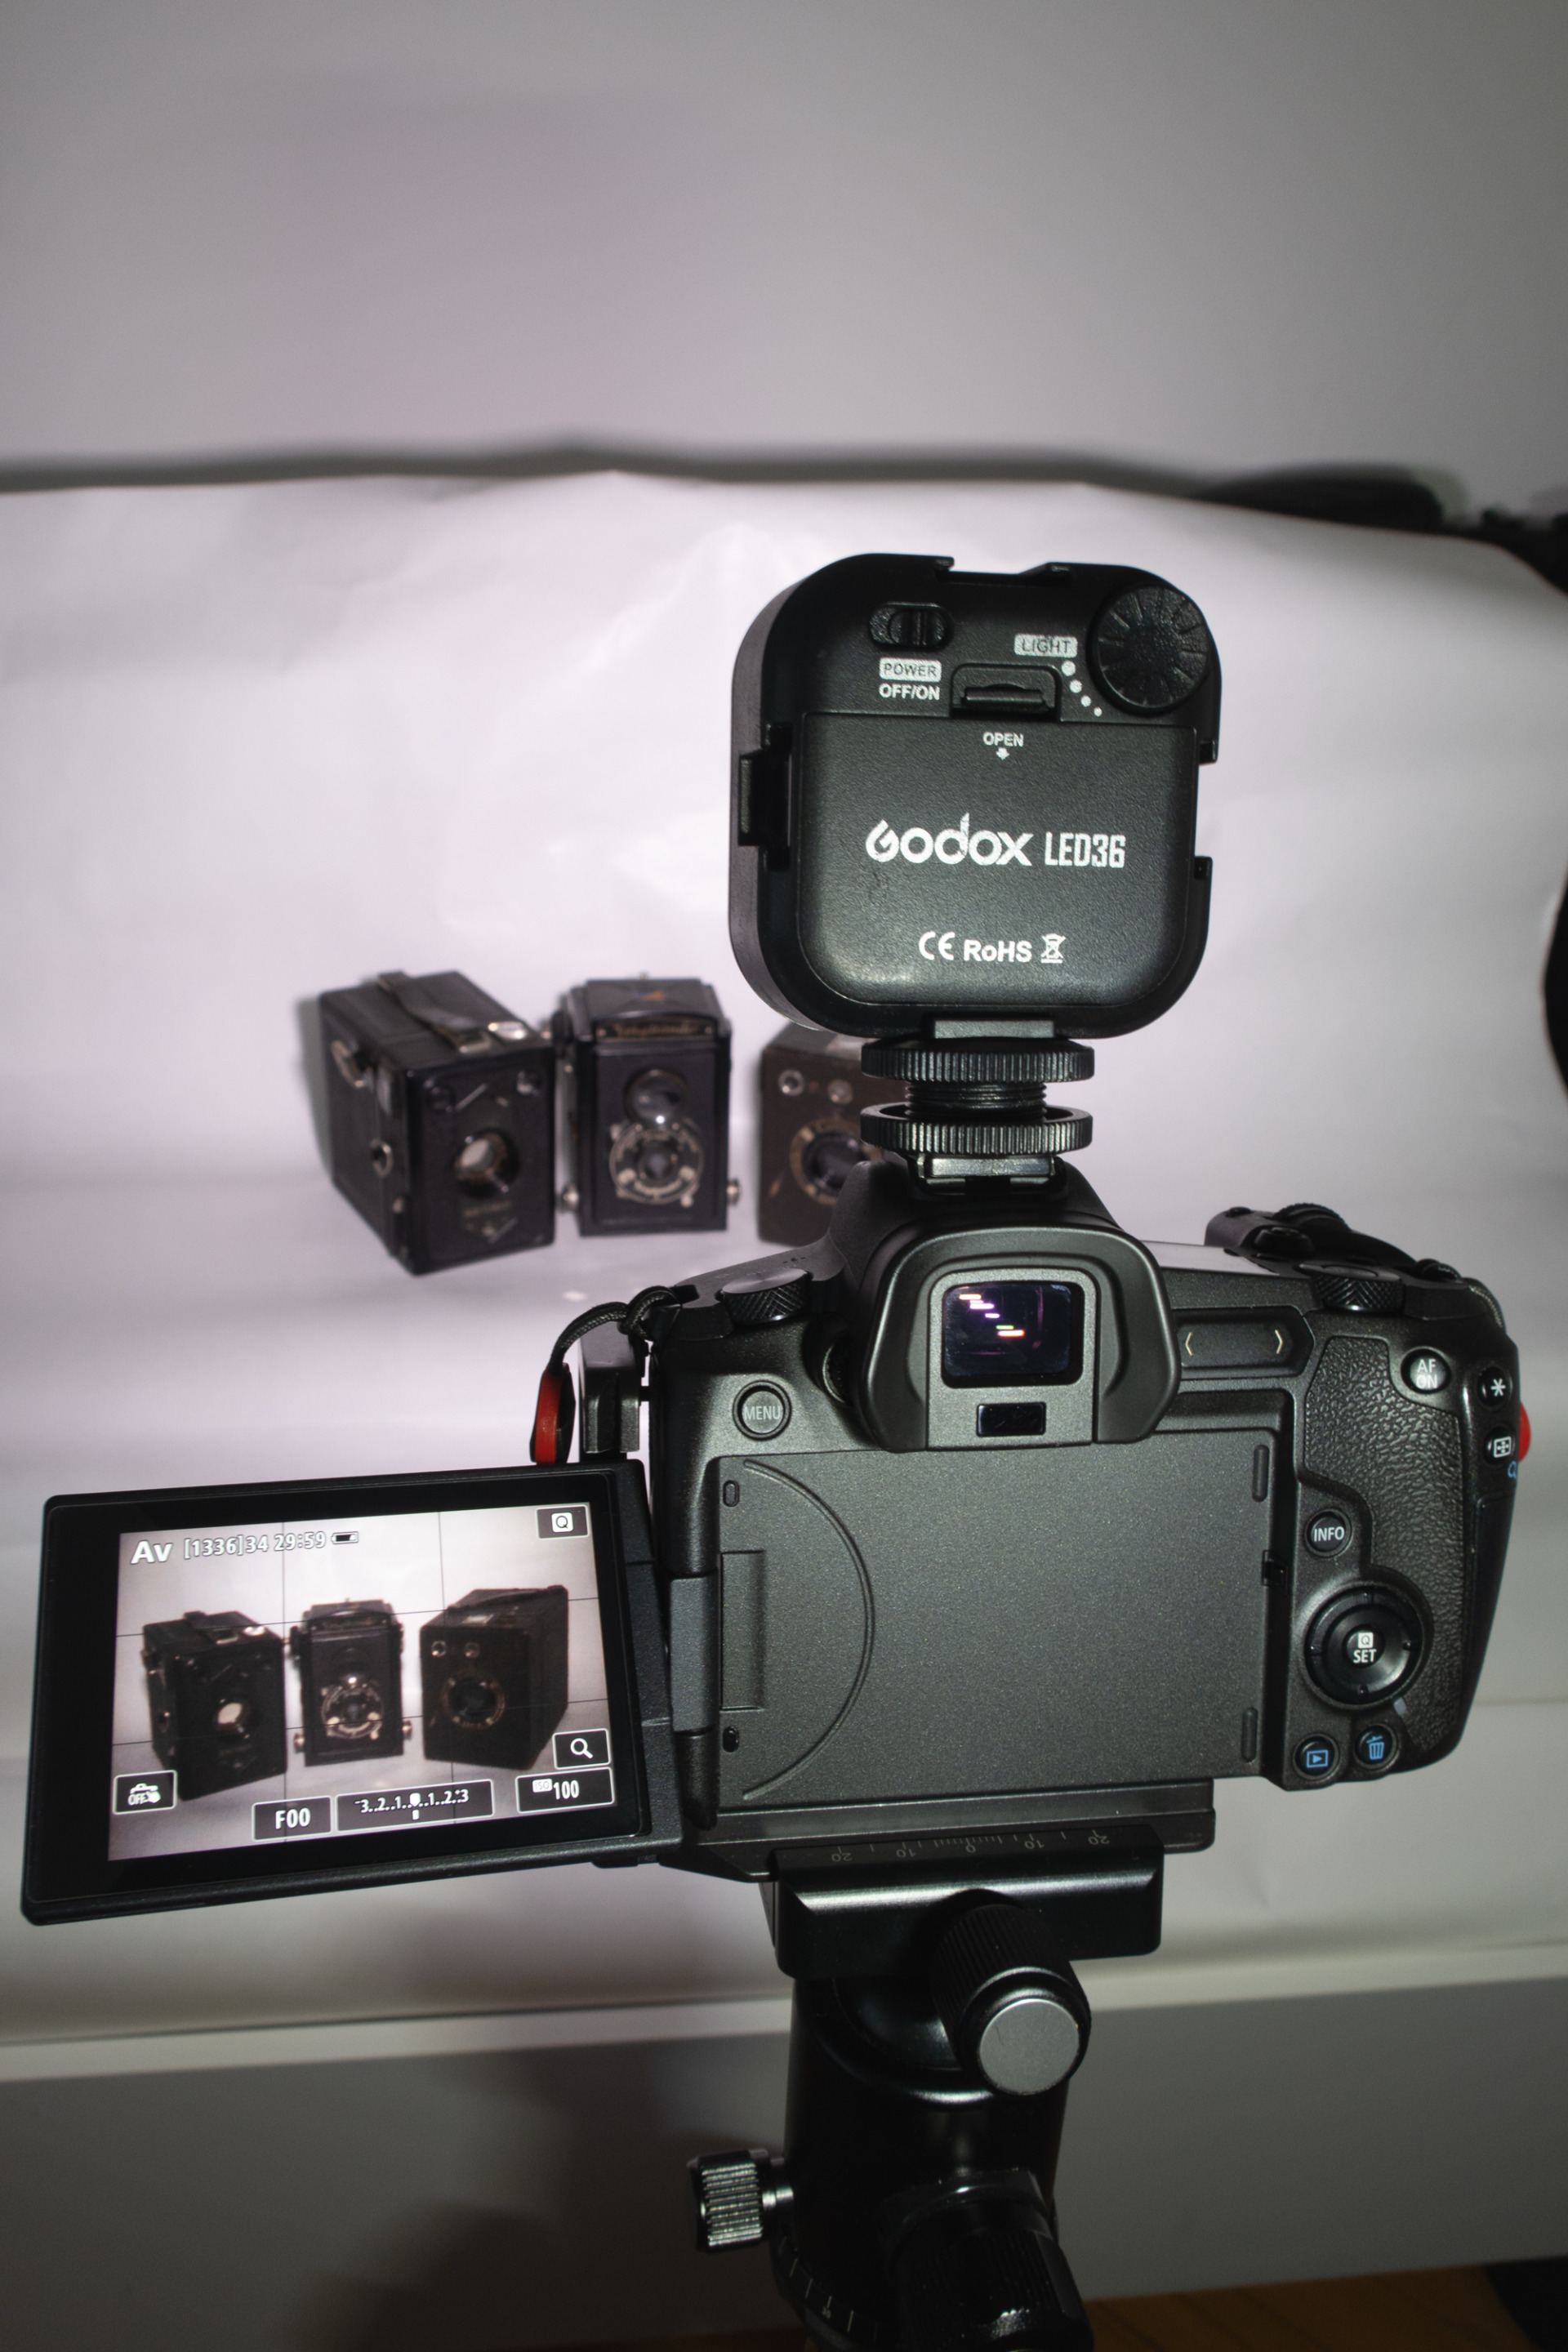
In case you might be interested in my setup: Because there's not enough space in our apartment to have a separate place for my indoor photography, the whole experiment happened in our bedroom and I used a chest of drawers as photo table and a big sheet of white paper as background. To avoid camera shaking I used a tripod and a cable release. The lighting for the photos came from the Godox LED light, but for the photos with the Canon G9X I have also used a torch LED light. |
Canon G9X
Canon G9X
Canon G9X
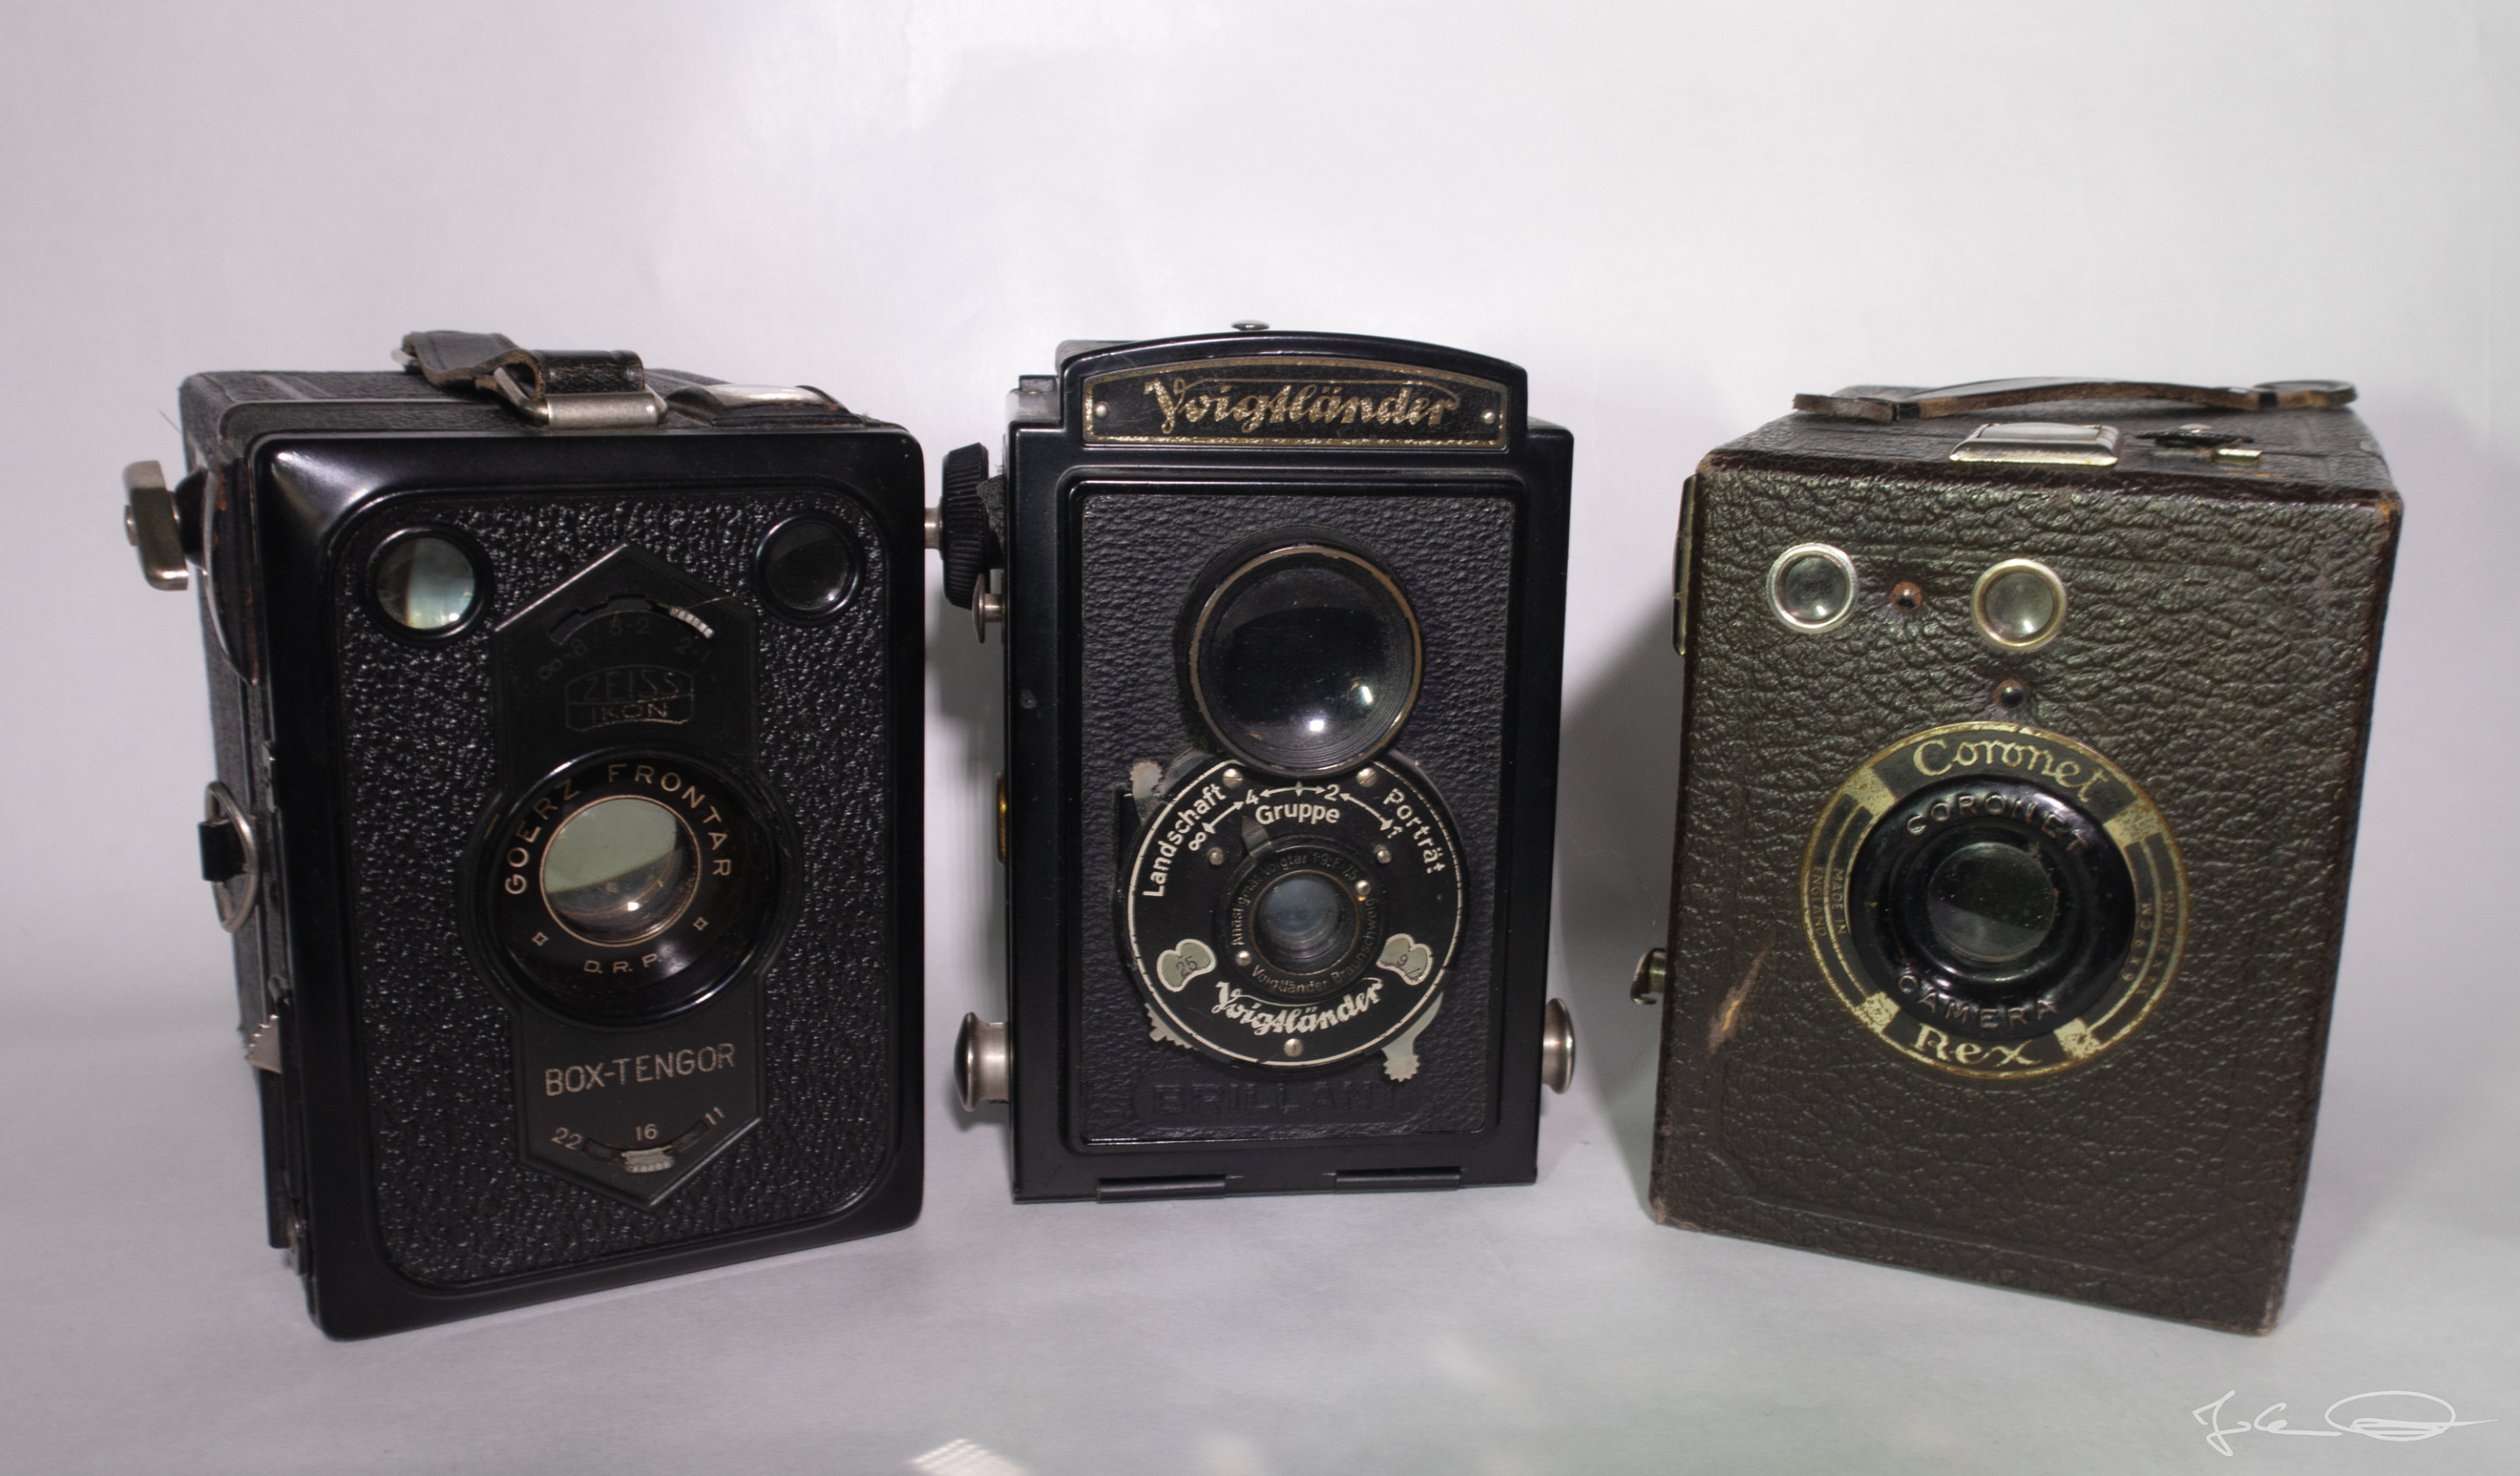
Now you are wondering which cameras I have photographed here, because you cannot see much on these quite blurred photos. Well, I have done some research and can tell you that on the left side there is a BOX-TENGOR 54/2 (GOERZ FRONTAR) from 1931, the camera in the middle is a VOIGTLÄNDER BRILLANT, I think it is model 1 from 1932, and on the right side we have a CORONET REX box camera, made in England in the thirties of the last century too. |
Canon G9X
So, that's it for today. The experiment was something different from usual and has also brought some fun and variety to these rather boring days. I think I'll order a new camera body cap and keep this one for some more experiments on another day :) |
And as always in these days I have to say ... Stay at home, take care and stay healthy! |
Information
| Location / Standort: At home in isolation in Klagenfurt, of course ;) |
If you like my photos I would appreciate an upvote, nice comment or maybe you want to share my post on your blog 😊 ... and maybe you would like to follow me, so that you never miss a post from me.
Thank you for visiting my blog,
have a nice Sunday,
Photos and Text: Johann Piber | All rights reserved - do not use without my permission
2020-04-05