Version en Español 🍀 (¡Click Aquí!)
Saludos comunidad de @holozing, espero estén muy bien, por aquí para mostrarles un poco de mi arte, a través de estos accesorios inspirados en Forest Healer 🍀 me encanta mucho este símbolo de la suerte..

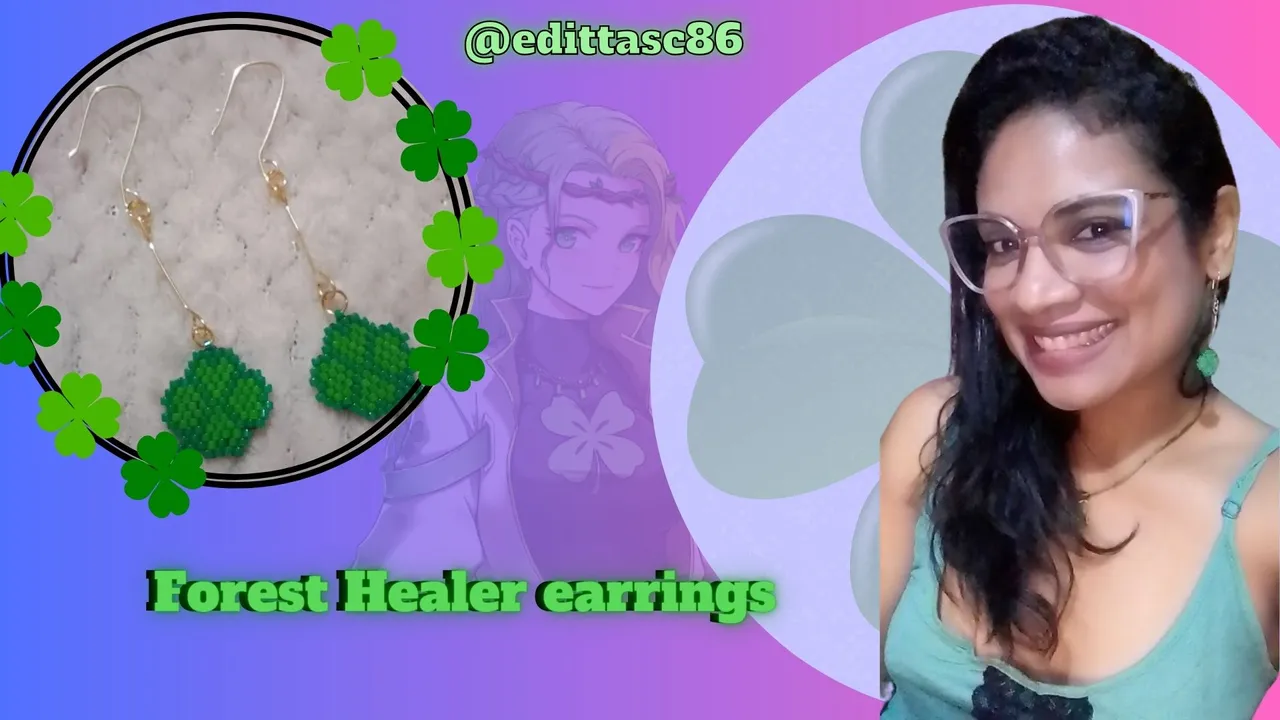
Zarcillos Forest Healer 🍀
Les muestro el paso a paso de la elaboración de esos lindos zarcillos:
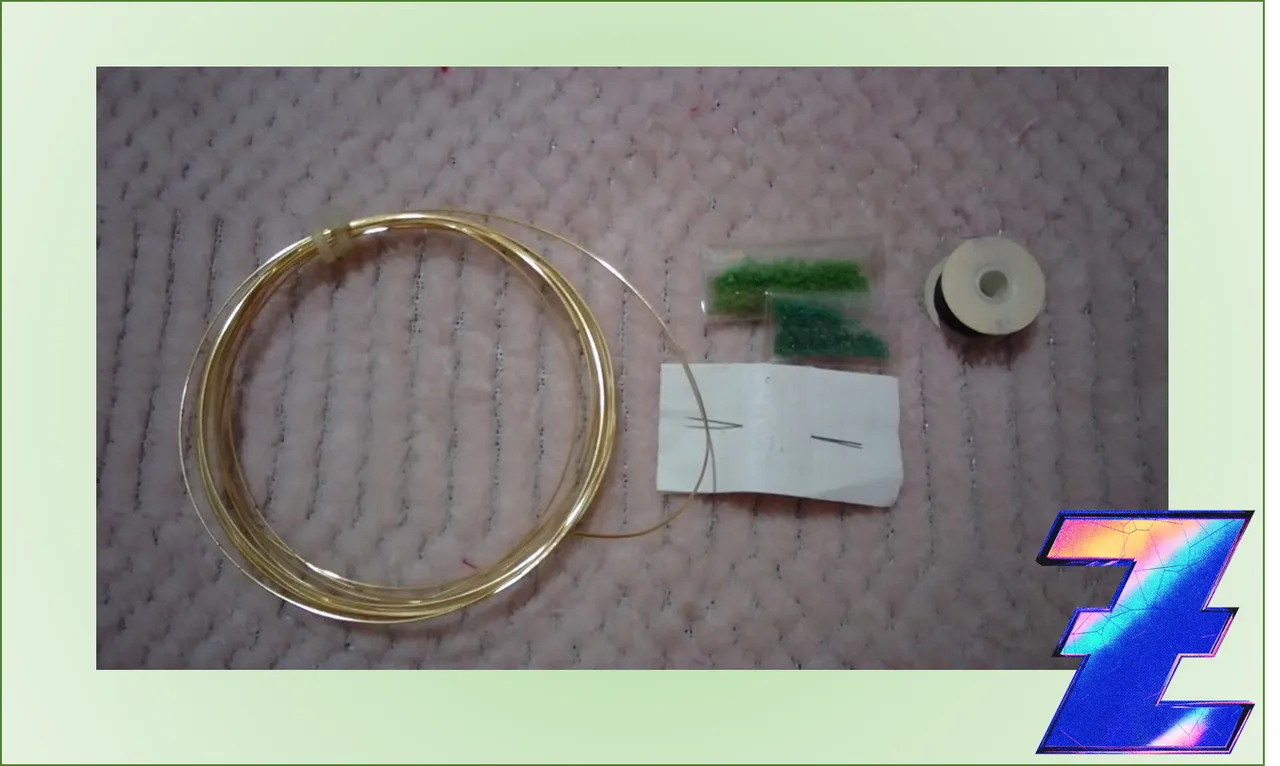
los materiales que utilice para estos zarcillos:
🍀Alambre calibre 20
🍀Mostacillas Delicas Miyuki
🍀Hilo nylon para Delicas
🍀Aguja para mostacillas
🍀Herramientas de bisuteria
🍀Yesquero
Para estos lindos zarcillos, utilizare una técnica de tejido llamada brick stitch
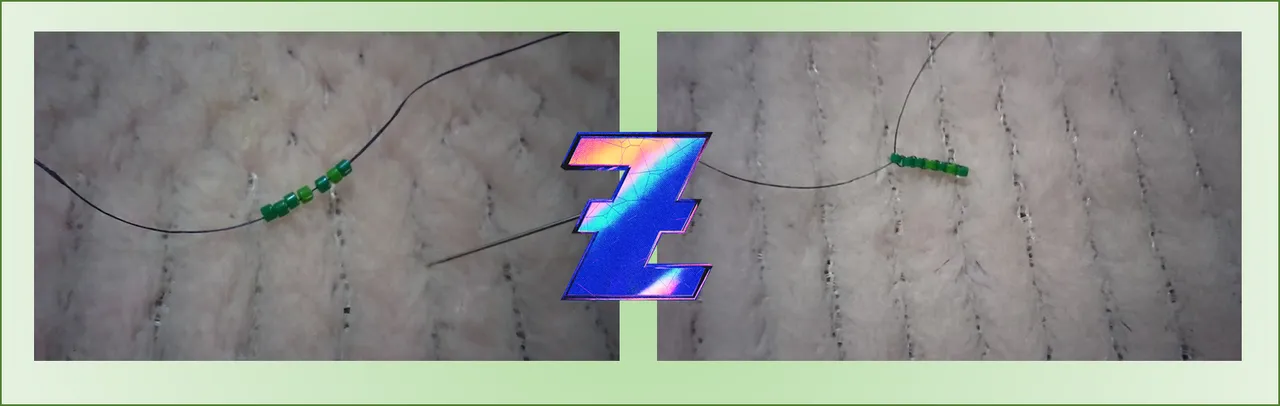
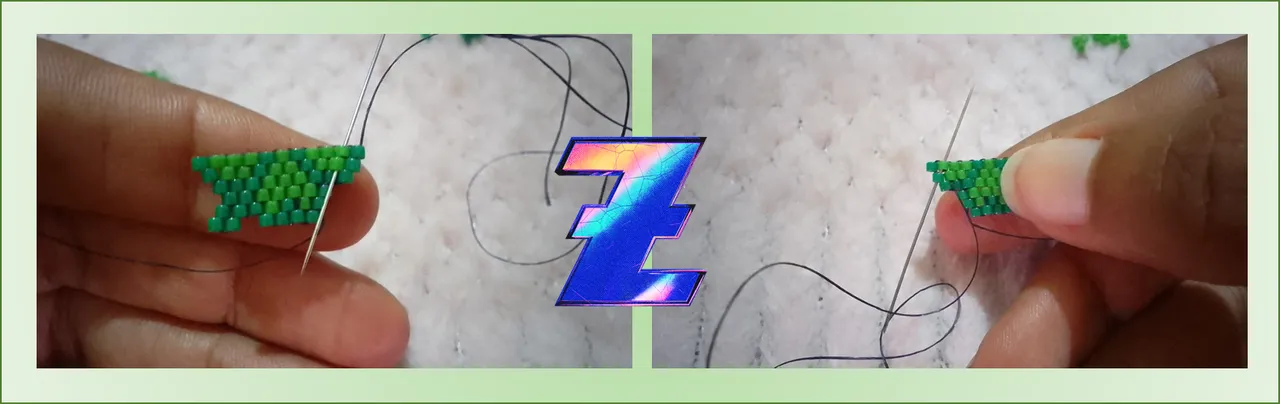
1- En la aguja enfile 7 delicas, las lleve hasta el final del hilo, dejando un sobrante de 5 cm y sujete con mis dedos para que no se salieran. Luego junte cada delica una al lado de la otra, para esto deje pasa una cuenta y a la siguiente, pase la aguja de atrás hacia adelante, y así las fui uniendo hasta completar las 7 con la abertura hacia arriba, de esta manera podre crear una siguiente linea para el tejido.
2- Una vez lista la primera fila. comencé a construir la siguiente, realizamos un aumento, enfilamos dos cuentas en nuestra aguja y esta la pasamos por el hilo entre las dos cuentas de la primera fila, llevamos hasta el final y luego pasamos la aguja de abajo hacia arriba en la cuenta para fijarla, este procedimiento lo realizamos aproximadamente 6 veces.
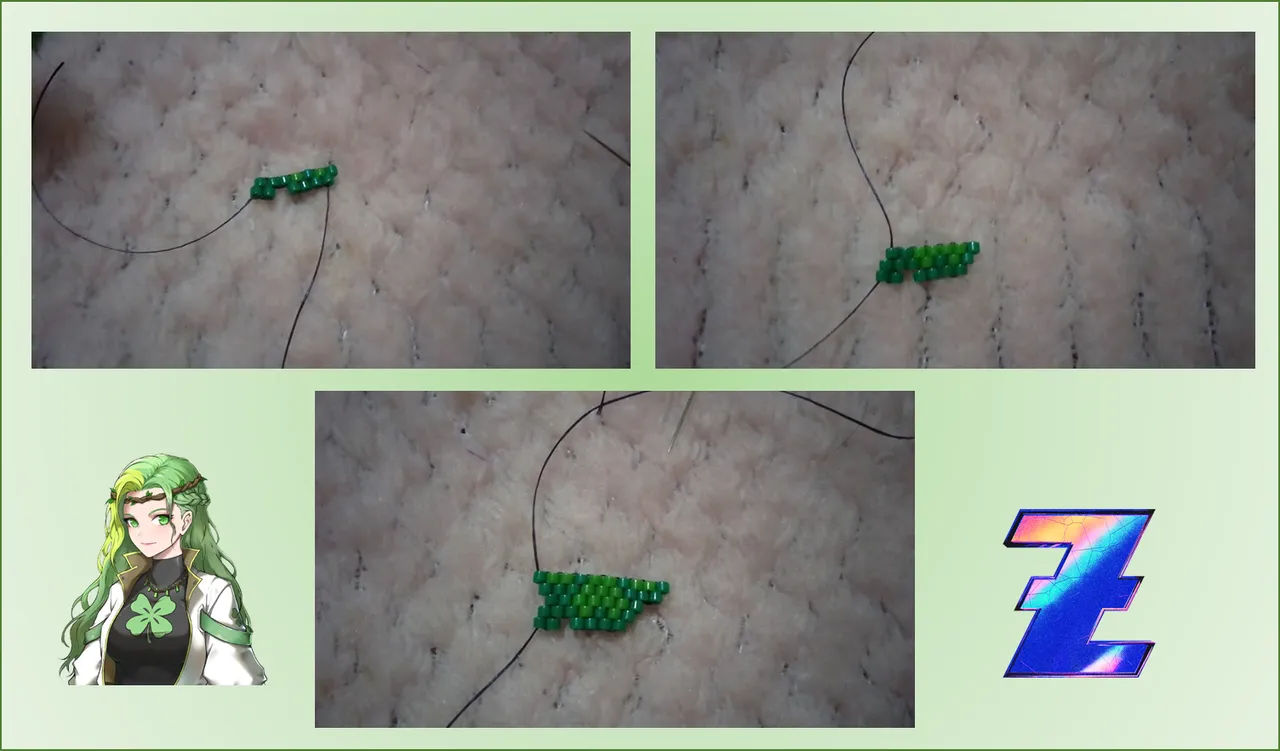
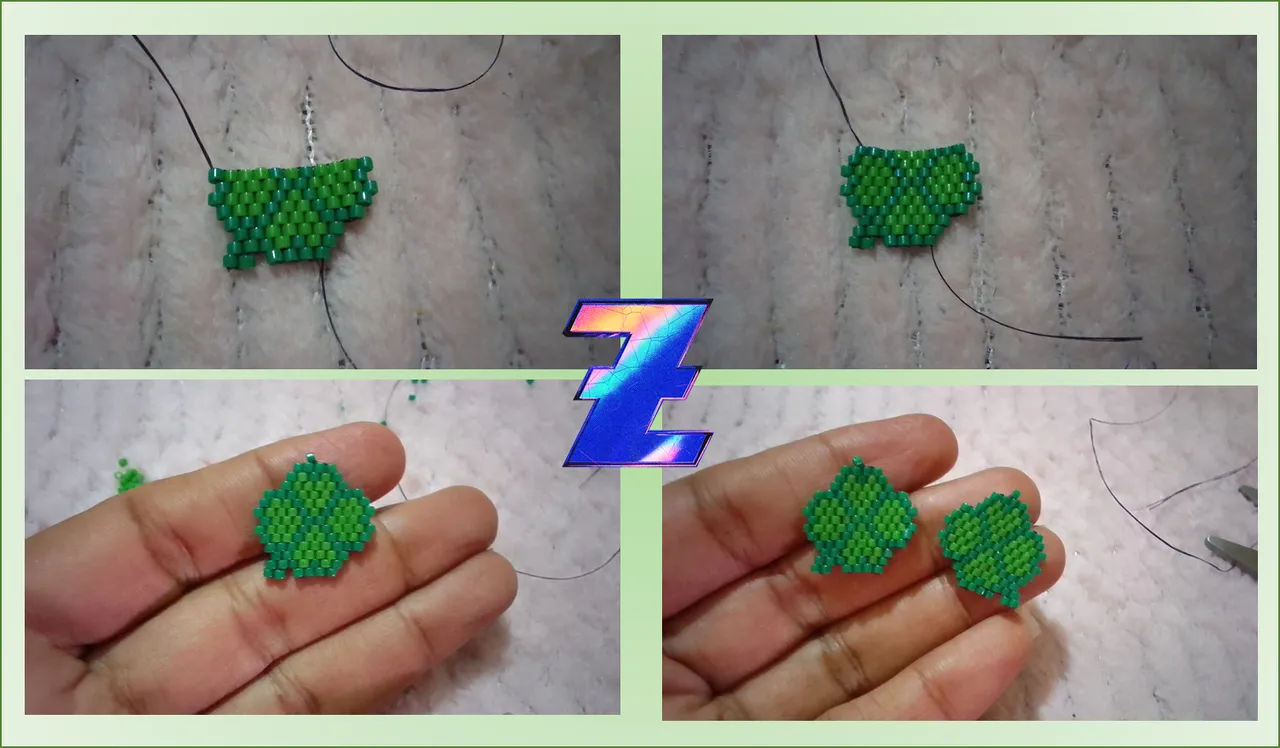
3- Luego comenzamos con unas disminuciones en la séptima fila, para ello pasamos la aguja por la cuenta siguiente, pasamos por la de al lado y nos regresamos por la misma cuenta por donde entramos inicialmente, y desde allí seguimos el tejido, colocando dos mostacillas y repitiendo el paso 2.
4- Para la siguiente fila, realizamos un nuevo aumento, siguiendo el paso 2, después de este aumento, retomamos las disminuciones hasta completar el trébol, son 6 disminuciones. Y así quedan estos hermosos treboles..
Ensamblaje de los zarcillos 🍀
Con el alambre, corte aproximadamente, 4 cm para hacer un conector, porque quería que los zarcillos fueran largos, en los extremos con la herramienta de punta redonda le hice unos aros para enganchar, ademas realice 4 aritos para unir todas las piezas, y los anzuelos, una vez listo, con la herramienta circular y la plana, abrí los aritos y uni todas las piezas y cerré las piezas.

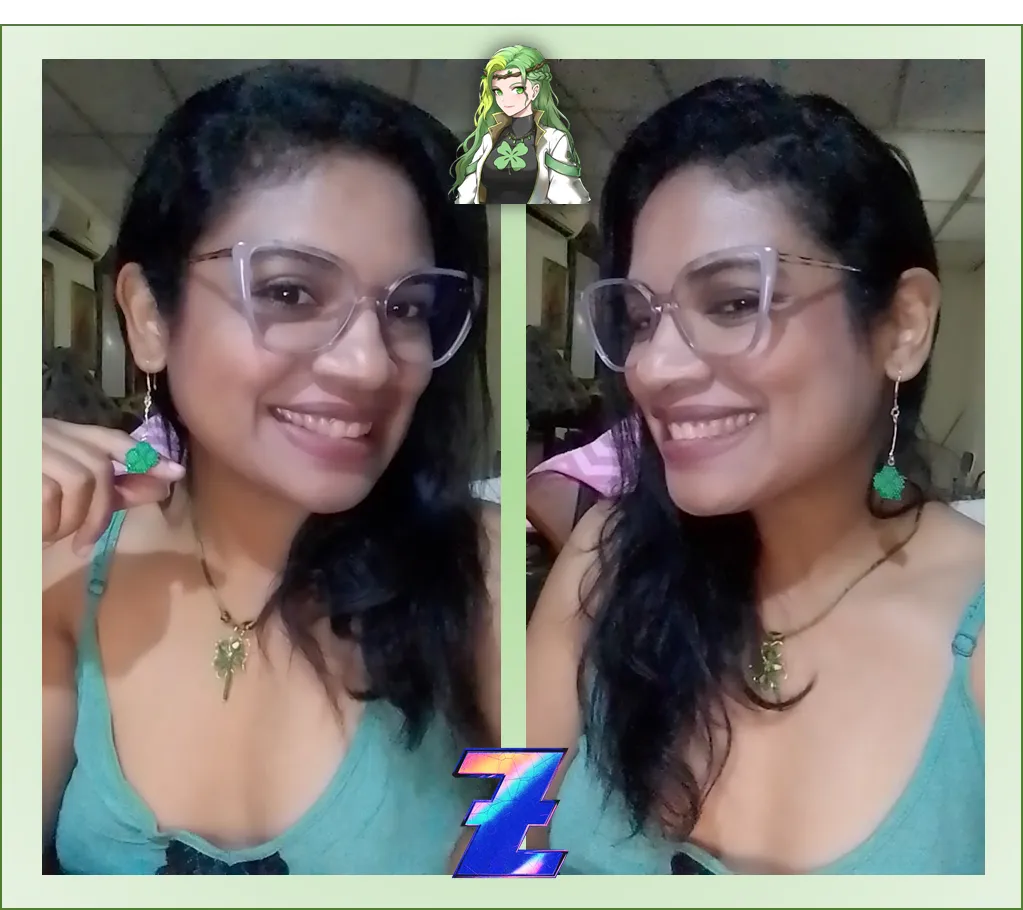
Y así quedaron estos hermosos Zarcillos inspirados en Forest Healer, espero les guste, para la foto con los accesorios hice juego con un collar que había hecho hace unos meses atrás inspirados en este personaje.
Espero les guste estos lindos zarcillos tejidos con delica miyuki..
🍀 Gracias por su apoyo 🍀

Greetings @holozing community, hope you are very well, over here to show you a little bit of my art, through these Forest Healer inspired accessories 🍀 I love this lucky symbol very much..
Forest Healer earrings 🍀.
I show you the step by step of making these cute earrings:
the materials I used for these earrings:
🍀20 gauge wire.
🍀Miyuki Delicas beads.
🍀Nylon thread for Delicas.
🍀Needle for beads
🍀Bijewelry tools
🍀Yesquero
For these cute earrings, I will use a weaving technique called brick stitch.
1- On the needle thread 7 delicas, bring them to the end of the thread, leaving a 5 cm excess and hold with my fingers so they don't come off. Then join each delica one next to the other, for this I let one bead pass and the next one, pass the needle from back to front, and so I joined them until I completed the 7 with the opening upwards, this way I can create a next line for the weaving.
2- Once the first row was ready, I started to build the next row, we made an increase, we threaded two beads on our needle and we passed it through the thread between the two beads of the first row, we took it to the end and then we passed the needle from bottom to top in the bead to fix it, we did this procedure approximately 6 times.
3- Then we start with some decreases in the seventh row, for this we pass the needle through the next bead, we pass through the one next to it and we go back through the same bead where we initially entered, and from there we continue weaving, placing two beads and repeating step 2.
4- For the next row, we make a new increase, following the step 2, after this increase, we return to the decreases until we complete the clover, there are 6 decreases. And this is how these beautiful clovers look like...
Assembling the earrings 🍀
With the wire, cut approximately 4 cm to make a connector, because I wanted the tendrils to be long, at the ends with the round tool I made some rings to hook, also made 4 earrings to join all the pieces, and hooks, once ready, with the circular tool and the flat tool, I opened the rings and joined all the pieces and closed the pieces.
And so were these beautiful earrings inspired by Forest Healer, I hope you like it, for the photo with the accessories I matched with a necklace that I had made a few months ago inspired by this character.
I hope you like these cute earrings woven with delica miyuki....
🍀 Thank you for your support 🍀.
Recursos/Resources
| Portada, banner e imagen / Cover, banner and image | canva |
|---|---|
| fotos/ pictures | own photos, realme c11 device |
| References The forest healer | Post HoloZing Game, Logo Holozing |