
#hive-142010 is a Lego community :)
I received the shipment of bulk Lego I bought with Steem from 
|
|
|
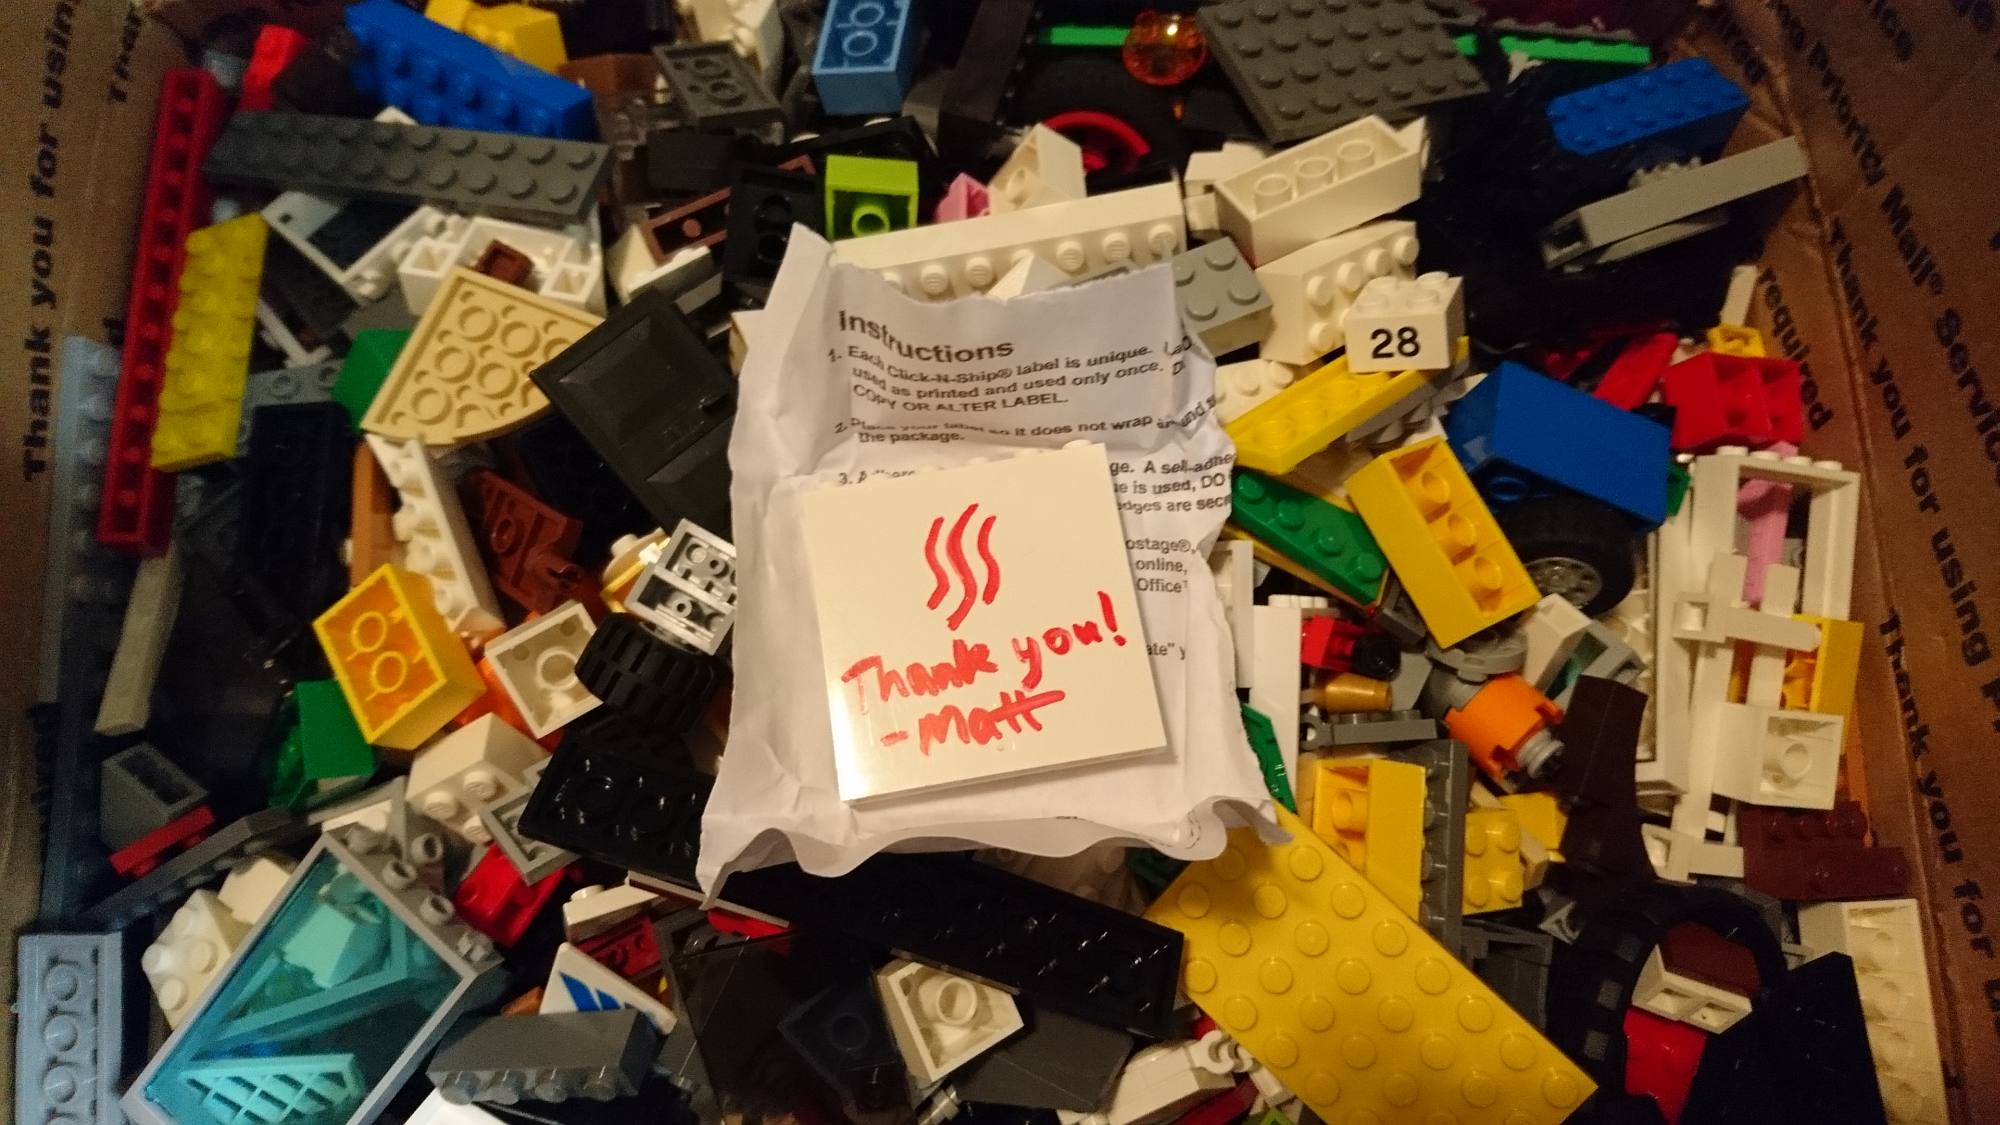

There are a ton of Lego Technic pieces, which I am particularly excited about because that was a big hole in my current collection. When I started building up my collection as an adult I mostly bought cheap bulk lots on eBay, which were by and large stripped of most cool parts. Bulk Technic lots cost 2-3 times more than normal Lego lots.
I actually don't have much experience building with Technic pieces at all, as we only had a couple small Technic sets in our family collection growing up as well. So the first thing I did once I dumped out the box was start a freestyle Technic build.
Let's start at the very end
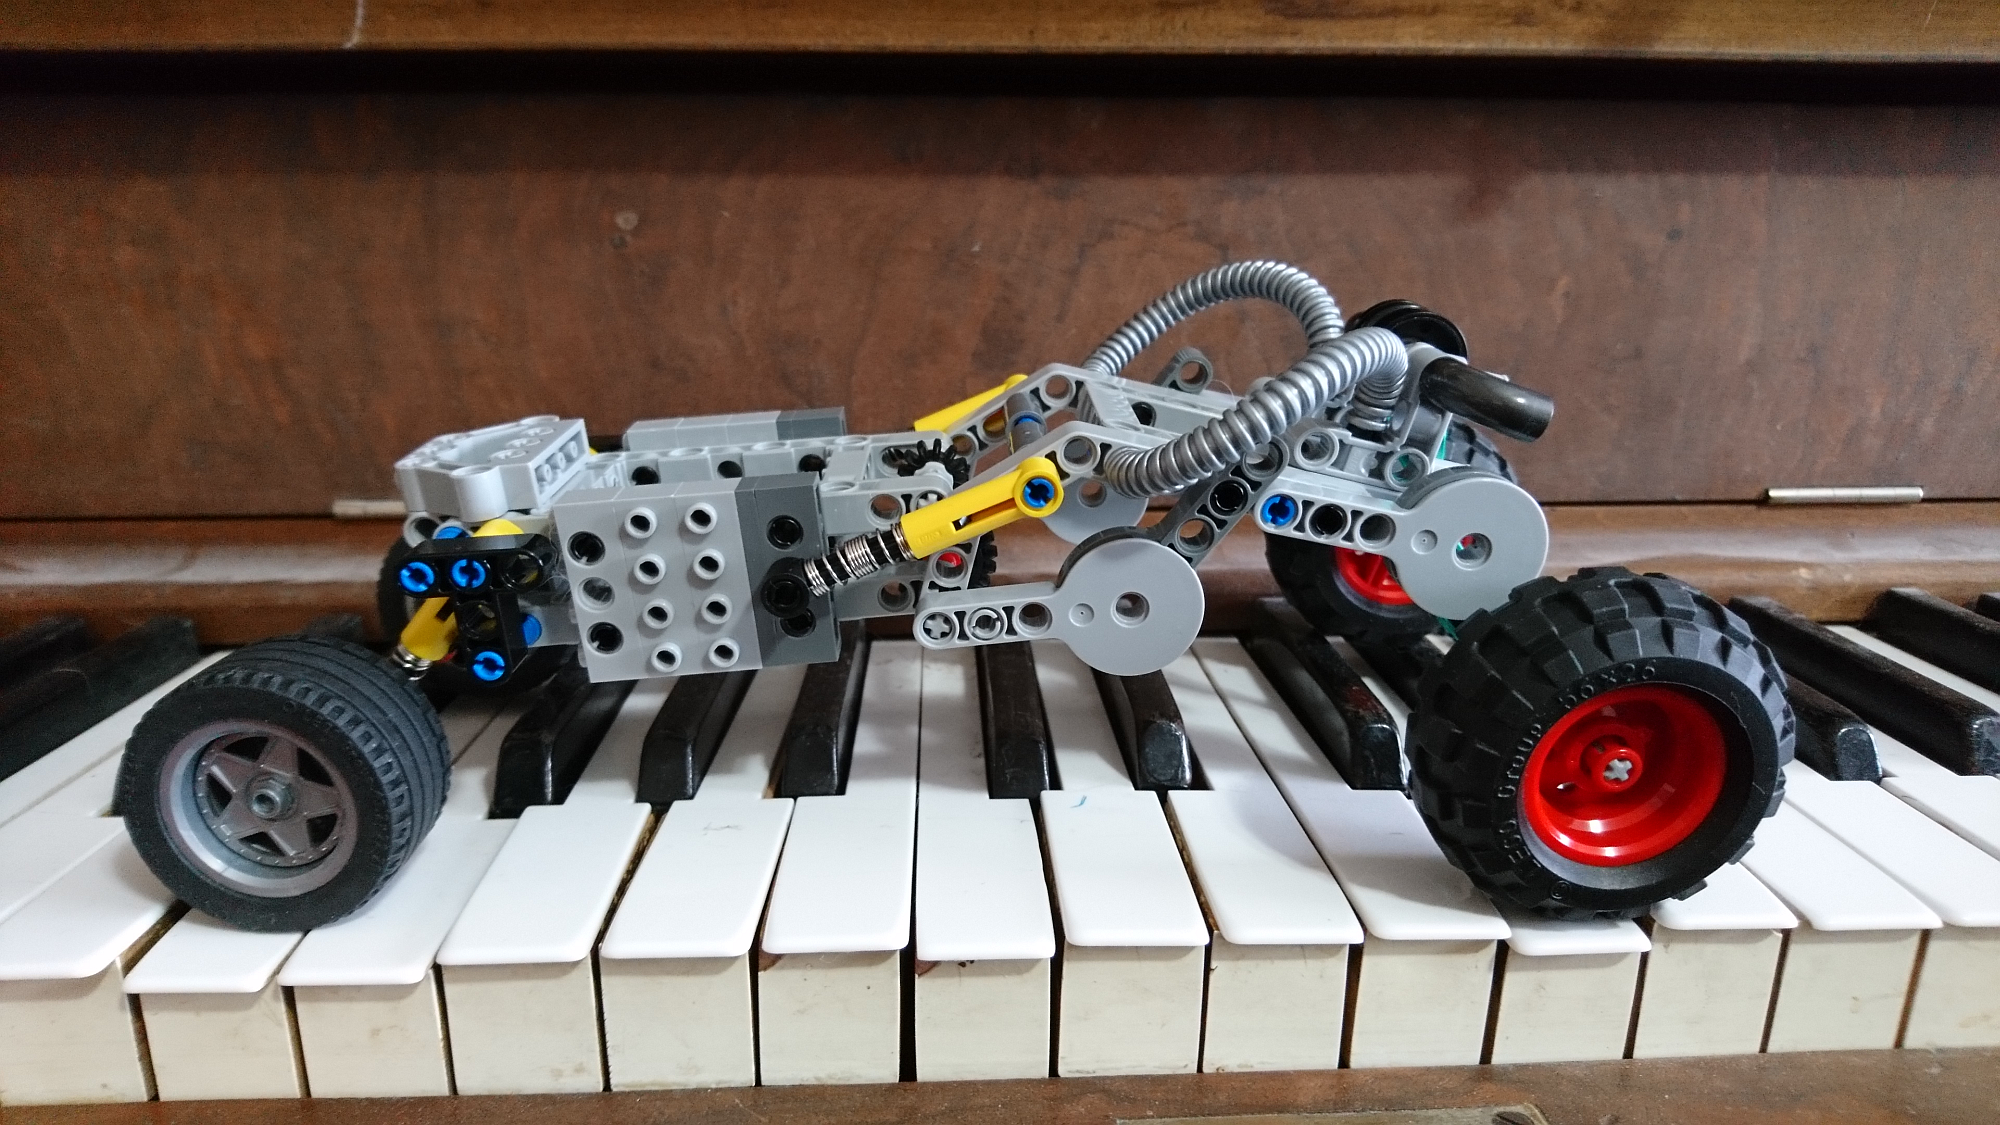
So here is what I ended up with :) Process to follow.
This is a fun little toy car, my kids quite like playing with it as it is very responsive to the touch. Push it forward or backward and it will come back toward you when you let go, and the spring in the frame shocks has a very pleasing feel when you push down on it from above.
Process
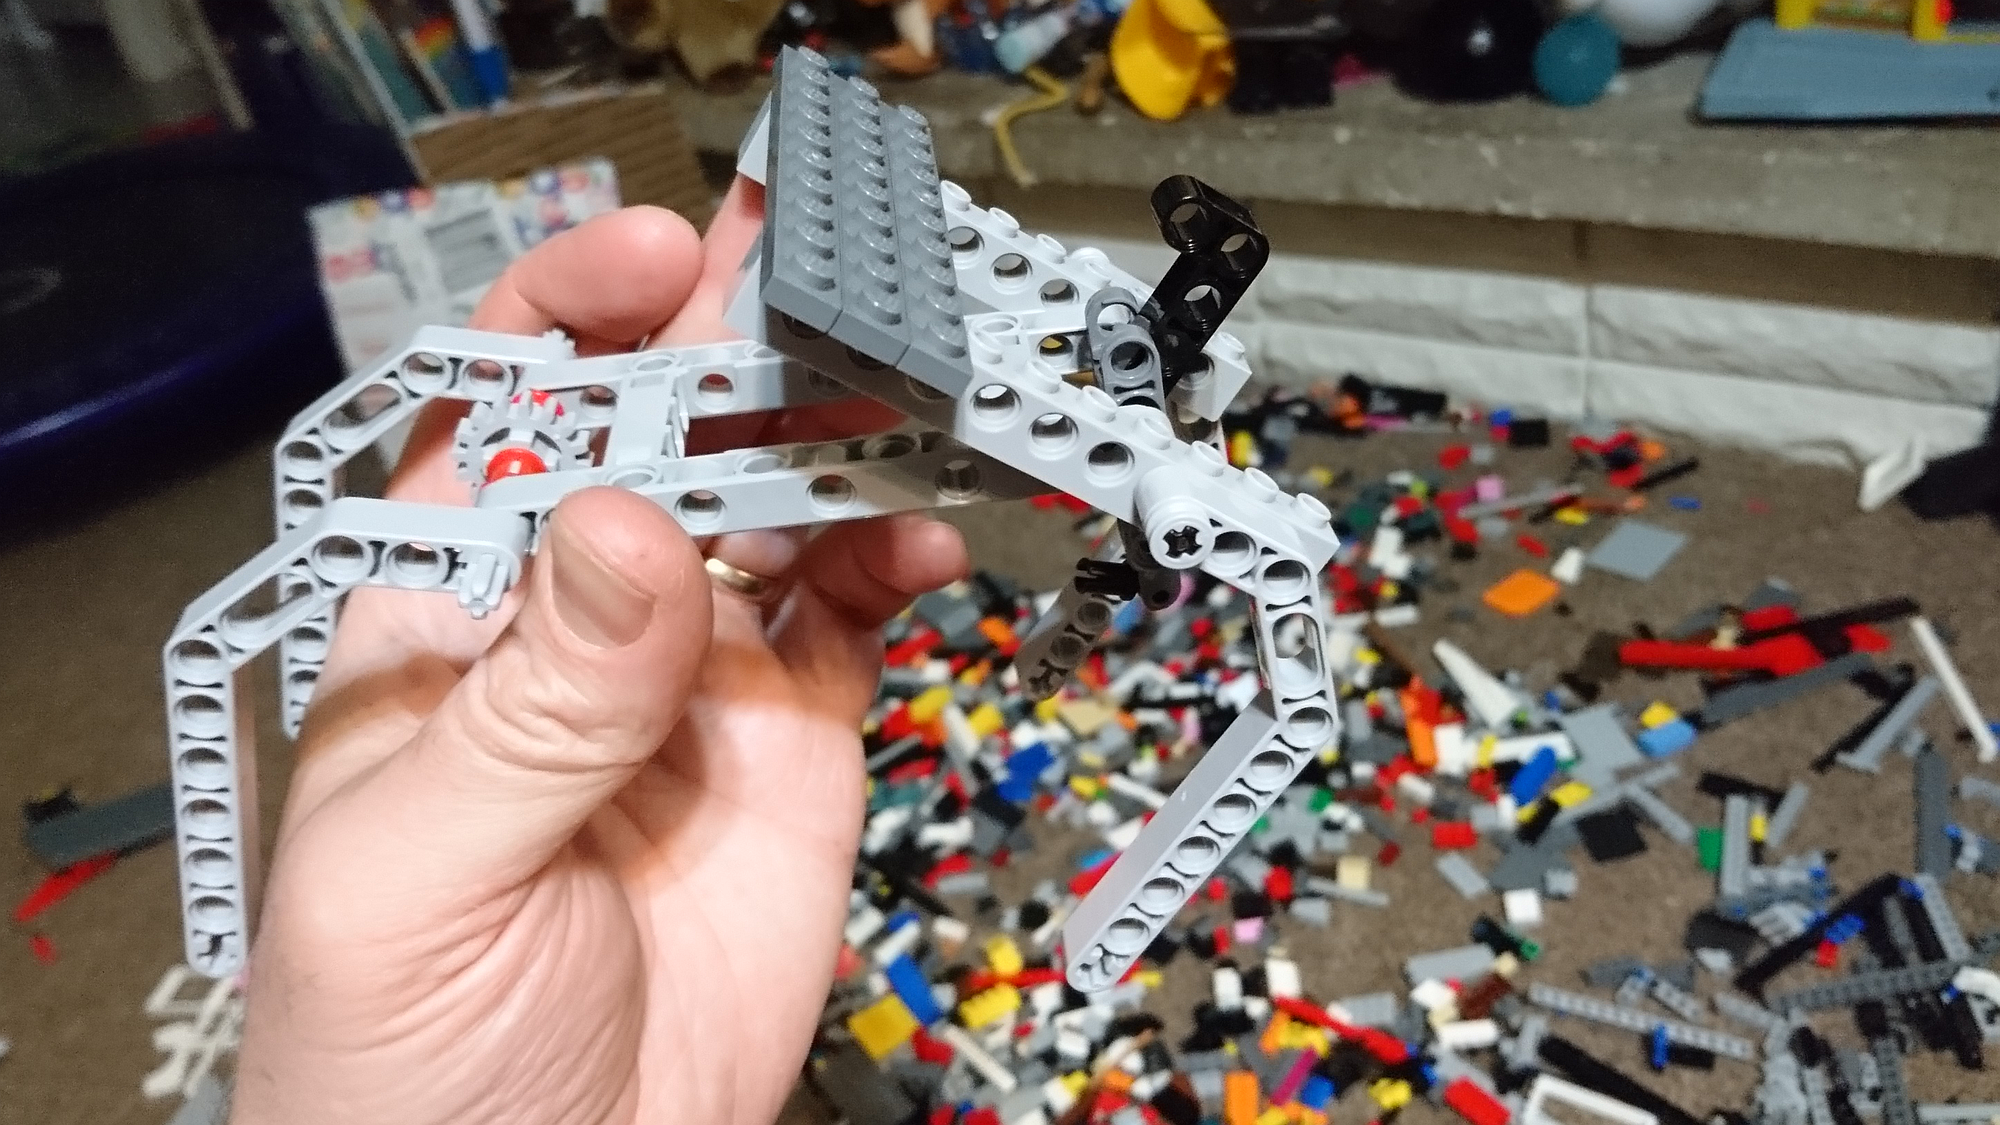
These were the first few pieces I slapped together, I ended up discarding the section on the right but the left side of this became the rear end of the finished dune buggy.
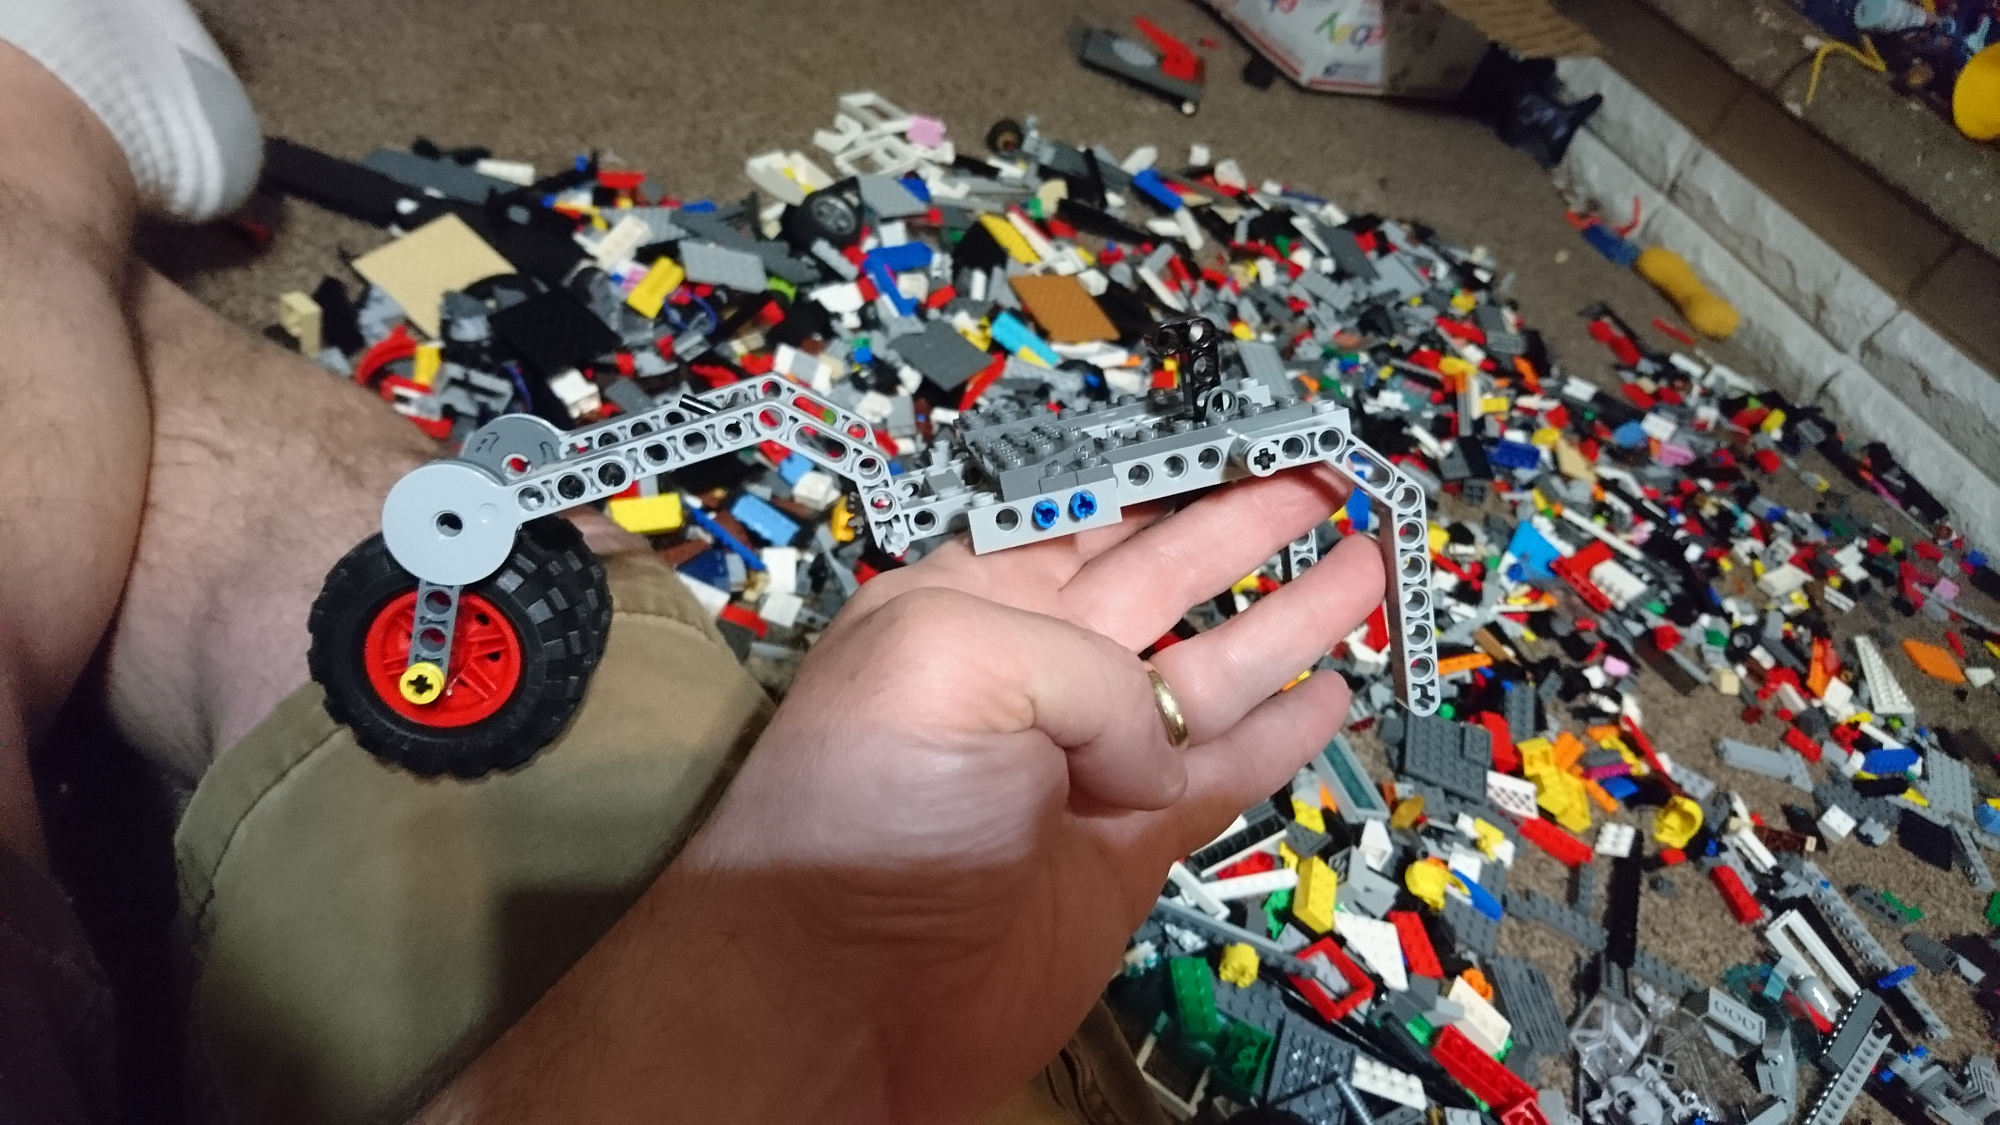
I was thinking about doing a motorcycle at the beginning.
There is a gap in my process shots as I played around with a few different things before I settled on the below (still the same basic frame on the left but with two wheels, and a totally rebuilt section on the right).
|
|
|
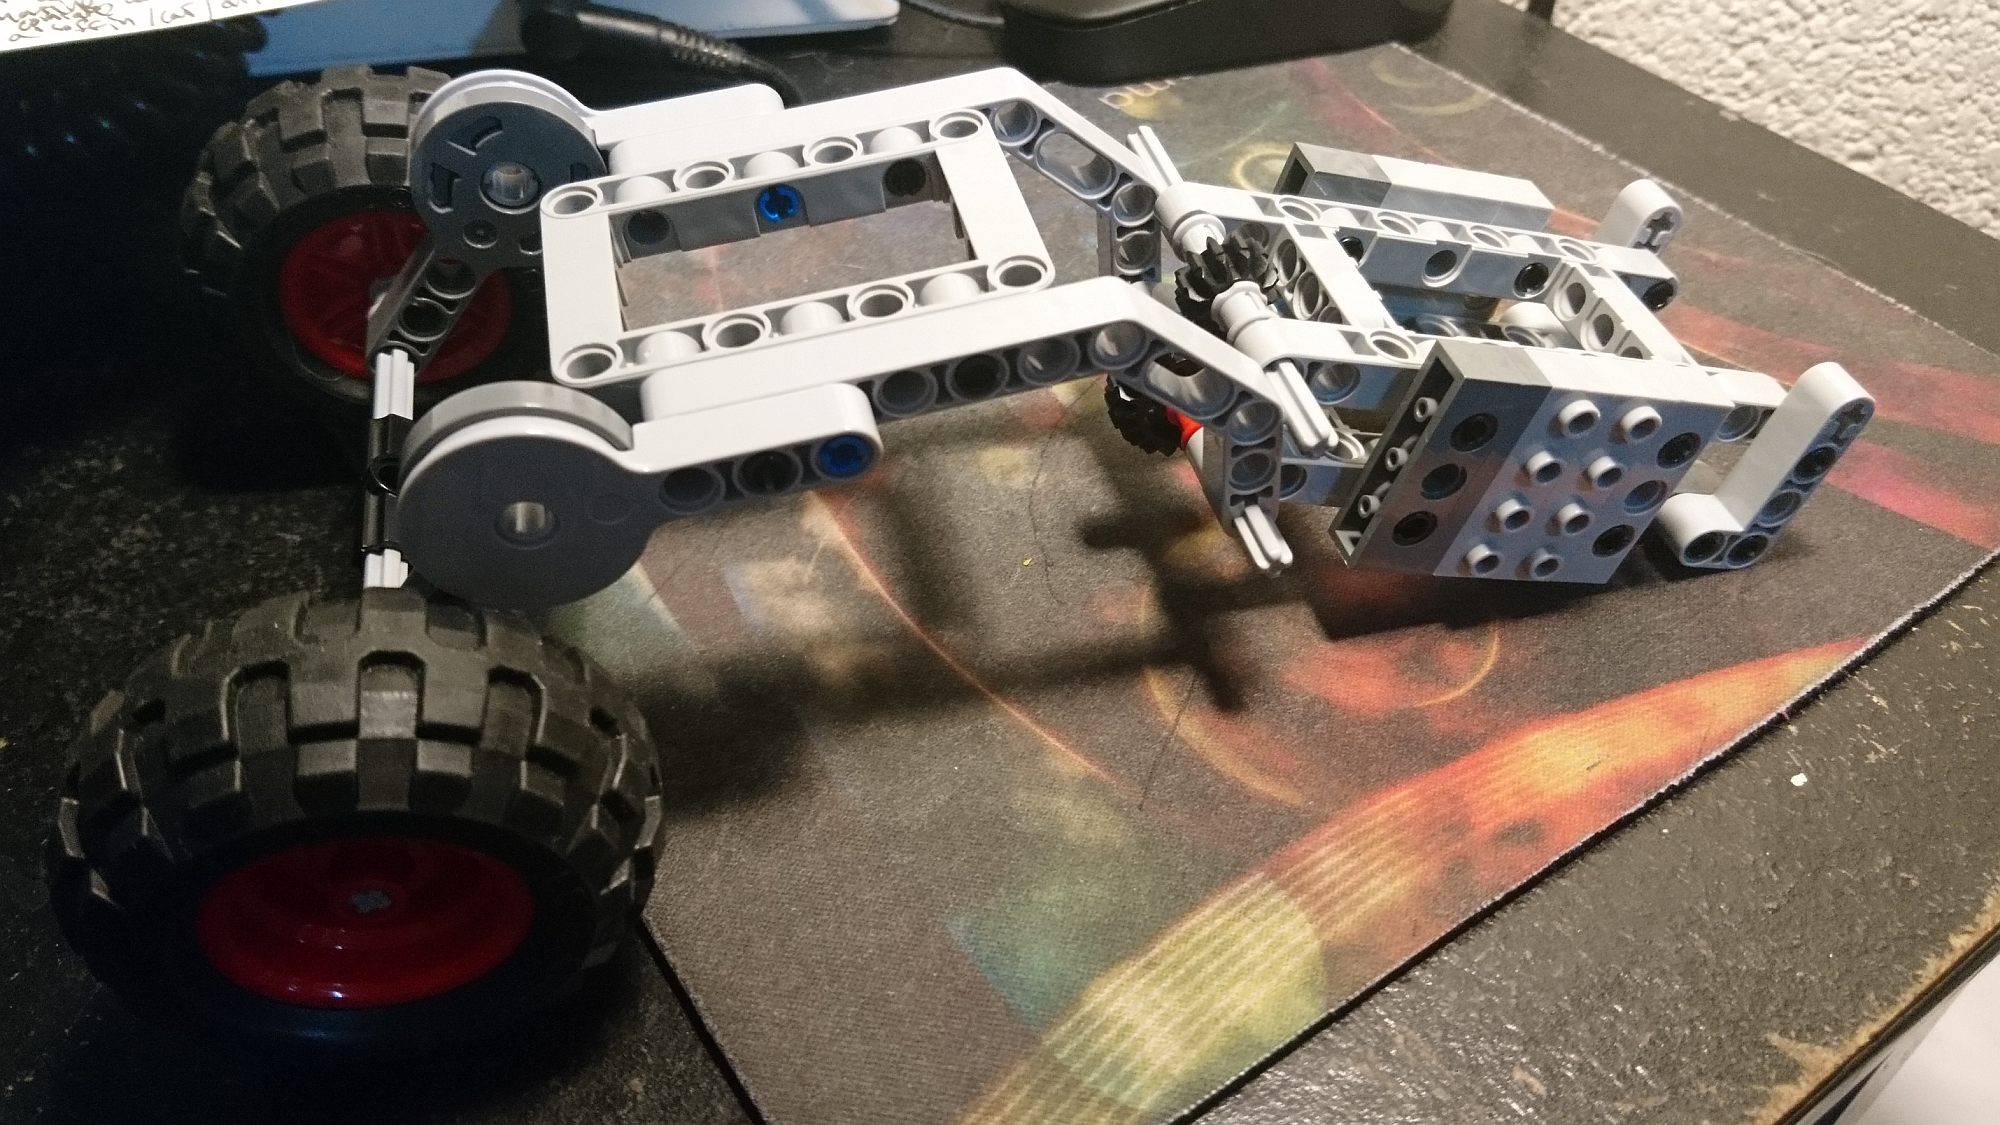
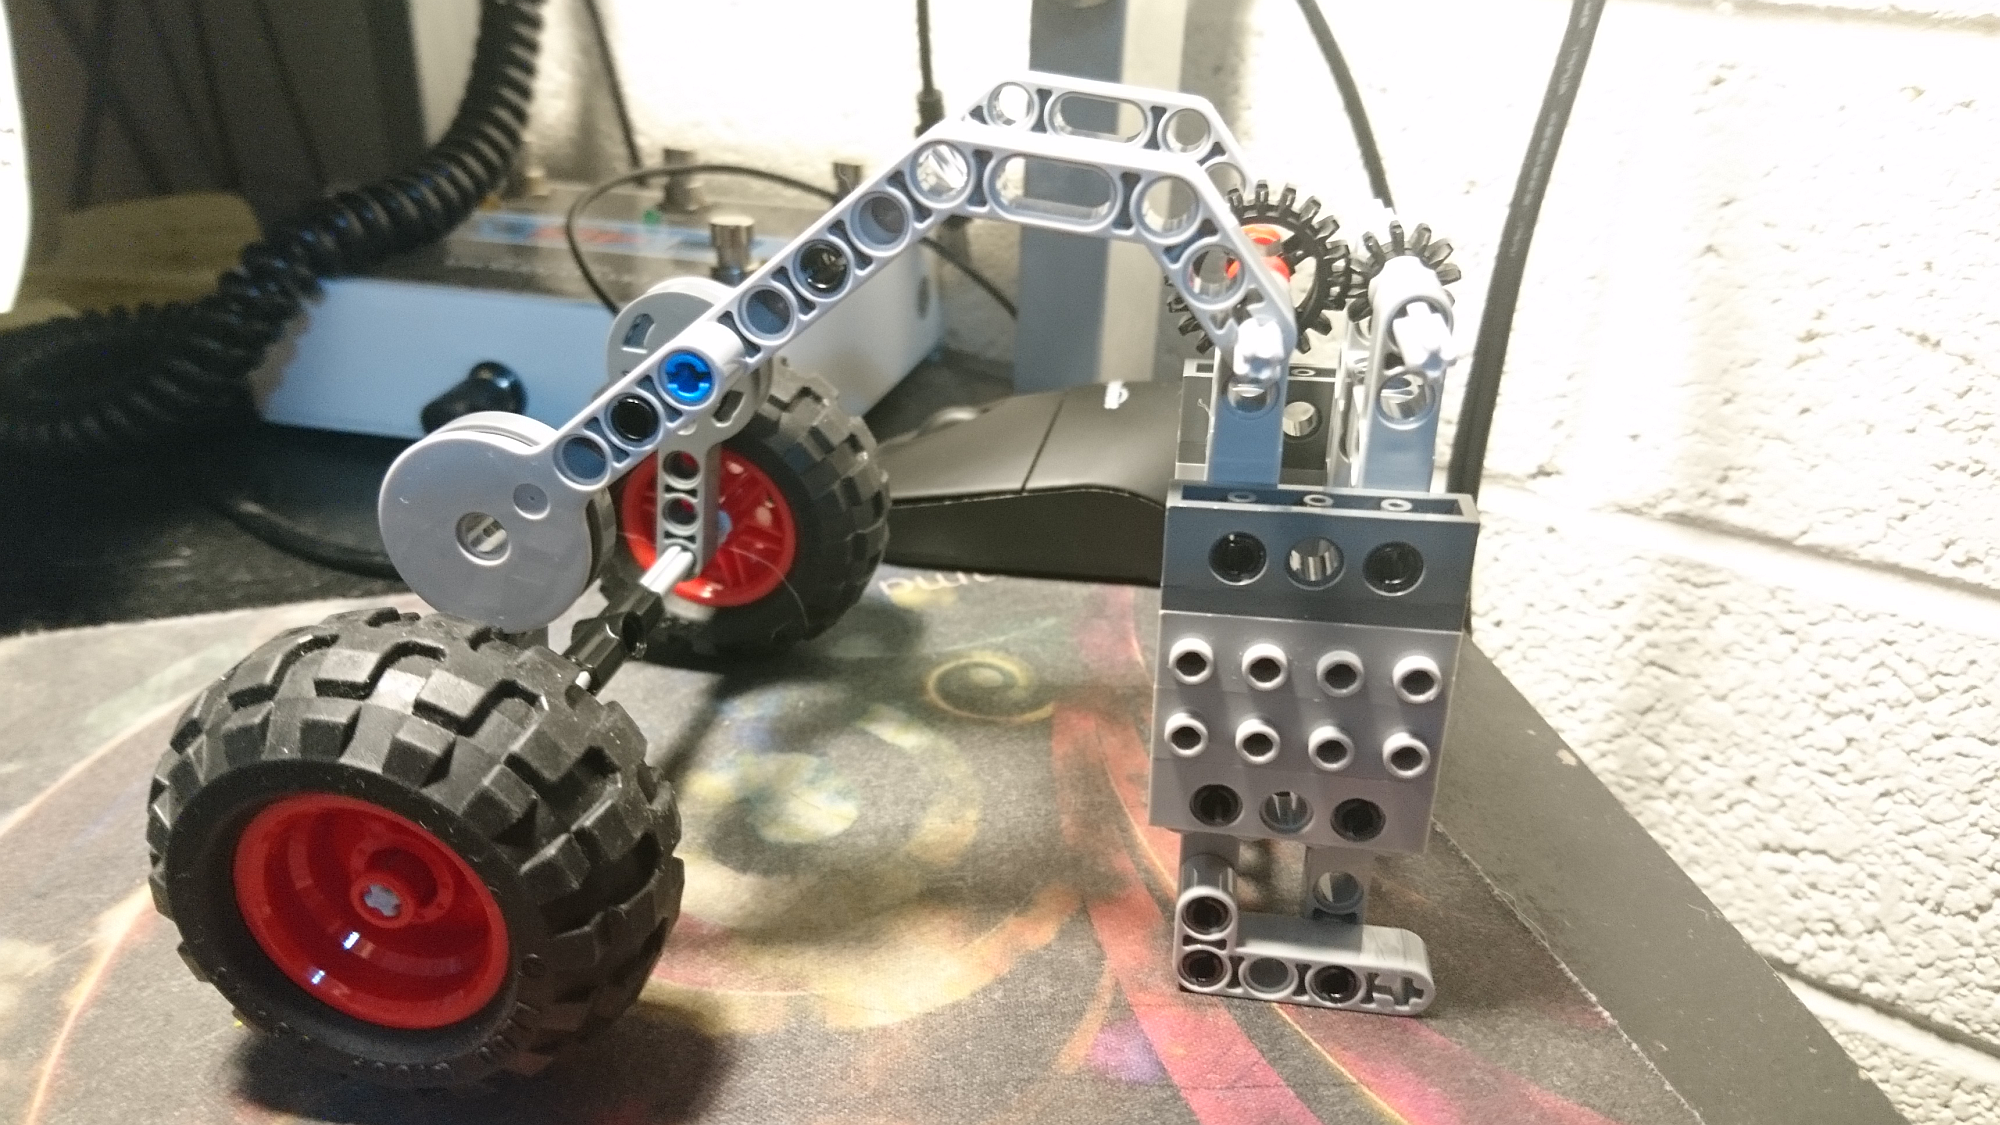
Click 'em to embiggen
In the finished build I didn't really do anything with the gearing you can see above (where the frame hinges). If I were going to put more time into this build I would flip the gears around so the larger gear was on top and attach a lever to it that you could use to mechanically set the height of the buggy off the ground. And of course, add a steering wheel and gear the front axle to turn.
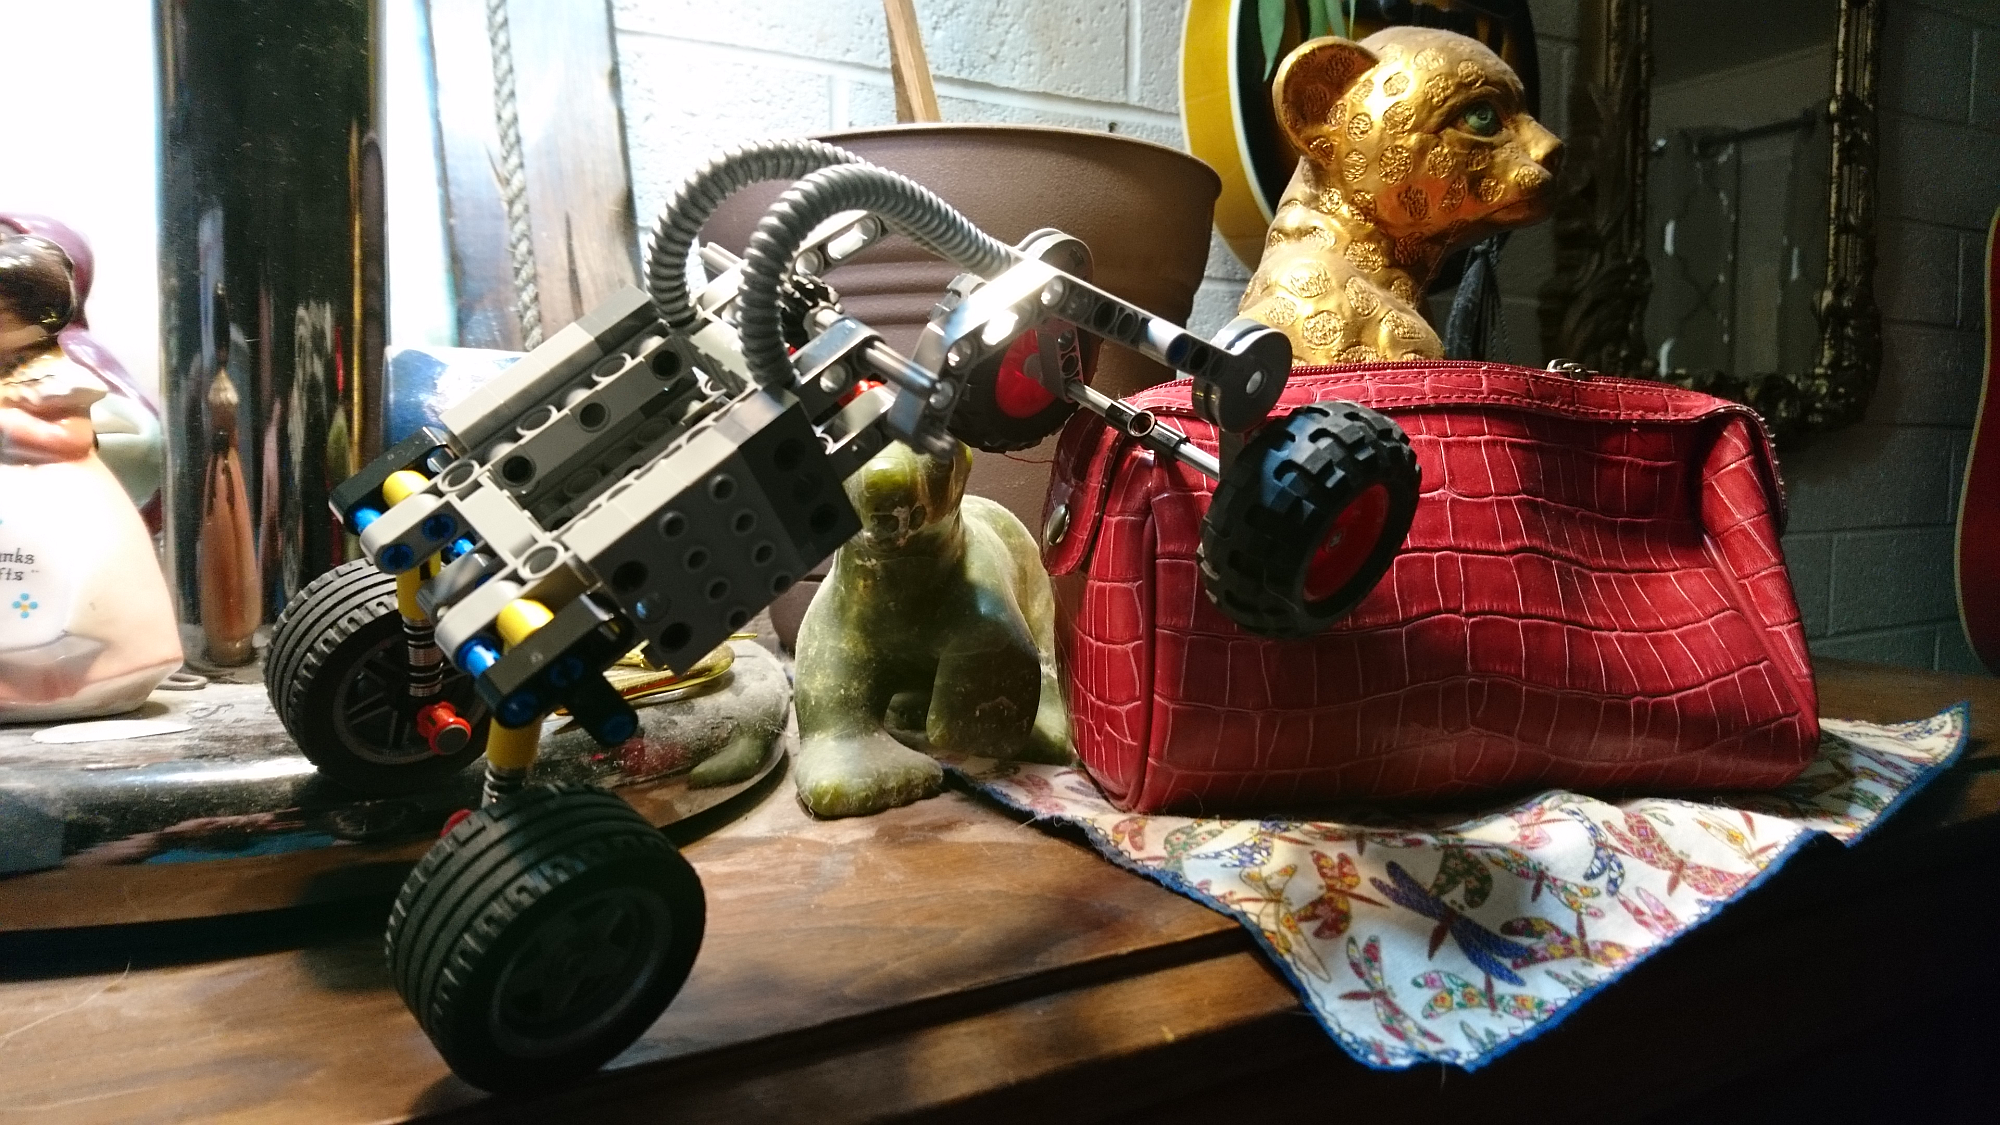
I added independent front wheels on shocks. At this point I was also using two flexible tube parts as shocks for the back section. This allowed quite a lot more movement than the final design I settled on with spring shocks in the back as well. You can see that the tubes pulled the buggy up into a more upright position at equilibrium:
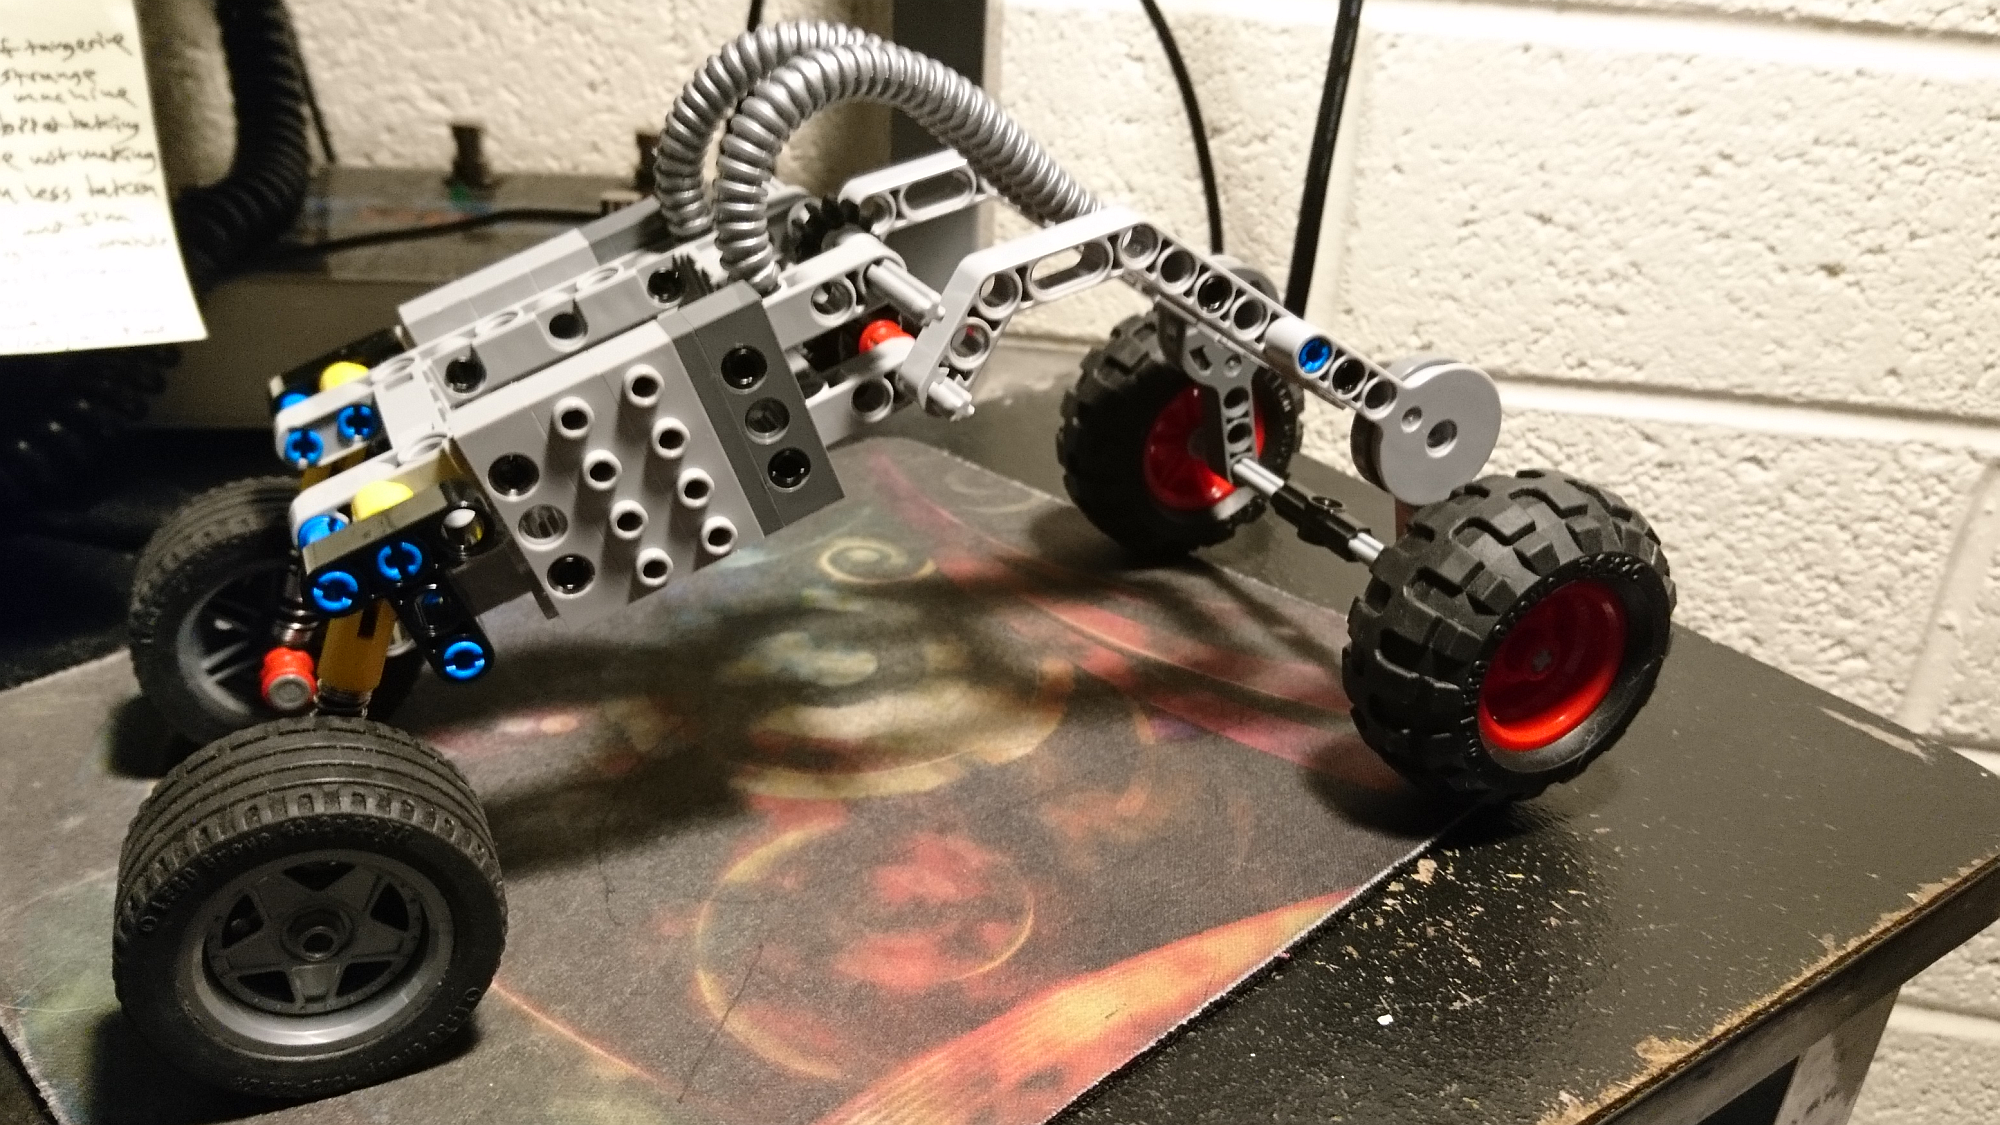
Next I added the rubber band motor.

This is a very simple design where two rubber bands are secured through a hole in the middle of the rear axle and looped around a drum above. Rolling forward or backward winds the rubber band up around the rear axle, which will propel the vehicle in the opposite direction when released. It actually was strong enough to crawl right over my hand set in front of it on the carpet! As you can see in the video above it had no problem at all with piano keys :)
Finally I added spring shocks to the frame and called 'er done :)
Original Lego design & photographs by moi
Subscribe to the Lego community: https://beta.steemit.com/created/hive-142010
Thanks to 

Three cheers for real life use cases for Steem! LEGO! LEGO! LEGO!