
Great Graphics = Great Blog! Beginner's Guide ... and not only!
Why We Need a Good Looking Blog?
I think we all agree. An elaborate graphic of a blog can often increase its value. As a consequence, this brings votes and follow-up for the author. Ensure trust and reputation. There can be a lot of benefits ...
I have to admit that for a long time I did not know how to write a post, how to use the photos. I have seen many remarkable posts and I wanted to be able to do the same. Fortunately, a friend, 
What is Markdown?
"Markdown syntax allows you to format your text and create headlines, lists, tables, links, images, and block quotes".Source
Well, if you want to build a great blog, 
Why Did I Post This?
You probably wonder why I made this post. Although in the post of
So, Just About Photos
To be able to juggle with the images first we need the image link. There are several ways to find out the link to the pictures. I use a method that I think is simple. If someone uses other methods, I would be glad if she(he) would show us in a comment.
First I Insert images by dragging & dropping. You will see the long link in the editor, like this:
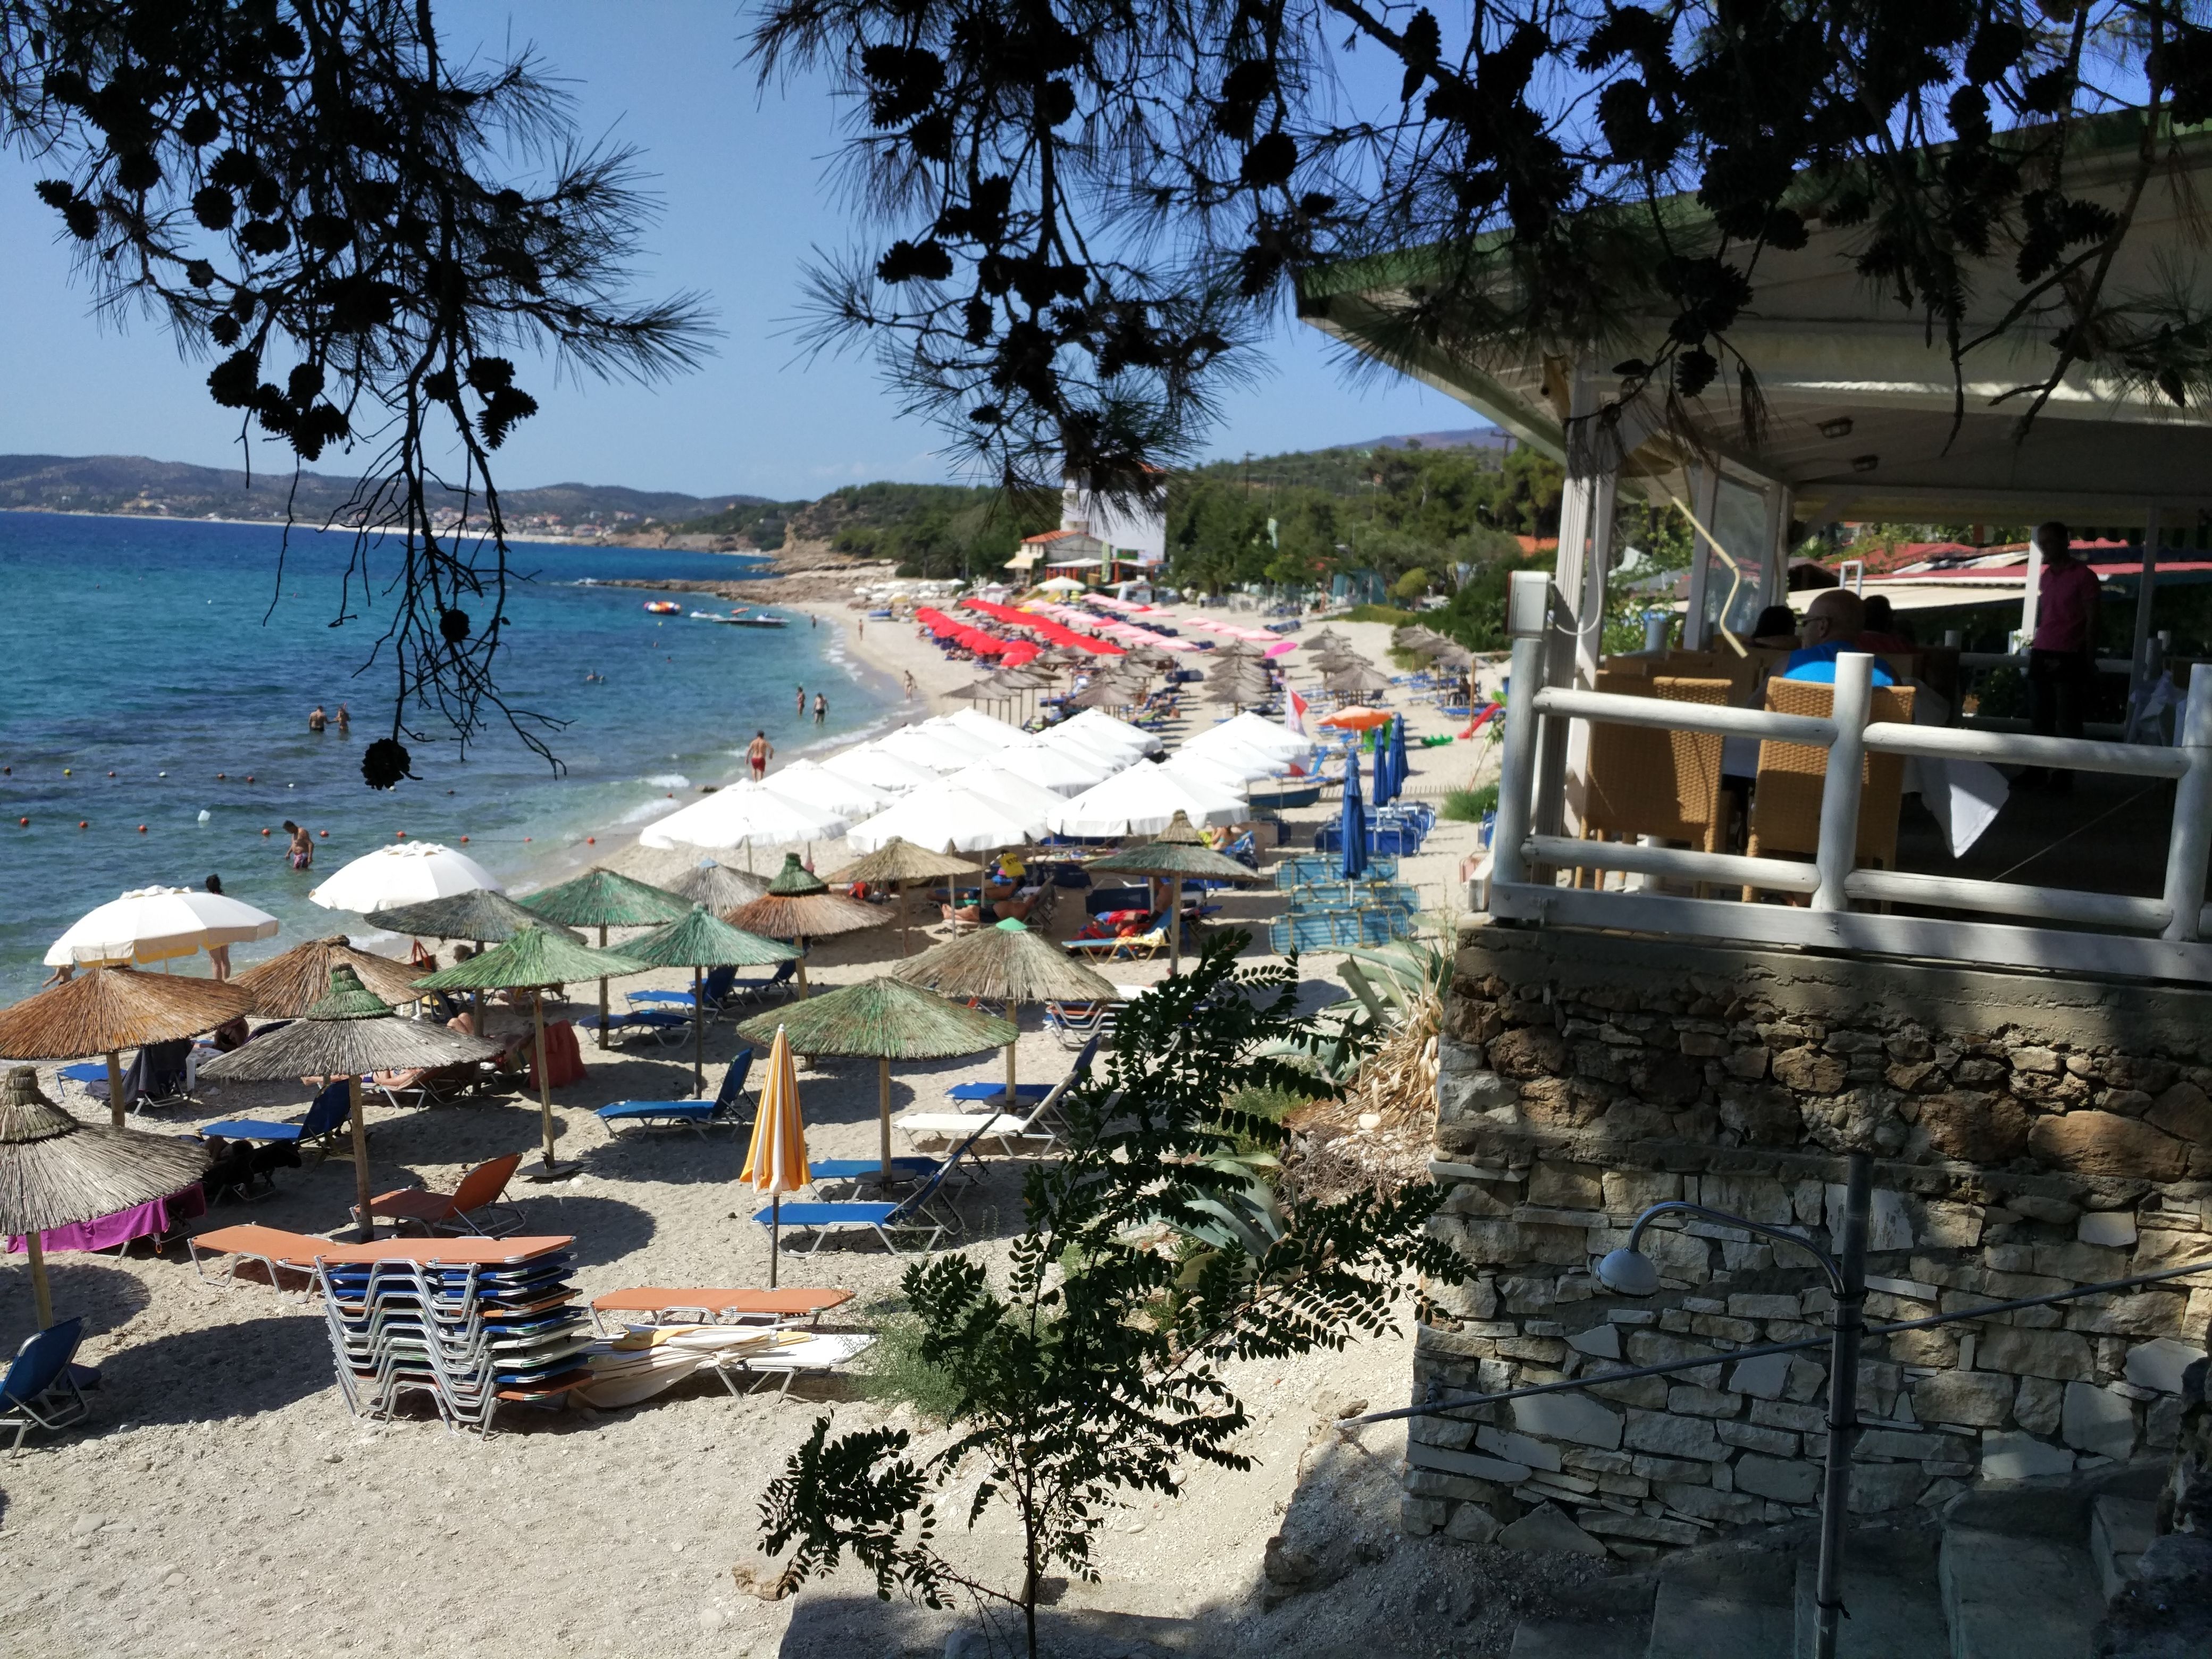
This link in the editor will result in a blog image as follows:
Now, to be able to place the images in different parts of the blog, we need the image link. We get it from the link in the editor from which we delete a part, as you can see below.

And the link we'll use from now on is this:
https://steemitimages.com/DQmUuitDbaMhfJmMFSme7Ea16QRt5DsZwgpUjYMjoVNi4bt/IMG_20170914_140420.jpg
We Have the Link!
<div class=pull-right>, <div class="pull-left">, <center> and </div>, the last always at the end of the image link.Right
<div class=pull-right>https://steemitimages.com/DQmUuitDbaMhfJmMFSme7Ea16QRt5DsZwgpUjYMjoVNi4bt/IMG_20170914_140420.jpg</div>
This link in the editor will result in a blog image as follows:
<div class="pull-left">https://steemitimages.com/DQmUuitDbaMhfJmMFSme7Ea16QRt5DsZwgpUjYMjoVNi4bt/IMG_20170914_140420.jpg</div>This link in the editor will result in a blog image as follows:
Center
<center>https://steemitimages.com/DQmUuitDbaMhfJmMFSme7Ea16QRt5DsZwgpUjYMjoVNi4bt/IMG_20170914_140420.jpg</center>
This link in the editor will result in a blog image as follows:
What we want more ... to put two pictures together!
This is done as follows:
<div class="pull-left">https://steemitimages.com/DQmUuitDbaMhfJmMFSme7Ea16QRt5DsZwgpUjYMjoVNi4bt/IMG_20170914_140420.jpg</div>
<div class=pull-right>https://steemitimages.com/DQmUuitDbaMhfJmMFSme7Ea16QRt5DsZwgpUjYMjoVNi4bt/IMG_20170914_140420.jpg</div>
This link in the editor will result in a blog image as follows:
Now...Three!
<div class=pull-right>https://steemitimages.com/DQmUuitDbaMhfJmMFSme7Ea16QRt5DsZwgpUjYMjoVNi4bt/IMG_20170914_140420.jpg</div>
<div class=pull-left>https://steemitimages.com/DQmUuitDbaMhfJmMFSme7Ea16QRt5DsZwgpUjYMjoVNi4bt/IMG_20170914_140420.jpg</div>
<center>https://steemitimages.com/DQmUuitDbaMhfJmMFSme7Ea16QRt5DsZwgpUjYMjoVNi4bt/IMG_20170914_140420.jpg</center>
This link in the editor will result in a blog image as follows:
More and...More!
We can put four images ...please note that between the first two links and the next two appears this text: to make space between images.
<div class="pull-left">https://steemitimages.com/DQmUuitDbaMhfJmMFSme7Ea16QRt5DsZwgpUjYMjoVNi4bt/IMG_20170914_140420.jpg</div>
<div class=pull-right>https://steemitimages.com/DQmUuitDbaMhfJmMFSme7Ea16QRt5DsZwgpUjYMjoVNi4bt/IMG_20170914_140420.jpg</div>
<div class="pull-left">https://steemitimages.com/DQmUuitDbaMhfJmMFSme7Ea16QRt5DsZwgpUjYMjoVNi4bt/IMG_20170914_140420.jpg</div>
<div class=pull-right>https://steemitimages.com/DQmUuitDbaMhfJmMFSme7Ea16QRt5DsZwgpUjYMjoVNi4bt/IMG_20170914_140420.jpg</div>
This link in the editor will result in a blog image as follows:
Review and a Little Advice
Below you have a recap of all the formats so you can easily use them in your posts. You can copy the format and replace Image link with your link. Simple!
RIGHT
<div class=pull-right>Image Link</div>
LEFT
<div class=pull-left>Image Link</div>
CENTER
<center>Image Link</center>
TWO IMAGES
<div class="pull-left">Image Link</div>
<div class=pull-right>Image Link</div>
THREE IMAGES
<div class=pull-right>Image Link</div>
<div class=pull-left>Image Link</div>
<center>Image Link</center>
FOUR IMAGES
<div class="pull-left">Image Link</div>
<div class=pull-right>Image Link</div>
<div class="pull-left">Image Link</div>
<div class=pull-right>Image Link</div>
Before the End
This was an attempt to show a working method. Everything is learned from the post A Beginner's Guide to Markdown by