It took me some prototypes to get to the result I wanted to achieve but yesterday I got it to look how I had in mind and I don't think the print can be improved much with the tools I have at hand. Bear in mind that I'm not a professional macro photographer. The pictures are zoomed in and make the defects look bigger. The chips have a 40 mm diameter and actually look better in real life than on the pictures. I made two variants. One with a flat surface, a real cylinder and one with relief where the blue is on top of the white.
Flat surface variant
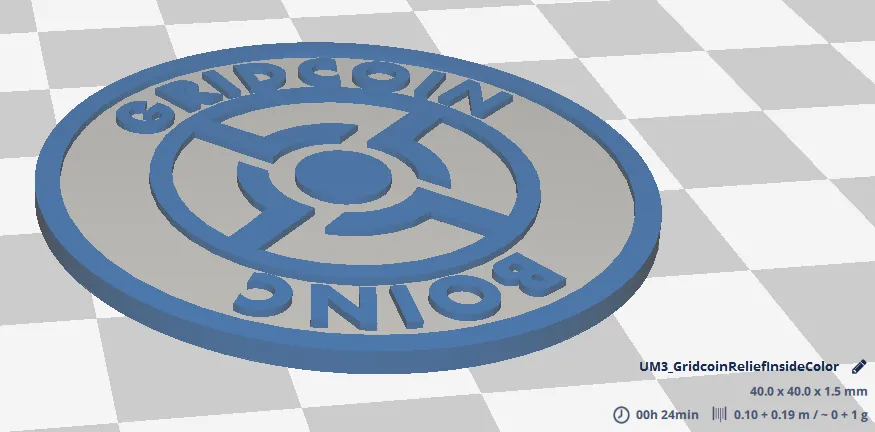
Let's start by showing the design once more:
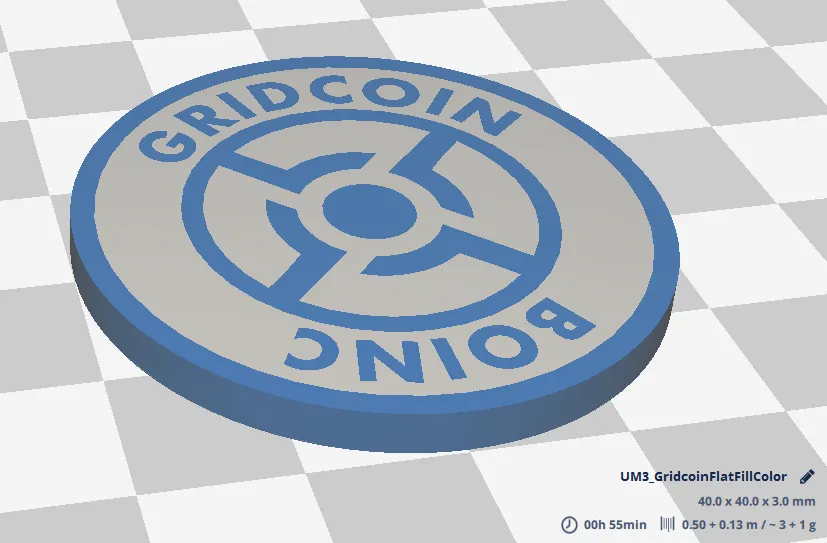
It is almost the same design as the one I did before. I explained the difficulties with this design in "3D printing: know the limits of the printing process" before. I redesigned the coin. Basically I put it upside down but it took a few more steps in hindsight. As you can see in the right bottom corner printing time is estimated at 55 minutes which, for these small prints was quite accurate. That's one hour for a 4 gram 3mm high 40mm diameter two colored cylinder.
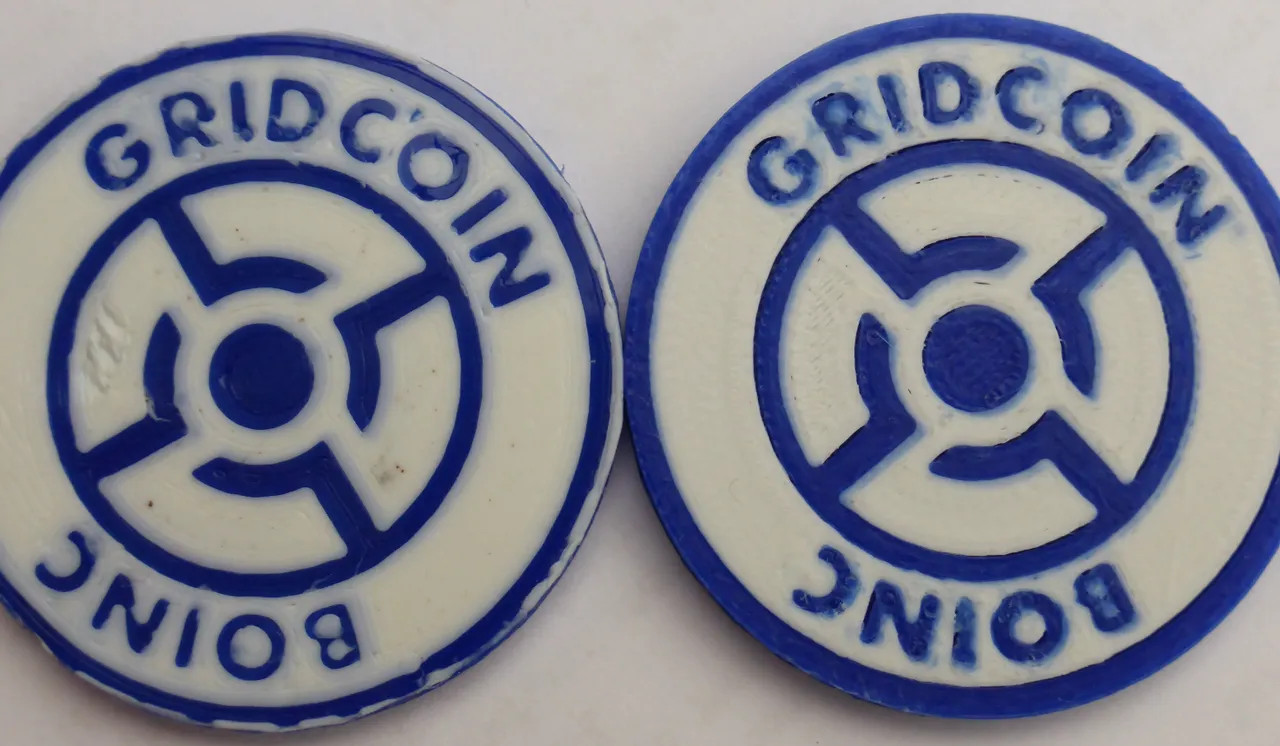
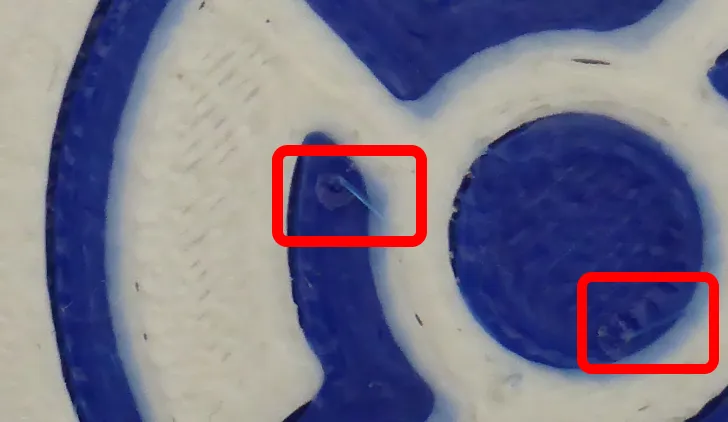
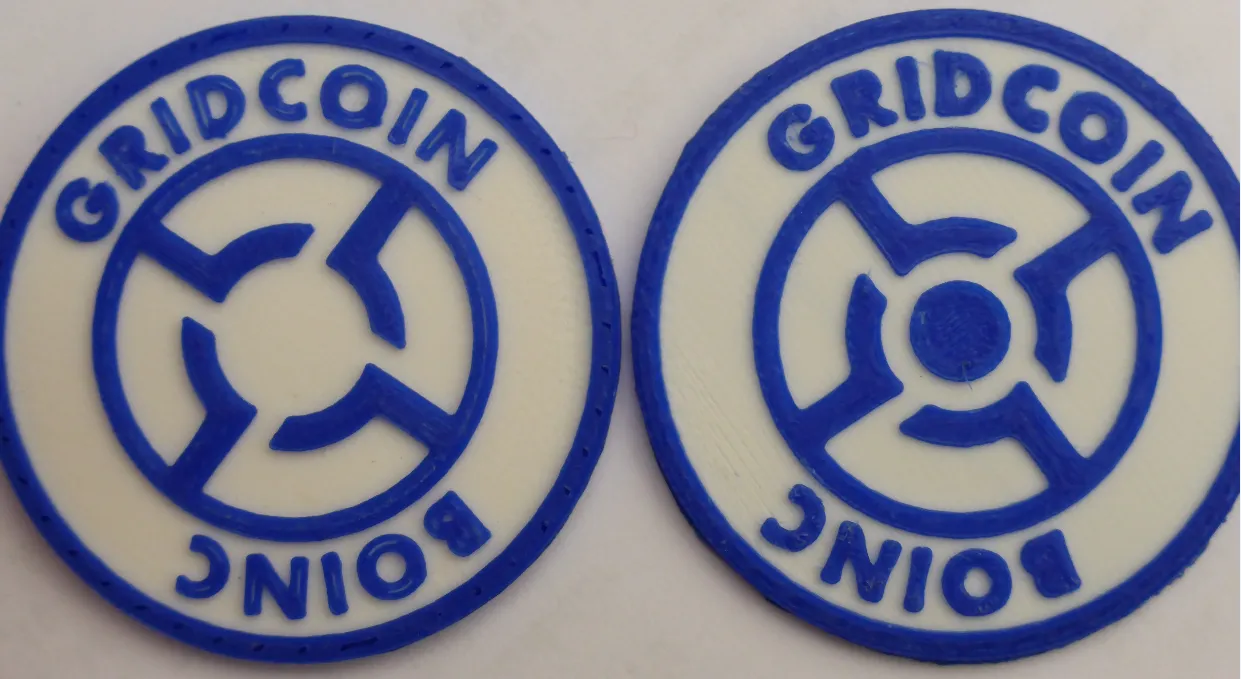
On the left side we see the previous prototype, on the right the current one. I must say that in reality it looks a bit better imho. Previously the text did not look too good because of the buildplate adhesion problems. That's why I retried with the model upside down. No the text doesn't look ask crisp as on the design because of small nozzle leftovers. To go from one letter to the next the printhead needs to make a travel. It stops extruding, goes up, goes to the next letter, goes down again and starts extruding again. When it stops and goes up there can be super tiny molten material threads that remain. To give an example I zoomed in on the picture and you can see an example in the red rectangle.
This doesn't always happen and when it does it doesn't always happen, it happens in different directions and it doesn't always happen to the same extend. The problem is that the white material is printed on top of these tiny threads resulting in this mixed bluewhite spots around the letters. There are some tricks to try and further reduce this but that goes too far for me and I'm happy with the result. One has to accept the limitations of the process. The backside looks as good as previously. On the left the old one, on the right the new one.
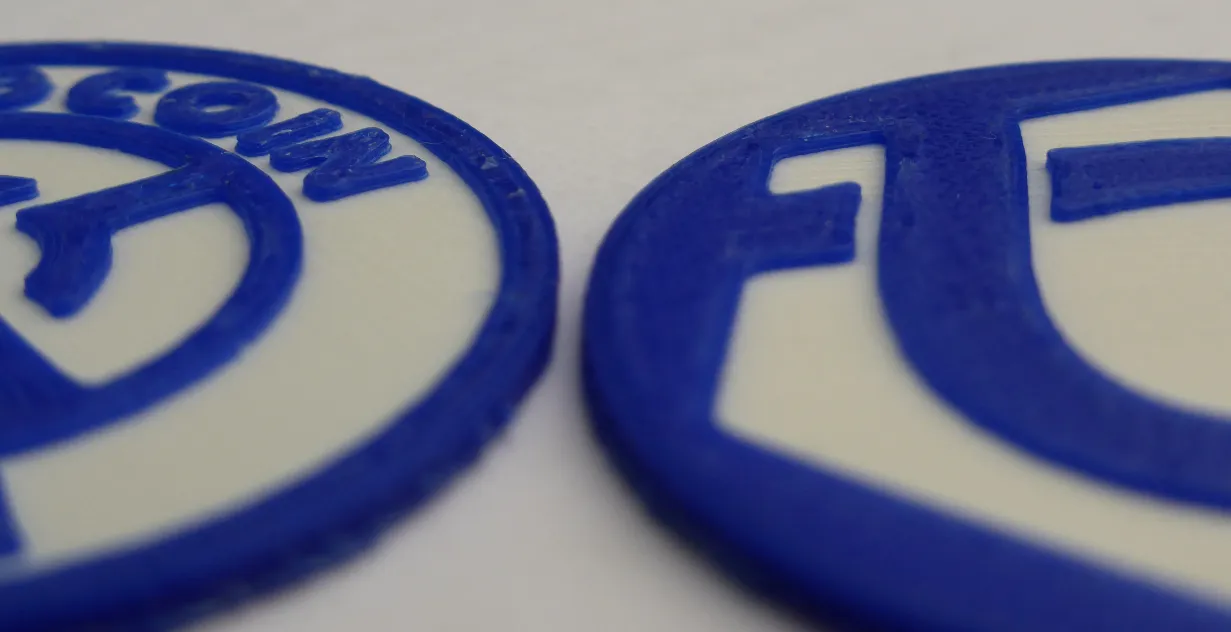
Relief variant
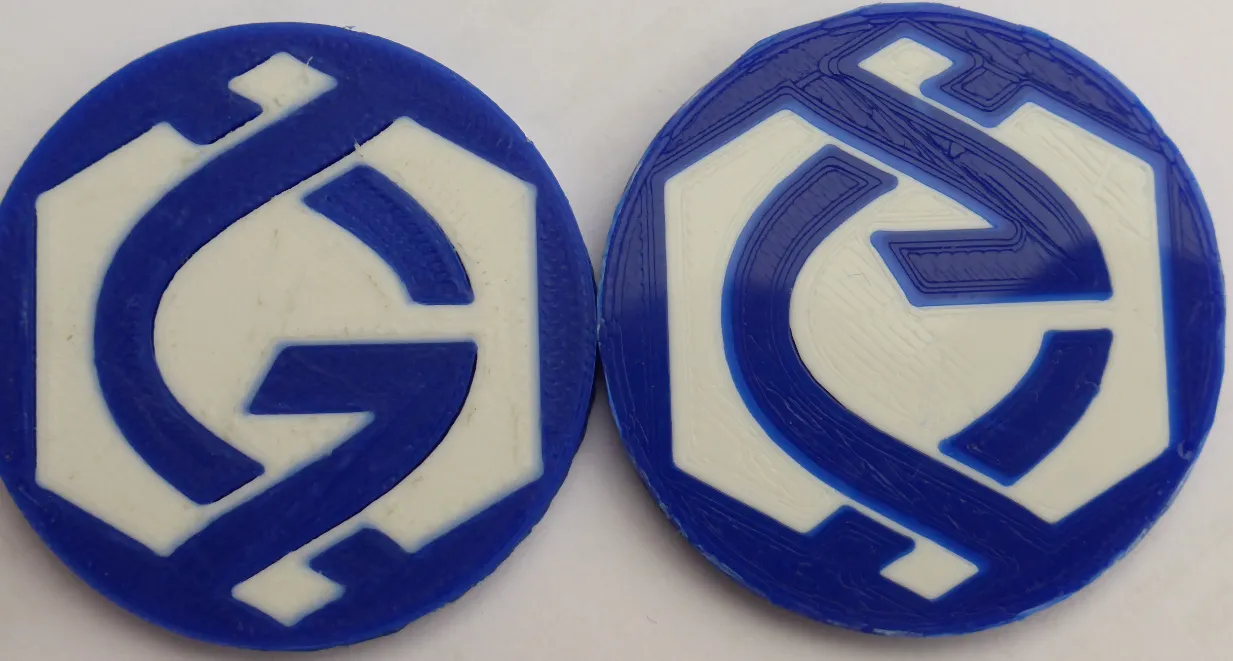
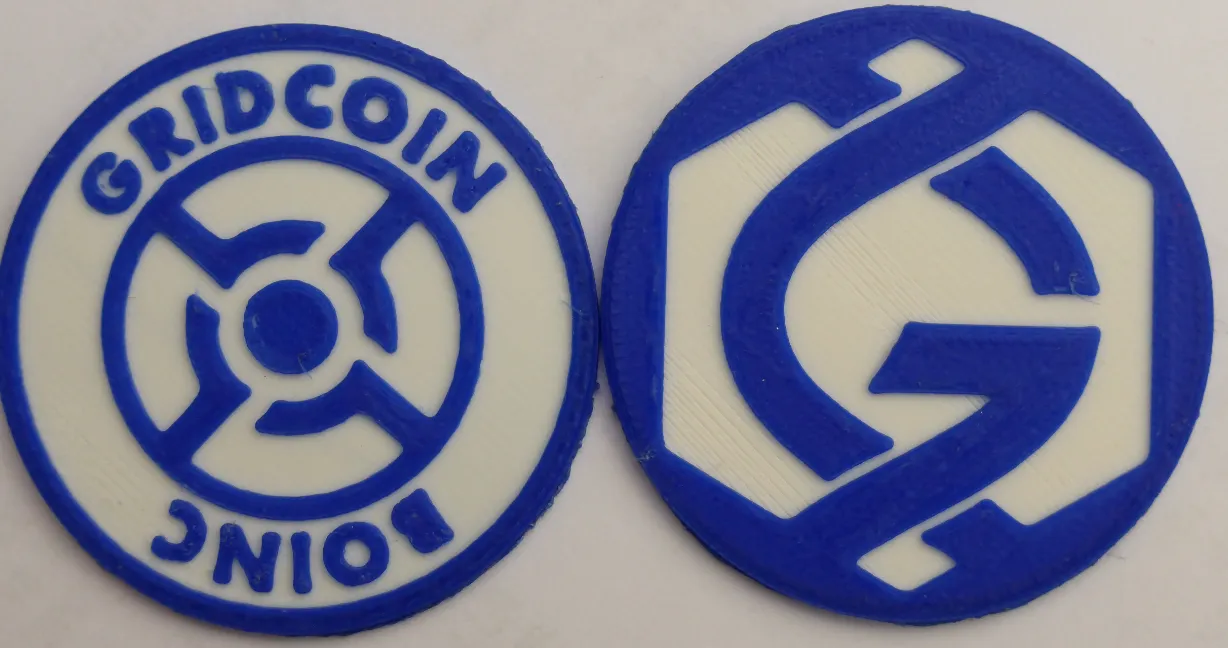
I actually like this variant best. It looks and feels better. The only drawback is that it needs to be printed in two separate pieces that need to be glued together. The blue and white mixing is not present because the blue is printed on top of the white and thus no white is printed that can get mixed. I described in the blog entry about the first prototype that I was using outdated slicer sofware which caused the letters to not be fully filled. This issue has been solved.
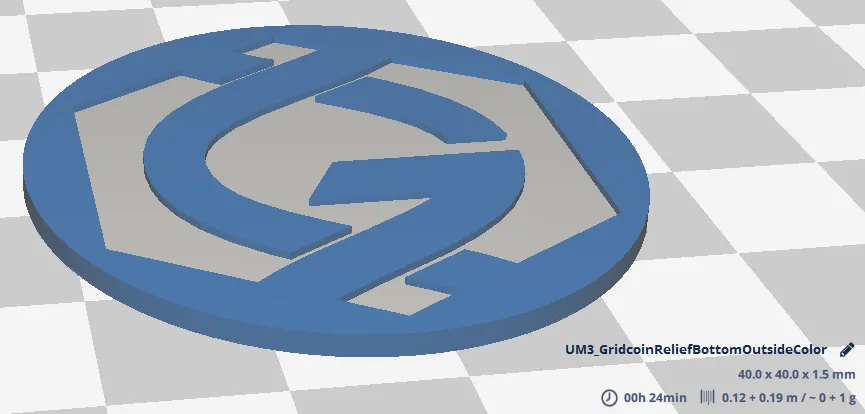
These are the designs for top and bottom:
And the result compared to the previous prototype. On the left the old one, on the right the new one.
These are a pictures of the front and the back. The white is one millimeter thick and the blue on top 0.5 millimeter.
Opensource
Prototyping is over, I made all designs avaible on the gridcoin community github. You can use them for whatever purpose, change them, reproduce them, ... No rights implied. At the moment the pull request is made but it will be merged soon.
Requests
Two persons have requested for a sample and I'll contact them to send them one now. If someone else wants one (or some) just contact me. I don't do it for profit, just for fun. I only ask for compensation of material and posting.
Open Source Contribution posted via Utopian.io