
Hello,
This is the 7. post of "steem-python for dummies" series. If you didn't read the older ones take your time and have a look.
- steem-python for dummies #1 - Introduction and Basic Operations
- steem-python for dummies #2 - Playing with account data
- steem-python for dummies #3 - Coding an upvote bot
- steem-python for dummies #4 - Private Memos
- steem-python for dummies #5 - Bundling Blockchain Operations
- steem-python for dummies #6 - Delegating
In this post, we will learn about creating accounts in steem network with steem-python.
Creating Accounts
When you have a look to original steemit account's movements in the network, you will see that
@steem account constantly creates new accounts.
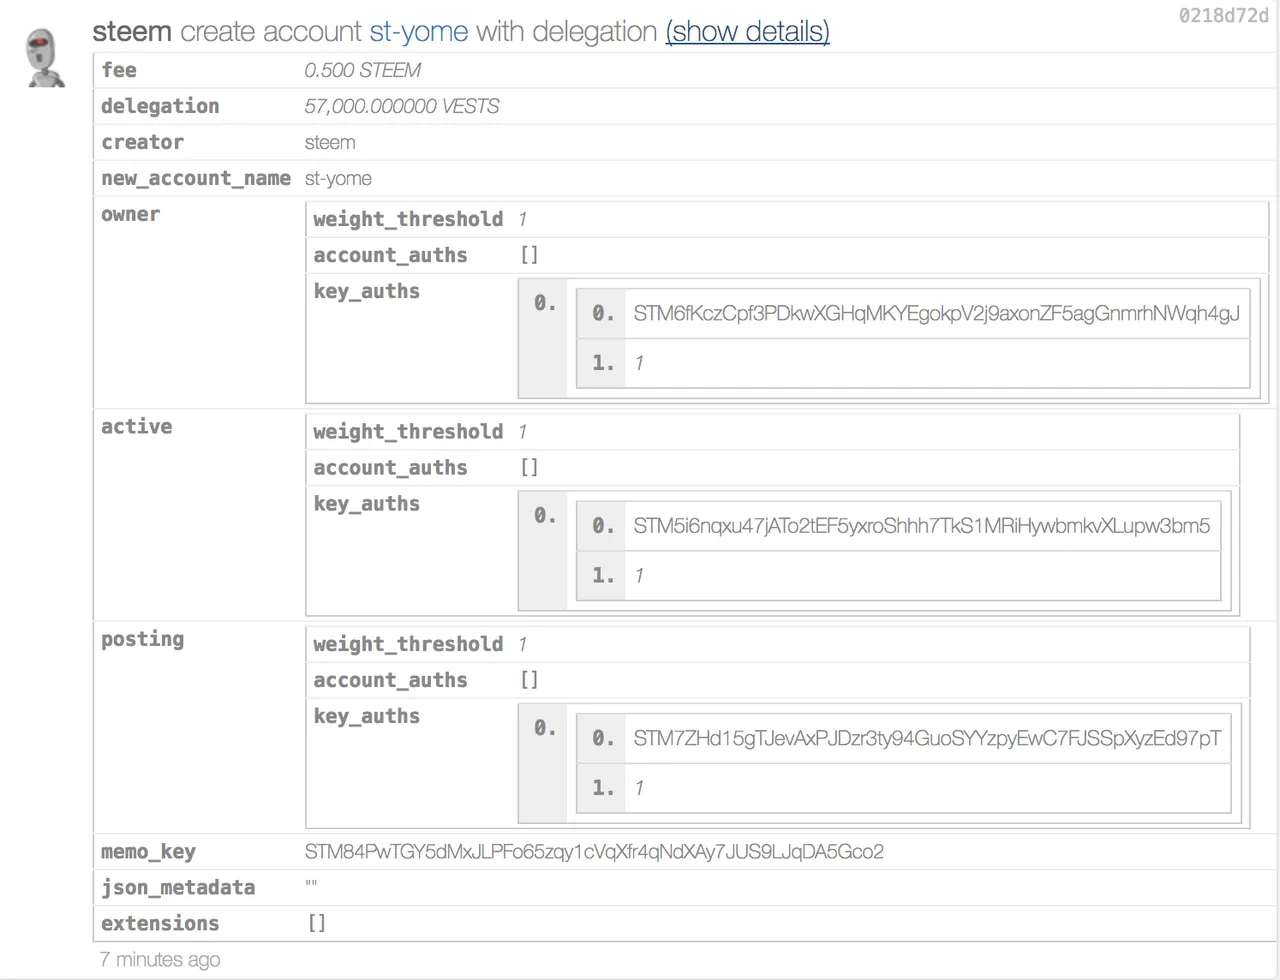
This is the "account_create_with_delegation" operation in the chain. Basicly, you can create a new account by paying a fee and creating a delegation to the newly created account.
Steemit does it free but sometimes it may delay new users because of the waiting queue. But luckily you know python and you can do it yourself with steem-python!
Action
s = Steem(nodes=["https://rpc.buildteam.io"],
          keys=["active_wif"])
s.create_account(
    'new_account_username',
    delegation_fee_steem="1 STEEM",
    password="yourpassword",
    creator="emrebeyler",
    json_meta={"profile": {"name": "Test account"}},
)
Even though, it's possible to create accounts with lower steem fees, steem-python need at least 1 STEEM at the moment. I have created a test account with this code as @steempythontut, which I paid 1 STEEM and 25 SP delegation. (You can take them back anytime, of course.)
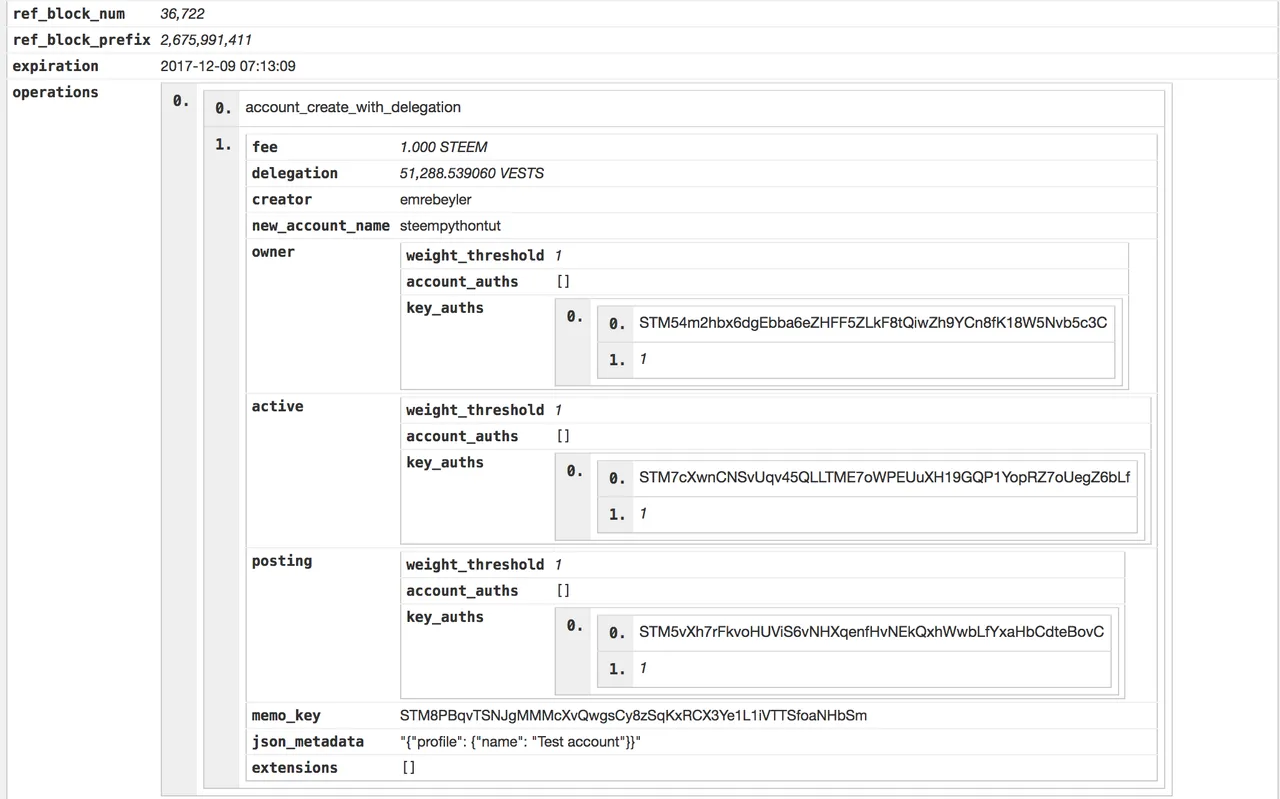
steemd representation of my try
Accessing the private keys
After that code executes, you have your freshly created account in place but where are the private keys?
We will get help from steempy again. steempy is the cli tool of steem-python package. When you install steem-python, steempy comes with it.
Importing the account
steempy importaccount new_account_name
It will ask the password. (The pass we have entered while creating the account) Then it will ask a new password for the wallet. Note it.
steempy listaccounts
It should show the accounts and available keys.
| Name | Type | Available Key |
|---|---|---|
| steempythontut | active | WIF |
| steempythontut | posting | WIF |
| n/a | n/a | WIF |
This list includes public keys. In order to get private keys, you can just use:
steempy getkey WIF
Also, you can login to steemit with the last one once you dump it's private key steempy getkey.
Tip: You don't actually need to use steempy to get private keys. You can see what's happening while using these commands by investigating cli.py on steem-python.
I used steempy in this tutorial, since it removes the boiler-plate code, but if you want to automate stuff, you need to learn what's going on under the hood.
That's all for this post. Feel free to ask questions or request topics about steem-python for the incoming posts.
Posted on Utopian.io - Rewarding Open Source Contributors