Steem has been a wonderful place for me to express my creativity. As a photographer I enjoy the pursuit of taking great pictures. With more knowledge of formatting I have been able to make creative posts too!
In my recent Share My World: Sibling trip a few people commented on how much they enjoyed the formatting, so I am doing a little tutorial on how I format my blog posts.
Things to note:
-My posts all have original photos and so highlighting those photos is a top priority for me.
-I have been using @steempeak since it's inception. I enjoy the platform and am most impressed with @jarvie and @asgarth and how they are continually improving the site! They really want to make Steem a good experience for everyone.
-Smugmug is where I store and get the info for my pictures.
Single photo
Most people post single pictures so I will start here. There are basically two ways I put in single pictures.
Option 1
With single horizontal photo and I make sure it is large enough to fit across the width of the screen.


Option 2
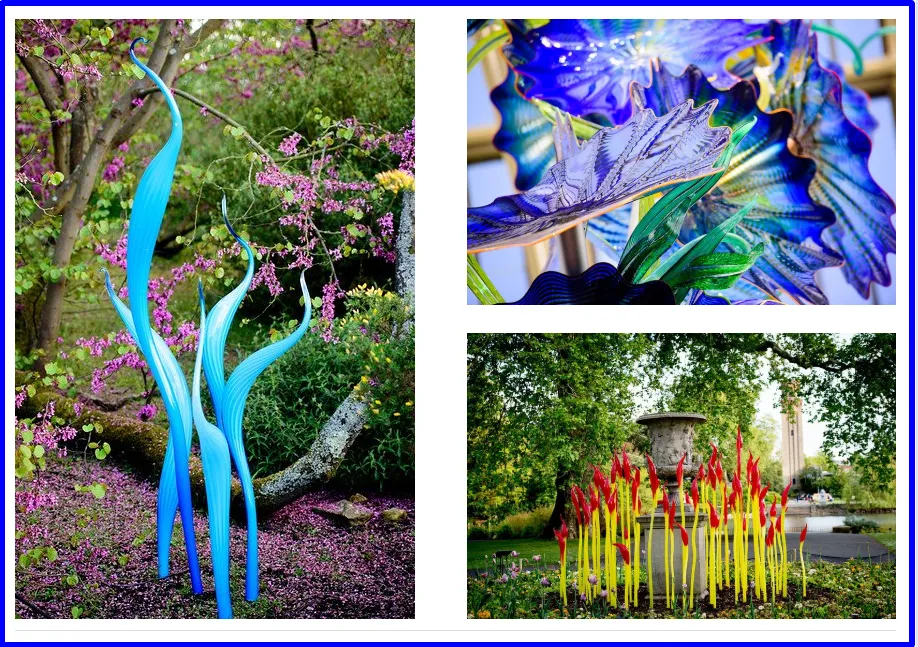
For vertical pictures, I make them a bit small and center them on the page.
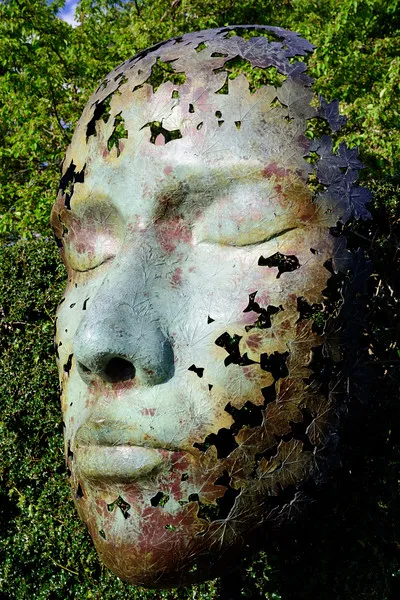
Simon Gudgeon, Leaf Spirit

<center>picture</center> You can copy the text that is highlight like this throughout the post to use in your own posts.
Additional Formatting info
I also added information to this picture and italicized it. Which can be done two ways
a. Using the I on the formatting bar at the top of the page
b. The method I prefer and use most regularly is to highlight the text then click control "I" which will also put the * asterisks around the words

Two photos
It is nice to put two photos side by side and give a little more context.
Option 1. Put two horizontal pictures next to each other
<div class="pull-left">
</div>
<div class="pull-right">
</div>
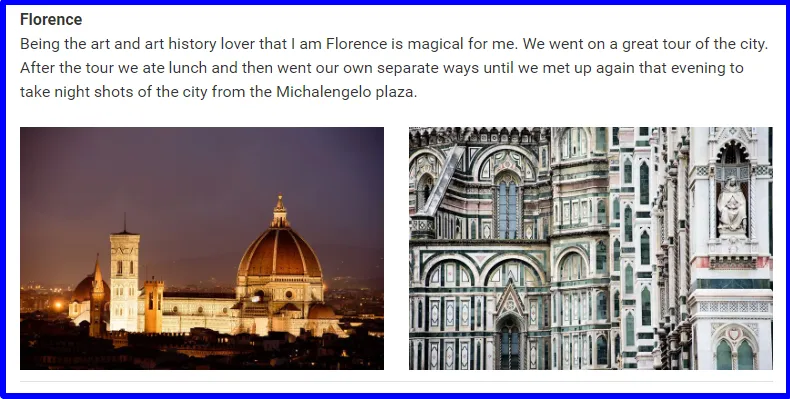
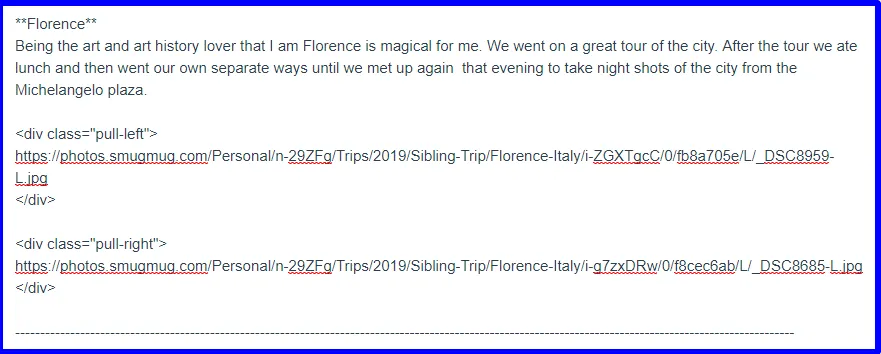
Additional Formatting info
You will see that the word Florence is in bold and that is done by putting two asterisks (**) on either side of the word(s).
There are two ways to bold words
As with italicizing a word, you can use the bar at the top of the page

The method I prefer is to highlight the text then click control "B" which will also put the ** asterisks around the words
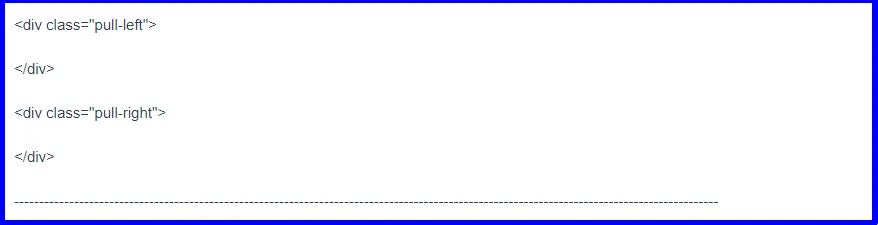
Option 2. Put two vertical pictures next to each other
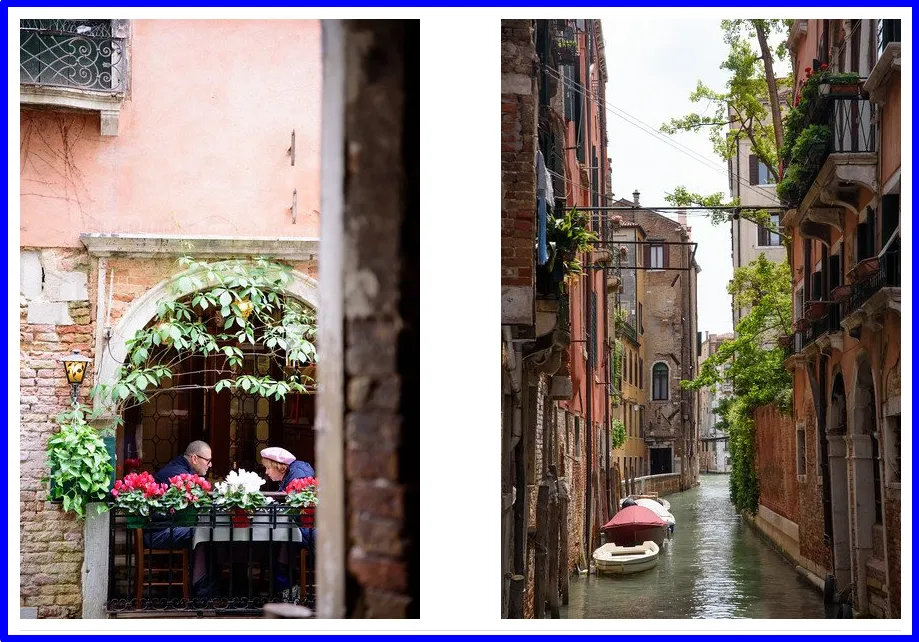
---------------------------------------------------------------------------------------------------
Additional Formatting info
The dashed line very important. This line stops the rest of the post from being pulled to the right or left.
Option 3.
Words, a vertical and a horizontal picture
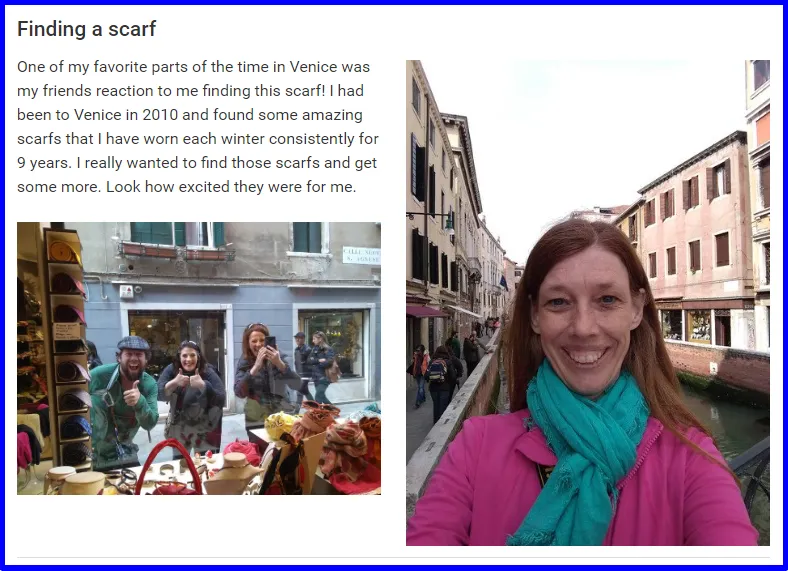
Additional Formatting info
Using the # will make your words bigger and bolder. For this section I used 4 # marks or Header 4 in the bar at the top of Steempeak.com
Also, very important to have space after the top line of the code and before you start writing, as you can see in the example.
Three photos
I enjoy putting three pictures together and use this option often. It takes the most work and I think looks the best!
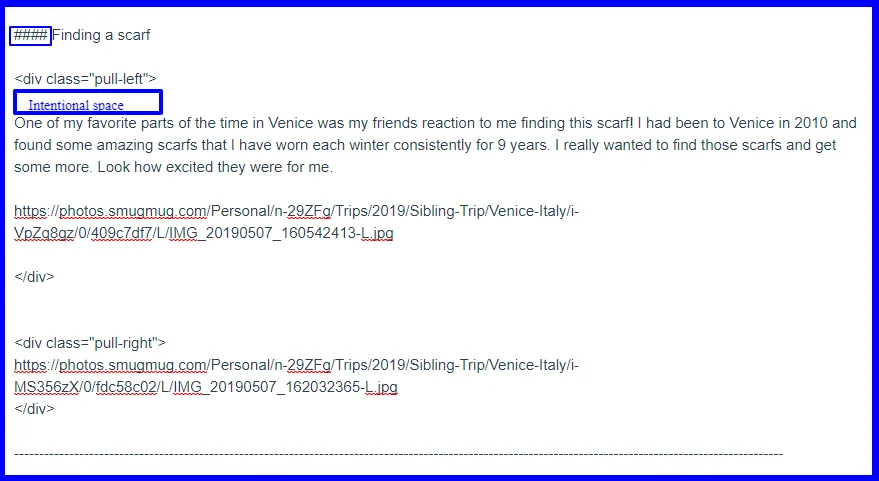
Option 1. Put three pictures side by side
Step 1: Click on the grid on the formatting bar at the top of the page.

Step 2: Make sure your grid looks like this

Step 3: Replace the column1, column2 and column3 with picture locations
Step 4: Delete the row that has the content 1, content 2 and content 3

|column1|column2|column3|
|-|-|-|
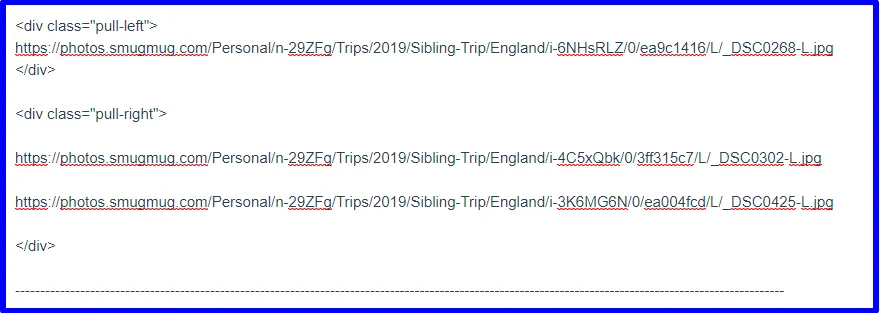
Option 2. Put three pictures in a grouping with one vertical and two horizontal
Step 1. Use this code
<div class="pull-left">
</div>
<div class="pull-right">
</div>
Step 2. Depending on where you want the vertical and horizontal pictures to be put the picture code into that column. In the picture above you can see I have one vertical on the left and two horizontal on the right.
Additional Formatting info
Again the dashed line is very important. This line stops the rest of the post from being pulled to the right or left.
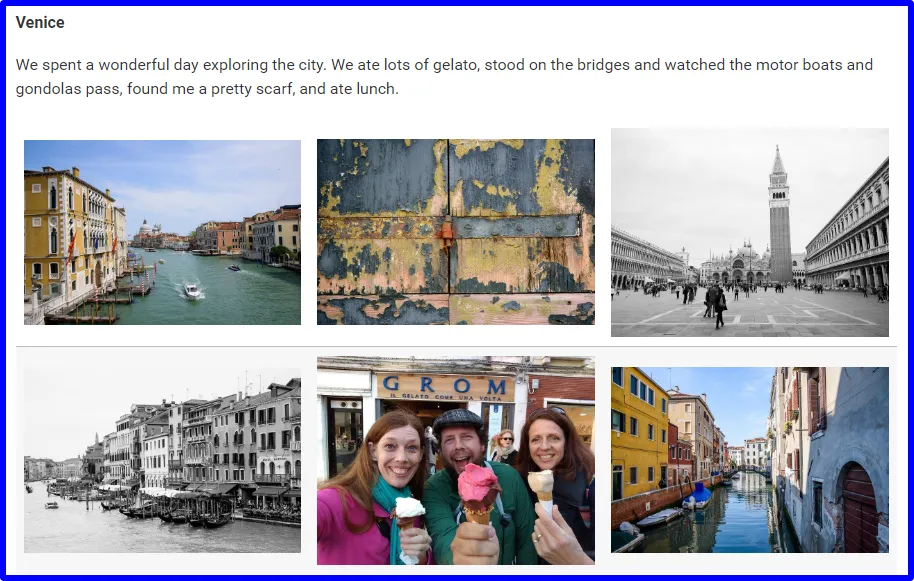
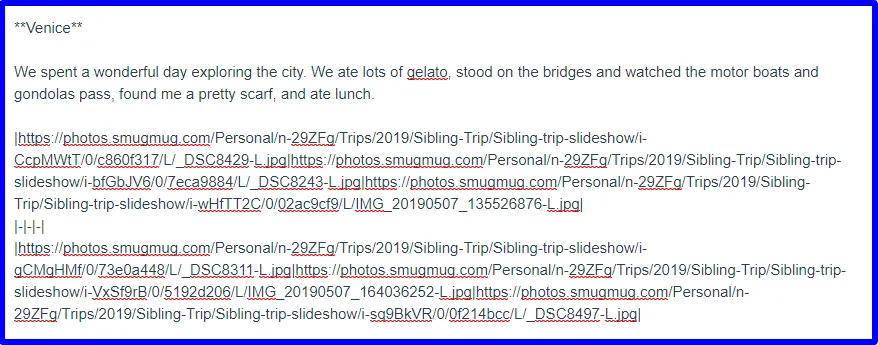
Six pictures
I really enjoy telling a story with six pictures all together.
Step 1: Click on the grid on the formatting bar at the top of the page.
Step 2: Make sure your grid looks like this
|column1|column2|column3|
|-|-|-|
|content1|content2|content3|
Step 3: Replace the column1, column2 and column3 with picture locations
Step 4: Replace the content 1, content 2 and content 3 with pictures locations
Two of my favorite things about Steempeak are Templates and Drafts.
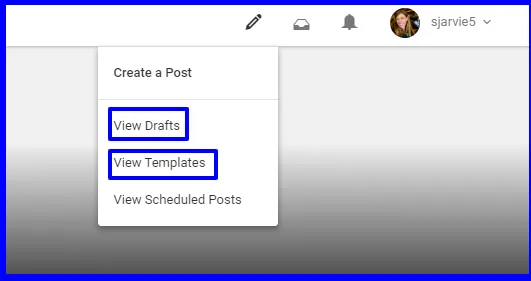
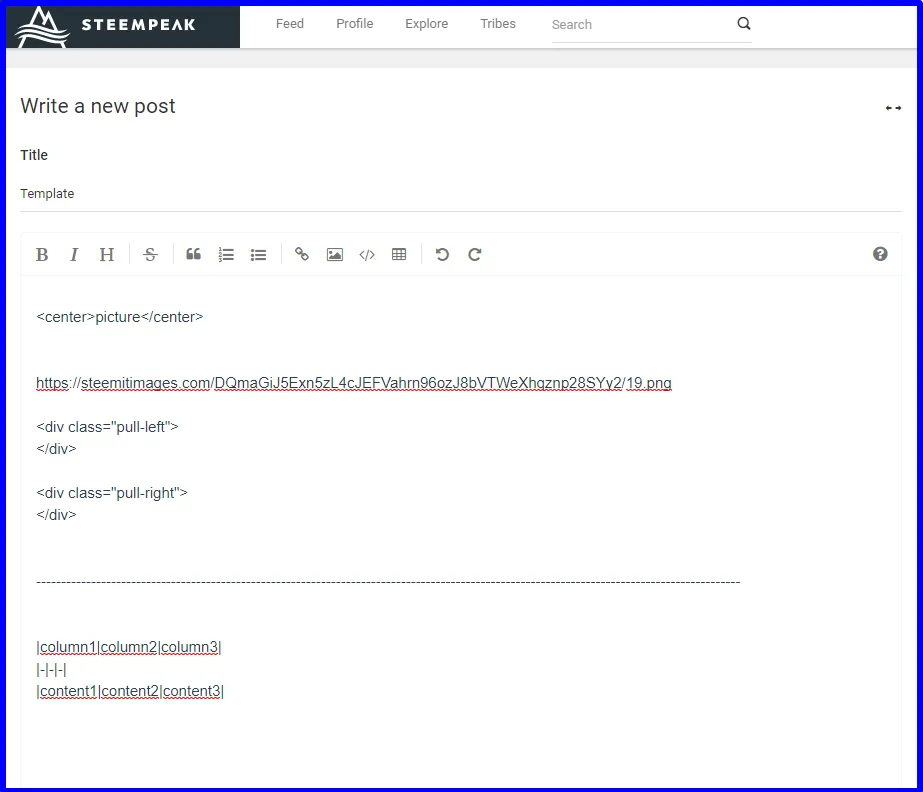
I have a master template that has all the markdown codes that I use regularly. I can start a post using that template and it will stay in my drafts until I am ready to post it. It is fun to mix and match different codes to make interesting and visually appealing content.
My master template
Conclusion
And there you have a nice tutorial on how to be more creative with your posts. Thanks to @r00sj3 for inspiring me to explore formatting with your great posts early in my time on Steem. I recently found @abigail-dantes blog and it is formatted so nicely. I would also love to hear some great formatting tips from others.