Hola, amigos de Hive, nuevamente feliz de participar en este bello concurso de esta semana propuesto por el moderado @equipodelta. Hoy quiero compartir este paso a paso de este hermoso cintillo de unicornio que tanto les gusta a las niñas, jóvenes y adultos.
Hello, Hive friends, again happy to participate in this beautiful contest this week proposed by the moderated @equipodelta. Today I want to share this step by step of this beautiful unicorn headband that girls, teens and adults love so much.
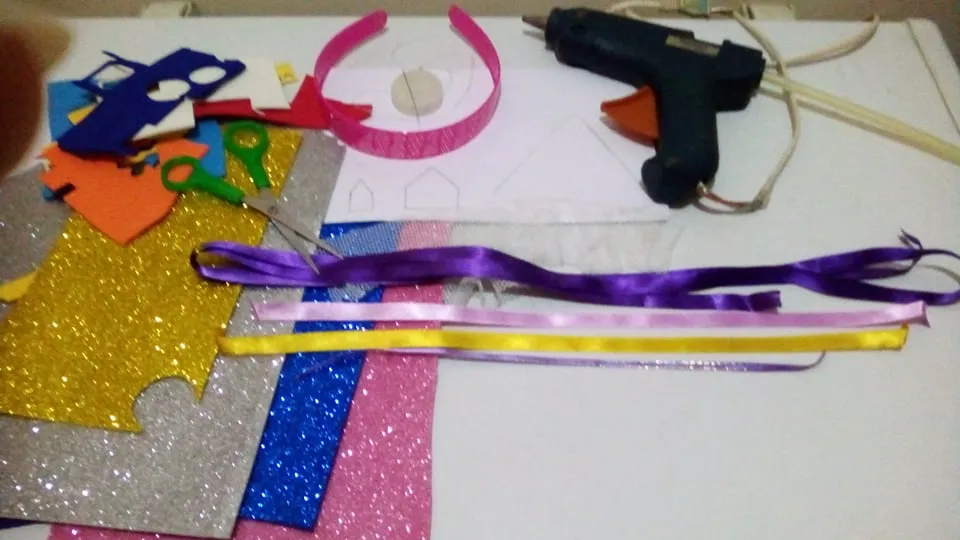
Materiales:
- Un cintillo.
- 1.30cm de cinta morada oscura.
- 38cm de cinta color lila.
- 38cm de cinta amarilla.
- 10cm de cinta color lila con borde dorado.
- Un pedazo de tela de malla de 20cm de largo por 2cm de ancho.
- Aguja.
- Hilo.
- Silicon en barra.
- Pistola de silicón.
- tapa de gaseosa.
- Tijera.
- Foami escarchado: dorado, plateado, azul rey, rosado.
- Retazos de foami.
Materials:
- One headband.
- 1.30cm of dark purple ribbon.
- 38cm of lilac ribbon.
- 38cm of yellow ribbon.
- 10cm of lilac ribbon with gold border.
- A piece of mesh fabric 20cm long by 2cm wide.
- Needle.
- Thread.
- Silicon bar.
- Silicone gun.
- Soda cap.
- Scissors.
- Frosted foami: gold, silver, royal blue, pink.
- Foami scraps.
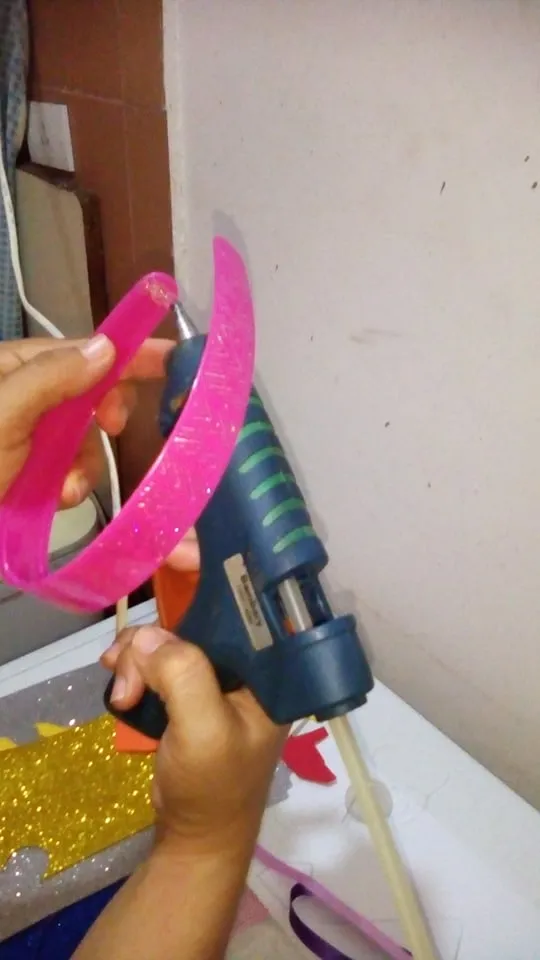
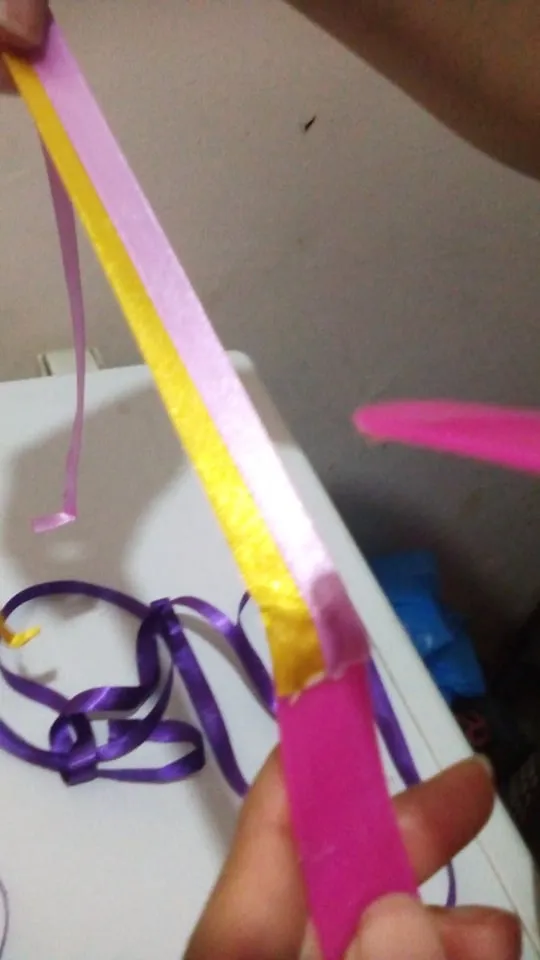
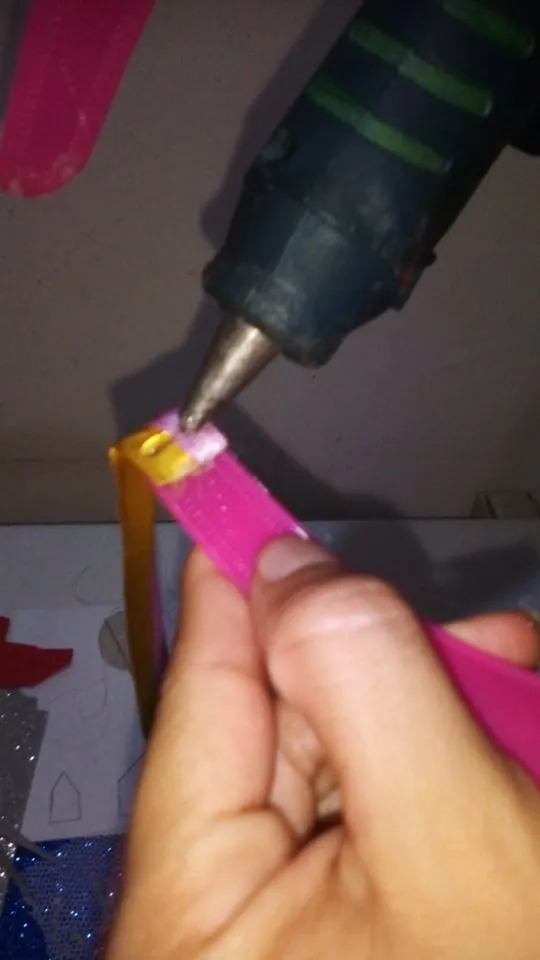
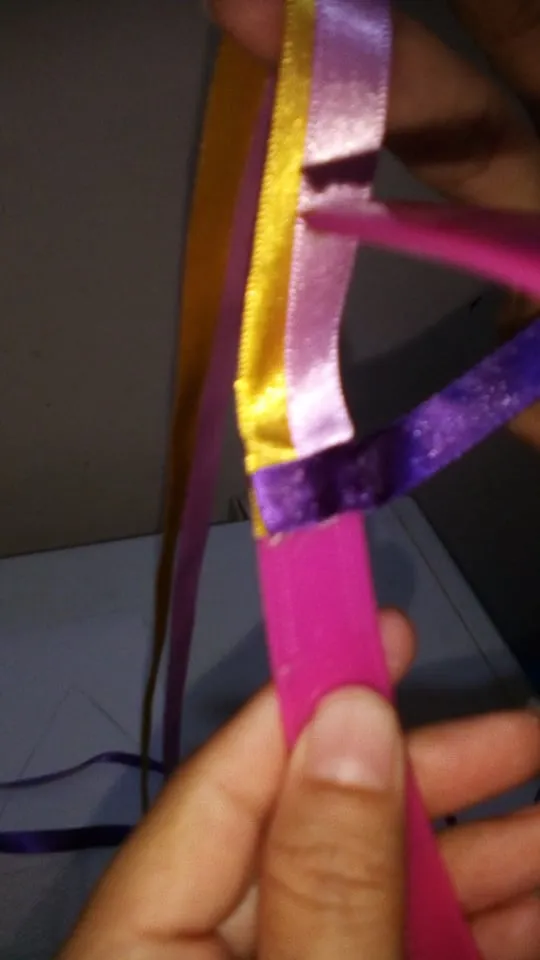
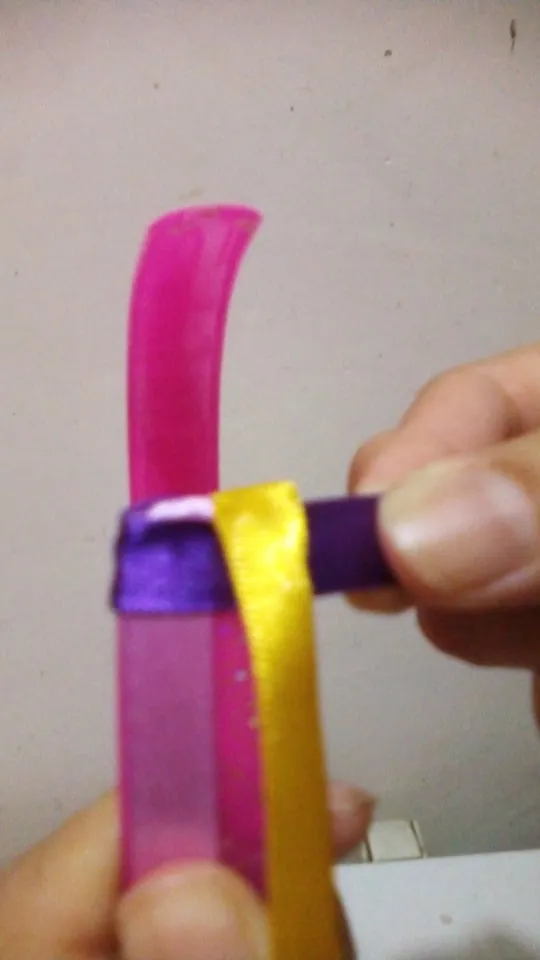
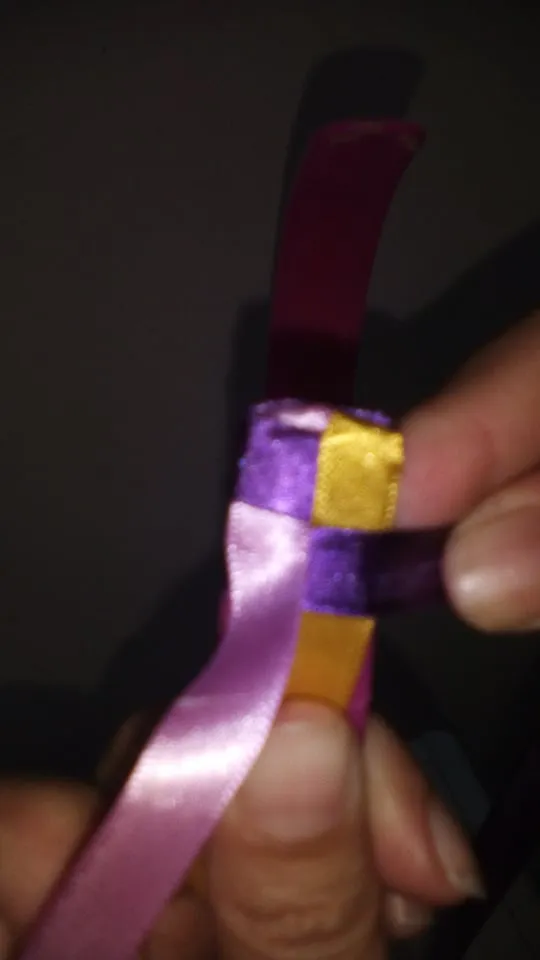
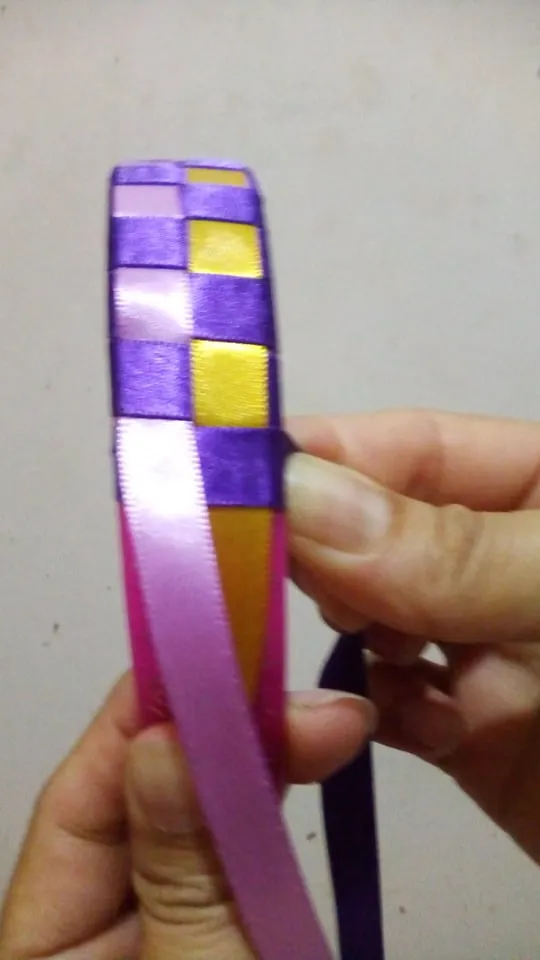
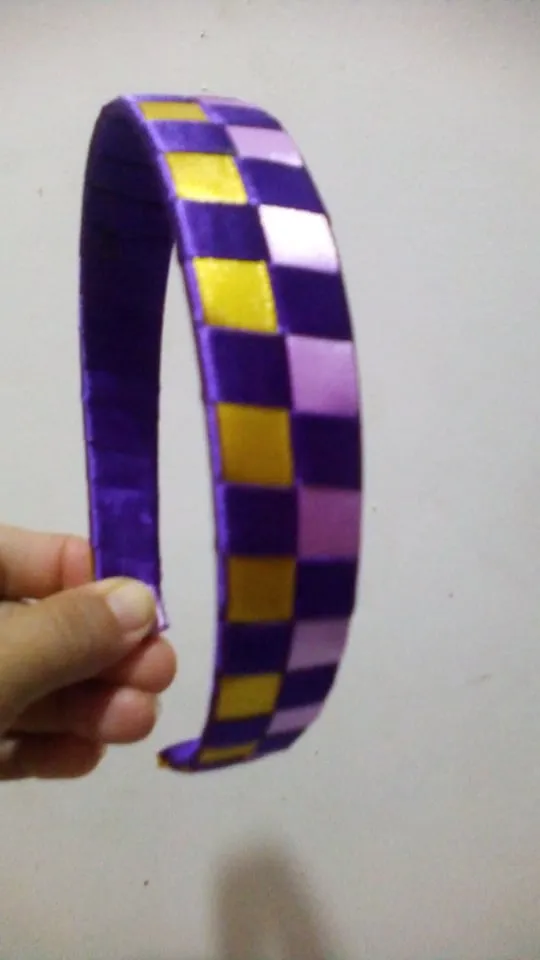
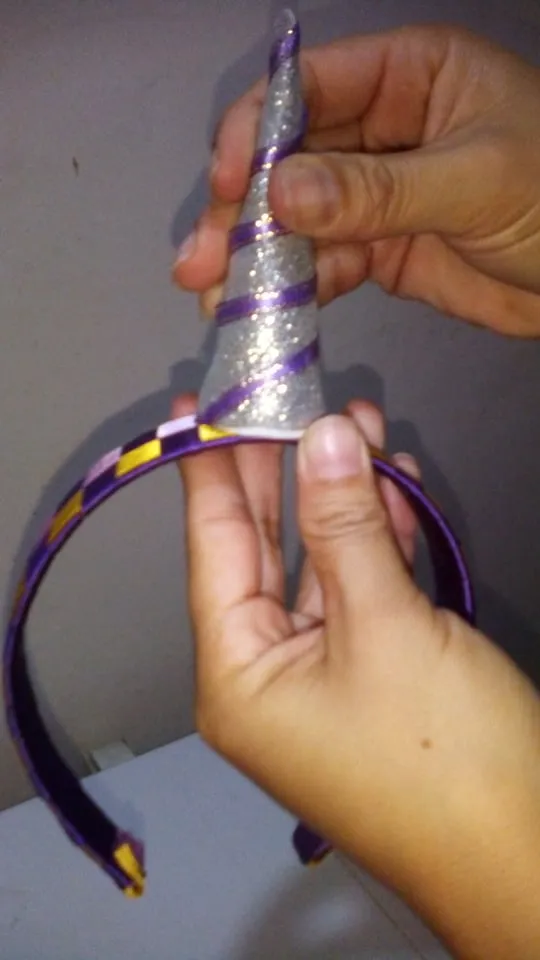
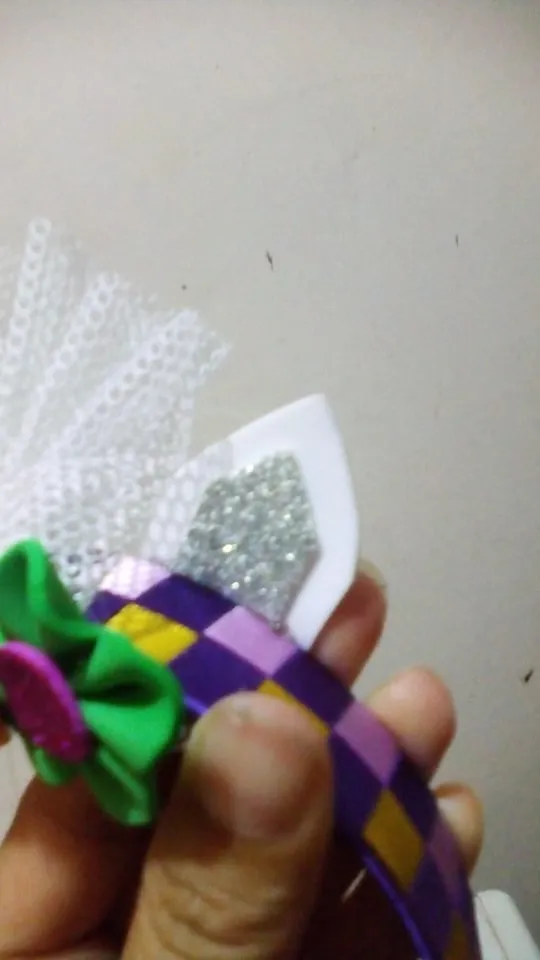
Paso 1
Empezaremos aplicando silicón en la punta del cintillo de lado de adentro, luego iniciaremos a pegar las cintas amarilla y lila, colocamos silicón encima de las cintas y pegamos la cinta morada, después empezamos a tejer de manera intercaladas las tres cintas para obtener un diseño en forma cuadriculada.
Step 1
We will start by applying silicone on the tip of the headband on the inside, then we will start gluing the yellow and purple ribbons, we will place silicone on top of the ribbons and glue the purple ribbon, then we will start weaving the three ribbons in an intercalary way to obtain a grid design.


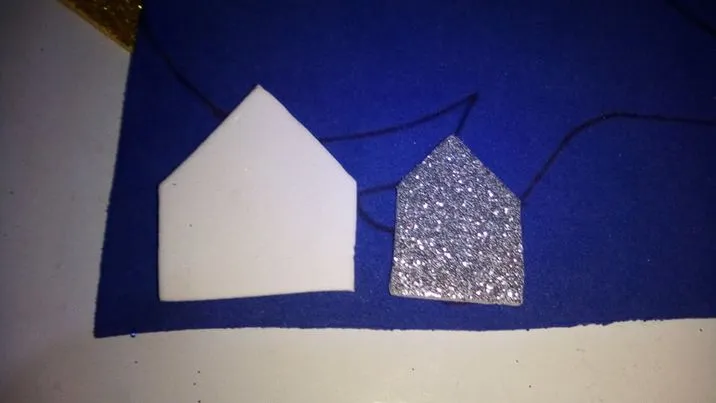
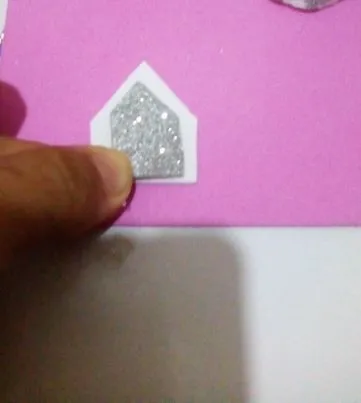
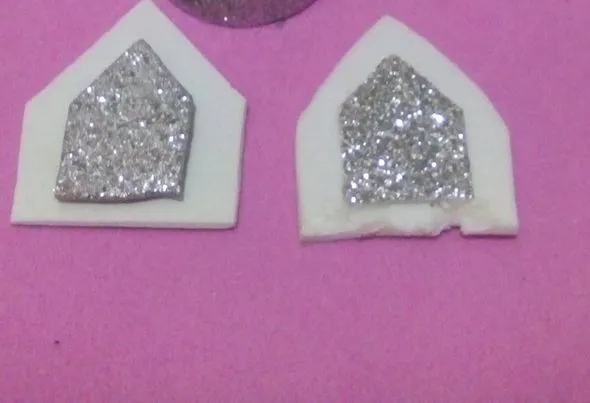
Paso 2
Dibujamos y recortamos los patrones de las ojeras en foami blanco y plateado, aplicamos silicón y pegamos.
Step 2
We draw and cut out the patterns of the dark circles in white and silver foami, apply silicone and glue.
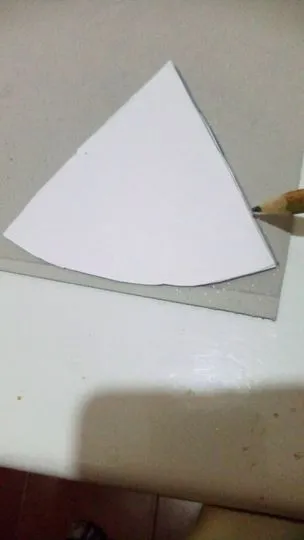
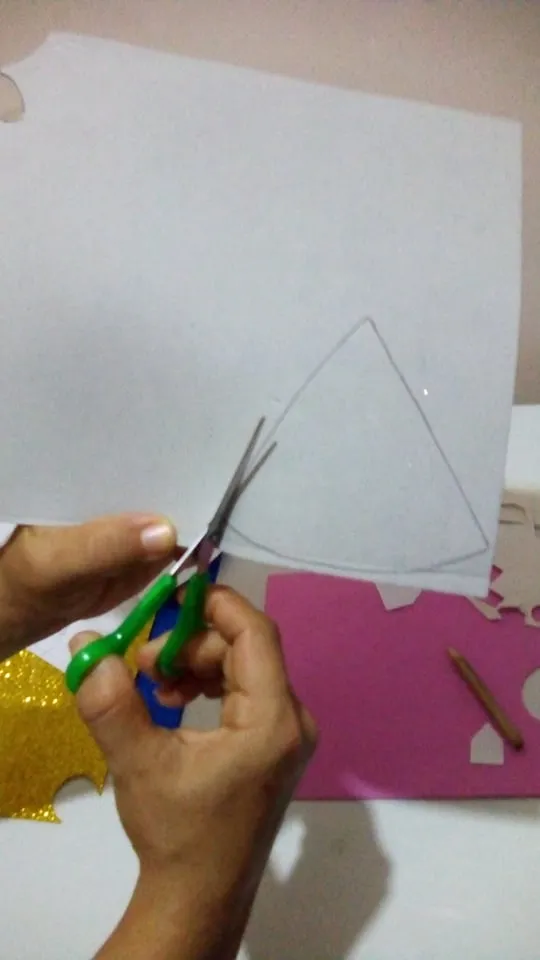
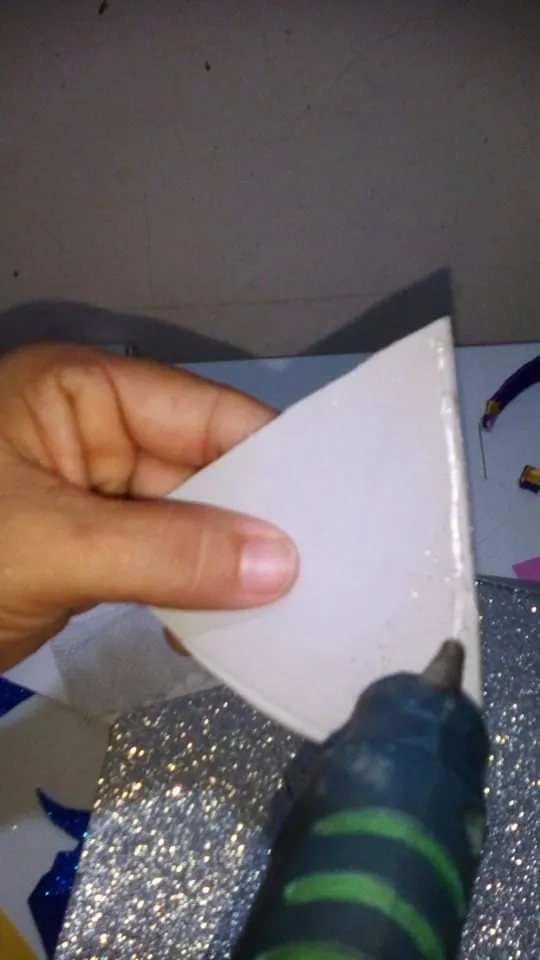
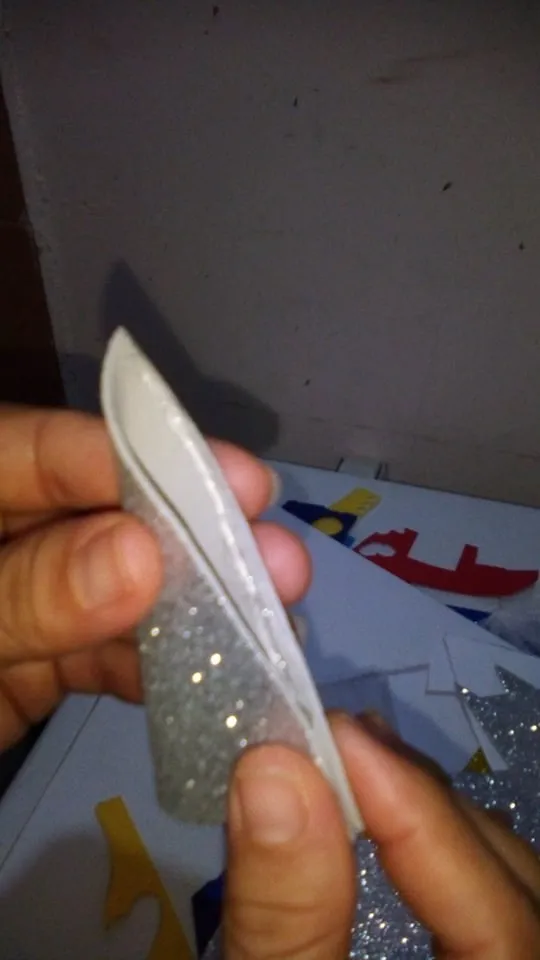
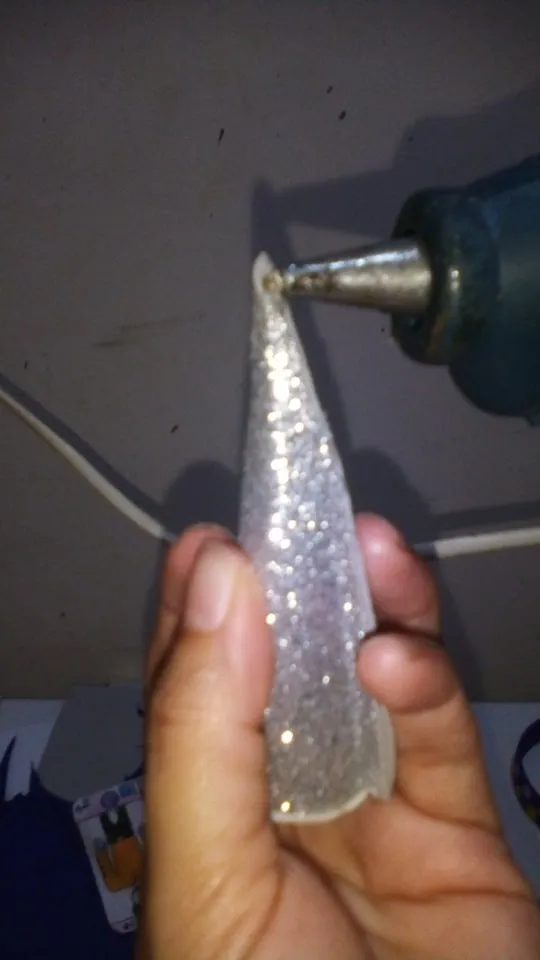
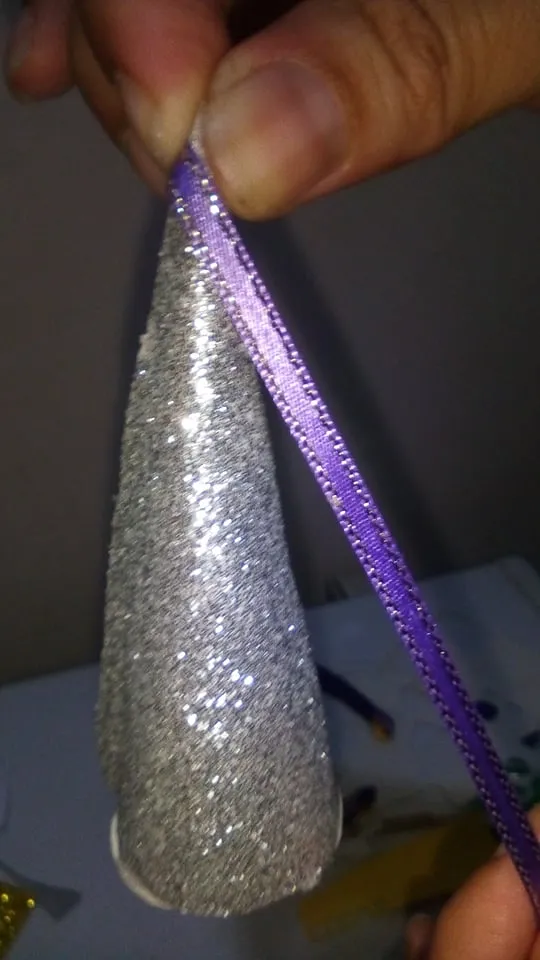
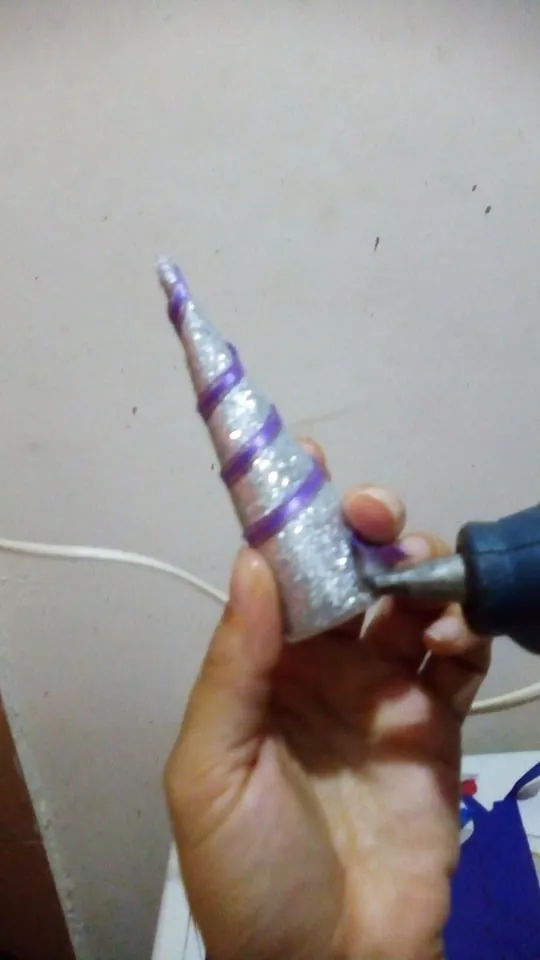
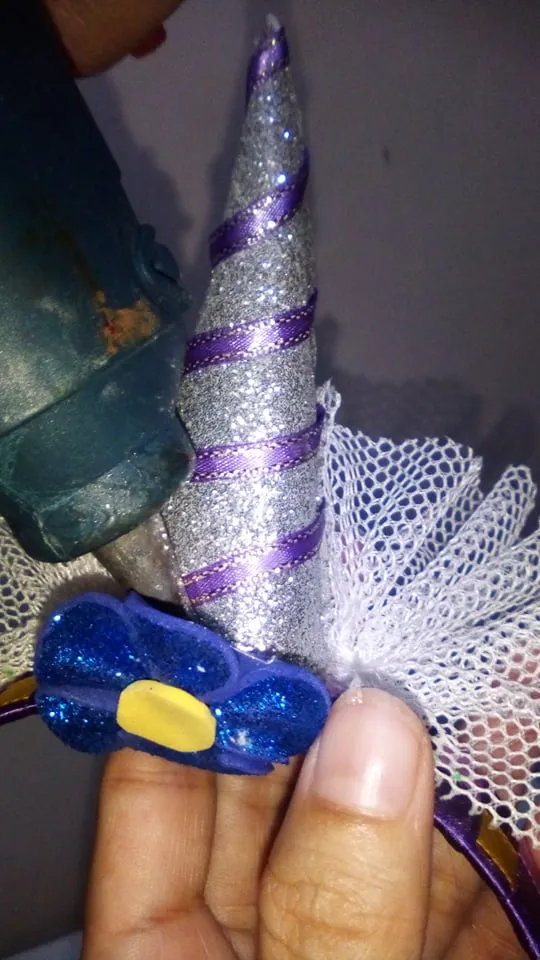
Paso 3
Ahora dibujamos y recortamos nuestro cono en foami plateado escarchado, luego aplicamos silicón y doblamos en foami para darle forma de cuerno, luego colocamos silicón en la punta del cuerno para empezar a pegar la cinta de color lila de arriba hacia abajo sellando con un poco de silicón al final.
Step 3
Now we draw and cut out our cone in silver frosted foami, then we apply silicone and fold it in foami to give it a horn shape, then we put silicone on the tip of the horn to start gluing the lilac ribbon from top to bottom sealing it with a little silicone at the end.
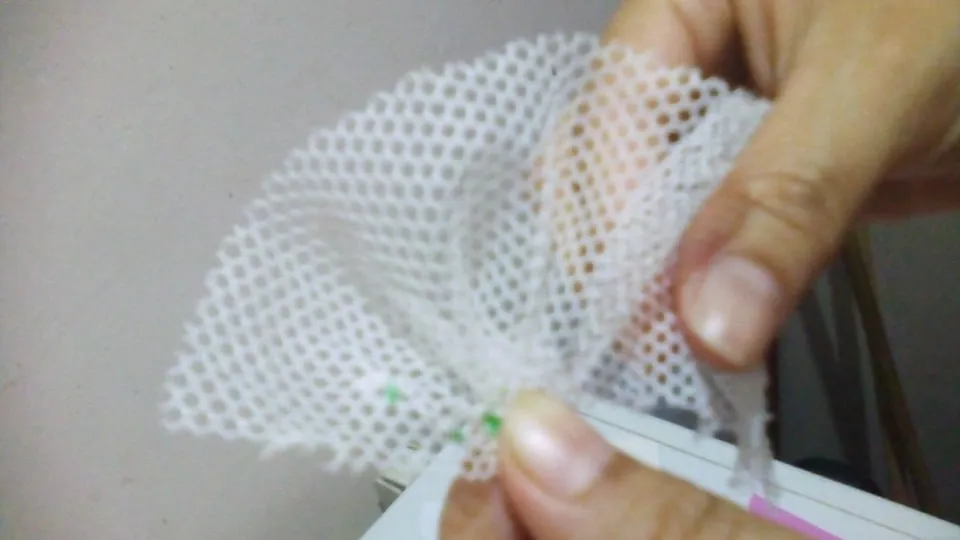
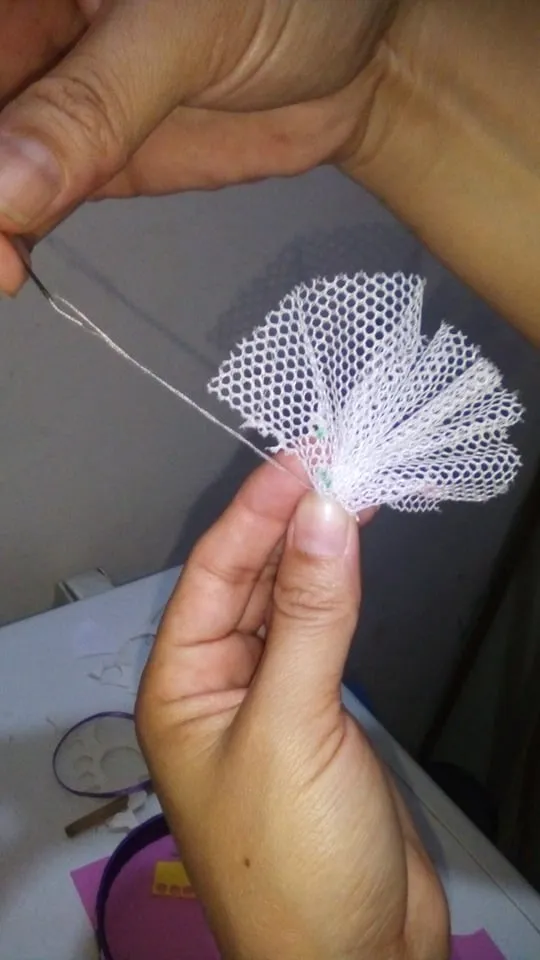
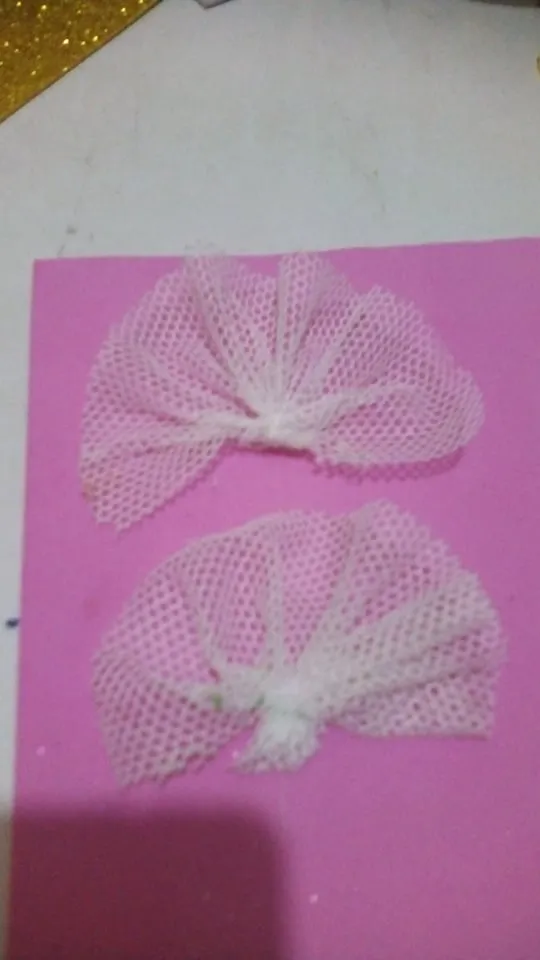
Paso 4
Utilizaremos la tela de malla, se une extremos con extremo formando un modelo de abanico luego cosemos en la parte inferior.
Step 4
We will use the mesh fabric, we join ends to ends forming a fan pattern then we sew at the bottom.
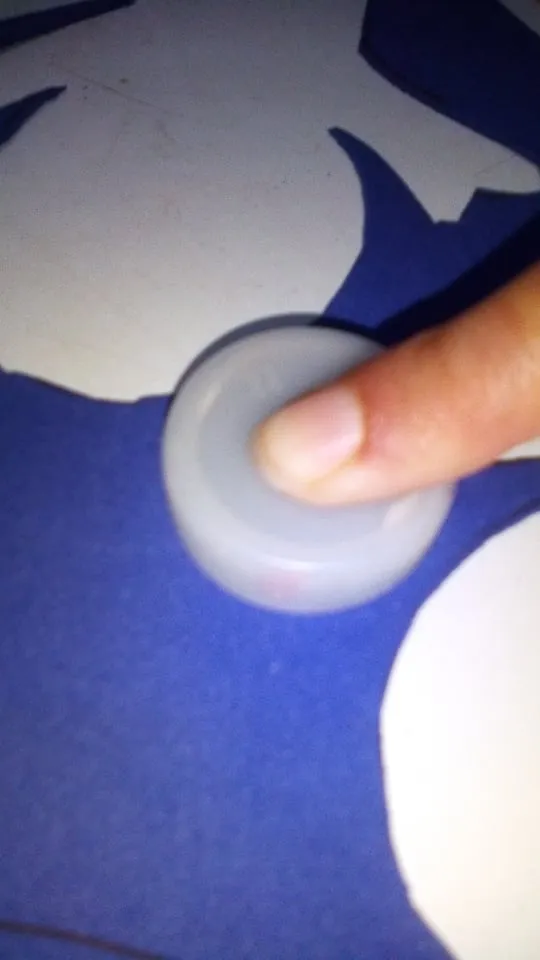
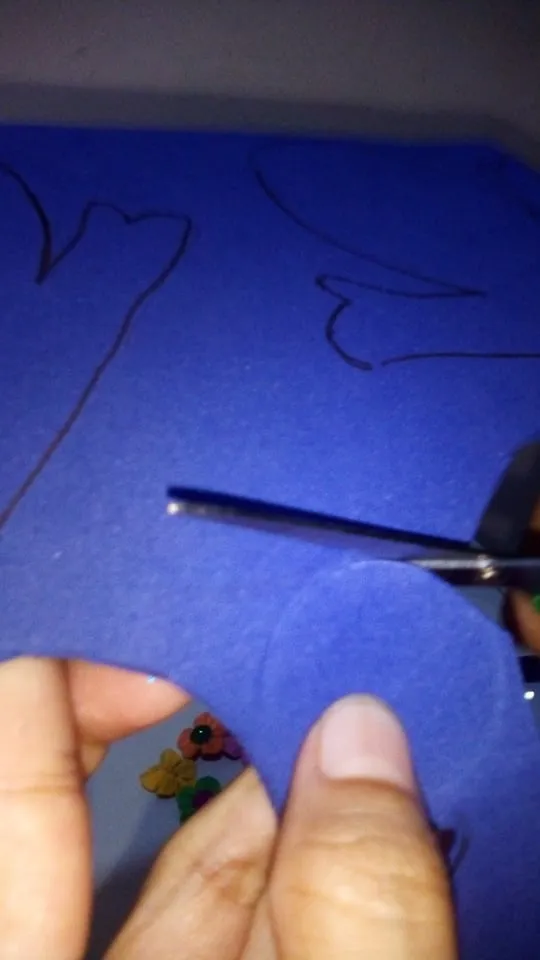
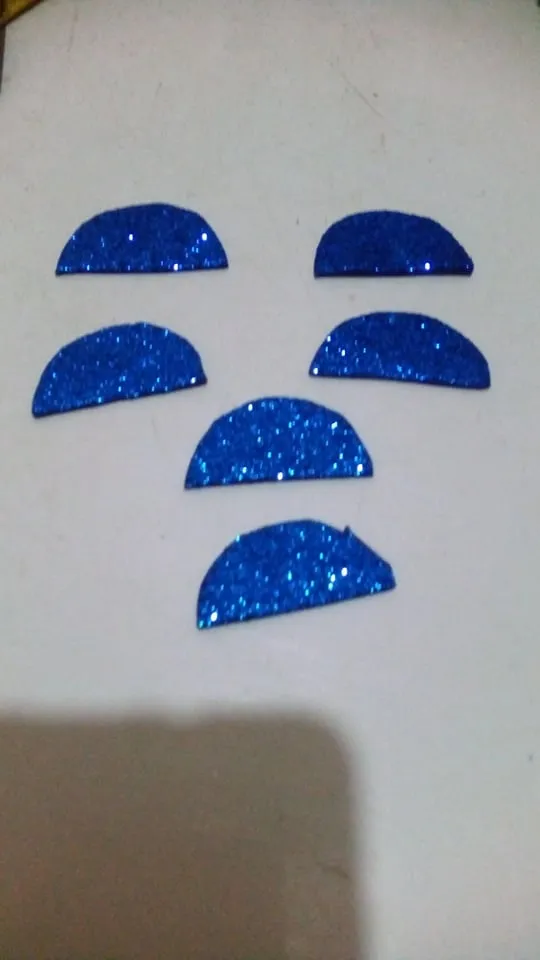
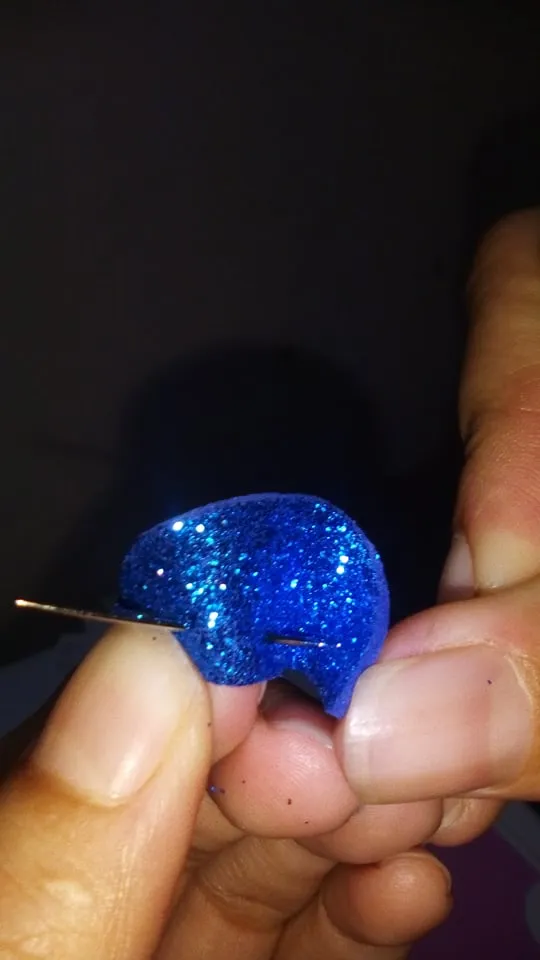
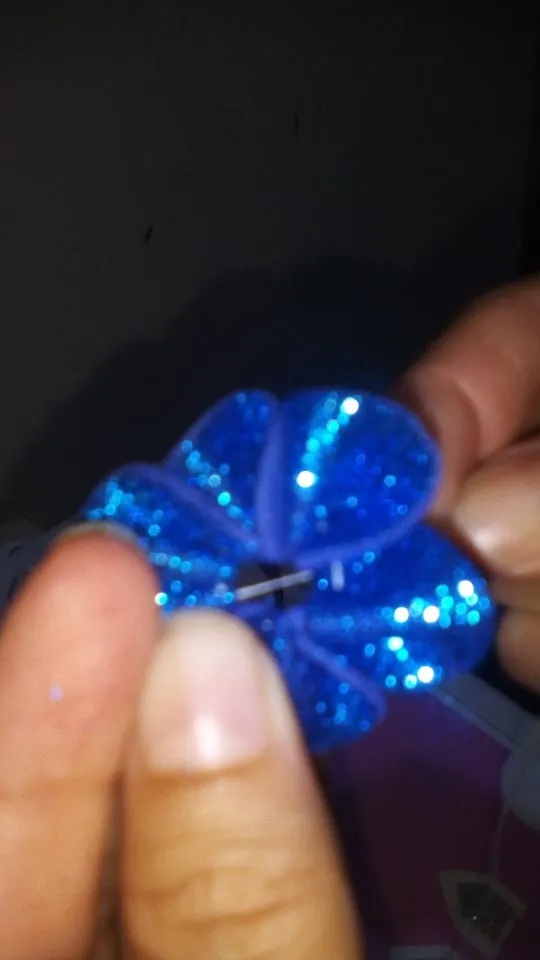
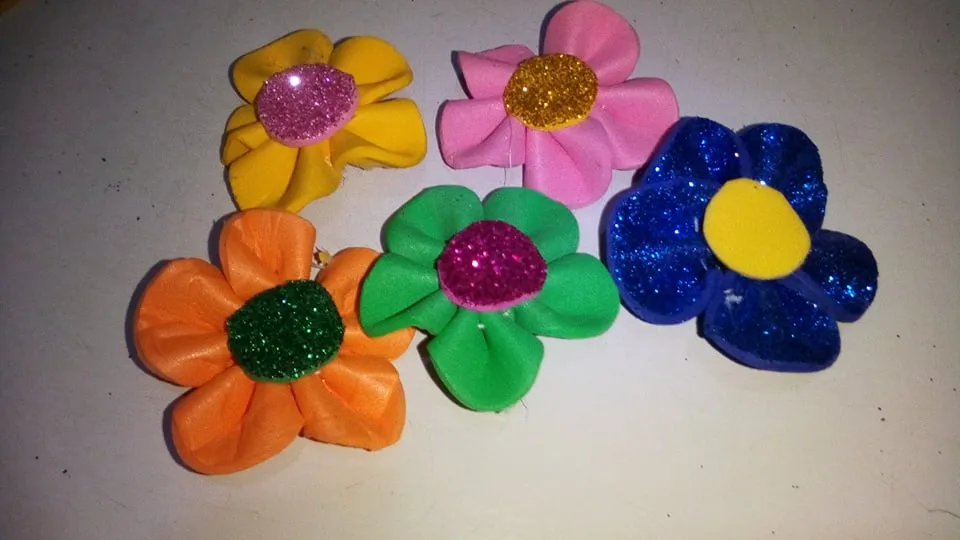
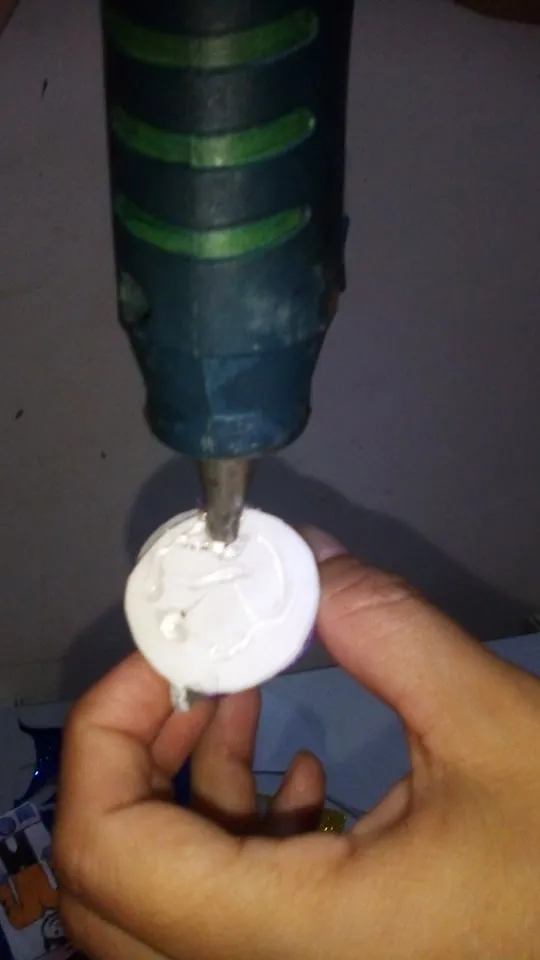
Paso 5
Utilizamos una tapa como patrón para dibujar y luego recortar en foami. Luego picamos la mitad de cada circulo para formar los pétalos, utilizamos una aguja con hilo y cosemos en forma de zigzag cada pétalo hasta unir los cinco pétalos y formar la flor.
Step 5
We use a lid as a pattern to draw and then cut out in foami. Then we cut half of each circle to form the petals, we use a needle with thread and sew in a zigzag pattern each petal to join the five petals and form the flower.
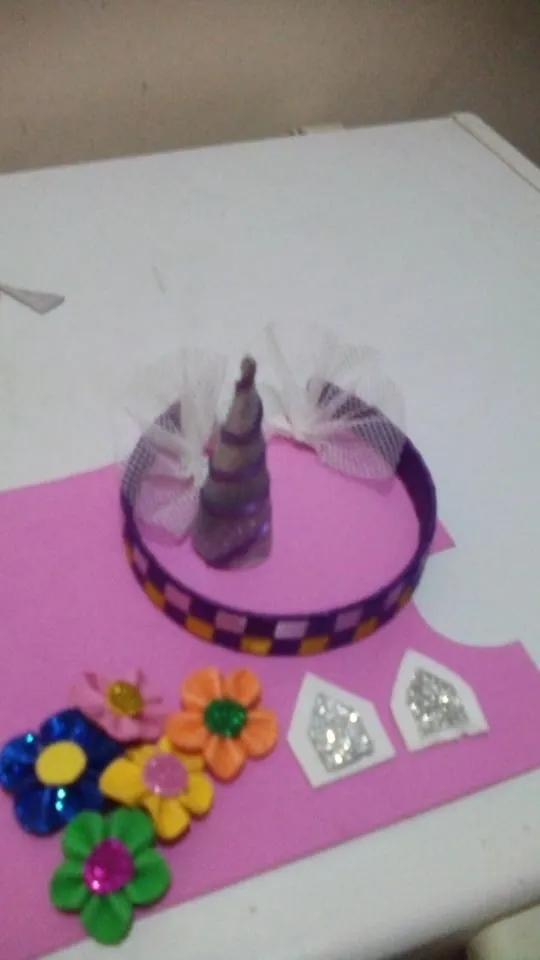
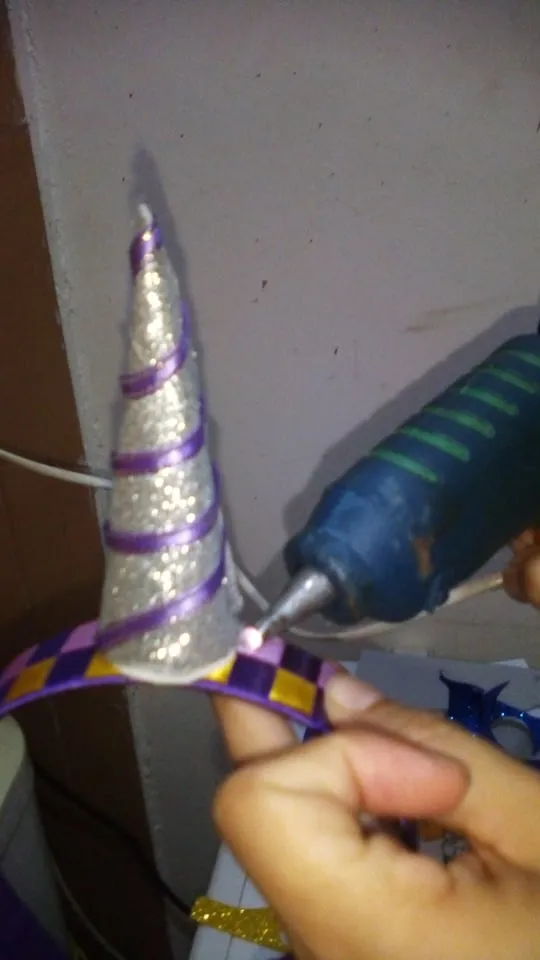
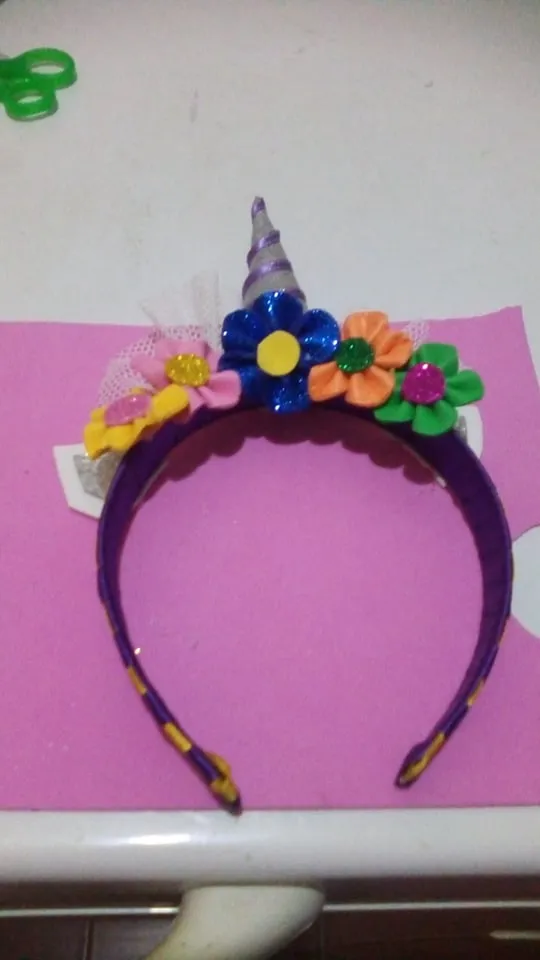
Una vez tengamos todas las piezas formadas empezaremos armar nuestra pieza:
Empezaremos aplicando silicón en la parte de abajo del cuerno, colocándolo en el centro del cintillo.
Once we have all the pieces formed we will begin to assemble our piece:
We will start by applying silicone to the bottom of the horn, placing it in the center of the headband.
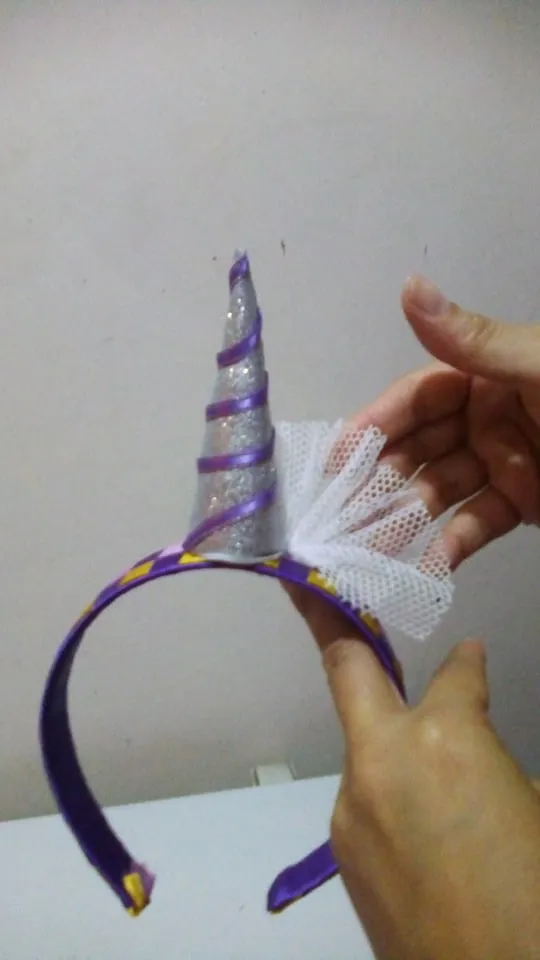
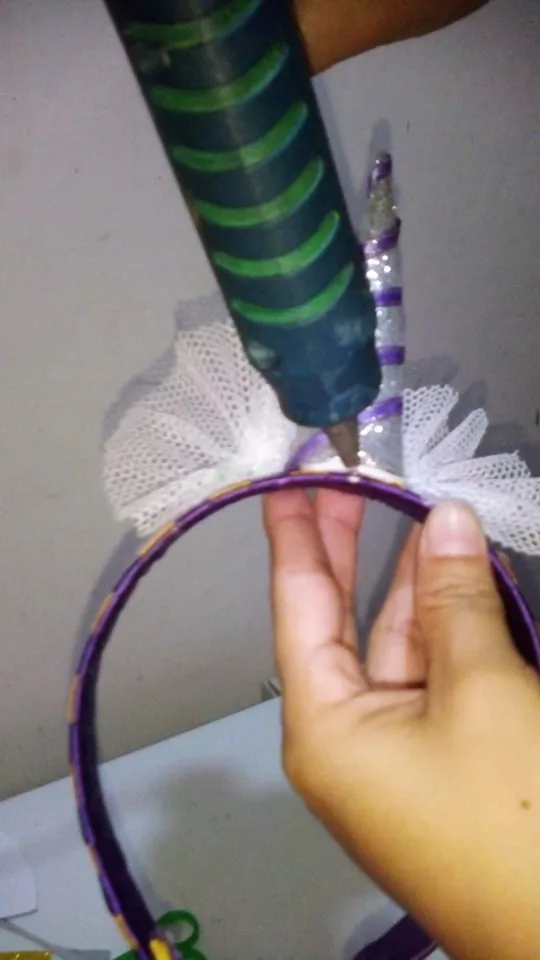
Luego aplicamos silicón a los lados del cuerno y pegamos la tela de malla en ambos lados.
Then we apply silicone to the sides of the horn and glue the mesh fabric on both sides.
Seguido pegamos las flores en foami de forma centrada.
Then we glue the flowers in foami in a centered way.
Por ultimo se fijan con silicón las orejitas en ambos lados del cintillo.
Finally, the ears are attached with silicone on both sides of the headband.

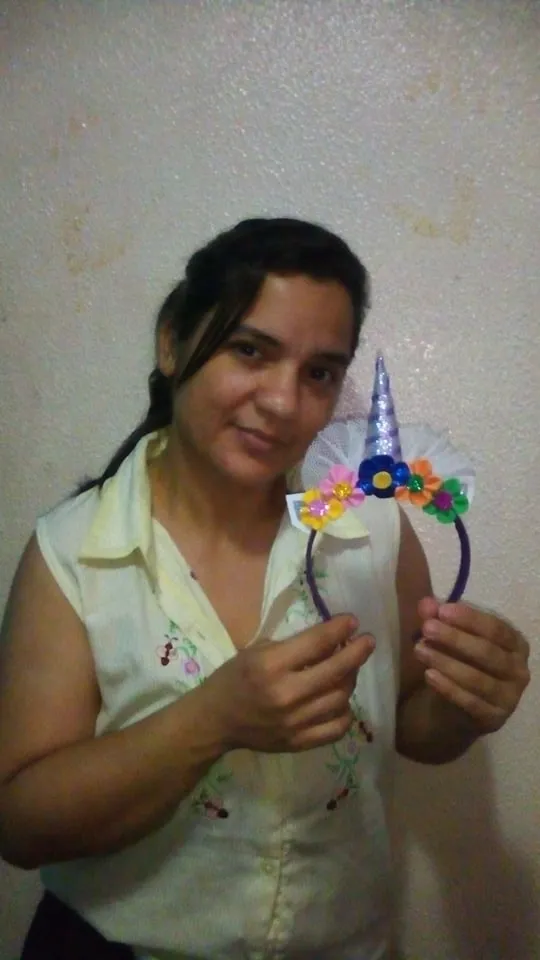

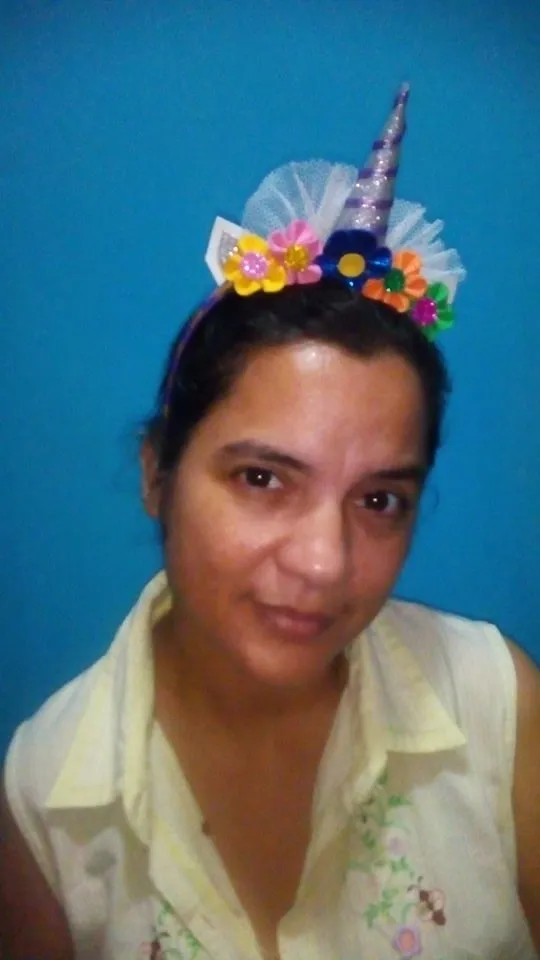
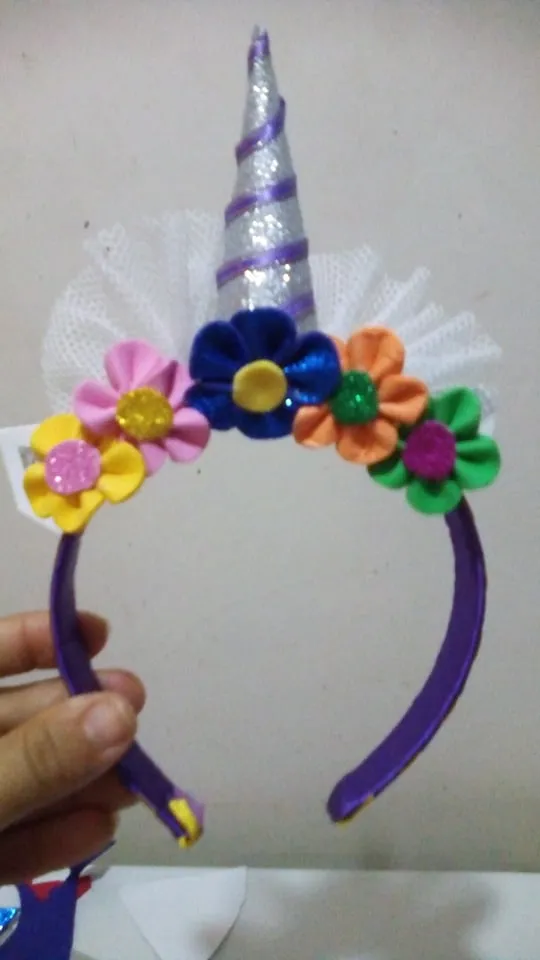
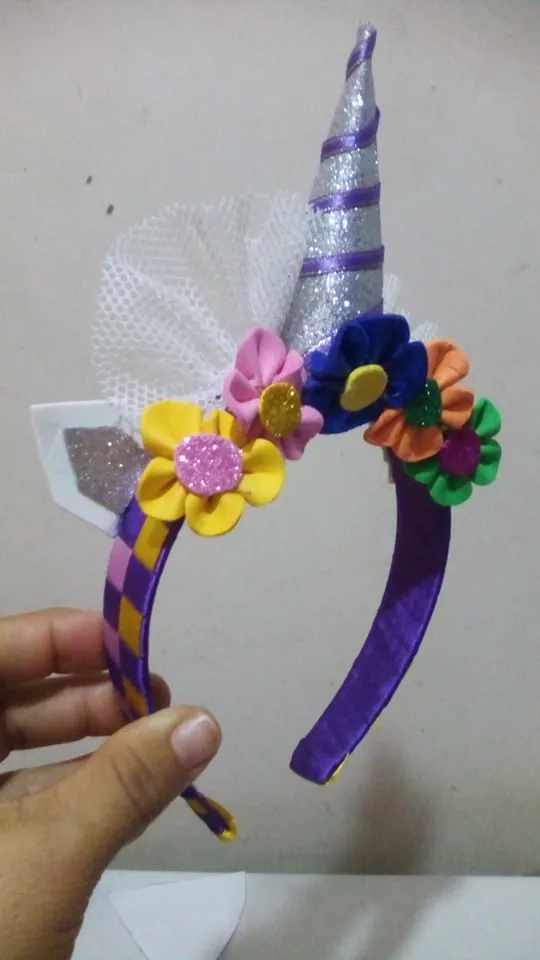
Aquí presento el resultado de mi trabajo "un Hermoso Cintillo de Unicornio". Aprovecho la oportunidad para invitar a mi amiga @nubra11 a participar en este bello concurso.
Here I present the result of my work "a beautiful Unicorn Headband". I take this opportunity to invite my friend @nubra11 to participate in this beautiful contest.
Las fotos son de mi autoría @yari-23.
Gracias por leerme, vota, comenta y comparte. Se les quiere.
The photos are by me @yari-23.