

Hello design lovers.
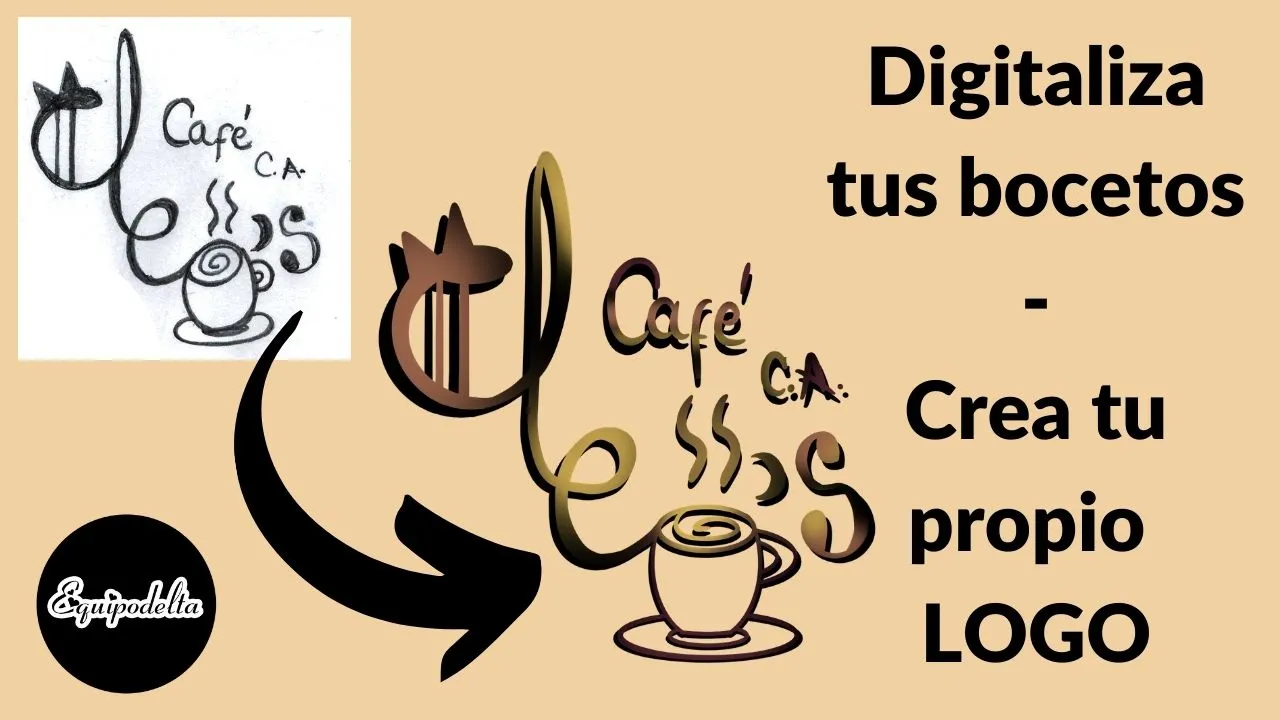
Today we will learn in simple steps the creation of a logo to represent a brand, in this case I was inspired by my eternal love for coffee and a coffee shop, the freehand form is very original, many people are opting for designs like this instead of the ones we are already bored of seeing, which already look like copy paste, one from the other and very flat.
The steps are simple and easy, I used a pencil sketch and digitized it, I also used my graphic tablet, but if you don't have one, you can do it in the same way with the mouse and helping you with the Medibang tools to make the lines more perfect.
The funny thing is, that this tutorial can be applied to other design programs like Krita, Ibispaint, which are similar, you can also apply to Paint Tool Sai and Photoshop itself with a lot of patience.
I will leave my video tutorial at the end of this post, if you like to see. I also invite you to my Youtube channel, there I have many tutorials that may be of interest to you.

Hola amantes del diseño.
Hoy aprenderemos en sencillos pasos la creación de un logotipo para representar una marca, en este caso me inspiré en mi eterno amor por el café y una cafetería, la forma a mano alzada es muy original, muchas personas están optando por diseños así en vez de los que ya estamos aburridos de ver, que ya parecen copy paste, uno del otro y muy planos.
Son simples y sencillos los pasos, yo usé un boceto hecho a lápiz y lo digitalicé, también empleé mi tableta gráfica, pero si no tienes, puedes hacerlo de igual manera con el ratón y ayudándote con las herramientas de Medibang para hacer las líneas más perfectas.
Lo curioso es, que este tutorial puede aplicar a otros programas de diseño como Krita, Ibispaint, que son similares, también puede aplicar a Paint Tool Sai y el mismo Photoshop con mucha paciencia.
Dejaré mi vídeo tutorial al final de este post, por si gustas ver. también te invito a mi canal de Youtube, allí tengo muchos tutoriales que te pueden ser de interés.
Paso a paso. / Step by Step
Step 1:
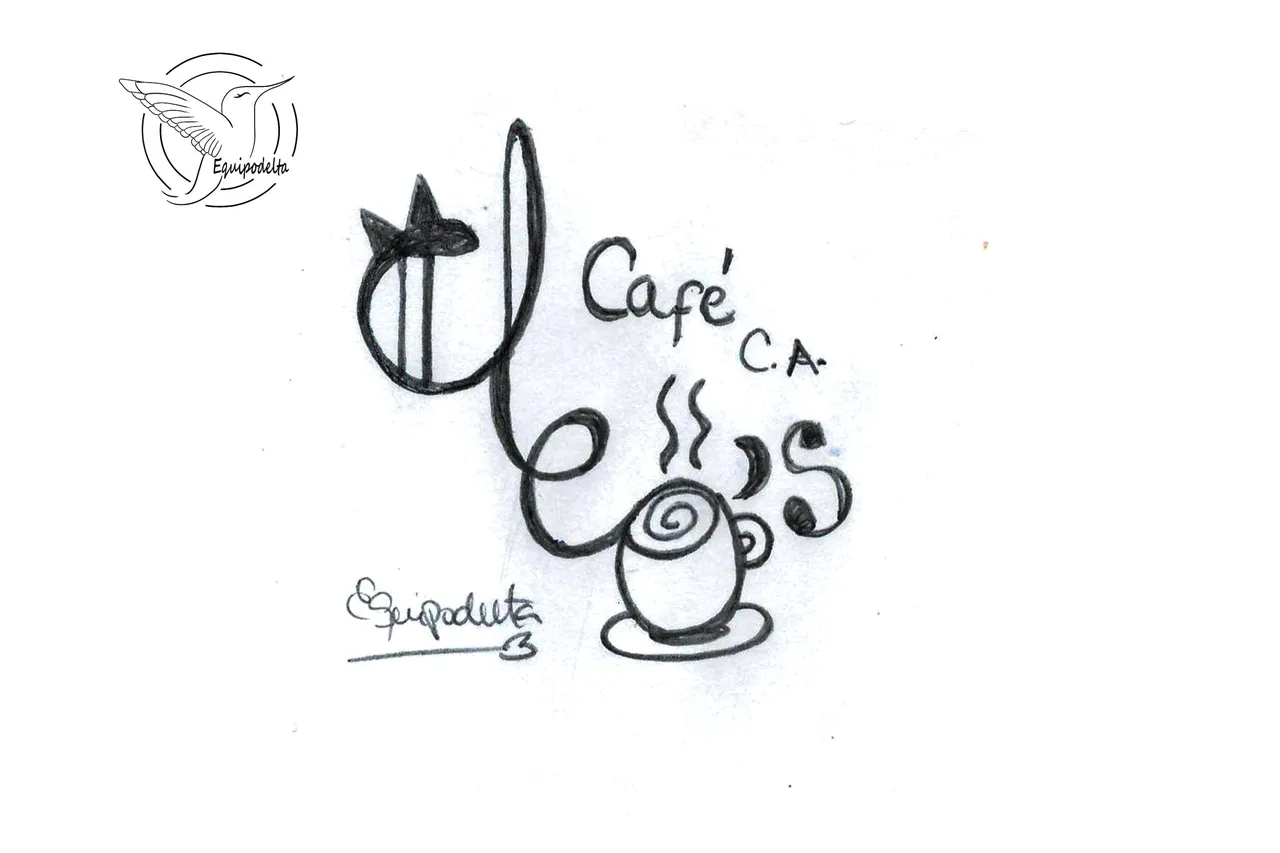
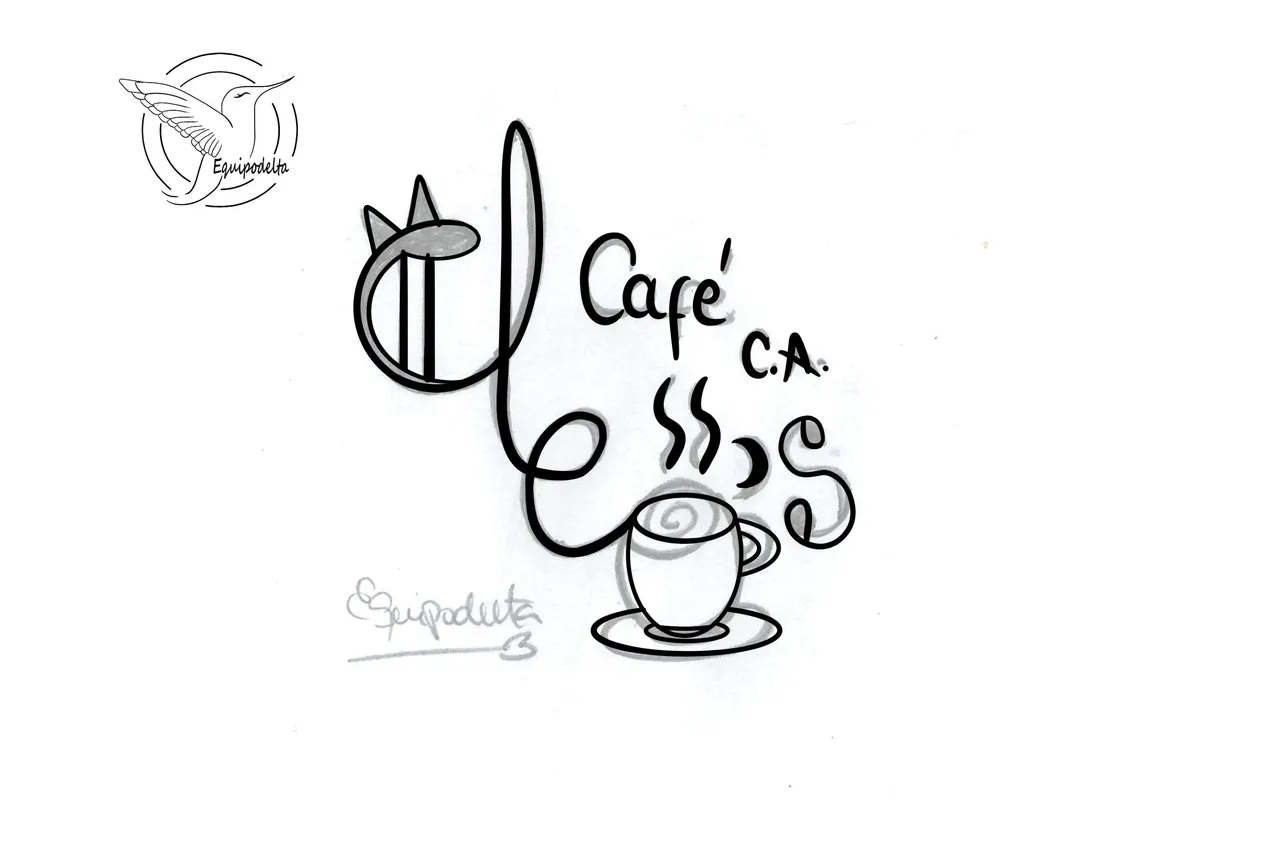
It is always good to have an idea in advance of what we want to do, that saves us a lot of hours at the computer.
I made the design on a white sheet of paper with a graphite pencil, then I digitized it with a scanner, if you don't have one, take a picture, then open it with the design program and adjust its size (Ctrl +T and drag and drop).
Paso 1:
Siempre es bueno tener una idea anticipada de lo que queremos hacer, eso nos ahorra una gran cantidad de horas en la computadora.
Realicé el diseño en una hoja blanca y con lápiz de grafito, luego digitalicé con un scanner, si no tienes, toma una foto, luego ábrelo con el programa de diseño y ajusta su tamaño (Ctrl +T y vas arrastrando).
Step 2:
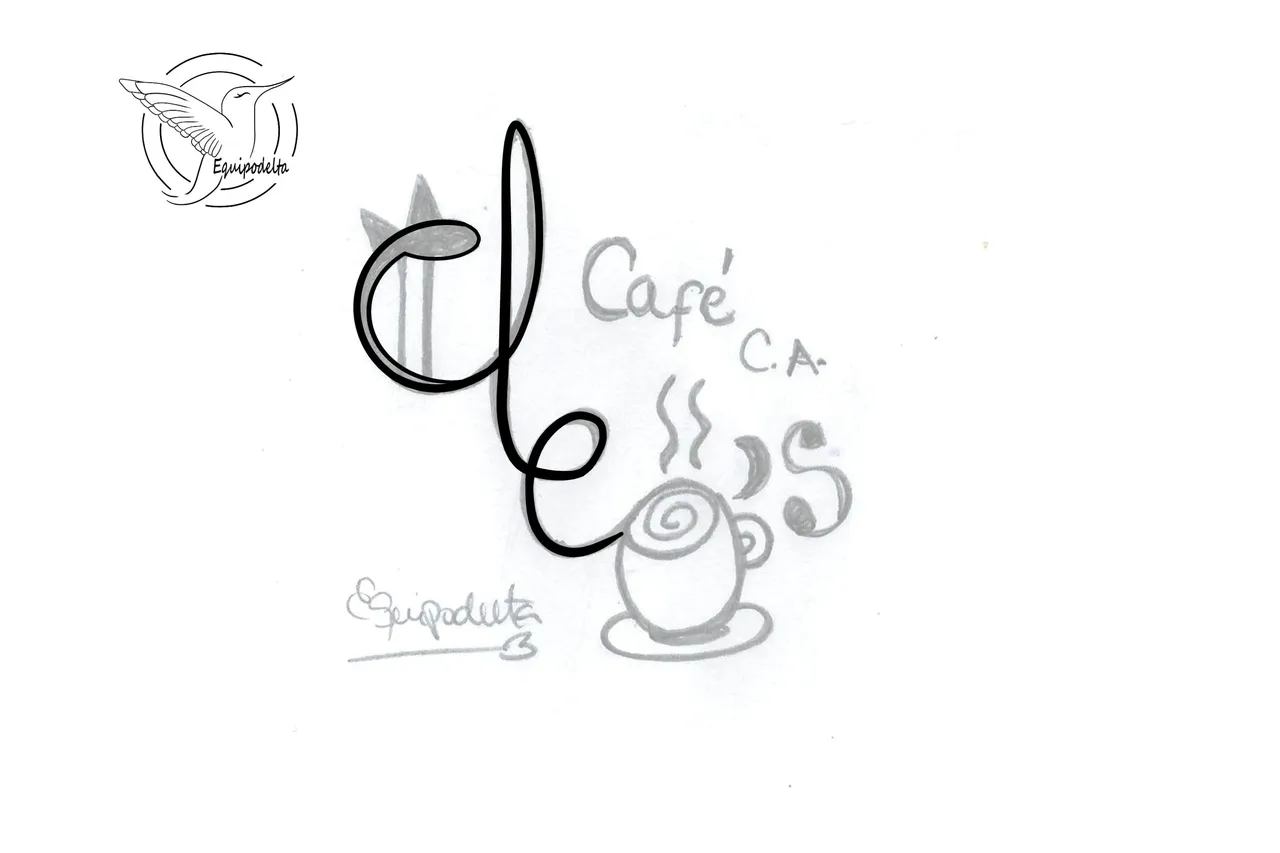
Adjust the opacity of the layer in the upper right corner where you see a small window with all layers. Hover over the one with the design and move the opacity bar.
Now open a new layer and start marking, use the brush of your choice, I'm using the pencil brush.
I helped myself with the tools at the top of the program, to create a rounder C, with the Curve Tool (ellipse).
Paso 2:
Ajusta la opacidad de la capa en la parte superior derecha donde vez una ventana pequeña todas las capas. Posiciónate sobre la que tiene el diseño y mueve la barra de opacidad.
Ahora abre una capa nueva y comienza a marcar, usa el pincel de tu preferencia, yo estoy usando el pincel lápiz.
Me ayudé con las herramientas de la parte superior del programa, para crear una C más redonda, con Herramienta curva (elipse).
Step 3:
Whenever we do something freehand, it has a lot of imperfections, remember that you can edit. In this case the cup was tilted, when I digitized it I fixed it.figure.
Paso 3:
Siempre que hacemos algo a mano alzada, tiene muchas imperfecciones, recuerda que puedes editar. En este caso la taza estaba inclinada, al digitalizarlo lo arreglé.
Step 4:
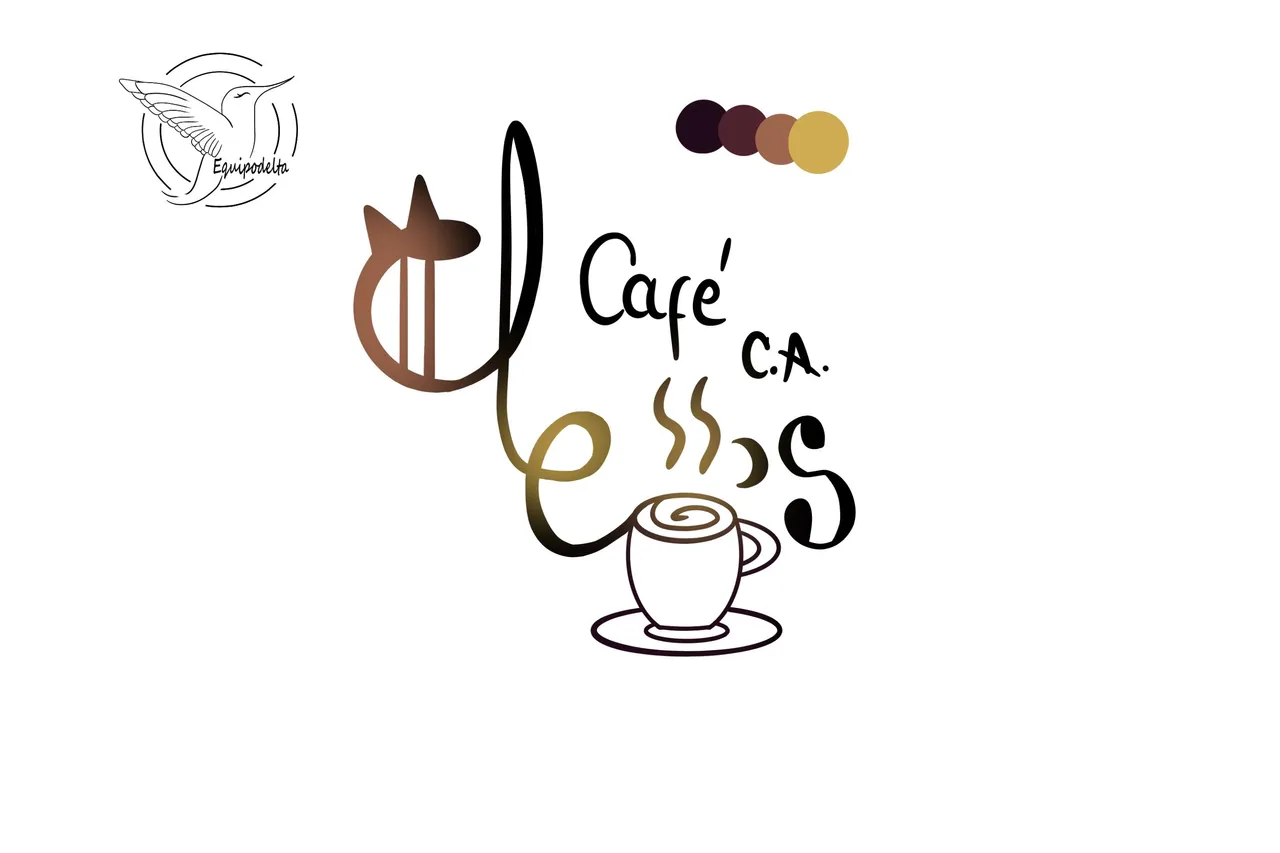
This is the funniest part, where I use airbrushing to give it that more original touch.
Working with layers, folders and the crop tool is great, because you can paint over the image without going out of the margins.
On the right side where you see the layers, you can group your design (specifically what you want to color) in folders, it's easy, then open a new layer and click on the crop option, ready, paint over the image, it's great, we don't go out of the margin.
Now blur and we're done.
Paso 4:
Esta es la parte más divertida, donde uso aerografía para darle ese toque más original.
Trabajar con las capas, carpetas y la herramienta recorte es genial, porque puedes pintar sobre la imagen sin salirte de los margenes.
En la parte derecha donde ves las capas, puedes agrupar tu diseño (específicamente lo que quieres colorear) en carpetas, es sencillo. luego abres una capa nueva y das clic en la opción recorte, listo, pinta sobre la imagen, es genial, no nos salimos del margen.
Ahora difumina y ya culminamos.

Step 5:
I created a background as a presentation. Just to highlight.
Paso 5:
Creé un fondo a modo de presentación. Solo para resaltar.

Step 6:
Save your work in PNG transparency format so you can have the option to embed it on any surface, without a background showing through.
Ummm! Yummy coffee.
Paso 6:
Guarda tu trabajo en formato de transparencias PNG para que puedas tener la opción de incrustarlo en cualquier superficie, sin que se vea un fondo.
¡Ummm! Rico café.
Detalles Técnicos / Technical Details
Edition:
Program: MediBang Paint Pro.
Graphics tablet: Huion (Usb Pen Tablet). Model 420.
Used Medibang tools:
- Ajuste entrecruzado.
- Herramienta curva (elipse).
- Herramienta curva.
- Borrador.
- Bote de pintura.
- Pincel lápiz.
- Pincel aerógrafo.
- Herramienta capas, carpetas y recorte.
Music Video:
––––––––––––––––––––––––––––––
Track: Voyage — Lahar [Audio Library Release]
Music provided by Audio Library Plus
––––––––––––––––––––––––––––––
VIDEO TUTORIAL


Mi canal Youtube, tiene un montón de tutoriales muy útiles para ti.
My Youtube channel, has a lot of very useful tutorials for you.

Hacks, DIY, Crafts, handmade arts Community
Discord
![]() 👉
👉 ![]() 👉
👉 ![]() 👉
👉  👉
👉 ![]() 👉
👉