It's the time of the year!
Christmas is just around the corner and the kids and I made this simple project. It is easy to make and the kids definitely had fun doing it.
What you will need:
- colored tissue paper
- white paper
- marker
- crayons
- pair of scissors
- glue
- yarn
Step 1. The Colored Tissue
I did not have colored tissue at home, but this simple hack should do the trick.
First you will need food coloring and kitchen paper towels.
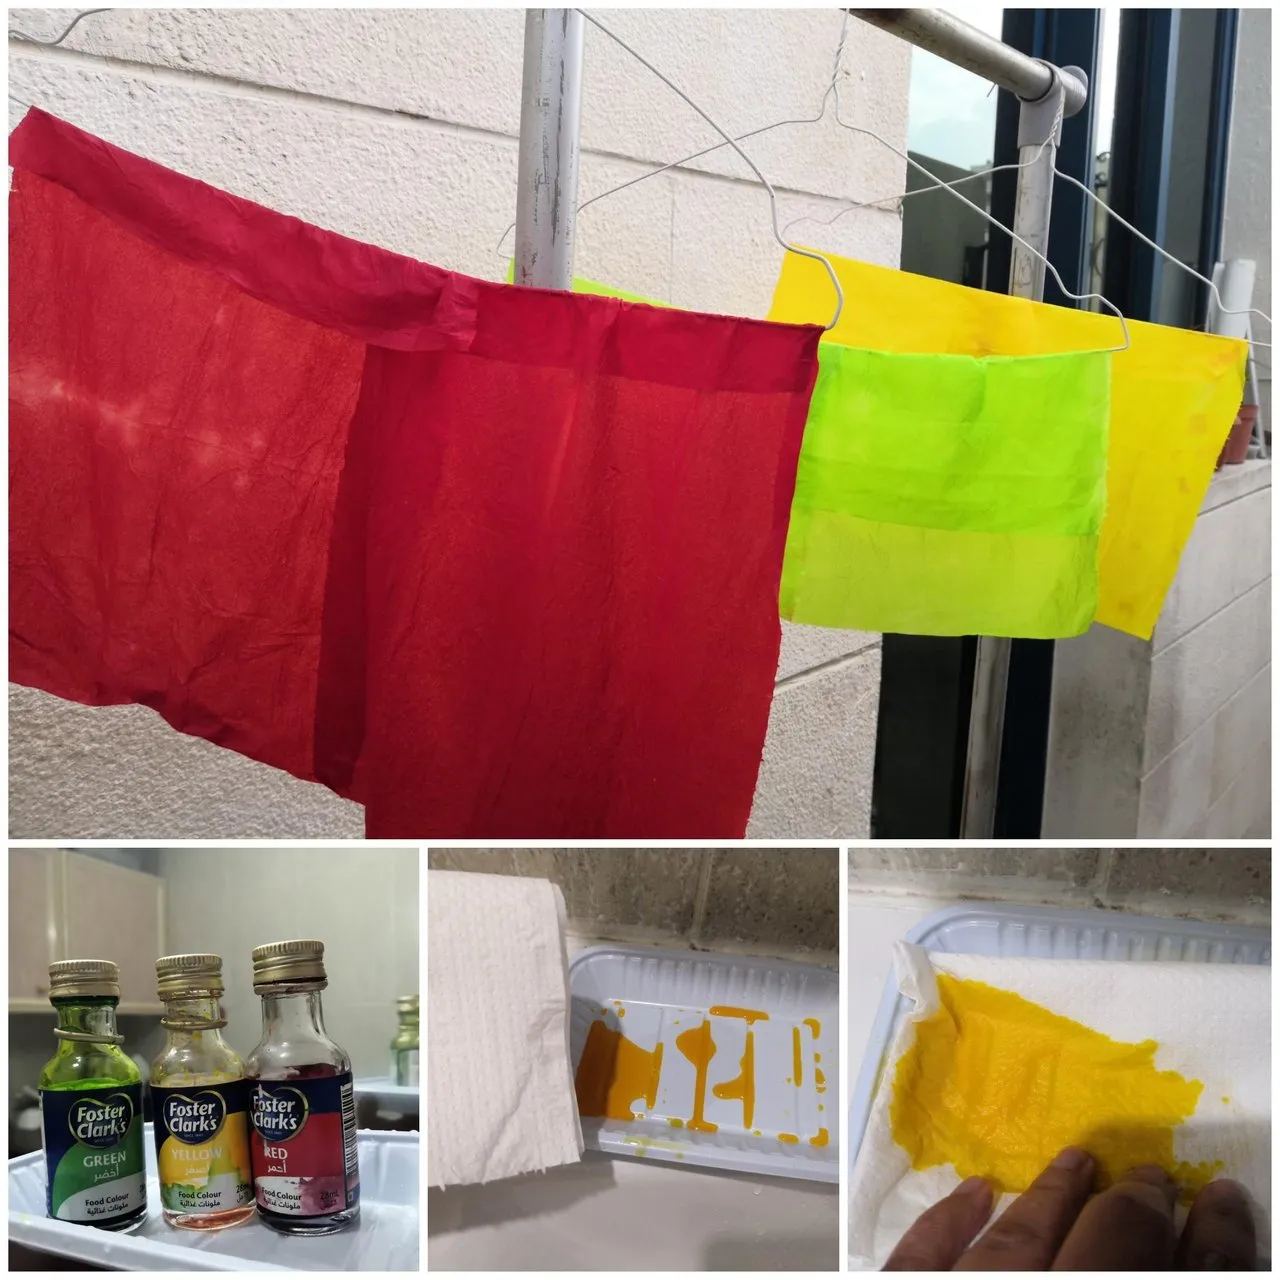
On a small container, dilute a small amount of food coloring and damp your tissue paper. Make sure you thoroughly wet the paper. Hang to dry.
Tip:
Use latex gloves to avoid the food coloring from staining your hands.
Do not let different colors touch each other when hanging.
Step 2. The Christmas Tree
While there are printables available online for the Christmas trees, you can also be creative and draw your own trees.
Cut the shape.
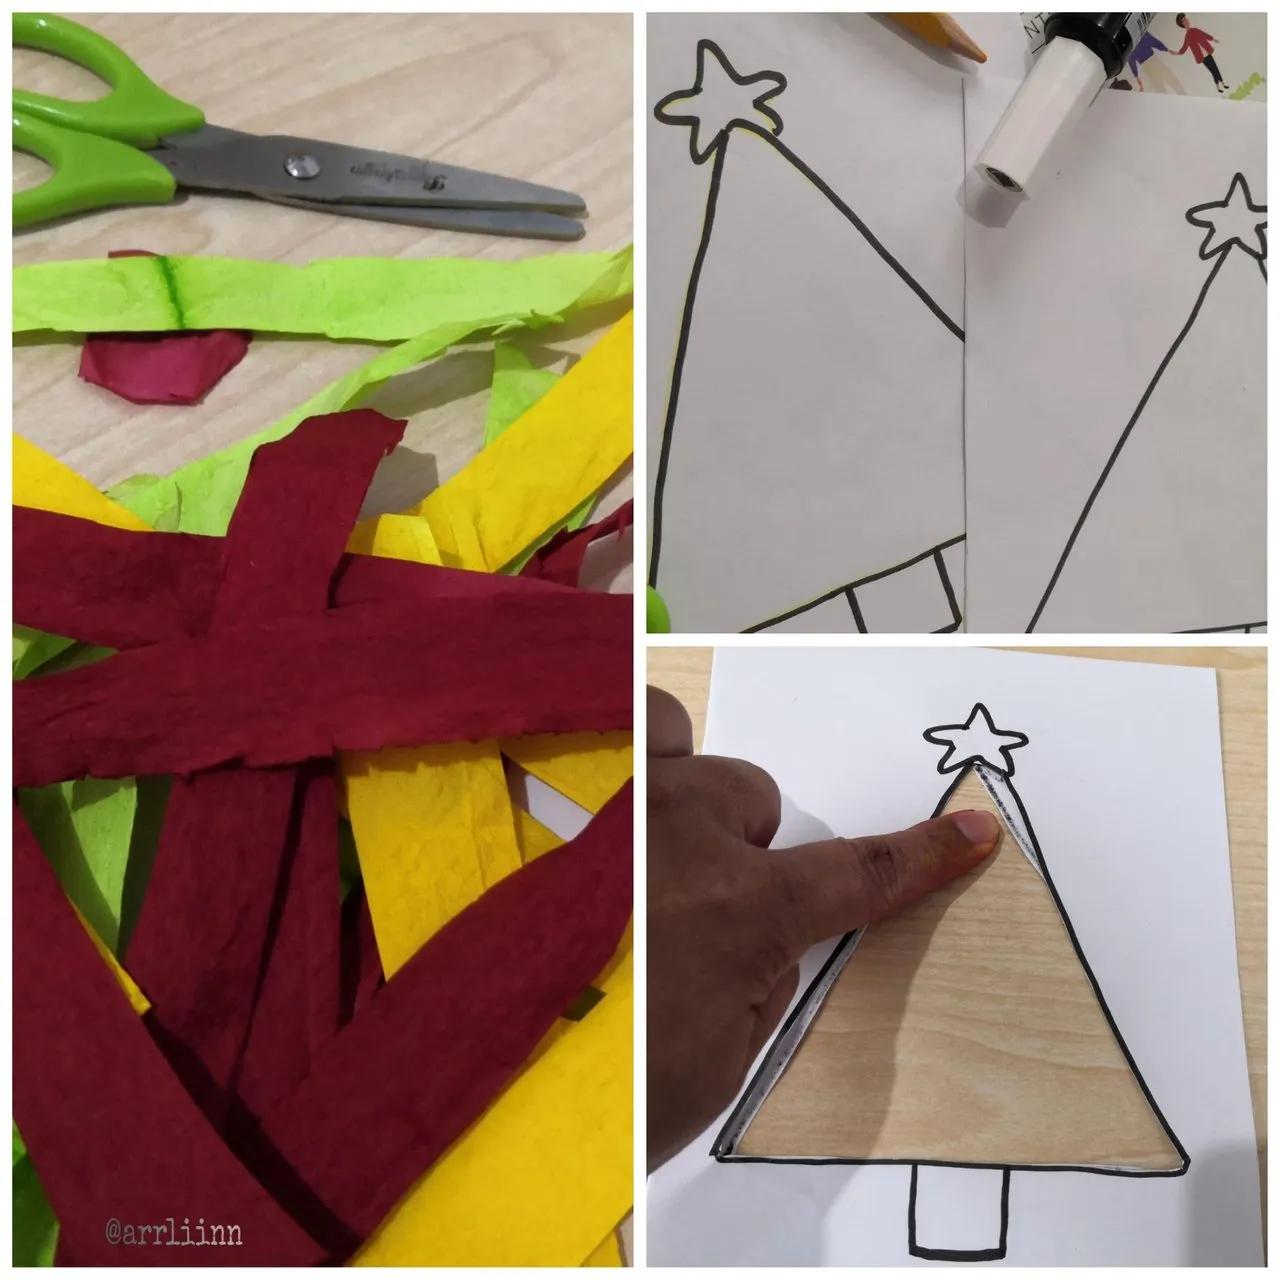
You will have to make two overlapping cuttings to make the tree double-sided later.
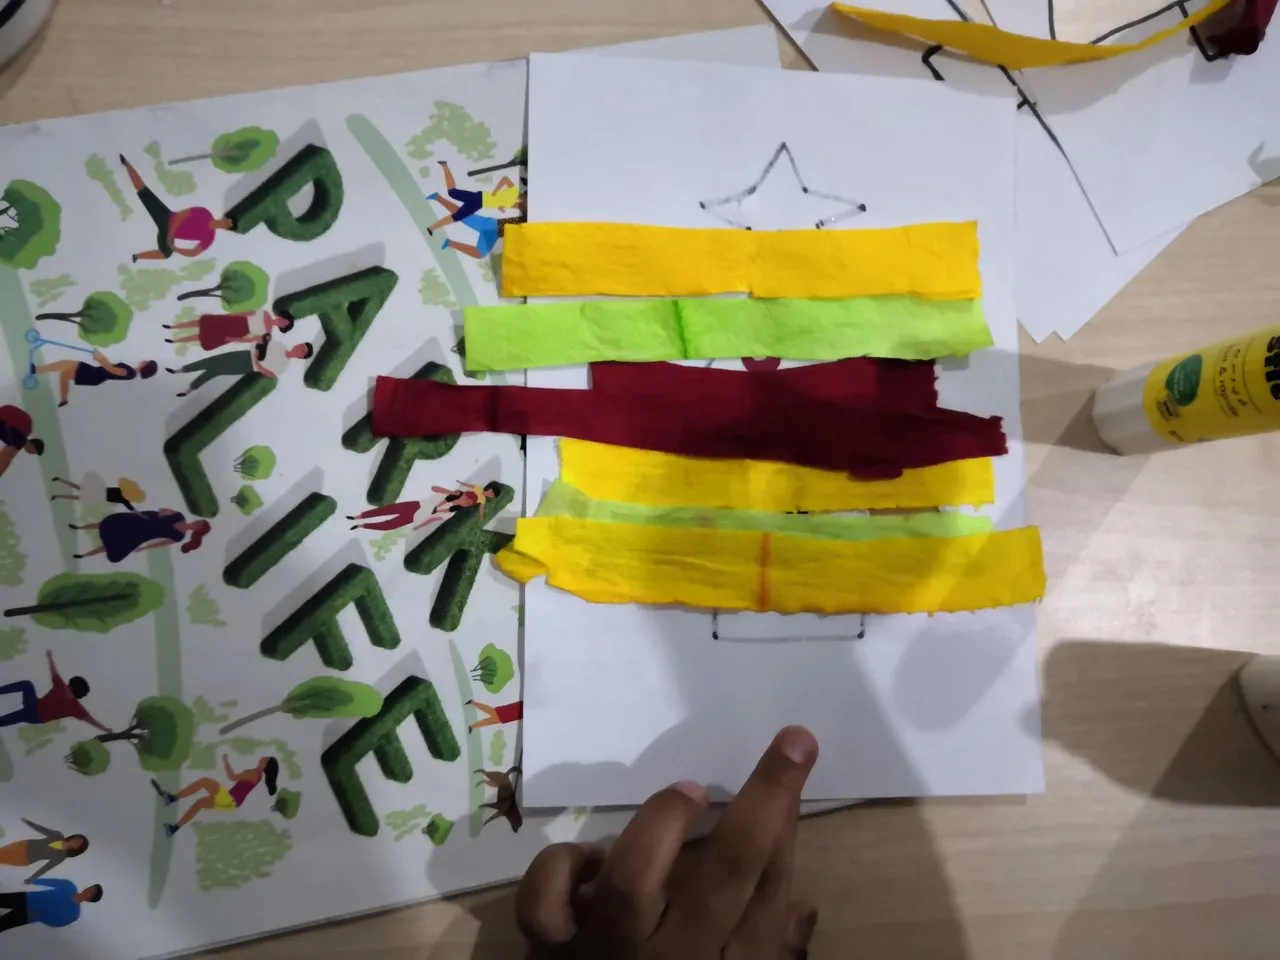
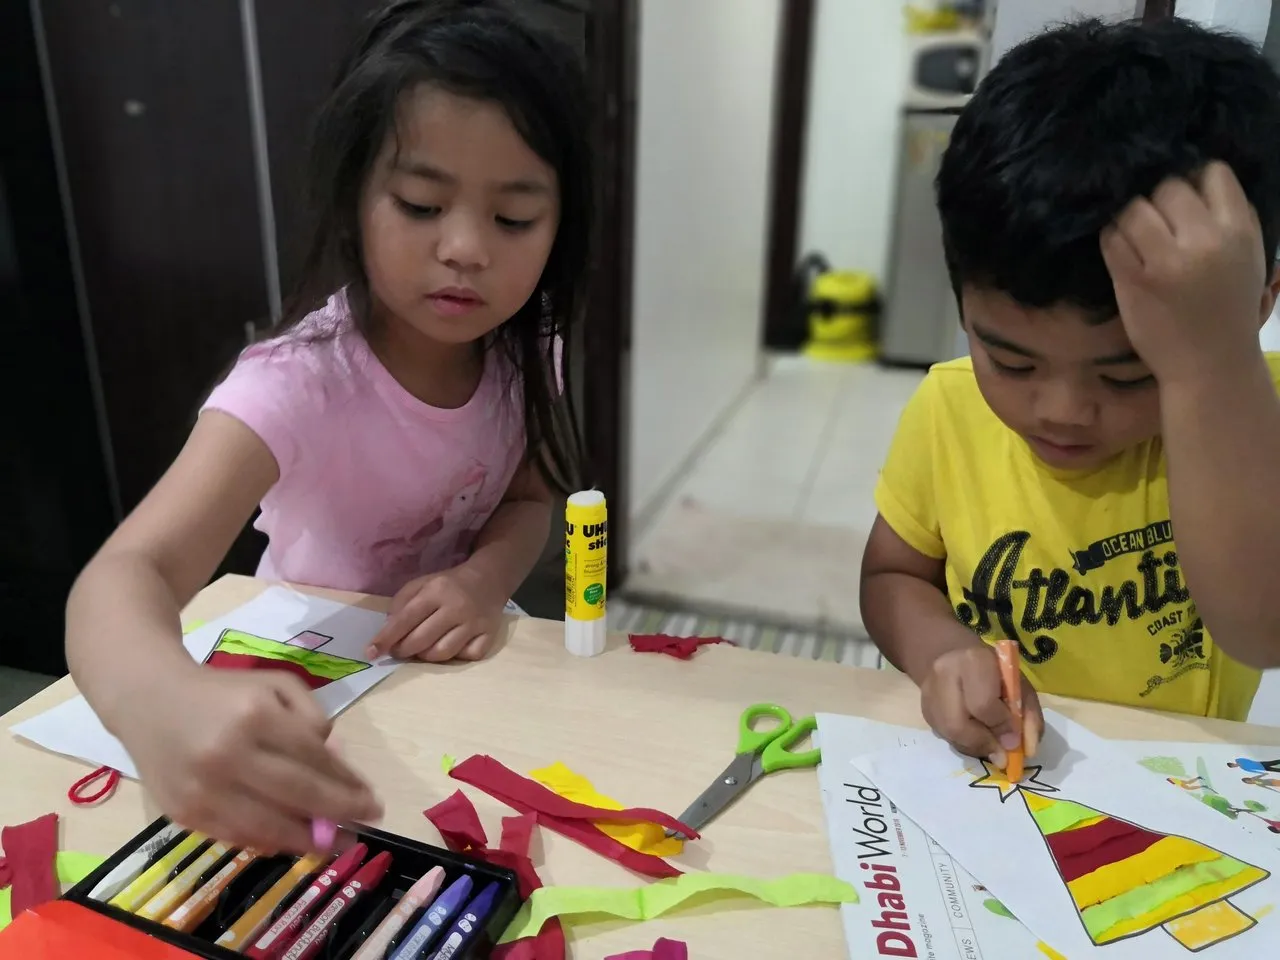
Step 4. Decorating the Tree.
Cut the colored tissue into strips.
Carefully paste them at the back side of the Christmas tree cut out.

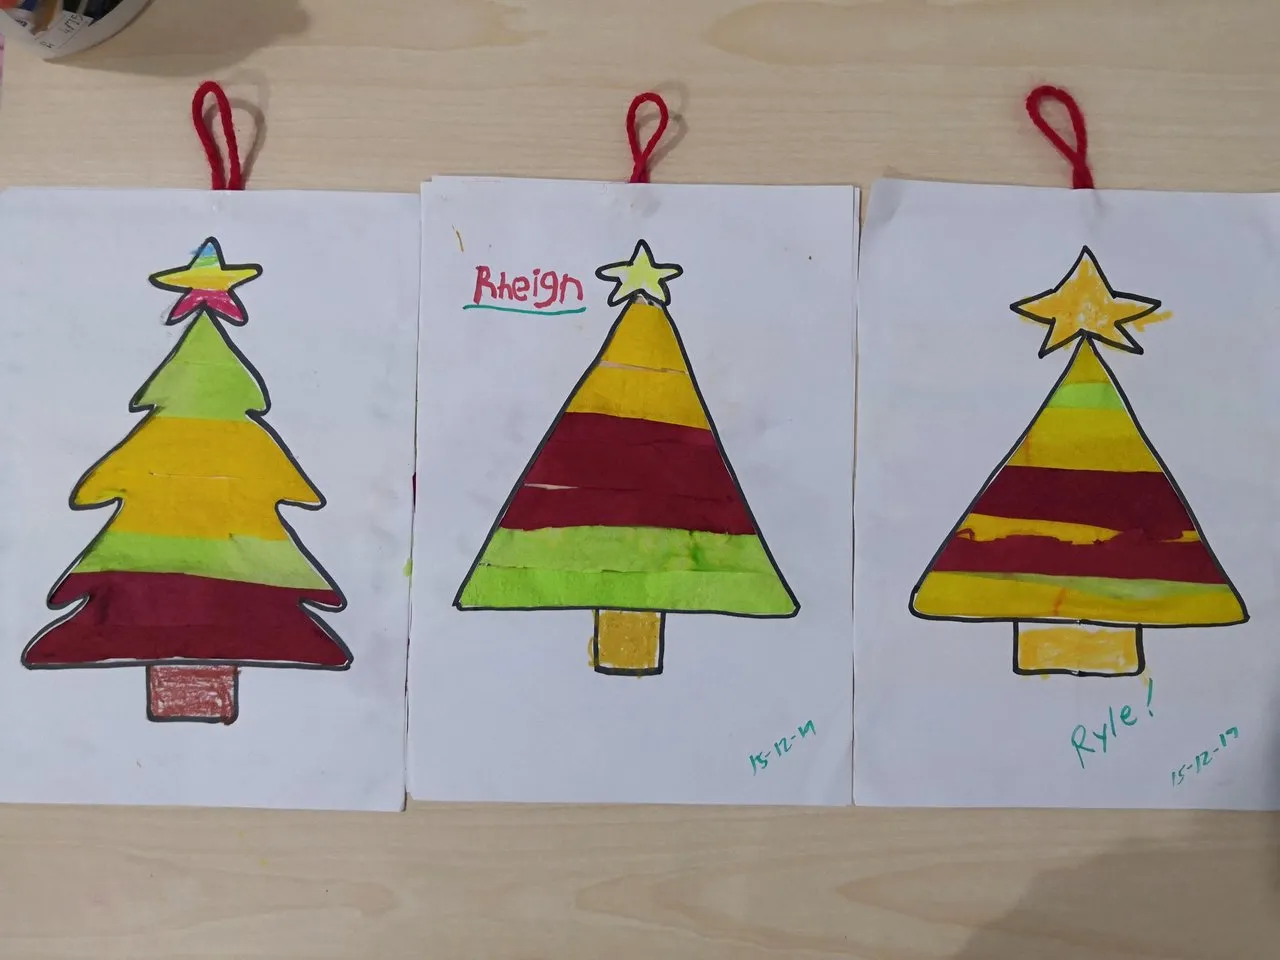
After pasting the strips, it will look like this.
Cut the around 2 inches of yarn, paste it at the top part of the paper to make a hanger.
Paste the other side of the cut out over this.
Color the star and the tree base.
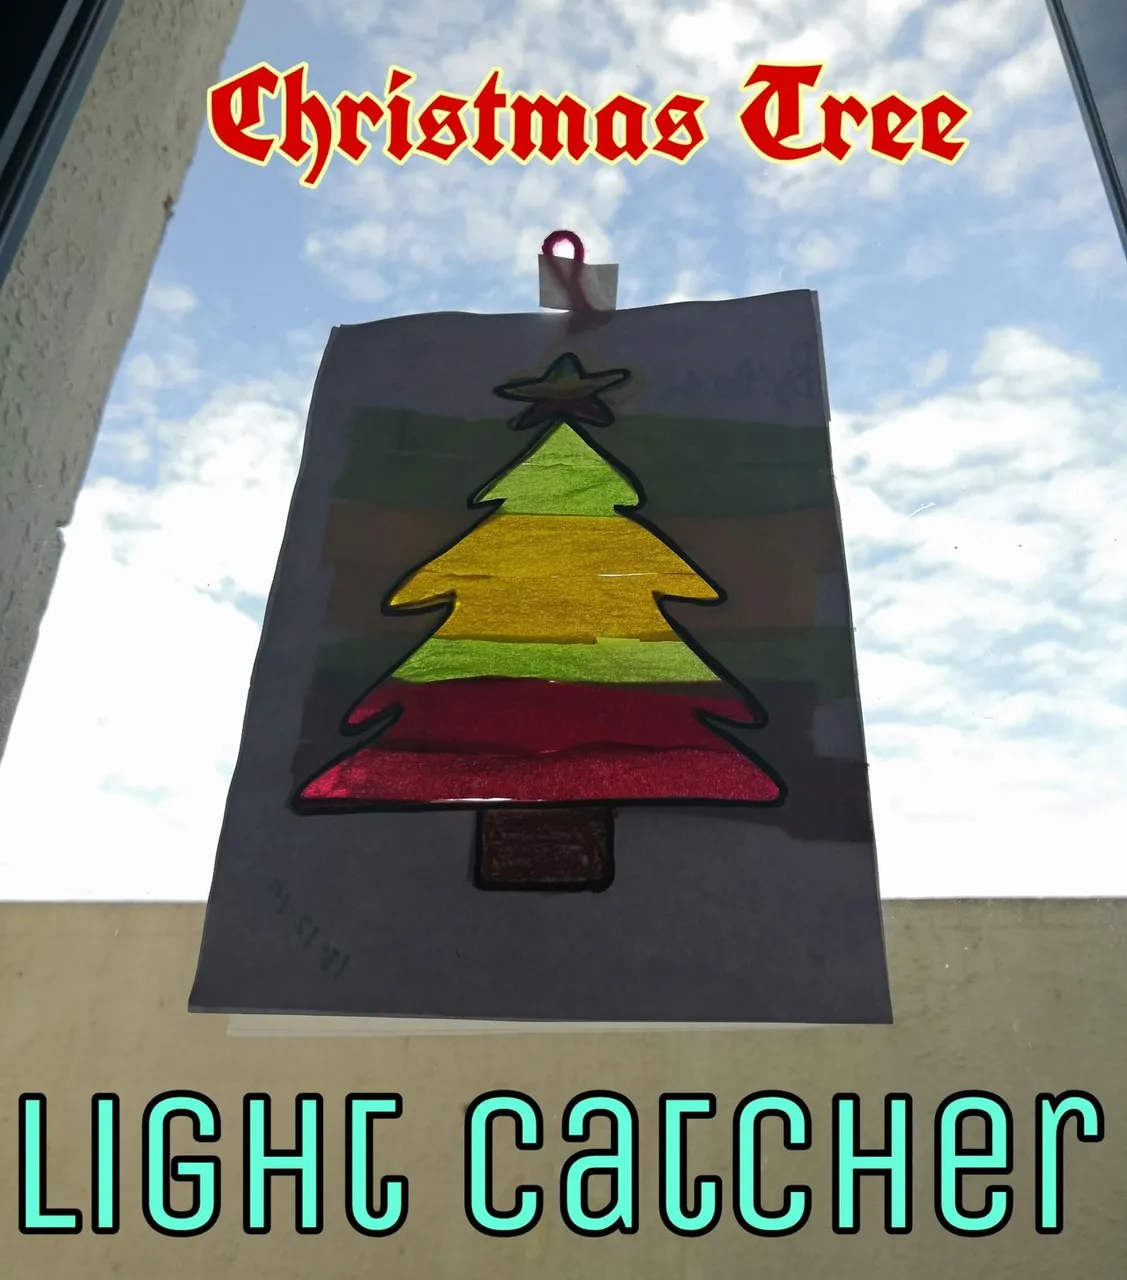
Here's our project:
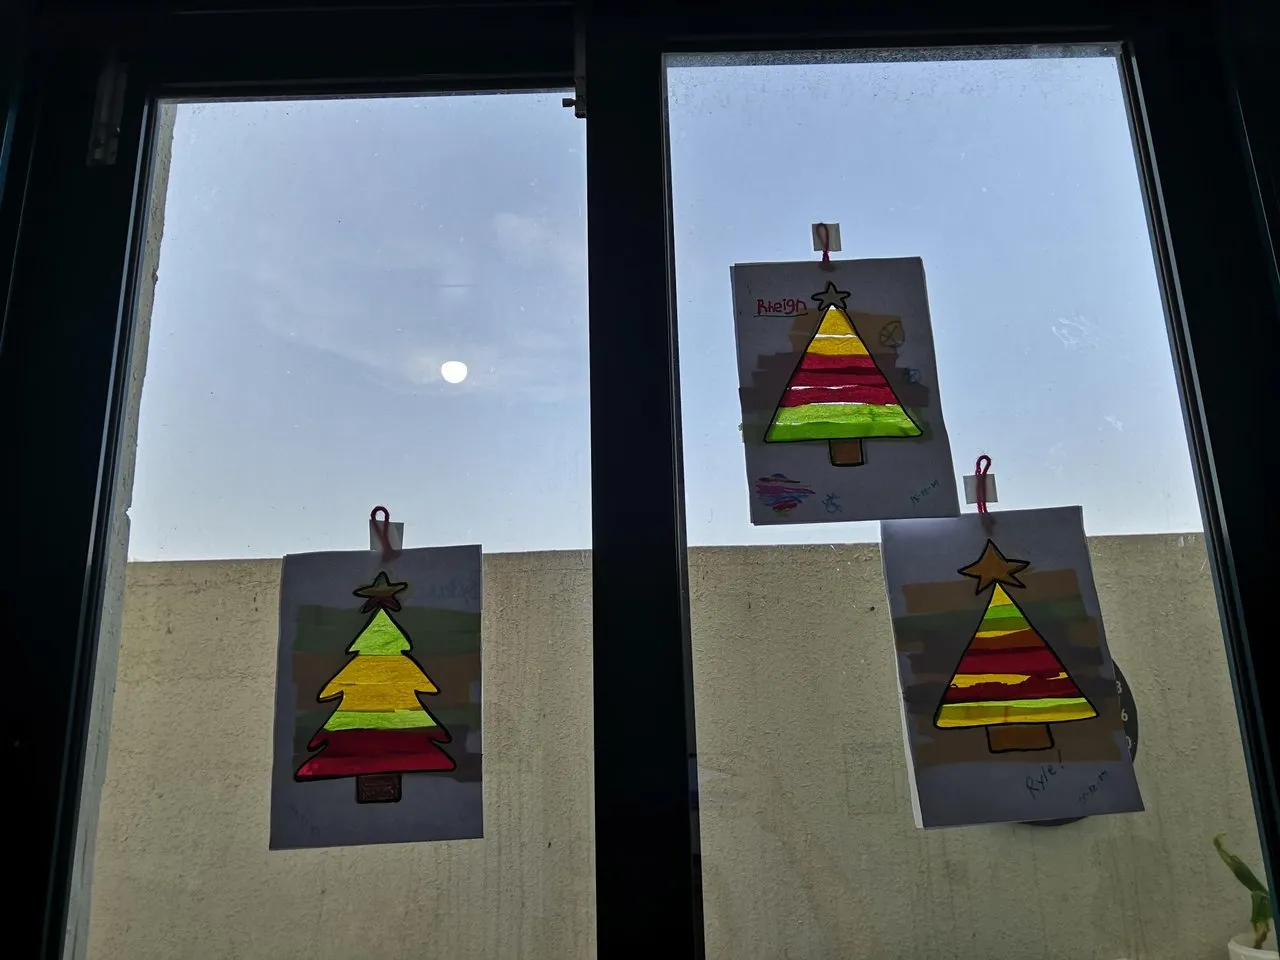
Hang (in our case, stick) your light catchers on your windows. Enjoy the sight:
Simple and Easy
My kids definitely enjoyed the project and they love seeing their work on display.
We will try to share more simple Christmas projects before the big day!
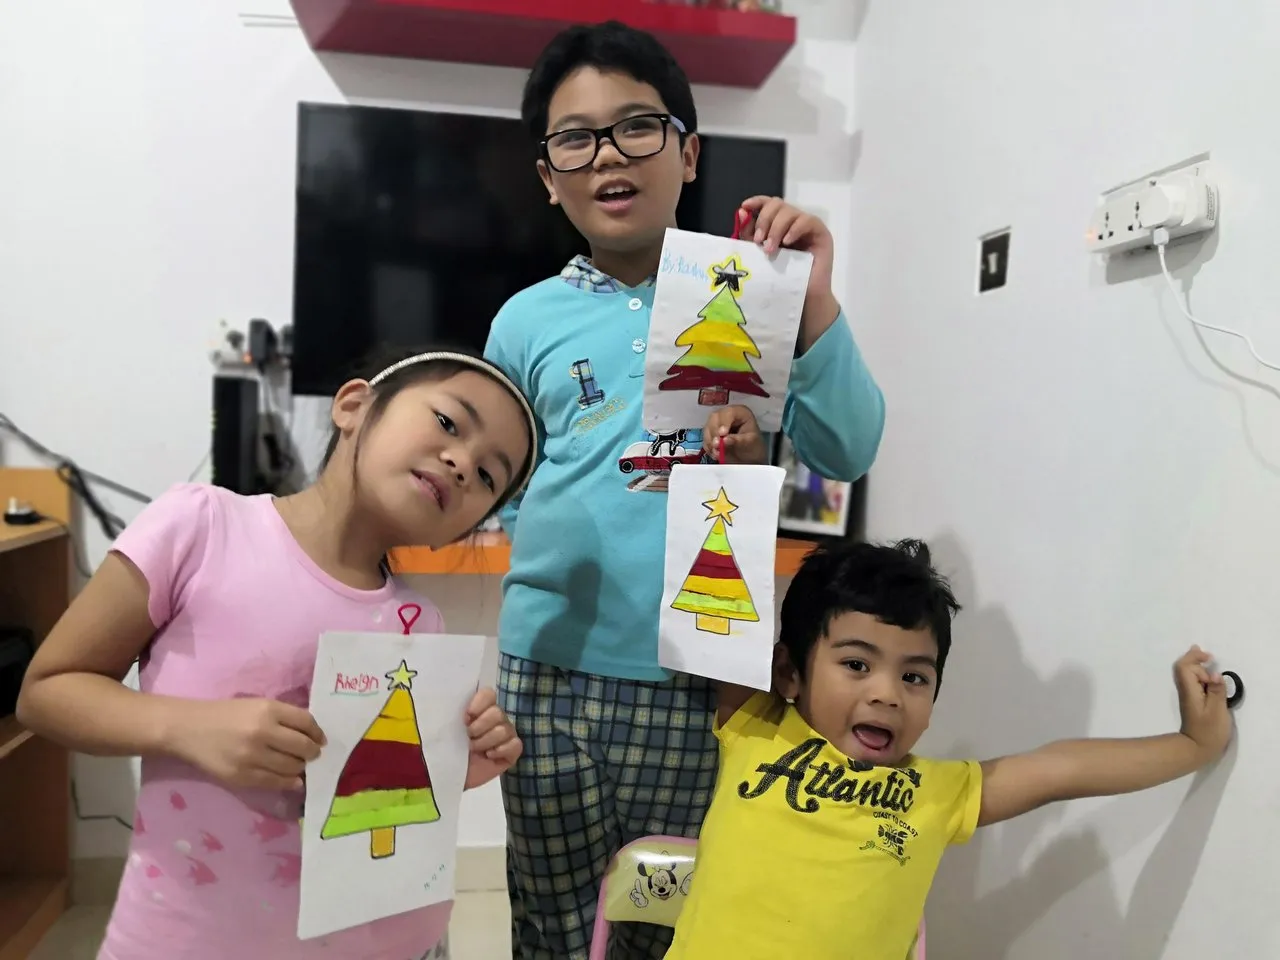
For now, here's a simple "Merry Christmas" shout out from the @divinekids and I.
❤️Arlyn
All photos are by the author.
Project inspired by: https://pin.it/7zxx4uegpvef3a