Hello I am Brian am passionate about technology my blog will be about tutorials!
Hyper-V is a virtual machine feature built into Windows, which was originally released as part of Windows Server 2008. Hyper-V replaces the Windows Virtual PC as hardware virtualization component of Windows client issues, which obviously It includes Windows 10. Since the Hyper-V Manager or Hyper-V Manager is Microsoft's application to administer servers with Hyper-V technology. Although this technology come in Windows 10 by default it is not enabled. Fortunately there is a way around this and have the Hyper-V Manager back; see tip.

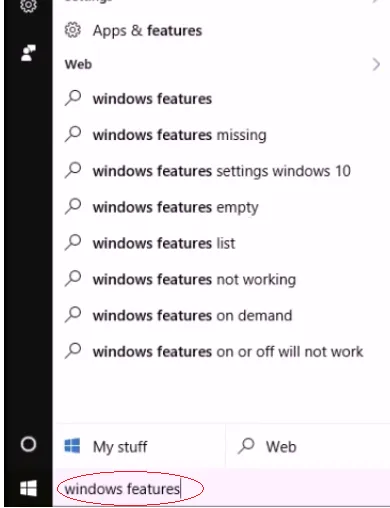
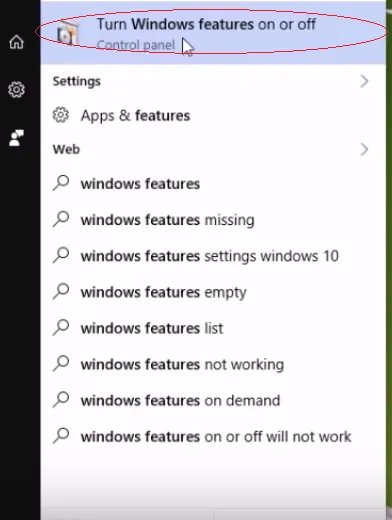
Step 1. Click in the search box of Windows 10 and in it type "windows features". When the result, click the "Enable or disable Windows features";
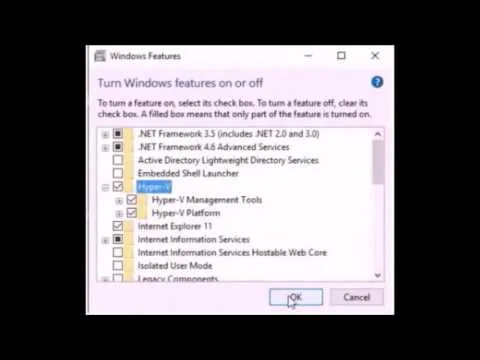
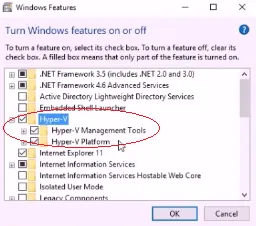
Step 2. In the window that "Windows Features", find the item "Hyper-V". Then click the box next to the item to activate it. To effect change, click the "OK" button;
Step 3. Wait for Windows to install the Hyper-V;

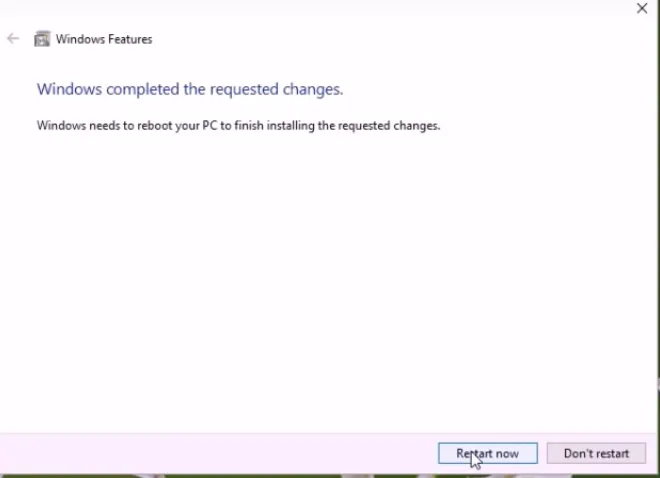
Step 4. At the end of the process, click the "OK" button. If you see the option to restart, confirm and wait for the system restart;
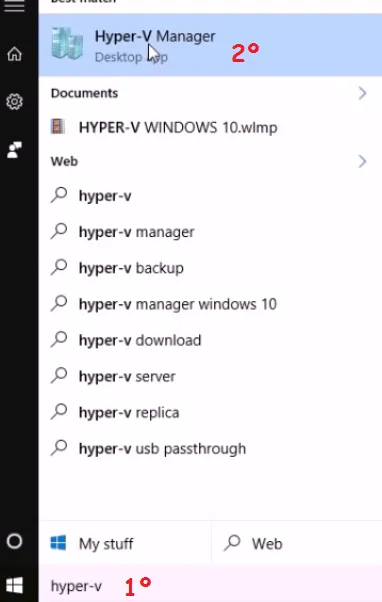
Step 5. With the Hyper-V technology is already installed, click the search box of Windows 10 and in it type "hyper." When the result, click the "Hyper-V Manager";
Ready! Now just start exploring the technology and use Hyper-V Manager in Windows 10 to run their virtual servers.
Video