La belleza de un jardín japonés radica en la sobriedad, equilibrio y armonía.
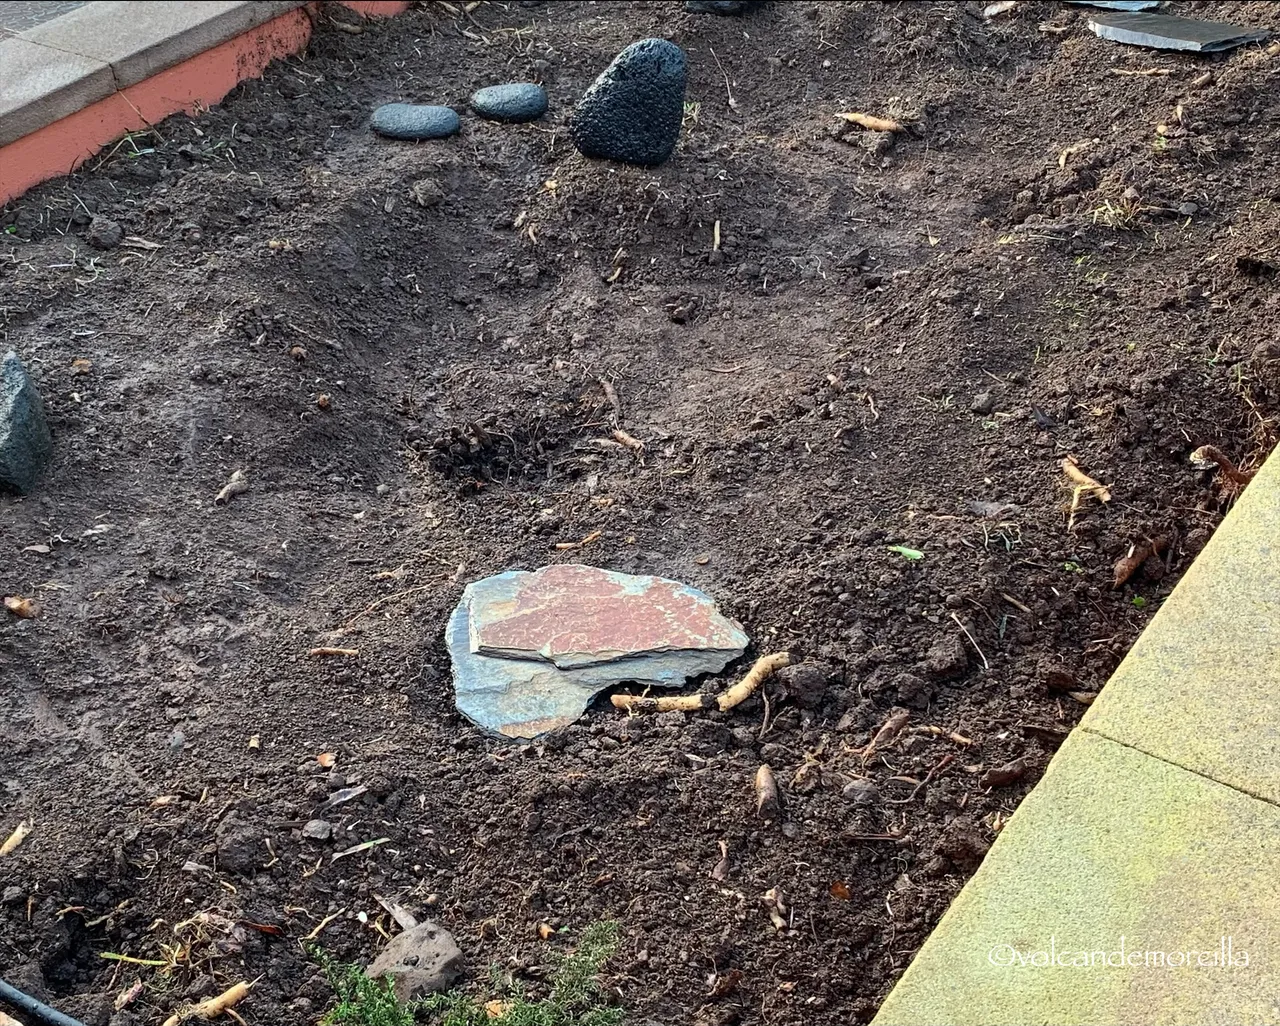
Tras unas reparaciones por una fuga de agua, decidimos eliminar unas Strelitzias que se habían hecho enormes y llenaban de raíces toda la jardinera.
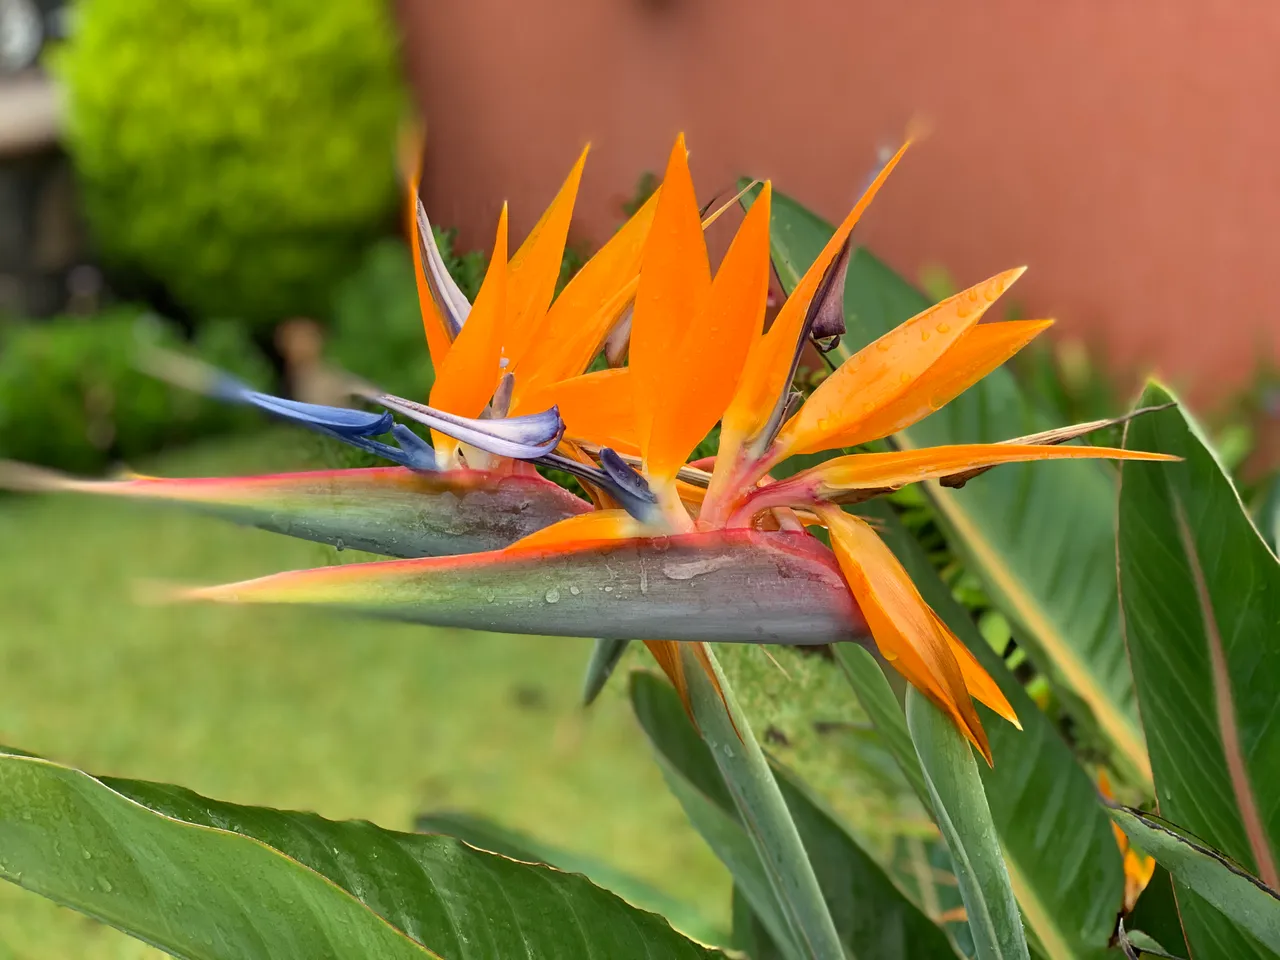
Cortar las Strelitzias me causó mucha pena porque era una planta que producía unas flores muy bonitas, pero ya se habían hecho muy grandes y las raíces provocaron daños en las tuberías. Para no sentir tanto disgusto, decidí hacer algo nuevo, un reto interesante.
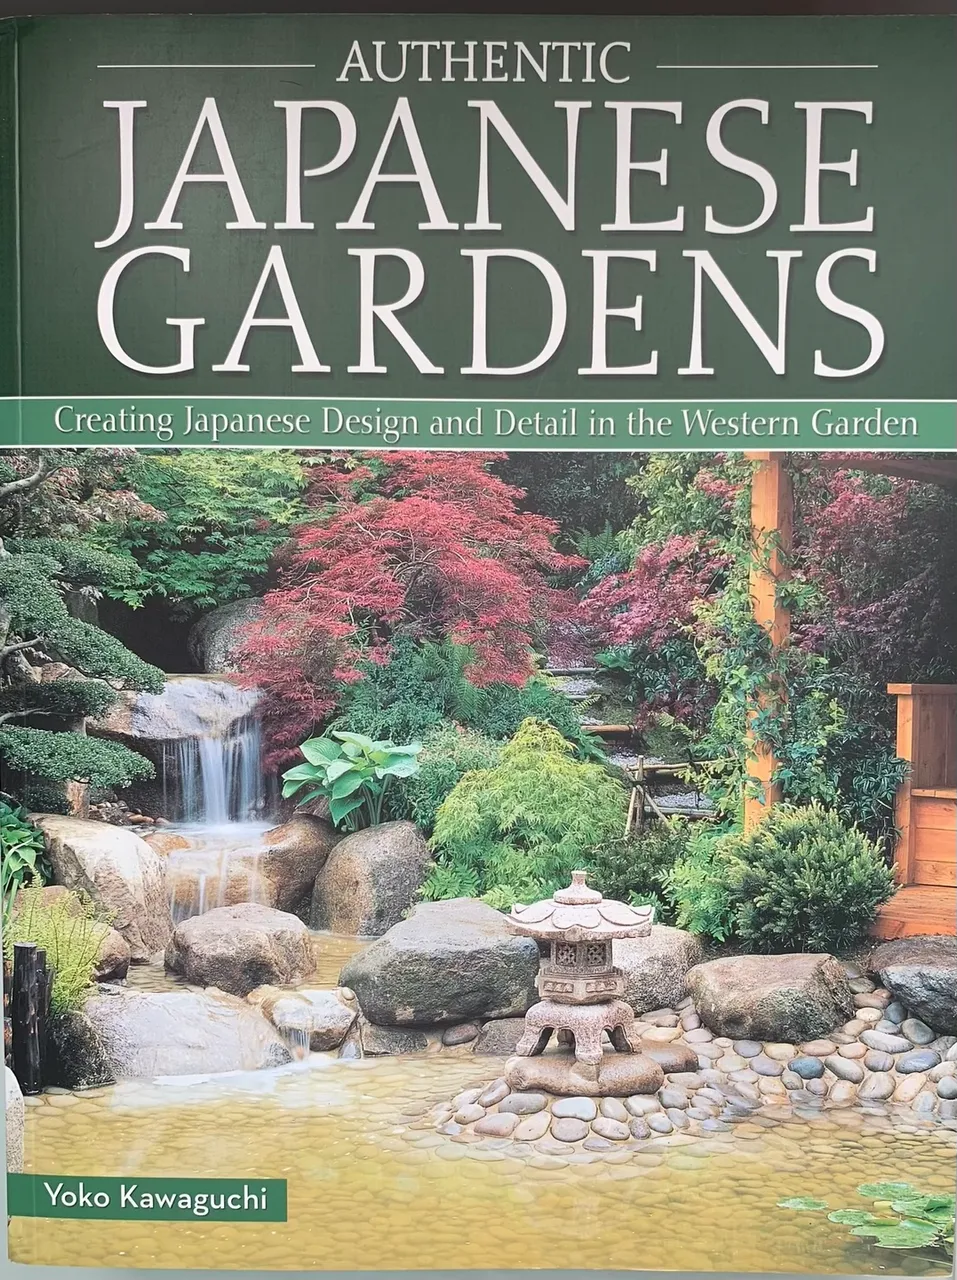
Lo primero fue asesorarme bien y para ello compré un par de libros que me dieron muchas ideas y de los cuales obtuve mucha información. Al final he dejado cumplida constancia de esta bibliografía. Estos libros me aportaron muchísima más información de la que pude obtener en Internet. Mi idea era hacer un jardín bien hecho, no cualquier cosa.

Una vez eliminadas todas las plantas lo primero fue colocar el riego por aspersión.
Después profundicé la parte central. Mi idea era que la parte del centro quedará más hundida y los laterales fueran en pendiente para extender la zona de plantación. No quería que el jardín fuera todo plano, sino que tuviera algunas pendientes y terrazas.
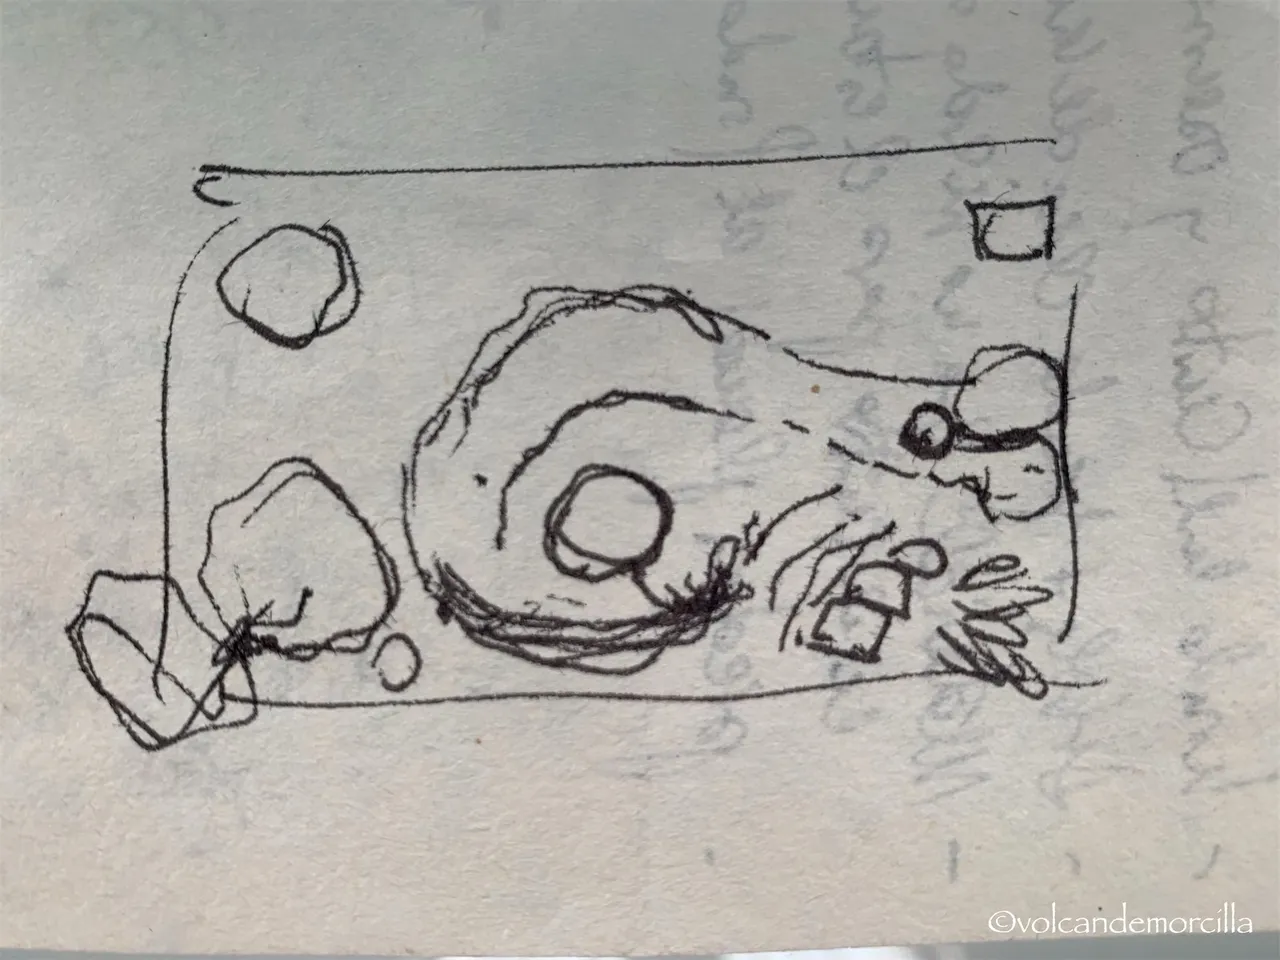
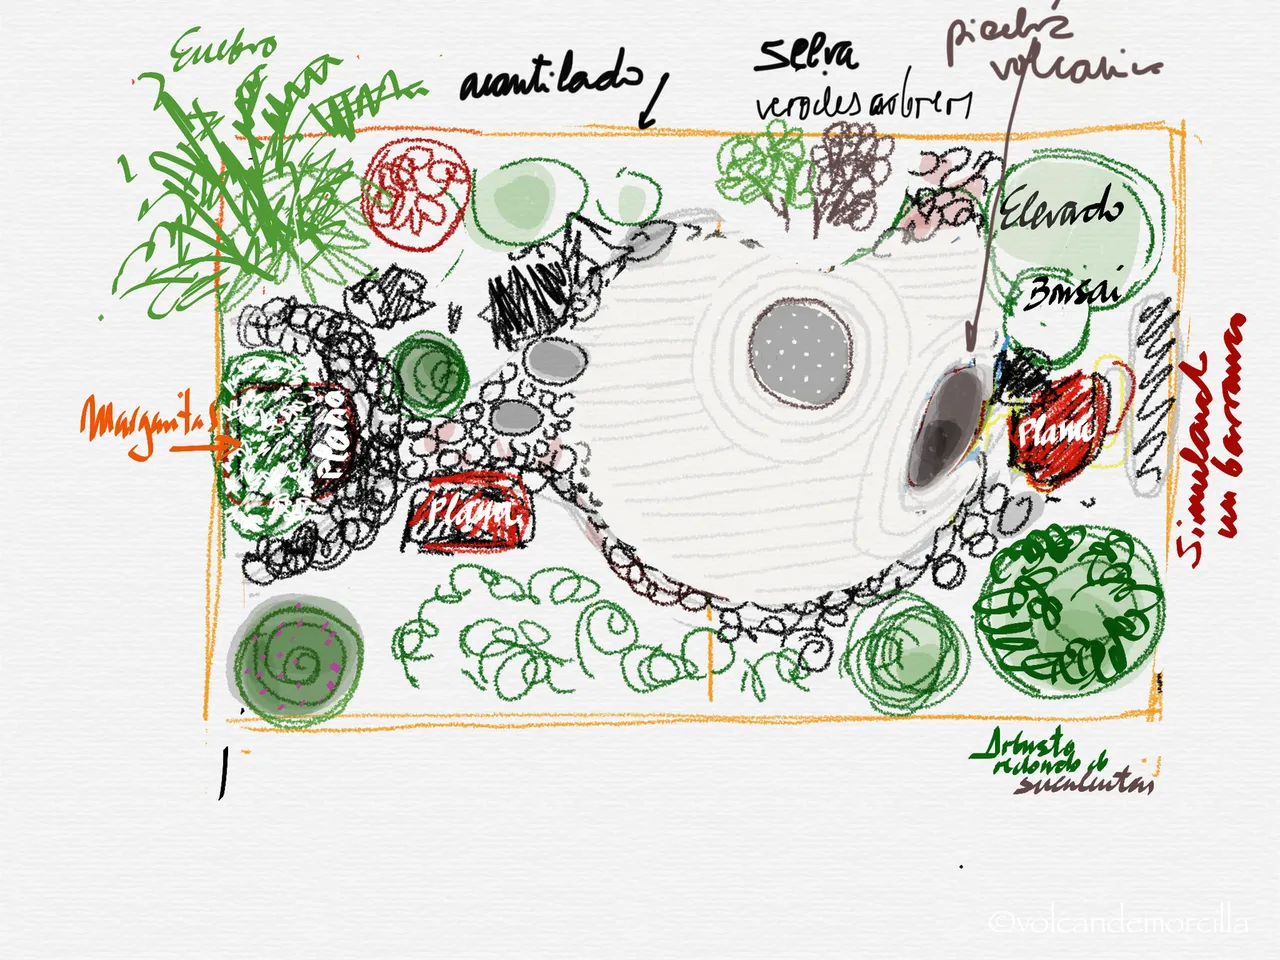
Un jardín japonés, como norma general, debe ser sobrio y bien ordenado. Para ello es muy importante calcularlo muy bien previamente. Por eso, antes de nada hice mis diseños y, después de muchas modificaciones, concebí un plan general.
Un jardín Japonés, nunca es muy colorido. No es hermoso por sus grupos de flores. Su belleza radica en el orden y la limpieza. El jardín japonés debe transmitir tranquilidad y armonía. Los elementos decorativos son las piedras, el agua y los grupos de vegetales.
Al final, después de muchas dudas, no puse un estanque en el centro como tenía pensado inicialmente. El agua proporciona unos bonitos reflejos pero también había la posibilidad de que produjera olor de agua estancada o fuera un criadero de mosquitos.
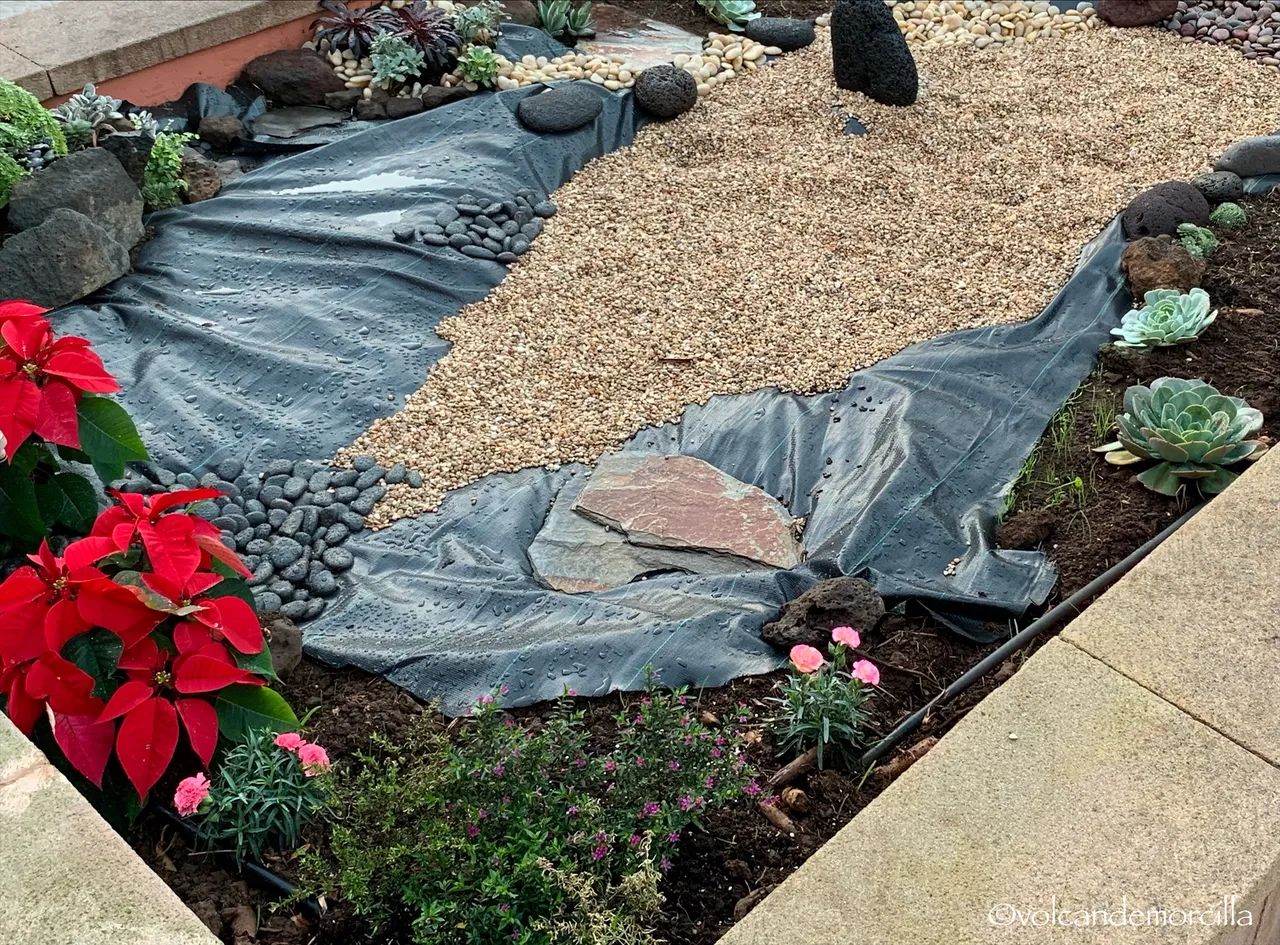
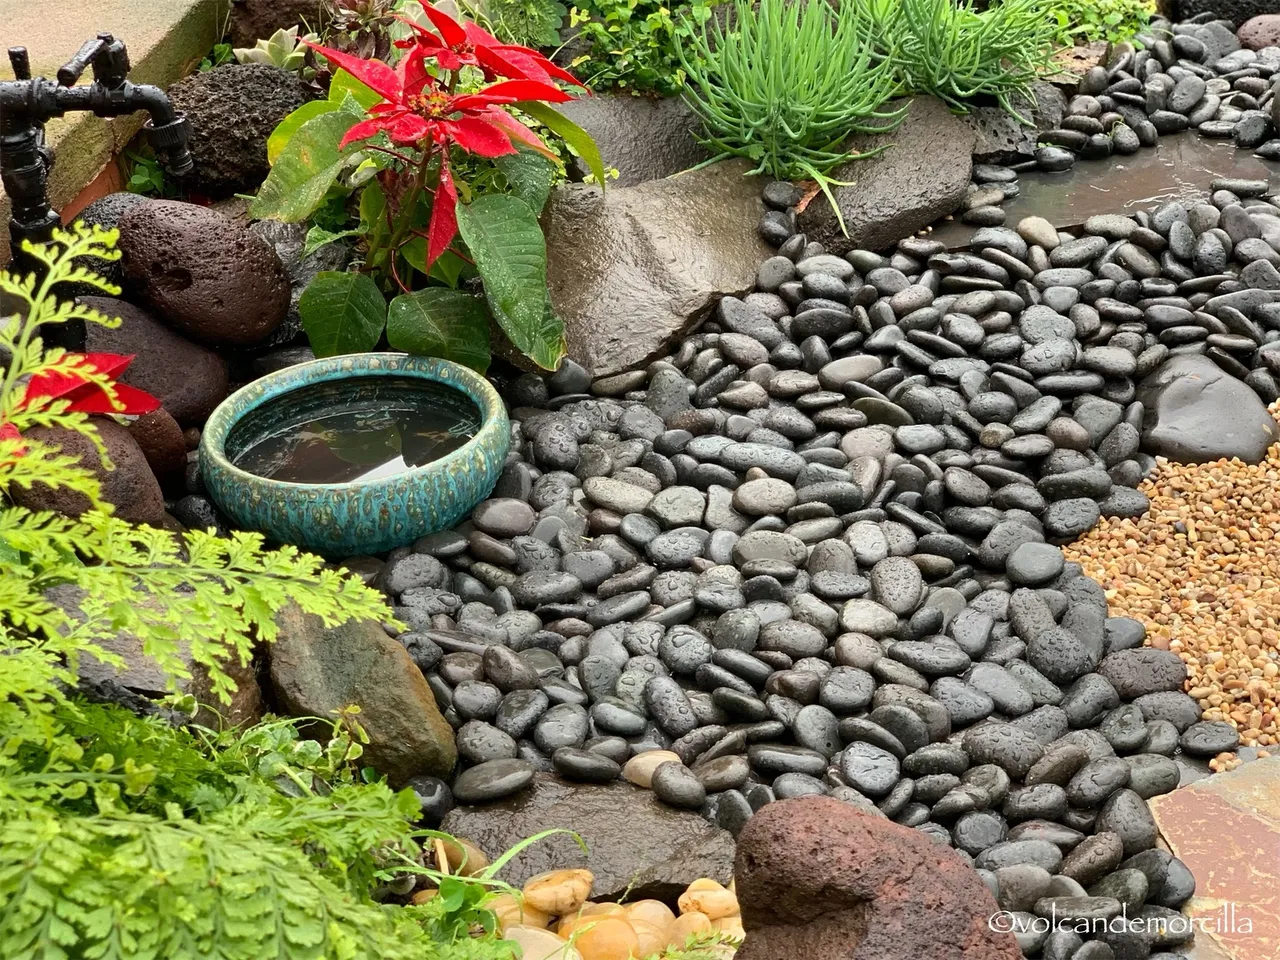
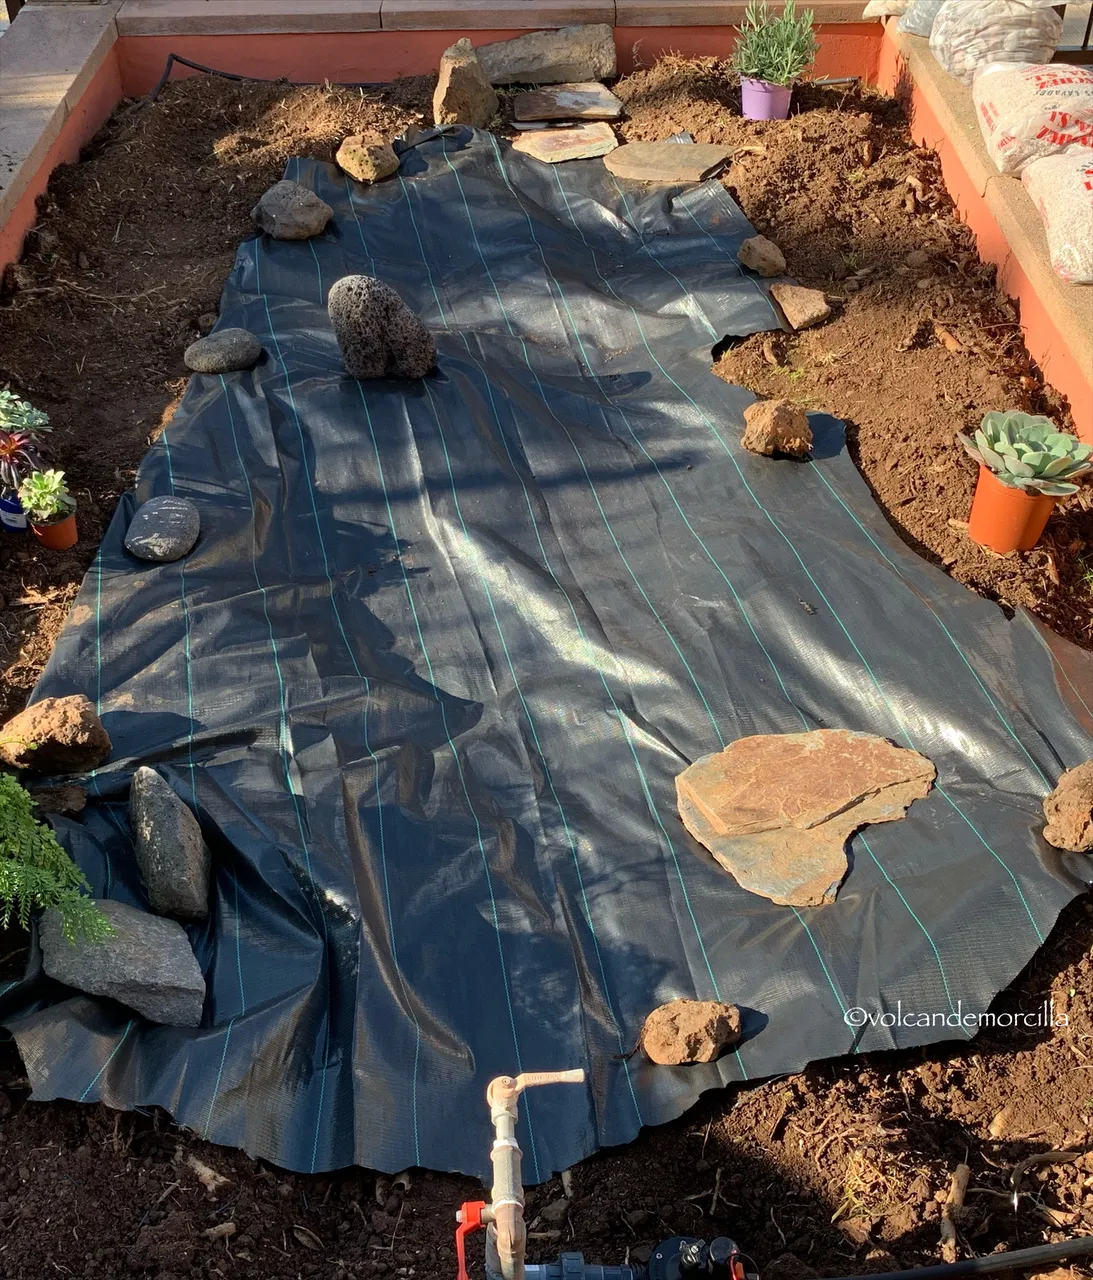
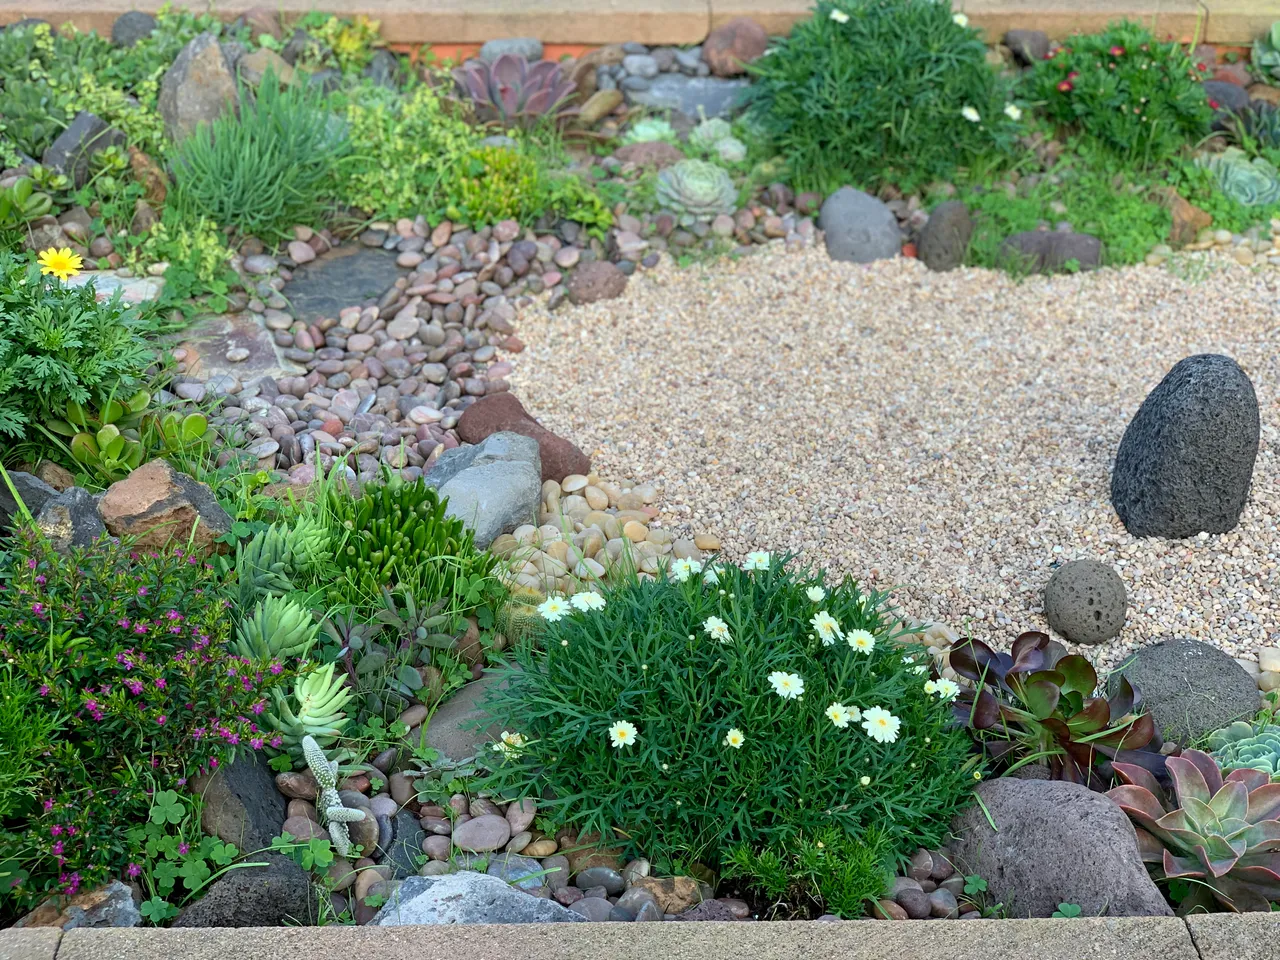
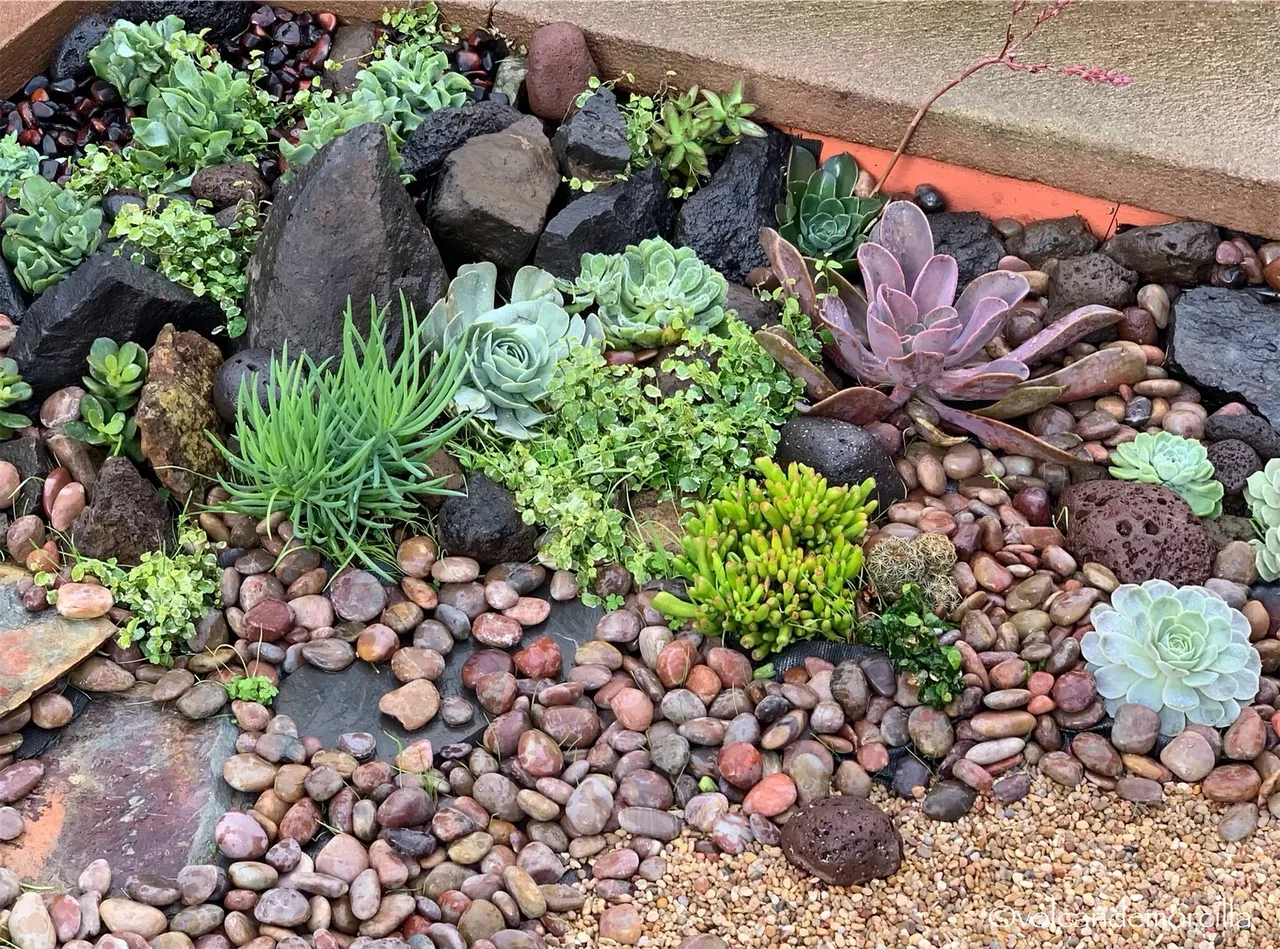
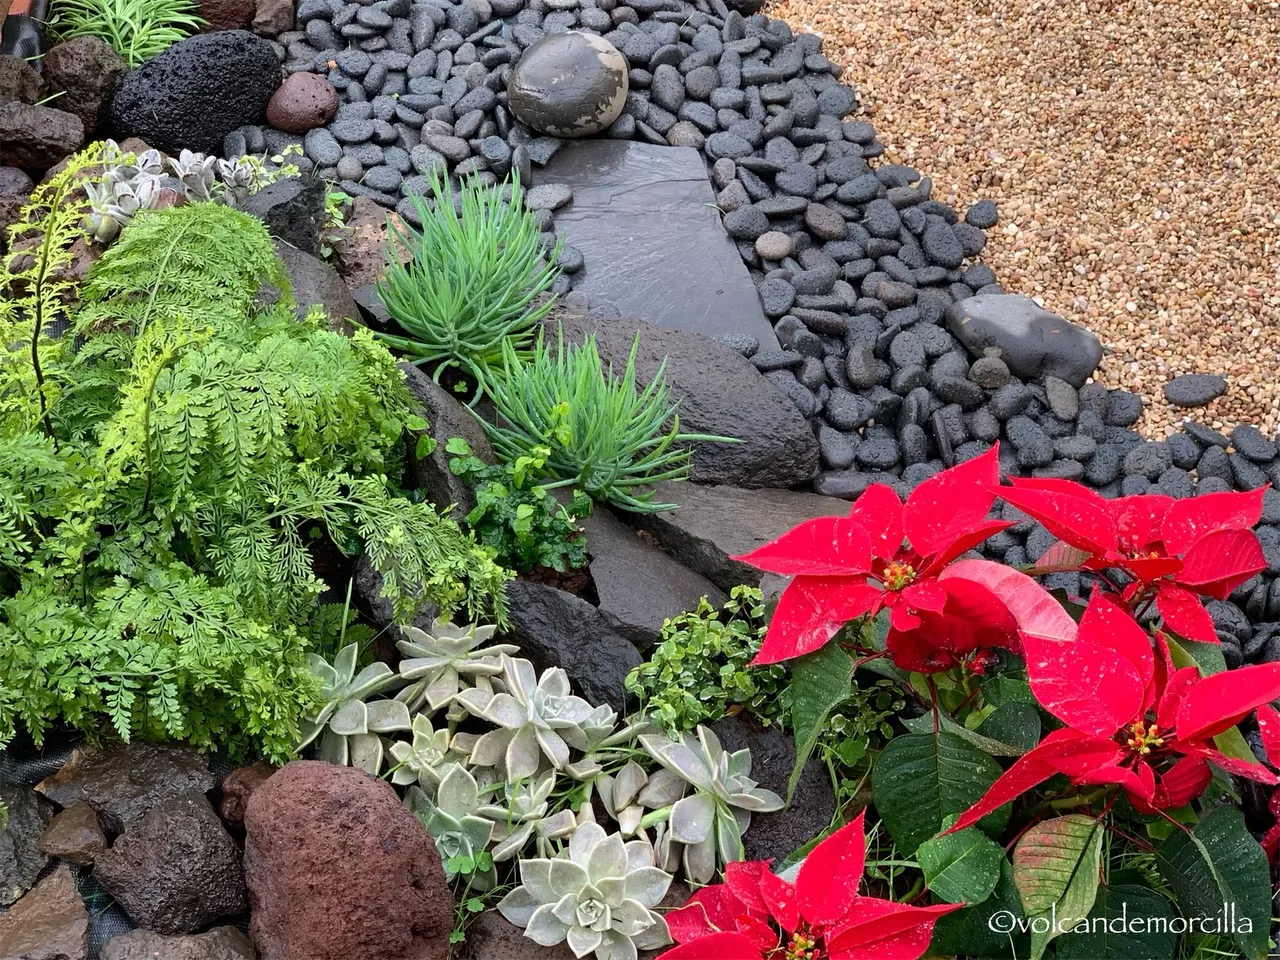
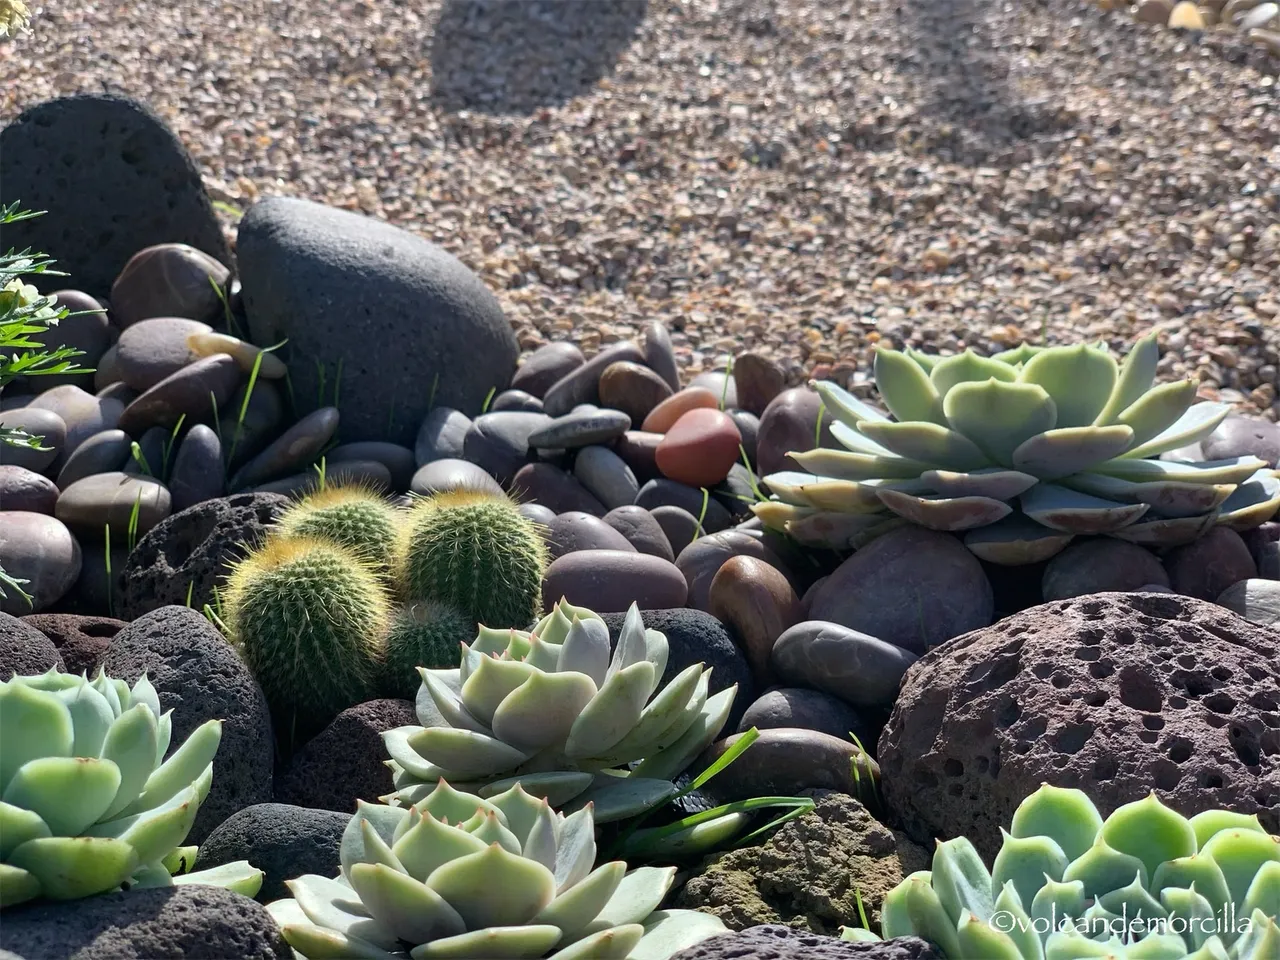
Así que cubrí la zona central con graba gruesa de pequeños cantos rodados que me pareció idónea y que, tal vez, me permitirá hacer dibujos superficiales. Puse el fieltro central para evitar que crecieran hierbas y sobre él la graba. Luego, comencé a plantar plantas suculentas, cactus y otras plantas.
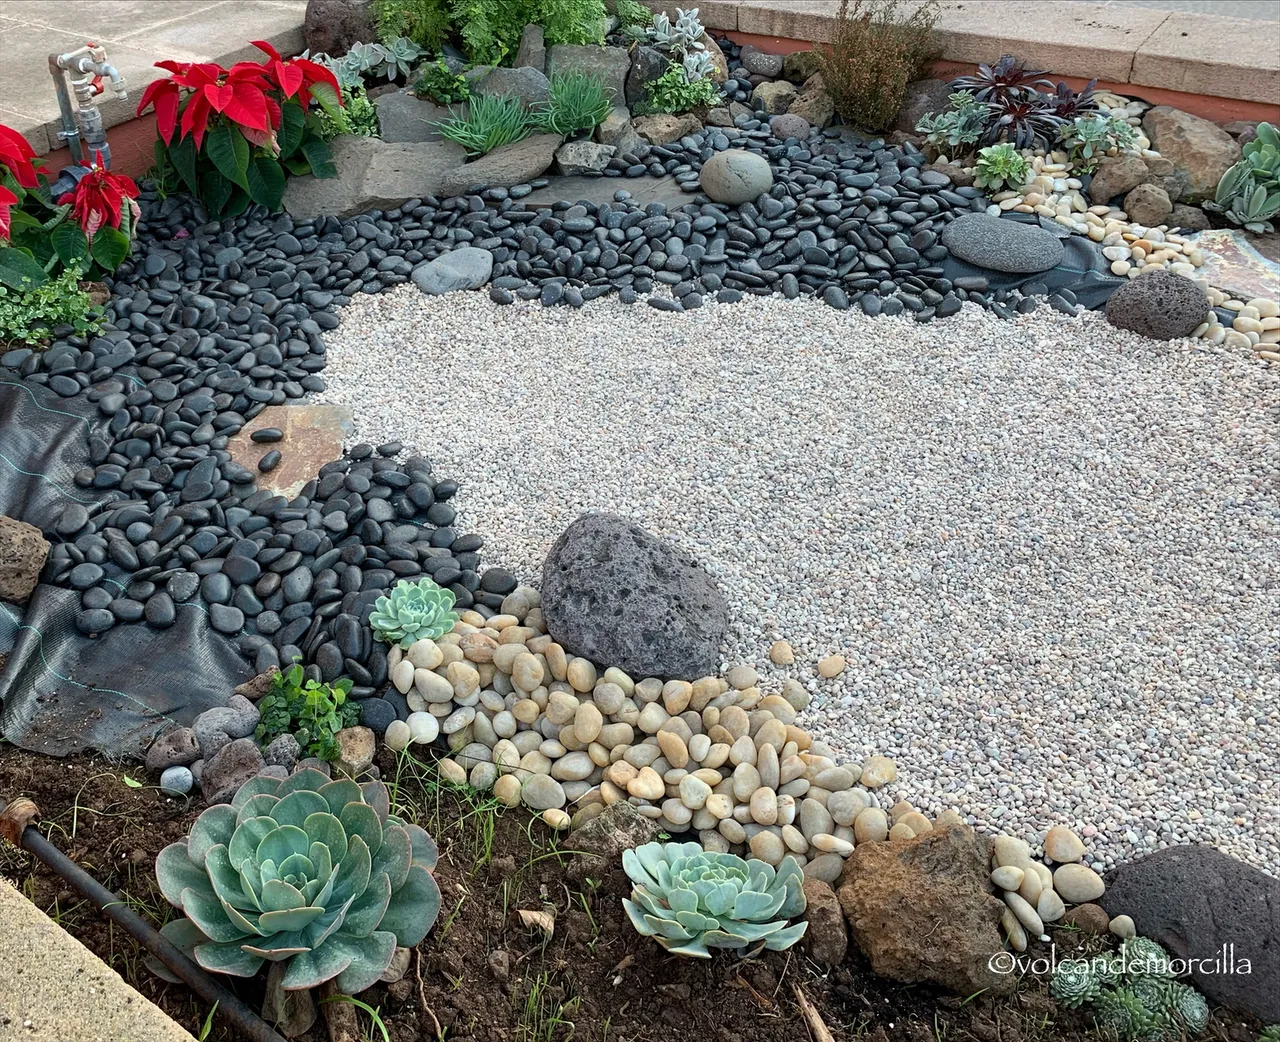
En los libros comprados aprendí que el jardín japonés se inspira en la naturaleza e intenta reproducirla en miniatura. En mi imaginación, la parte central de grava pálida sugiere el mar o el agua de un lago.
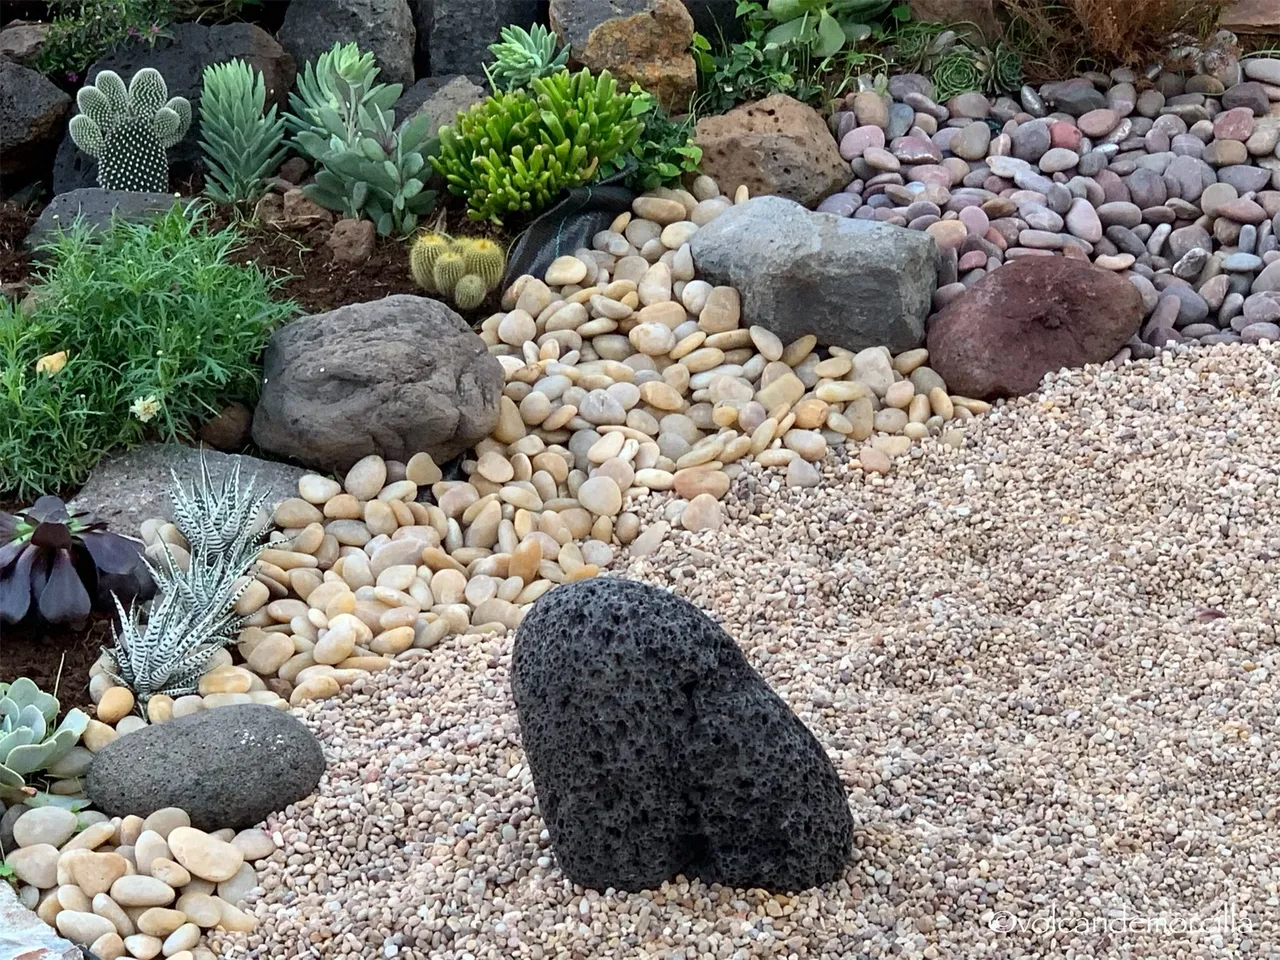
En el centro dispuse una piedra redonda volcánica erigida a modo de islote o escultura central.
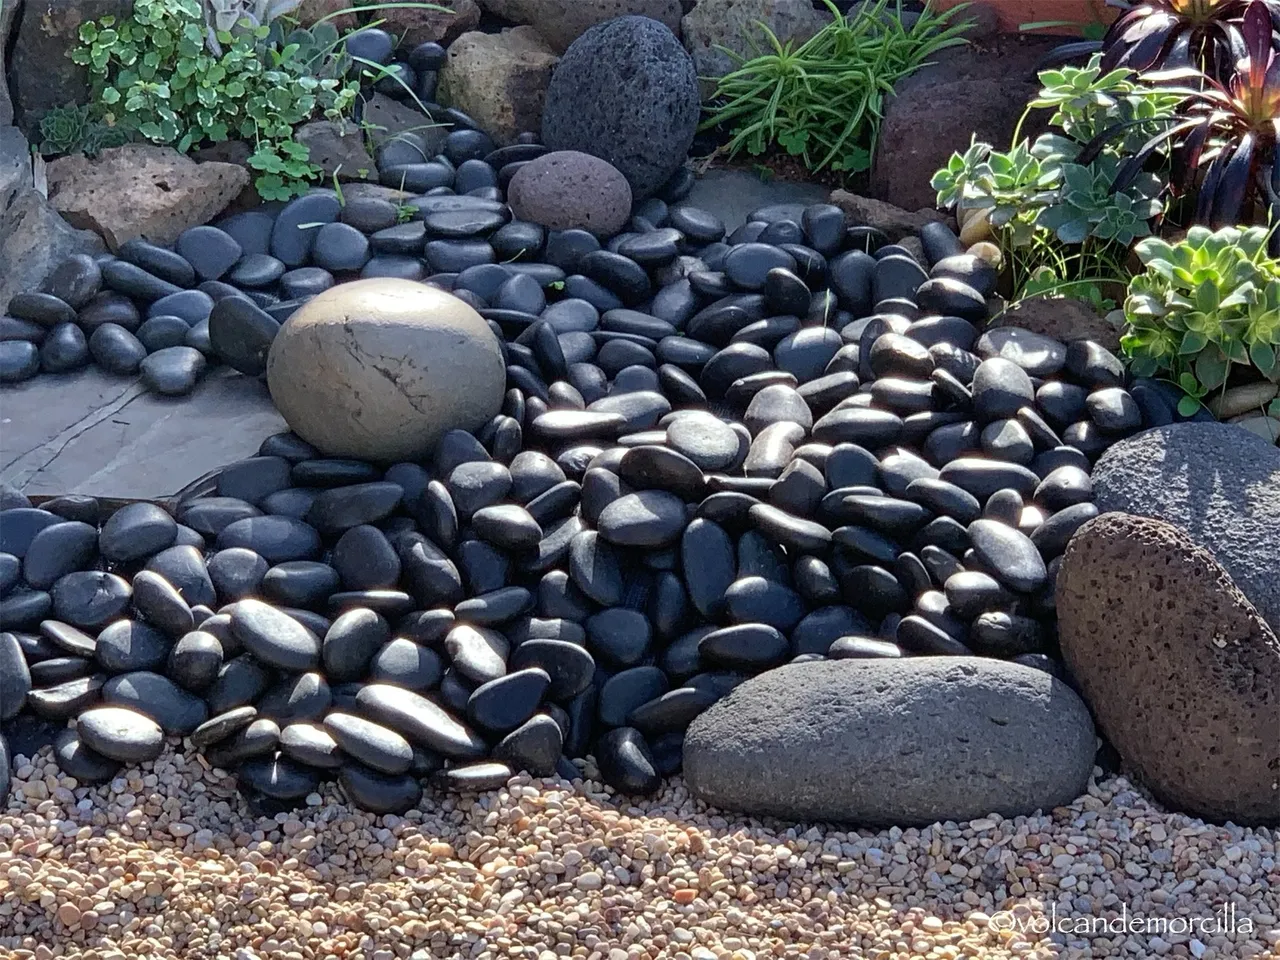
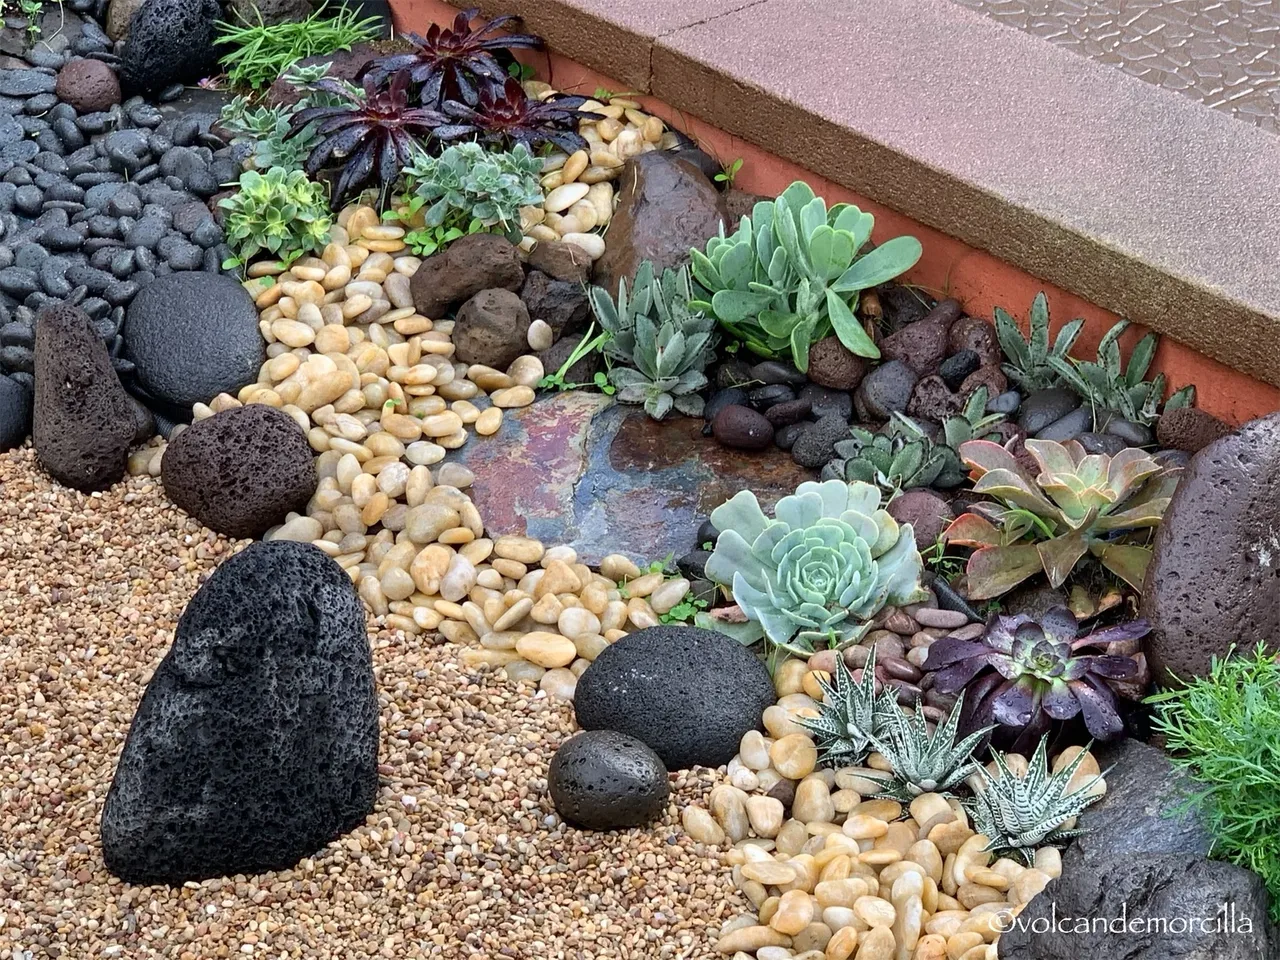
Después de muchas dificultades y de consultar con unos y otros encontré un lugar donde comprar piedras redondas pulidas. Tenía claro que quería conseguir unas de color negro brillante para simular las playas de cantos rodados oscuros que hay en Tenerife. En esta tienda también encontré otras piedras pulidas de color amarillo y rojo. Compré dos bolsas de 30 kilos de cada color.
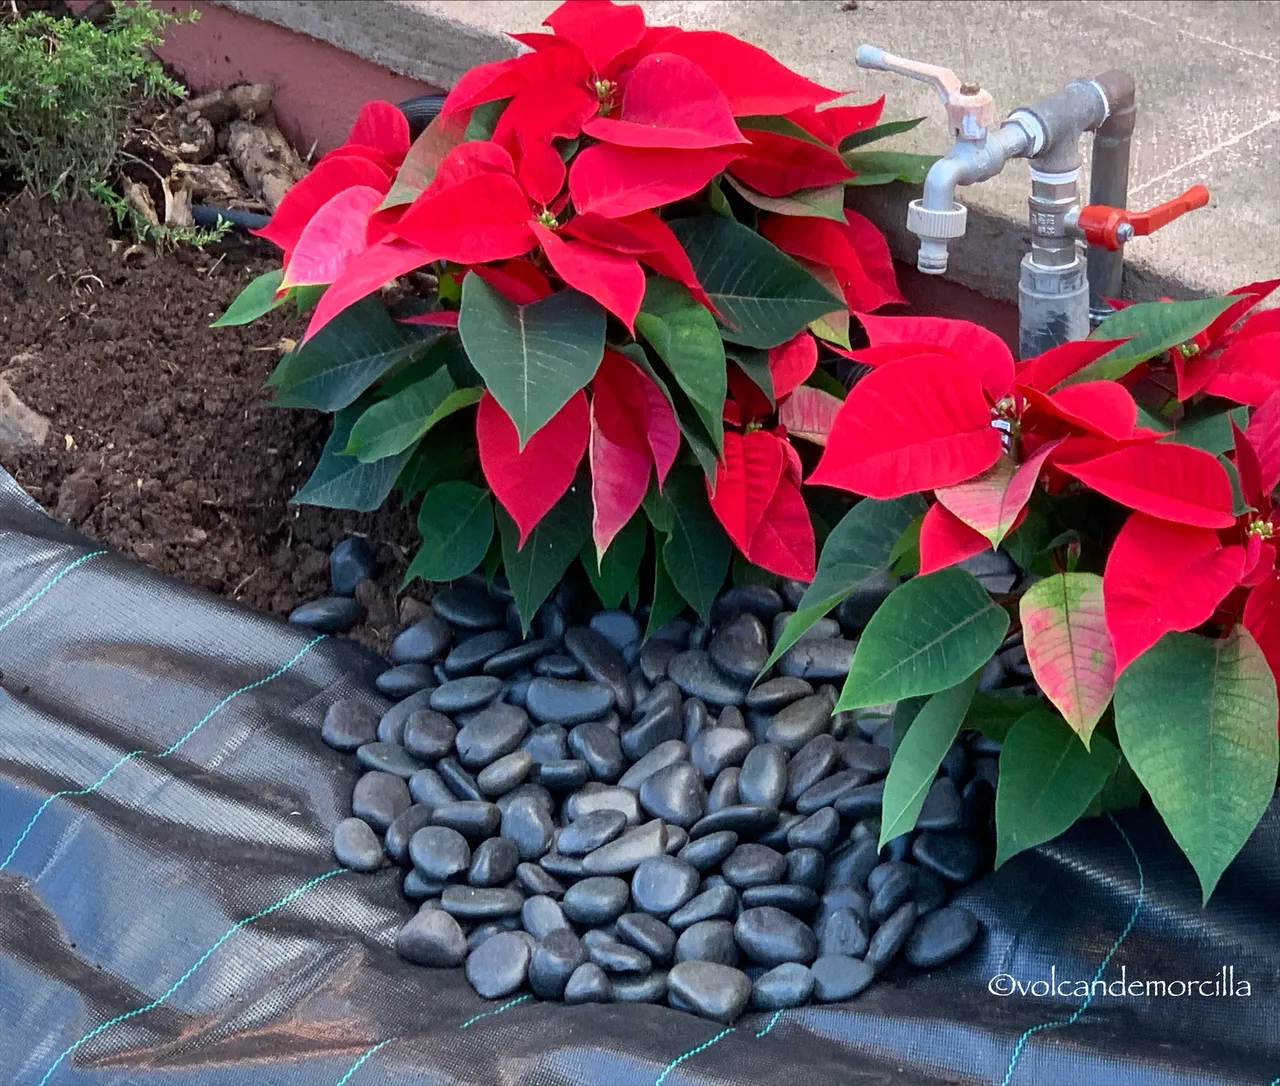
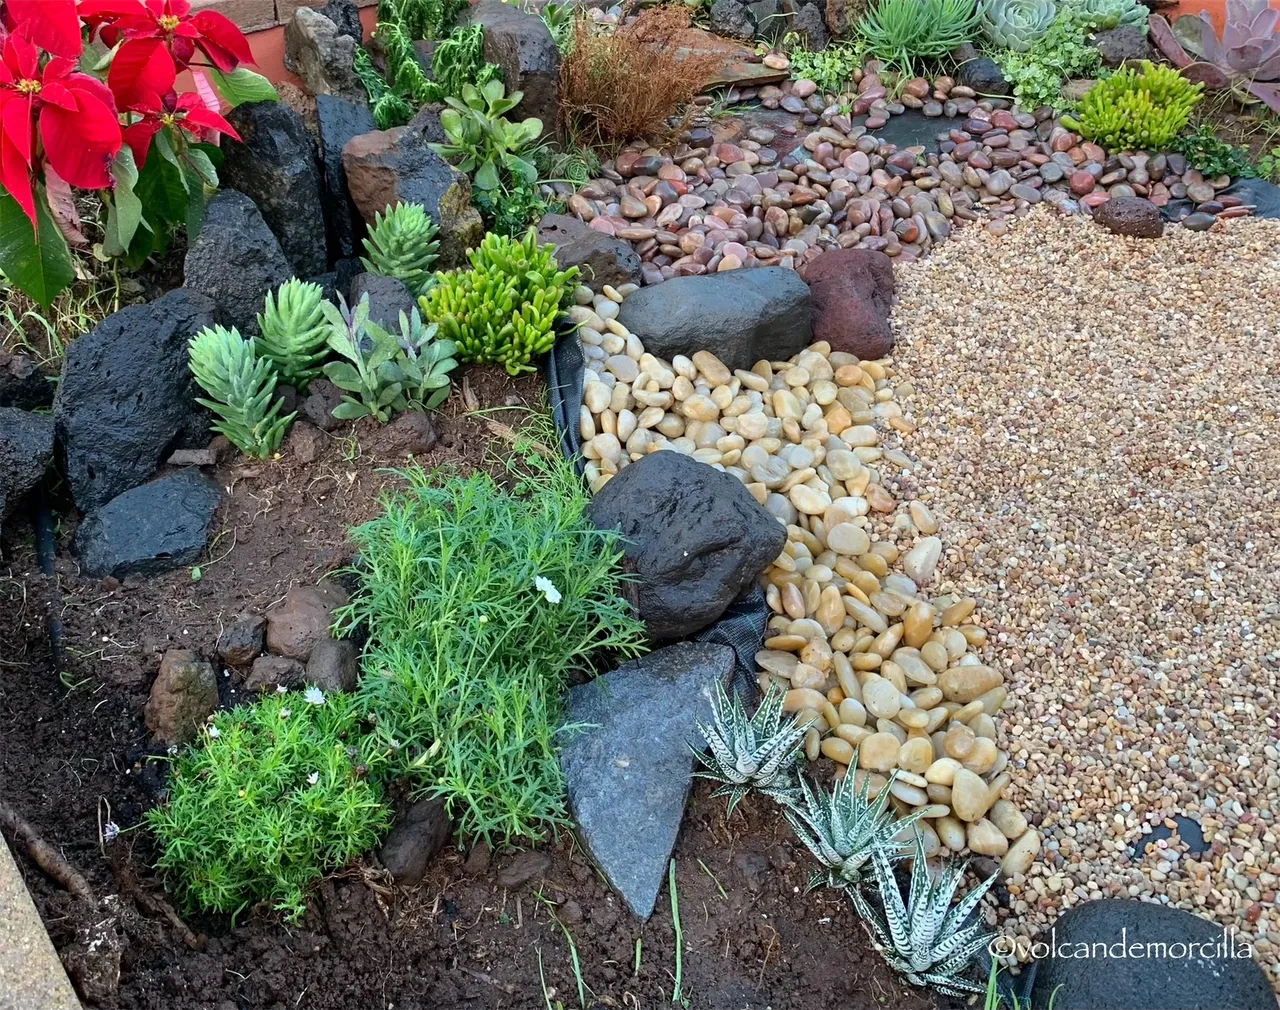
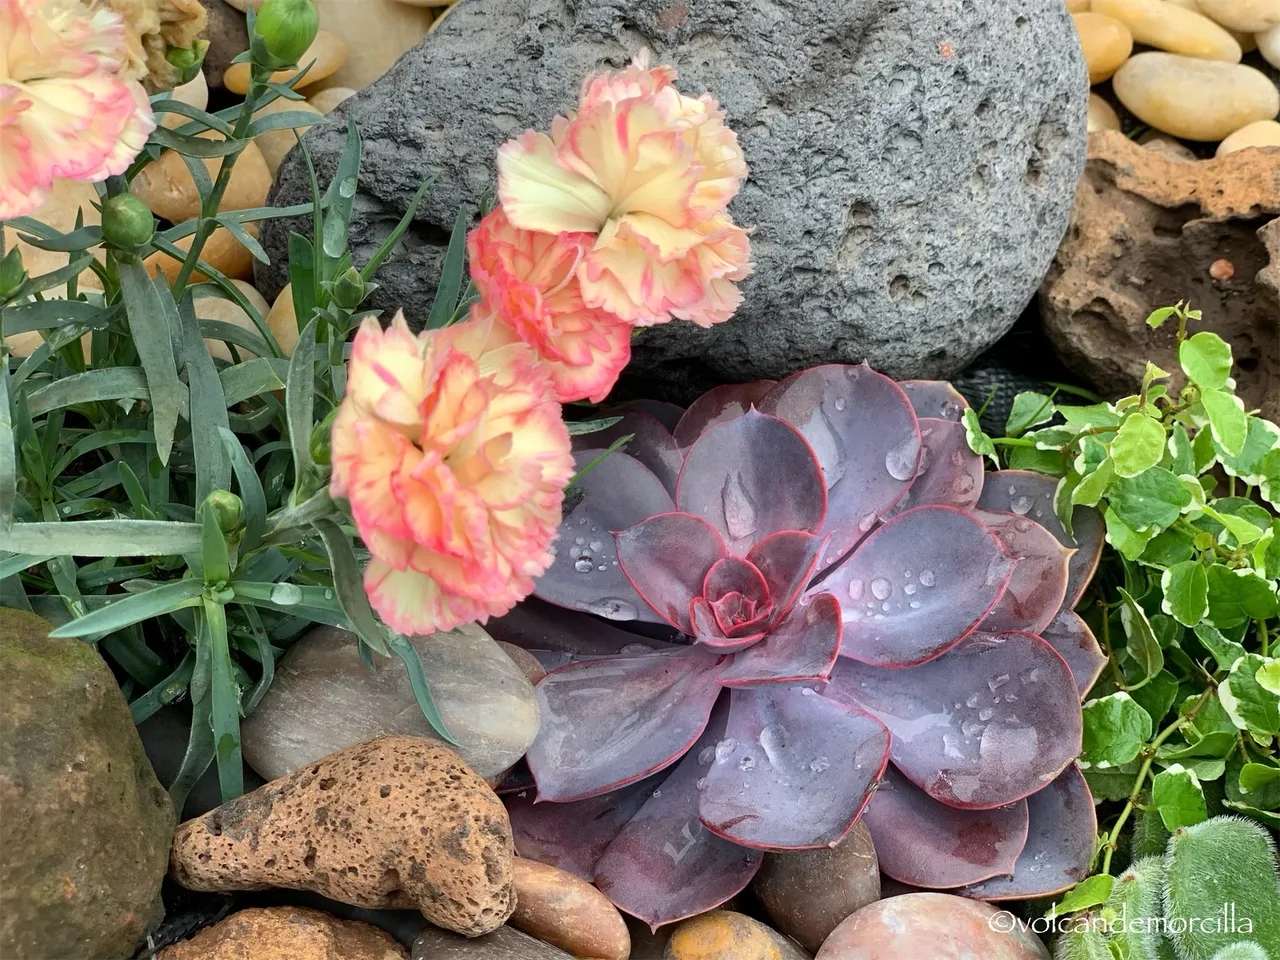
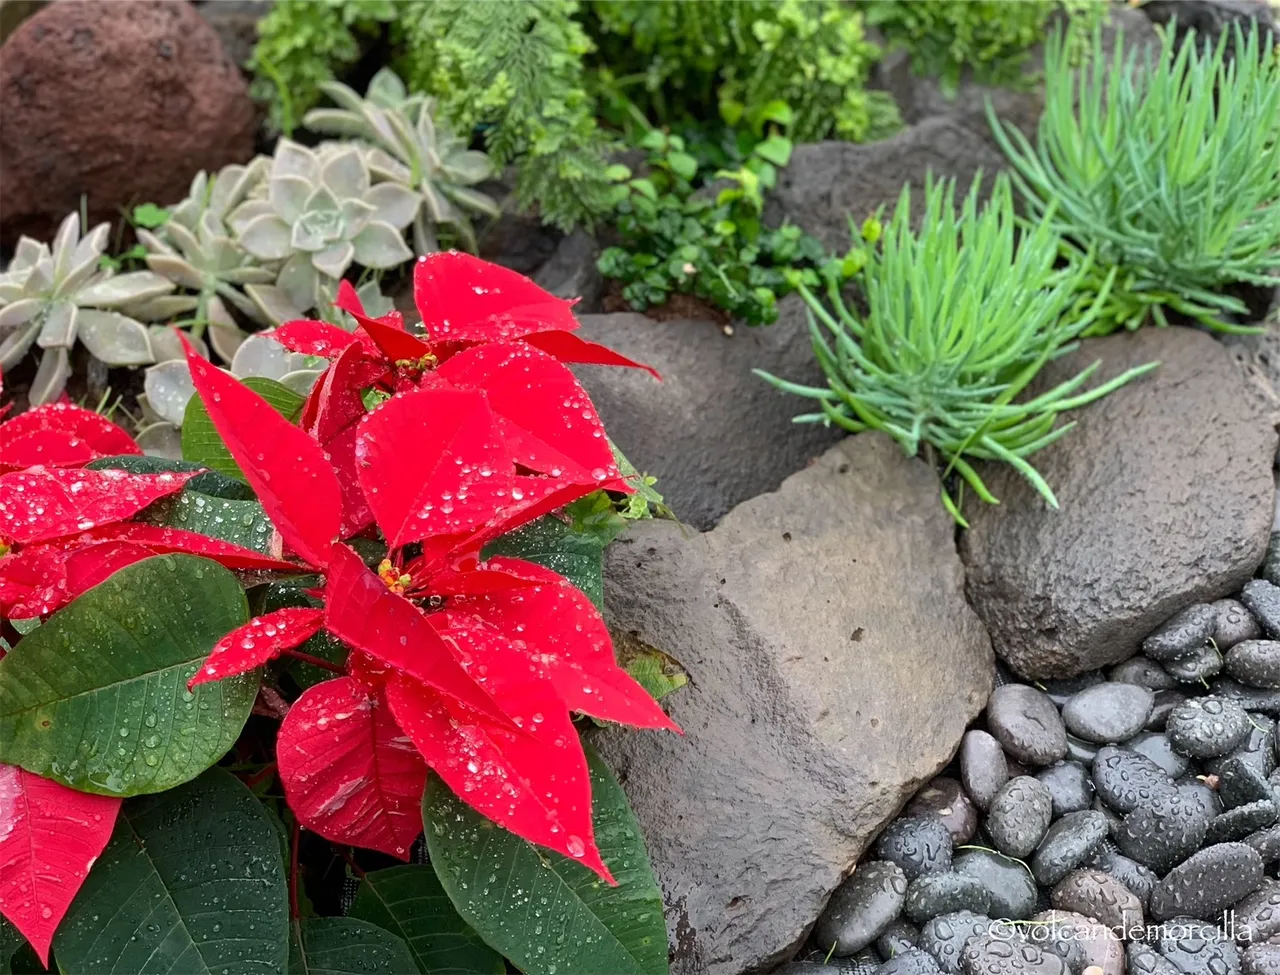
El grifo quiero ocultarlo con un bloque de margaritas pequeñas blancas pero todavía no he podido encontrarlas porque no es época. Así que, provisionalmente, lo he escondido con un par de flores de Pascua ya que es Navidad. Pero es una planta excesivamente colorida para ser la definitiva.
Los jardines japoneses auténticos intentan imitar a la naturaleza. Por eso, en una esquina quise recrear unos acantilados con una selva en su cima. Para ello empleé una serie de piedras de basalto agrupados en círculo y en su parte alta central planté un bonito helecho de “hoja perejil”.
Como el helecho quedó tan bonito y resistió muy bien los calores de los primeros días, decidí reproducir el mismo esquema en la otra esquina.
En un lado planeé reproducir un torrente seco o un barranco. Para ello, hice una parte escalonada con placas de pizarra de colores.
En otra de las esquinas quise formar una esfera vegetal. Para ello nada mejor que un boj. Compré uno pequeño porque los grandes son muy caros y, para darle volumen ahora, planté unas margaritas alrededor que iré quitando poco a poco según vaya creciendo el boj.
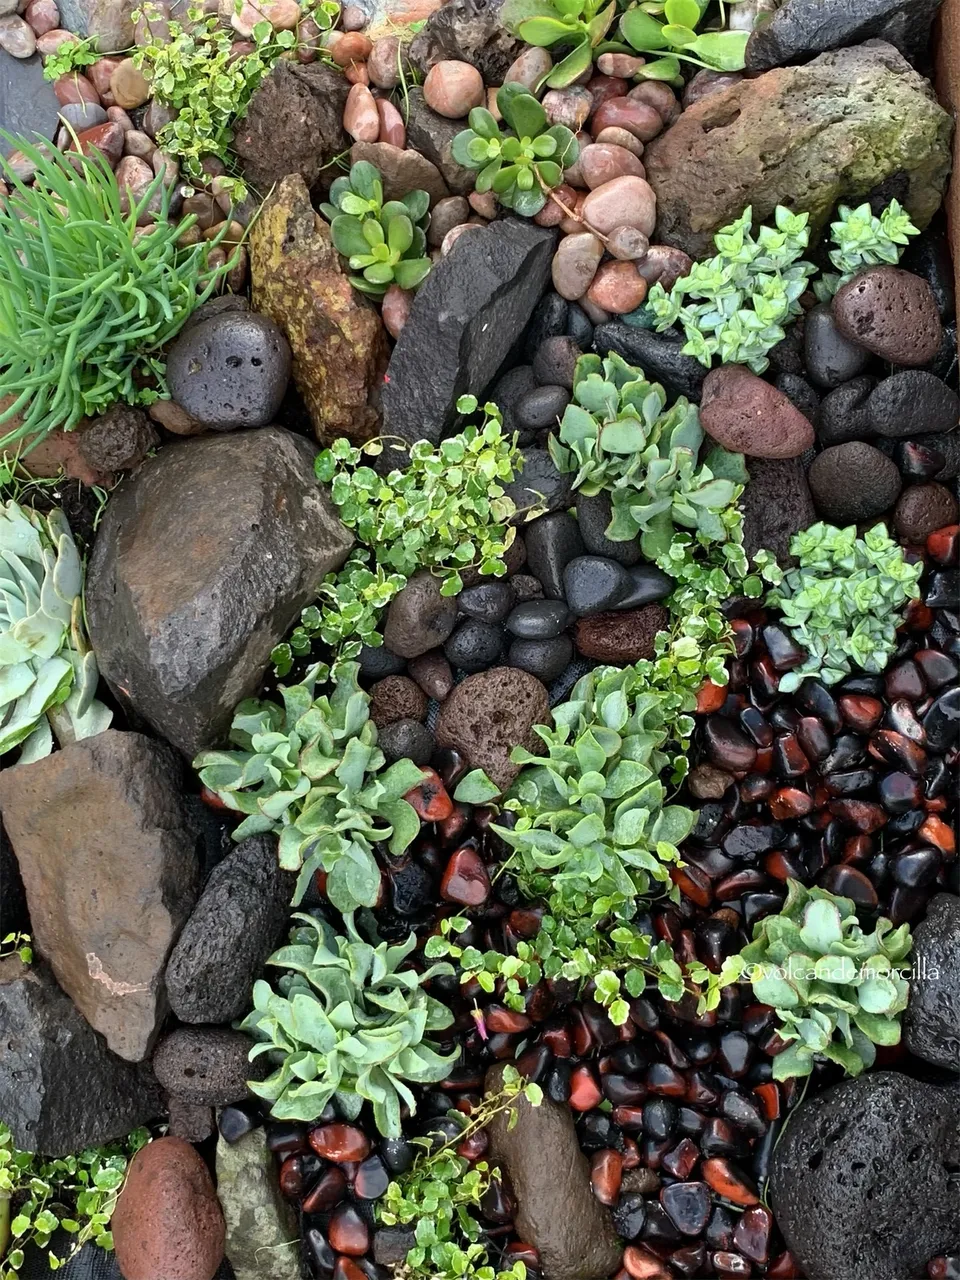
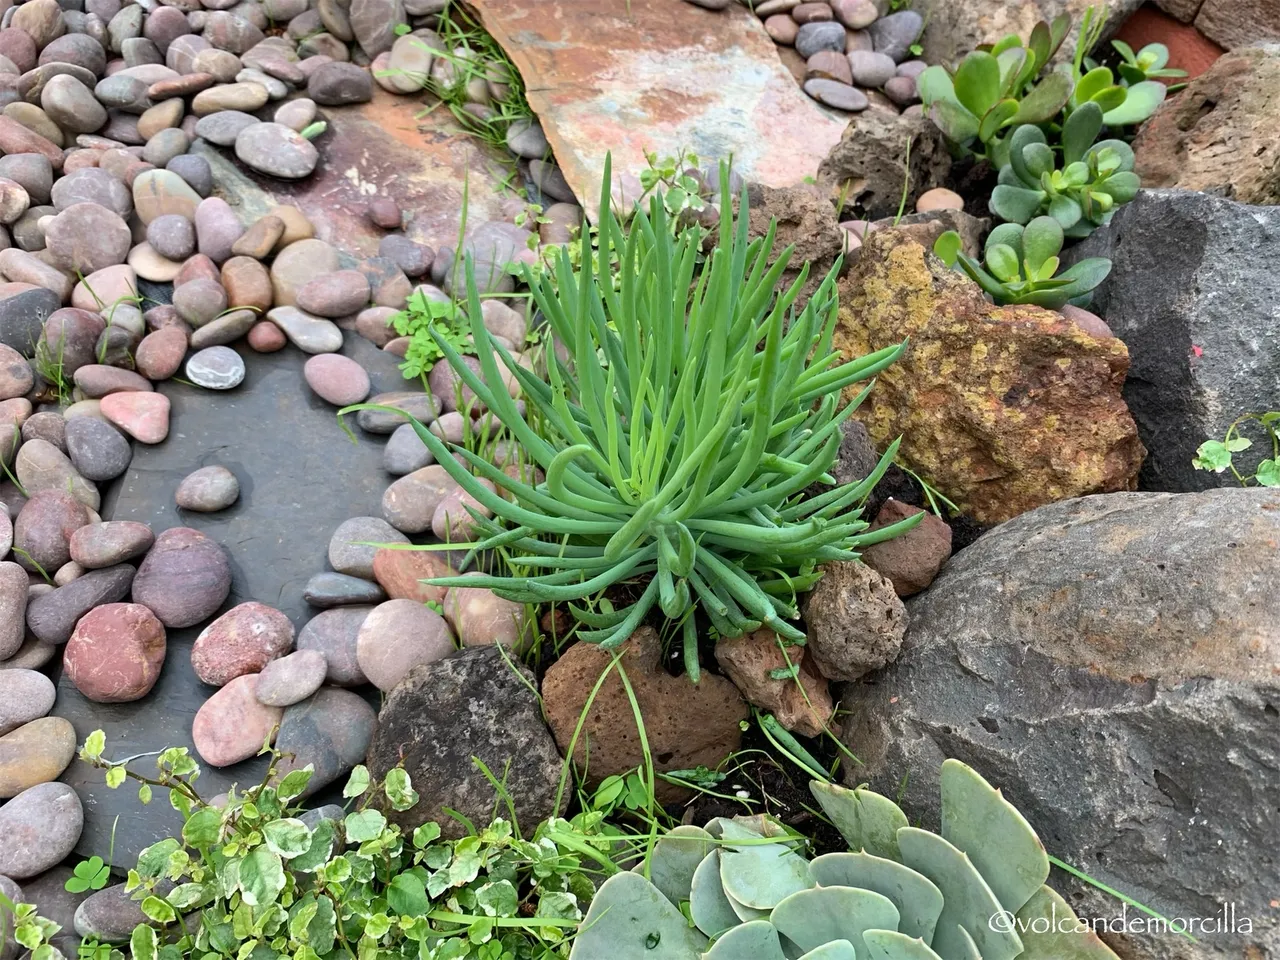
En la cuarta esquina planté varias plantas suculentas que tienen forma de cintas. Como tengo otras grandes, se que producirán una bola de un color verde más pálido que el boj. Son plantas poco exigentes. En su lecho puse unas piedras rojinegras que intentan remedar a la lava en fundición del cráter de un volcán.
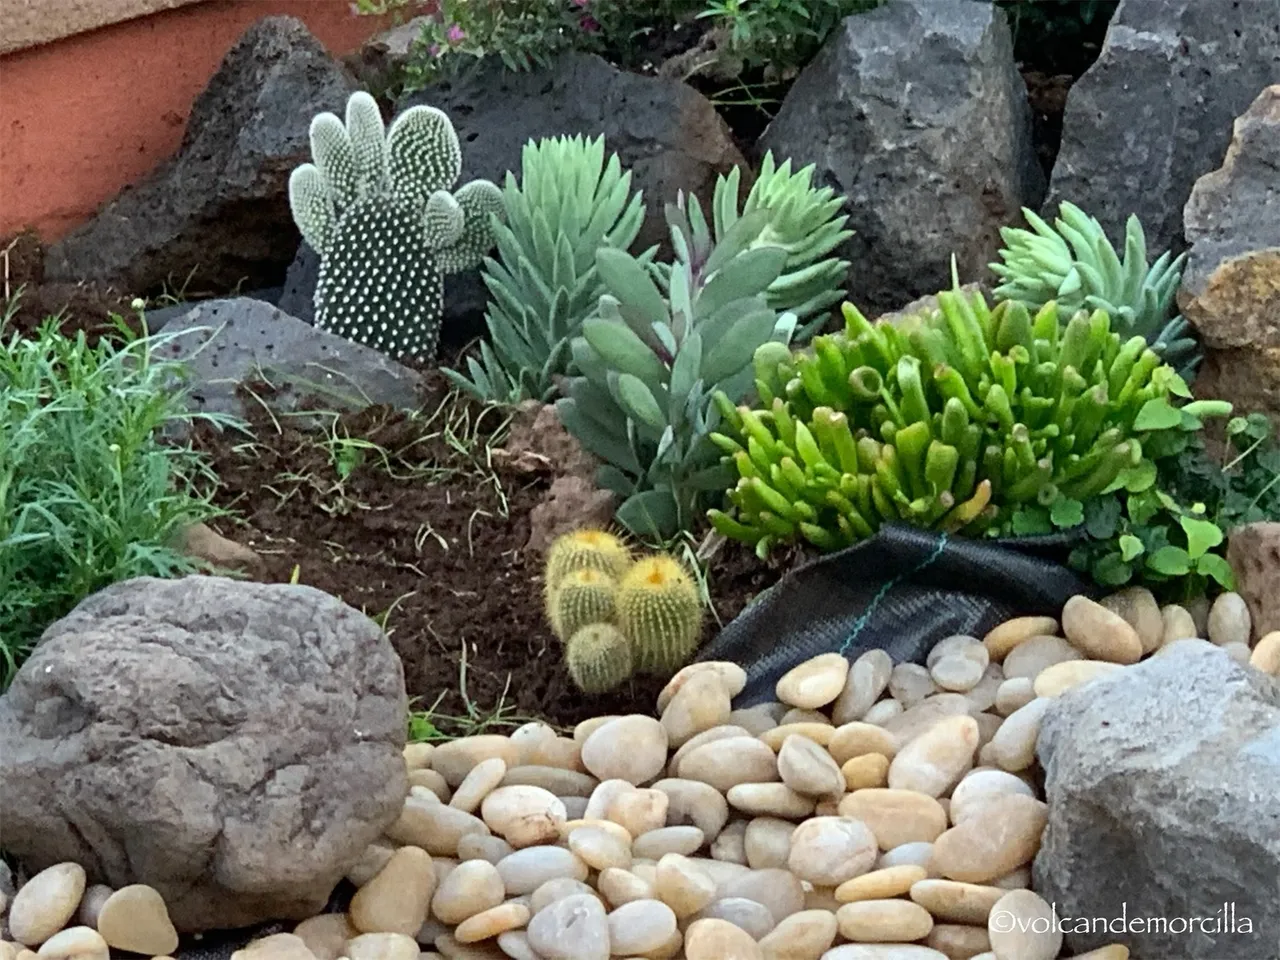
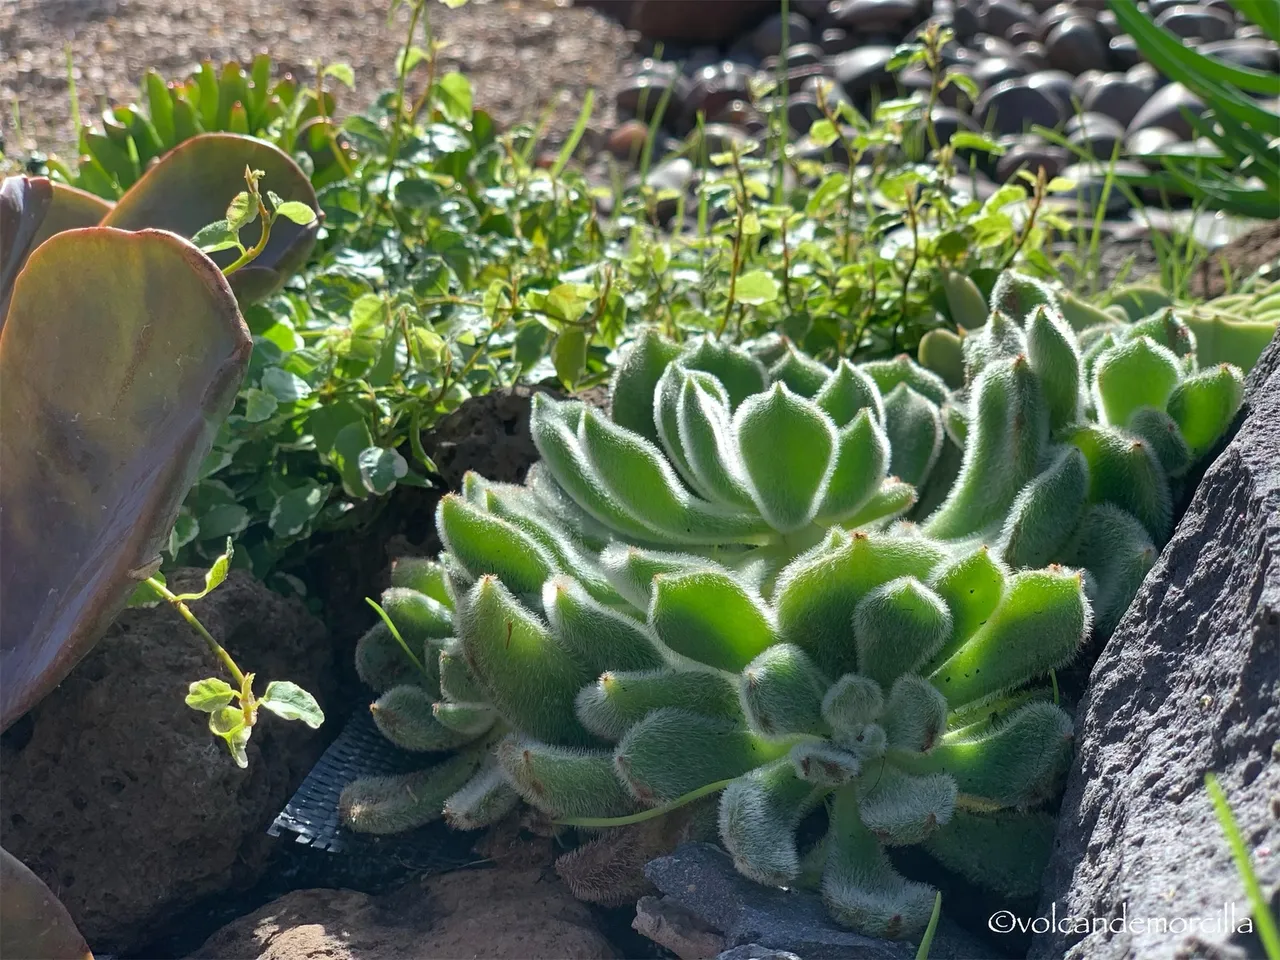
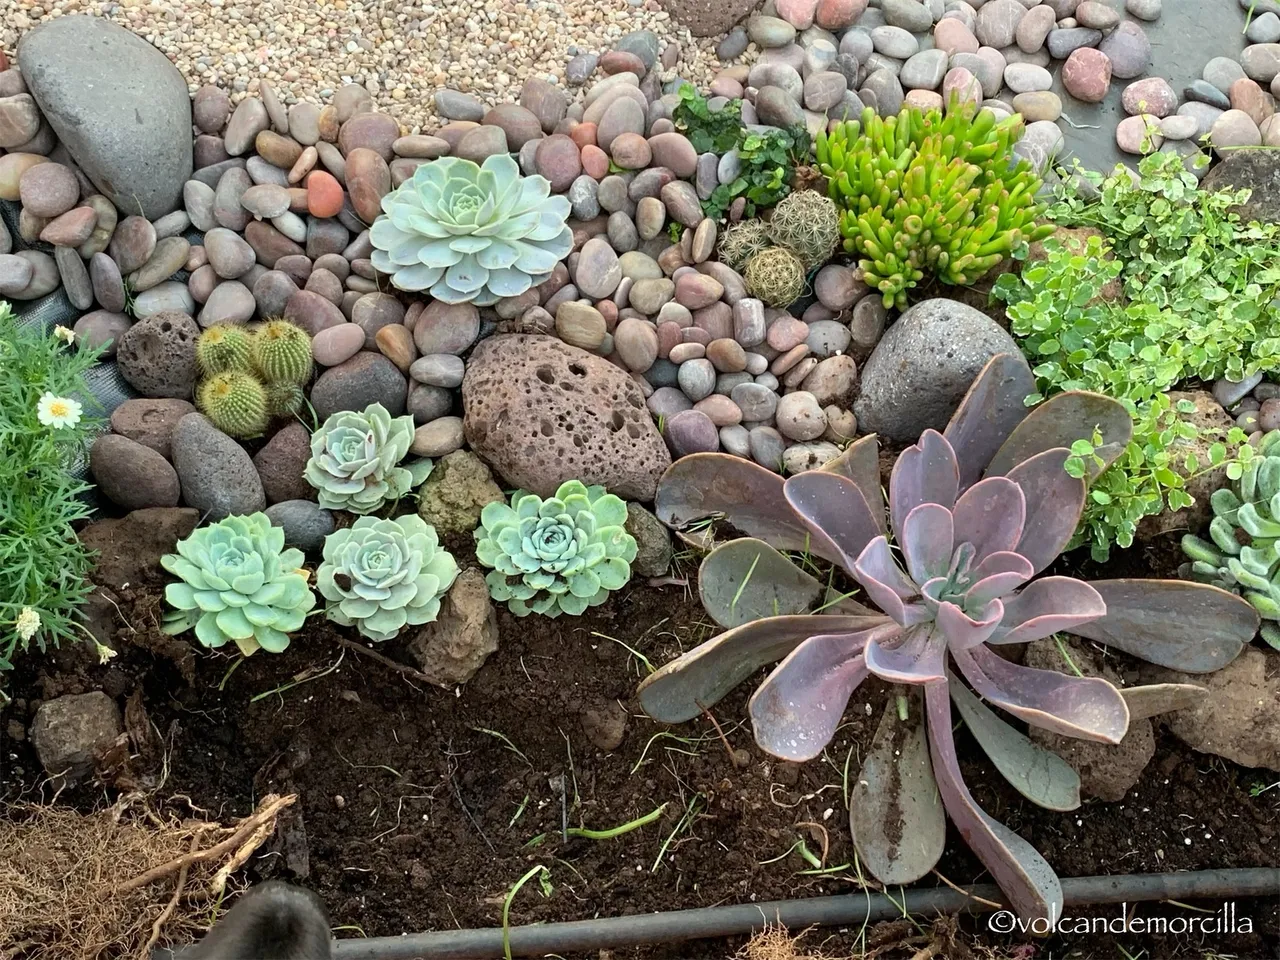
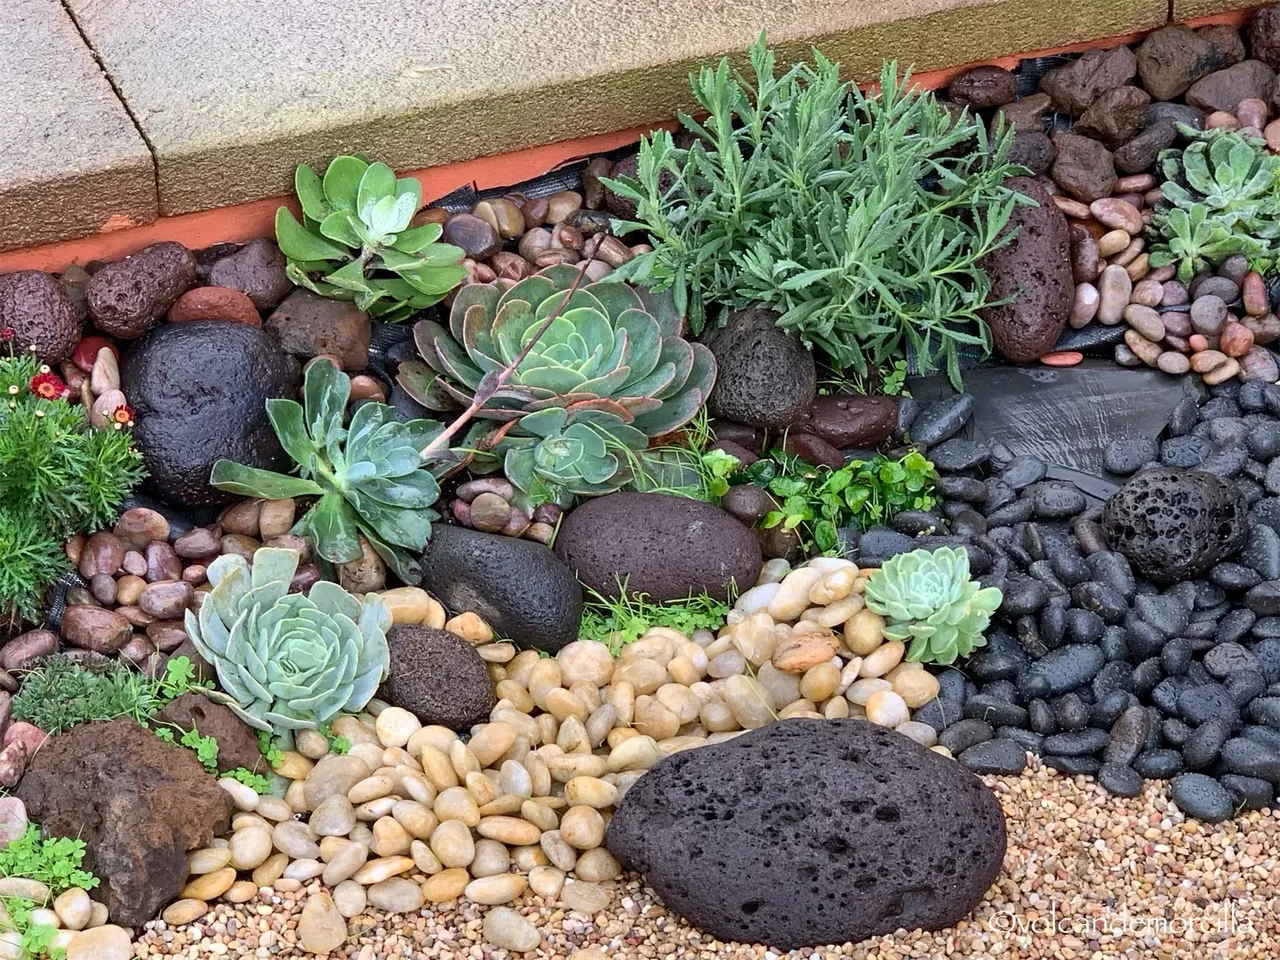
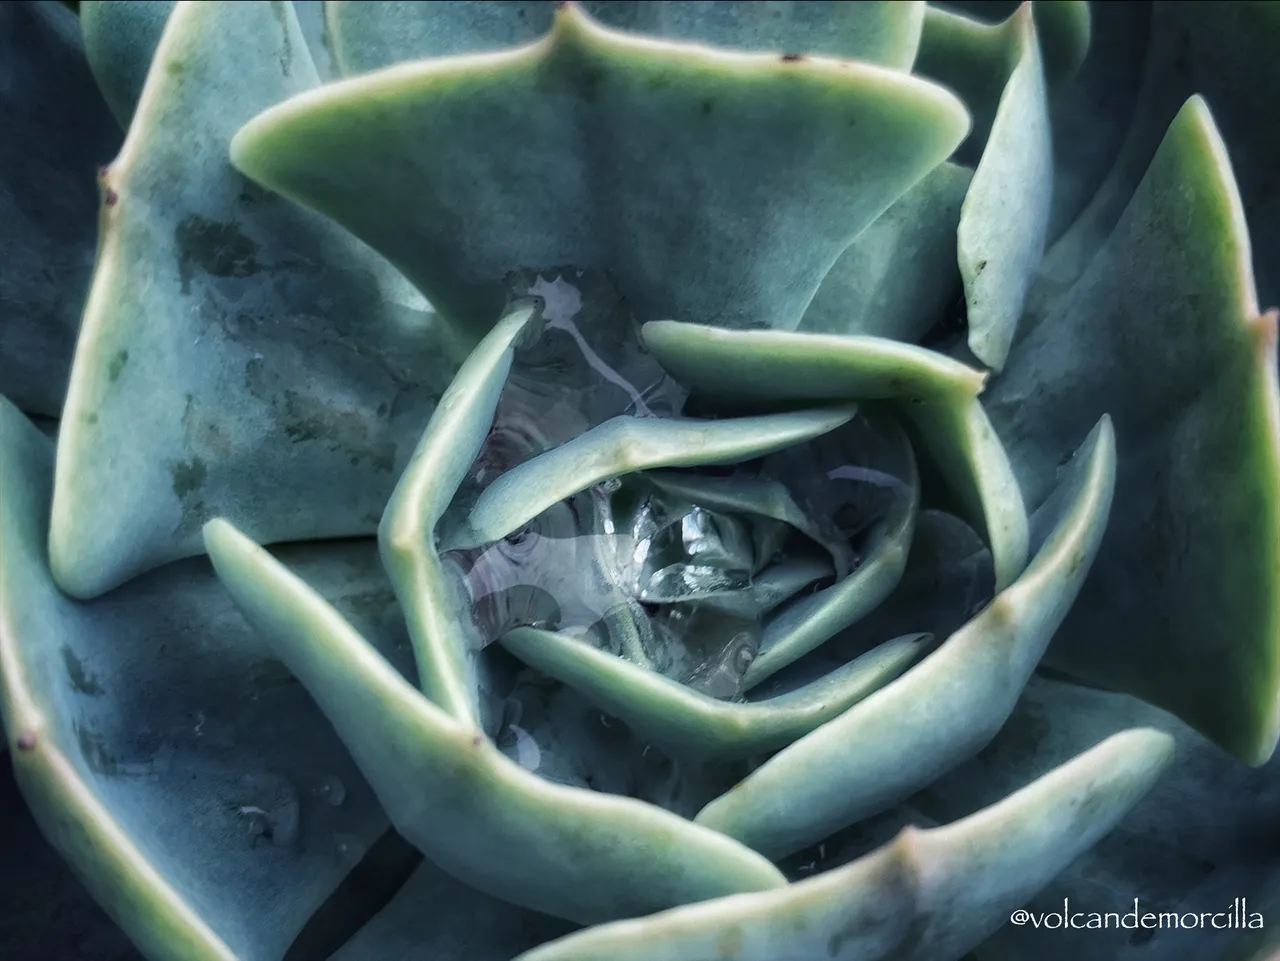
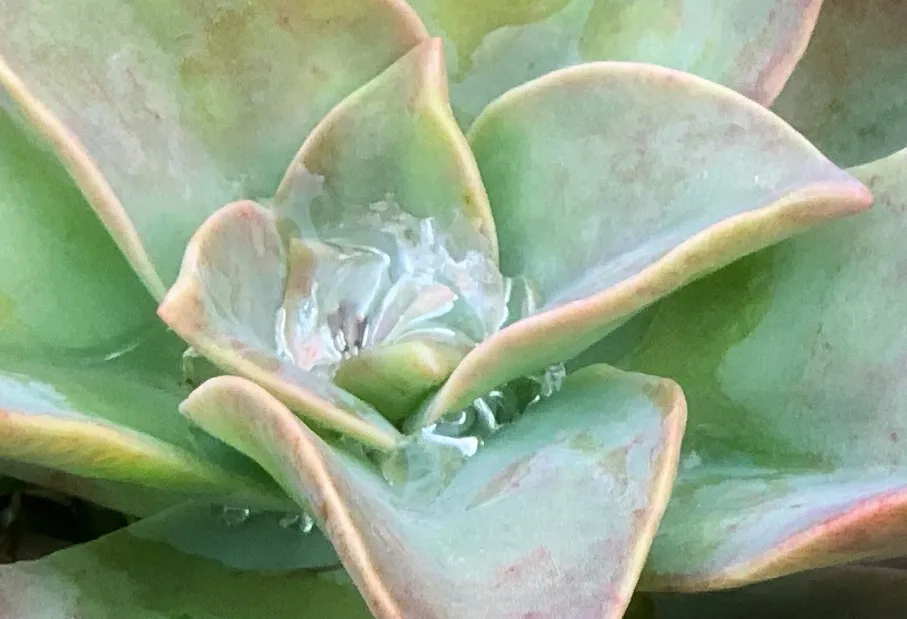
Para las laderas utilicé algunas plantas suculentas de diversos tamaños y colores. También puse algunos cactus pequeños. Todos ellos rodeados de piedras pulidas.
Poco a poco fui colocando las piedras y las plantas siempre teniendo mucho cuidado para encontrar el sitio más adecuado para cada una. La disposición de las piedras, dicen los nipones, debe ser formando triángulos y pirámides.
Una vez ubicadas cada cosa en su sitio, extendí trozos de fieltro alrededor de las plantas para evitar el crecimiento de hierbas y lo oculté con piedras.
En varias zonas puse lascas de pizarra planas para poder acceder Al centro y poderlo pisar y cuidar.
También tuve cuidado de cubrir con piedras los tubos de riego para ocultarlos y que no se vieran.

Finalmente, pinté el grifo de negro para que resaltará menos y también encontré un cuenco de cerámica para dejar correr el agua y producir su sonido relajante. El agua solo la abriré cuando vengan los amigos y quiera enseñarles el jardín. Quizás también la abra un rato cuando me apetezca disfrutar del jardín. El agua no se perderá, pues servirá para regar el jardín.
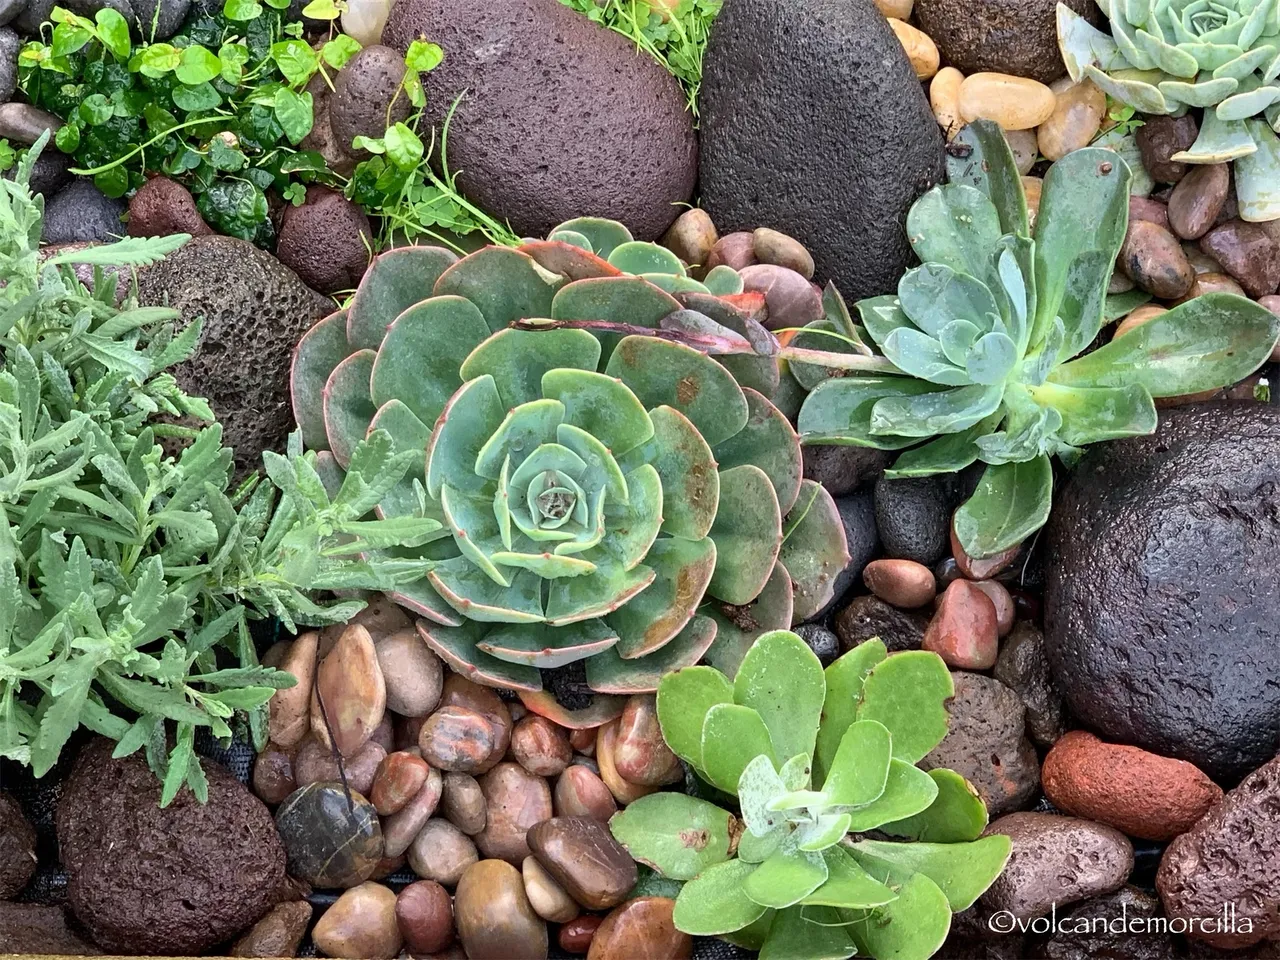
Un jardín japonés está diseñado para relajarse y disfrutar de los sentidos. Por eso, también introduje un poco de lavanda para disfrutar de su aroma limpio y fresco.
Al final, la construcción del jardín me ocasionó muchísimo más trabajo del que yo creía pero he pasado un buen rato haciéndolo poco a poco, meditándolo y disfrutándolo. Ahora, esperando que las formaciones vegetales vayan creciendo, voy cuidándolo y quitándole las hierbas que van apareciendo a pesar del fieltro y las piedras. Quizás en varios puntos tendré que reforzarlo. De todas formas, un jardín japonés no es muy exigente, no precisa de muchas atenciones y su cuidado es parte del entretenimiento...
How I made my Japanese garden.
The beauty of a Japanese garden lies in its sobriety, balance and harmony.
After some repairs due to a water leak, we decided to eliminate some Strelitzias that had become huge and filled the entire planter with roots.
Cutting the Strelitzias caused me a lot of pain because it was a plant that produced very beautiful flowers, but they had already grown very large and the roots caused damage to the pipes. In order not to be so upset, I decided to do something new, an interesting challenge.
The first thing was to get good advice and for this I bought a couple of books that gave me many ideas and from which I obtained a lot of information. In the end I have left a complete record of this bibliography. These books gave me a lot more information than I could get on the Internet. My idea was to make a garden well done, not just anything.
Once all the plants were eliminated, the first thing was to place the sprinkler irrigation.
Then I deepened the central part. My idea was that the center part would be more sunken and the sides would be sloping to extend the planting area. I did not want the garden to be all flat, but to have some slopes and terraces.
A Japanese garden, as a general rule, should be sober and well-ordered. For this it is very important to calculate it very well beforehand. So first of all I did my designs and, after many modifications, I came up with a general plan.
A Japanese garden is never very colorful. It is not beautiful for its flower clusters. Its beauty lies in the order and cleanliness. The Japanese garden must convey tranquility and harmony. The decorative elements are the stones, the water and the groups of vegetables.
In the end, after much hesitation, I did not put a pond in the center as I had originally planned. The water provided nice reflections but there was also the possibility that it produced the smell of standing water or was a breeding ground for mosquitoes.
So I covered the central area with a thick engraving of small pebbles that seemed ideal and which, perhaps, will allow me to make superficial drawings. I put the central felt to prevent herbs from growing and engrave it on it. Then, I started planting succulents, cacti, and other plants.
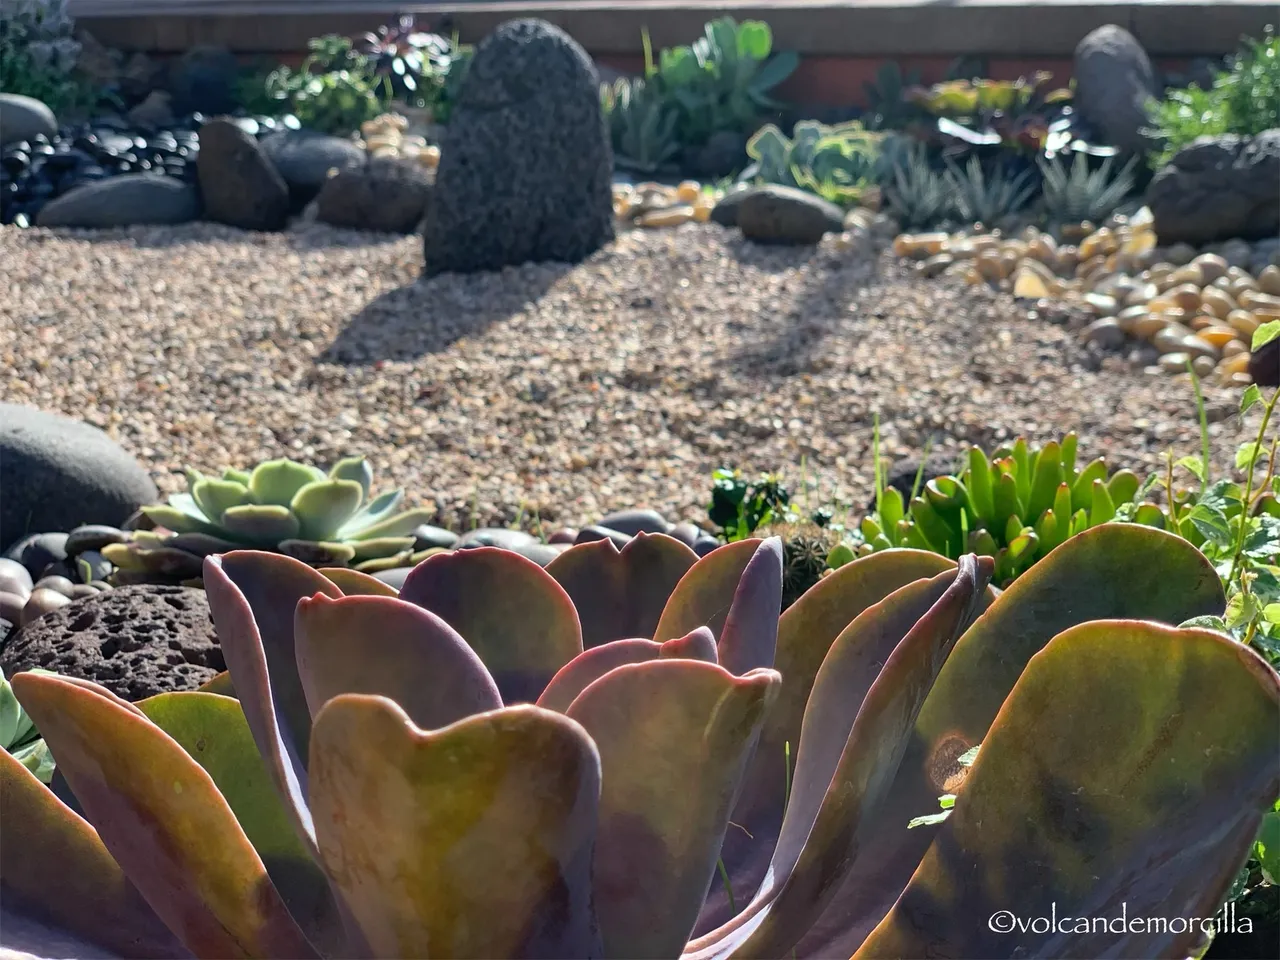
In the books bought I learned that the Japanese garden is inspired by nature and tries to reproduce it in miniature. In my imagination, the central part of pale gravel suggests the sea or the water of a lake.
In the center I arranged a round volcanic stone erected as an islet or central sculpture.
After many difficulties and consulting with each other, I found a place to buy polished round stones. It was clear to me that I wanted to get shiny black ones to simulate the dark pebble beaches in Tenerife. In this store I also found other yellow and red polished stones. I bought two bags of 30 kilos of each color.
I want to hide the tap with a block of small white daisies but I have not been able to find them yet because it is not the time. So tentatively I've hidden it with a couple of poinsettias since it's Christmas. But it is an excessively colorful plant to be the definitive one.
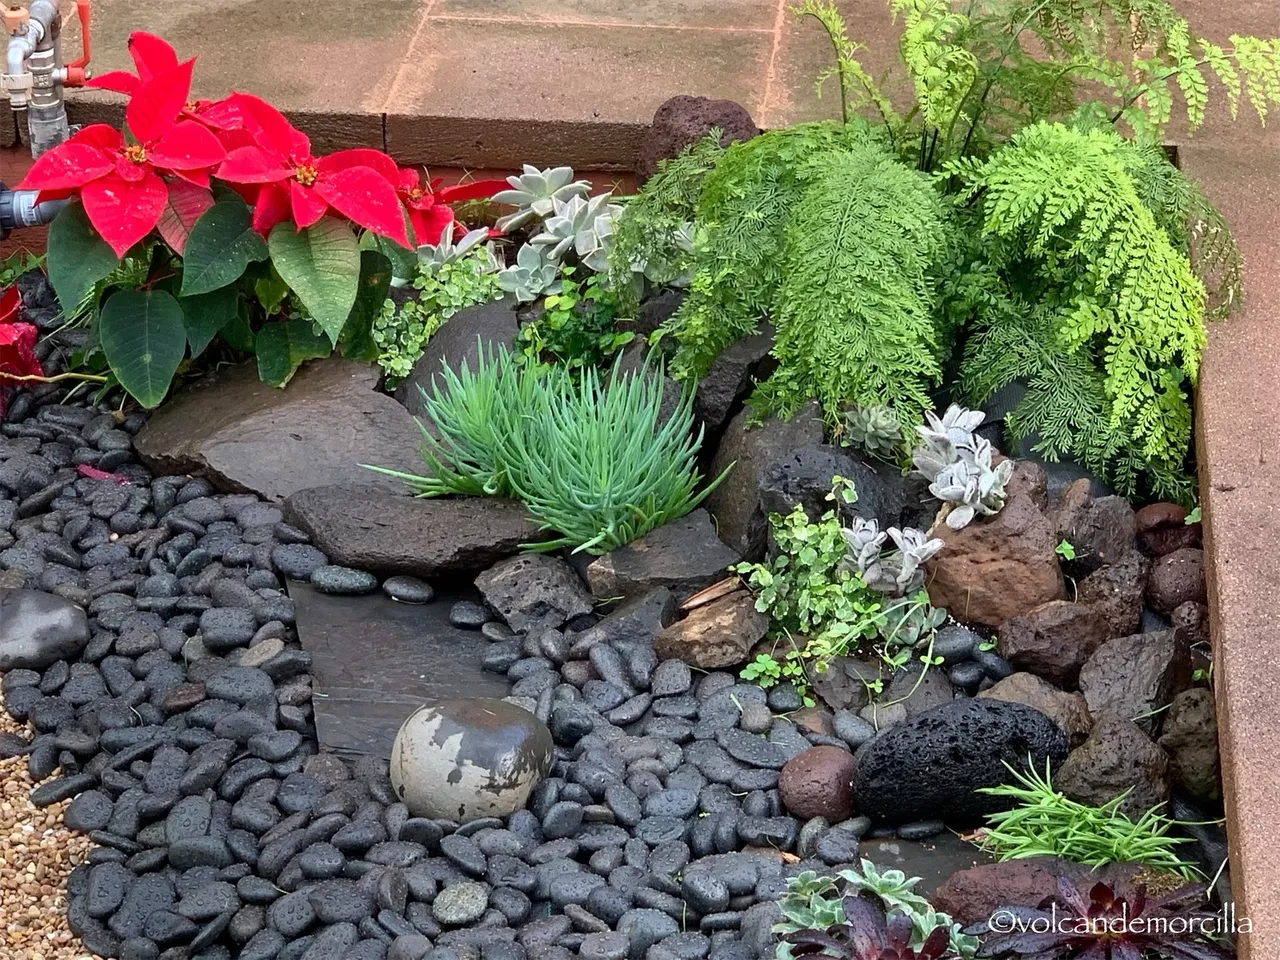
Authentic Japanese gardens try to imitate nature. So in one corner I wanted to recreate some cliffs with a jungle on top. For this I used a series of basalt stones grouped in a circle and in its upper central part I planted a beautiful “parsley leaf” fern.
As the fern was so beautiful and withstood the heats of the first days very well, I decided to reproduce the same pattern in the other corner.
On one side I planned to reproduce a dry torrent or ravine. To do this, I made a stepped part with colored slate plates.
In another corner I wanted to form a vegetal sphere. For this, nothing better than a boxwood. I bought a small one because the large ones are very expensive and, to give it volume now, I planted some daisies around it that I will gradually remove as the box grows.
In the fourth corner I planted several succulent plants that are shaped like ribbons. Since I have other large ones, I know that they will produce a ball of a paler green color than boxwood. They are undemanding plants. In its bed I put some red-black stones that try to mimic the molten lava of a volcano crater.
For the slopes I used some succulents of various sizes and colors. I also put in some small cacti. All of them surrounded by polished stones.
Little by little I was placing the stones and plants, always taking great care to find the most suitable place for each one. The arrangement of the stones, say the Japanese, must be in triangles and pyramids.
Once everything was in place, I spread pieces of felt around the plants to prevent the growth of herbs and hid it with stones.
In several areas I put flat slate chips to be able to access the center and be able to step on it and take care of it.
I was also careful to cover the irrigation pipes with stones to hide them from being seen.
Finally, I painted the faucet black so that it will stand out less and I also found a ceramic bowl to run the water and produce its soothing sound. I will only open the water when friends come and I want to show them the garden. Maybe I will also open it for a while when I feel like enjoying the garden. The water will not be lost, as it will be used to water the garden.
A Japanese garden is designed to relax and enjoy the senses. So I also added a little lavender to enjoy its clean and fresh scent.
In the end, the construction of the garden caused me a lot more work than I thought but I have had a good time doing it little by little, meditating and enjoying it. Now, waiting for the plant formations to grow, I take care of it and remove the herbs that appear despite the felt and stones. Perhaps at various points I will have to reinforce it. In any case, a Japanese garden is not very demanding, it does not require much attention and its care is part of the entertainment ...

Bibliografía/Reference
Kawaguchi Y. (2016). Authentic Japanese Gardens: Creating Japanese Design and Detail in the Wester Garden. Singapur. Lifestyle books.
Boudassou B (2016). Pequeños jardines zen. Barcelona. Larousse.

Cómo lo hago
Hice las fotografías con mi iPhone X. Para la edición utilicé la aplicación Snapseed y para la firma digital usé la App Watermark. Para unir varias fotos en una sola empiece el programa PhotoGrid.
Los dibujos los hice en el iPad con el programa Sketches.
For the photography I use my iPhone X. For edition I use the Snapseed application and for the digital signature the Watermark app. To join several photos into one, start the PhotoGrid program.
Everything I did on my mobile phone, I did not use the computer at all.
For the drawings, I use the Sketches program and paint them on the tablet.
Si quieres ver como lo hago, visualiza estos tres enlaces de publicaciones previas.
If you want to see how I do it, visualize these three links from previous publications.


Las fotos son mías y originales. También, soy el autor del dibujo separador.
¡Espero tus comentarios!
The photos are originals and mine. Also, I am the author of the separator drawing.
I await your comments.
Buen Camino!