
Hola, amigos de la comunidad de #Hive. Es un gusto para mí saludarles. Espero se encuentren bien. Gracias a Dios, a pesar de los dolores por causa de la artritis, estoy bien. Con mucho ánimo al presentarles esta creación que he podido realizar.
Hoy les traigo una hermosa base desechable para tortas o para la presentación de otros dulces. Los materiales probablemente los tengas en casa.
Hello, friends of the #Hive community. It is my pleasure to greet you. I hope you are doing well. Thank goodness, despite the pain due to arthritis, I am doing well. In high spirits as I present to you this creation that I was able to make.
Today I bring you a beautiful disposable base for cakes or for the presentation of other sweets. You probably have the materials at home.
MATERIALES
1 trozo de cartón de caja de 30cm por 30cm
1 trozo de cartulina metalizada de 30cm por 30cm (el color que desees)
Silicón caliente
Silicón frío
Tijera
Cutter
MATERIALS
1 piece of cardboard box of 30cm by 30cm
1 piece of metallic cardboard 30cm by 30cm (the color of your choice)
Hot glue
Cold silicone
Scissors
Cutter
ELABORACIÓN
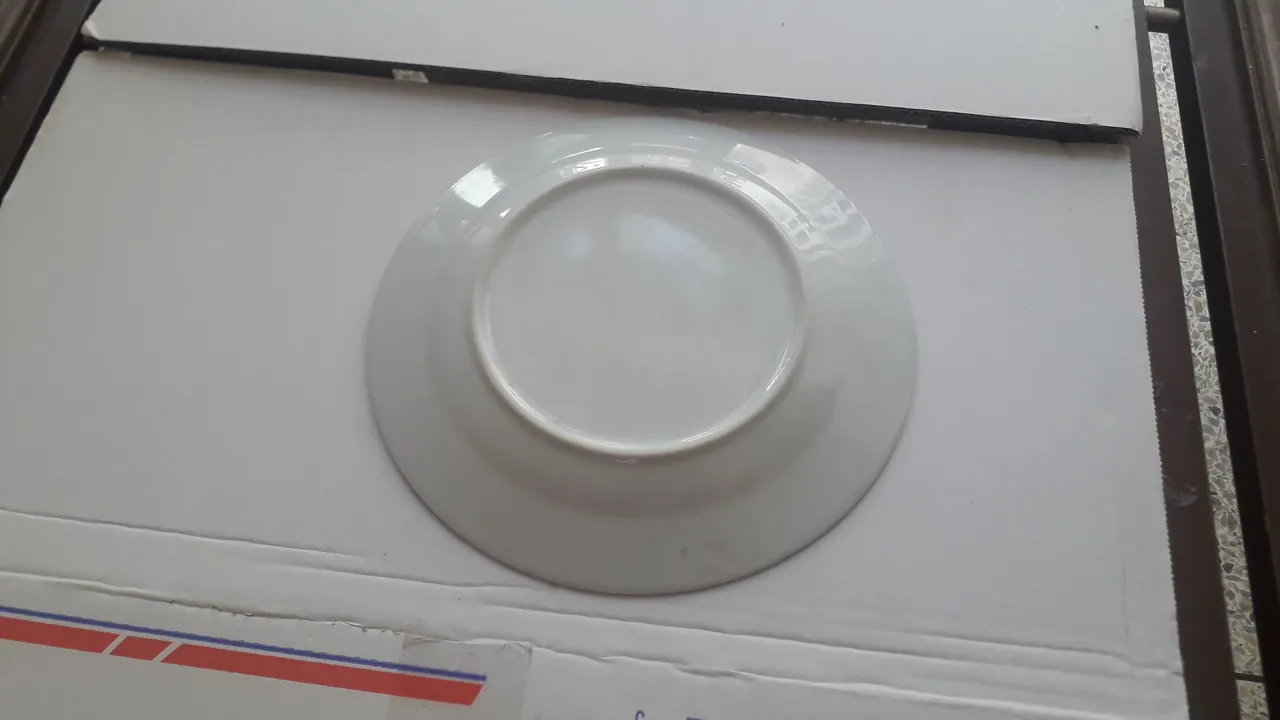
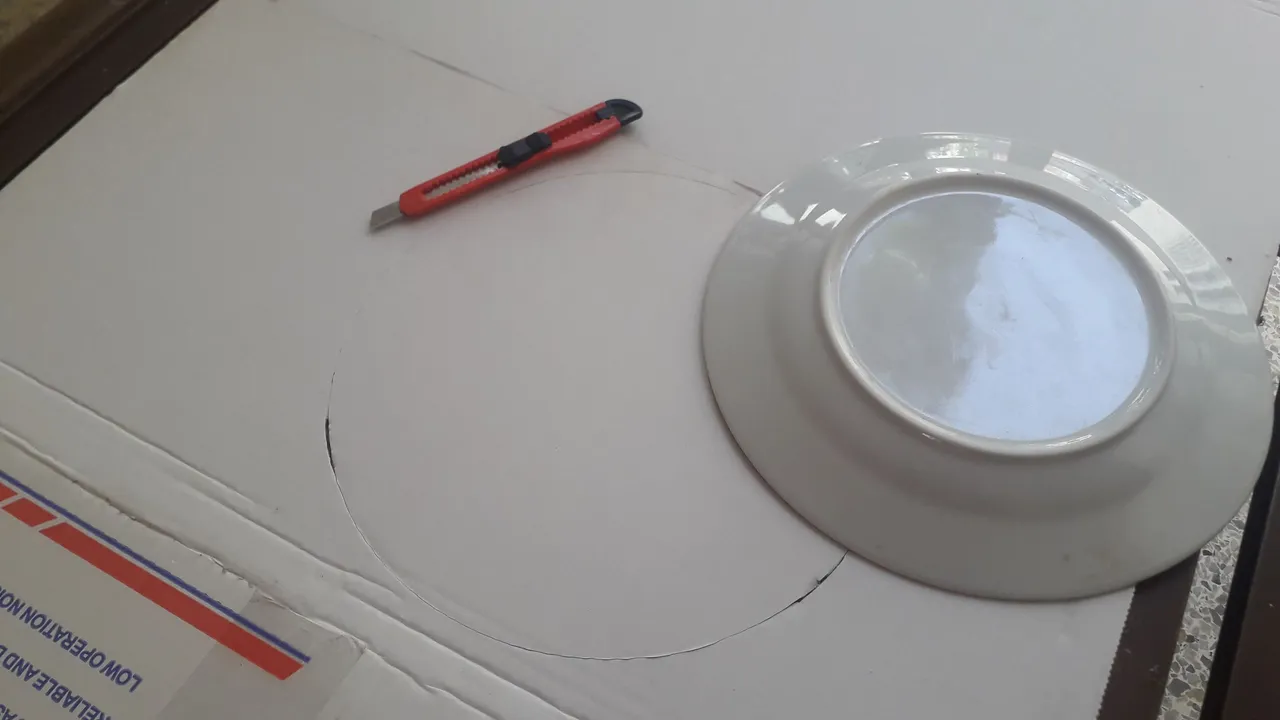
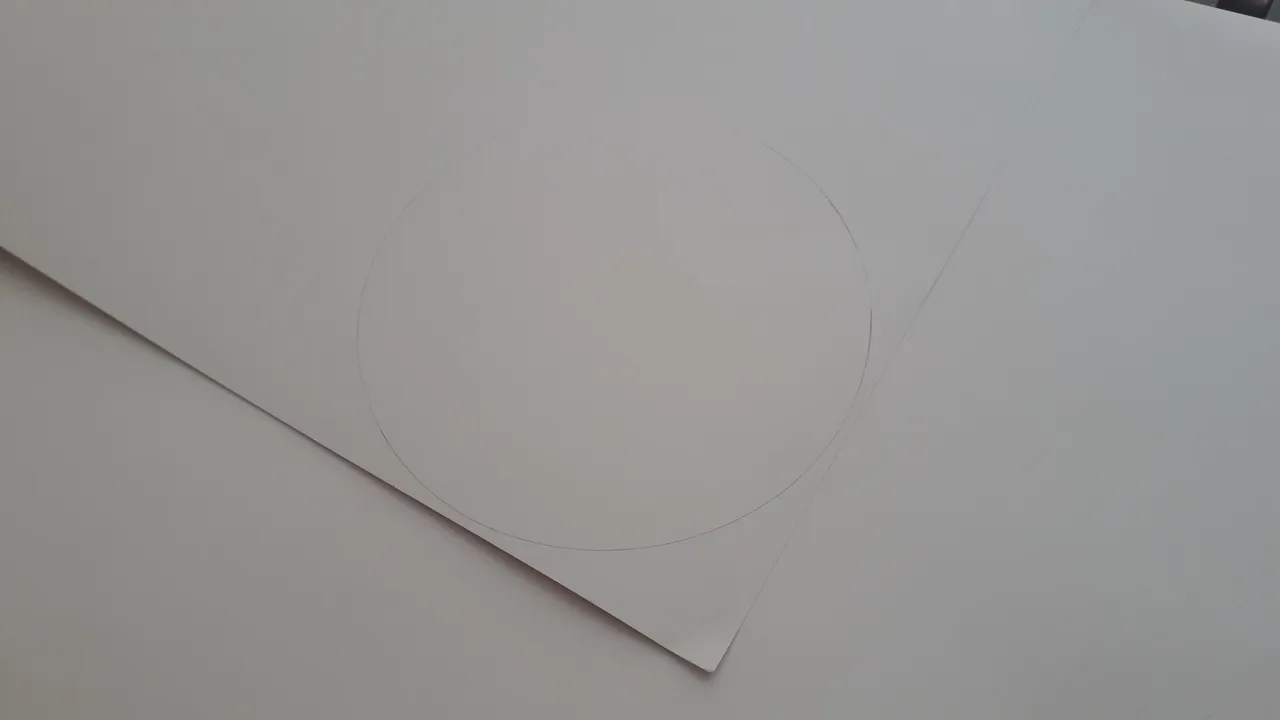
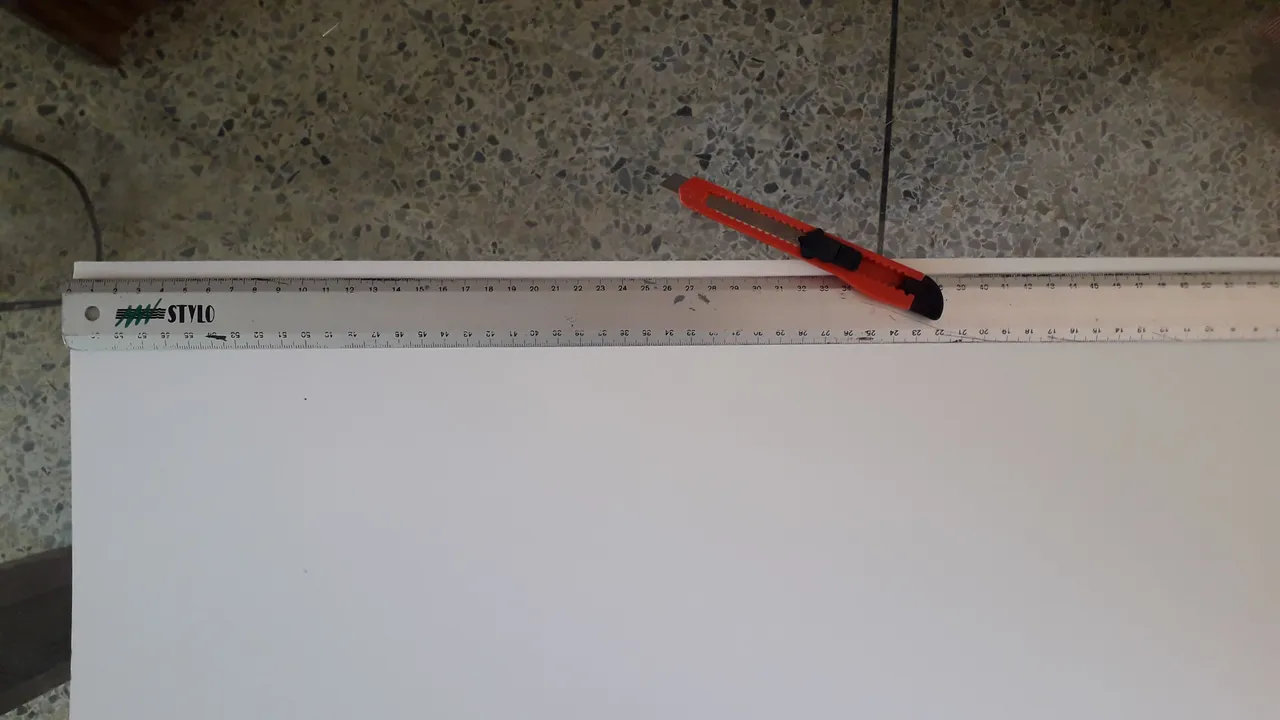
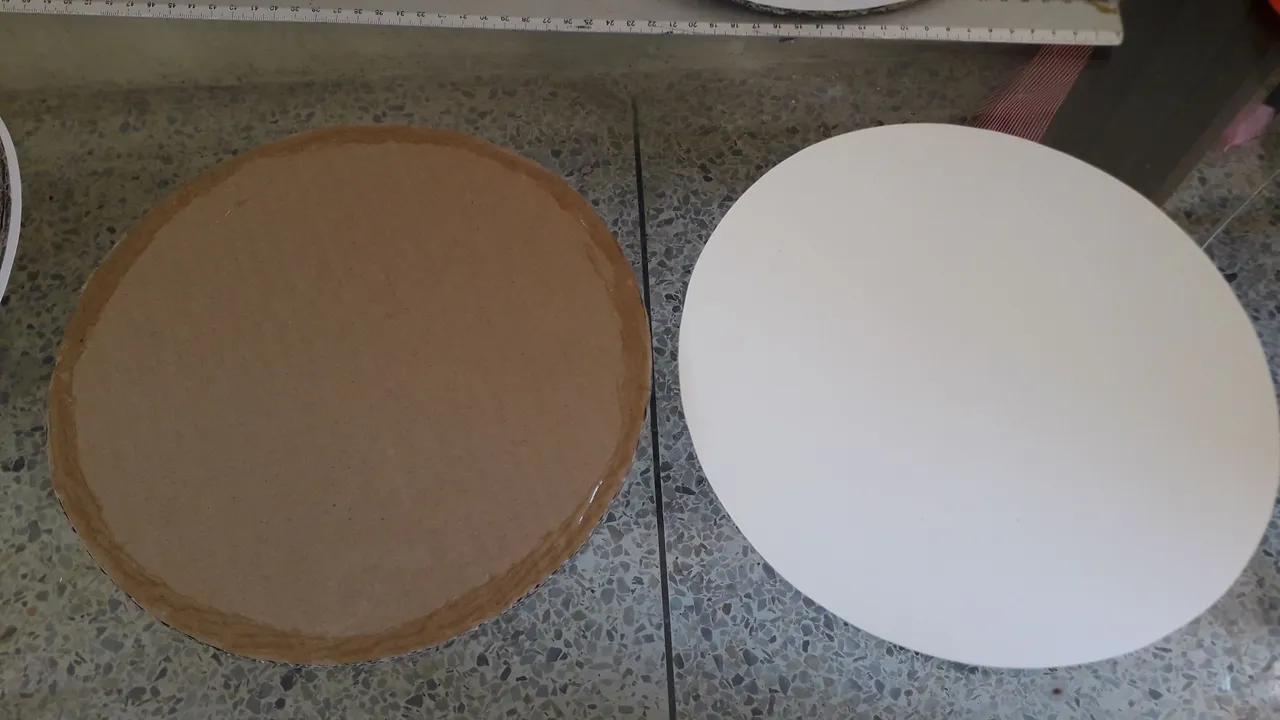
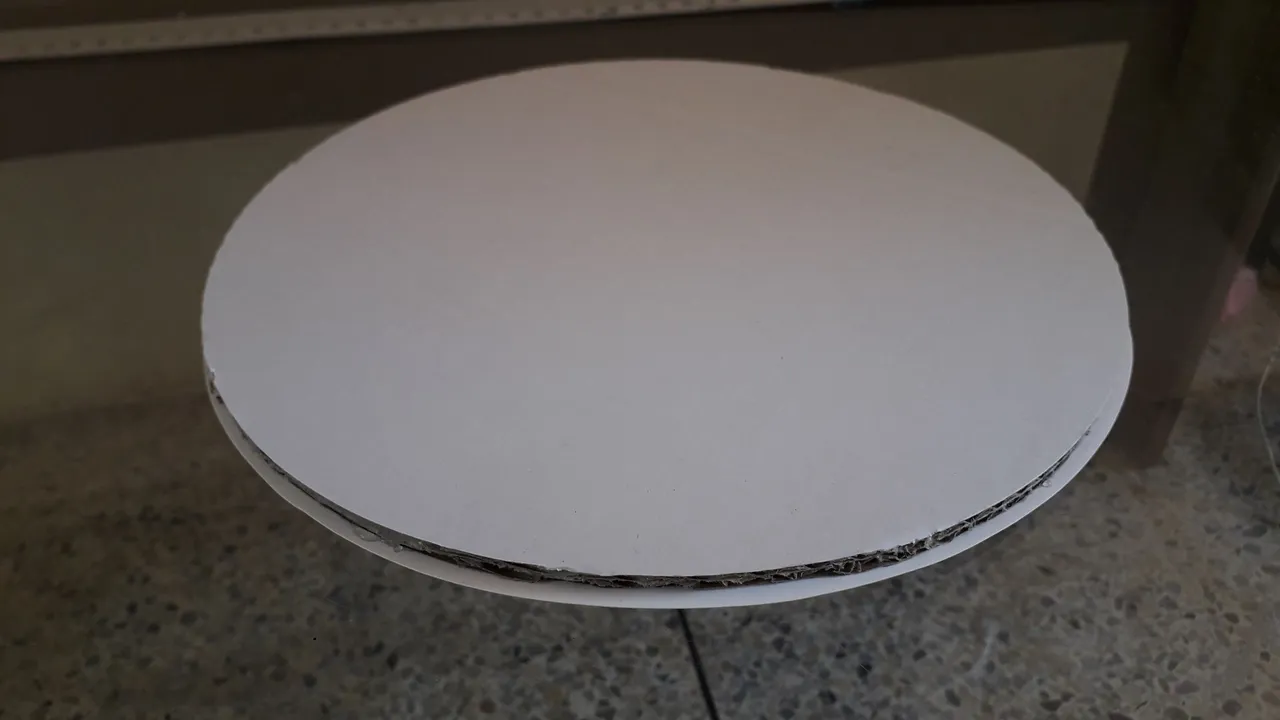
Coloca el trozo de cartón de 30cm por 30cm sobre la mesa. Marca sobre el cartón un círculo de 25 cm de diámetro. Lo recortas para obtener un círculo como el que ves en la foto. Yo me ayudé con un plato de la medida que necesité y con la ayuda de un cutter bordeé el plato y obtuve un círculo perfecto.
ELABORATION
Place the 30cm by 30cm piece of cardboard on the table. Mark on the cardboard a circle of 25 cm in diameter. Cut it out to obtain a circle like the one you see in the photo. I used a plate of the size I needed and with the help of a cutter I bordered the plate and obtained a perfect circle.
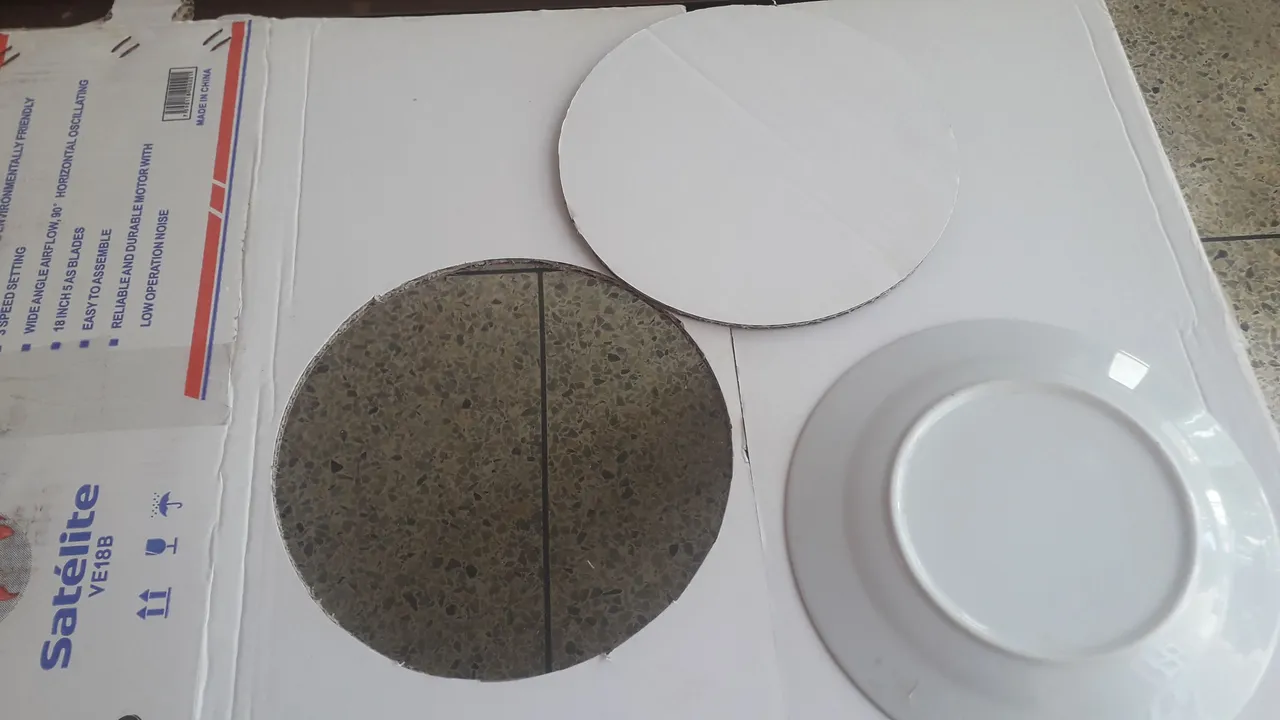
Once you have the circle of 25 cm in diameter, now mark on the metallic cardboard (on the back side) a circle of the same size. Cut out the circle with a scissors or with the help of a cutter, as I did when cutting out the cardboard.
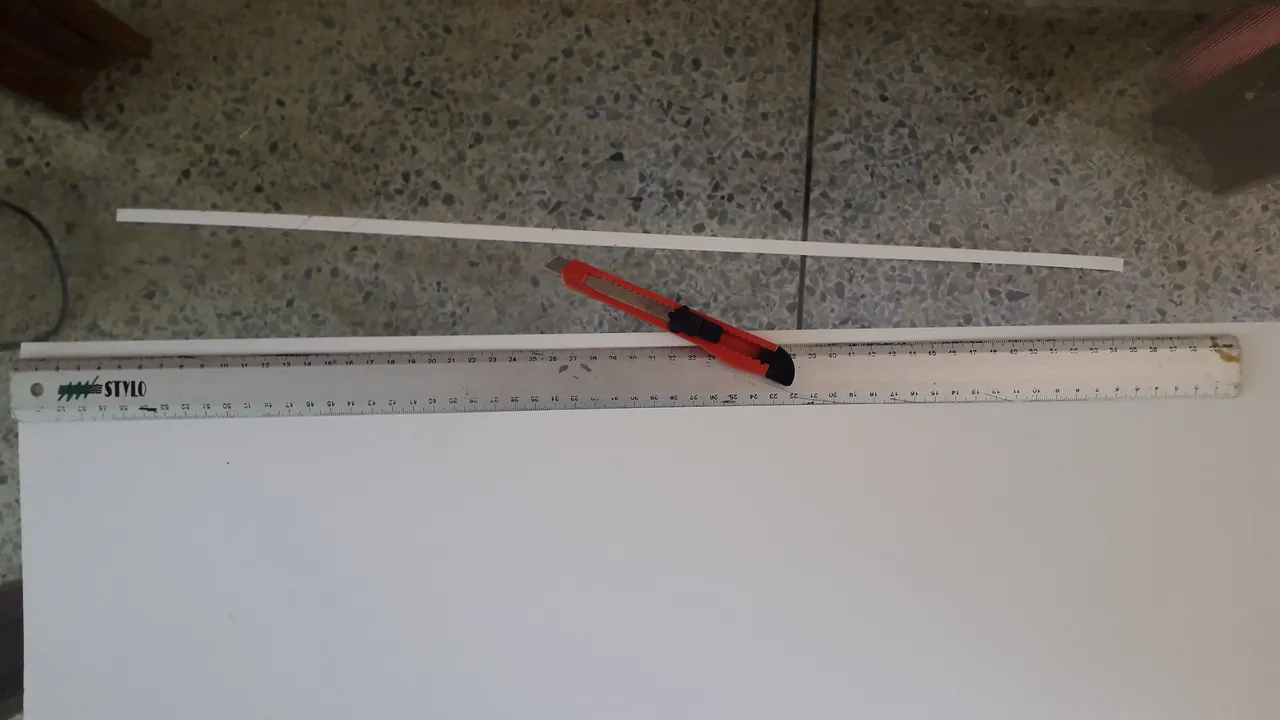
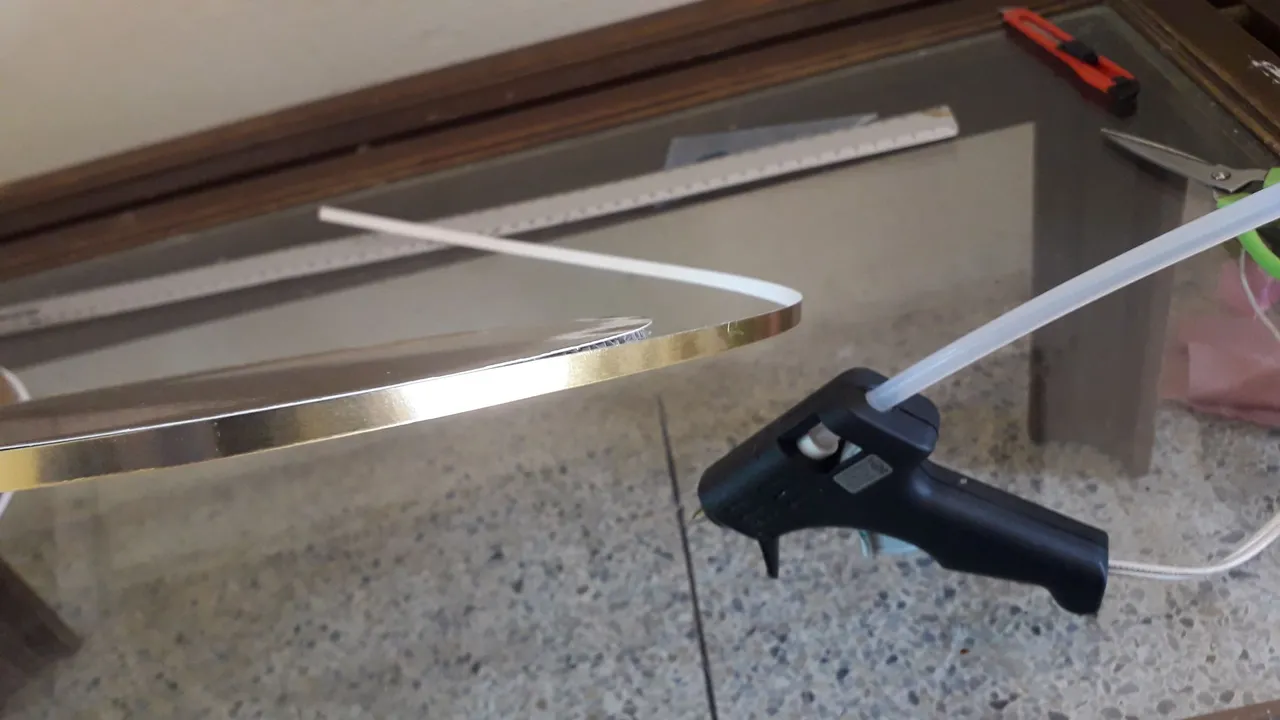
Ahora recorta un tira de 27 cm de largo por 0.5 cm de ancho. Esta tira servirá para bordear el cartón sobre el cual pegaremos el círculo metalizado. El ancho de esta tira dependerá del grueso del cartón de caja que utilices. Yo usé un cartón que tiene un grosor de 0.5 cm.
Now cut a strip 27 cm long by 0.5 cm wide. This strip will be used to border the cardboard on which we will glue the metallic circle. The width of this strip will depend on the thickness of the cardboard you use. I used a cardboard that has a thickness of 0.5 cm.
Toma el círculo de cartón y pon silicón frío en el borde. Deja secar por unos dos minutos y luego pega encima el círculo de cartulina metalizada.
Take the cardboard circle and put cold silicone on the edge. Let it dry for about two minutes and then glue the metallic cardboard circle on top.

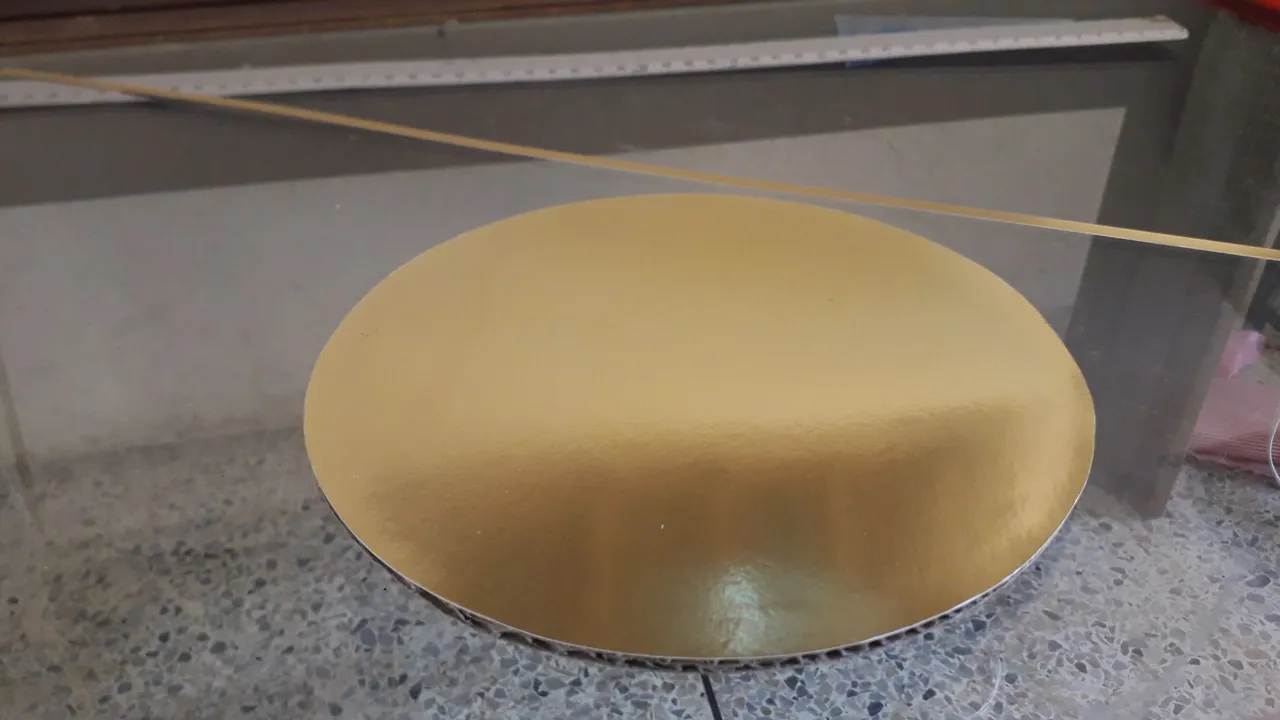
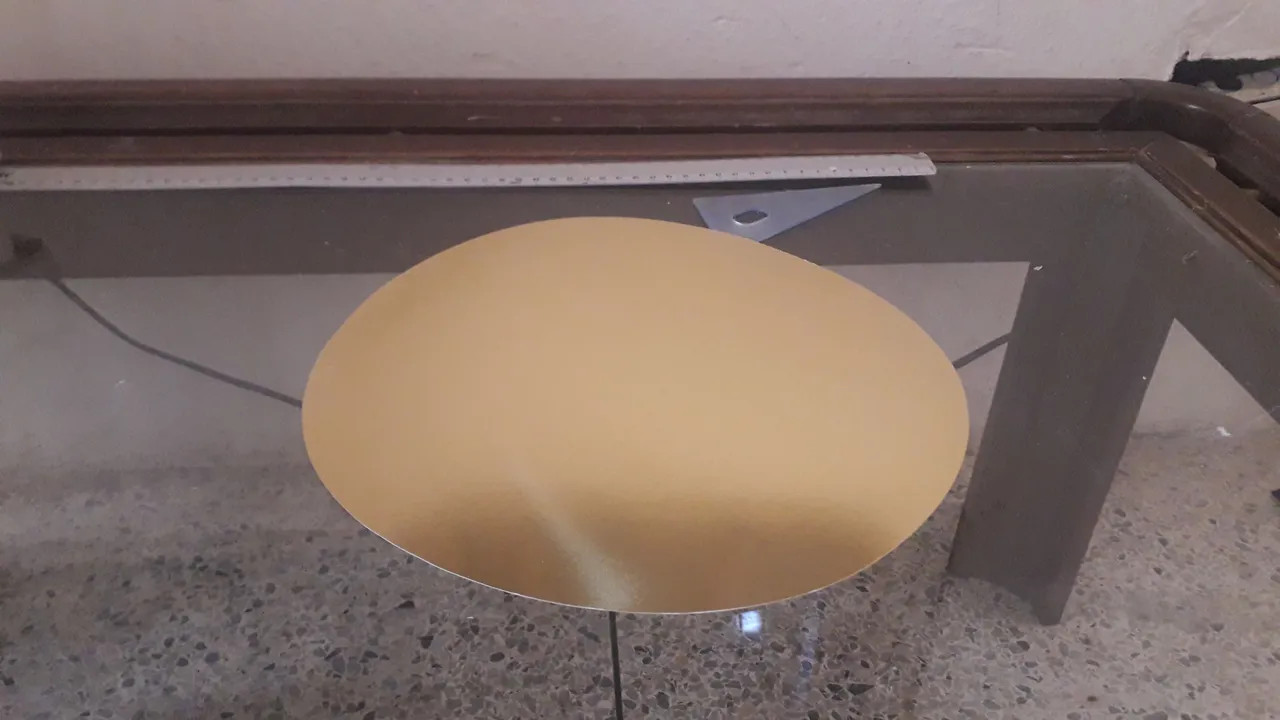
Una vez que hayas pegado el círculo de cartulina metalizada sobre el círculo de cartón de caja, ahora solo resta pegar la tira de cartulina metalizada alrededor del cartón así como lo muestro en la imagen.
Once you have glued the metallic cardboard circle on the cardboard circle, now you just need to glue the metallic cardboard strip around the cardboard as shown in the image.


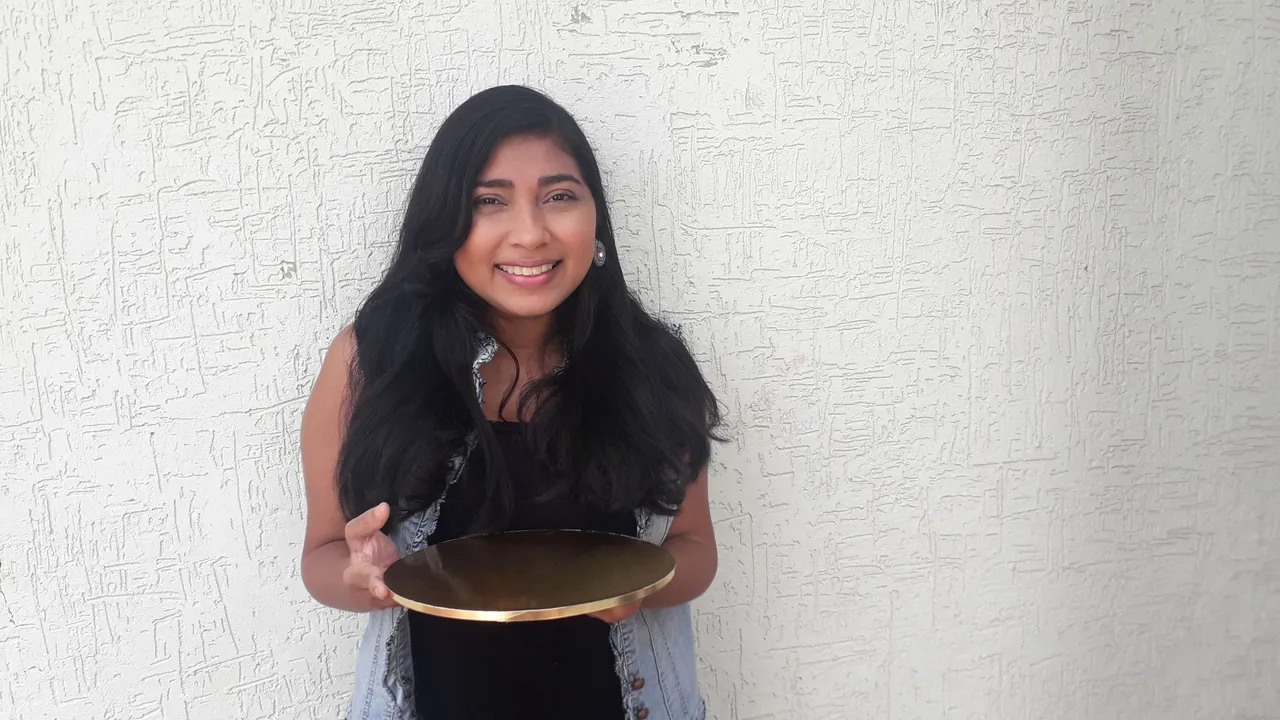
Al pegar la tira alrededor del cartón notarás cómo tu base realzará a la vista. Ya tienes disponible una linda base que servirá para tus tortas o cualquier dulce que desees presentar a tus invitados.
When you glue the strip around the cardboard you will notice how your base will stand out. Now you have a nice base that will serve for your cakes or any candy you wish to present to your guests.
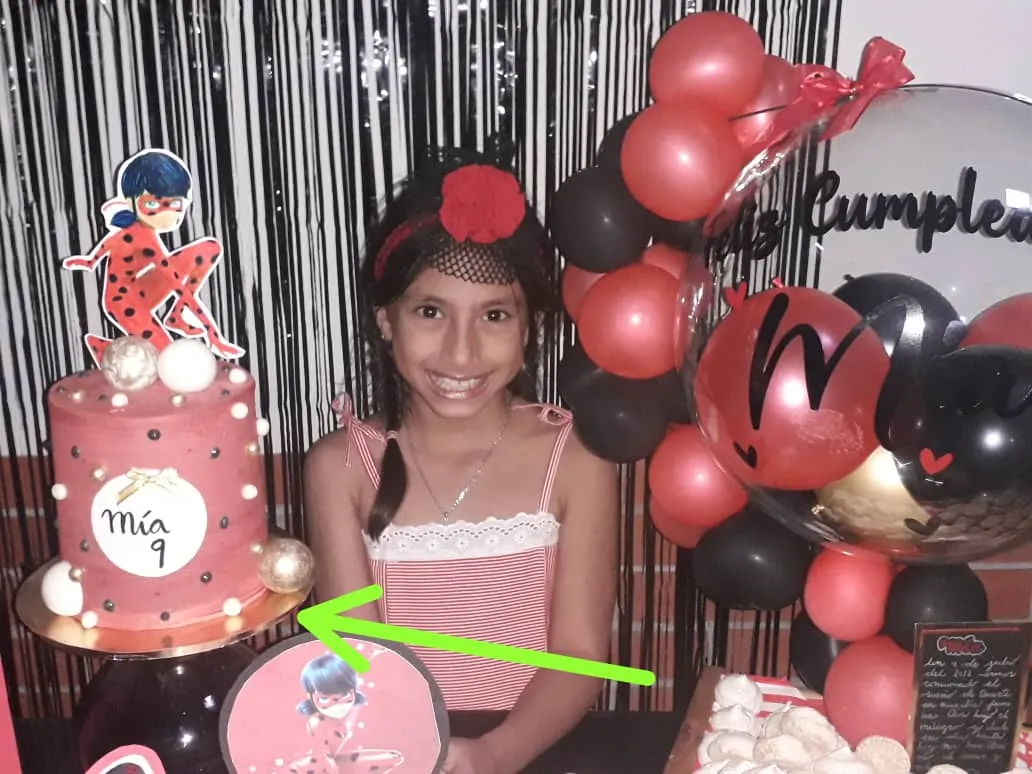
Espero que les guste esta creación. Les dejo una foto de la torta que mandamos a hacer con un amiga para mi sobrina en su cumpleaños #9. Como ven, la torta reposa sobre una de las bases que elaboré especialmente para ella. Tal como la que hice para esta publicación.
I hope you like this creation. Here is a picture of the cake we had a friend make for my niece for her 9th birthday. As you can see, the cake is resting on one of the bases I made especially for her. Just like the one I made for this publication.
All photos with no author mentioned have been taken by me with my Samsung J2 Prime phone and Kodak Z990 camera