Hello Dears!
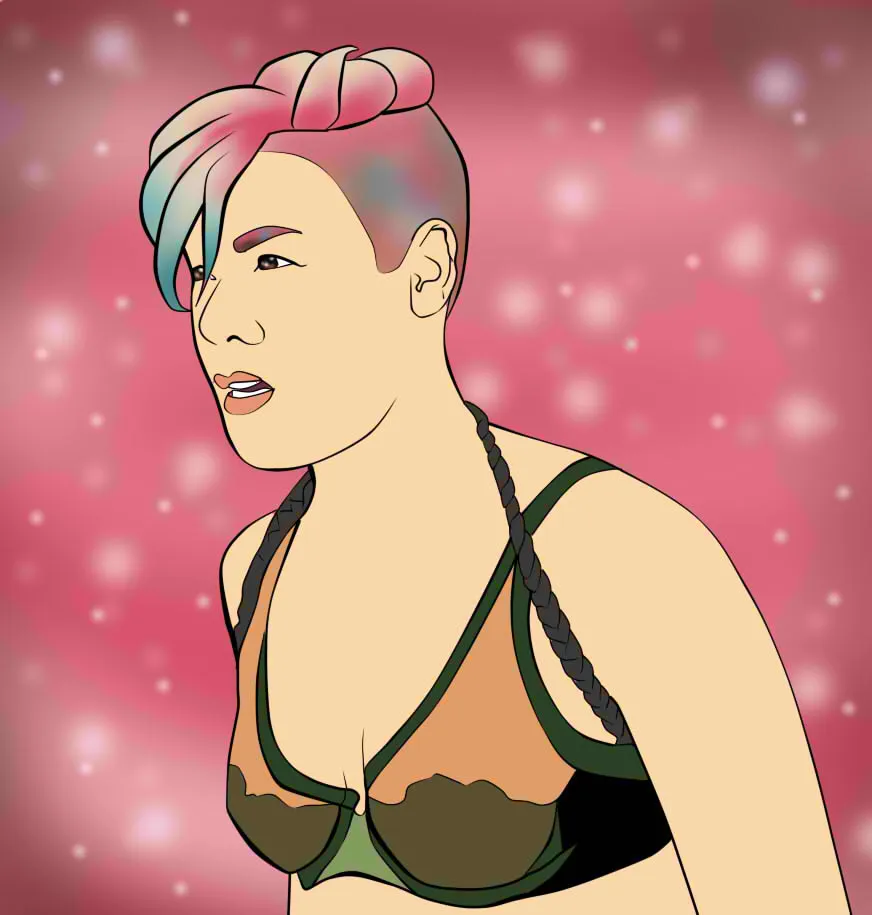
Today I bring for you, exclusively for #Steemit, one of my best digital works, at least so far, I'm new to this, but I'm still working to improve. This time it's one of my favorite singers, the irreverent and wonderful P!nk in a more realistic style illustration, which was done entirely in the Paint Tool SAI, (I love this drawing tool).
We get down to work with "P!nk"
Design
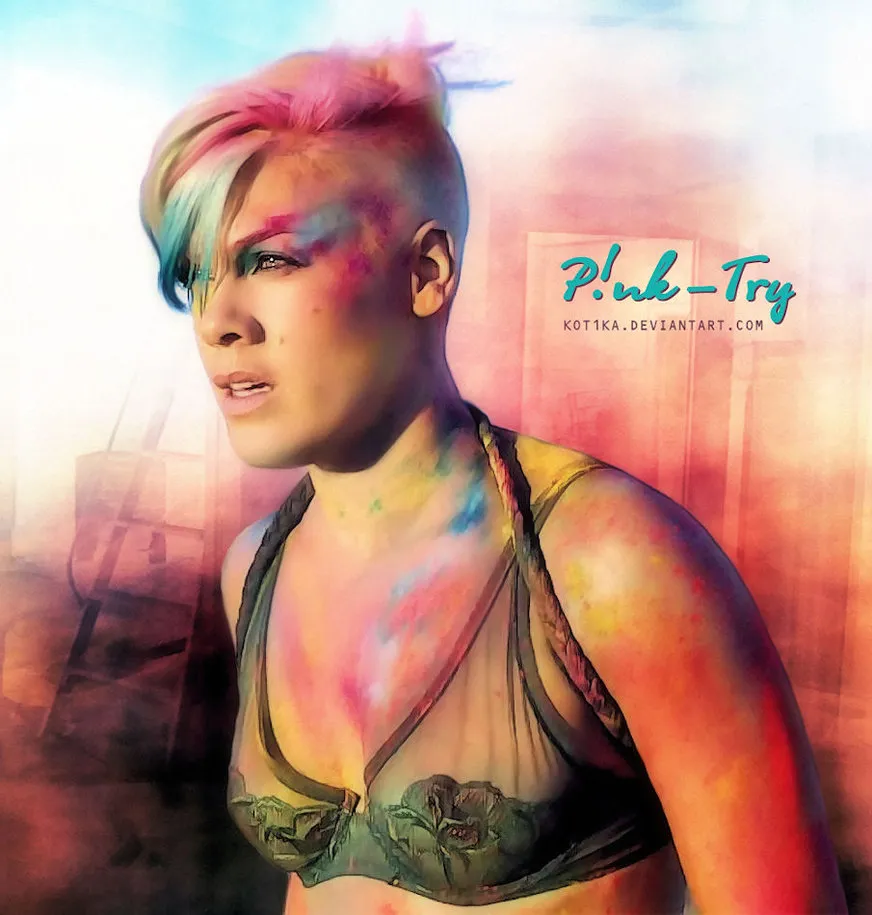
The photo on which I base for the design, is the singer P!nk in the video of one of her great singles, the song "Try". (One of my favorites)
Tool
The drawing tool he used was the Paint Tool SAI program, which is an ideal program for digital illustrators from the computer (highly recommended for novices and not so novices), is simple and convenient to use.
Sketch
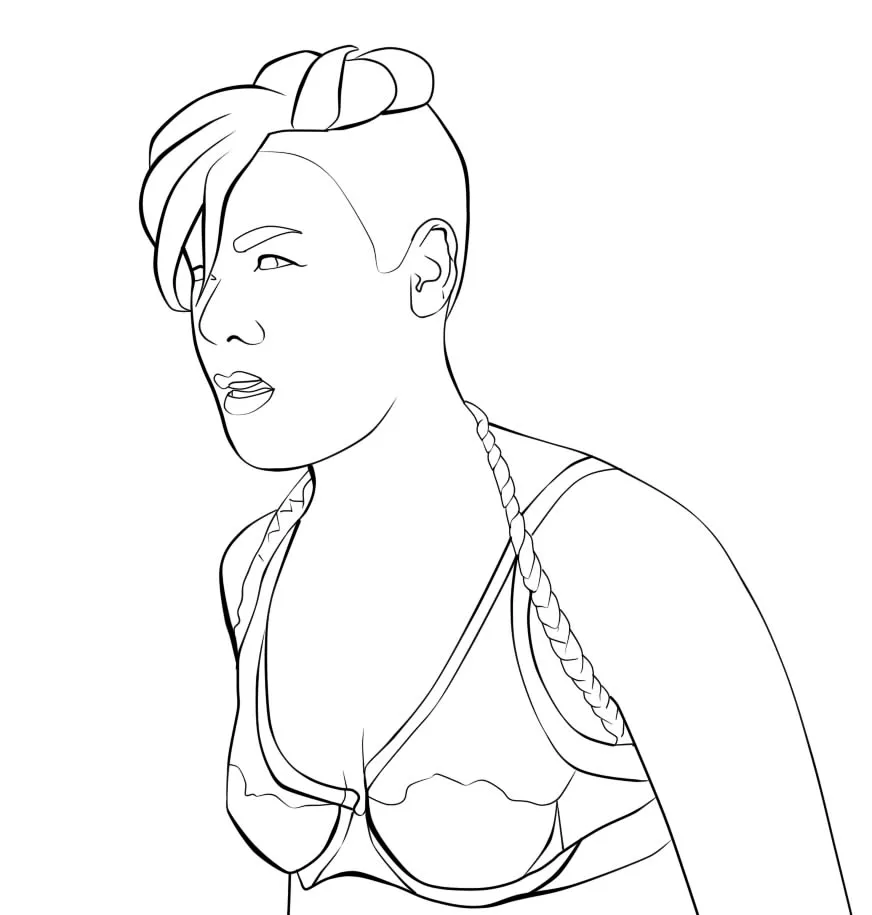
The first thing I did was to make a very simple sketch, following the contours of the original image, taking great care to only place the necessary lines. This is done in a layer of Linework and will be the basis of everything that will be done later.

Modeling the lines (Pressure)
Here I must confess that I work with the computer mouse and not from a graphic tablet like many digital illustrators, so I model the lines after having done them previously with one of the tools that the layer of Linework called "Pressure" gives me. gives a better finish to the lines.
Base Color
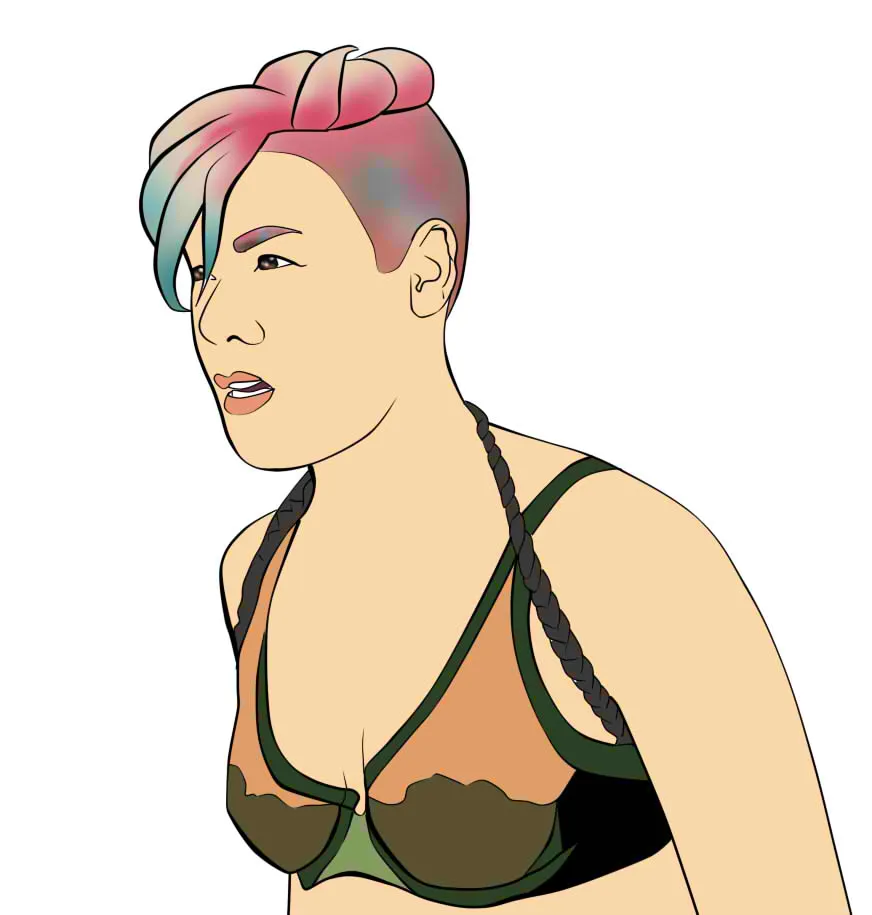
I gave color to all the sections of the drawing, however I focus a lot on the hair, because the original image has a nice effect. An important point is that to go coloring I was divide the sections into different layers, so that I would not be confused when placing shadows or other details.
Background
I decided to make a pink background in honor of the name of the singer and put some touches with white with the tool "AirBrush" that pretend to be lights.
Shades and colors
At this point, add the shadows guiding me by the original photo and in turn also the colored spots that is what gives life to the design, all that I did with the tool "AirBrush" and a brush of blur.

Final details
In the final details what I did was to clarify a couple of lines so that they would not look so hard in black and place some lights.

This has been all today's post Dears, I hope you like my foray into the world of digital illustration, I leave you an arm and I hope you in my next Post.
Follow my steps...
