A few days ago I published a post about a field game involving painting rocks, hiding them and finding them. While playing this game, I found that stones are a very good carrier of information. Such a left stone can be more conspicuous than a sticker, with which public spaces are polluted. I made test stones today, the aim of which is to promote Hive in public spaces. I want to convince you of this idea. Making a similar rock is trivially easy. I invite you to a short tutorial.
You need
- printer paper (the thinner the better. I used 30gsm, it is almost transparent and its thickness does not show on the rock)
- glue stick (optional)
- brush
- scissors
- matt clear acrylic lacquer
- rock
If you have very thin paper, you can glue it to a standard A4 sheet of paper so that the printer has no problem pulling it in.
Apply a thin strip of glue to the top and glue the two sheets together.
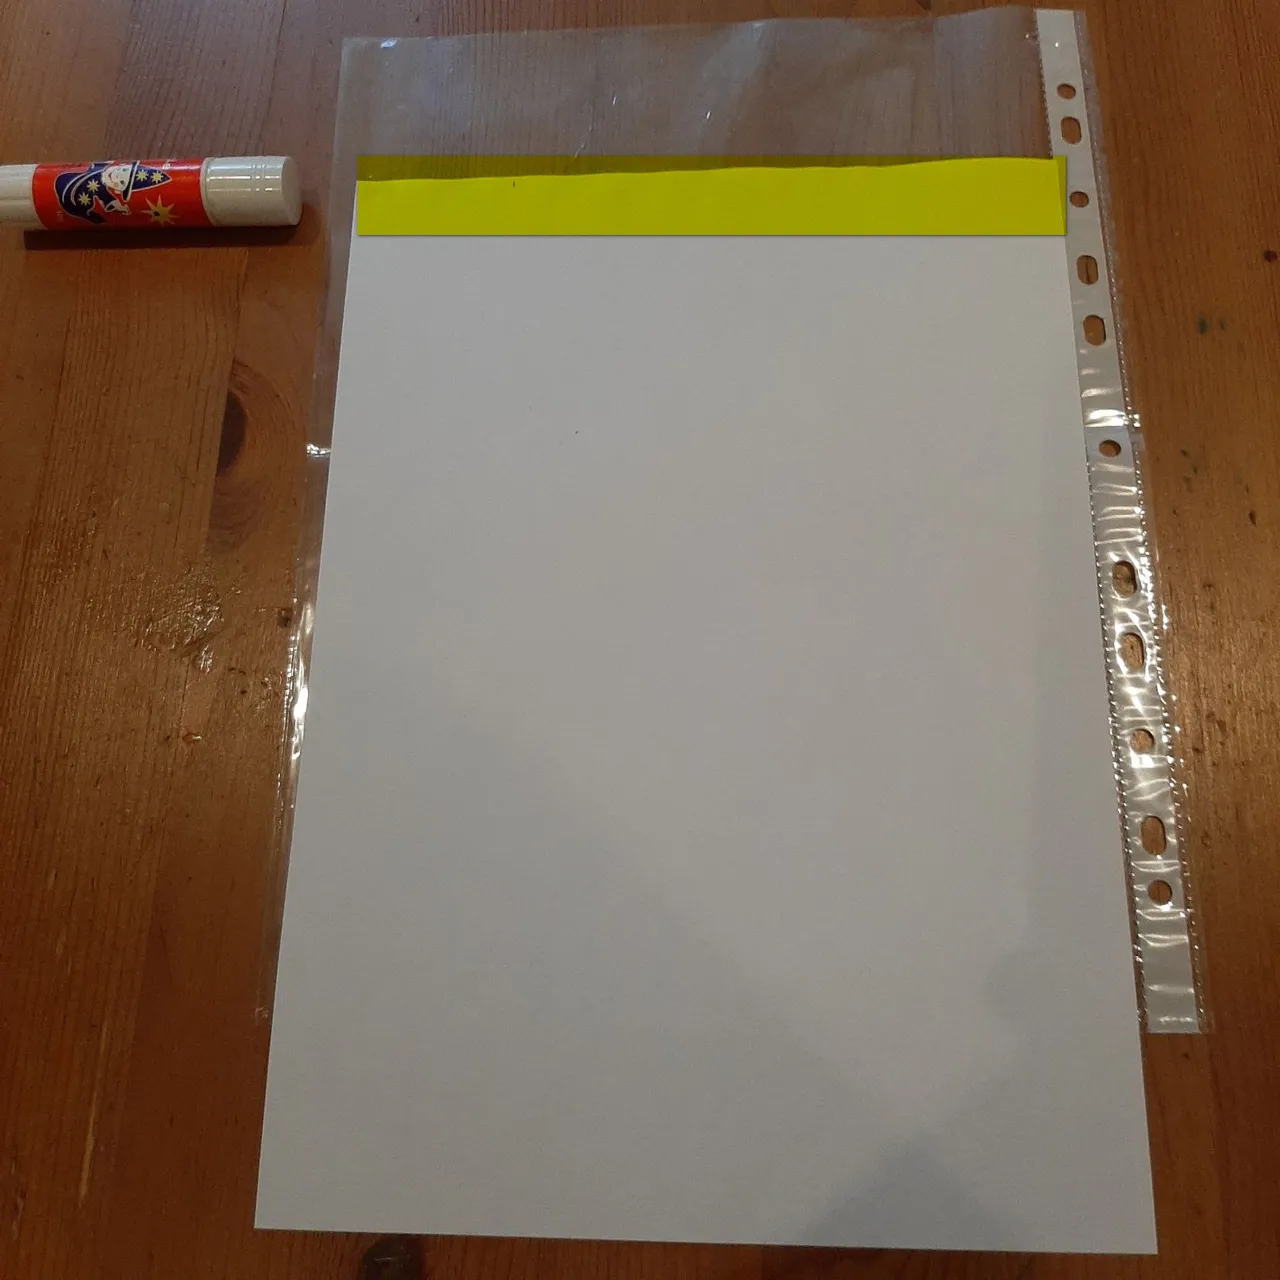
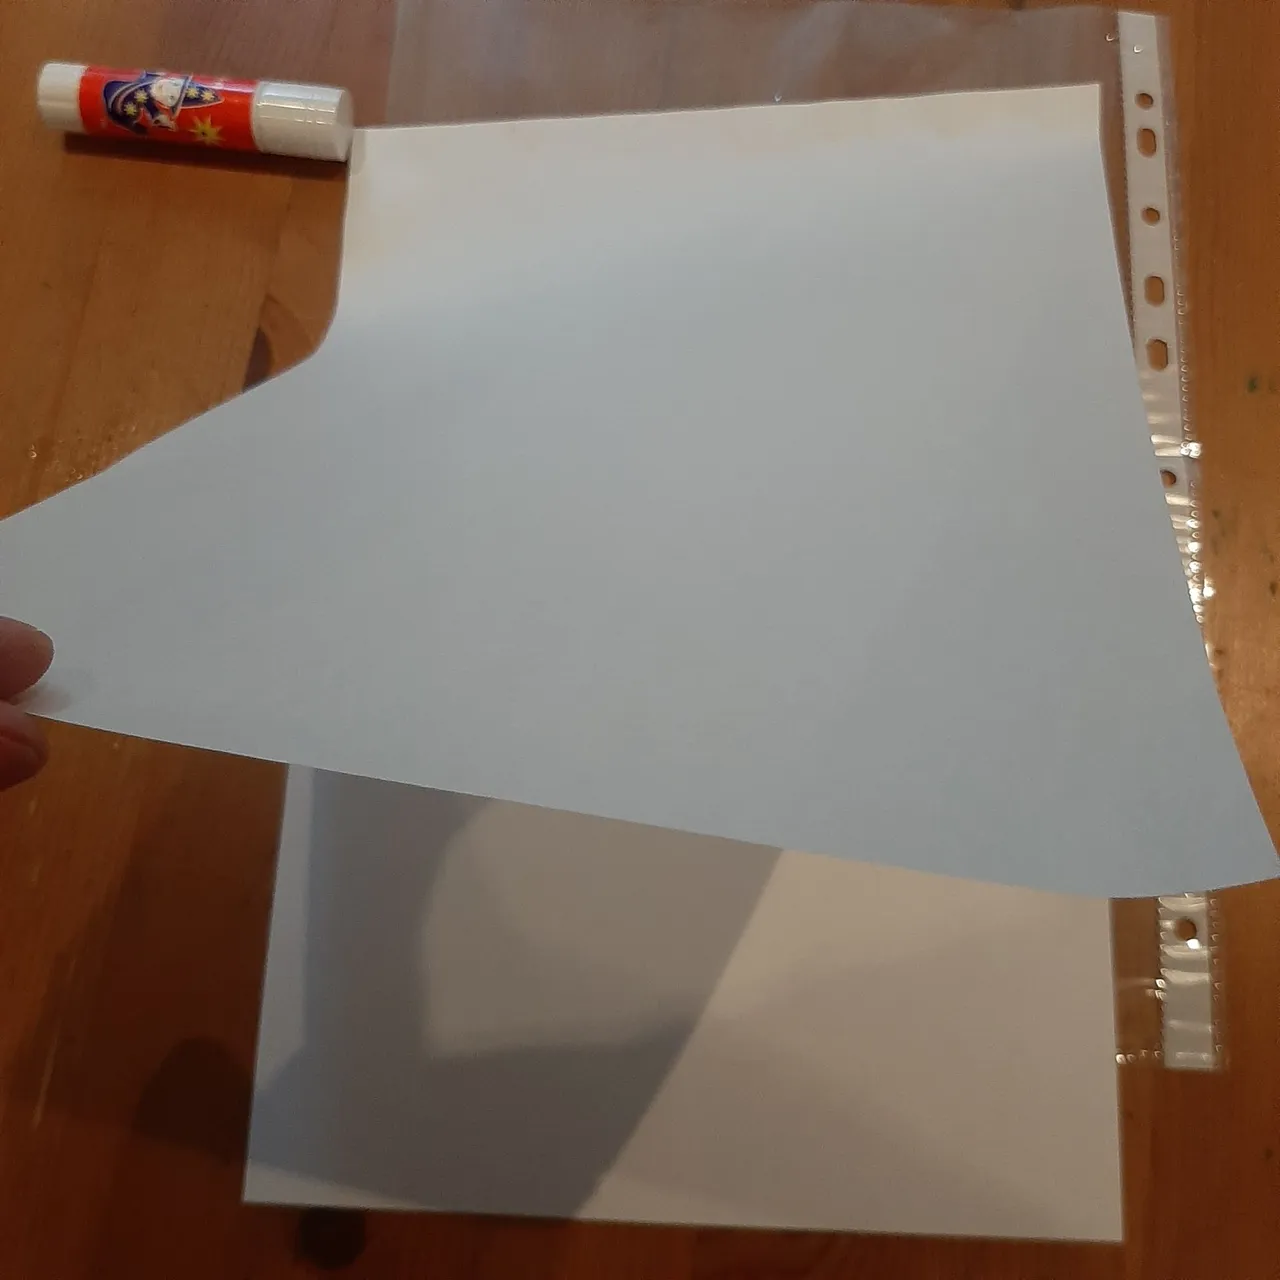
If you have plain paper this step can be skipped.
Print the pattern you want to transfer onto the stone on the paper prepared in this way.
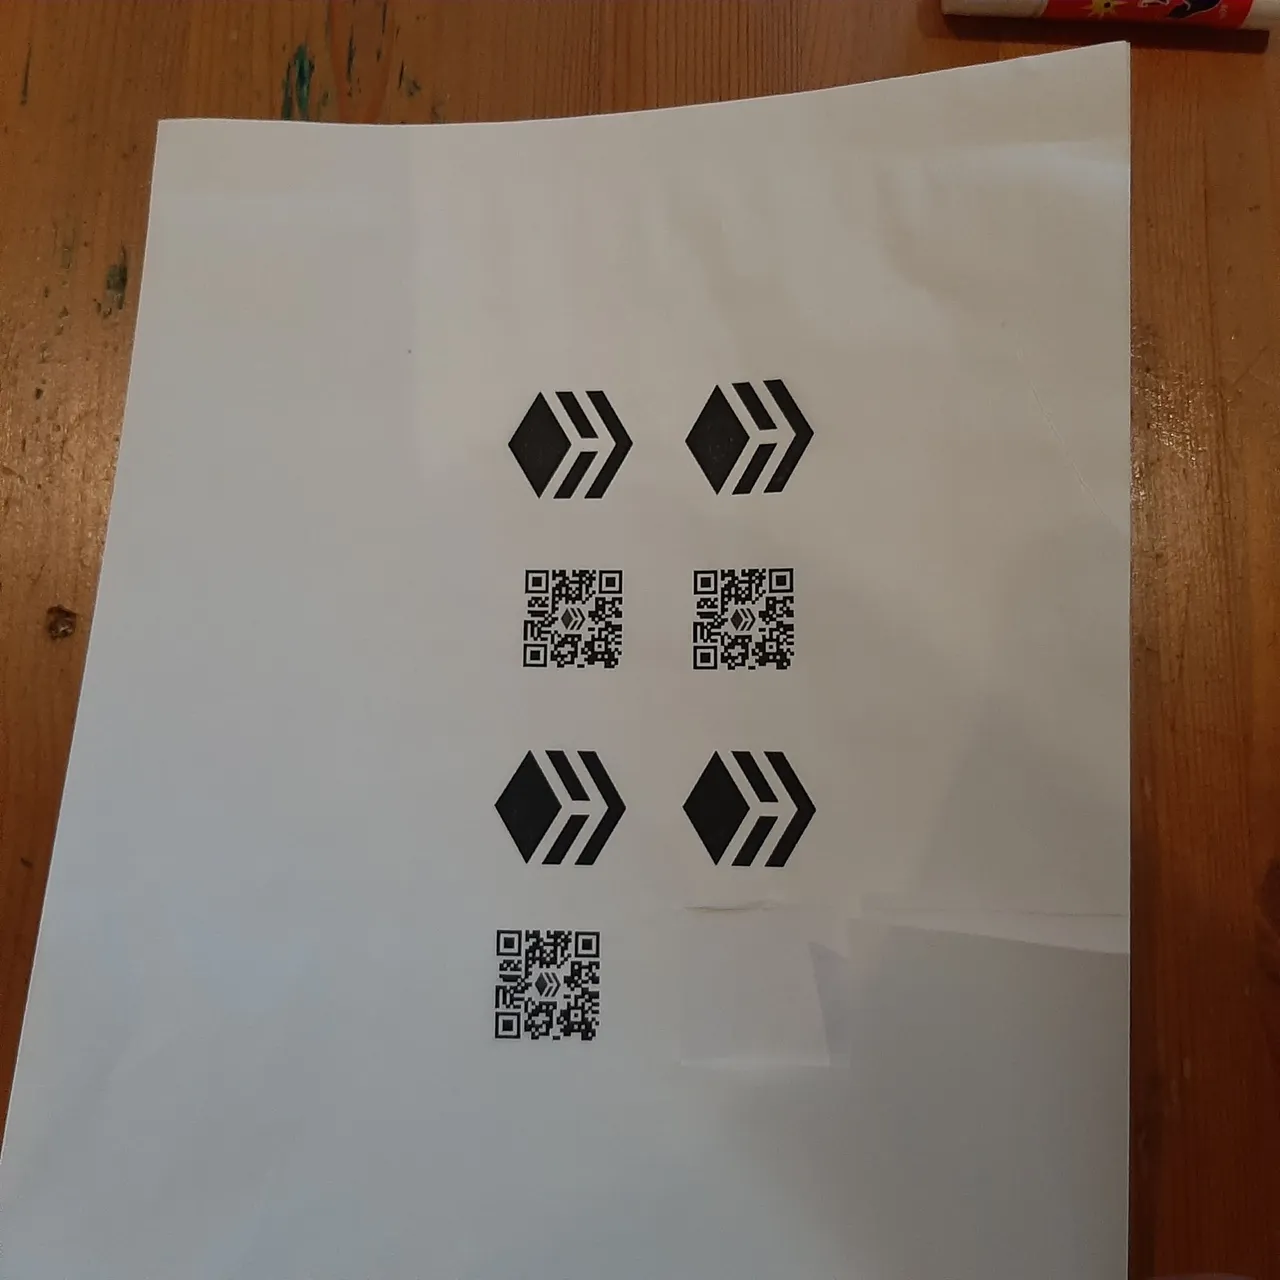
Cut out the elements.
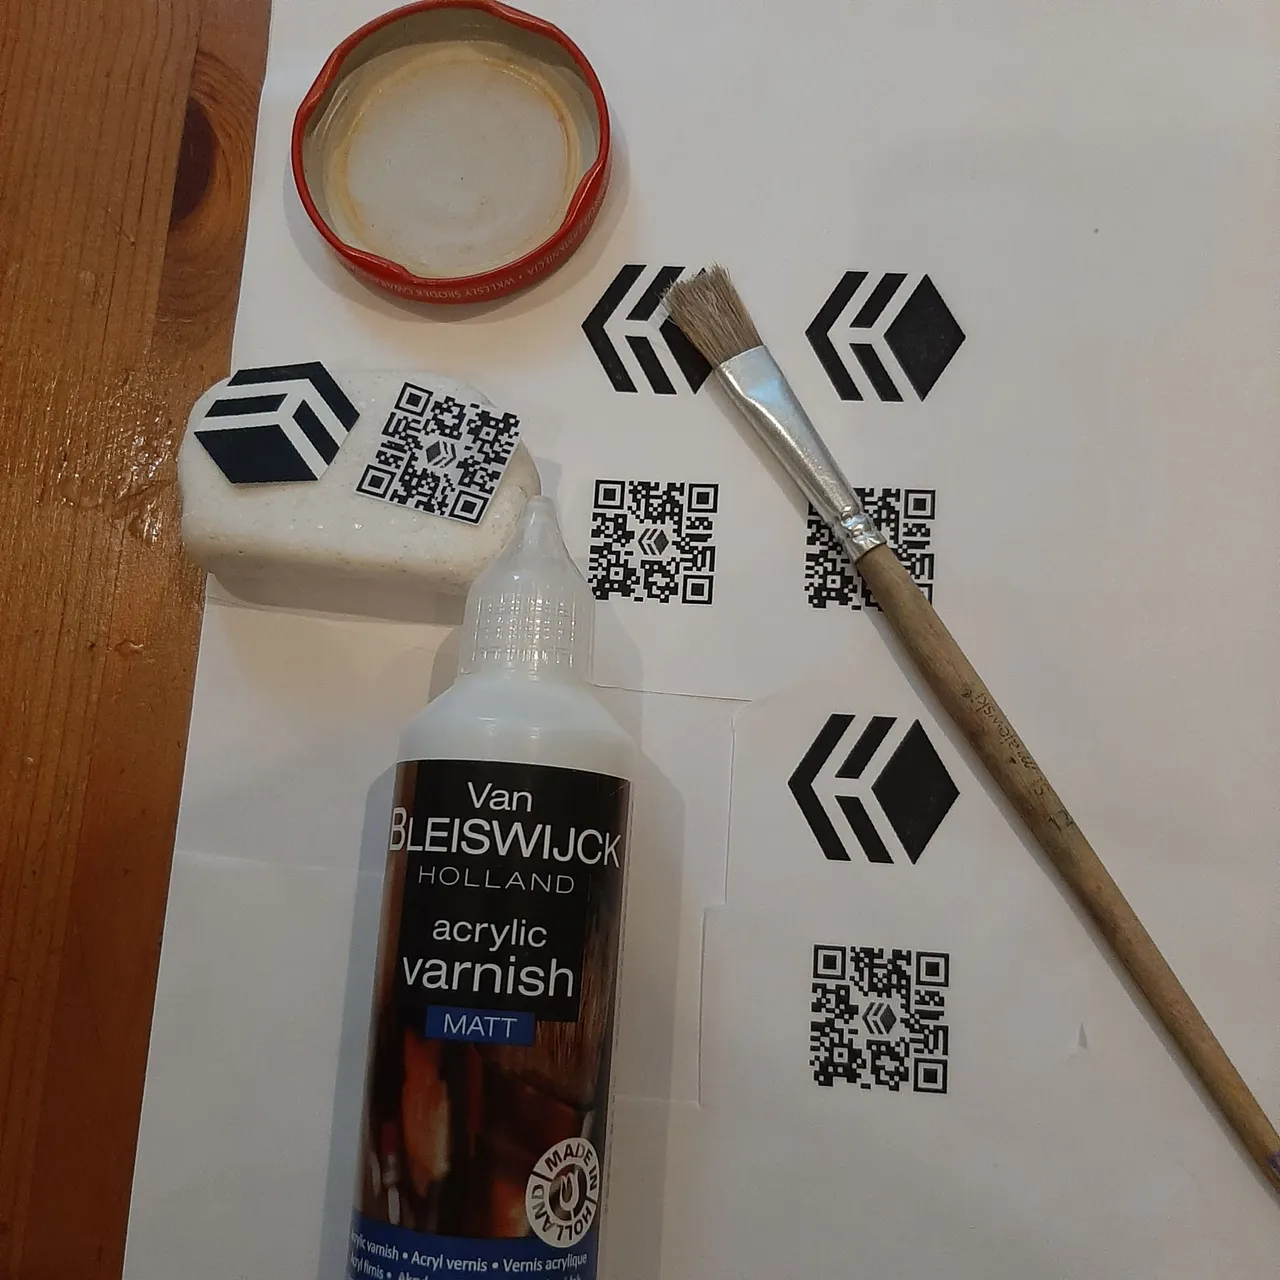
We apply one side with clear acrylic varnish. We press the cut out elements into the varnish. We try to make sure that they adhere exactly to the varnish and the rock.
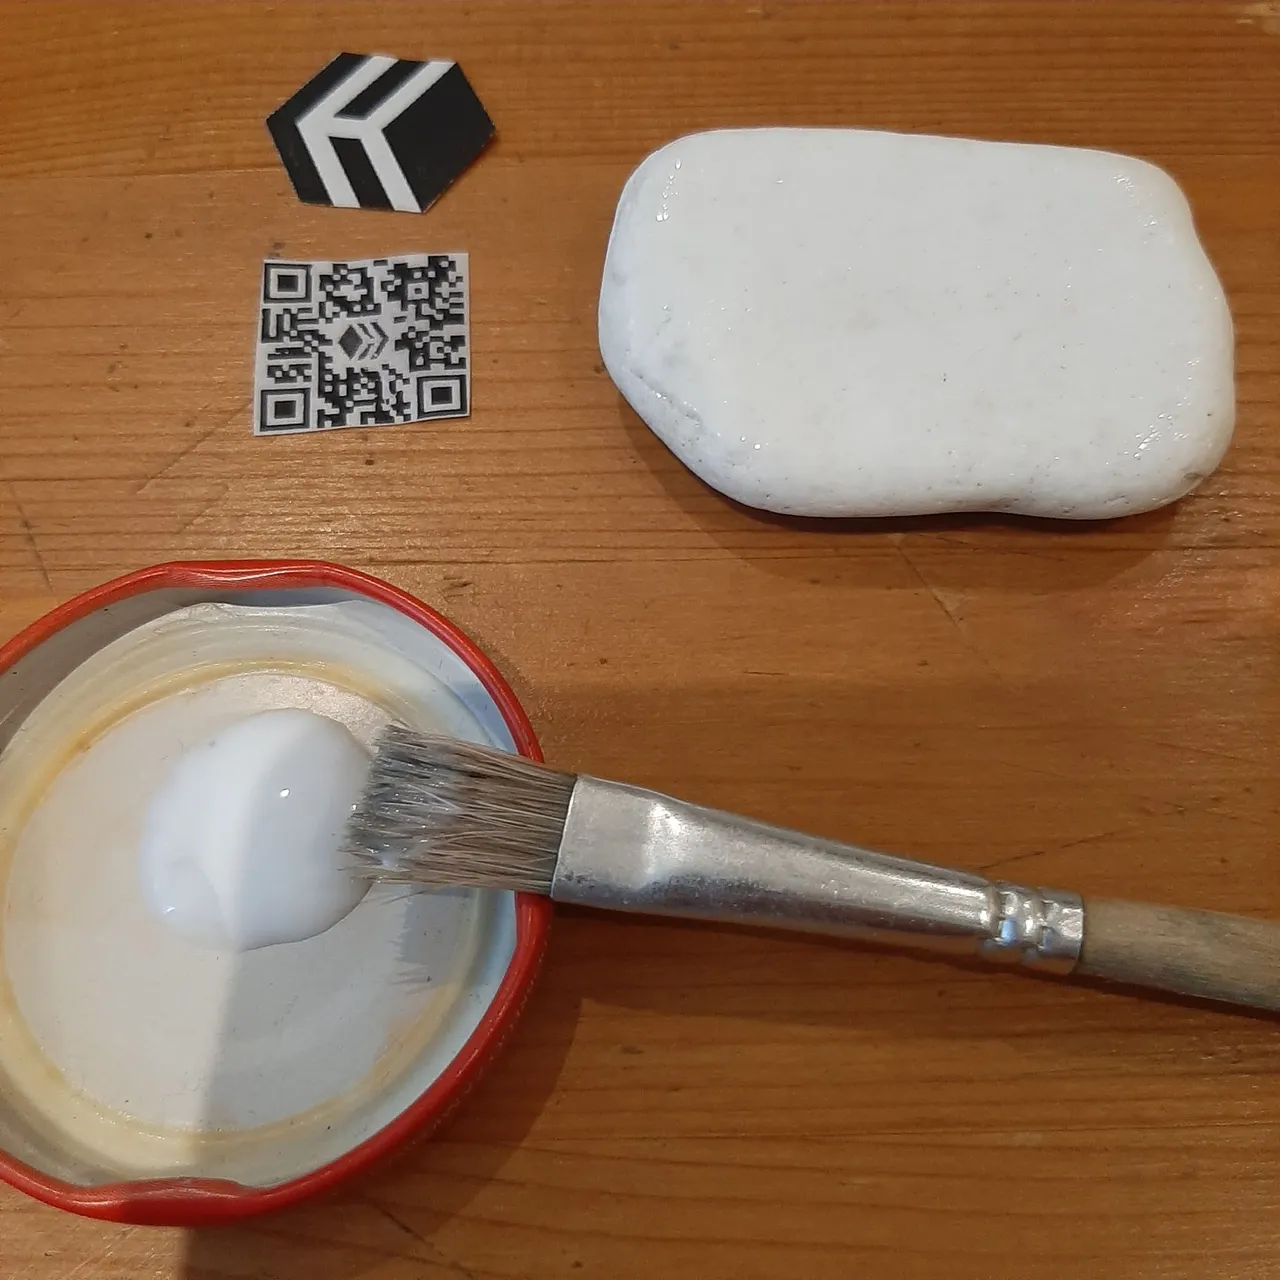
We apply another coat of acrylic clear varnish to the entire surface. Smooth the varnish over the pasted element with a brush. Leave to dry. Let's remember that there are two sides to a stone and both can be used!
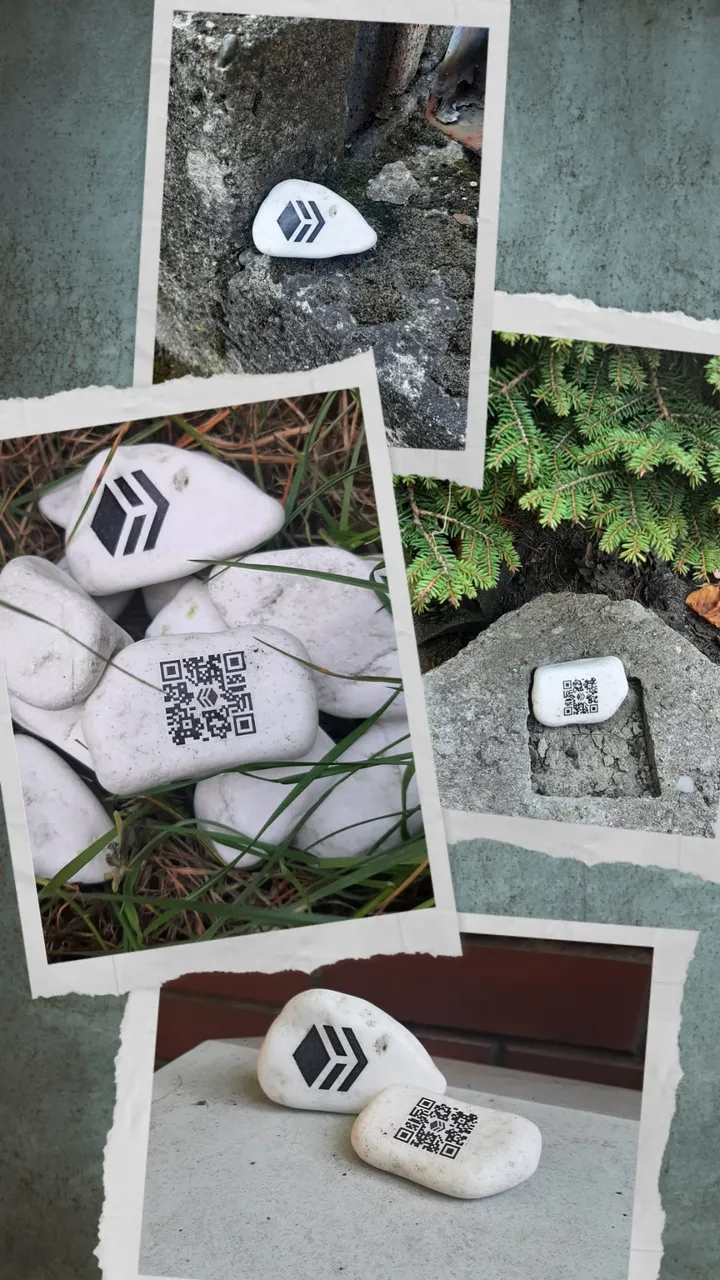
Final result.
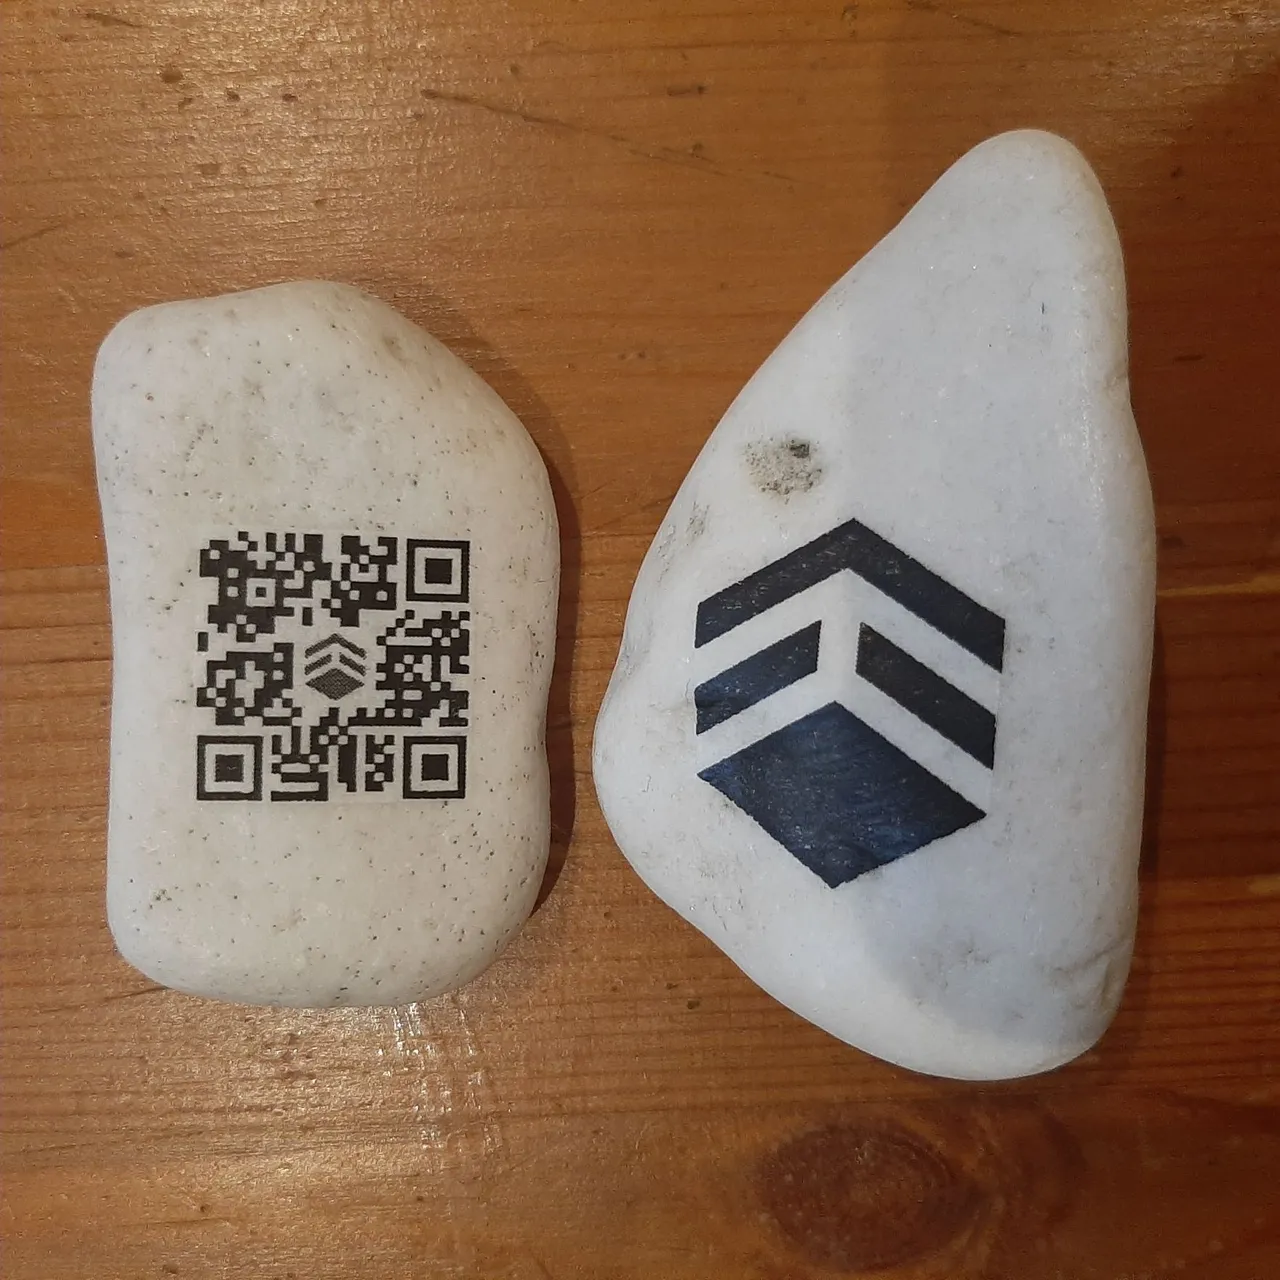
Rocks prepared in this way will survive safely outdoors.
The QR-code leads to @o-hive/info. There is no article under it yet, but it will be up in some time. For now this is a trial, the target stones will hopefully be more interesting.
o-hive (polish) = about-hive (English translation)
Good luck in creating your own stones!
PL
Kilka dni temu publikowałem post na temat gry terenowej polegającej na malowaniu kamieni, ich ukrywaniu i odnajdowaniu. Bawiąc się w tą grę stwierdziłem, że kamienie są bardzo dobrym nośnikiem informacji. Taki zostawiony kamień potrafi się lepiej rzucać w oczy niż naklejka, którymi przestrzeń publiczna jest zaśmiecona. Wykonałem dziś testowe kamienie, których celem ma być promowanie Hive w przestrzeni publicznej. Chcę przekonać was do tej idei. Wykonanie podobnego kamyka jest banalnie proste. Zapraszam do krótkiego poradnika.
Potrzebujemy
- papier do drukarki (im cieńszy tym lepszy. Ja użyłem 30 g/m² - tzw papier przebitkowy, jest on prawie przezroczysty i jego grubość nie odznacza się na kamieniu)
- klej w sztyfcie (opcjonalnie)
- pędzel
- nożyczki
- lakier akrylowy bezbarwny matowy
- kamień
Jeśli mamy bardzo cienki papier, to można go podkleić do standardowej kartki A4, żeby drukarka nie miała problemu z wciągnięciem go.
Nanosimy cienki pasek kleju na górze i sklejamy obie kartki.
Jeśli mamy zwykły papier ten krok możemy pominąć.
Drukujemy na tak przygotowanej kartce motyw jaki chcemy przenieść na kamień.
Wycinamy elementy.
Smarujemy jedną stronę lakierem akrylowym bezbarwnym. Do lakieru przyciskamy wycięte elementy. Staramy się, żeby dokładnie przylegały do lakieru i kamienia.
Smarujemy kolejną warstwę lakieru akrylowego bezbarwnego na całą powierzchnie. Wygładzamy pędzlem lakier na wklejonym elemencie. Zostawiamy do wysuszenia. Pamiętajmy, że kamień ma dwie strony i obie można wykorzystać!
Efekt końcowy.
Tak przygotowane kamienie spokojnie przetrwają na zewnątrz.
QR-code prowadzi do adresu @o-hive/info. Jeszcze nie ma pod nim artykułu, ale za jakiś czas powstanie. Na razie to jest próba, docelowe kamienie mam nadzieję będą ciekawsze.
Powodzenia w tworzeniu własnych kamieni!