Hello, my amazing people of the #Hivelearners community. It's a beautiful Sunday and it's another edition of creative Sunday where we get to showcase our talents, and also learn from others.
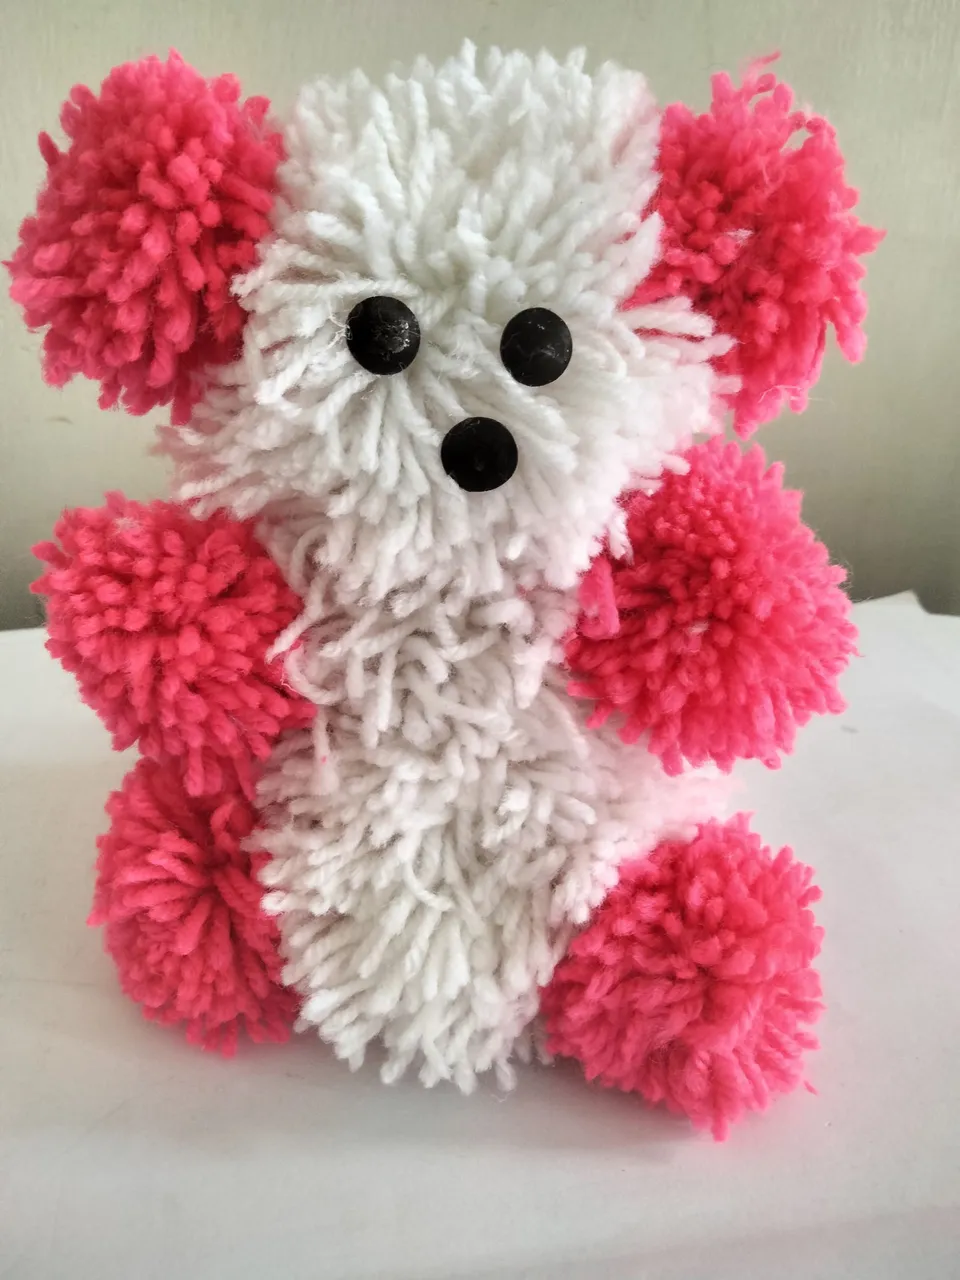
Today, I will be showing you all how I made this teddy bear 🤗
A few years ago, my second son requested that I buy a teddy bear 🧸 for him after a series of cartoon entertainment. I remember buying this one for him at the price of #,5000; that's about $12 or so.
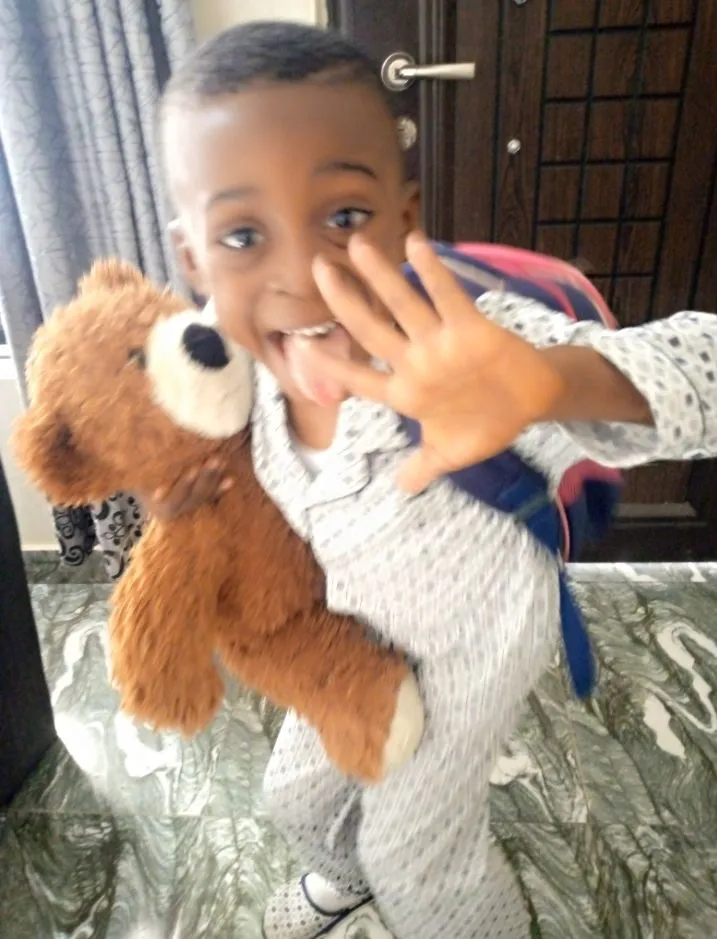
Recently my a-year-old baby started liking the teddy bear meant for his brother but then, his brother refused to share 😂. Then I thought of making one for him instead of buying in the market. That brought about my idea of today's DIY PROJECT for creative Sunday.

JOIN ME ALONG AS I SHOW YOU HOW I MADE IT...
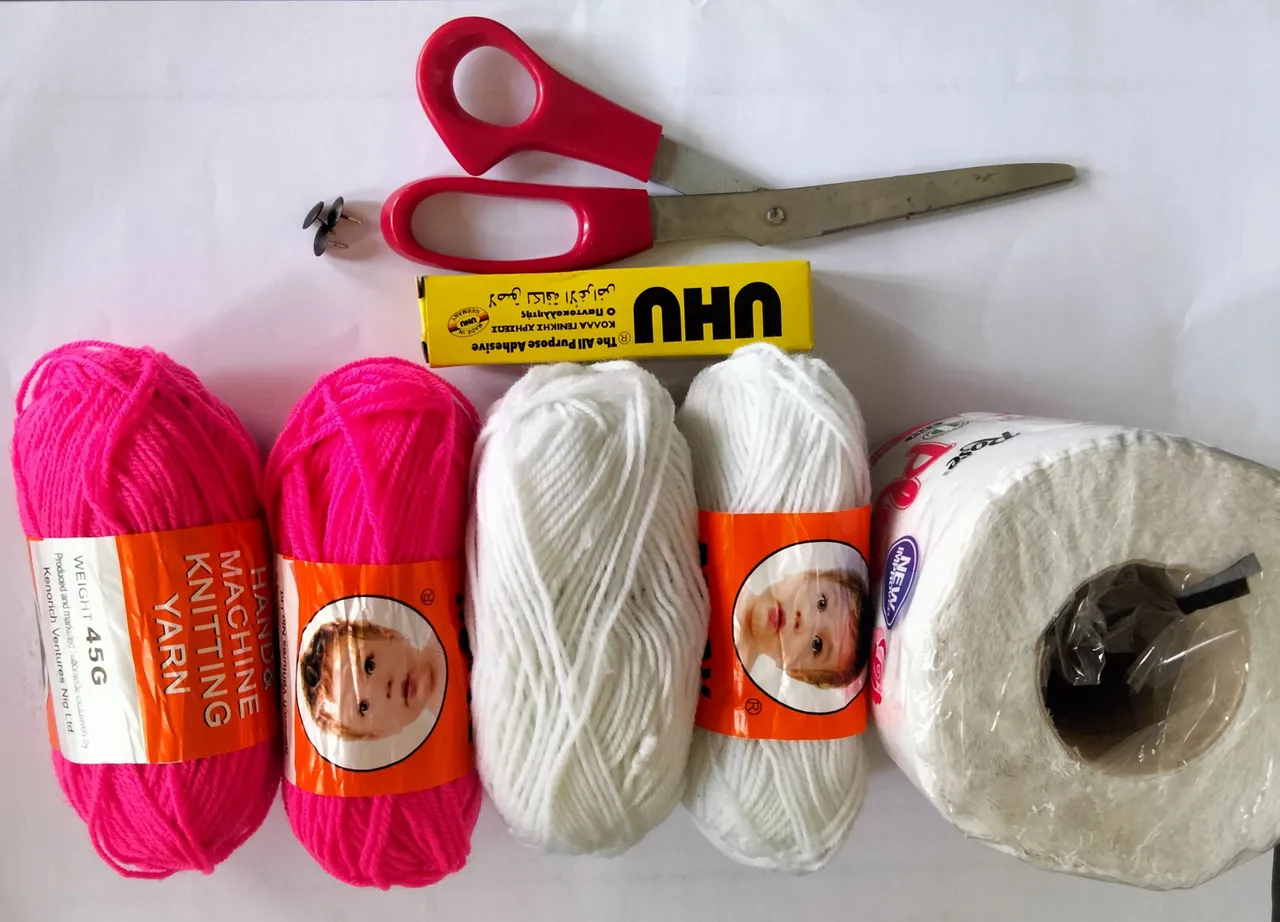
MATERIALS USED
- 4 balls of baby wool
- a scissors
- all-purpose gum
- Thumbtack pin 📌 (an IMPROVISE for the eyes 👀 😂)
Note: I shaded the pin using a black marker as I couldn't see where to buy the eyes of a teddy bear, lolz...still creativity here I think 💬) - A tissue paper (you need only the inner tissue holder)
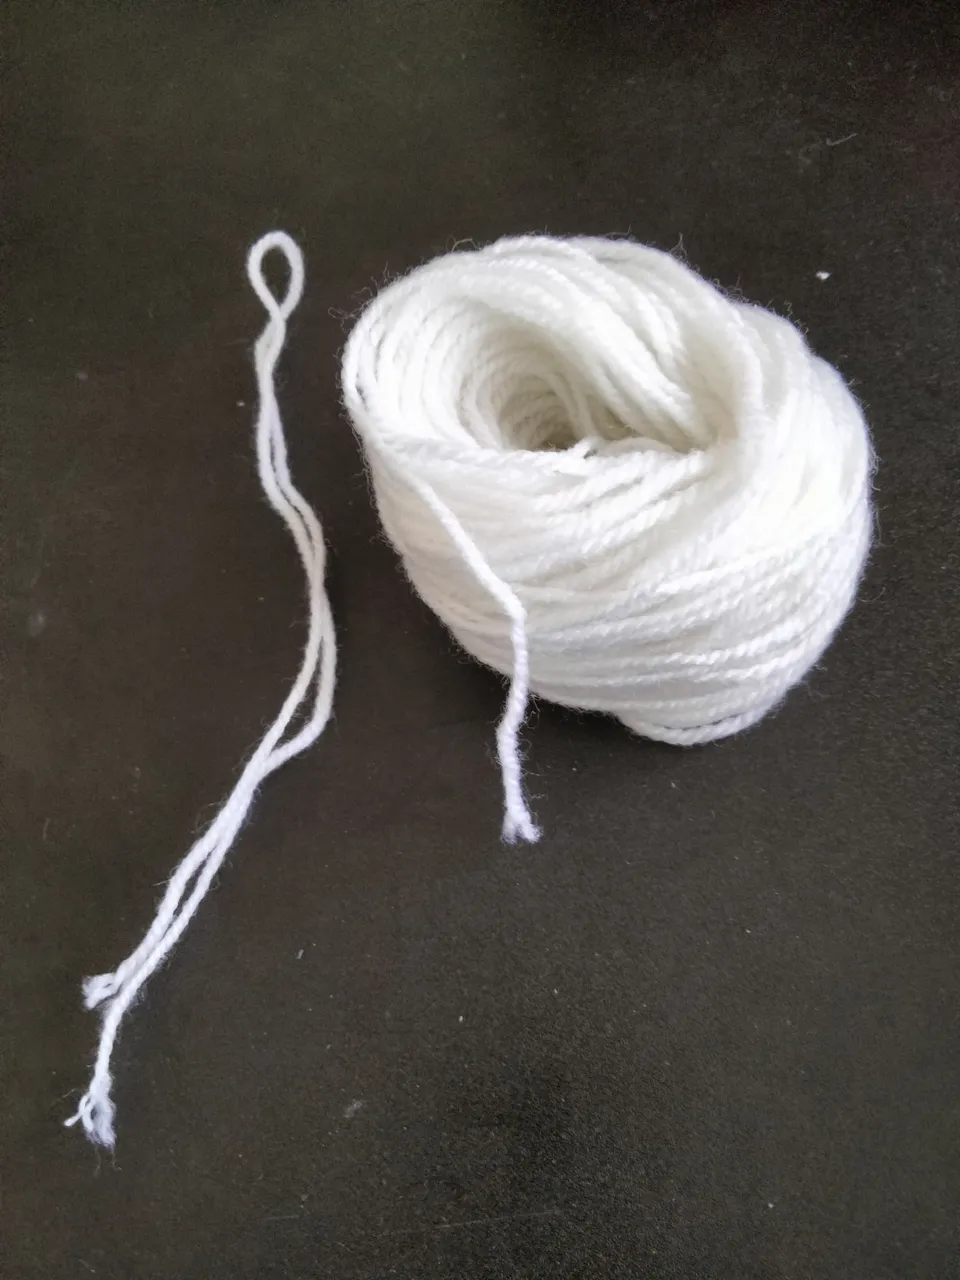
Step one: I started by rolling the White color wool on this kraft paper gotten from tissue paper.
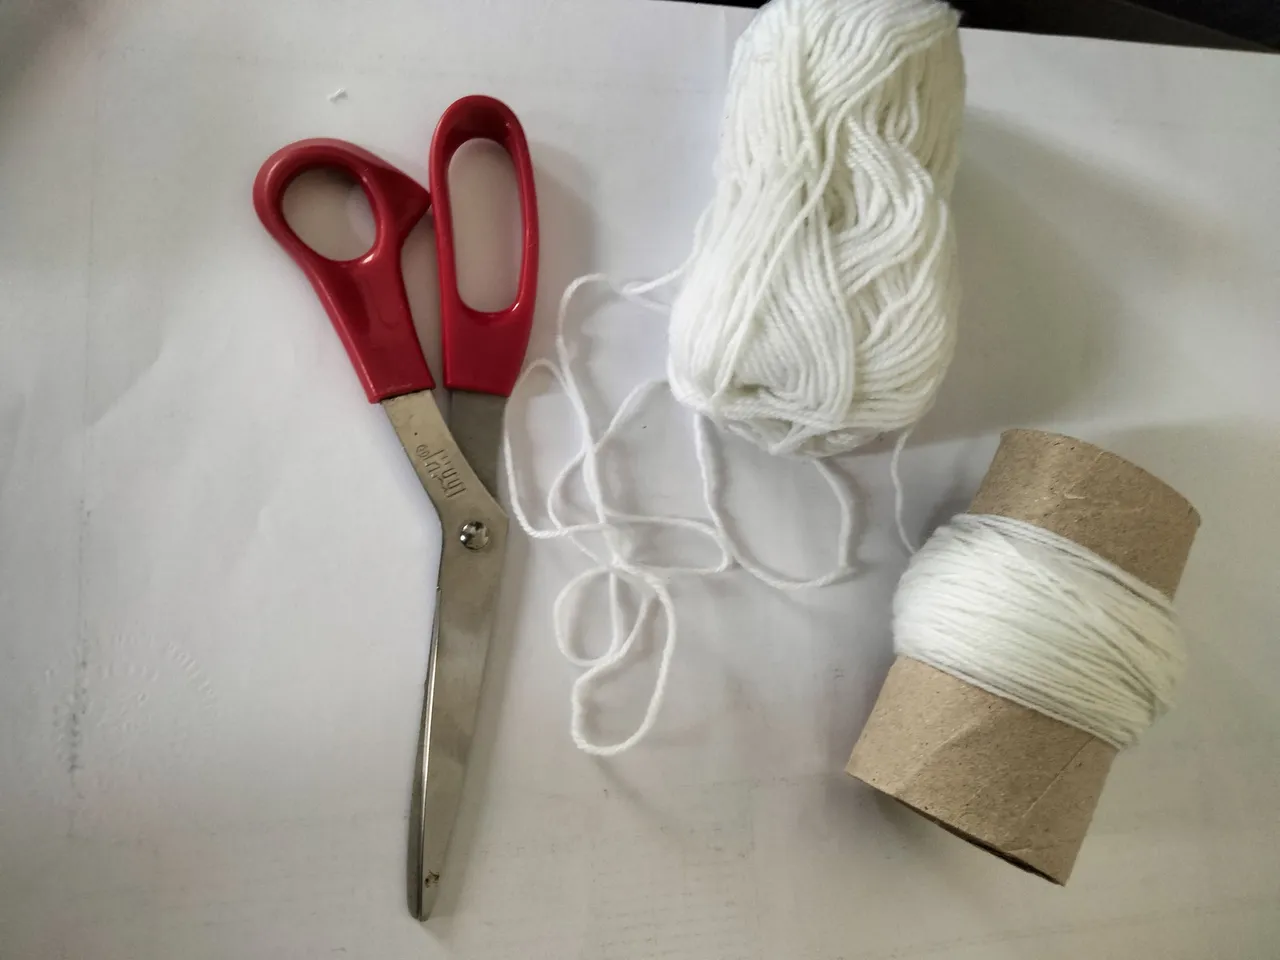
I rolled it around up to 150 times, and then cut it. After which, I carefully removed the rolled wool from the kraft paper, got another strand of wool, and tie it firmly.
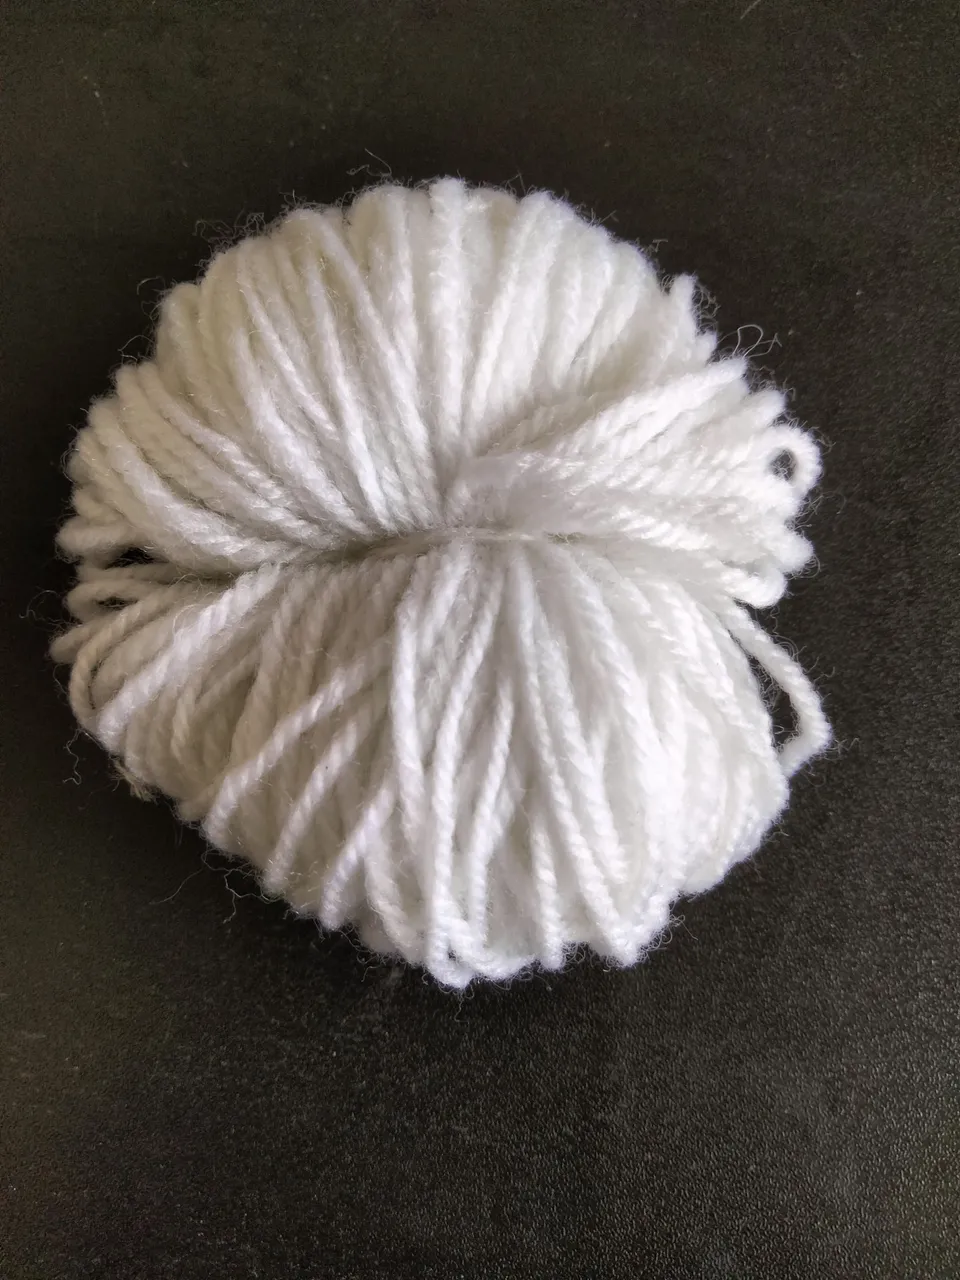
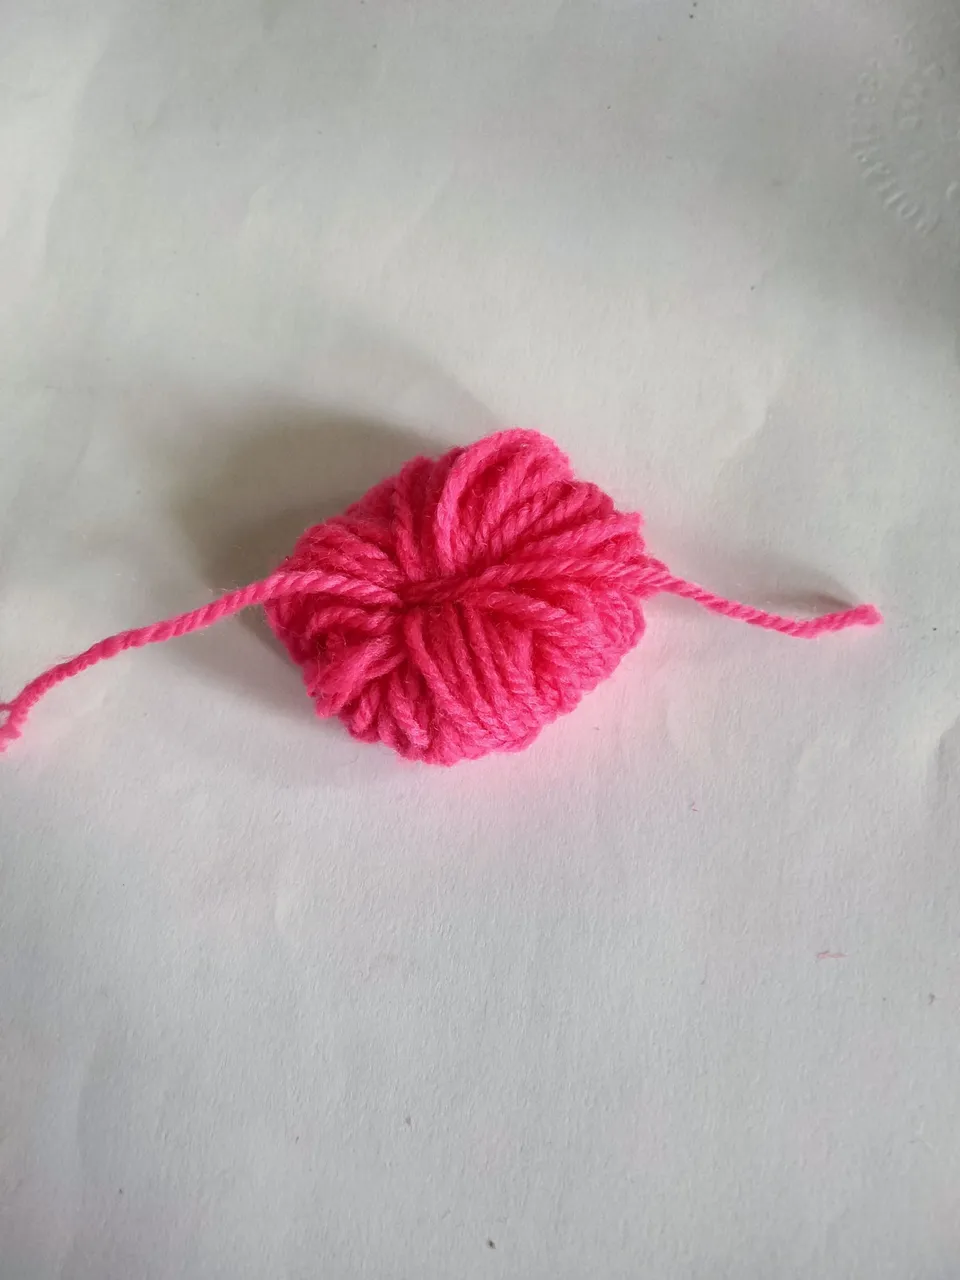
This is how it should look like after tieing it 👇👇
The next step is to carefully trace the opening created while rolling the wool and then cut it at both ends to get this shape 👇👇
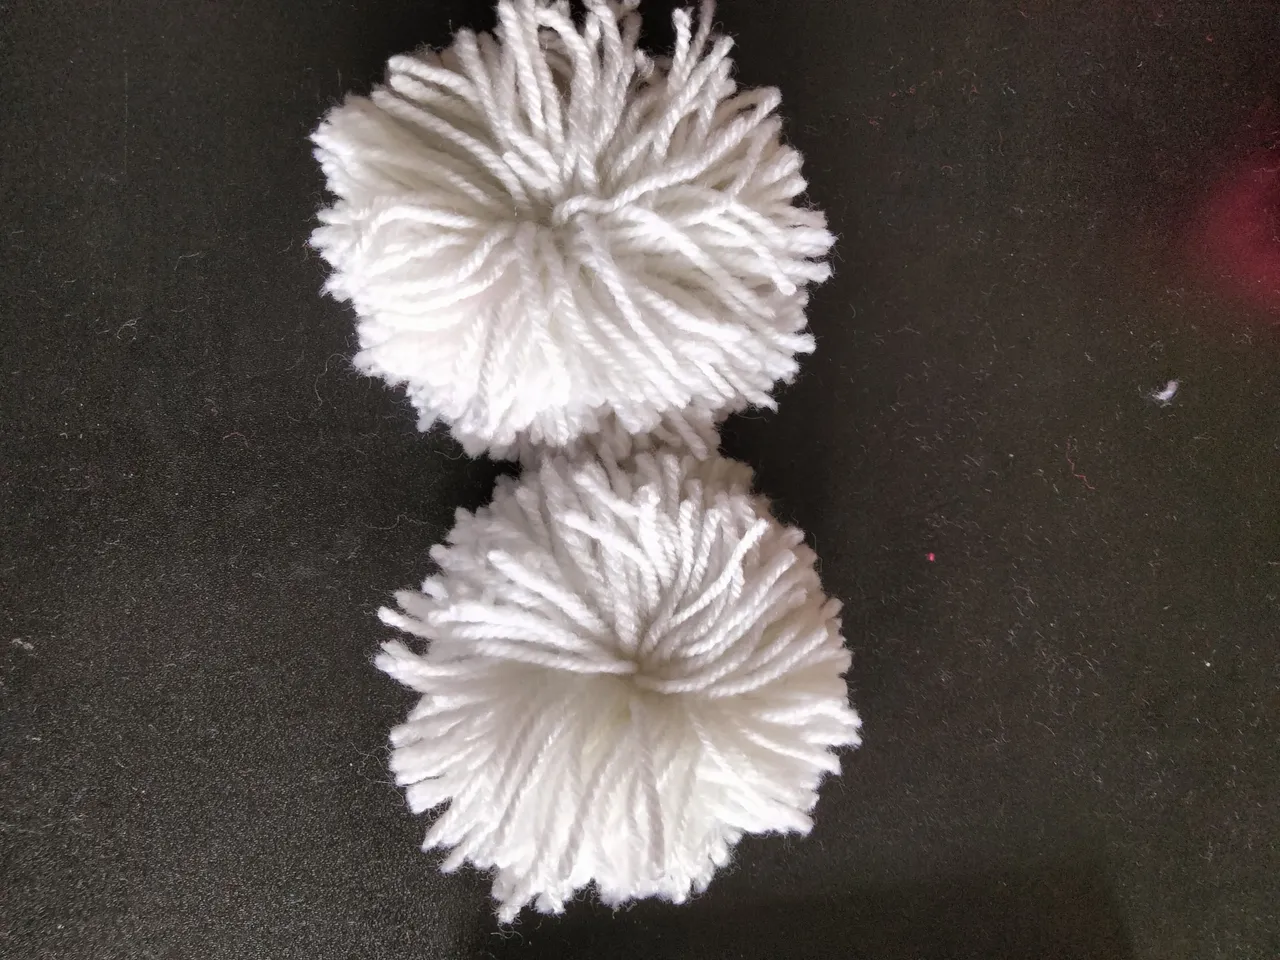
Note: You can repeat this process as many as possible depending on the size of a teddy bear you have in mind to make. For this size I made, I repeated the process 3 times. Also, this particular shape is for the body of the teddy bear.
Now to get the other parts of the teddy bear, I used the pink color and the rolling has to be my two fingers. This is because, I needed ball-likee a shape for this, and also a reduced size.
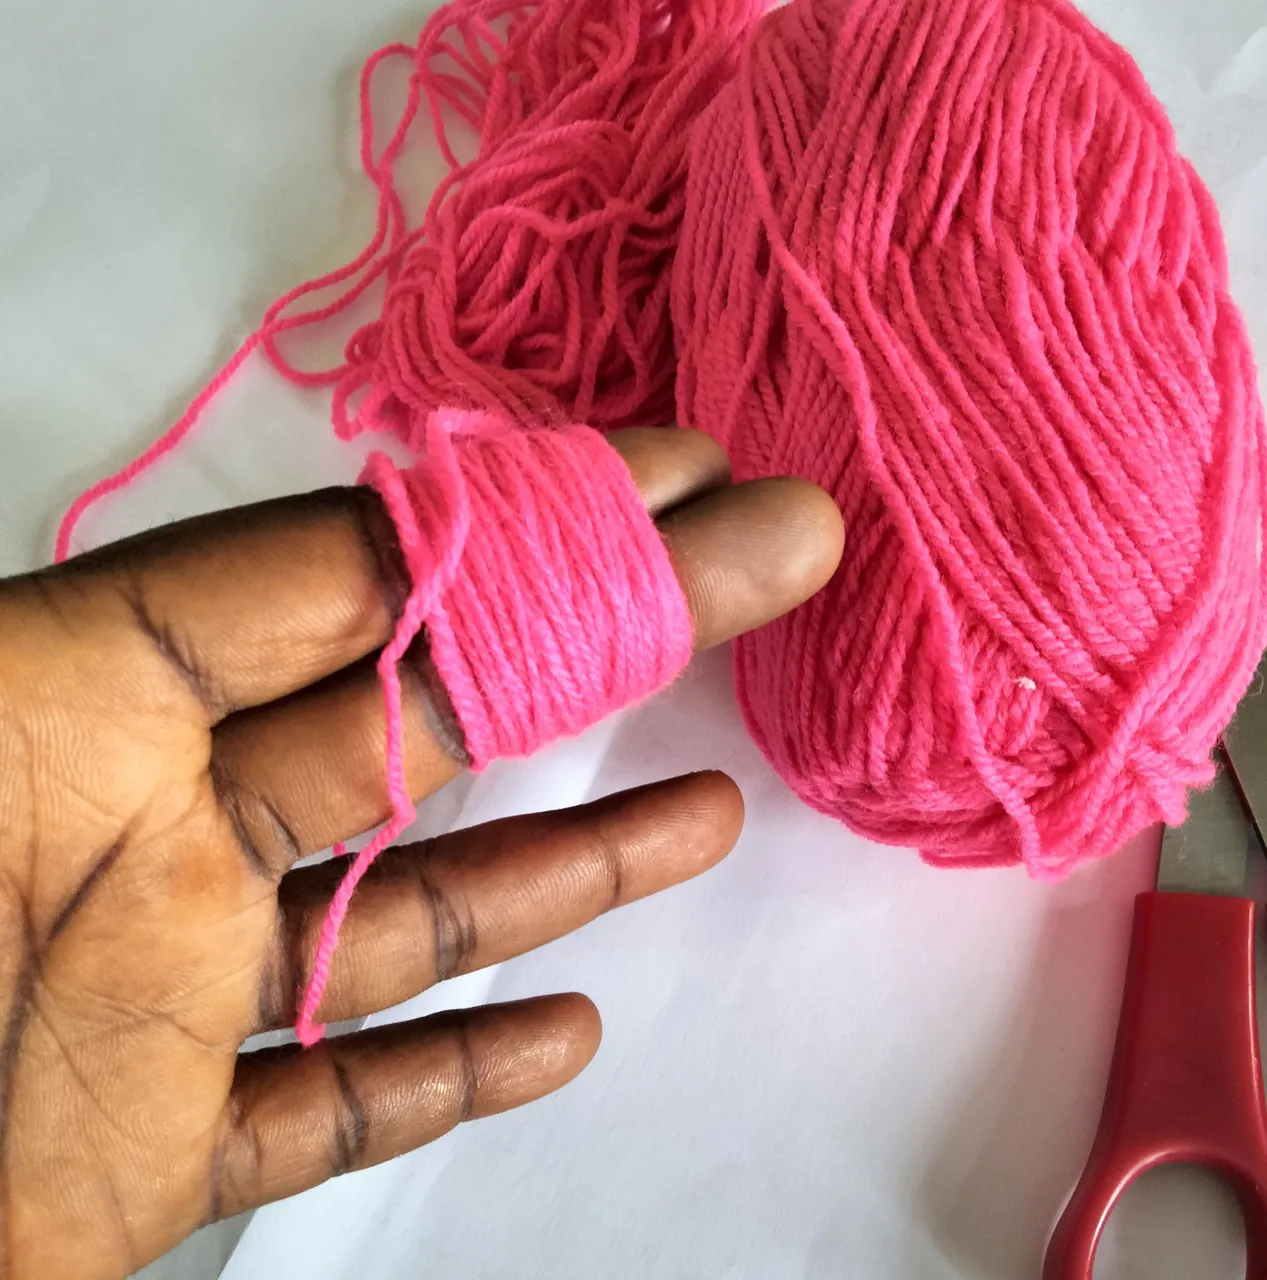
I rolled the wool around my fingers up to 75 times. I had to give each rolling a count to achieve equal shapes. Once you are done rolling, you still need to follow the same process of tieing and cutting as I did previously.
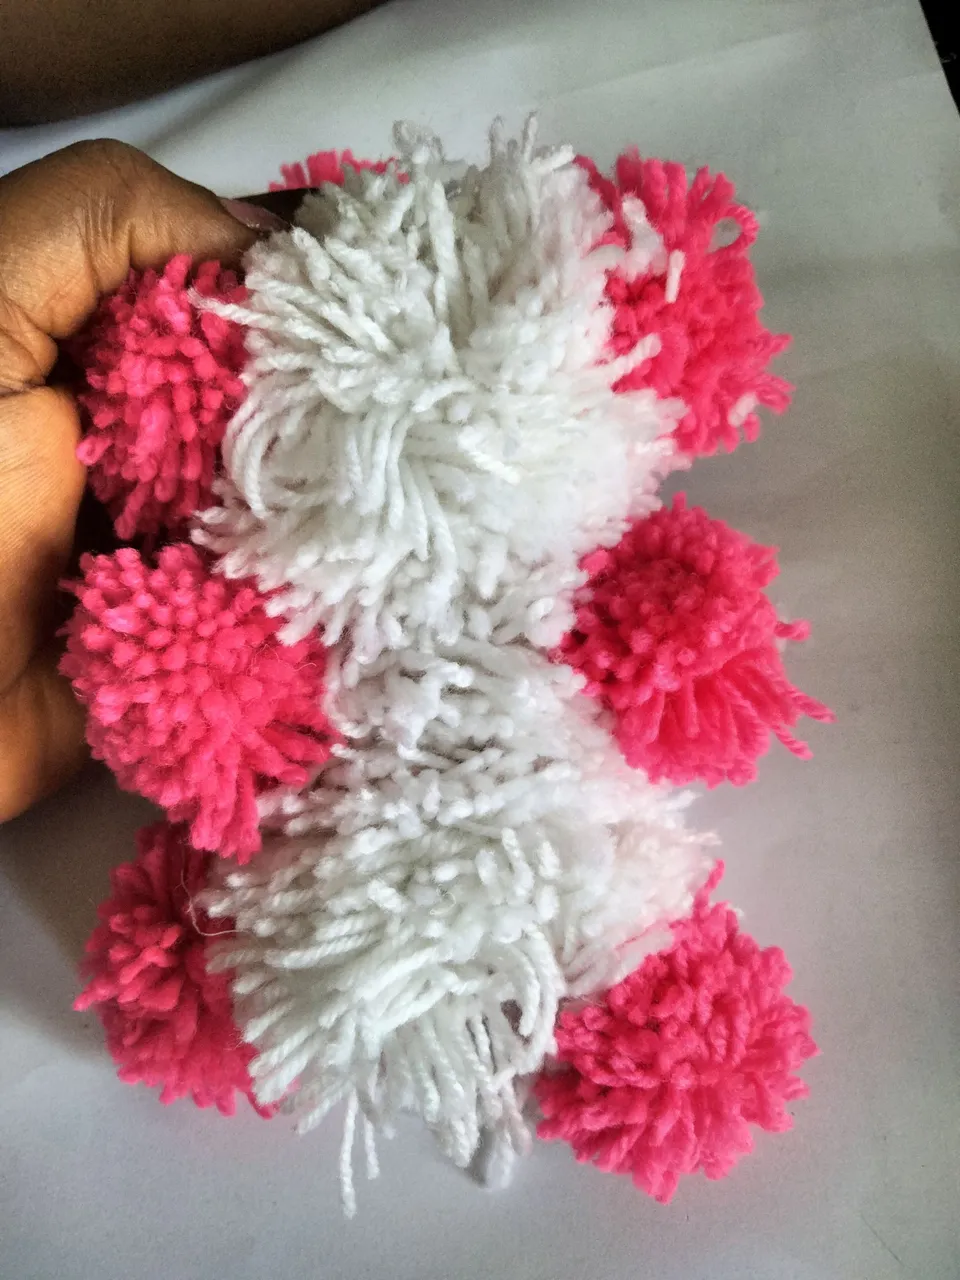
At this stage, I am done forming the number of shapes I needed for the teddy bear, so the next stage is to use the all-purpose gum in attaching the body parts.
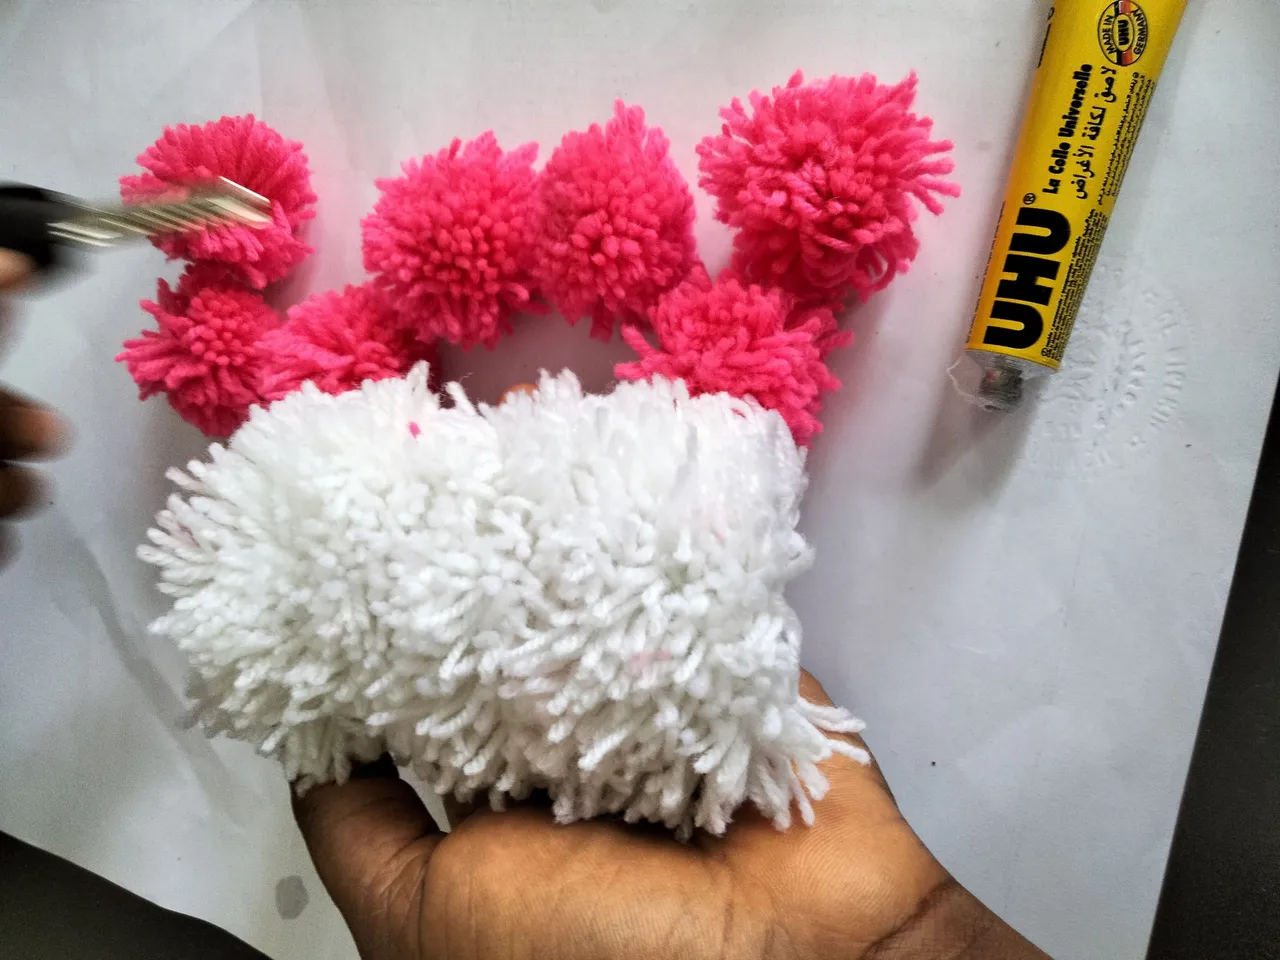
First, I used the gum to assemble the white wools that will form the body of the teddy bear, next is to target the points for the ears, hands, legs, and the tail at the back..lolz

The little tail
Next is to attach the eyes 👀 and the nose using the gum as well.
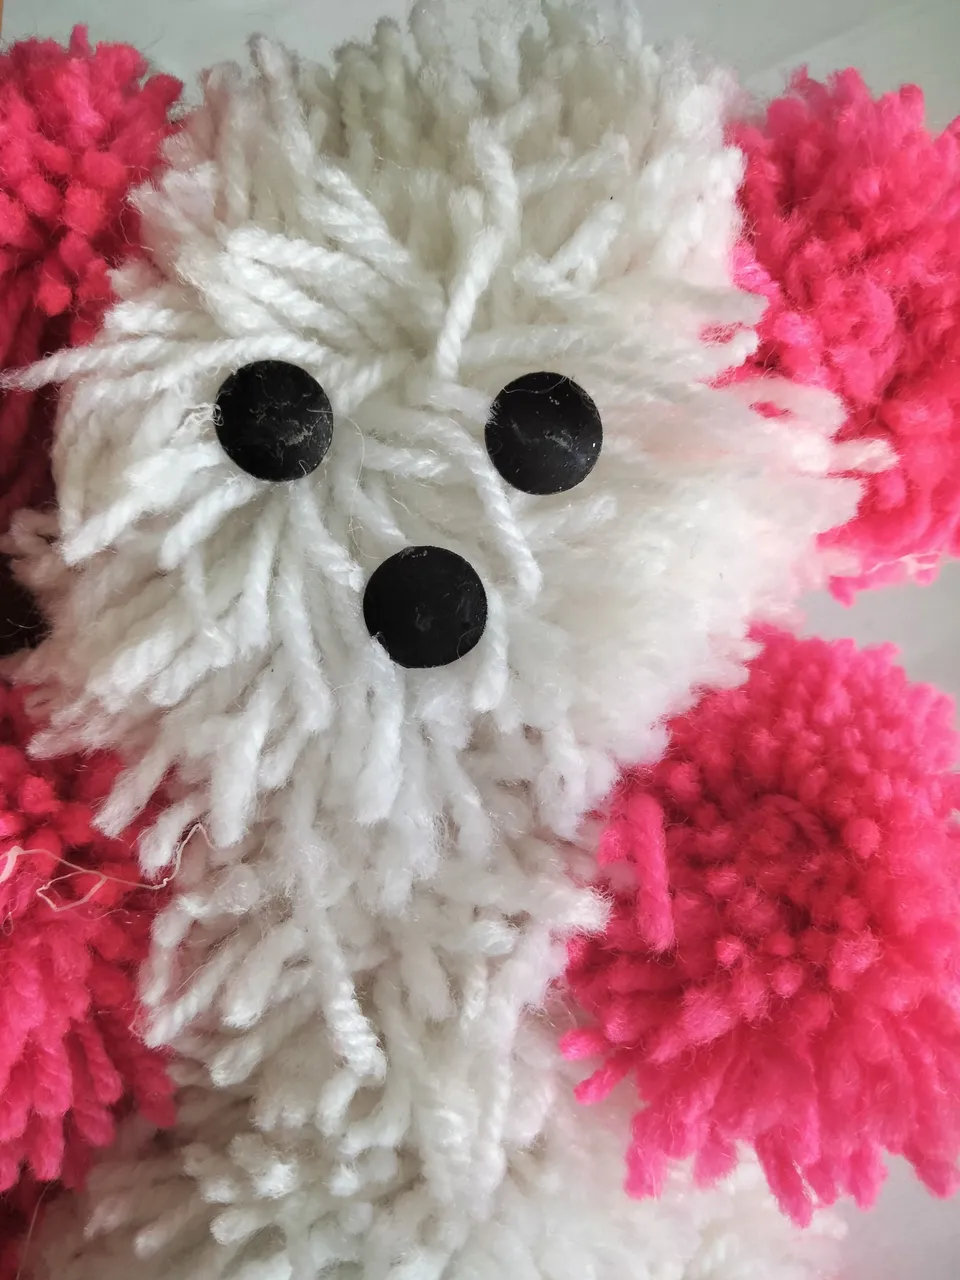
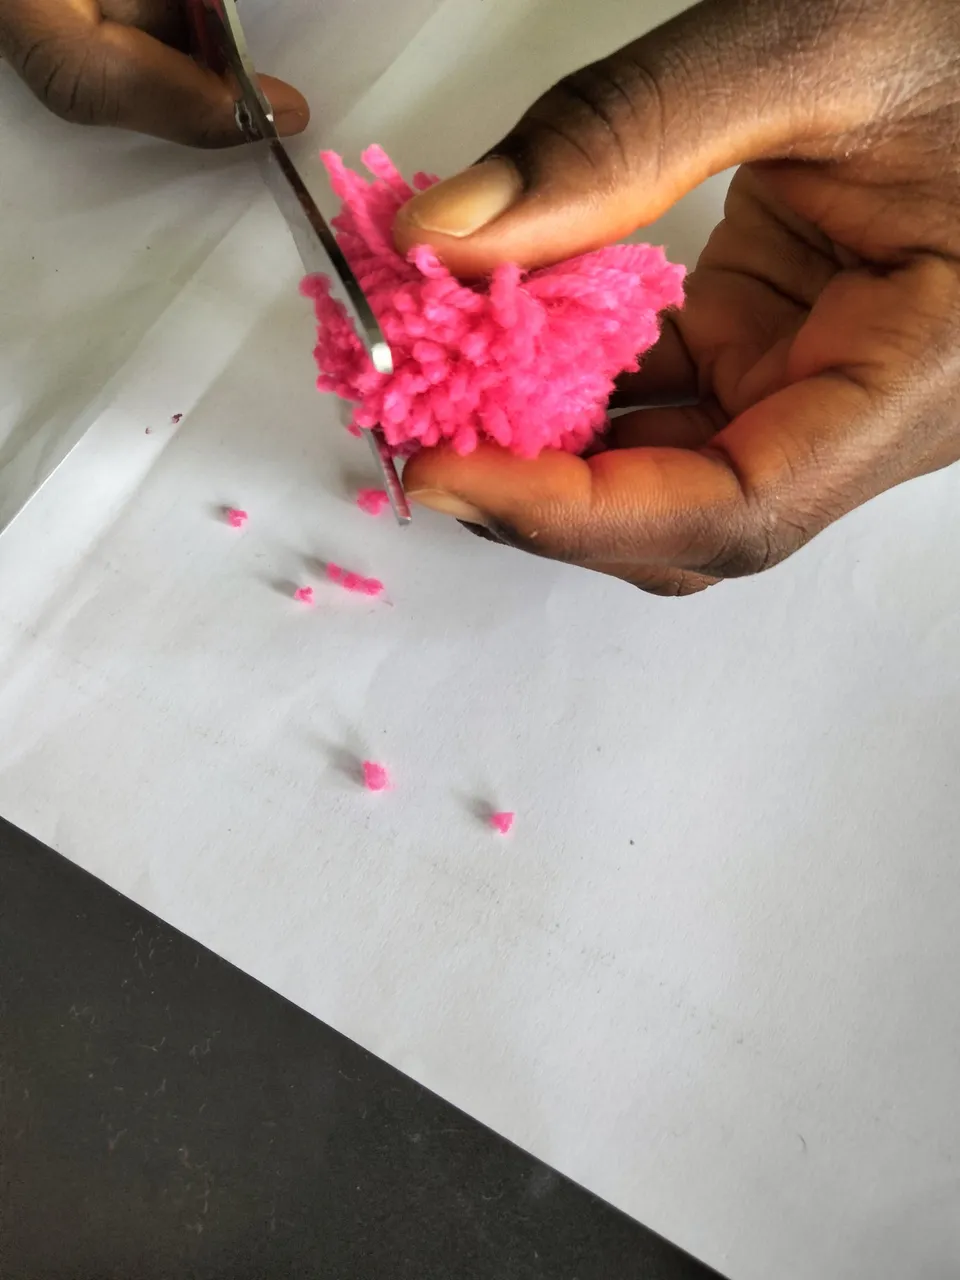
Now that the parts have been attached, using scissors ✂️, trim your work and the teddy bear is ready for use😊
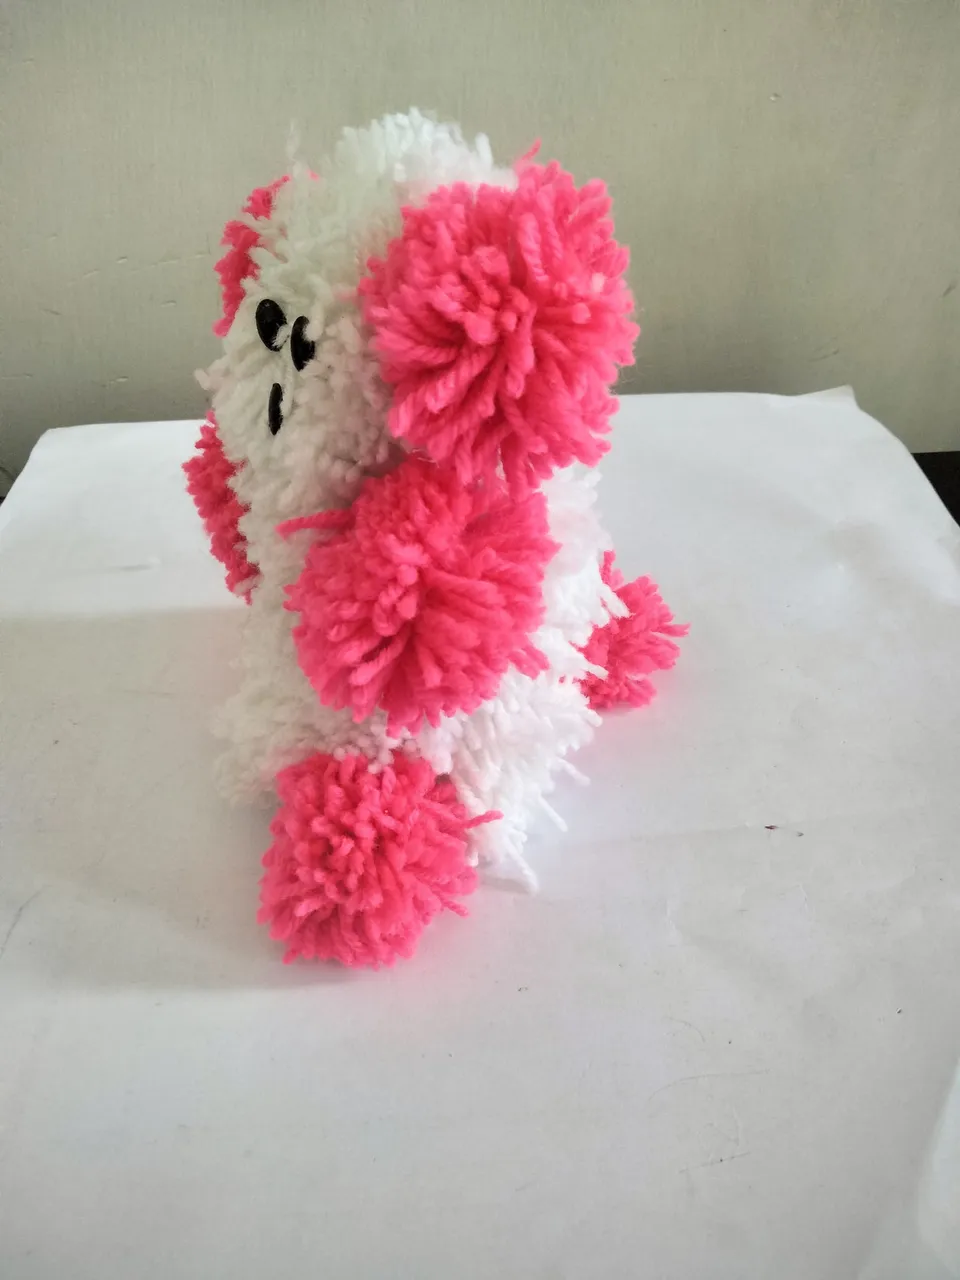
Side view
Front view
Wow, I really had fun with this DIY PROJECT and I am glad to have made this by myself instead of buying one from the market. My baby on the hand has been super excited using the teddy 🧸 bear!
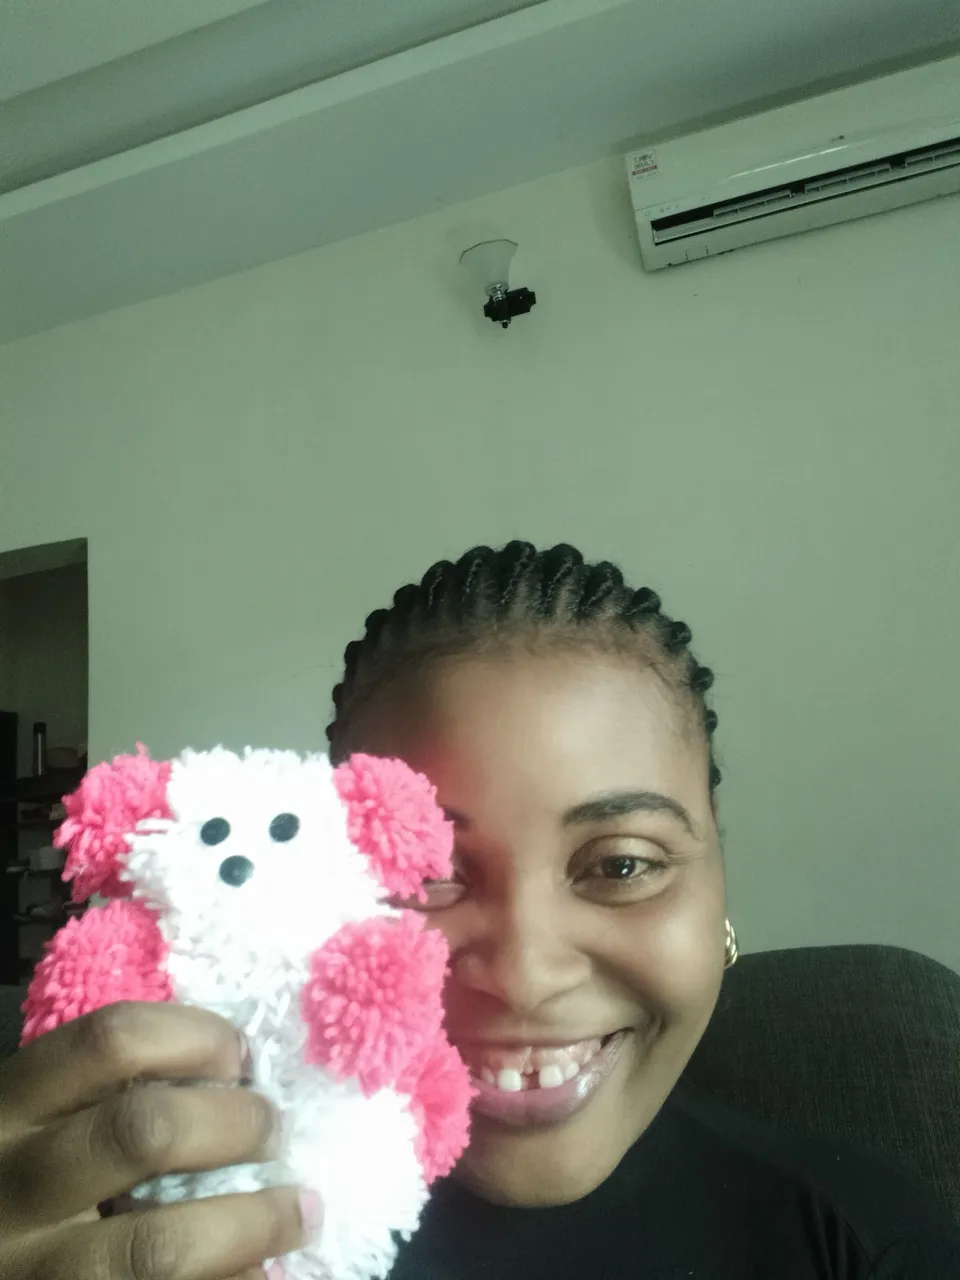
A photo of me with the teddy bear
@mistural, you can come to check the steps I used in making the teddy bear as requested 👍🤗
THANKS FOR READING!!!
PLEASE NOTE, ALL PICTURES ARE MINE TAKEN WITH MY CELL PHONE