Hello Hivers,
Have you ever noticed the different kinds of coconut oils and felt confused about it?
There are several types of coconut oils. The most common are:
- Virgin or Extra Virgin Coconut Oil: unrefined and made in a way to preserve the nutrients as opposed to refined oils.
- Cold Pressed Coconut Oil (I like this best oil for drinking or eating), as the flavour is milder
- Hydrogenated (partially or fully) the least healthy type which contains trans fats and prepared with the application of high heat.
When I first arrived the Philippines and discovered the abundance of coconuts, and just how much coconut oil was a household staple, I set off to learn how to make the oil myself.
With some guidance and instructions from my Filipino friends, it was a fun thing to do outdoors on a nice clear day. I decided to make just enough and see what the results would be first test.
For diy oil made using fire, I limit the usage to external purposes only:
- for a smoother shave
- as a massage oil
- an addition to my diy body scrubs
- as a hair treatment added to my conditioner, after washing my hair
- and as a natural insect repellent.
Below, are the steps with pictures:
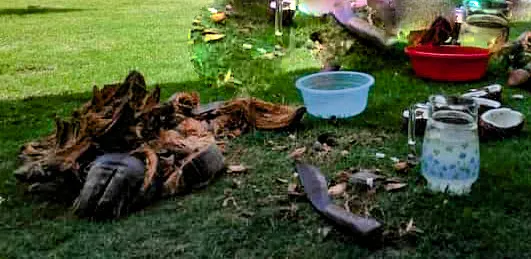
Tools Needed:
- 1 cutlass, machete or bolo (Filipino)
- 1 Coconut Grater
- 1 bowl /basin
- 1 jug (optional)
- 1 lg Frying Pan
- 1 Jar
- 1 Spatula or Ladle
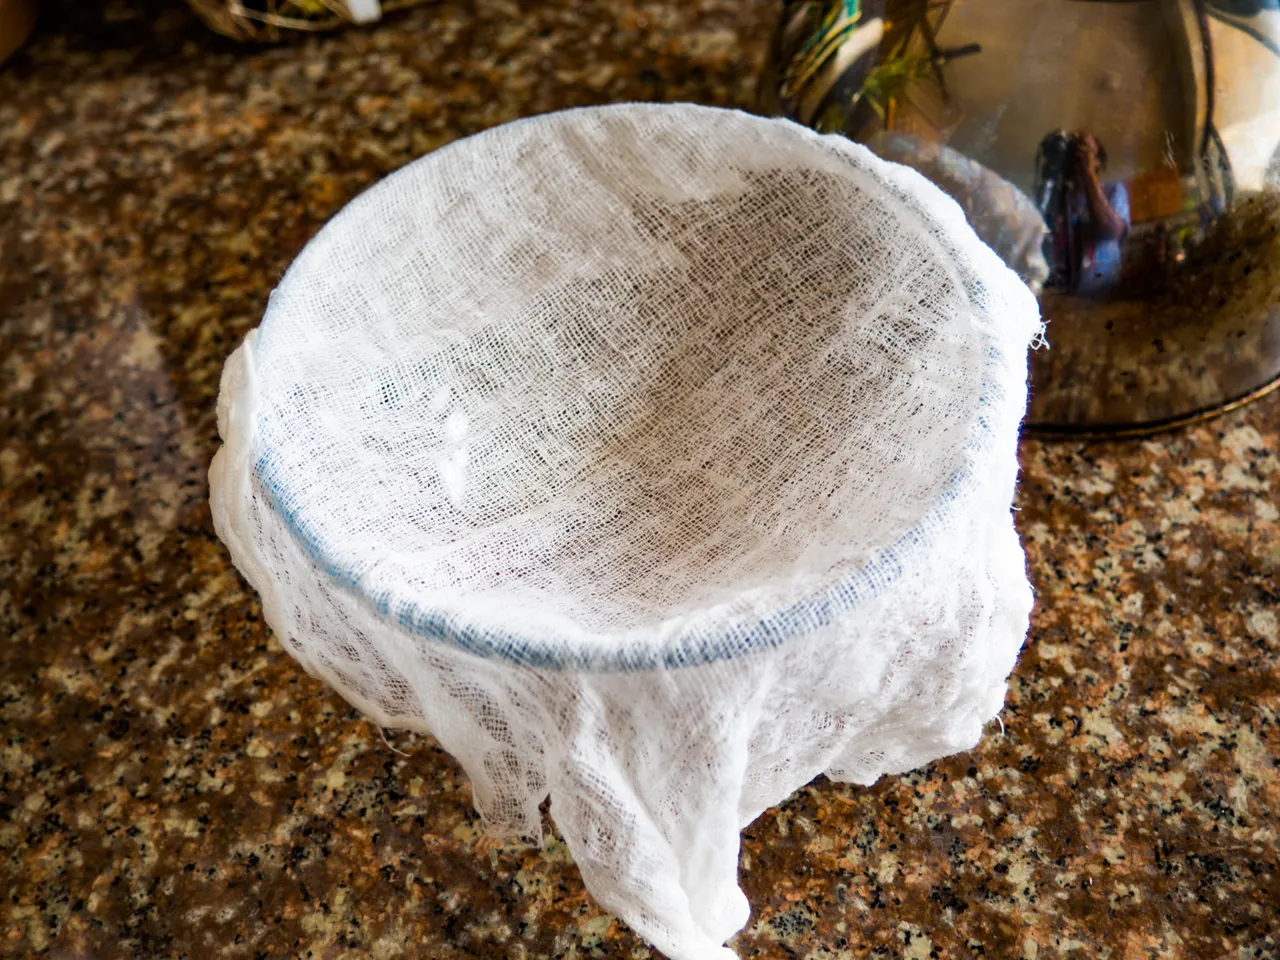
- 1 Pc Cheesecloth
- 1 ice pick / small sharpe knife
Ingredients
- 1.5 litres lukewarm water
- 3 dried coconuts (brown in colour)
Method
Part 1
- Remove the husks from the dried coconuts. You may have to apply a bit of force as the husk tends to be hard.
- Use an ice pick or knife to pierce a hole in the top of the coconut to drain the water from inside the coconut into a jug, (optional) only if the water is still fresh.
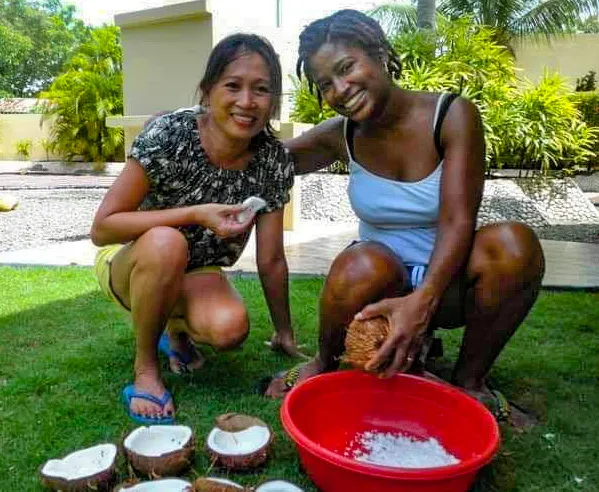
- If there's no desire to drink the water, grab your machete, and chop coconuts in half, horizontally.
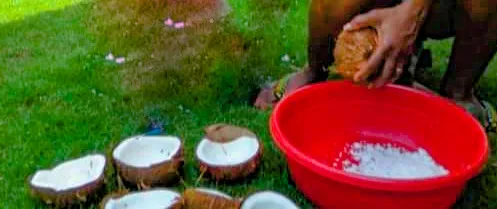
- if using a professional (Filipino) Coconut Grater, as I am, leave the coconut in the hard shell. However, if you'll be using a hand grater, carefully remove the kernel (the dried meat) from the coconut shell and grate. Otherwise, comfortably sit on a coconut grinder-stool as seen below, and grate away.
- See the blade attached to the end of the seated grater, use both hands to grind the coconut kernel on that blade.
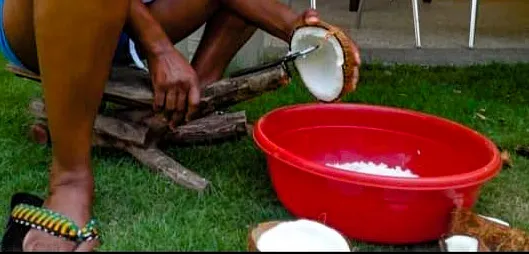
Like so? YES!
- Firm grip of coconut and you'll get the rhythm.
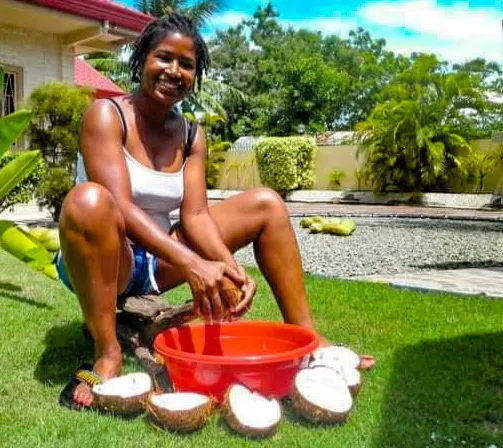
I'm enjoying the hand movement; up an down, as the coconut grinds.

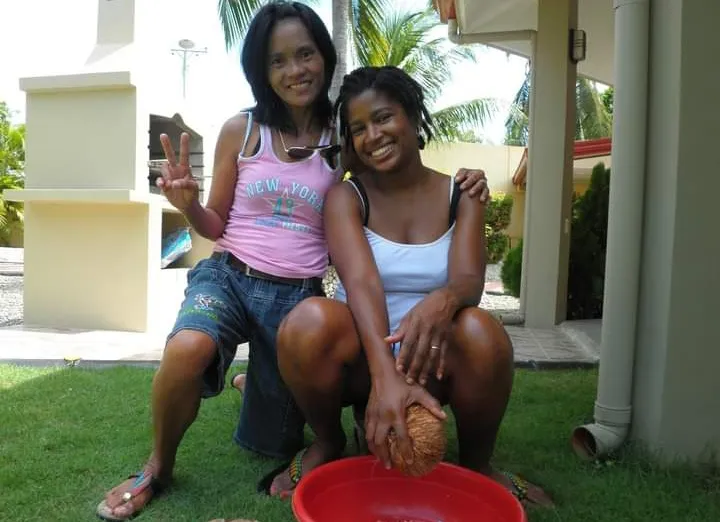
My friend Margie likes to eat the hard coconut kernel, but I like my jelly young, so I'll use it all to make the oil.
My other instructor friend, Merly approves, so "Peace"
Part 2
Transfer the grated coconut to a bowl (colour change due to lighting).
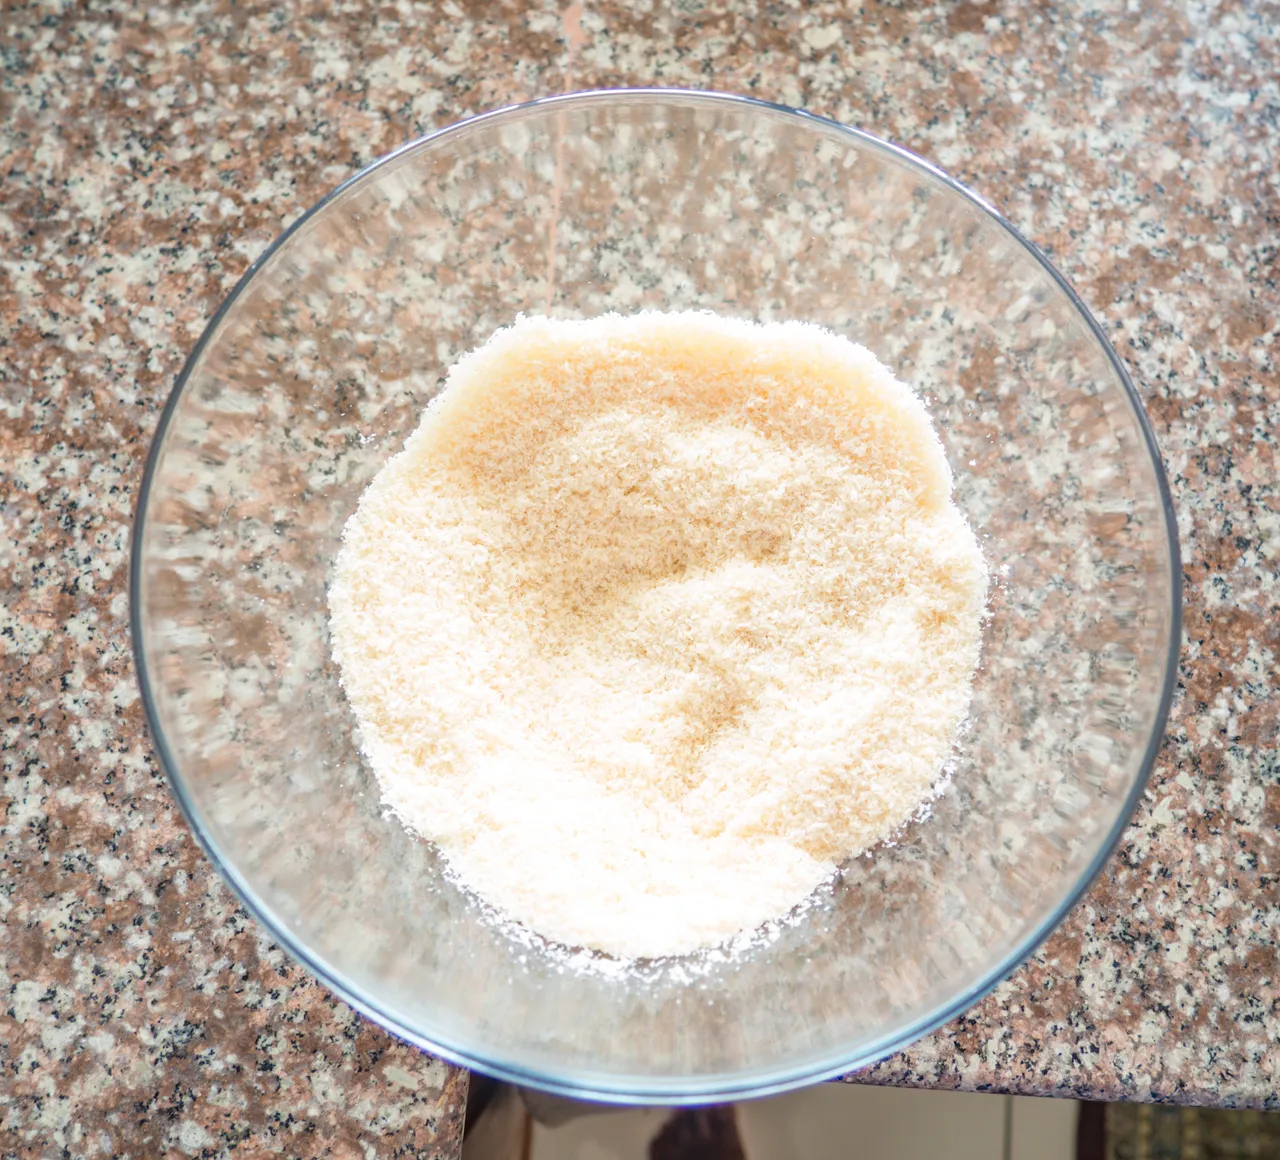
Add lukewarm water to the bowl and stir thoroughly till completely blended.
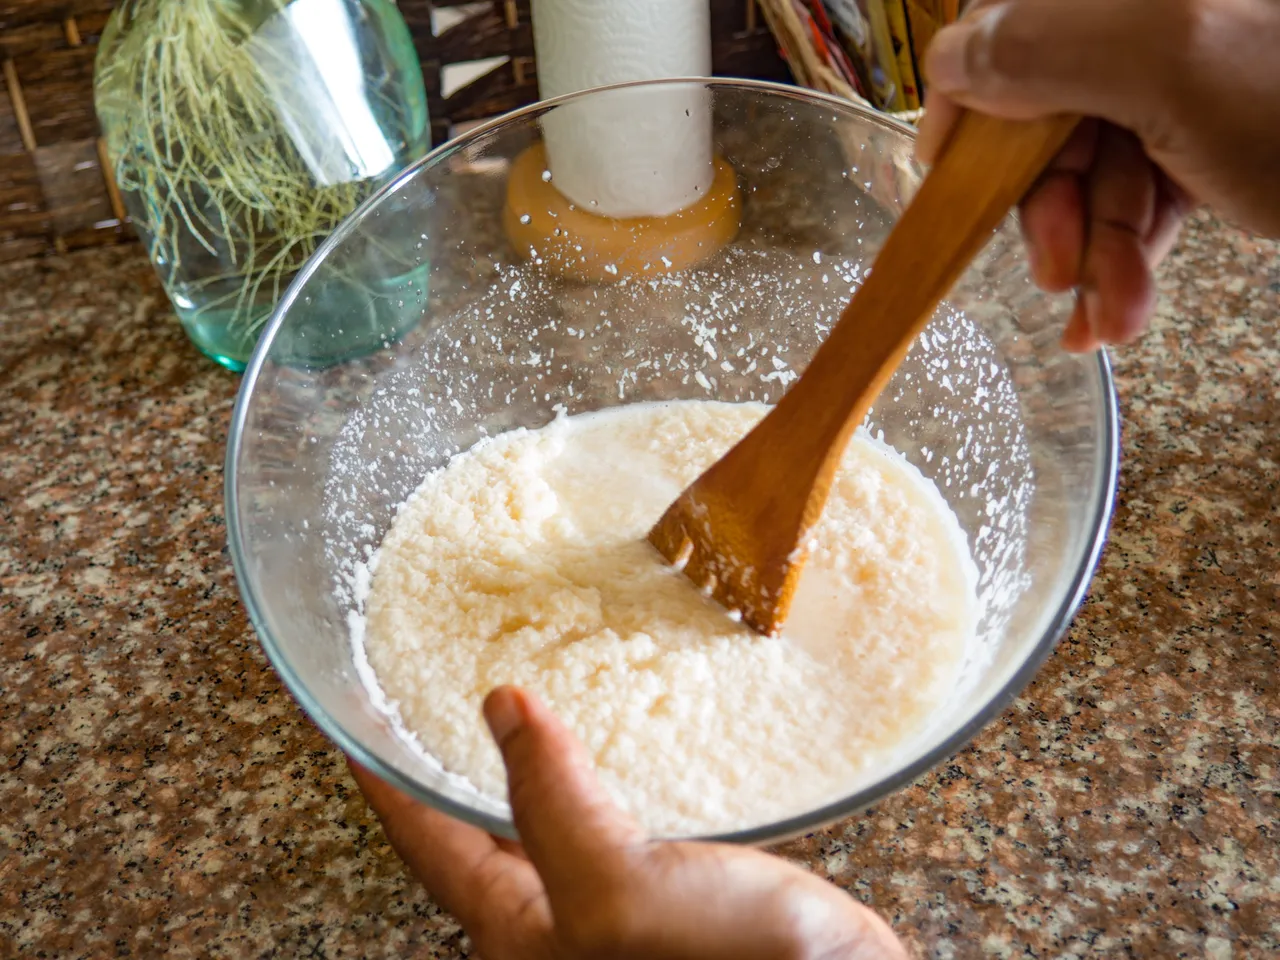
(Then, use can your hands to squeeze the milk out, optional)
I prefer to place the grated coconut in a cheesecloth to extract the milk.
This liquid flowing out is actually coconut milk, which came from the grated coconut and water combined.
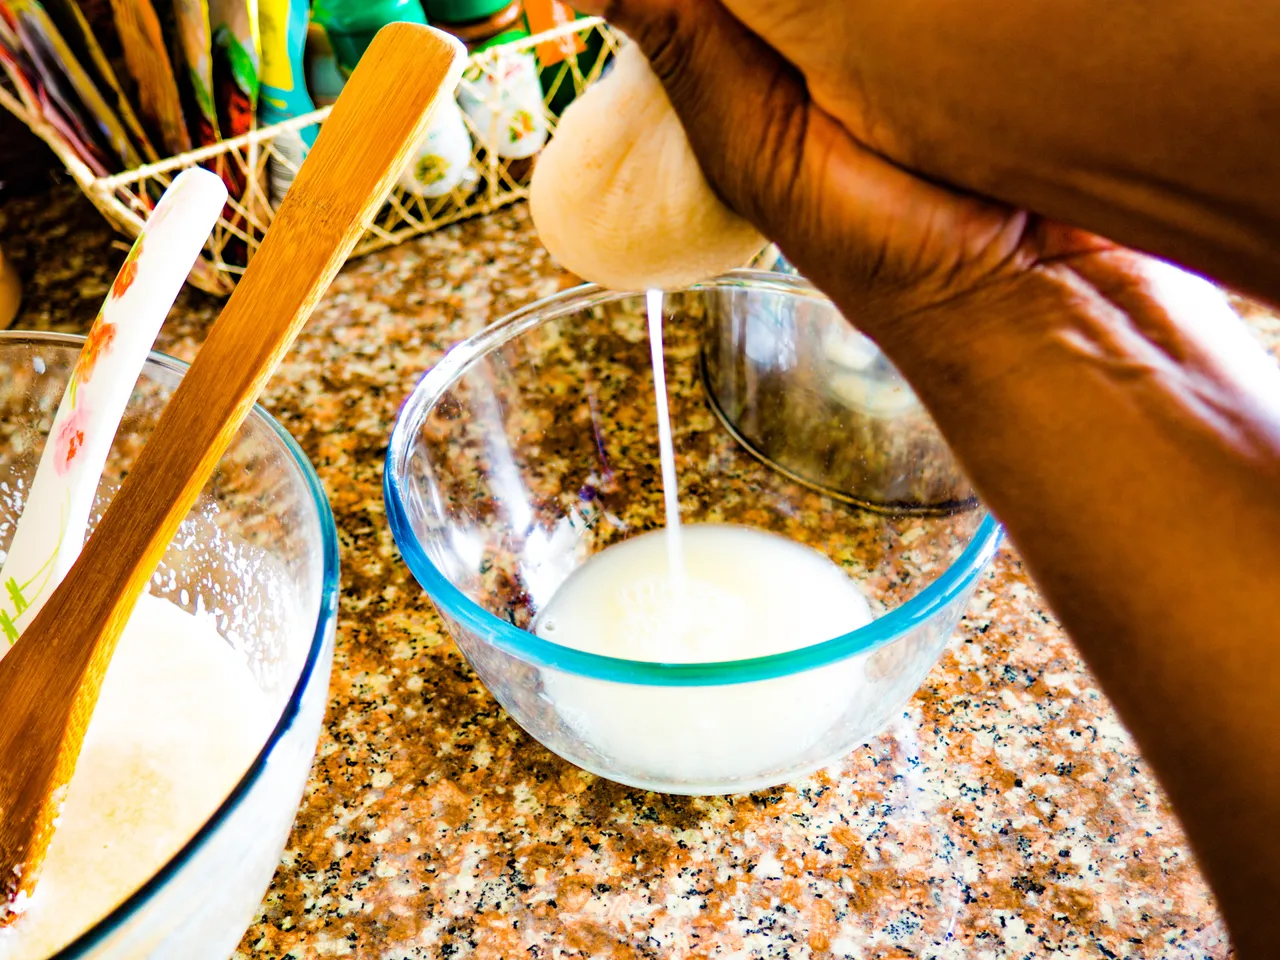
- The extracted milk should look something like this.
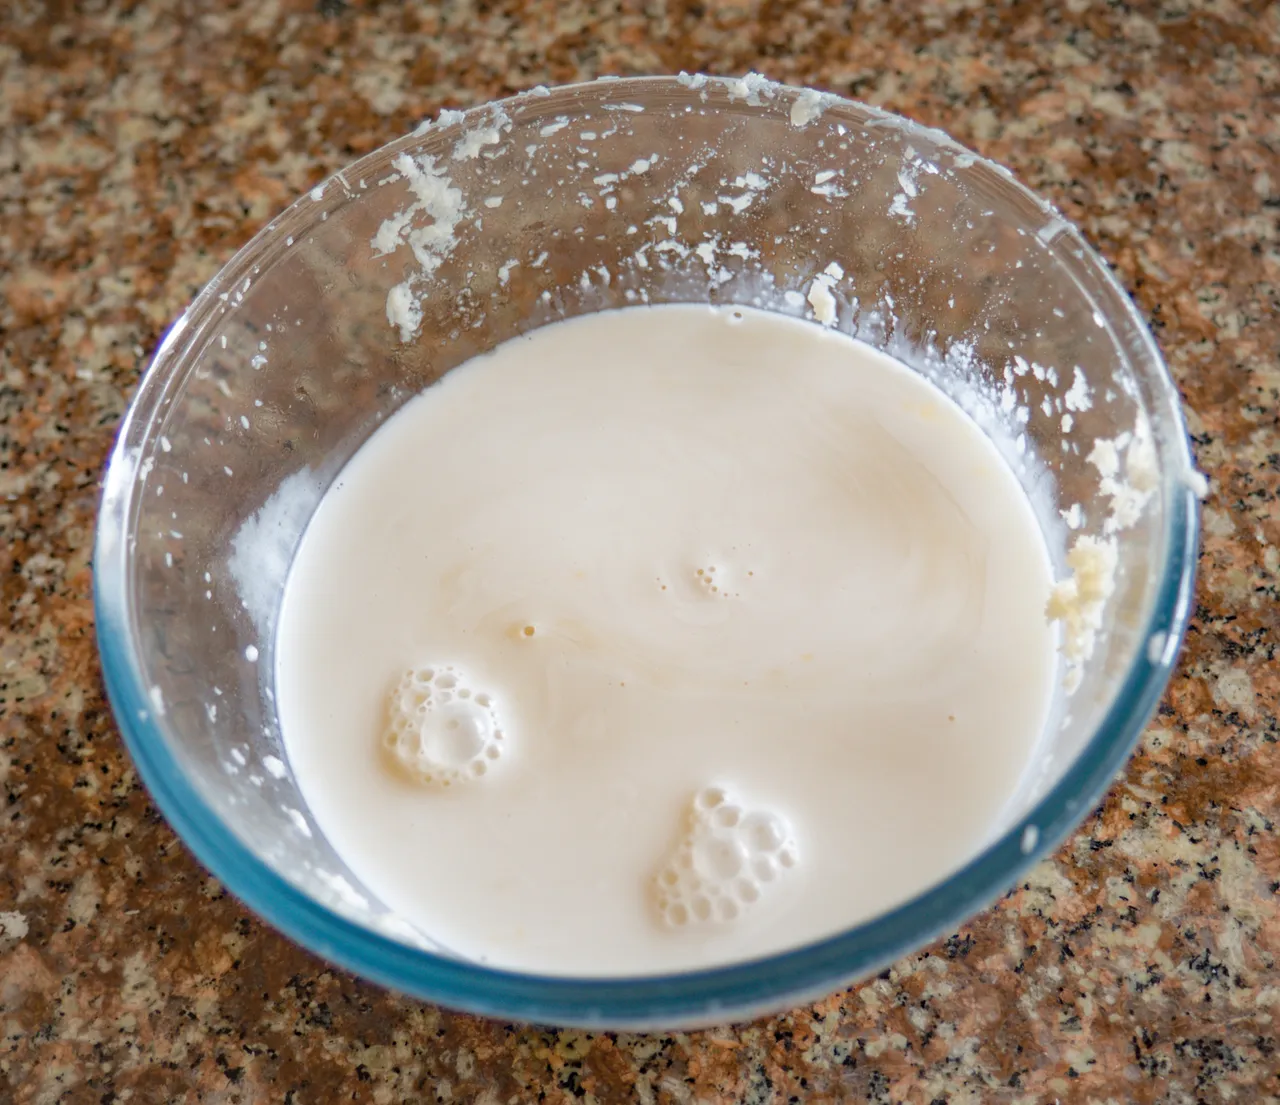
- Place the extracted coconut milk in a large pan.

- On high heat, continuously stir the coconut milk with a spatula or ladle.
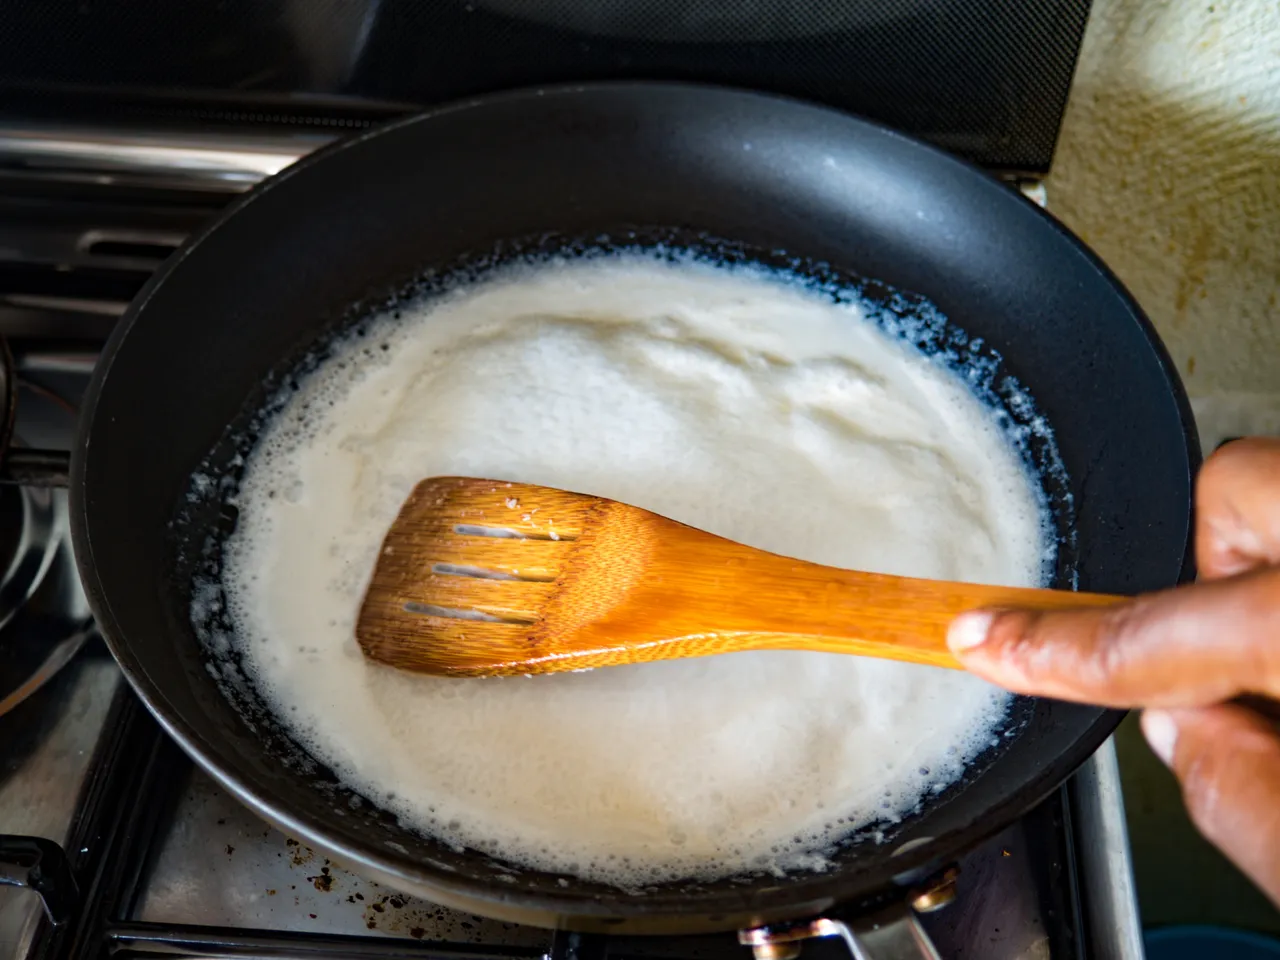
- Stir the mixture continuously, and gradually you'll see the oil start to form as the water evaporates and the oil rises.
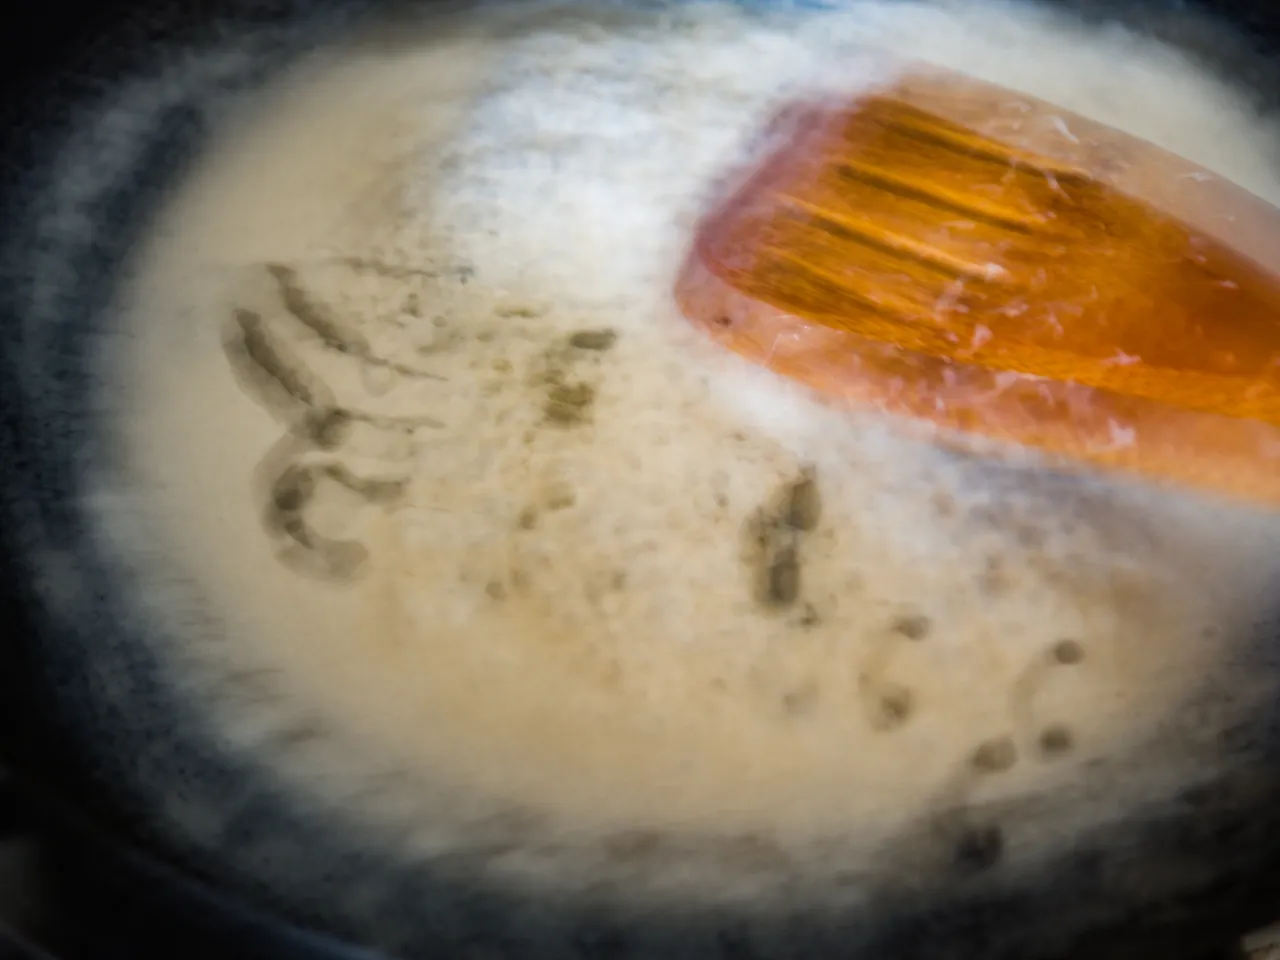
- Keep stirring to prevent the oil from burning or turning too brown. Also, the oil will maintain a more natural scent without a smoke residue.

- Slowly, as you continue stirring for about 45 minutes to 1.5 hours, you'll see the oil forming.
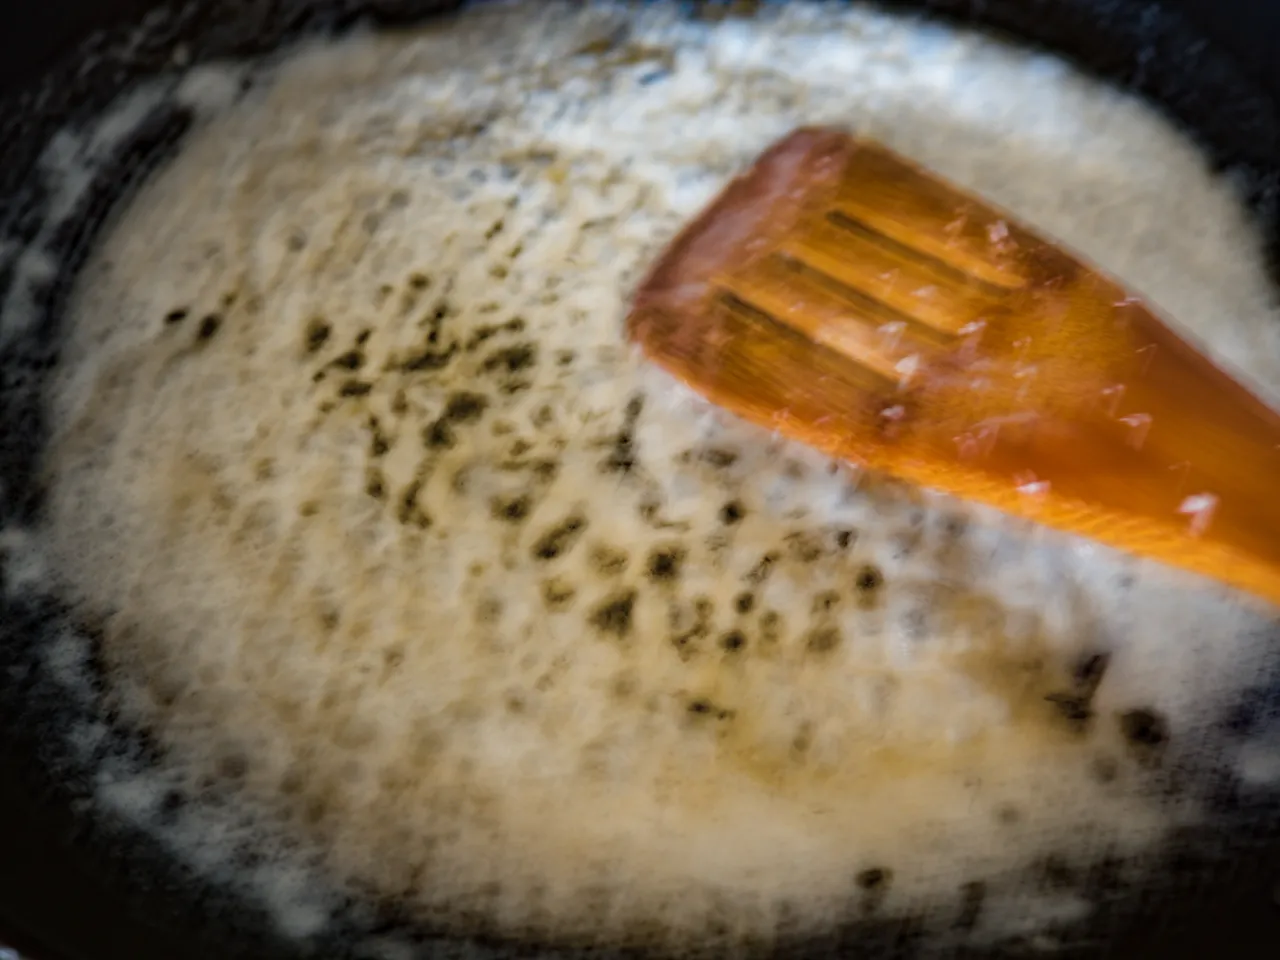
N.B. It's normal for the oil to go a little brown, that's the difference between making the oil using fire method vs other methods.
- Strain the coconut oil from the solidified coconut cream.
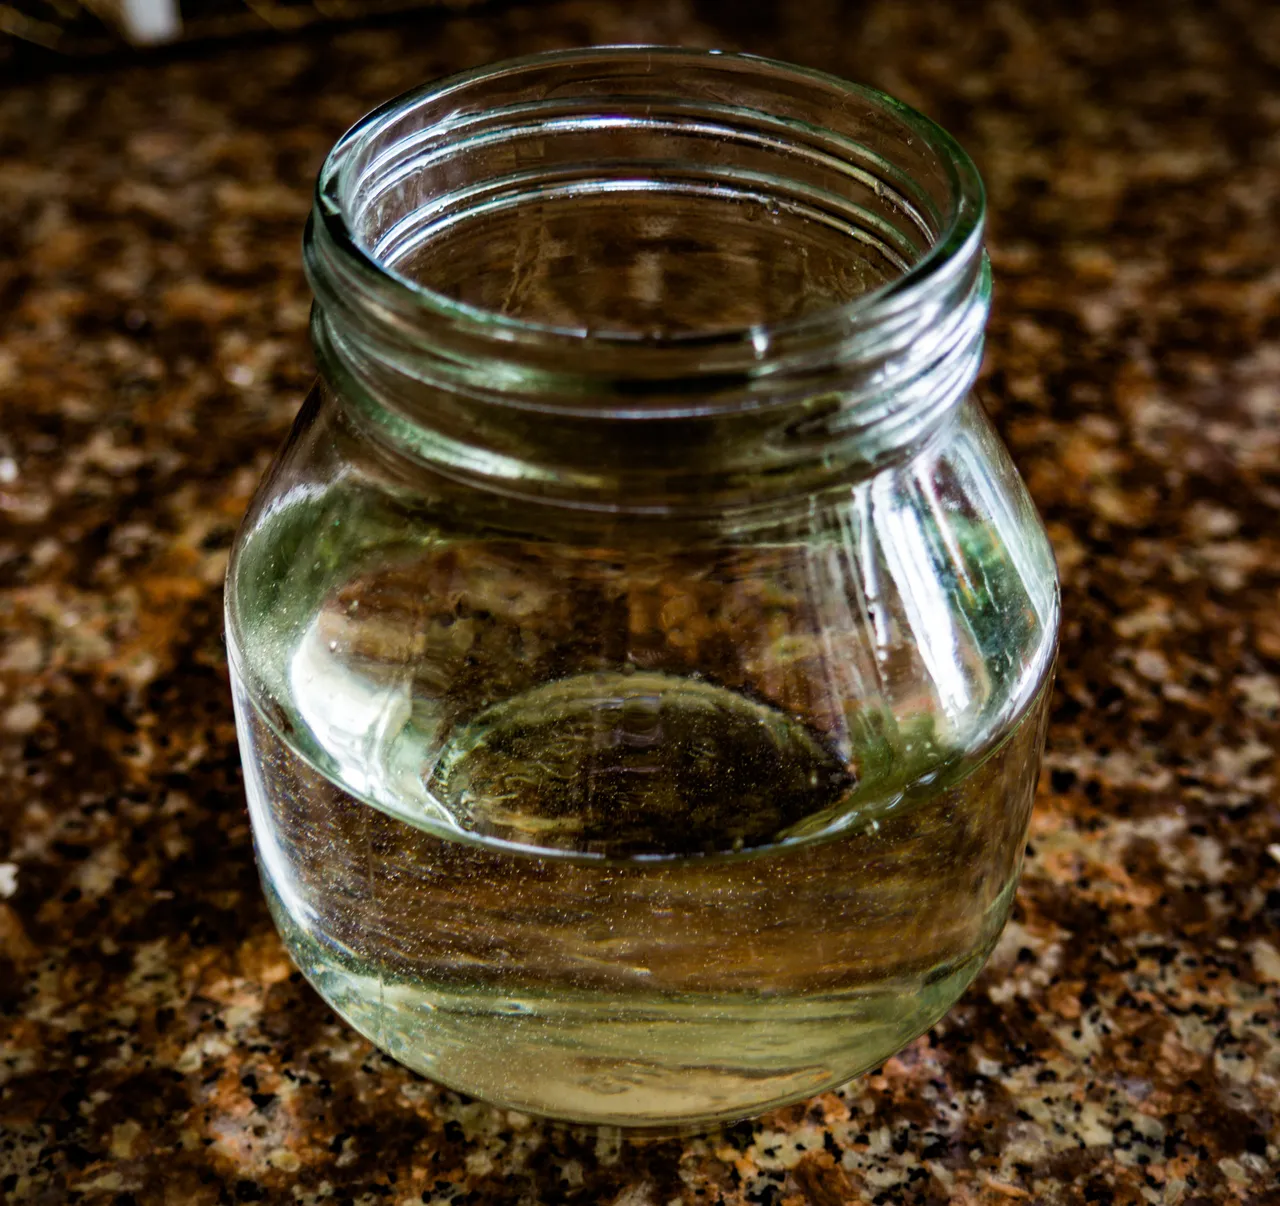
- Leave oil to cool, then pour the oil into a jar.
- Seal jar and store in a dry place.
It always feels like a big mission completed whenever I seal the jar, because the reality is that this procedure could be regarded more as a hobby. Reason being, as for cooking or internal purposes, I tend to always go for coconut oils that are of a very high quality - Fair trade Certified and with a Non-GMO Seal of Approval, or Organic and I really love the taste of Cold Pressed Coconut Oils.
Now you know...would you give it a try?
As, usual, I thank you so much for reading my blog!
So long till my next one:)