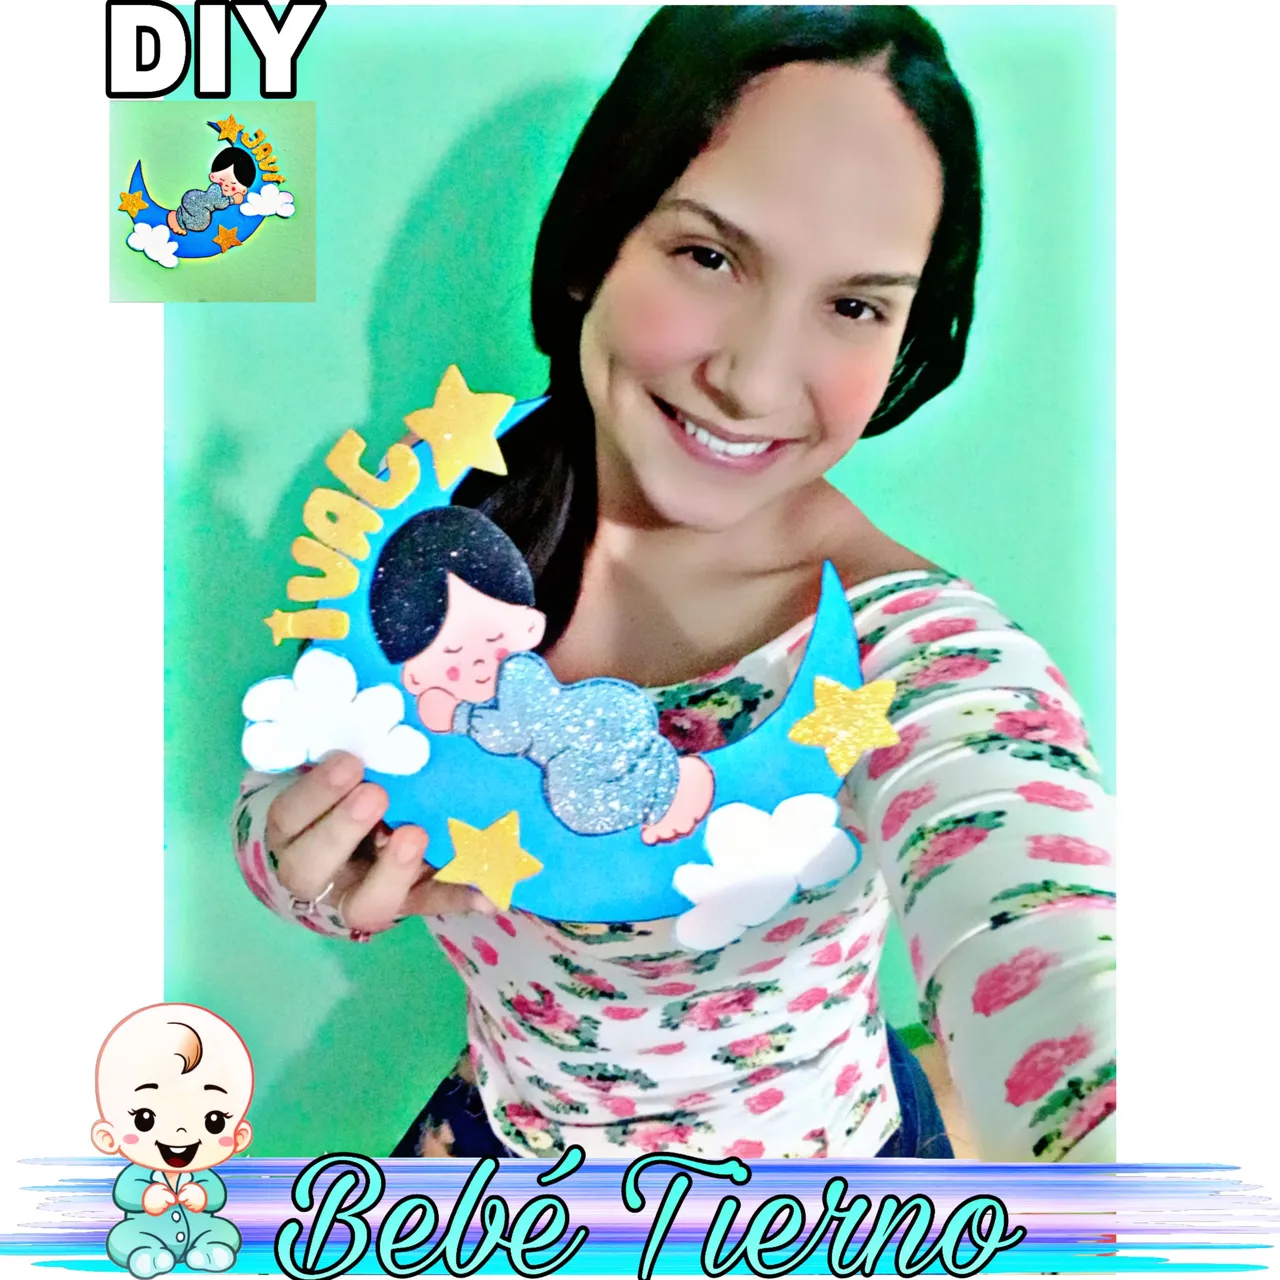
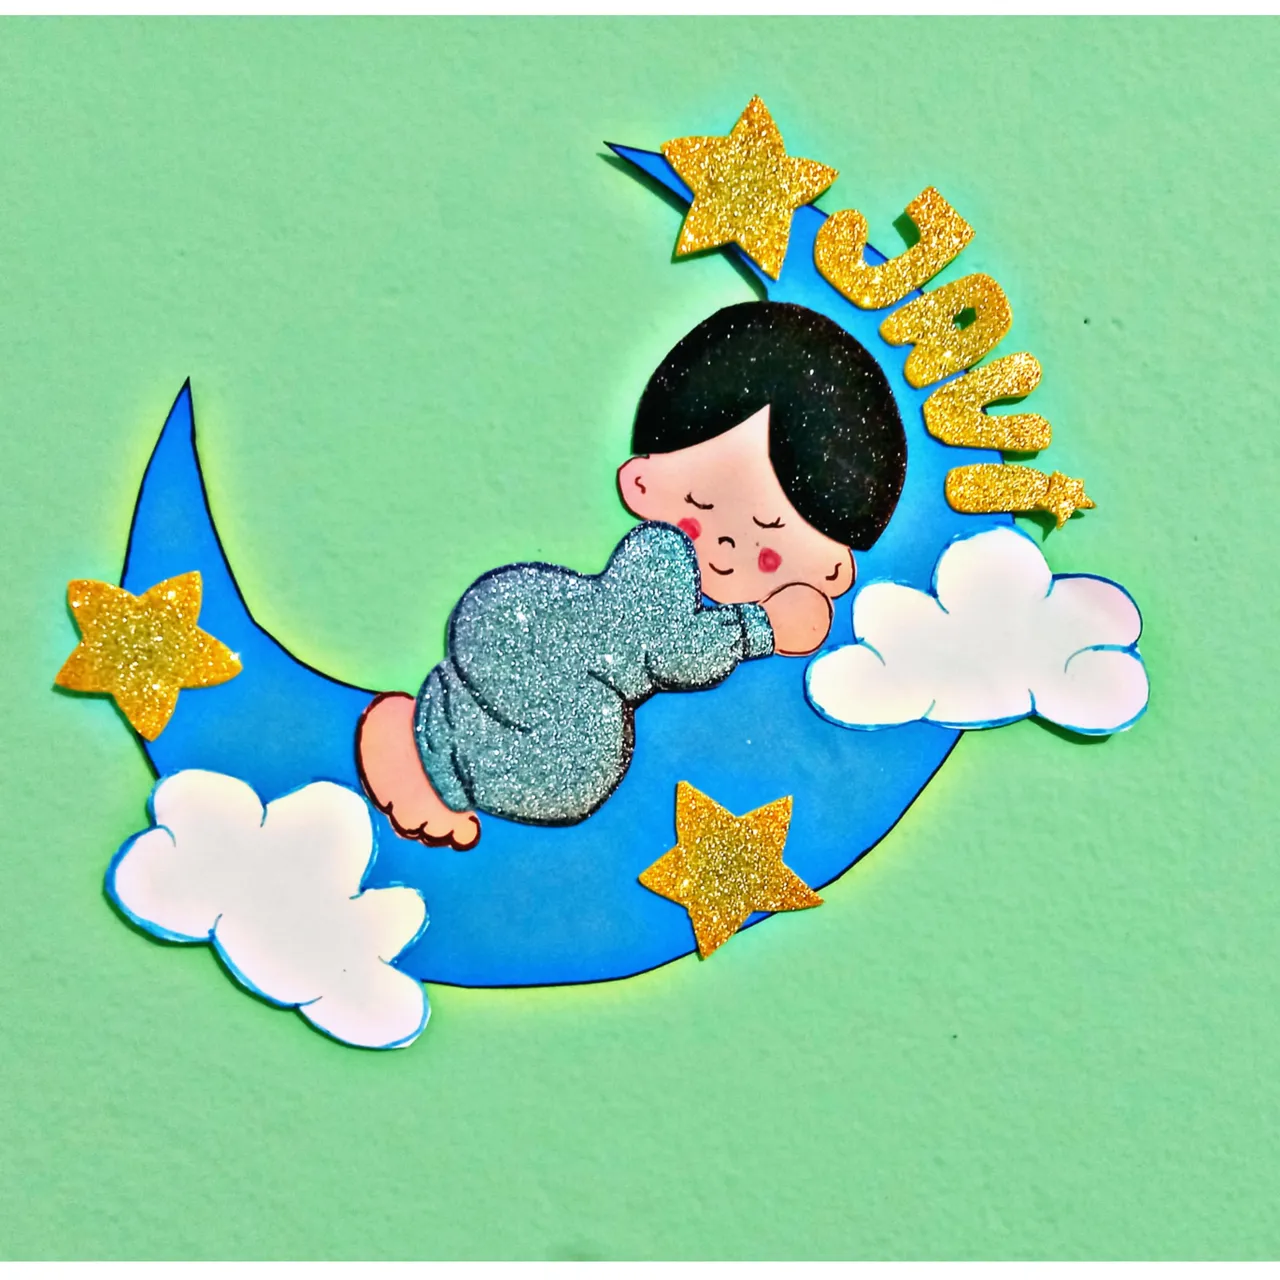
Saludos cordiales mis queridos amigos de #hive, espero que hoy haya sido un grandioso día para todos, no quería irme a la cama 🛌 , sin antes compartir un nuevo proyecto con ustedes, el cual se trata de un " Tierno Bebé, Dulces Sueños ", ideal para adornar la habitación de los niños o un Baby Shower.
Warm greetings my dear #hive friends, I hope today has been a great day for everyone, I didn't want to go to bed 🛌 , without first sharing a new project with you, which is a " Tender Baby, Sweet Dreams ", ideal to decorate the children's room or a Baby Shower.

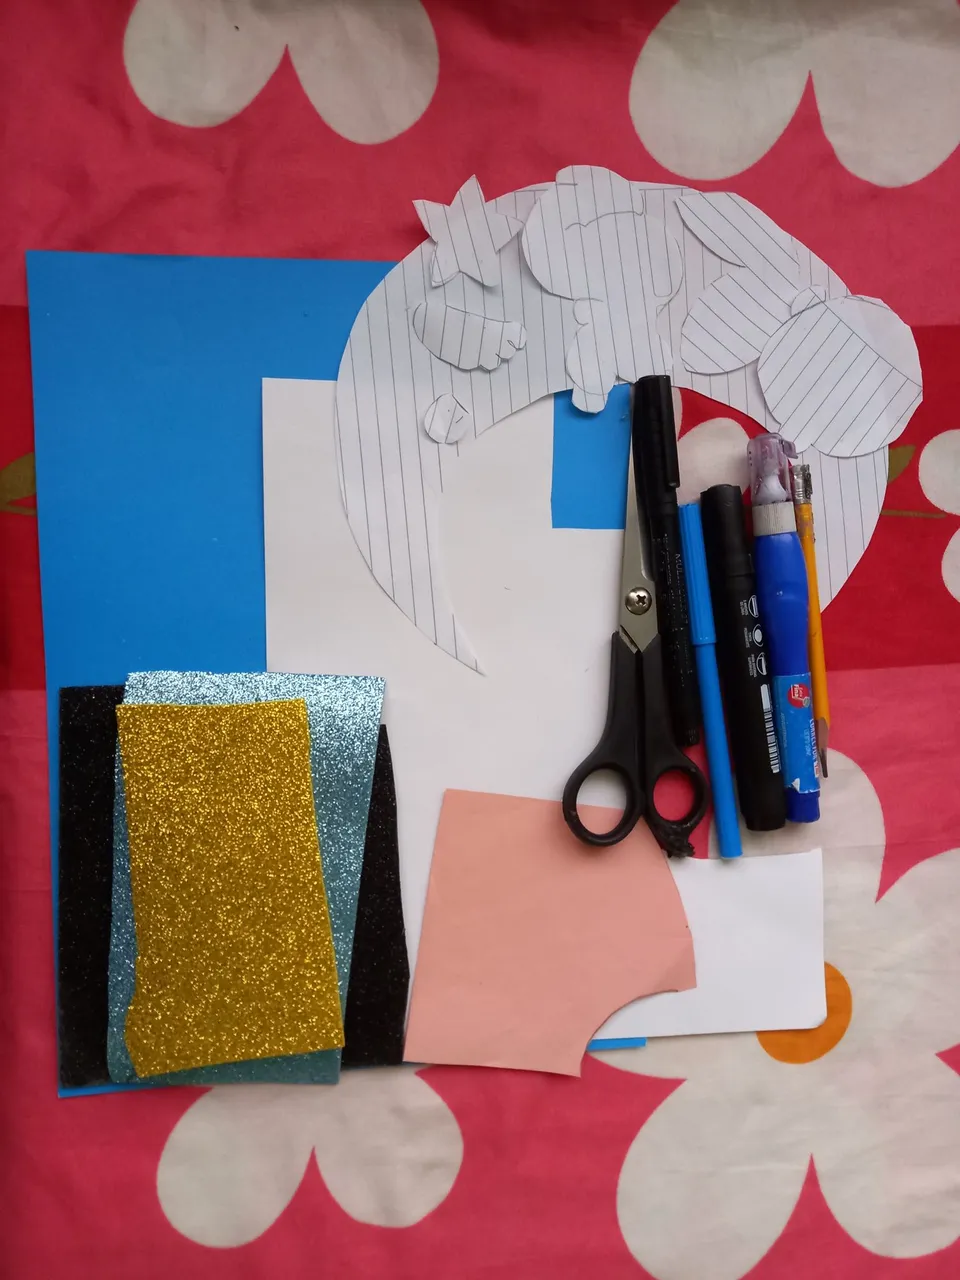
MATERIALES A UTILIZAR:
- Patrones del diseño,luna, estrella, y las partes que formarán al bebé.
- Papel azul, blanco y rosa palo.
- Goma Eva negra, azul y dorada.
- Marcador azul, negro y rojo.
- Lápiz ✏.
- Tijeras ✂.
- Pegamento en barra.
MATERIALS TO BE USED:
- Patterns of the design, moon, star, and the parts that will form the baby.
- Blue, white and pink paper.
- Black, blue and gold eva rubber.
- Blue, black and red marker.
- Pencil ✏.
- Scissors ✂.
- Glue stick.
¡MANOS A LA OBRA AMIGOS!
HANDS TO WORK FRIENDS!
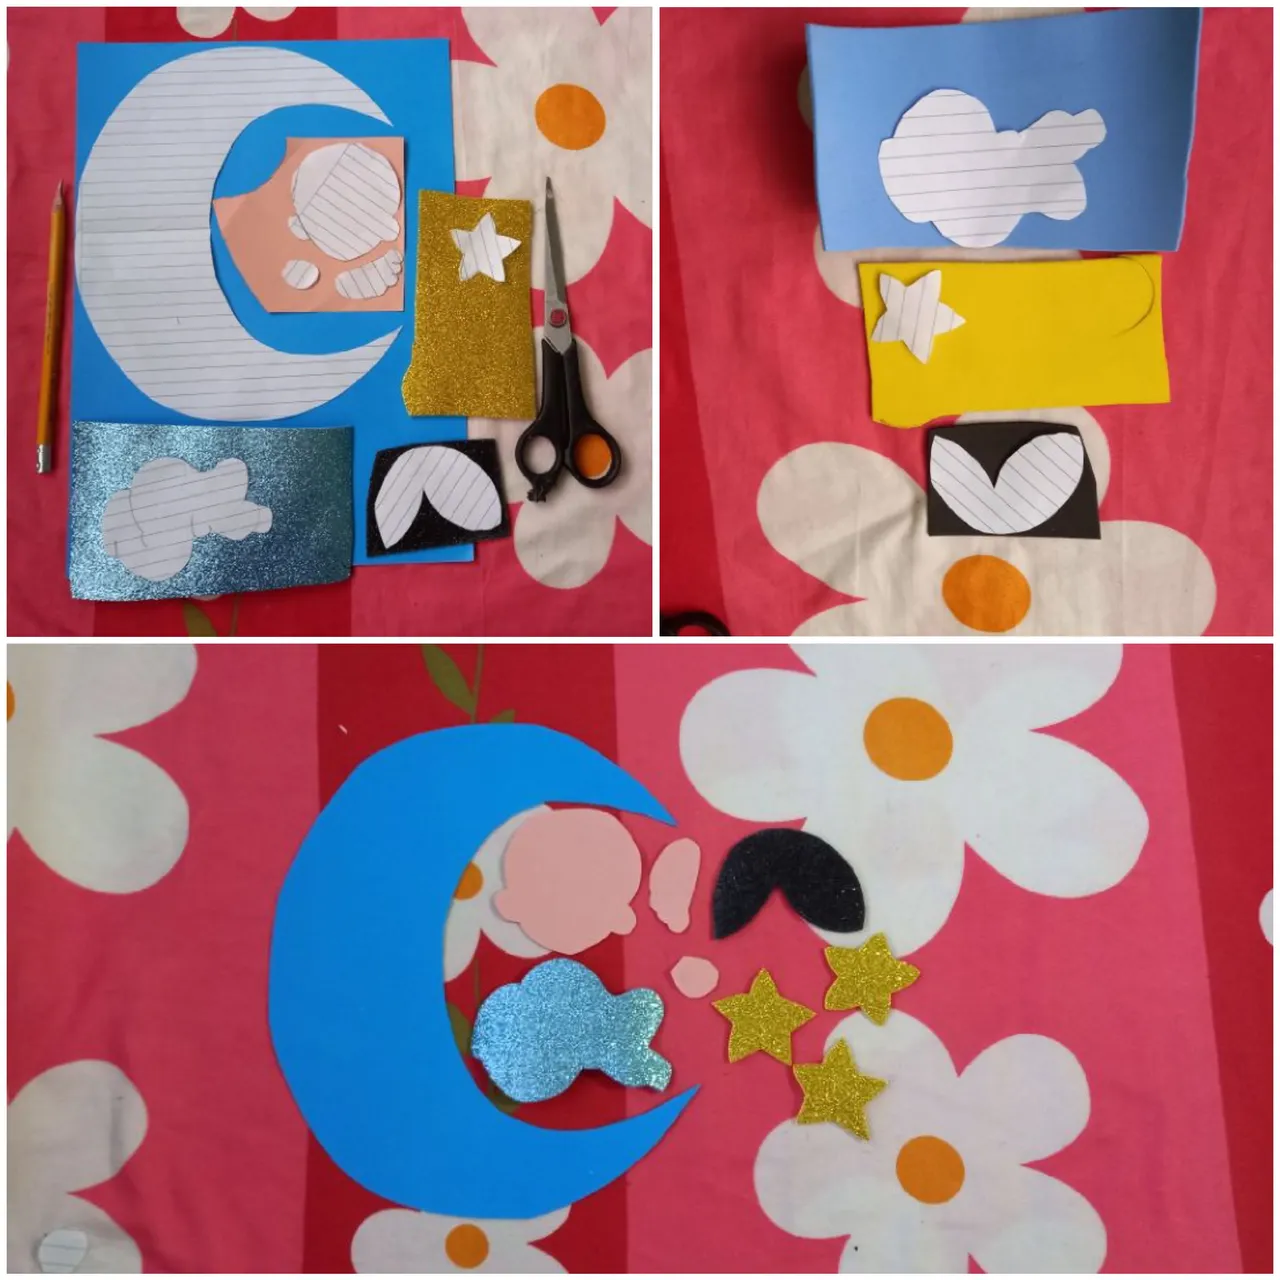
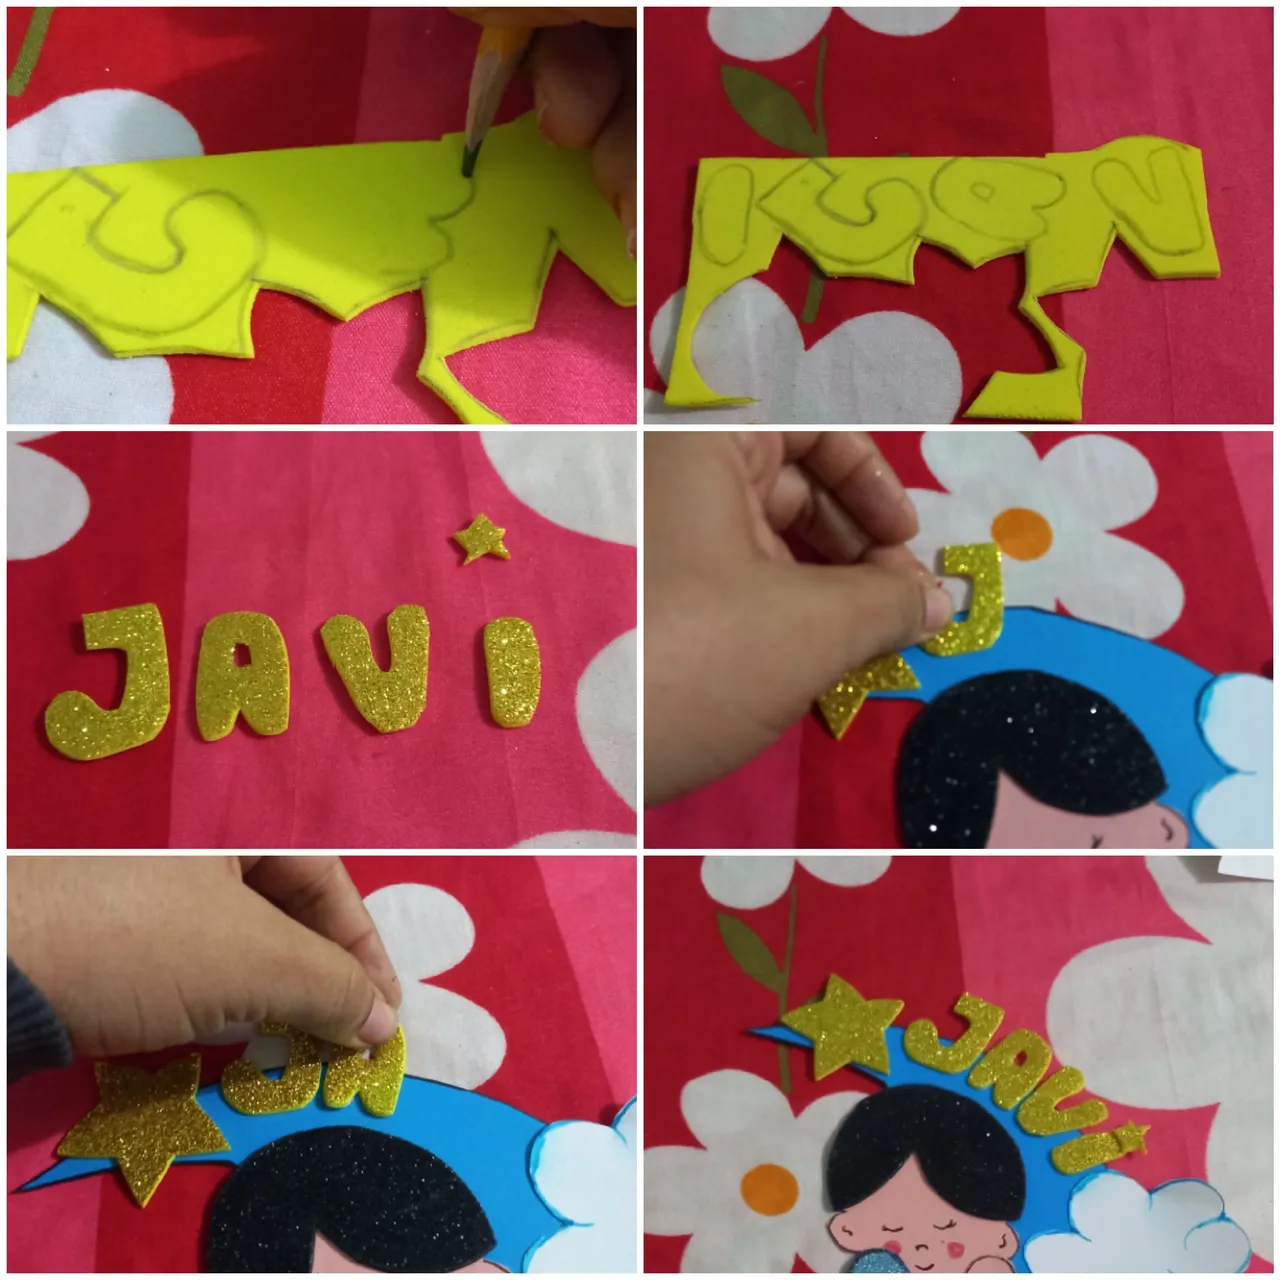
Coloca los patrones sobre el papel y la goma Eva del color que hayas escogido para cada pieza del diseño a realizar. Marca y recorta. ( En el caso de la goma Eva escarchada, debes marcar por la parte de atrás y del lado contrario del patrón).
Place the patterns on the paper and the eva gum of the color you have chosen for each piece of the design to be made, mark and cut out. Mark and cut out (In the case of the frosted Eva rubber, you must mark on the back and on the opposite side of the pattern).
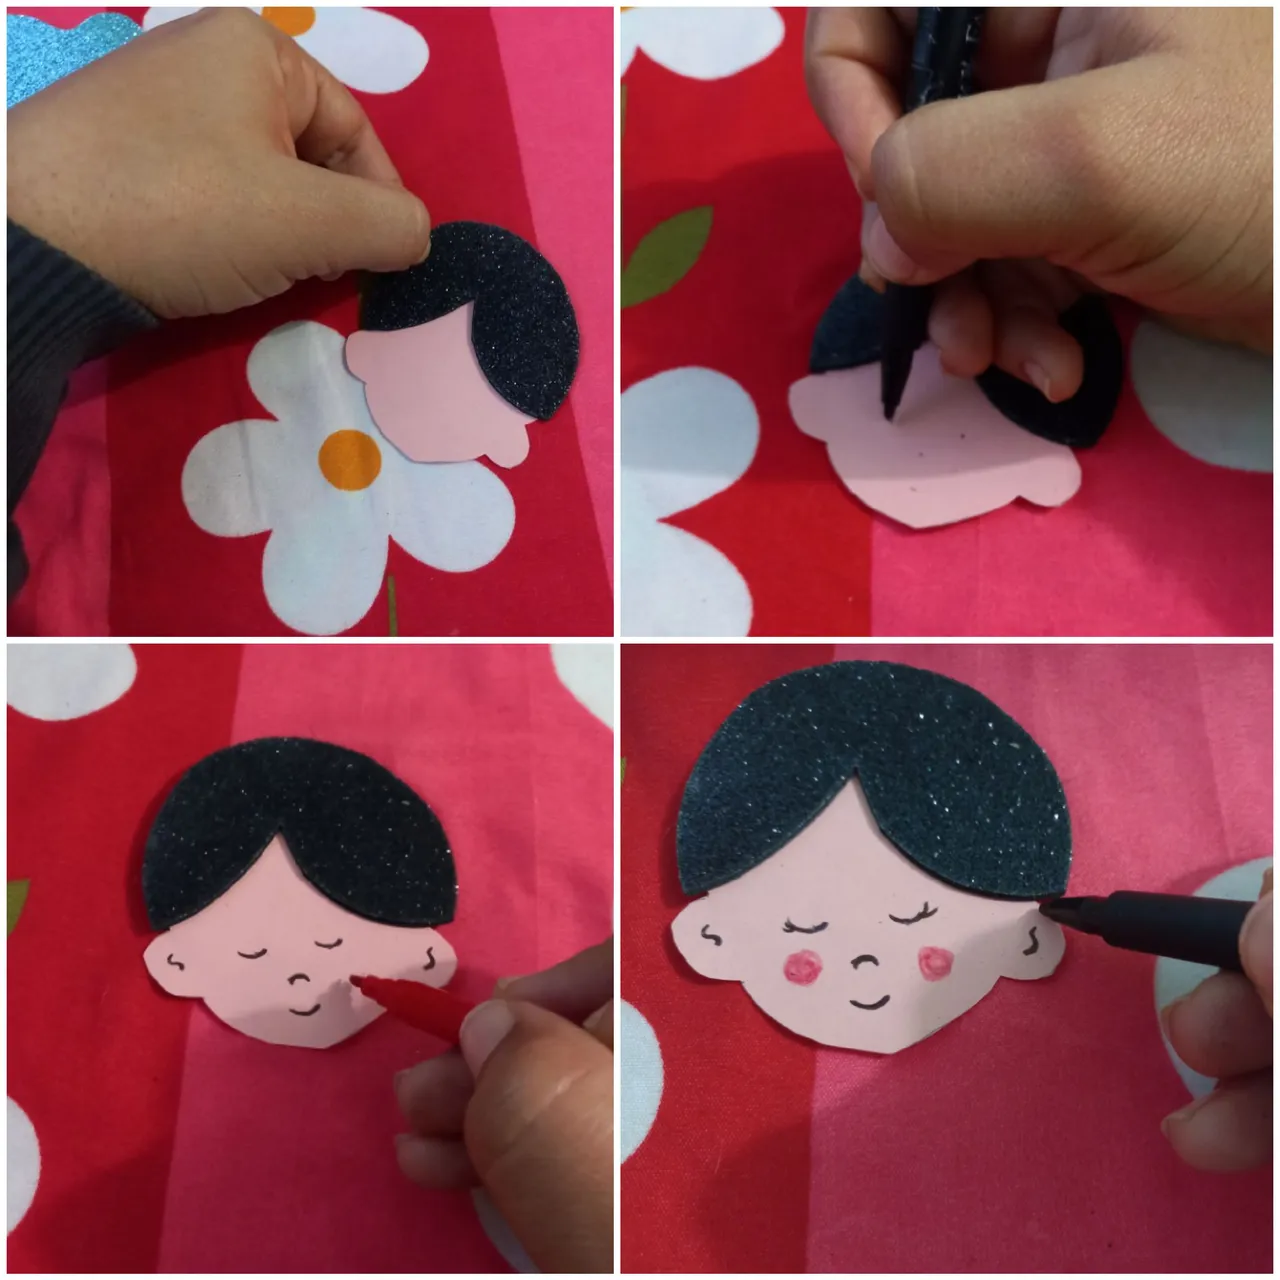
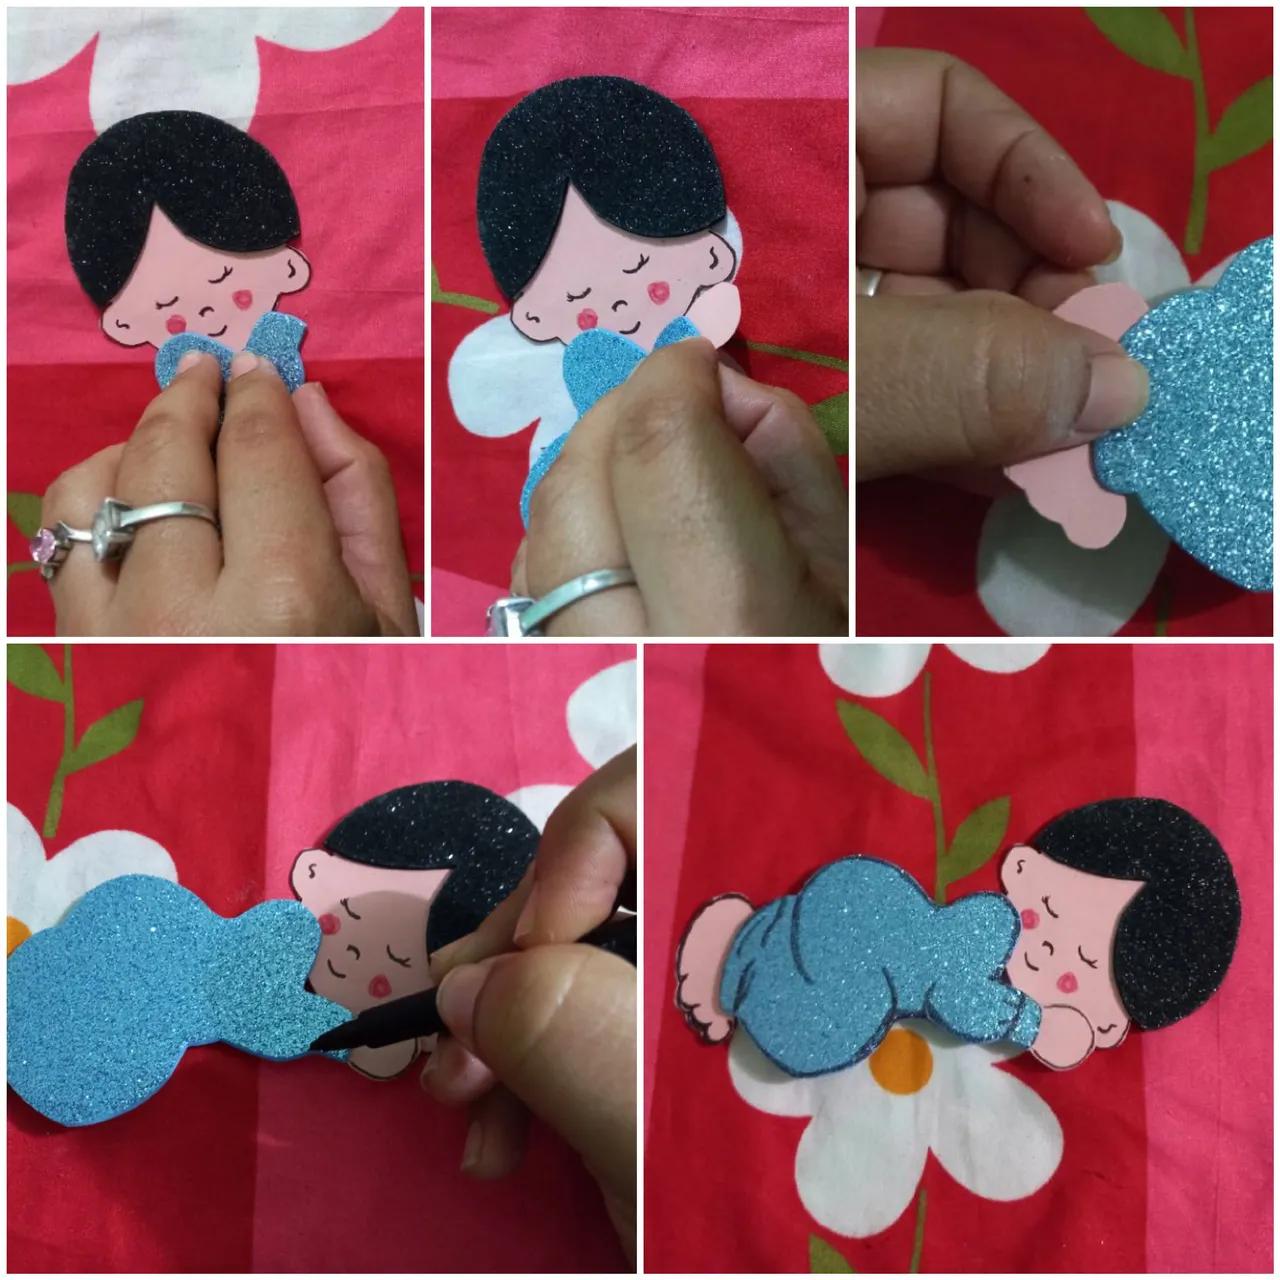
Une todas las piezas que conforman el bebé, empezando por la cabeza, para esto, pega el pelo y pinta los ojos, la nariz, la boca, el rubor y los bordes de toda la cara, con marcadores. ( rojo para el rubor y negro para el resto)
Join all the pieces that make up the baby, starting with the head, for this, glue the hair and paint the eyes, nose, mouth, blush and the edges of the whole face, with markers. (red for the blush and black for the rest).
Luego pegamos la manito y el pies de la ropa del bebé de la siguiente manera, asimismo, dibuja con marcador negro los bordes de éstas tres piezas (ropa, manito y pies)
Then we glue the little hand and the feet of the baby's clothes in the following way, also draw with black marker the borders of these three pieces (clothes, little hand and feet)
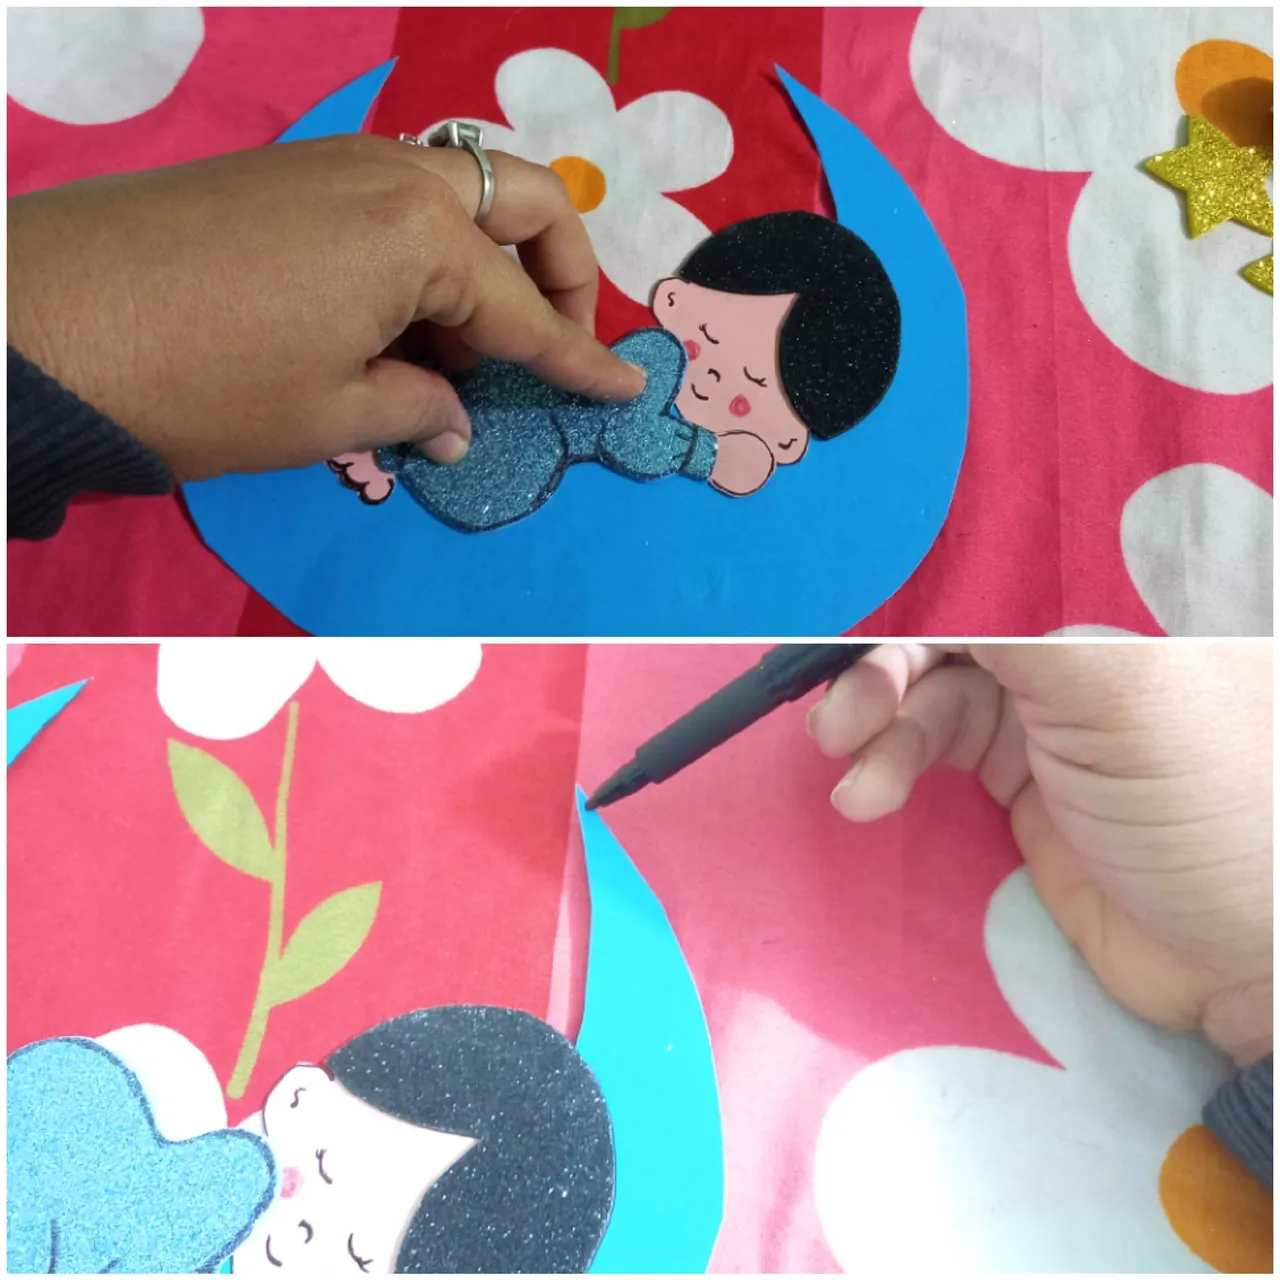
Pega el bebé sobre la luna, específicamente en el centro y pinta los bordes de la luna con marcador negro.
Glue the baby on the moon, specifically in the center and paint the edges of the moon with black marker.
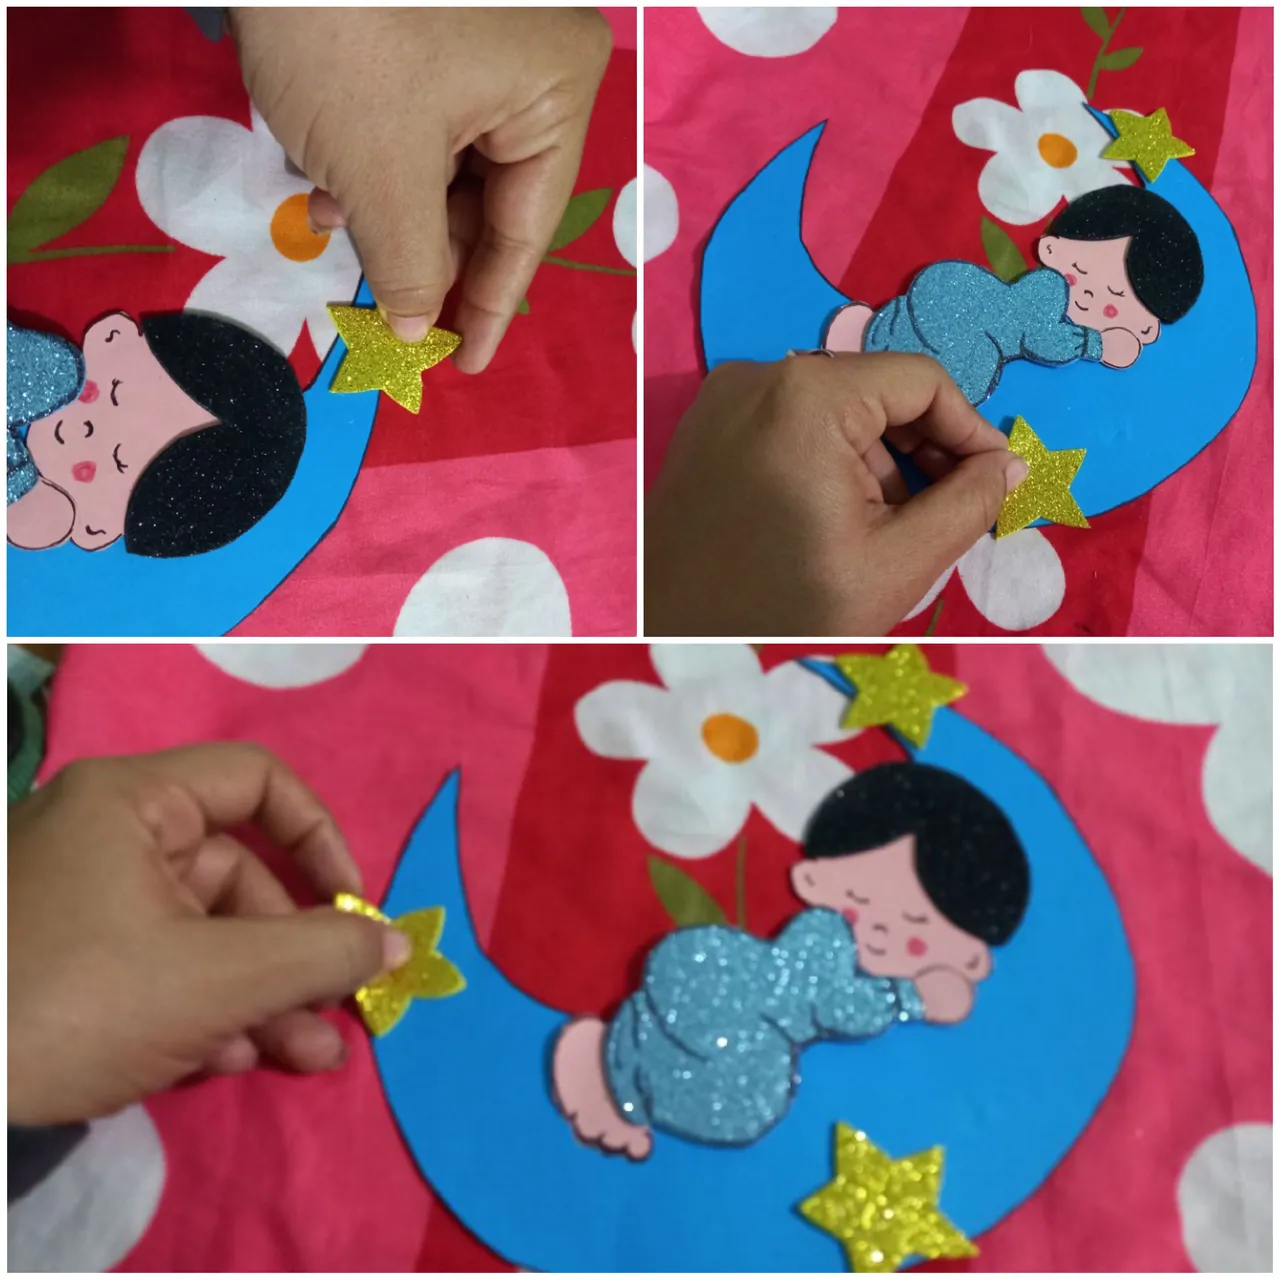
Pega las estrellas 🌟 doradas sobre la luna, en el lugar de tu preferencia.
Glue the golden 🌟 stars on the moon, in the place of your choice.
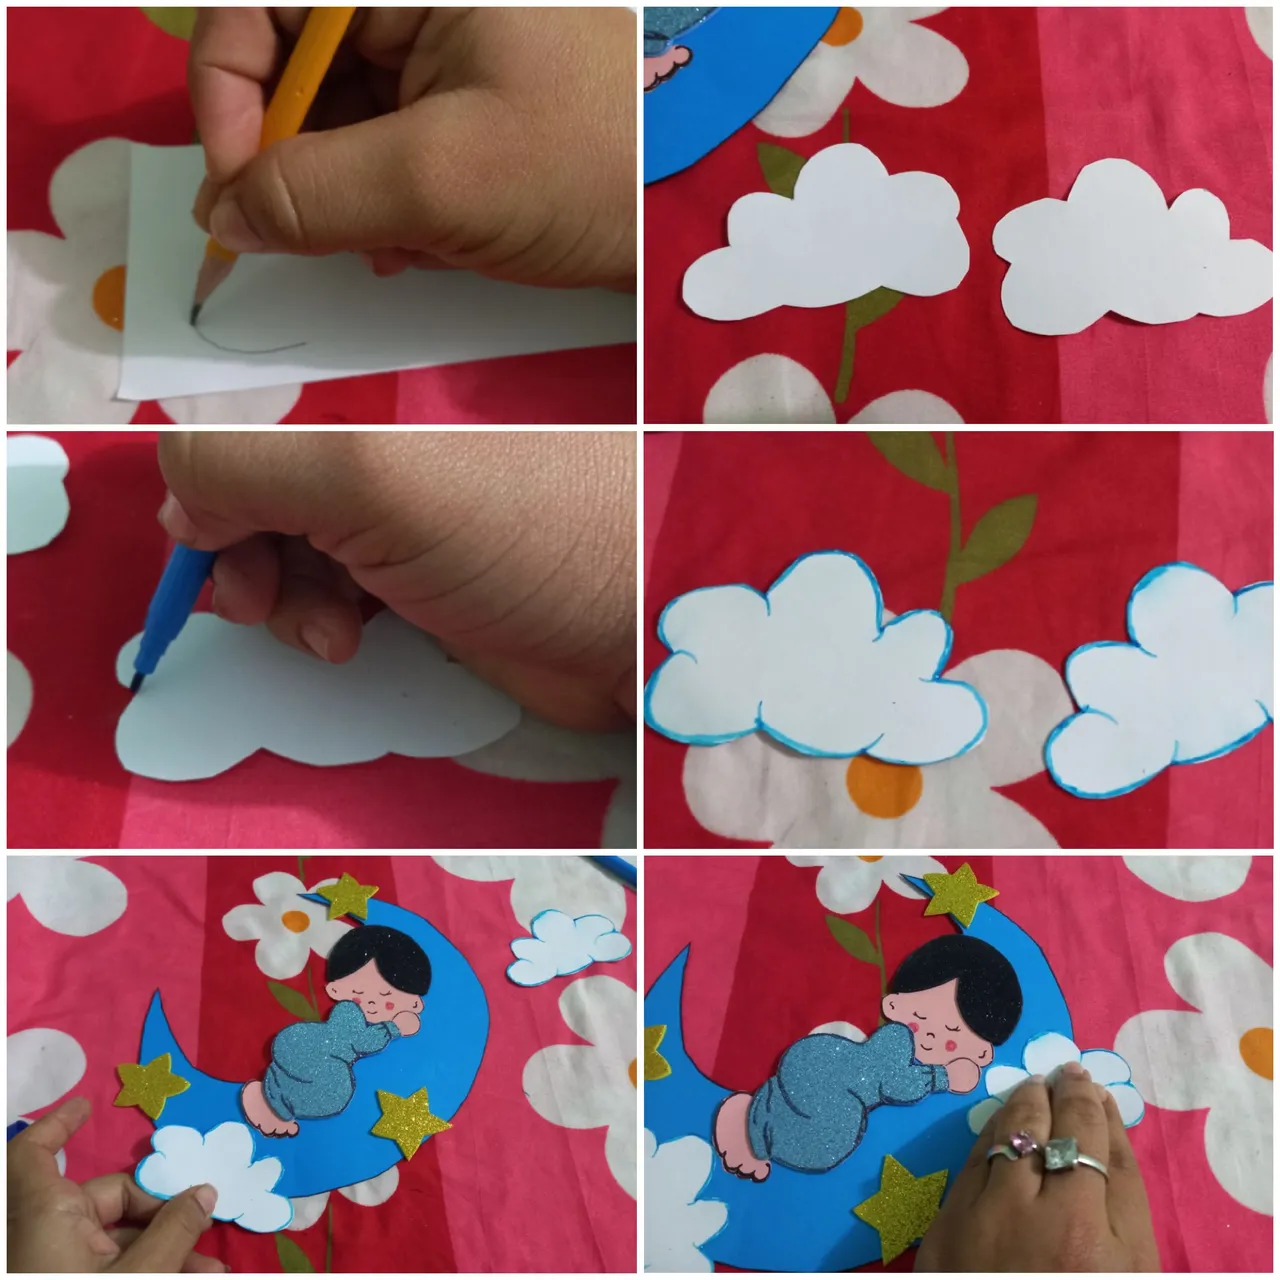
Con papel blanco realiza dos nubes y pinta sus bordes con marcador azul; pega cada una cerca de los extremos de la luna.
With white paper make two clouds and paint their edges with blue marker; glue each one near the ends of the moon.
Por último, dibuja sobre goma Eva dorada las letras del nombre del bebé y pégalas sobre la luna.
Finally, draw the letters of the baby's name on gold eva rubber and glue them on the moon.
RESULTADO FINAL
FINAL RESULT
Espero les haya gustado éste lindo proyecto, será hasta otra oportunidad.
I hope you liked this nice project, I'll see you again.