Hello Splinterlands friends, this week I'm back with a post in which I talk about how the Weapons Training skill has given a second life to cards that lacked attack and that we can now use and get amazing results with them.
Hola amigos de Splinterlands, esta semana estoy de vuelta con un post en el que hablo de como la habilidad Weapons Training le ha dado una segunda vida a las cartas que carecían de ataque y que ahora podemos usar y conseguir resultados sorprendentes con ellas.


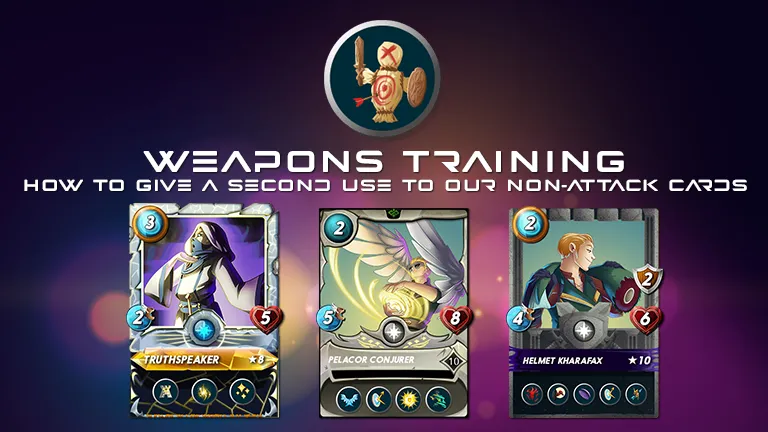
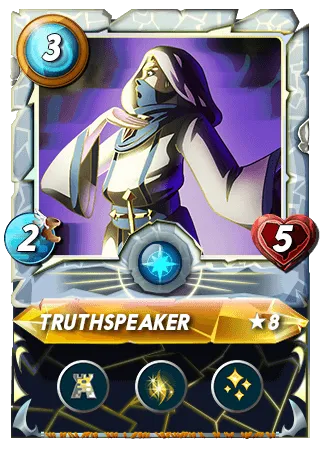
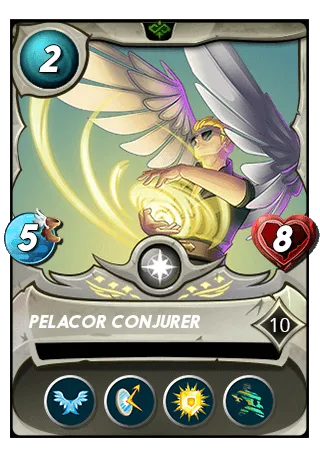
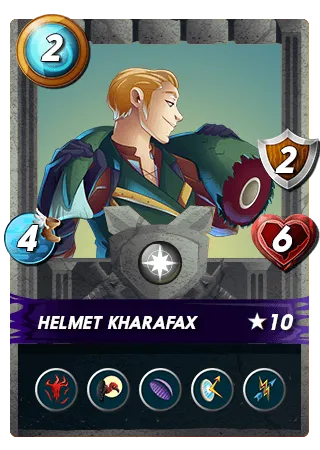
With the arrival of the Weapons Training ability, we have seen a change in the strategies used and how cards that had hardly had any prominence are now very important in our attack formations. This is the case of cards like Truthspeaker, Pelacor Conjurer or Helmet Kharafax that I usually use in my fights with the Life Splinter together with the summoner Grandmasther Rathe.
Con la llegada de la habilidad Weapons Training hemos visto un cambio en las estrategias utilizadas y cómo cartas que apenas tenían protagonismo ahora son muy importantes en nuestras formaciones de ataque. Es el caso de cartas como Truthspeaker, Pelacor Conjurer o Helmet Kharafax que uso habitualmente en mis combates con el Splinter Vida junto con el invocador Grandmasther Rathe.
 |  |  |
|---|
This type of cards are perfect to use when the amount of mana to use is limited and we want to have powerful attack cards with low mana cost. Combining them to Sturgis Birds we can have incredibly powerful attack and defense power.
Este tipo de cartas son perfectas para usarlas cuando la cantidad de maná a usar es limitado y queremos tener cartas de ataque poderoso y de bajo coste de maná. Combinándolas a Aves Sturgis podemos tener poder de ataque y defensa increíblemente poderoso.
In this match I face an opponent with cards of a higher level than mine. It seems that I have to lose in the combat but nothing further from the truth. My combat formation allows me to attack with my 6 creatures.
En este combate me enfrento a un rival con cartas de nivel superiores a las mías. Parece ser que tengo las de perder en el combate pero nada más lejos de la realidad. Mi formación de combate me permite atacar con mis 6 criaturas.
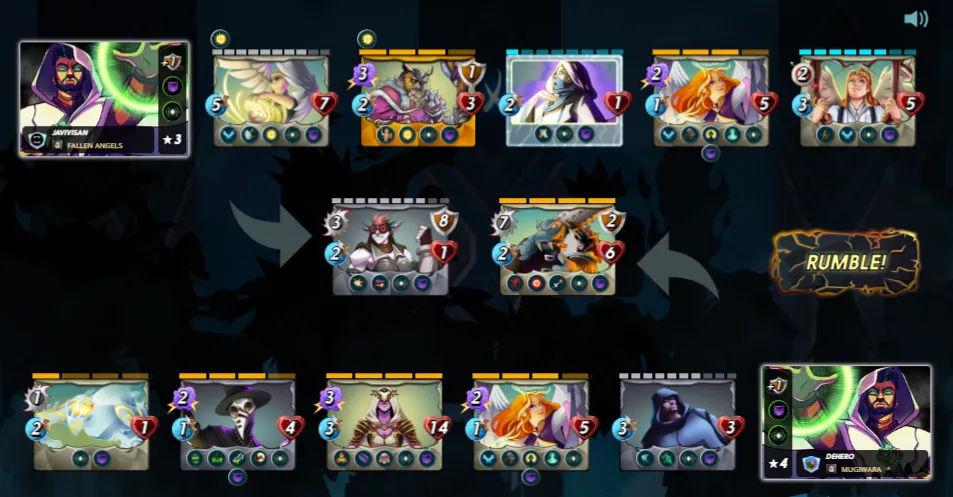 | vs. Life | Weak Magic - Up to Eleven - Reverse Speed |
Turn 1 begins with all my attacks directed towards Iziar who I manage to leave her at only 3 health points. My enemy concentrates his attacks on Dumacke Orc who is barely standing after the hard attacks received.
On turn 2 Jared Scar eliminates Dumacke Orc and activates Bloodlust becoming more powerful. Adelade Brightwing resurrects Dumacke Orc with her ability. My enemy does the same, I destroy Iziar who activates Martyr and resurrects thanks to Adelade Brightwing with which he has activated Martyr twice and making his adjacent cards very powerful.
On turn 3 the wind blows in my favor, I quickly destroy Jared Scar and Chaos Agent while my enemy keeps trying to eliminate Dumacke Orc who is giving him a lot of headaches. He finally gets poisoned and just has to wait for the next turn for him to die due to the poison.
Turn 4 starts with the expected casualty of Dumacke Orc although his place is taken by Pelacor Conjurer who thanks to his abilities is going to be really hard for my enemy to defeat him. I destroy Adelade Brightwing and leave Doctor Blight wounded.
Finally, on turn 5 I easily get rid of Doctor Blight and Corpse Fiend demonstrating how powerful our non-attack cards can be if we combine them with cards with the Weapons Training ability.
El turno 1 comienza con todos mis ataques dirigidos hacia Iziar que consigo dejarla a tan solo 3 puntos de vida. Mi enemigo concentra sus ataque en Dumacke Orc que apenas se mantiene en pie después de los duros ataques recibidos.
En el turno 2 Jared Scar elimina a Dumacke Orc y activa Bloodlust volviéndose más poderoso. Adelade Brightwing resucita con su habilidad a Dumacke Orc. Lo mismo hace mi enemigo, destruyo a Iziar que activa Martyr y resucita gracias a Adelade Brightwing con lo cual ha activado 2 veces Martyr y haciendo muy poderosas a sus cartas adyacentes.
En el turno 3 el viento sopla a mi favor, destruyo rápidamente a Jared Scar y Chaos Agent mientras mi enemigo sigue intentando eliminar a Dumacke Orc que le está dando muchos dolores de cabeza. Finalmente es envenenado y solo tiene que esperar al siguiente turno para que muera debido al veneno.
El turno 4 comienza con la baja esperada de Dumacke Orc aunque su lugar lo ocupa Pelacor Conjurer que gracias a sus habilidades va a ser realmente difícil para mi enemigo derrotarlo. Yo destruyo a Adelade Brightwing y dejo herido a Doctor Blight.
Ya por último, en el turno 5 fácilmente me deshago de Doctor Blight y Corpse Fiend demostrando lo poderosas que puede llegar a ser nuestras cartas sin ataque si las combinamos con cartas con la habilidad Weapons Training.
