When you got yourself a DSLR at first, the whole thing can be quite overwhelming. And you easily can get lost in the ability's of your camera. At least that's what happend to me when I got my first DSLR about 10 years ago. Where everybody always told me that I take beautiful photo's ... and I had to do more with that, I totally lost it with my first DSLR. It brought me to tears and I was thinking that I would never be able to take one good photograph again. I simply didn't understand the connection between ISO, Aperture and Shutterspeed. I was thinking that if I sat my Aperture on f3.5 for example, that there has to be a ISO value what belongs to that Aperture, and also that there must be a specific Shutterspeed. But I learned from my mistakes that nothing is more true. There are no standard settings in photography. Your settings are never the same, and it's all depending on what you want the camera to do! So you are the one who is in control. But how?
In this blog I hope I can learn you a little about the basics of photography with a DSLR.
When it comes to photography, it's all about three things. The so called Lighting Triangle. That includes, The shutter speed, the aperture and the light sensitivity of the sensor, the latter is expressed in ISO. These three values determine how the sensor of your camera is illuminated. Whether that is a compact camera or you are talking about a SLR camera, your photo is always made with a combination of Shutter speed, Aperture and ISO.
I continue to restrict myself in this blog to the DSLR, the Digital Single Lens Reflex Camera. In this blog I also do not discuss the advantages of the DSLR compared to compact cameras but now I limit myself to the settings of the camera.
Then it is time to get to know the three basic principles of photography. The technique used to make the photo. To start with …
SHUTTER TIME / SHUTTER SPEED
Shutter speed does not want to say more or less than the time that the sensor of your camera is illuminated. So how long the shutter of your camera is open to let the light fall on that sensor.
Here you can say that the longer the shutter will be open, the longer the light will fall on the sensor.
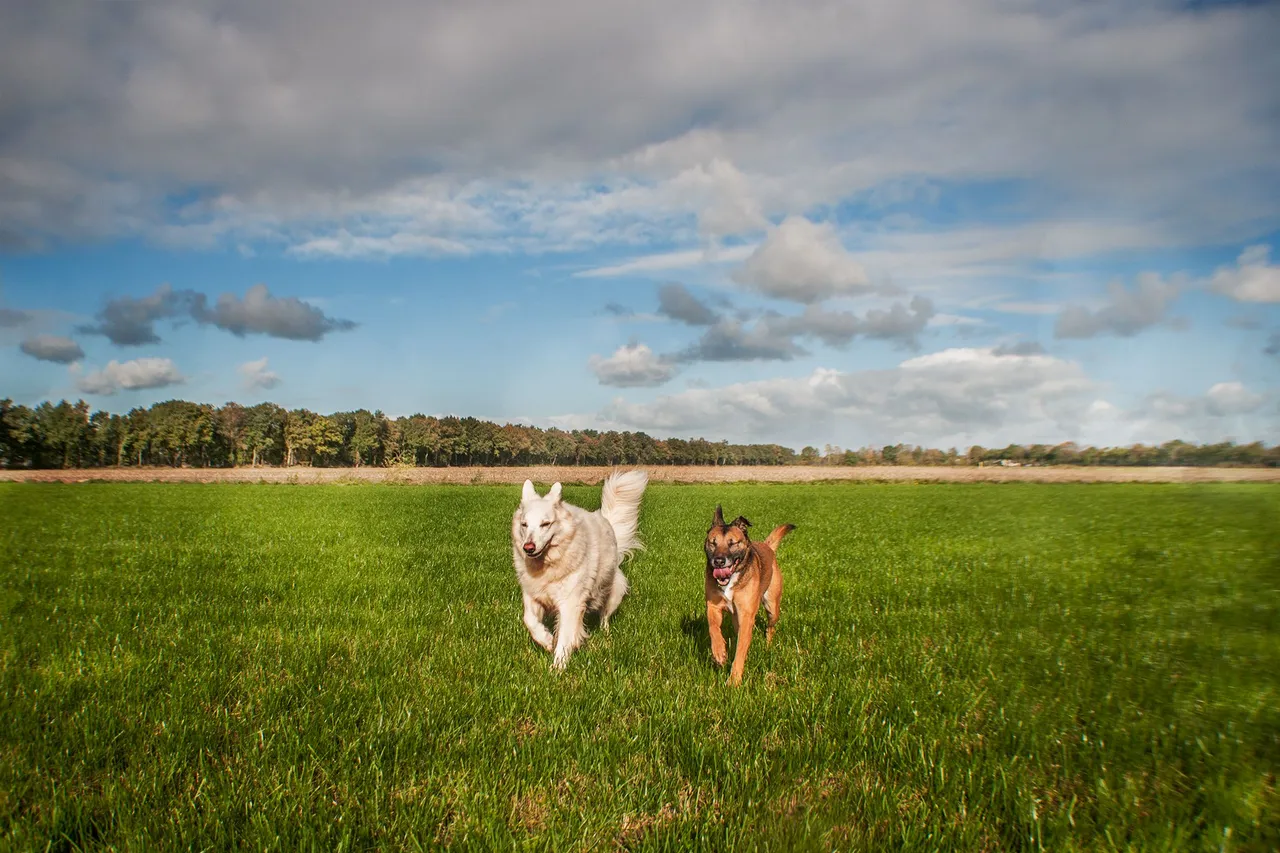
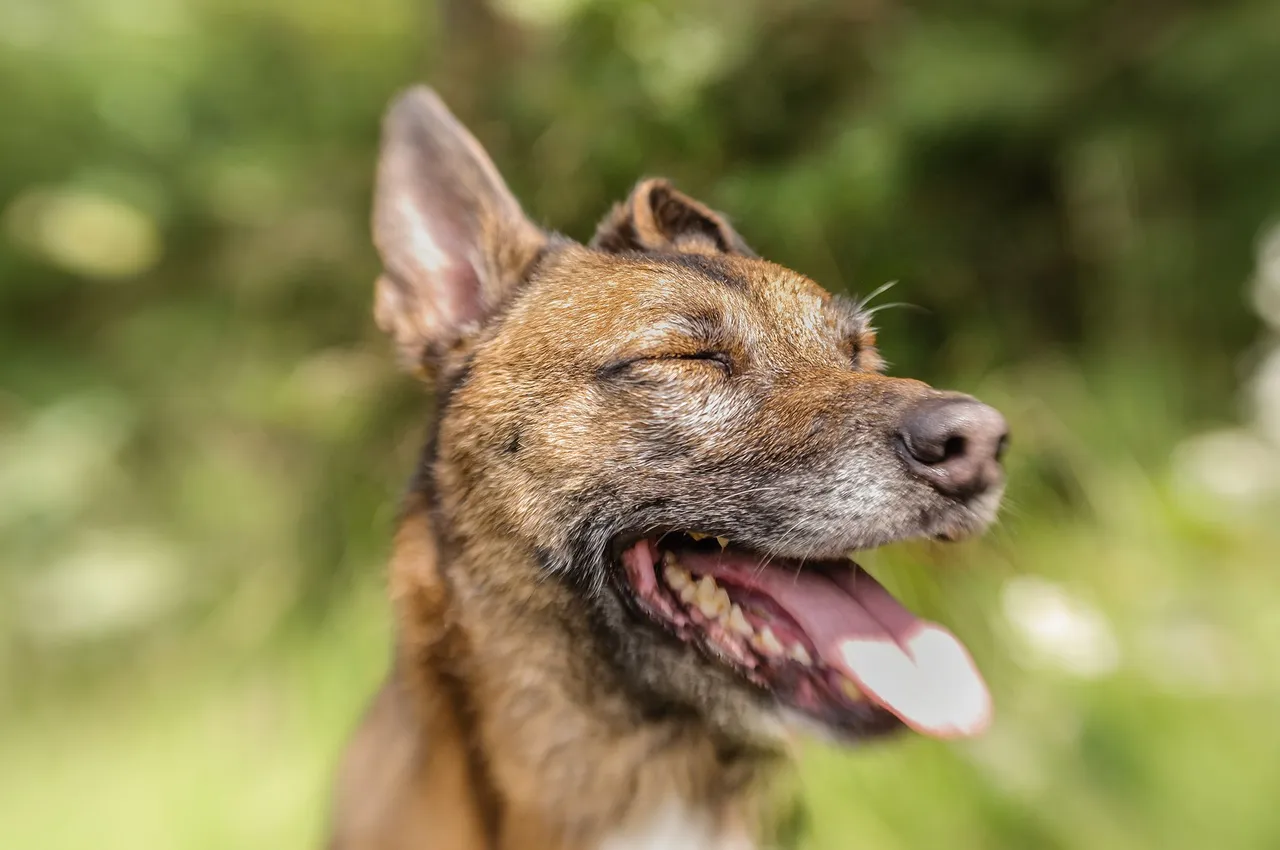
To focus a subject on the picture, a fast shutter speed is required, and to show motion on the picture, a slower shutter speed is required. In short, that is the function of shutter speed.
A photo with a fast shutterspeed
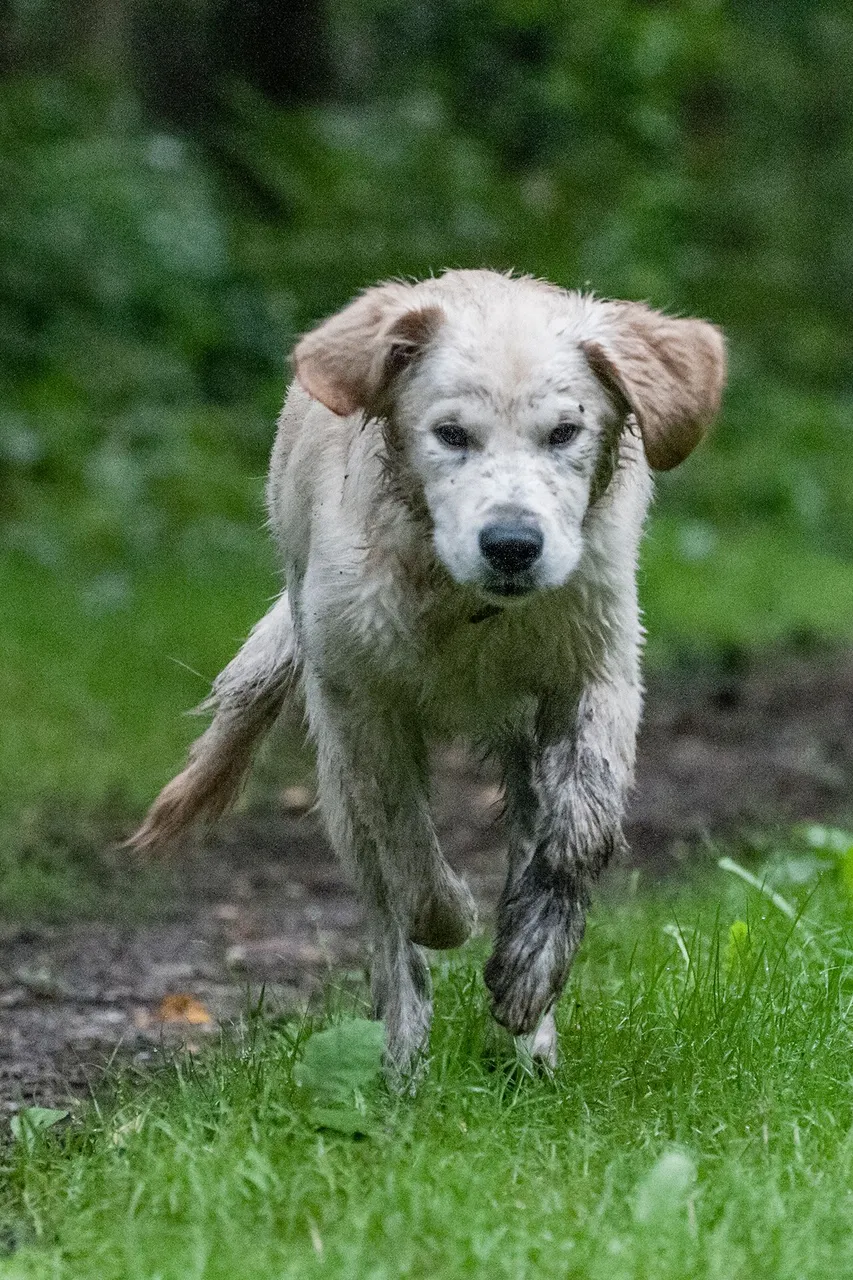
A photo with a slow shutterspeed
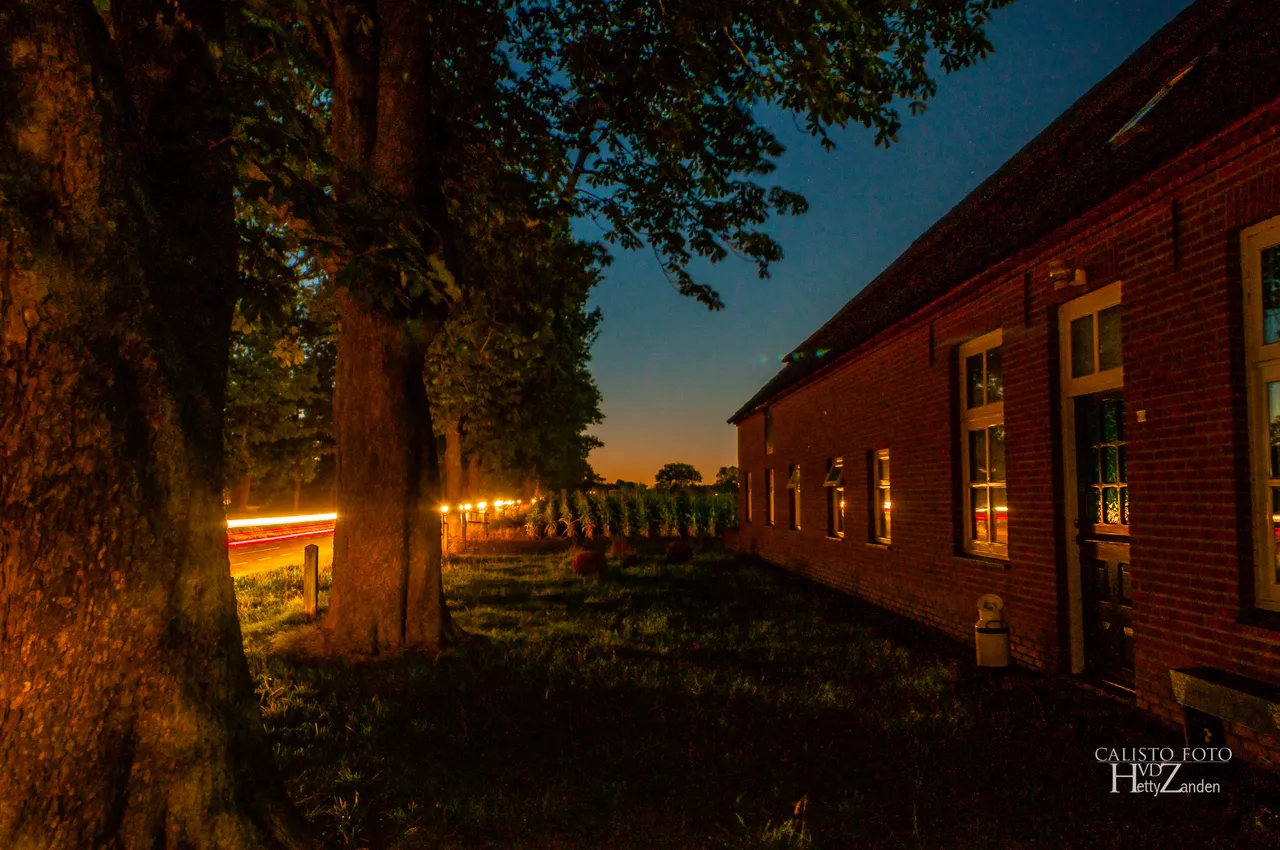
These are a few examples of what you can do with shutter speed. Then we go to ...
THE APERTURE / APERTURE.
The Aperture is in your lens, and controls the opening of the slats. The further the slats open, the more light falls on your sensor. So the aperture regulates the amount of light that falls on your sensor!
The aperture is indicated by F on your camera and there is a figure varying from 1.8 to 36 approximately. Where an F1.8 represents a very large opening of the slats and the F36 for a very small opening of the slats.
What exactly does that diaphragm do?
With this aperture you determine something very important in your photo. You determine how much in your photo becomes sharp! The larger the opening, the LESS you get sharp in your photo. The smaller the opening, the MORE will become sharp in your photo.
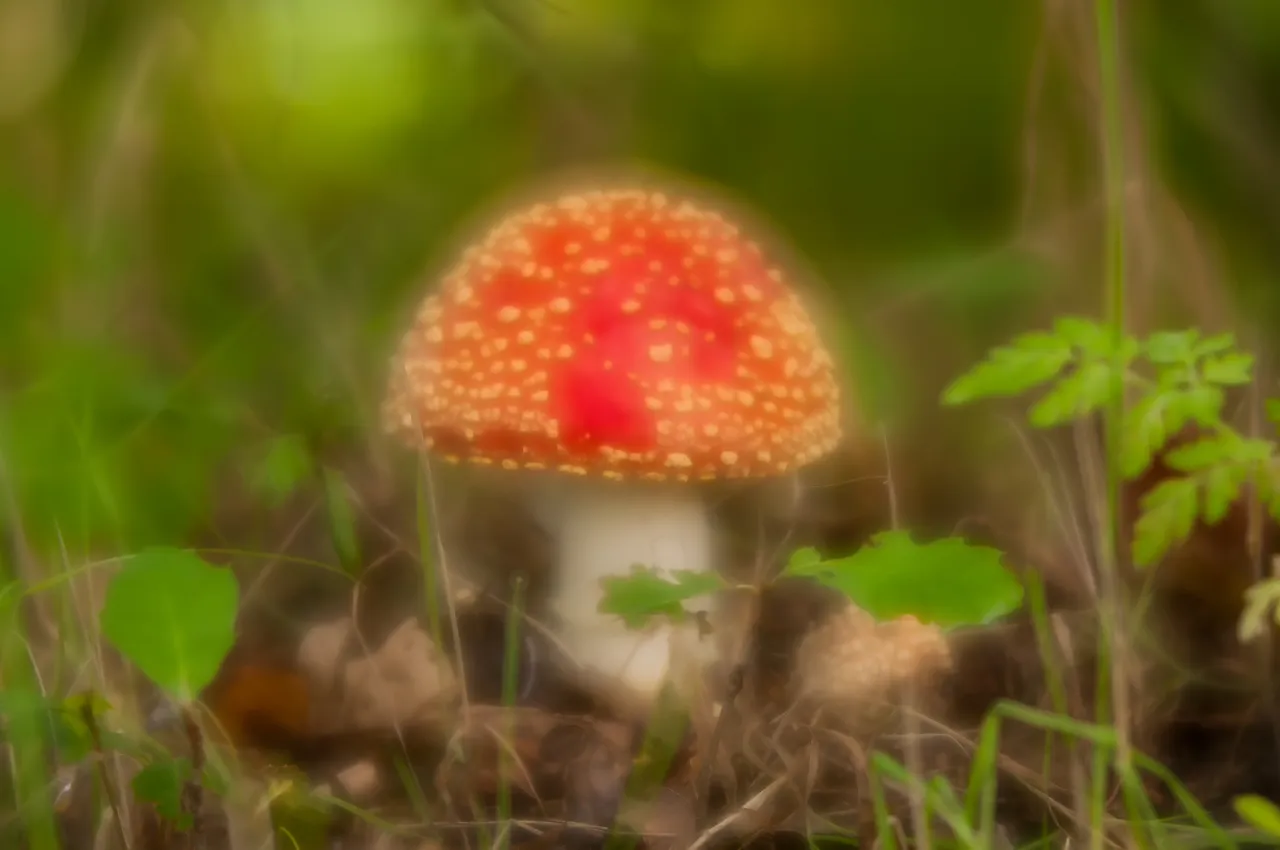
Here a photo with very LARGE opening of the slats at f1.6 (Lensbaby Velvet 56 f1.6)
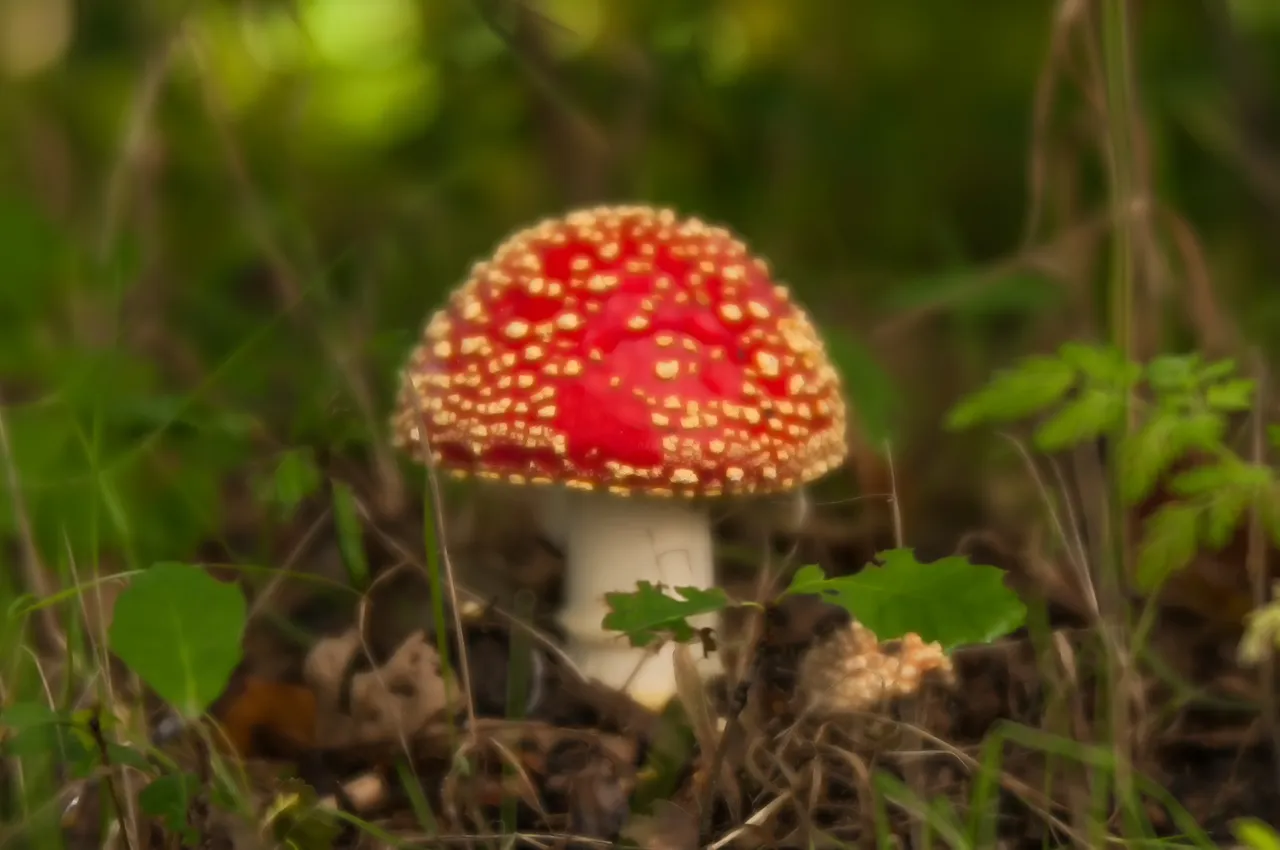
And here exactly the same photo with a much SMALLER opening of the slats at f8
Of course there are a lot of other things that play a role in determining the sharpness / depth in your photo. But the most important thing for this is your Aperture. Distance from subject to background, the focus distance of your lens to your subject, and the focal length of your lens (telephoto or wide-angle lens). But those are other lessons ;-)
Now we have learned two important things.
We know that we set the shutter speed for WHAT TIME the light falls on your sensor. And we know that we set with aperture how much light falls on your sensor.
These are the two most important values to make your photo with. The next and the last one you can set to take your photo is the ISO.
The ISO is a technical tool to increase the light sensitivity of your sensor itself.Sometimes you can not reach the right amount of light needed to illuminate your photo well. Your aperture can not be opened any further, and your shutter speed can not be slower. The result would then be a too dark picture!
Here is a tool invented by the manufacturers ... and that tool is the ISO. That artificial increase of the light sensitivity of your sensor. By default, the ISO is usually set to 100 (Canon / Pentax / Sony) or 200 (some Nikon cameras). The best thing is not to deviate too much from it and do not do too much with the ISO, but with most modern cameras an ISO value of up to 1600 is not a problem.
What do you get if you do too much with your ISO? That is the NOISE in your photo. Because your sensor consists of all small receivers, they can interfere if you boost up the ISO too far. You see that disturbance in your photo as noise.
Here again two examples.
The first photo is made with an ISO of 200 (default value for my Nikon D300s)
And the second photo is made with the highest ISO my camera can set, ISO 6400. You see a lot of strong noise in this photo.
But how do you actually see whether your photo is well exposed?
In the viewfinder of your DSLR there is a light meter in your image. That goes from + back to 0 and then to -
You can say that if the dash around 0 is (neutral) then your photo is well exposed. That is very briefly explained the basic principles of shooting with a camera that you set manually.
If you are interested in more information about cameras and techniques and photography, please let me know!