Cómo realizar un Avión con Cartón /How to make an Airplane with Cardboard:
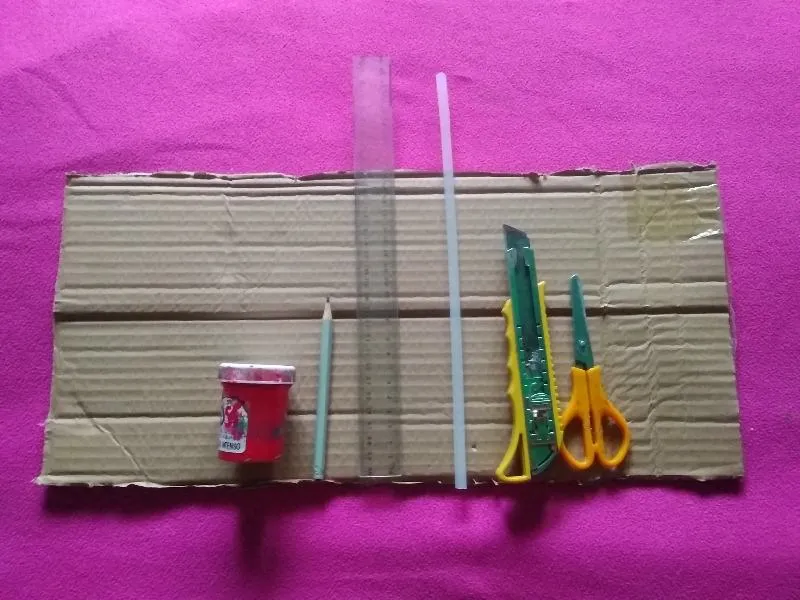
Materiales:
- 1 Cartón
- Regla
- 1 Cuter
- 1 Tijera
- 1 Lápiz
- Silicón
Materials:
1 Carton
Rule
1 Cuter
1 Scissors
1 Pencil
Silicone
Paso 1:
Se dibuja un rectángulo en el cartón de 2cm de ancho, utilizando la regla y luego lo recortamos.
Step 1:
A rectangle is drawn on the cardboard 2cm wide, using the ruler and then we cut it out.
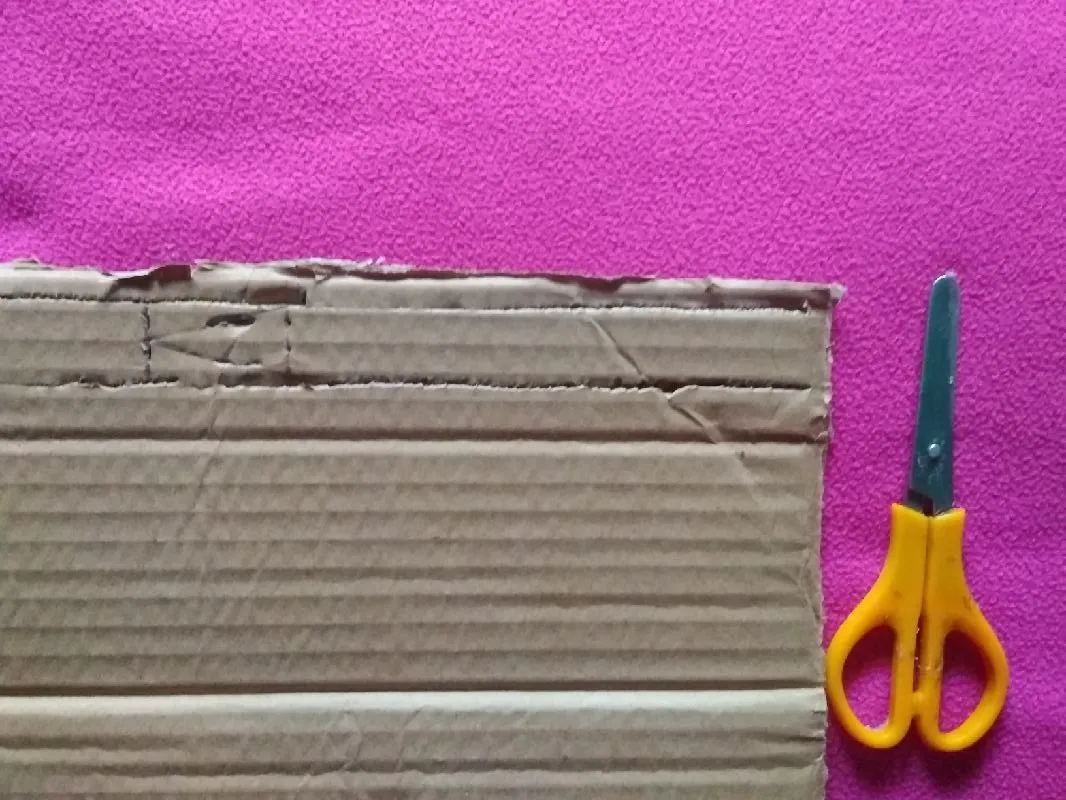
Quedando así:
Being that way:
Paso 2:
Se dibuja otro rectángulo de 2 cm de ancho y los cortamos a la mitad.
Step 2:
Another 2 cm wide rectangle is drawn and we cut them in half.
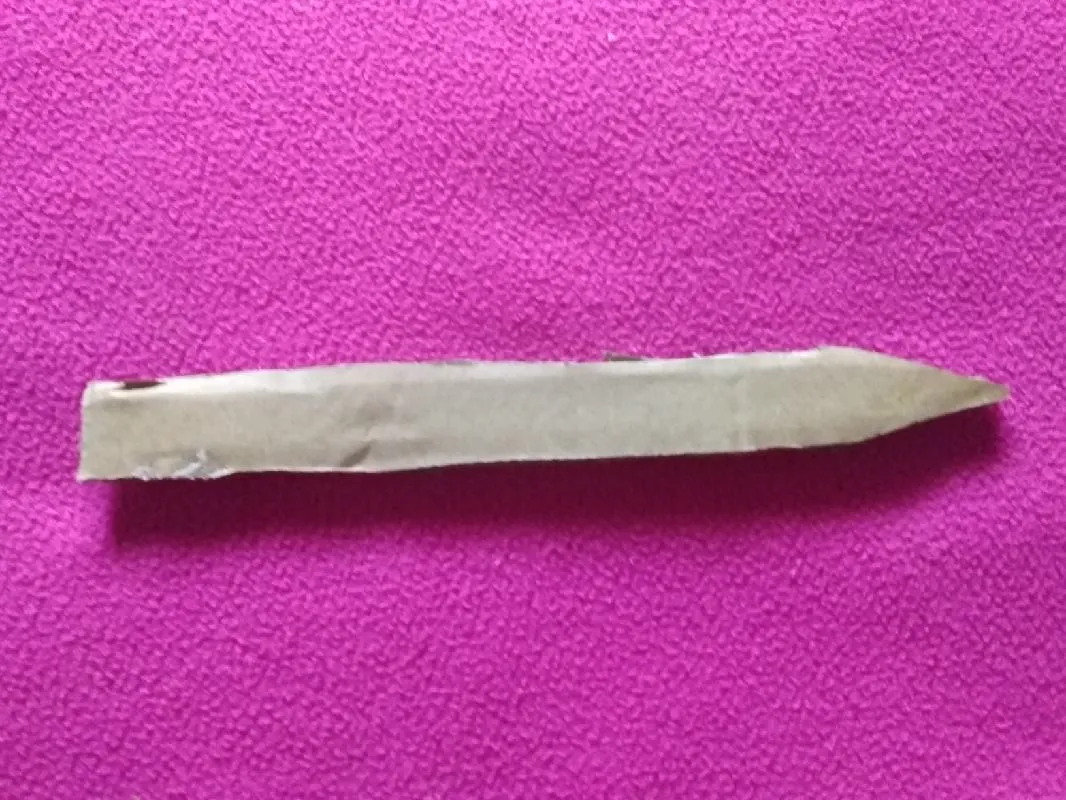
Paso 3:
Se doblan las puntas de cada uno de las figuras para darle la forma de la punta del avión.
Step 3:
The tips of each of the figures are bent to give it the shape of the tip of the plane.
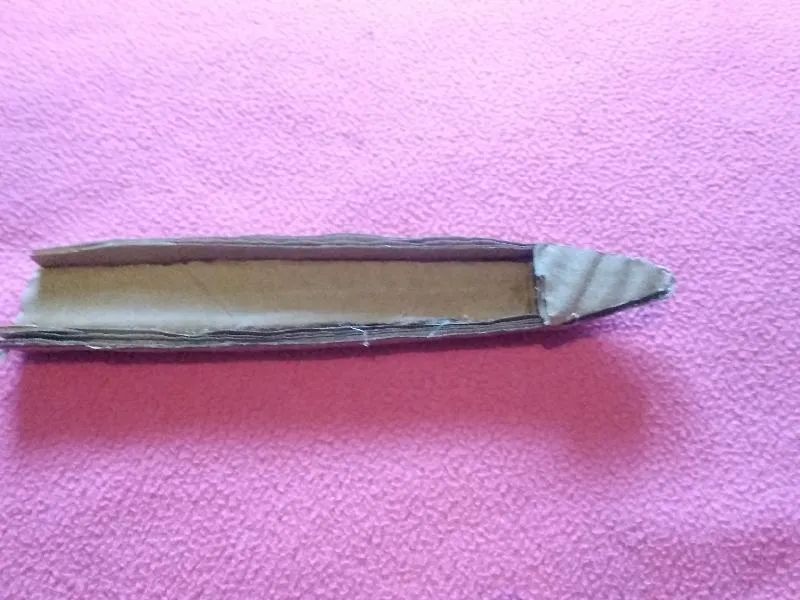
Paso 4:
Se pegan las dos figuras con silicón en ambos lados.
Step 4:
The two figures are glued with silicone on both sides.
Paso 5:
Se dibuja un círculo, y los dividimos de esta forma, para luego recortarlo con la tijera.
Step 5:
A circle is drawn, and we divide them in this way, and then cut it out with the scissors.
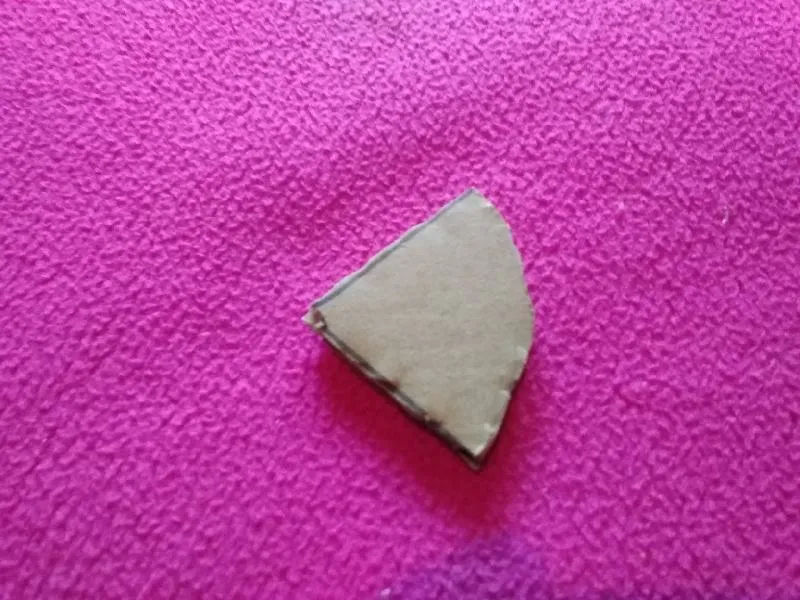
Paso 6:
Se dibuja un triángulo, se recorta con la tijera y lo doblamos un poco para que quede
Step 6:
A triangle is drawn, cut it out with the scissors and we bend it a little so that it is rounded
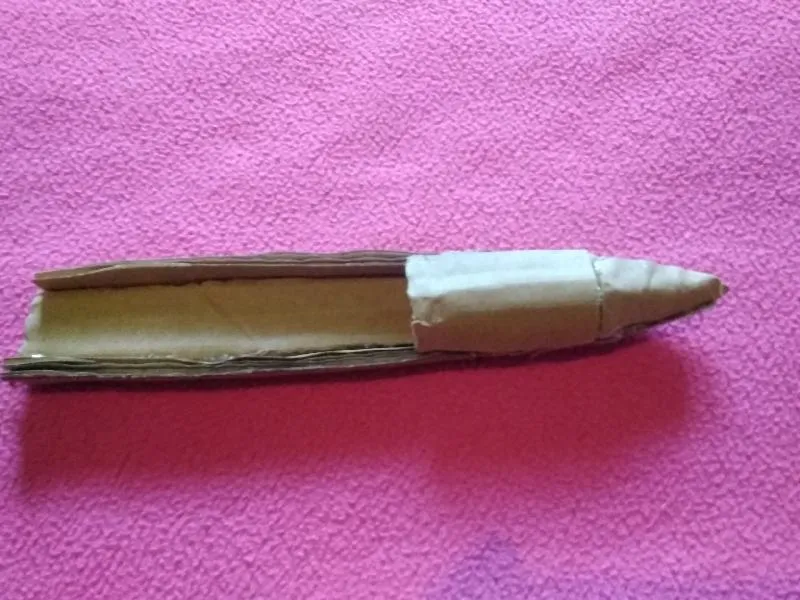
Paso 7:
Se dibuja un rectángulo de la misma medida del ancho de la figura, lo doblamos un poco y lo pegamos con el silicón.
Step 7:
A rectangle of the same measurement of the width of the figure is drawn, we bend it a little and we stick it with the silicone.
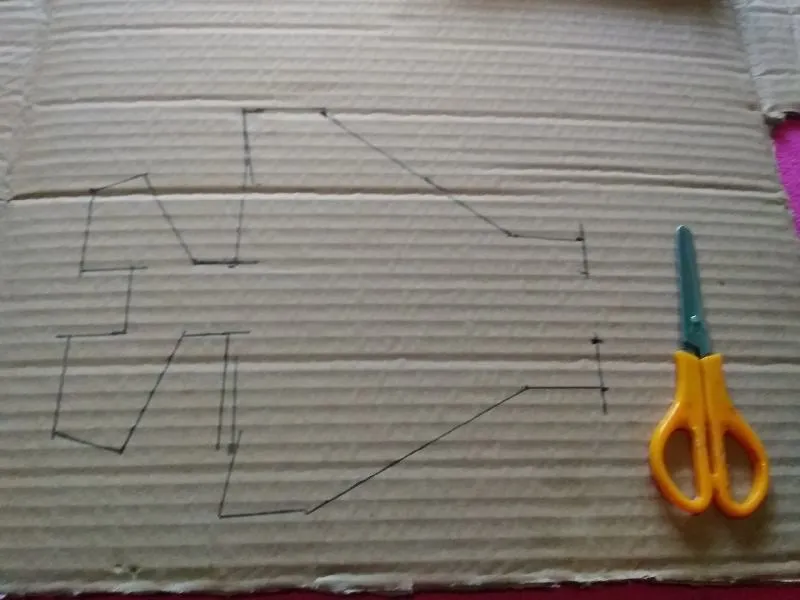
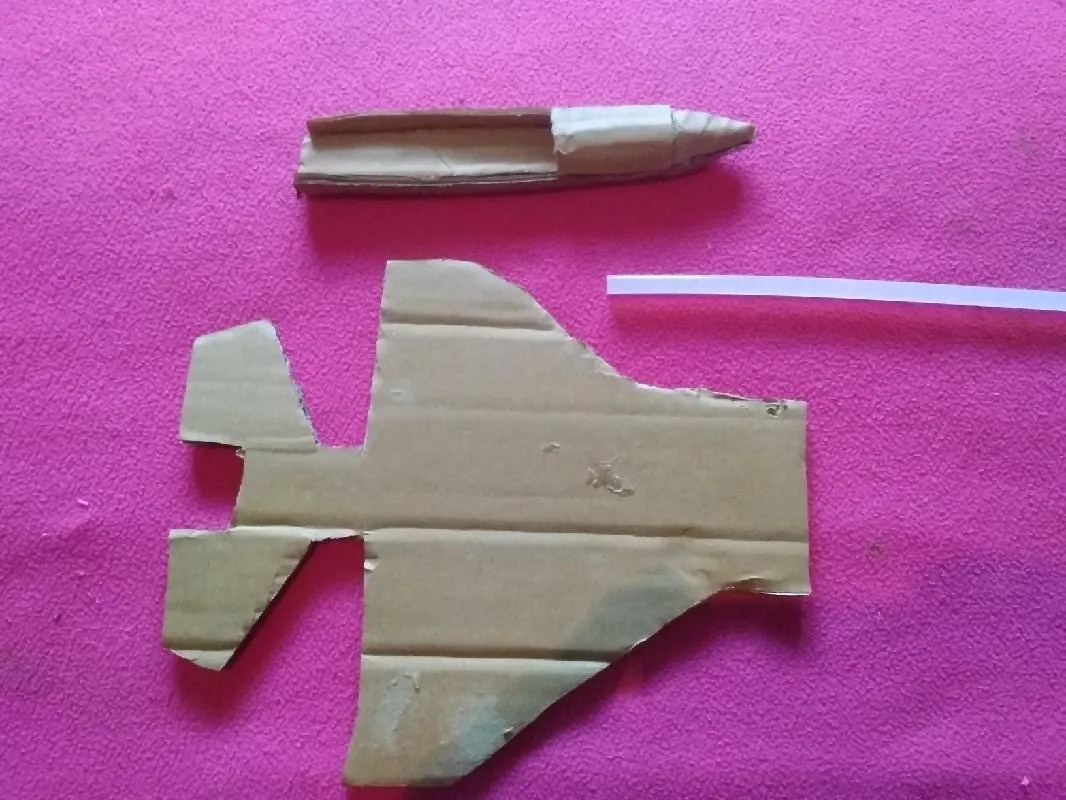
Paso 8:
Se dibuja la siguiente figura el cartón y lo recortamos.
Step 8:
The following figure is drawn on the cardboard and we cut it out
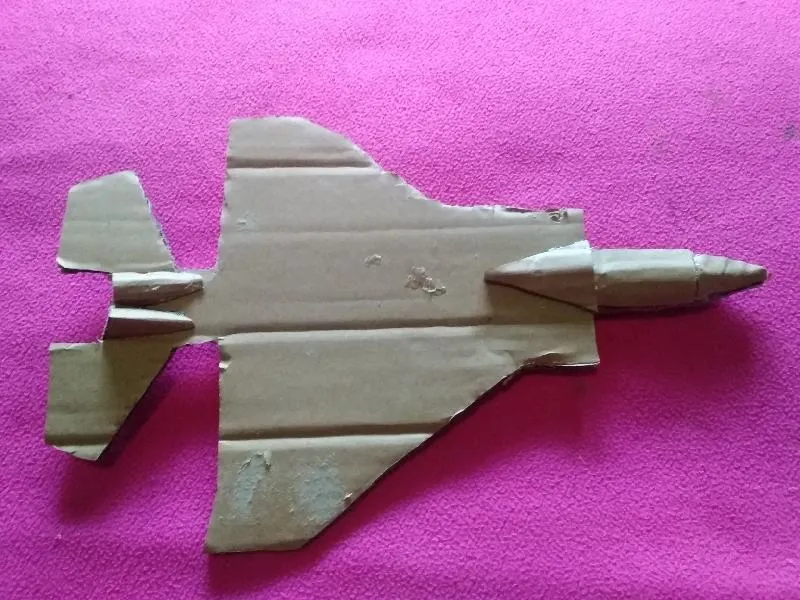
Paso 9:
Se pega con silicón la figura de esta forma.
Step 9:
The figure is glued with silicone in this way.

Paso 10:
Se dibuja una figura triangular, la pegamos en la punta del avión, y luego dibujamos 2 más pequeñas y se pegan en la parte de atrás.
Step 10:
A triangular figure is drawn, we glue it on the tip of the plane, and then we draw 2 smaller ones and they are glued on the back
Paso 11:
Se recortan dos rectángulos y los doblamos de esta forma y lo pegamos en la parte de abajo.
Step 11:
Two rectangles are cut out and folded in this way and glued at the bottom.
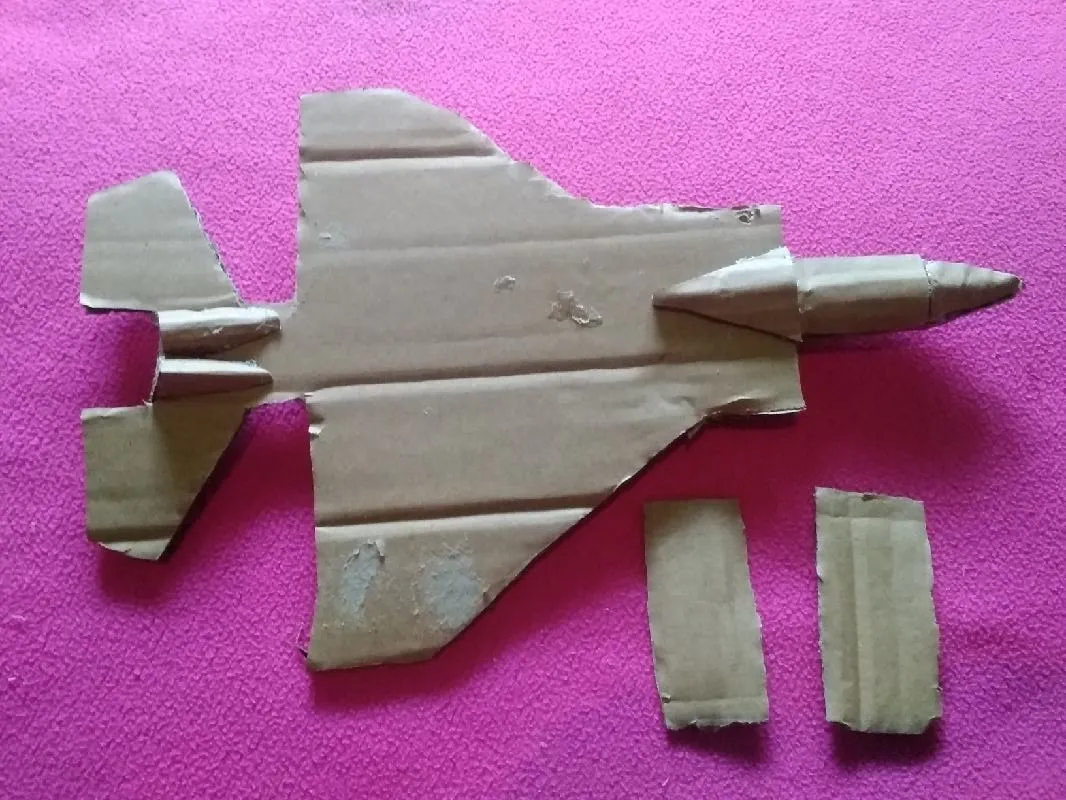
Quedando así:
Being that way:
Paso 12:
Se dibujan dos figuras de esta forma y se pegan en la parte de atrás.
Step 12:
Two figures are drawn in this way and glued on the back.

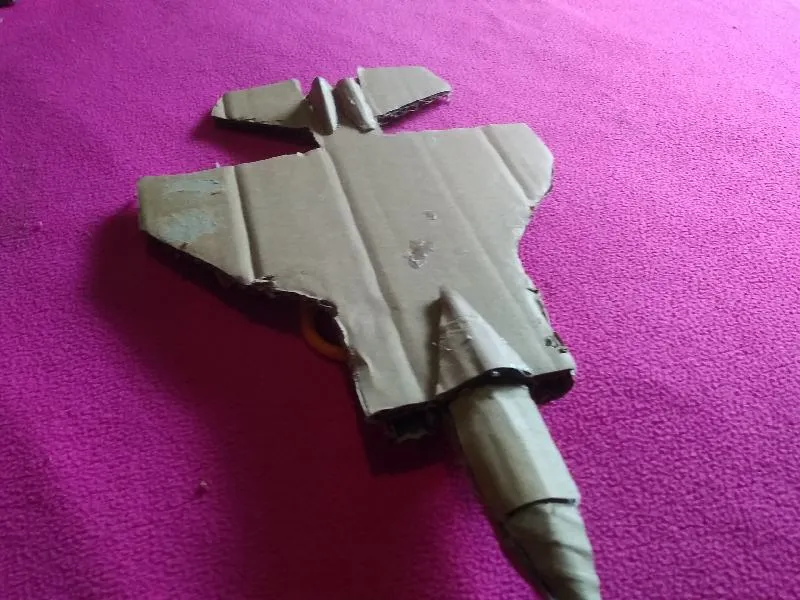
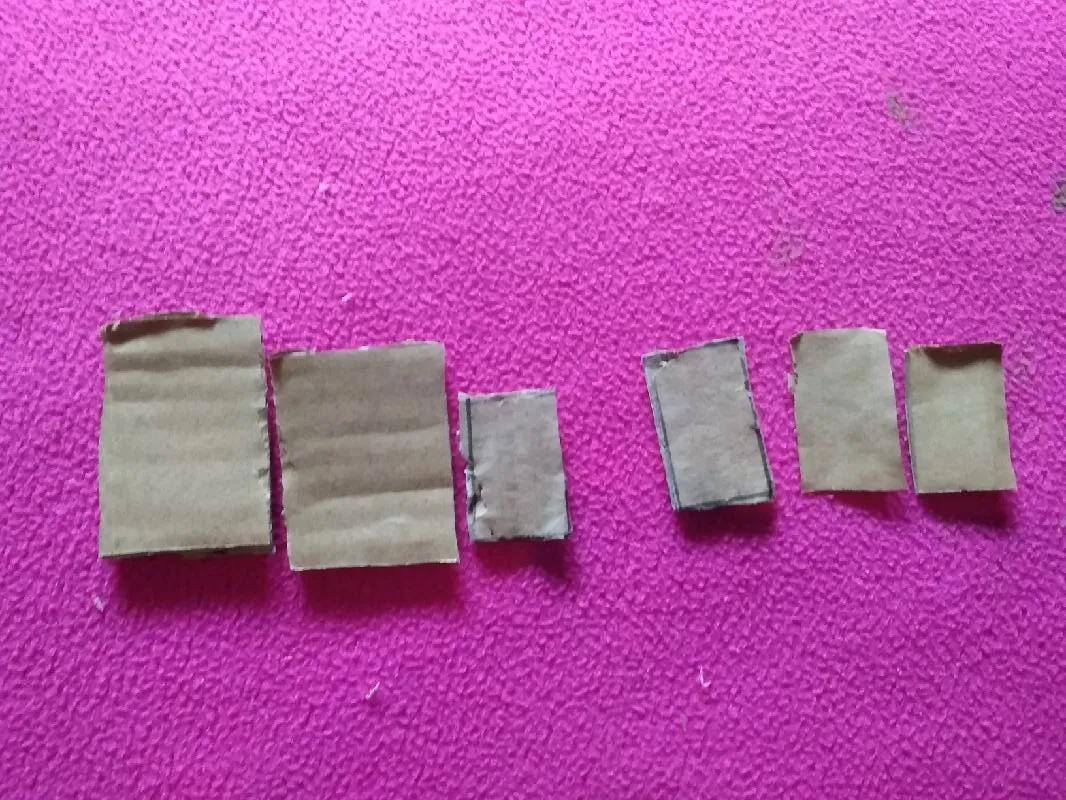
Paso 13:
Se recortan seis rectángulos de diferentes tamaños, los enrollamos y los pegamos en la parte de abajo del avión, estos serán los mísiles.
Step 13:
Six rectangles of different sizes are cut out, rolled and glued to the bottom of the plane, these will be the missiles.
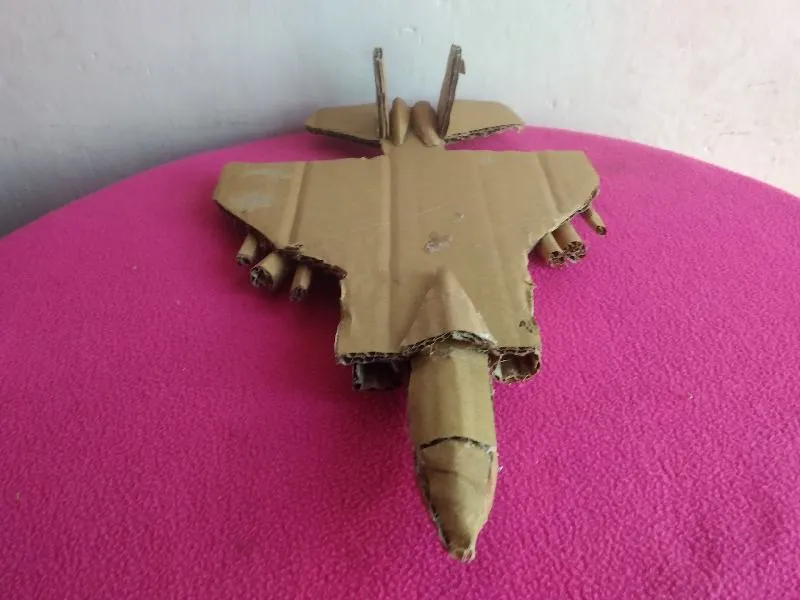
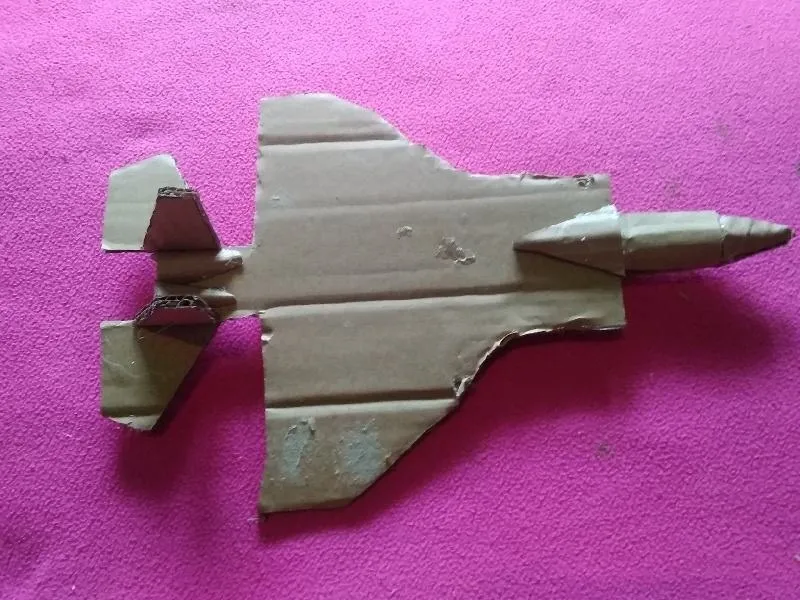
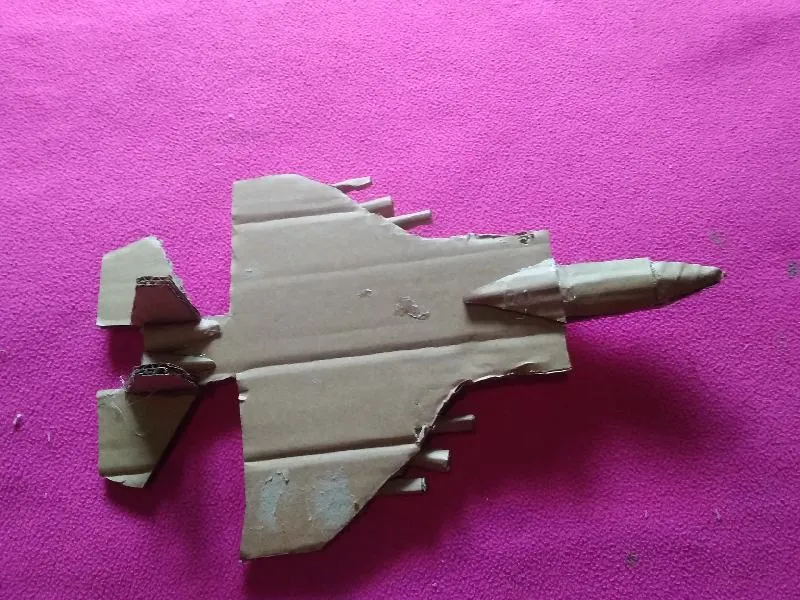
De esta forma terminamos nuestros avión, este es el resultado final
In this way we finish our planes, this is the final result
Espero que les haya gustado mi tutorial, nos vemos en el próximo.
I hope you liked my tutorial, see you in the next
