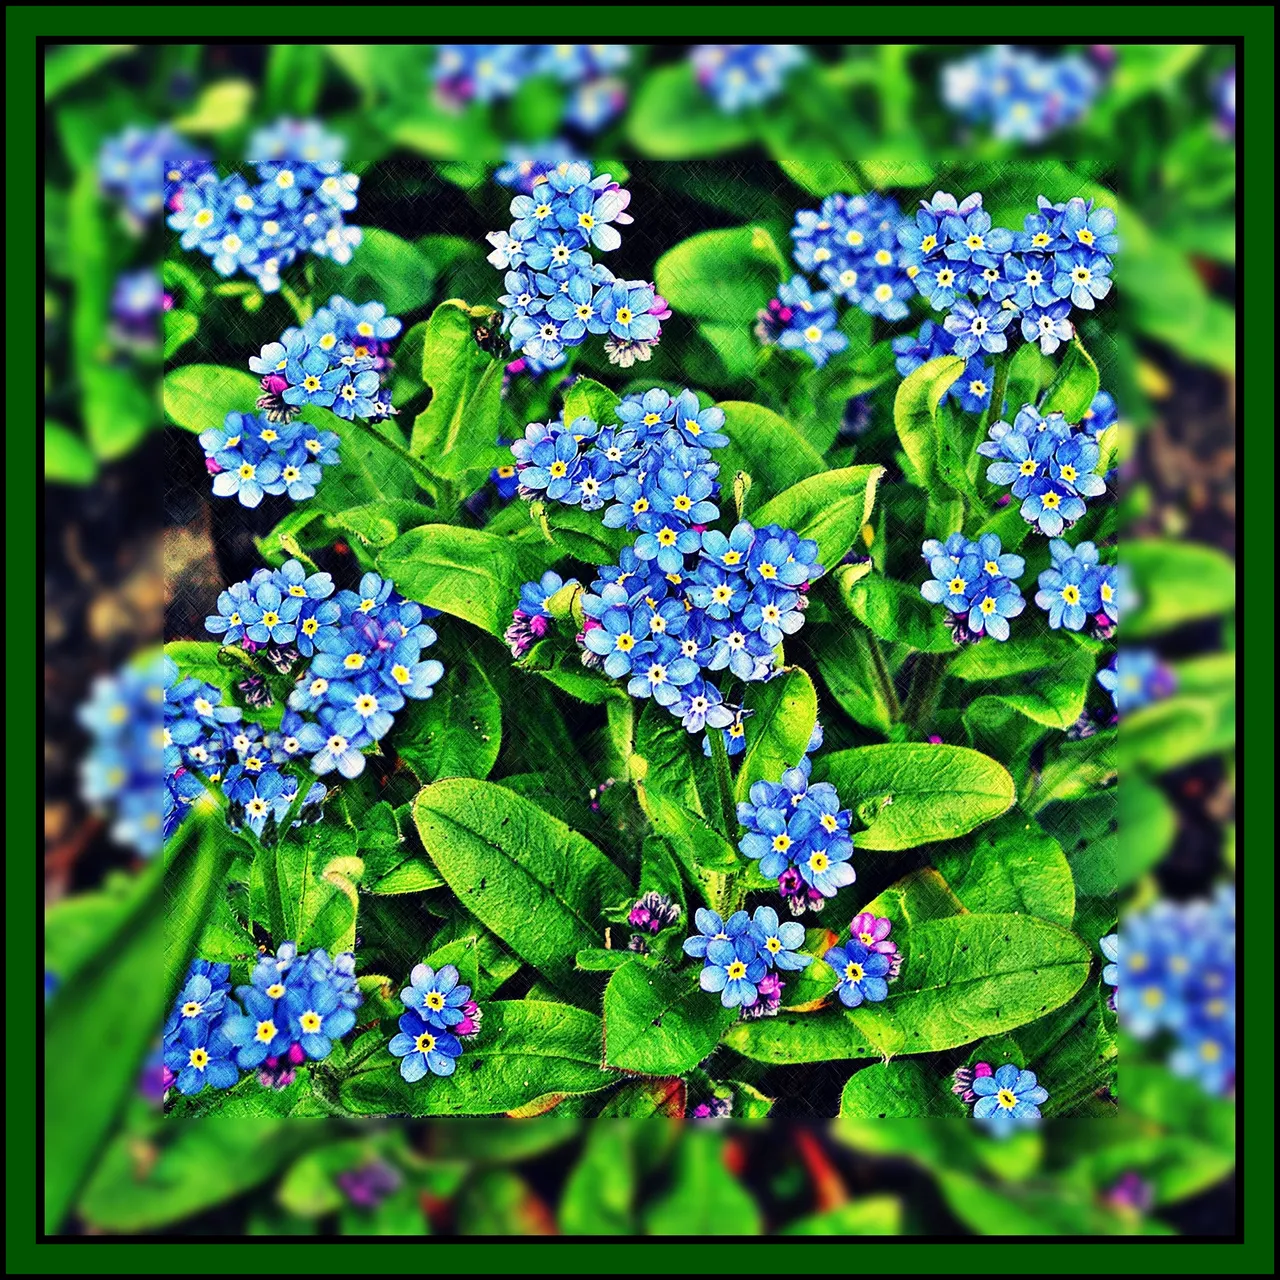
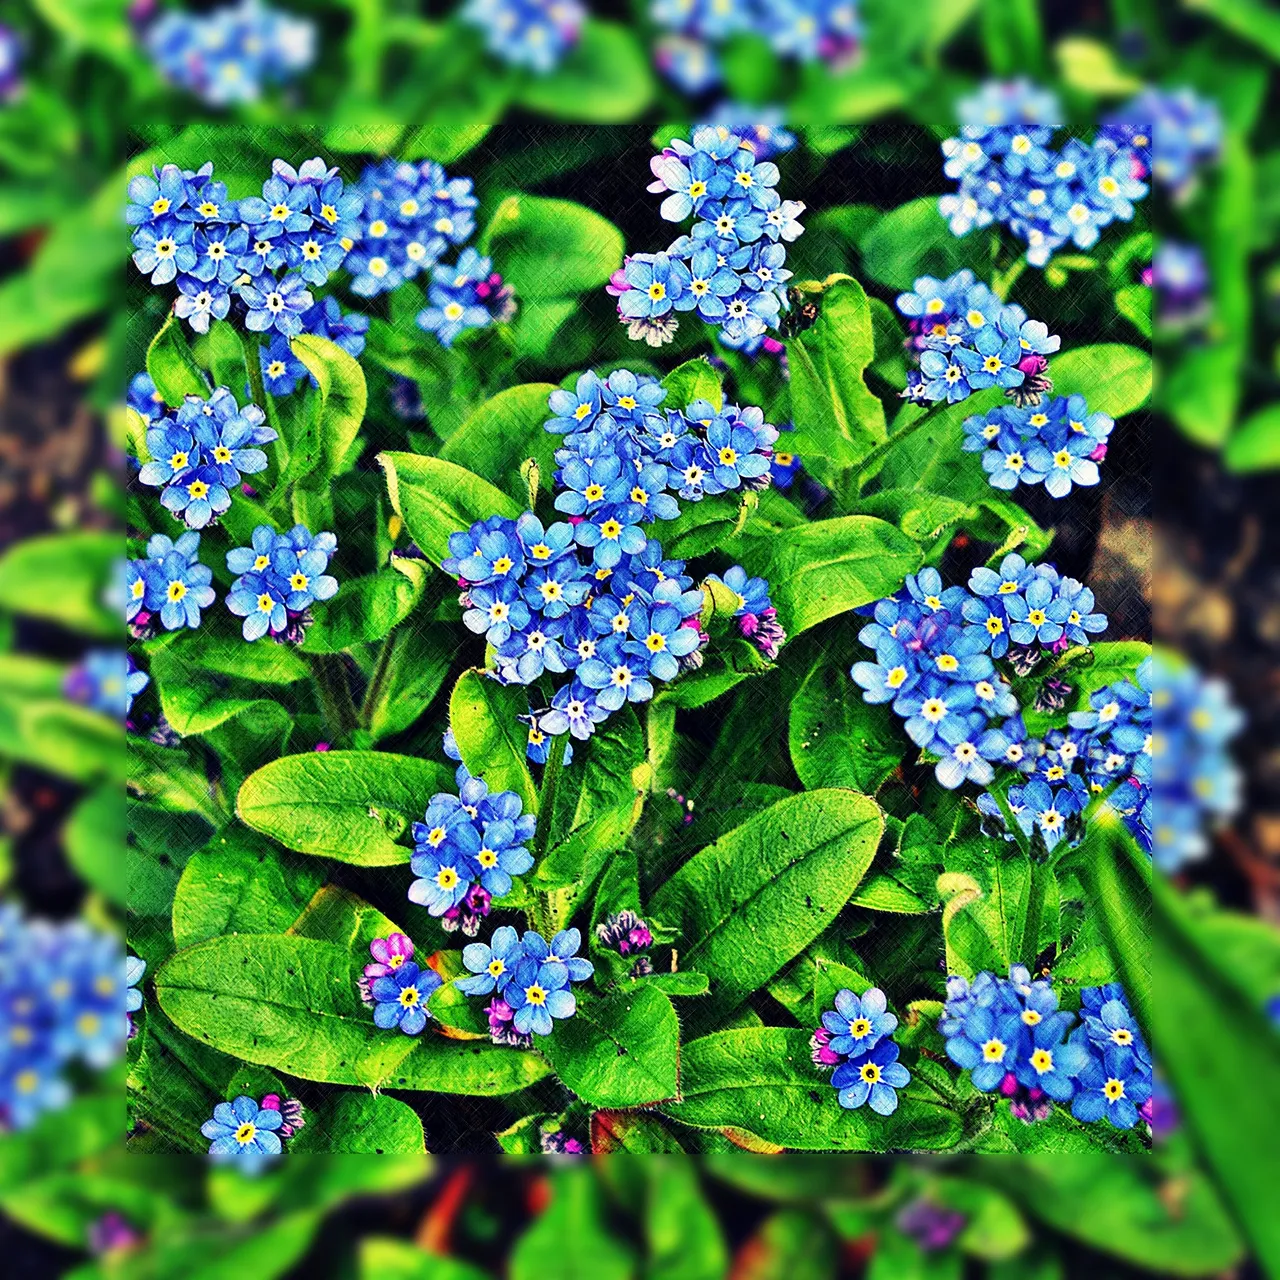
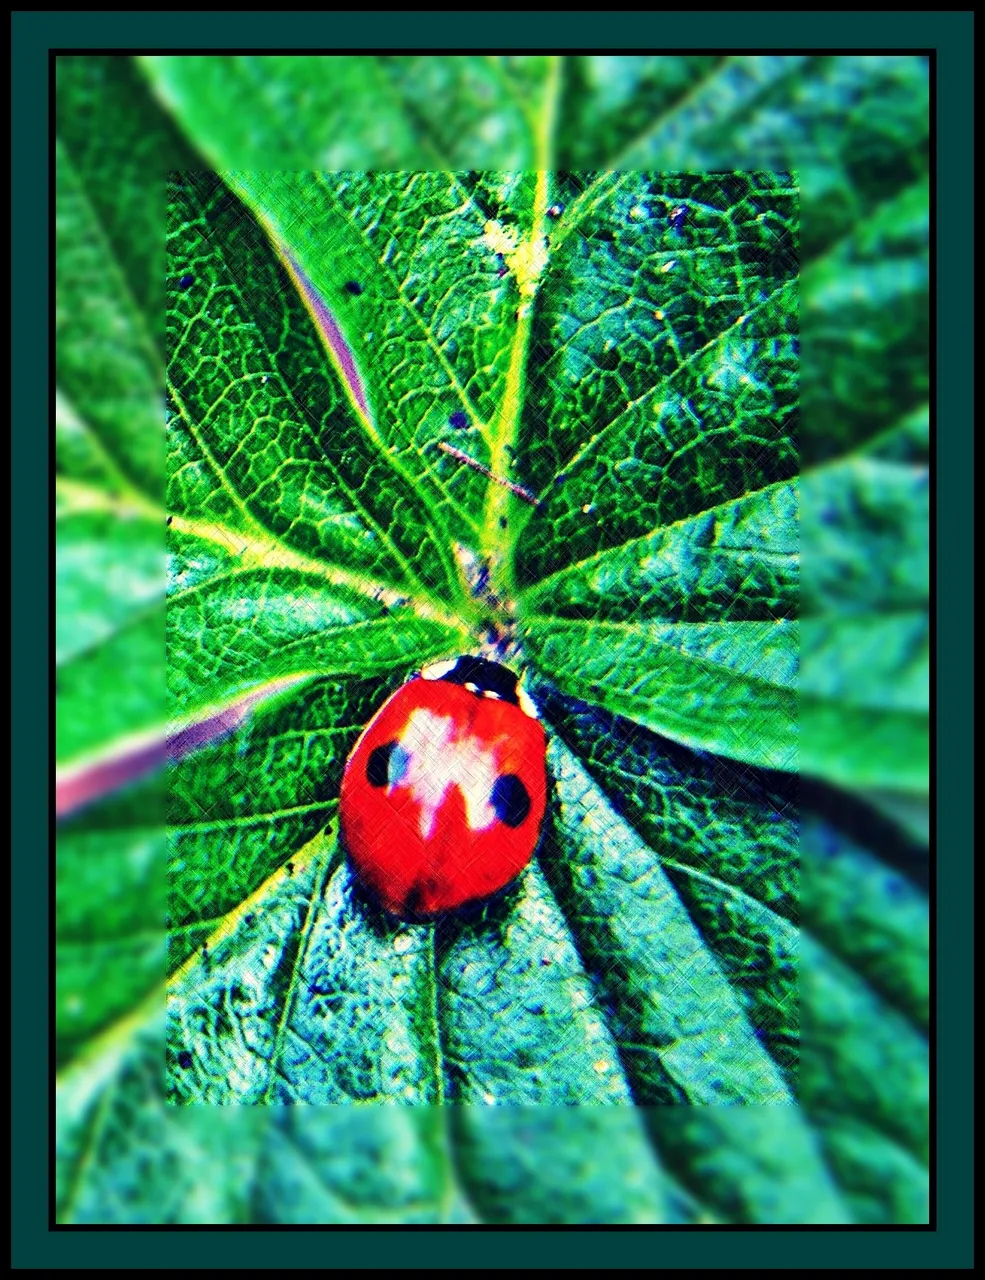
Here is an image I produced yesterday.
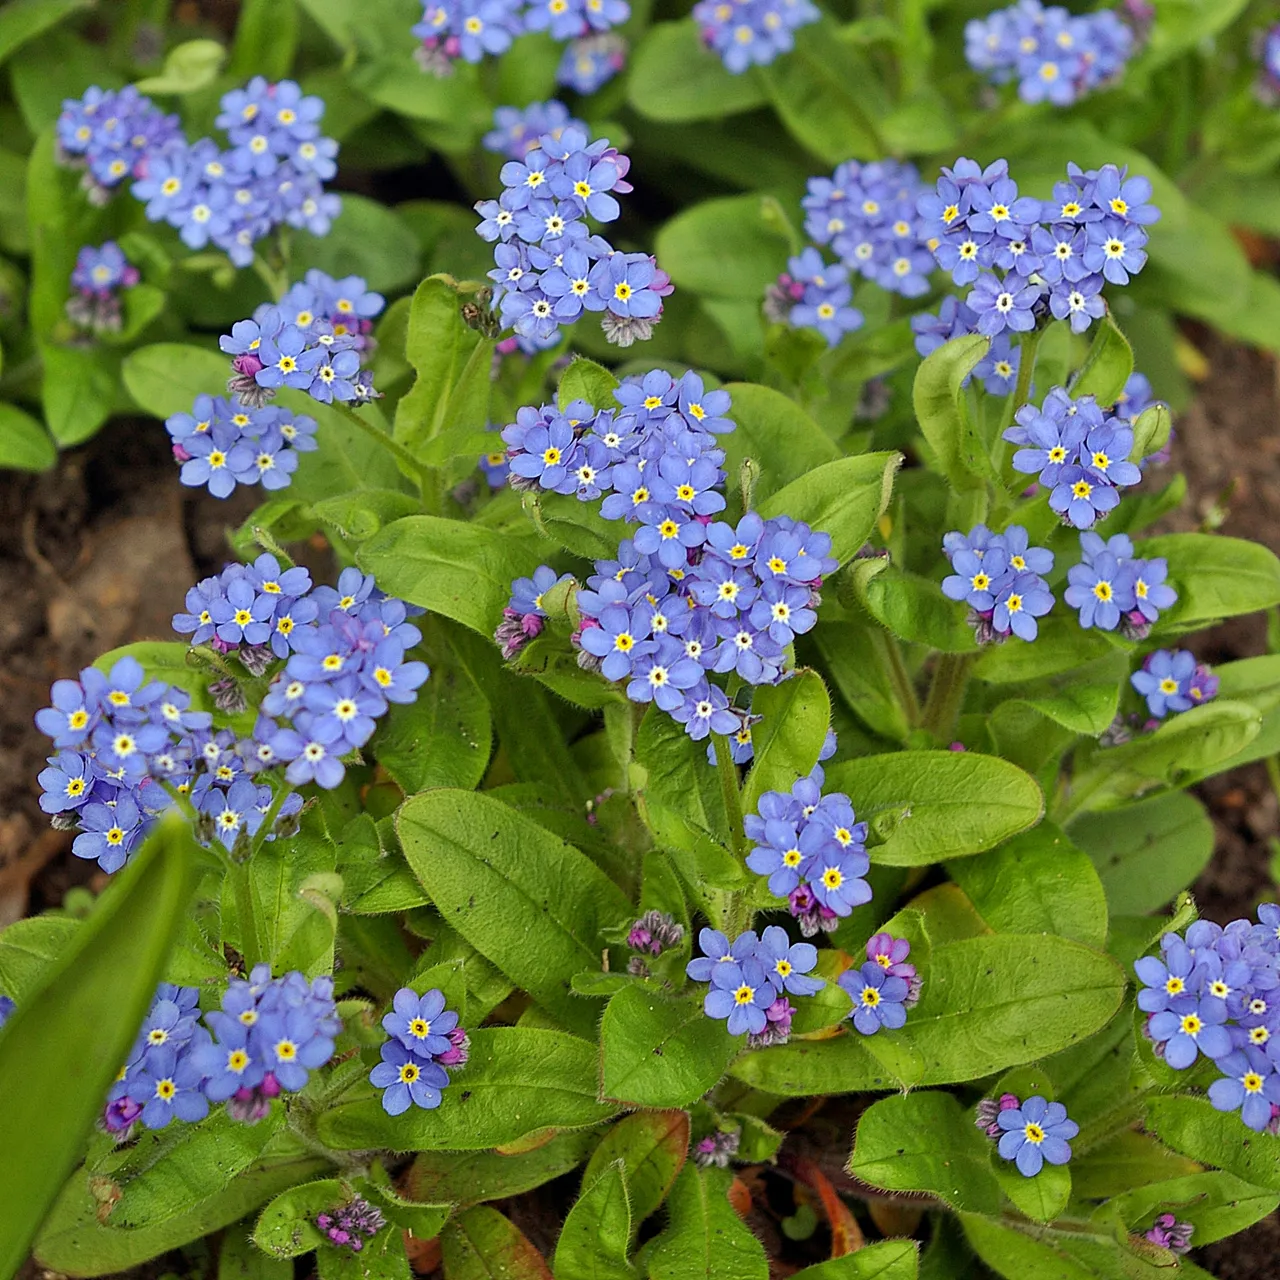
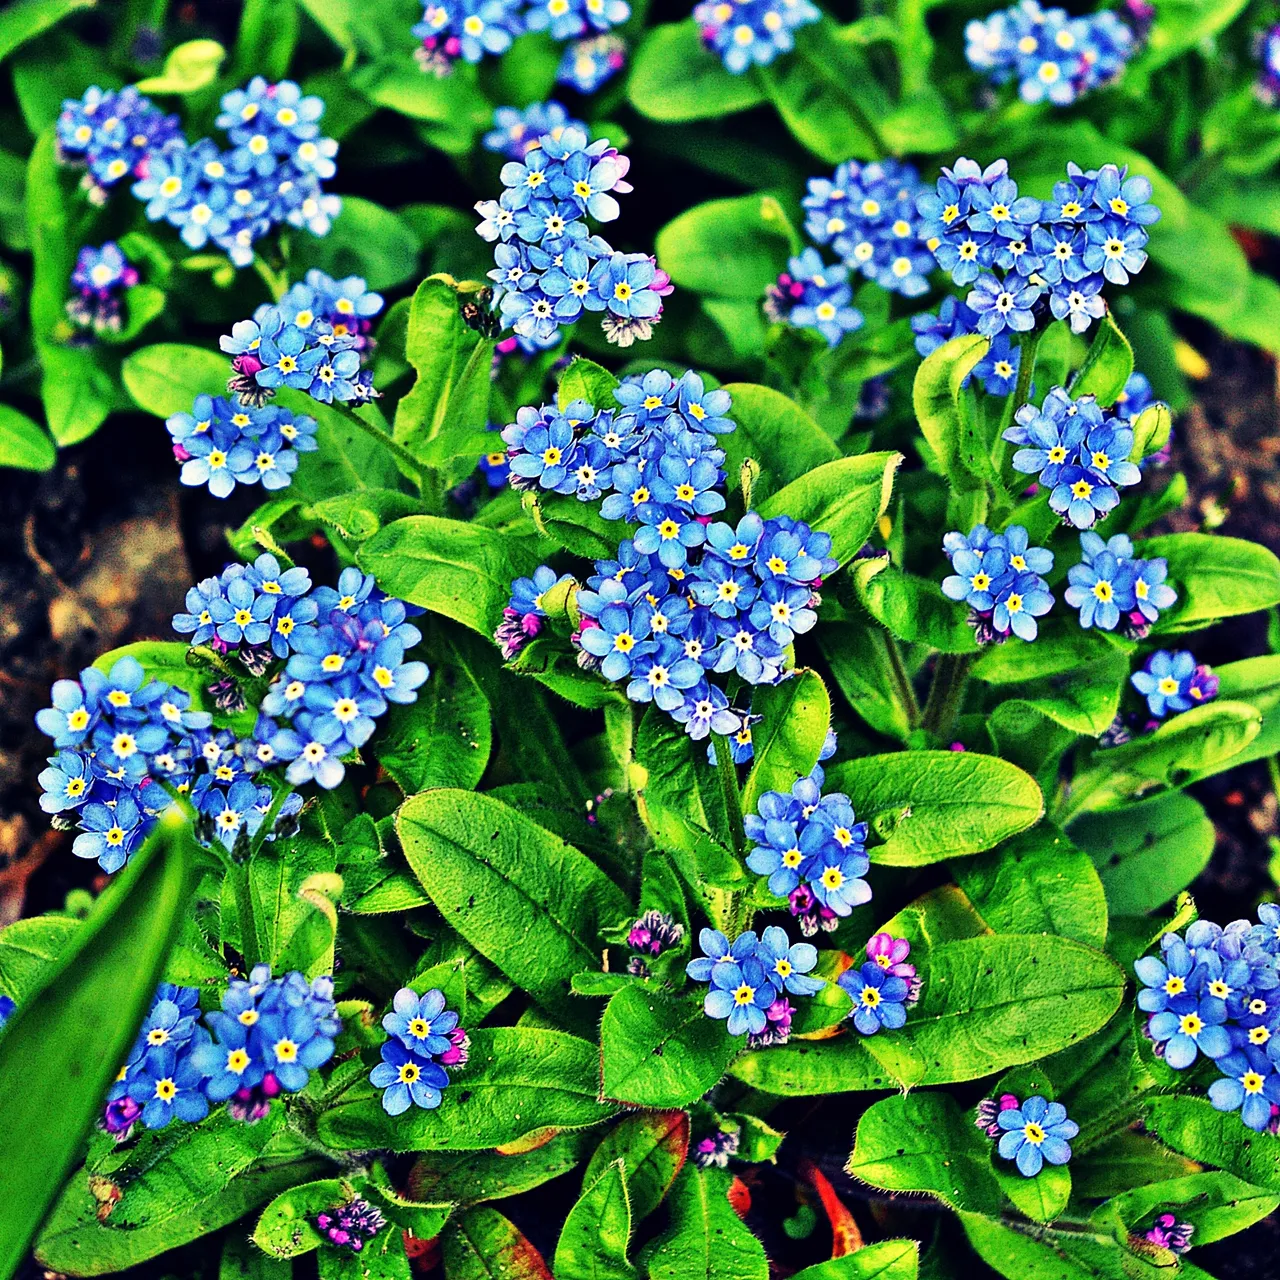
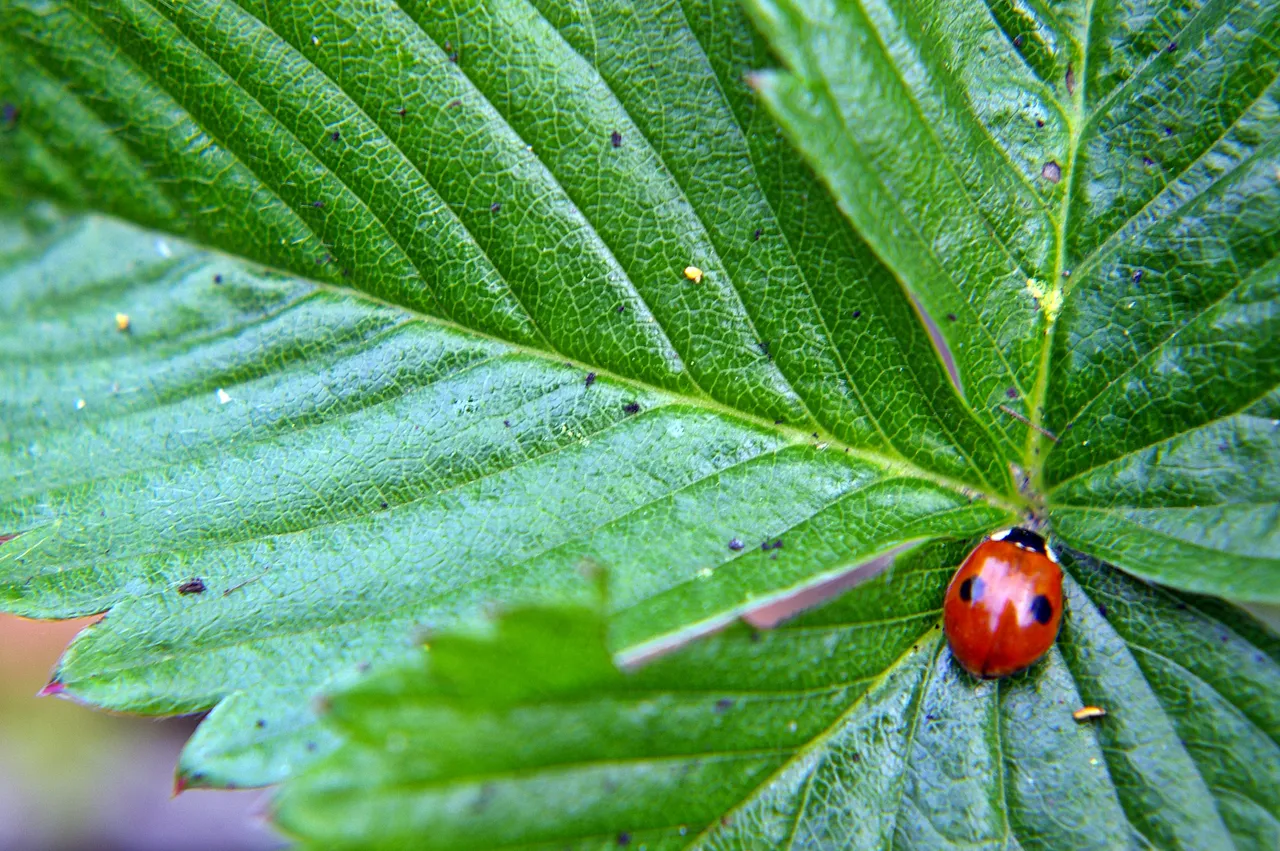
Here is what I started with - after a square crop to salvage the best part of the photo. It's a nice picture, but lacks sharpness and definition. Perfect candidate for playing!

Step 1
So, again, using Photoscape, my (free) go-to for most of my photo manipulation, I hit the "auto-level" and "sharpness" buttons. The differences are minor, but essential for most images.
Step 2
Next, I hit the "color enhance" (watch that one, sometimes it's a little over-exuberant!) and the "contrast enhancement" both in the "bright, color" sub-menu. I really like the subtle way this step brought out the colors.
Step 3
I hit the "backlight" button once (some images require more than one hit, but watch those borders!) and then the "cross-process" option hiding in the "film-effect" sub-menu. I probably chose "high" because of the relatively low amounts of contrast in the original picture. I then selected the "deepen" option in the "bright, color" sub-menu. I like how the colors dance in front of me now.
Step 4
Because I'm still not keen on the sharpness of this photo, I've opted to use some "texture" (in the "filters" sub-menu) again. Currently, my favorite option is "line-diagonal" which I hit, then I flipped the picture horizontally and hit the button again.

Step 5
Next, I'm over to GIMP. Since the middle of the image is pretty good and sharp, and the most blurry parts are around the edges, I've decided to turn this into a feature using the "gaussian blur" tool (I set it at 30 and 30). Before I could do that though, I had to use the rectangular select, using the ruler to guide me towards it being reasonably even. Then, I had to tap "inverse" to get the reverse select (so the outside was selected, not the inside.) Here is that result.
Step 6
Finally, back in Photoscape, I horizontally flip it again (this is totally optional, but I'm a bit of a purist, so it goes back the way it was... Then, I added the margins. On this image, I used 15 px on the inside black margin, then 50 for the green (to match the basic color of the image) and then 10 px on the outside edge, again in black. I could make that green margin larger if I wanted to stick my author's squiggle there, and sometimes I do, especially if I'm producing a meme.
And there you have it - one of my pictures taken from blah to greatness!
I love Photoscape because all the edits are so quick and easy (not to mention it is FREE! - available for Windows and OSX - and yes, it does work under WINE for the Linux lovers among us.) Most of the challenge is working out which things will work best for your image. My strategies have changed over the years as I play more and find new ways of using the tools. So, maybe I can help you get there faster.
Tomorrow, I will show you the other direction I took with this same picture. I found it very striking, but in different ways.

If you haven't already, please check out my other photo posts from the past few days:
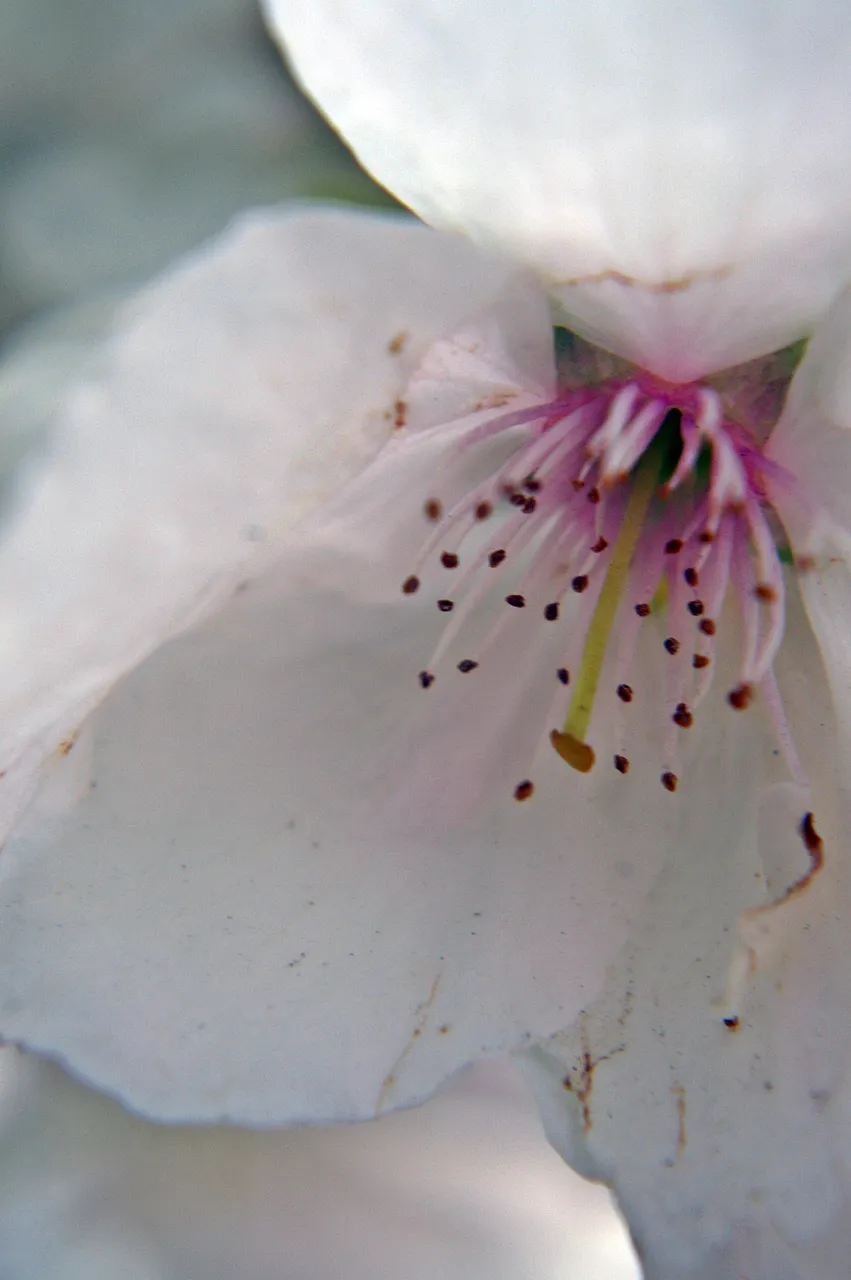
https://steemit.com/macrophotography/@viking-ventures/walnut-intimacy-a-floral-portrait
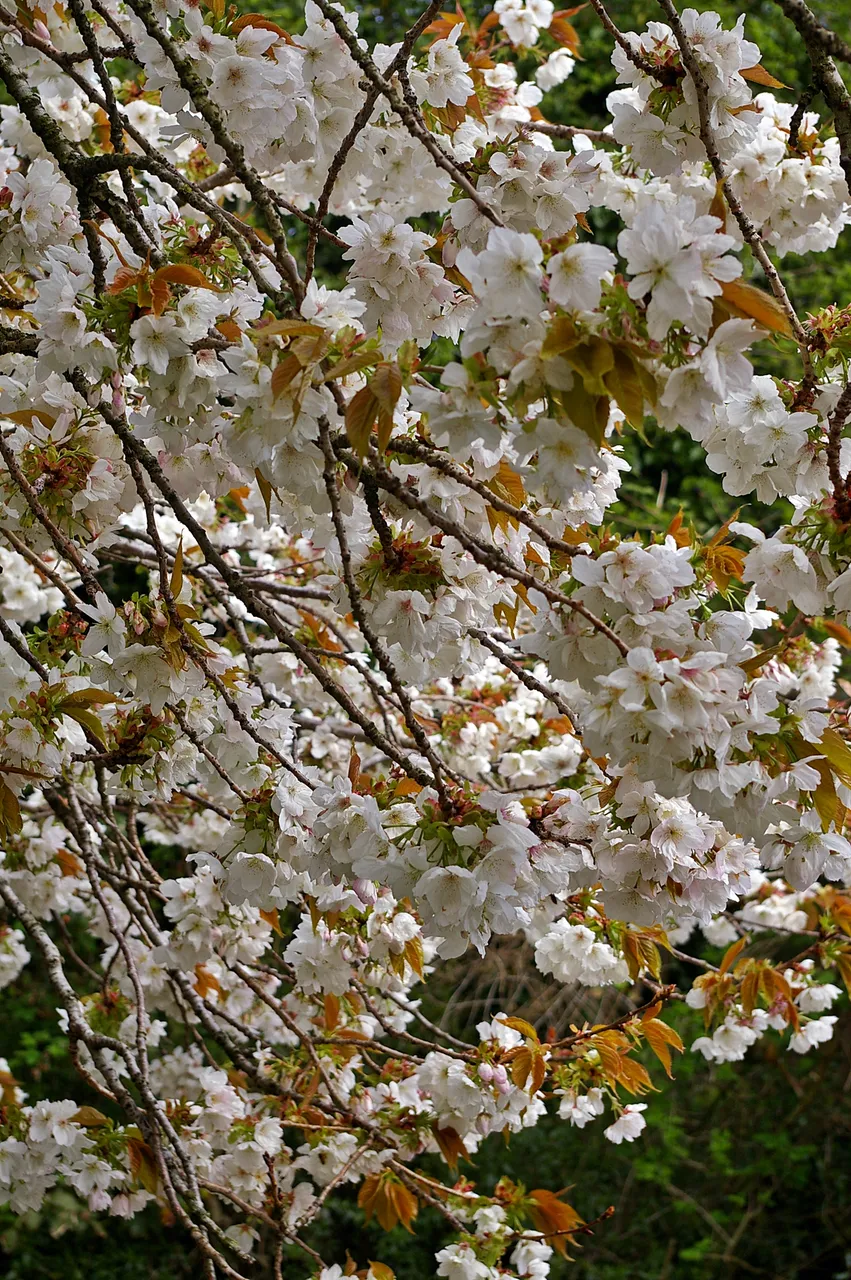
https://steemit.com/macrophotography/@viking-ventures/walnut-majesty-a-floral-portrait

https://steemit.com/macrophotography/@viking-ventures/walnut-spring-a-floral-portrait
https://steemit.com/art/@viking-ventures/salvaged-2-spot-ladybug-a-minibeast-artistic-portrait
https://steemit.com/photography/@viking-ventures/2-spot-ladybug-portrait-salvage-job-to-share
Lori Aberle Hopkins – photographer at Viking Visual, author, student-of-the-world.
Follow, upvote and resteem me here and on Facebook
Check out my work at: RedBubble, ImageKind, and CafePress.
Camera has changed from time to time, the photographer has not. :-)
Unless otherwise stated, all photos are original to me and © 2008-2018.

(Banner by @shai-hulud) | Join here