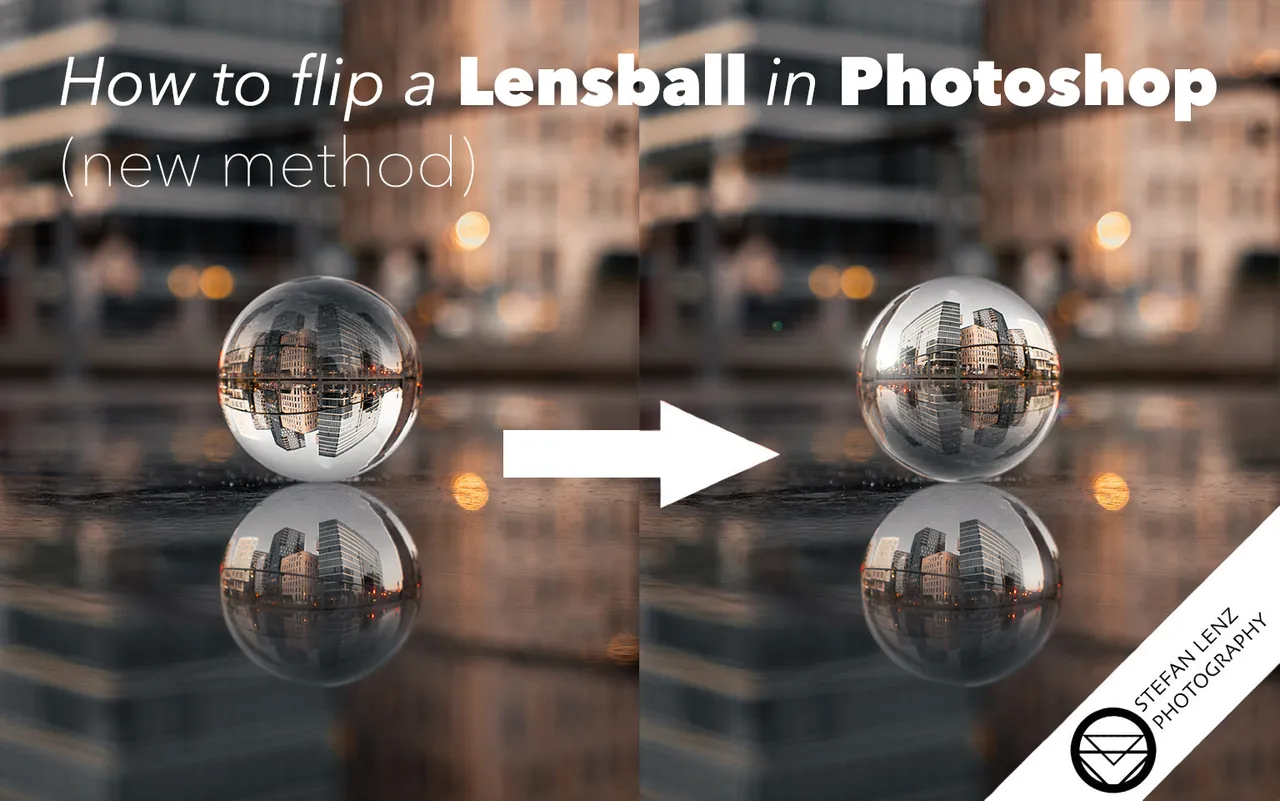
Hey guys! This post is once again about my specialty, Lensball photography. Rotating a glass ball is probably one of the most popular post-processing steps in crystal ball photography. It is amazing how many options are available for this in Adobe Photoshop alone. Personally, I have done it for a long time by selecting the sphere with the elliptical marquee tool, copying the layer and then rotating the newly created layer by 180°. If you select a soft edge and work accurately, this method is very simple and takes very little time, while promising very realistic results. However, I recently discovered a completely new, even simpler option that also offers other advantages. I would therefore like to introduce you to this variant in this blog post. In the following you will find the initial image for the post-processing, which, by the way, is also a good example of how inconspicuously you can use salt as a glass ball stand if you want to fix the ball on a very smooth surface.
Hallo Leute! In diesem Beitrag geht es wieder einmal um mein Spezialgebiet, die Glaskugel-Fotografie. Eine Glaskugel nachträglich zu drehen, gehört wohl zu den beliebtesten Nachbearbeitungsschritten in der Glaskugel-Fotografie. Es ist erstaunlich wie viele Möglichkeiten einem dafür allein in Photoshop zur Verfügung stehen. Ich persönlich habe es lange so gemacht, dass ich die Kugel mit einer Auswahlellipse markierte, die Ebene kopierte und die neu entstandene Ebene um 180 Grad drehte. Wird eine weiche Kante ausgewählt und präzise gearbeitet, ist diese Methode sehr effizient und führt rasch zu sehr realistischen Ergebnissen. Vor Kurzem habe ich eine ganz neue, noch einfachere Möglichkeit entdeckt. Sie ist nicht nur schneller, sondern bietet noch weitere Vorteile, die ich dir nicht verheimlichen möchte. Nachfolgend findest du das Ausgangsbild für die Nachbearbeitung, das übrigens auch ein gutes Beispiel dafür ist, wie unauffällig man Salz als Glaskugel-Ständer einsetzen kann, wenn man die Kugel auf einer sehr glatten Oberfläche fixieren möchte.

Step 1/Schritt 1:
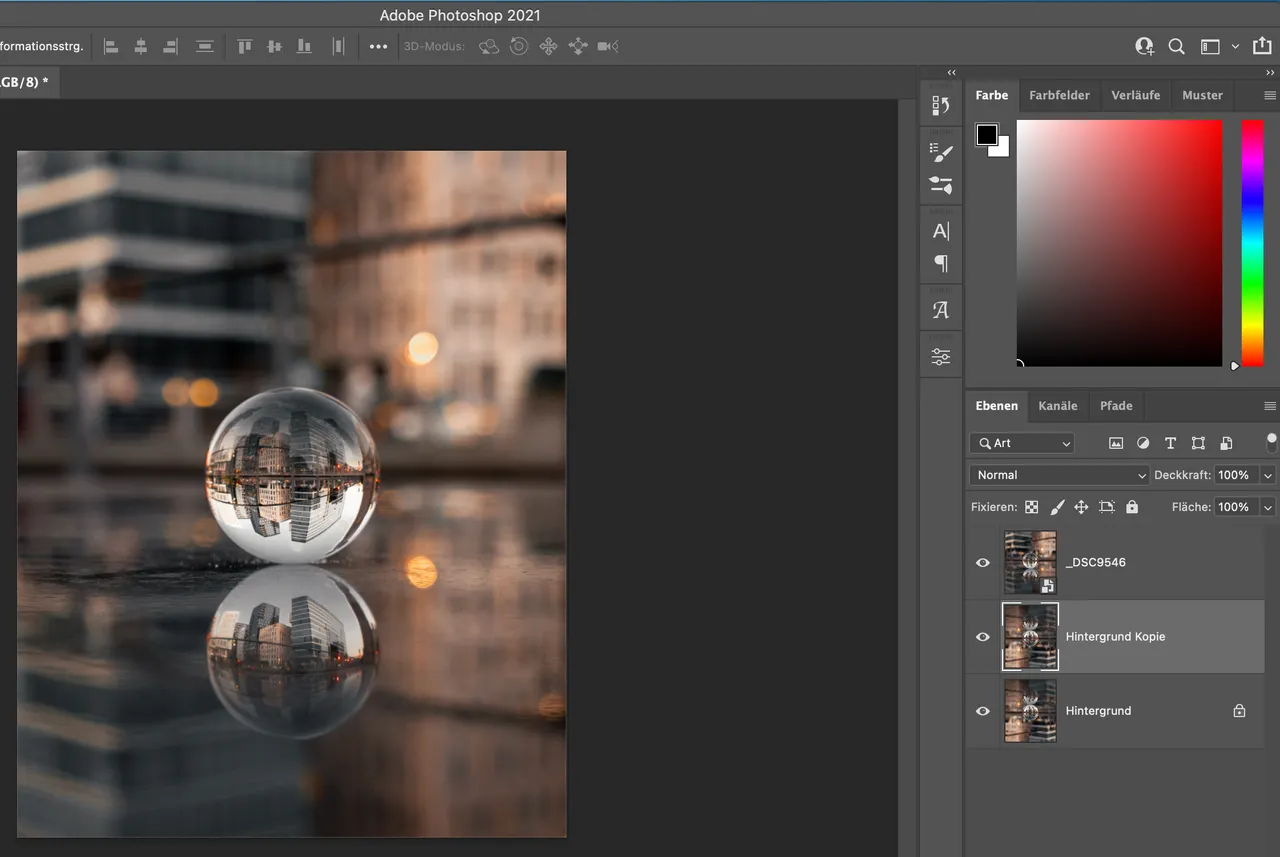
To start editing, we need two layers in Photoshop. One is the original image as you see it here and then the same image again, only rotated by 180°. So we open the image in Photoshop and go to "Image - Image rotation - 180°" in the menu. Then we duplicate the background layer by pressing "Ctrl + J" (on Apple devices "Command + J"). Then we add the image again as the third (top) layer, but this time we do not rotate it. So it is important that the rotated image is on the bottom and middle layer.
Um mit der Bearbeitung beginnen zu können, benötigen wir zwei Ebenen in Photoshop. Das Ausgangsbild, wie du es hier siehst, und dasselbe Bild noch einmal, nur um 180 Grad gedreht. Um das zu erreichen, öffnen wir das Bild in Photoshop und klicken im Menü auf „Bild – Bilddrehung – 180°“. Anschließend duplizieren wir die Hintergrundebene, indem wir „Strg + J“ drücken (auf Apple-Geräten „Command + J“). Dann fügen wir das Bild als dritte (oberste) Ebene hinzu. Aber: Diesmal drehen wir es nicht. Es ist wichtig, dass das gedrehte Bild auf der unteren und mittleren Ebene liegt.
Step 2/Schritt 2:
Next, we set the opacity of the top layer to about 50%.
Als nächstes stellen wir die Deckkraft der obersten Ebene auf ca. 50 Prozent.
Step 3/Schritt 3:
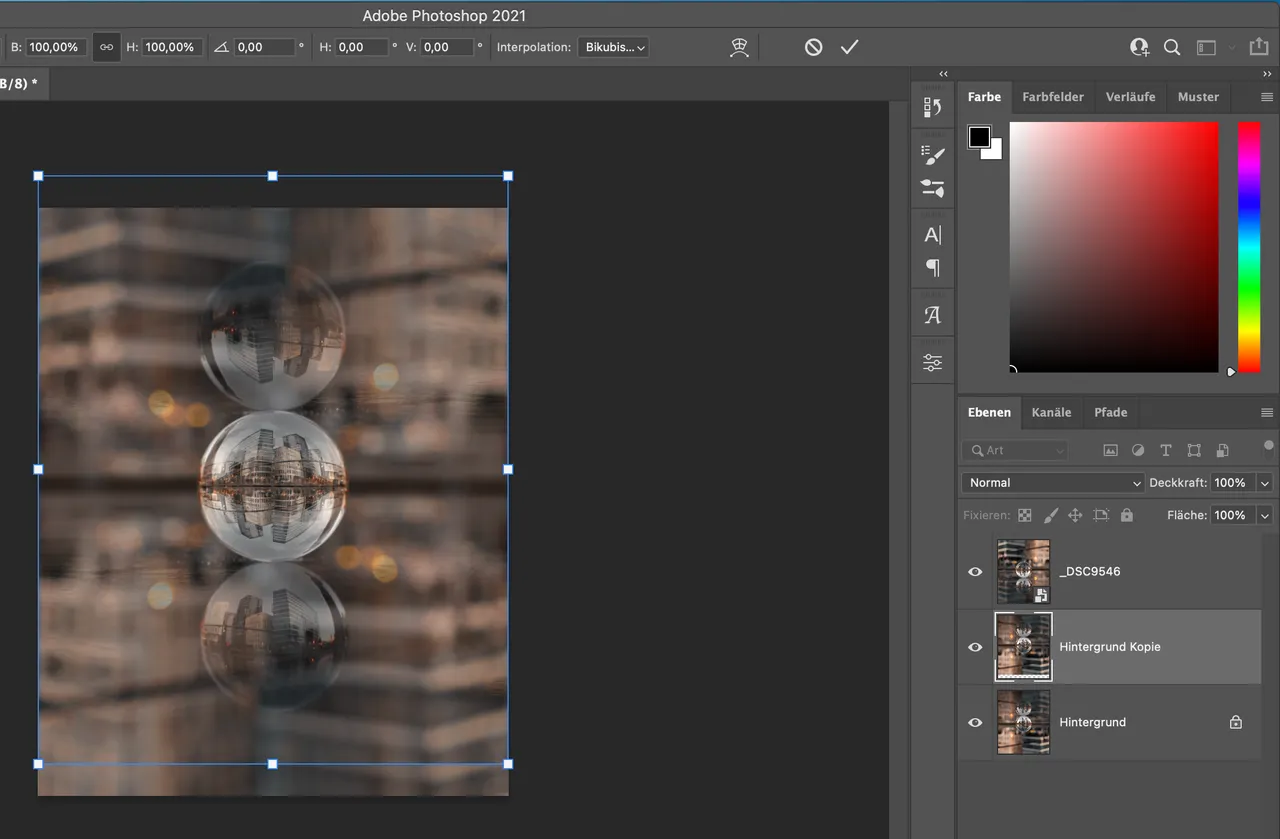
Now we transform the middle layer by selecting it and pressing "Ctrl + T" (On Apple devices "Command + T") for transforming.
Nun transformieren wir die mittlere Ebene, indem wir sie auswählen und „Strg + T“ (auf Apple-Geräten „Command + T“) für das Transformieren drücken.
Step 4/Schritt 4:
Now we can move the layer so that we exactly overlay the image of the sphere on the top two layers. In this example it is a bit more difficult because we also have a reflection of the sphere. So make sure you really get the image of the sphere and not the reflection, if you have one in your image. As soon as the two spheres are exactly on top of each other, we confirm this with the " Return" key.
Jetzt können wir die Ebene so verschieben, dass wir die Abbildung der Kugel auf den oberen beiden Ebenen genau übereinanderlegen. In diesem Beispiel ist es etwas schwieriger, da wir auch eine Reflexion der Kugel haben. Achtet also darauf, wirklich die Abbildung der Kugel zu erwischen und nicht die Spiegelung, falls ihr eine in eurem Bild habt. Sobald die beiden Kugeln exakt übereinander liegen, bestätigen wir dies mit der „Enter“-Taste.
Step 5/Schritt 5:
Now we set the opacity of the top layer back to 100%.
Nun stellen wir die Deckkraft der obersten Ebene wieder zurück auf 100 Prozent.
Step 6/Schritt 6:
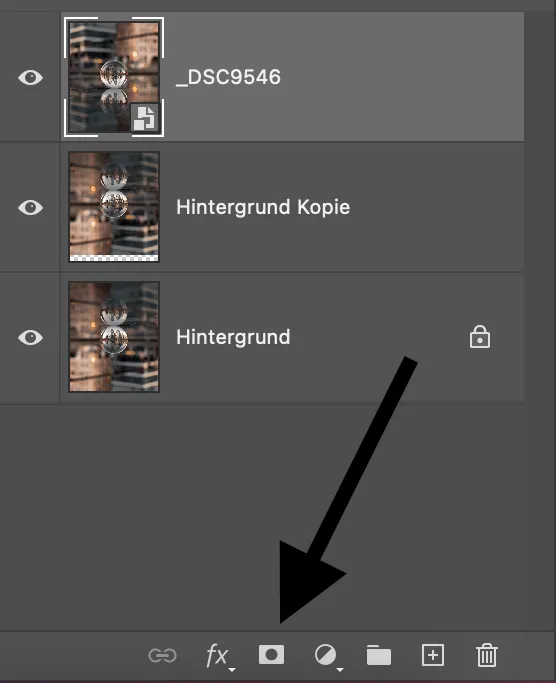
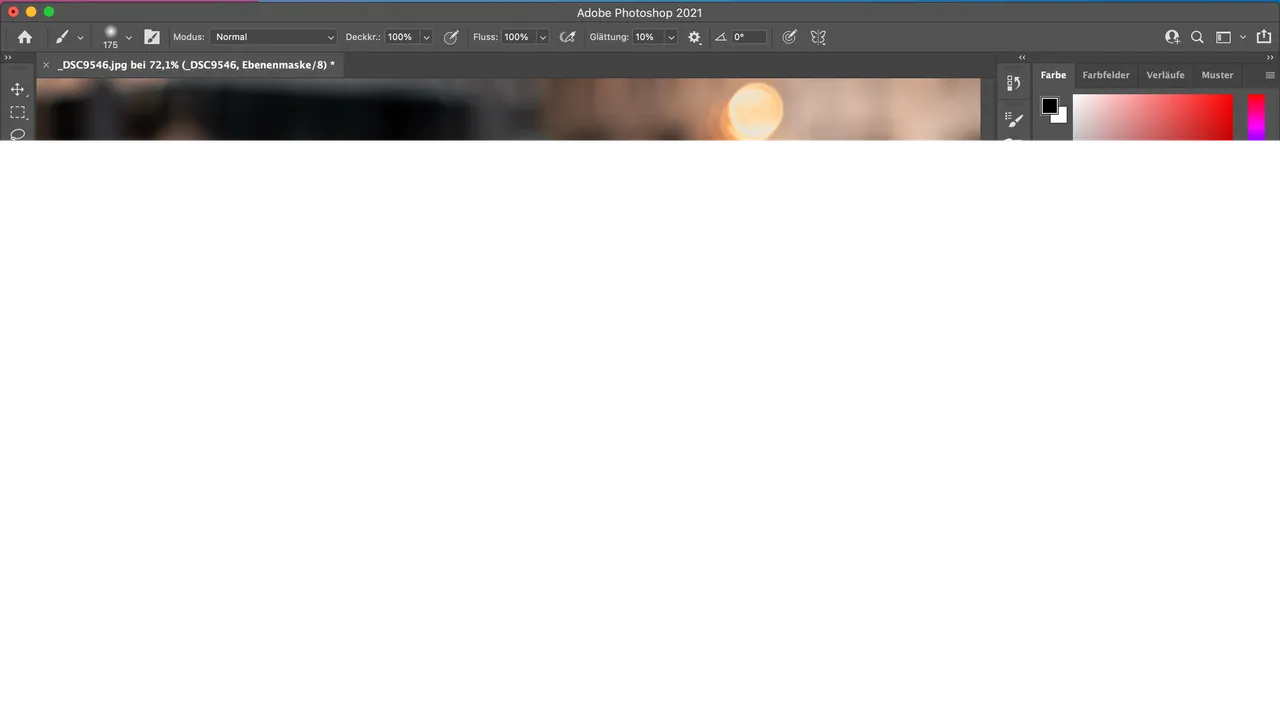
In the next step we add a layer mask for the top layer by clicking on the respective icon:
Im nächsten Schritt fügen wir für die oberste Ebene eine Ebenenmaske hinzu, indem wir auf das entsprechende Symbol klicken:
Step 7/Schritt 7:
Now we select a brush with a soft edge and black color and start to paint over the sphere on the top layer to rotate it by 180°. Now you should vary both the hardness and the size of the brush to trace the edges of the ball as accurately as possible.
Nun wählen wir einen Pinsel mit weicher Kante und schwarzer Farbe aus und können damit beginnen, die gedrehte Kugel auf der obersten Ebene „freizumalen“. Du solltest sowohl mit der Härte als auch mit der Größe des Pinsels variieren, um die Ränder der Kugel möglichst genau nachzuzeichnen.
And now the big advantage of this method comes into play. If you paint beyond the edges, simply change the color of the brush to white by pressing the "X" key. This way you can paint the top layer back into the image. This way you can work very precisely and correct any mistake immediately. The only important thing is that you always select the layer mask and not the layer itself. The finished result looked like this in the current example:
Jetzt kommt der große Vorteil dieser Methode ins Spiel: Falls ihr über die Ränder hinausmalt, ändert ihr einfach die Farbe des Pinsels auf weiß, indem ihr die „X“-Taste drückt. So könnt ihr die obere Ebene wieder auf das Bild zeichnen. Auf diese Art und Weise könnt ihr sehr exakt arbeiten und jeden Fehler sofort korrigieren. Wichtig ist, dass ihr immer die Ebenenmaske und nicht die Ebene selbst ausgewählt habt. Das Ergebnis unseres Beispiels sieht übrigens so aus:

By the way, you can flip also the reflection of the sphere in the same way to get a more realistic result. In this case, however, I liked it much better this way.
Noch ein Hinweis: Ihr könnt auf dieselbe Art und Weise die Spiegelung der Kugel drehen, um ein realistischeres Ergebnis zu erhalten. In diesem Fall gefiel es mir aber ohne eine Drehung der Reflexion wesentlich besser.
More about this topic?/Mehr zu diesem Thema?
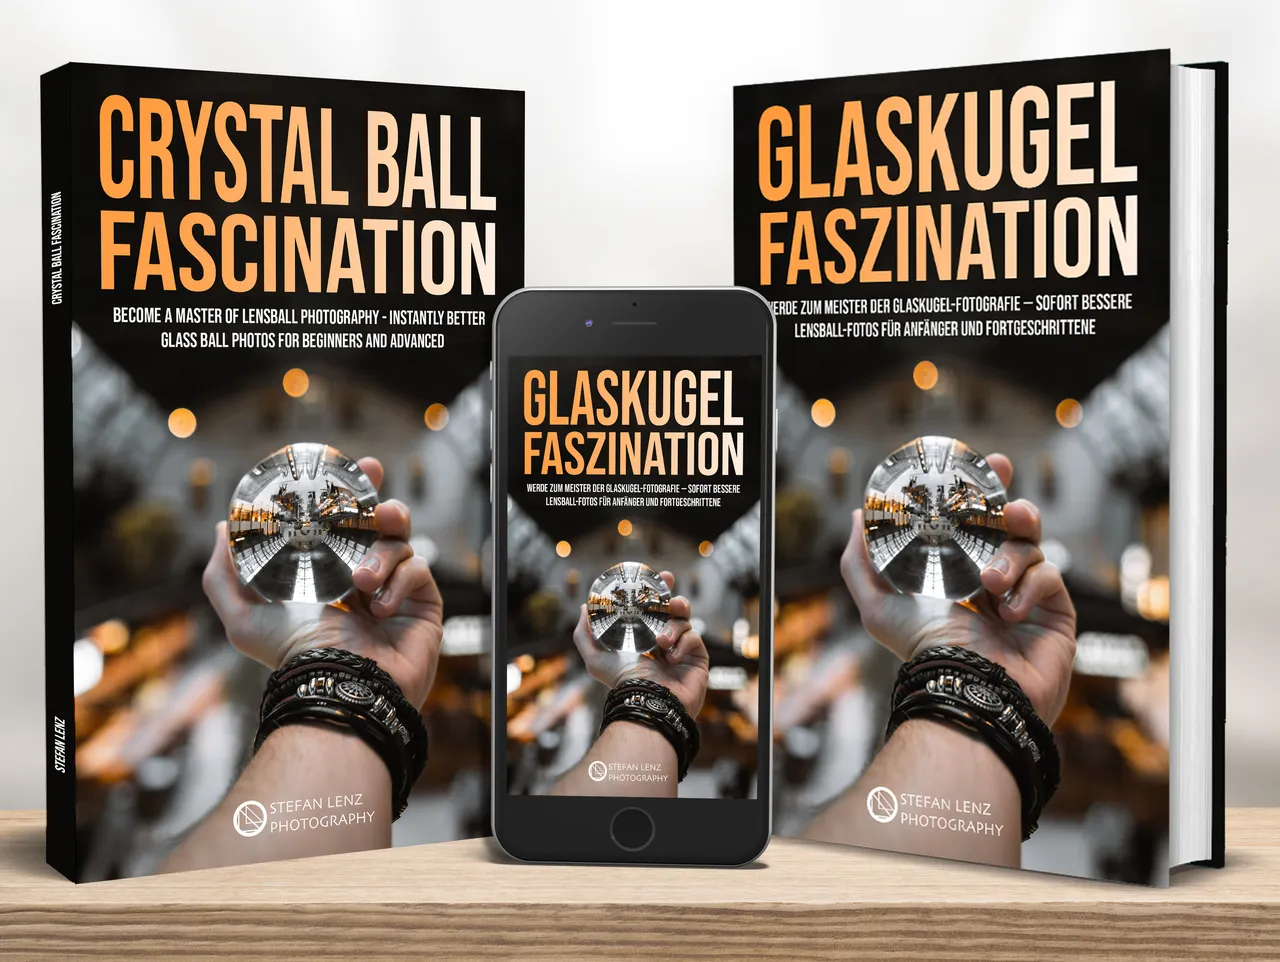
This tutorial is also a chapter of my new book "Crystal Ball Fascination", which is now available on Amazon as an eBook and paperback! 📘📱 It is the final part of my trilogy of books on the topic of glass ball photography and contains lots of brand new tips, inspirations and creative ideas from the last two years of my work with the Lensball 🔮📸 Here you can read the full description to see what awaits you exactly 😊:
Dieser Artikel ist auch ein Kapitel meines neuen Buches "Glaskugel Faszination", das jetzt als eBook und Taschenbuch bei Amazon erhältlich ist! 📘📱 Es bildet den Abschluss meiner Buch-Trilogie zum Thema Glaskugel-Fotografie und beinhaltet jede Menge brandneue Tipps, Inspirationen und kreative Ideen aus den letzten beiden Jahren meiner Arbeit mit dem Lensball 🔮📸 Hier könnt ihr die vollständige Beschreibung lesen, um zu sehen, was euch genau erwartet 😊:
*: affiliate link