Hello, Steemit! I will begin that I am very glad that you read my posts! Thank you by all for support!

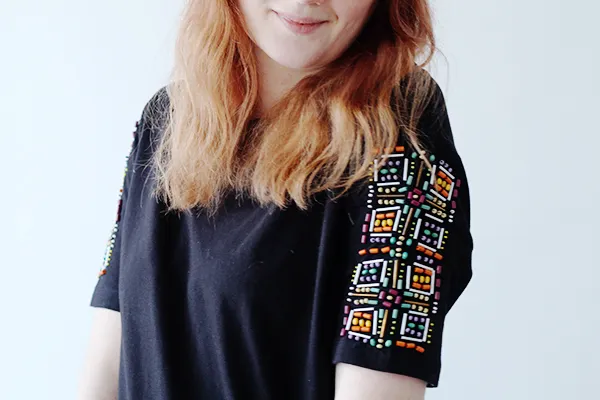
Today I want to tell you how to decorate a t-shirt beaded with their own hands. This will help us a step-by-step master class with photos and diagrams.
With this technique, you can update your wardrobe without buying new things. And indeed not particularly spend, less the purchase of a new bead! And step by step instructions with photos will tell you how to embroider a t-shirt correctly.
TOOLS AND MATERIALS
- any t-shirt;
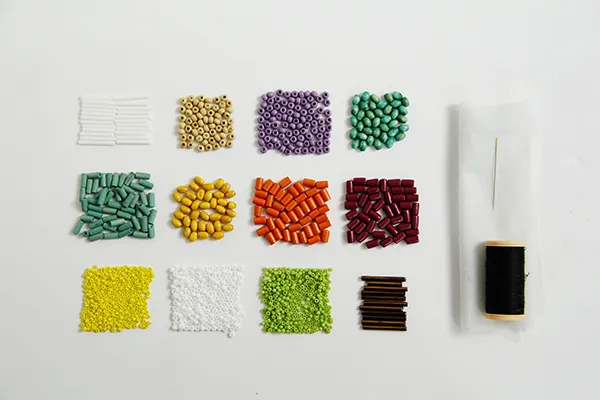
- assortment of colourful beads, including seed beads and wooden beads;
- a thin adhesive interlining;
- sewing needle;
- thread in the colour of your shirt;
- iron;
- tailor's chalk.
Not everyone knows how to embroider with beads.
Embroidery t-shirts with beads is a laborious process, but fascinating and very useful. Update your tired old clothes with bright beads and breathe new life into it! So, if you're handy with a needle and thread, go ahead!

Materials and tools:
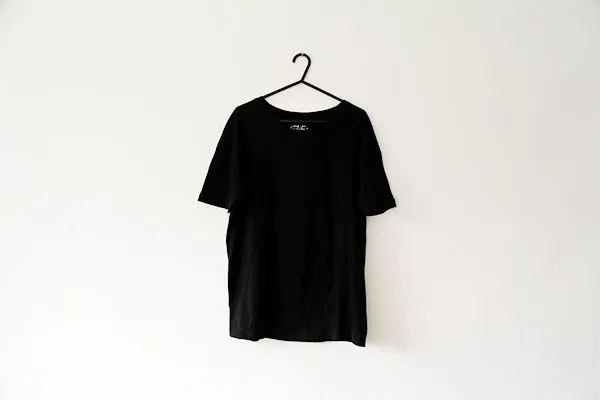
STEP 1: PREPARE THE FABRIC
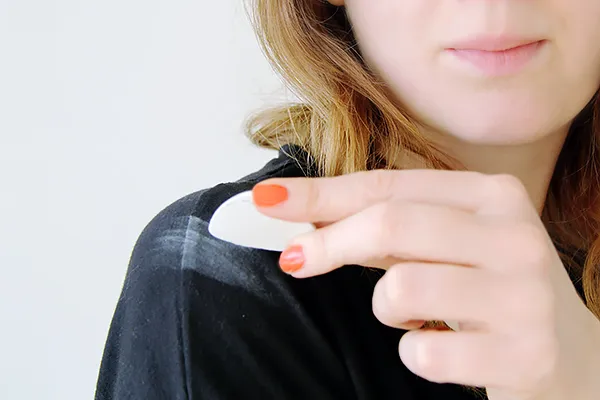
STEP 2: GLUE THE INTERLINING
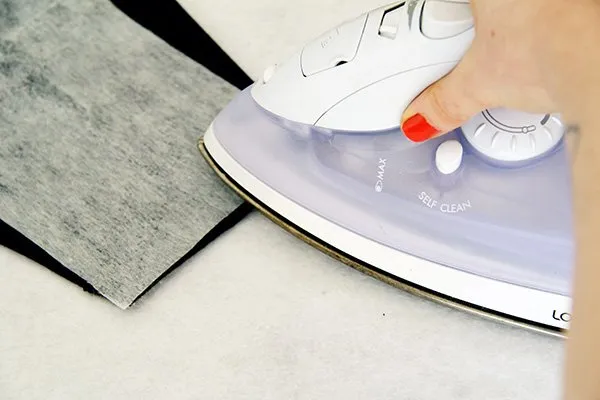
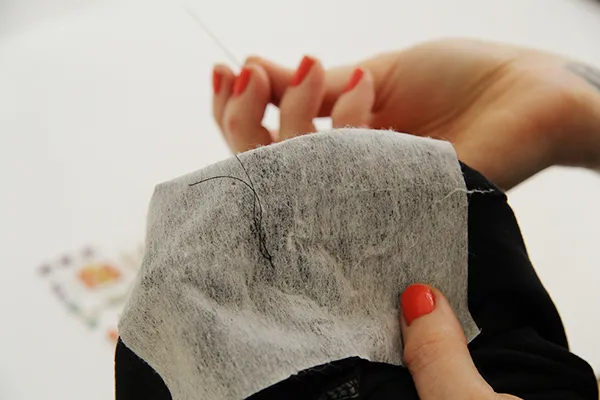
To seal the fabric glue on the sleeves interlining. To do this, cut two pieces of fleece on the intended square of embroidery. Place them on a t-shirt on the reverse side of the glue side down and iron: this will allow fliseline to stick to clothing.
STEP 3: CREATE YOUR DESIGN
Measure the sleeve and mark the measurements with a tape.
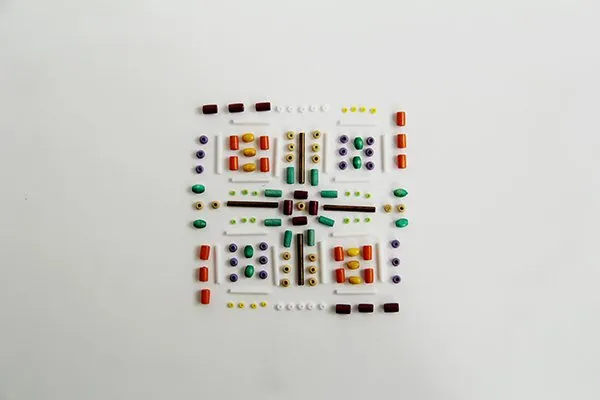
Following the measurements, lay out a pattern of beads on a flat surface.
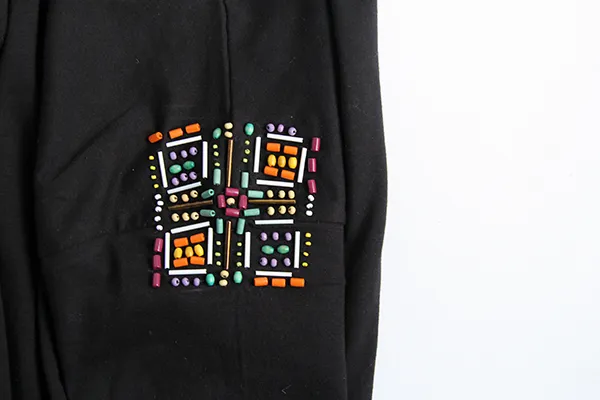
Our design serves only as a template, and you can spread out the beads any pattern. For this purpose, starting from the center, build your own motif using symmetric shapes and patterns. Try a few different designs until you find the style you like.
The design of our pattern is calculated for a half sleeve, and we repeat it two times for each of the sleeves (for a total of four times).
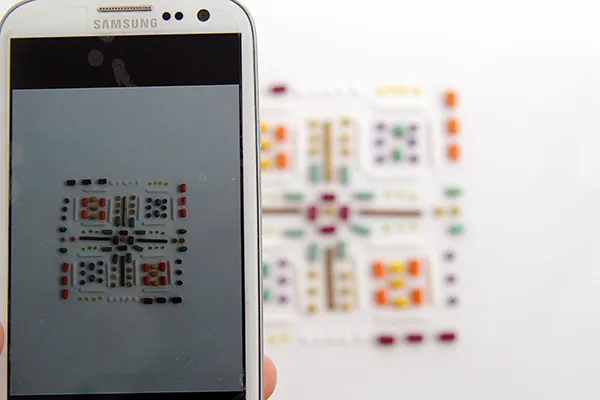
STEP 4: TAKE A PICTURE OF THE DESIGN
Photograph picture, not to forget it.
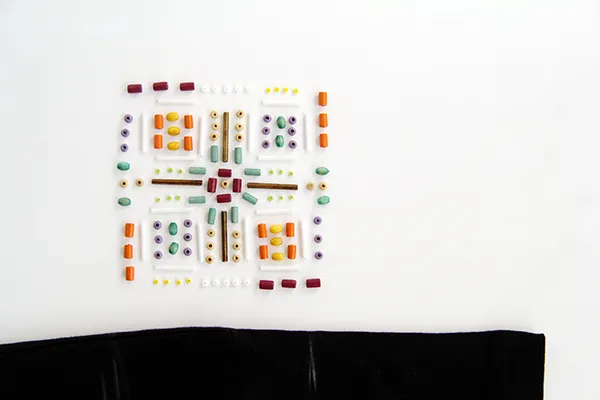
STEP 5: MARK THE BOUNDARIES
Using tailor's chalk mark the area on the sleeve where you will be stitching your design from beads.
STEP 6: START WORK
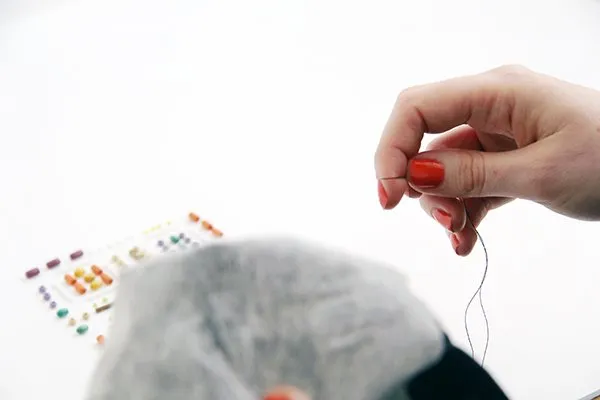
Cut half a meter of cotton thread and insert the thread into the needle.
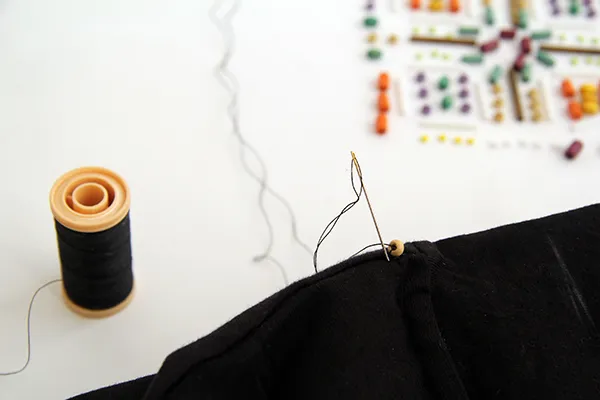
Turn the sleeve inside out and sew a tiny stitch in the top of the sleeve where you have mentioned design. Tie a knot in it.
Next, make a stitch as close as possible to the middle of the design as possible.
STEP 7: EMBROIDER PATTERN
Next, we decorate a t-shirt with beads and beads.
To do this, sew the first bead on the fabric. Try to deduce and make the stitches as close as possible to busine.
Following the photos, turn the design to the fabric. Each individual bead or bead sew exactly in the designated place.
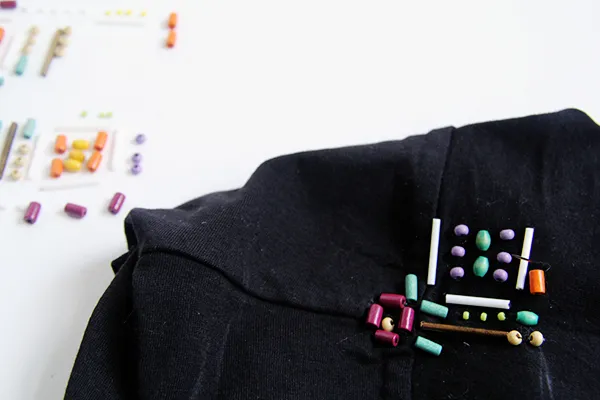
When complete the top pattern, bead in bead, repeat it at the bottom of the sleeve.
In the same way make beaded decoration on the second sleeve shirts.
Upon completion of the tie thread in a knot. Secure all exposed threads and then cut them.
Note: when washing, turn shirt inside out and place it in the special clip-on pouch!
Embroidery t-shirts with beads ready!
Now you know how original to embroider a t-shirt with beads. Following this pattern, we can embroider beading not only a shirt but a dress shirt, or decorate the collar. I hope you enjoyed my guide? All the best to you!