Known by many names - leg wraps, puttees, Viking winingas - these are traditional lower leg wraps. In this post, I show how I made mine. You might most commonly see them in photographs of World War One soldiers. Leg wraps are a great traditional way to protect the lower legs while hiking. Leg wraps can keep debris, mud and water out of boots and act as compression socks for the lower legs. Leg wraps can save wear on pants.
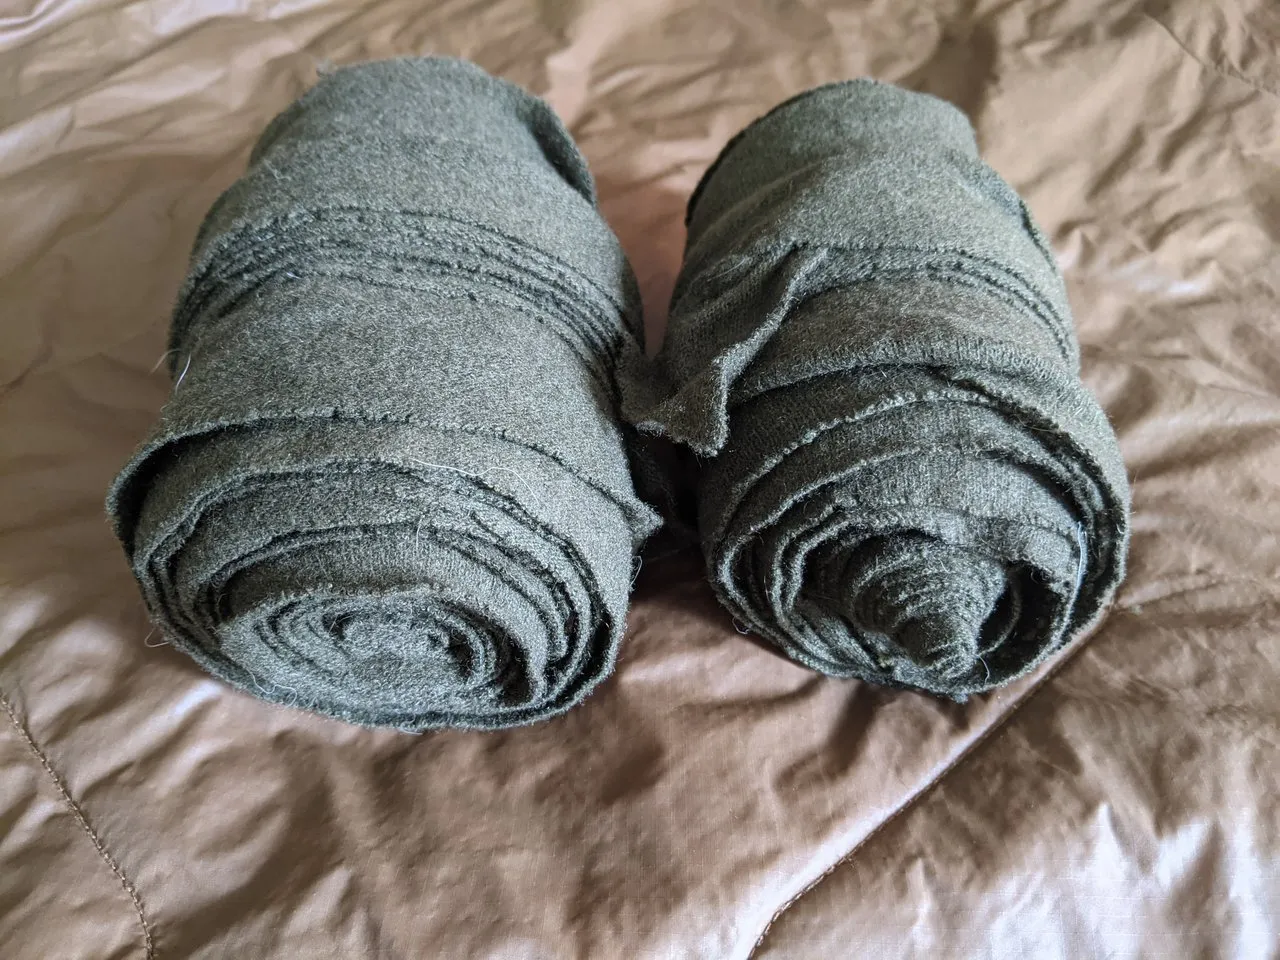
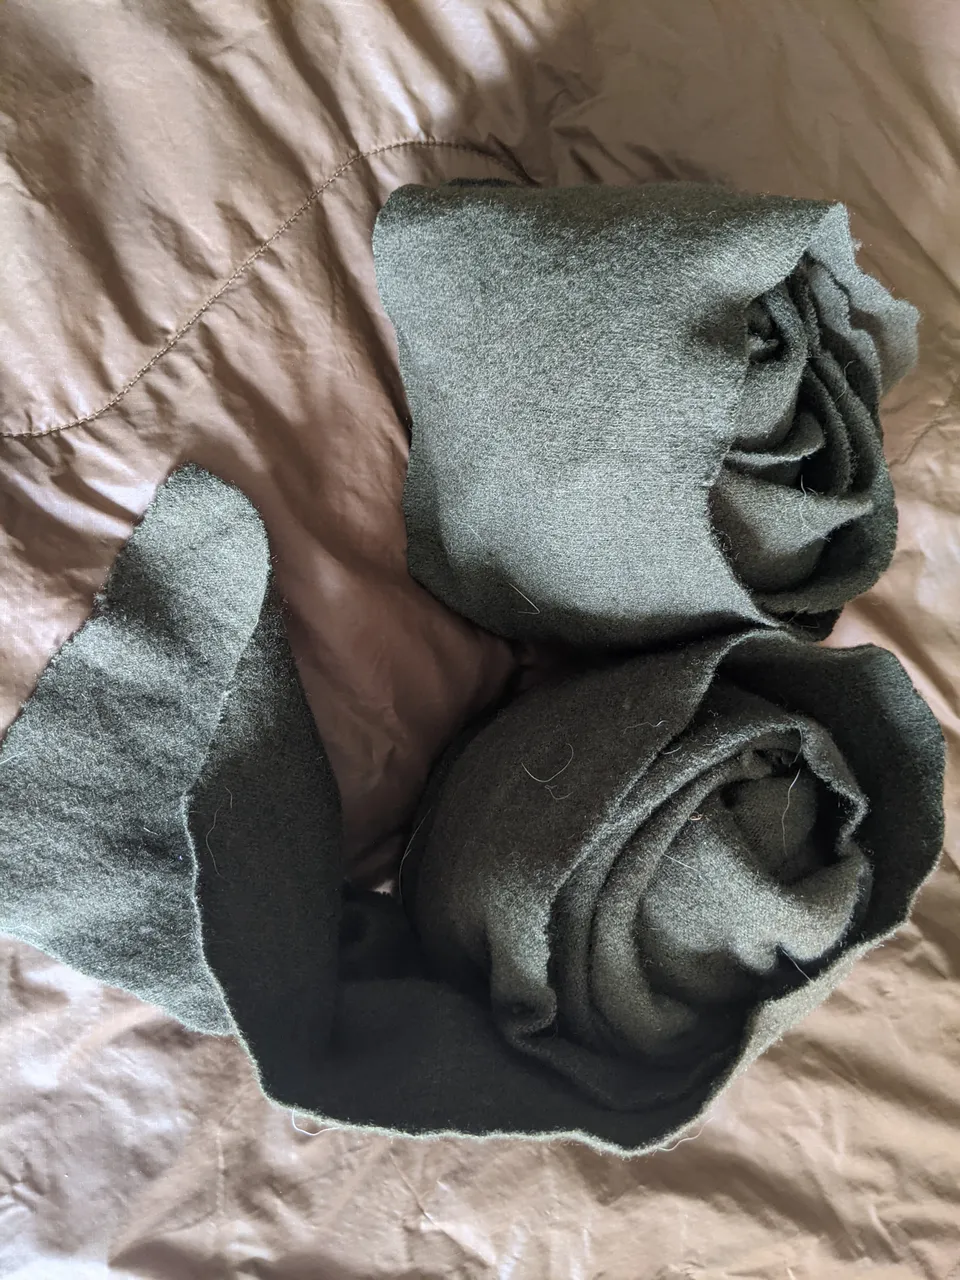
My leg wraps are pictured above. They look a bit like rolled up bandages. Leg wraps function a bit like modern gaiters, though they are usefully different. Modern gaiters are generally waterproof, so they don't breathe well and don't provide compression or warmth. Gaiters are easier to put on, but leg wraps don't take long with some practice. Plus, leg-wraps are generally made from recycled wool material like an old blanket, so they're an excellent reduce-reuse-recycle option to get some usage out of cloth scraps.
To make leg wraps, we need a wool material with a bit of stretch lengthways. Each leg wrap requires about 10cm (4inches) wide strips that are 3m long (10 feet) and another strip about 2-3cm (1 inch) wide and 1-1.5m (a yard to a yard and a half) long. My material is from the same fabric bolt as my great kilt so that I have a colour match - it's a 70/30 wool-nylon blend, but any wool material will do. Don't worry if the measurements aren't exact. I used a wool yarn and a yarn needle to do some basic hand stitching. The labrador hair is optional.
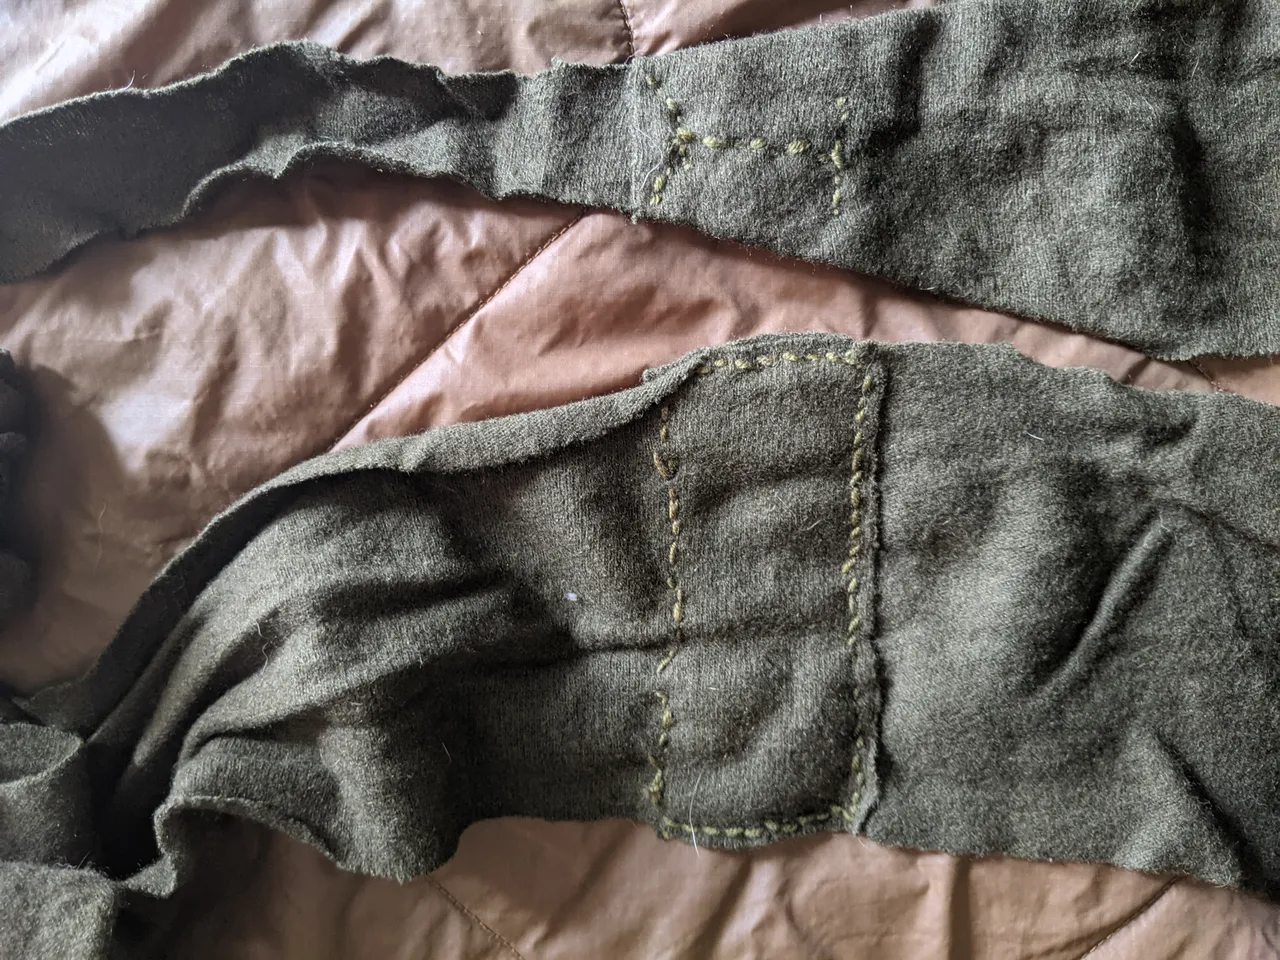
I added the thinner one inch (2-3cm) strip to the end of the wider strip by folding the edges over in a triangular fashion and adding a few stitches to hold the layers together. This is pictured in the upper part of the image above.
I needed to join two strips together to get a 3-metre length. I did that by sewing a rectangle where the two shorter strips overlapped (lower strip). This stitching doesn't need to be very strong because the spiral wrapping method holds the joint together.
And that's all there is to it! The wraps are wound around the legs while pulling the winds tight, overlapping the winds as you move up the leg and occasionally twisting the wraps as it spirals upwards. The wrap ends just below the knee and above the upper calf bulge and then the narrow strip is wound around several times and the end tucked into place. There are plenty of videos on YouTube with different wrapping techniques if you're interested.

Here's an image of me wearing my leg wraps (and a great kilt) at the beginning of a walk I did recently. You can see that the wraps begin below the ankle over the boots. The wool wraps kept my legs warm without becoming too hot and protected my lower legs from the deep grass and the scrub as I walked. I'll have a full report on that hike soon.
Until next time.