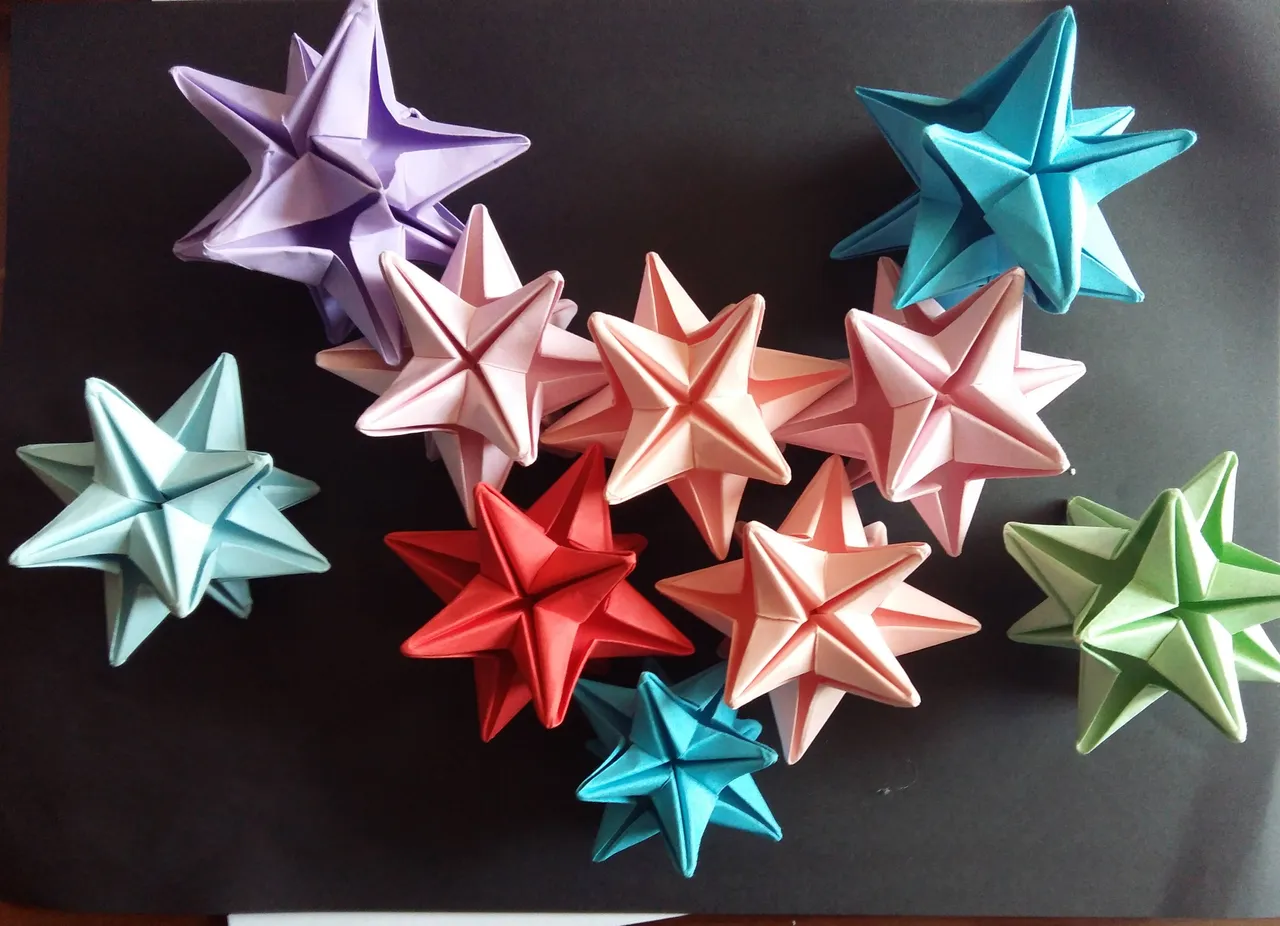
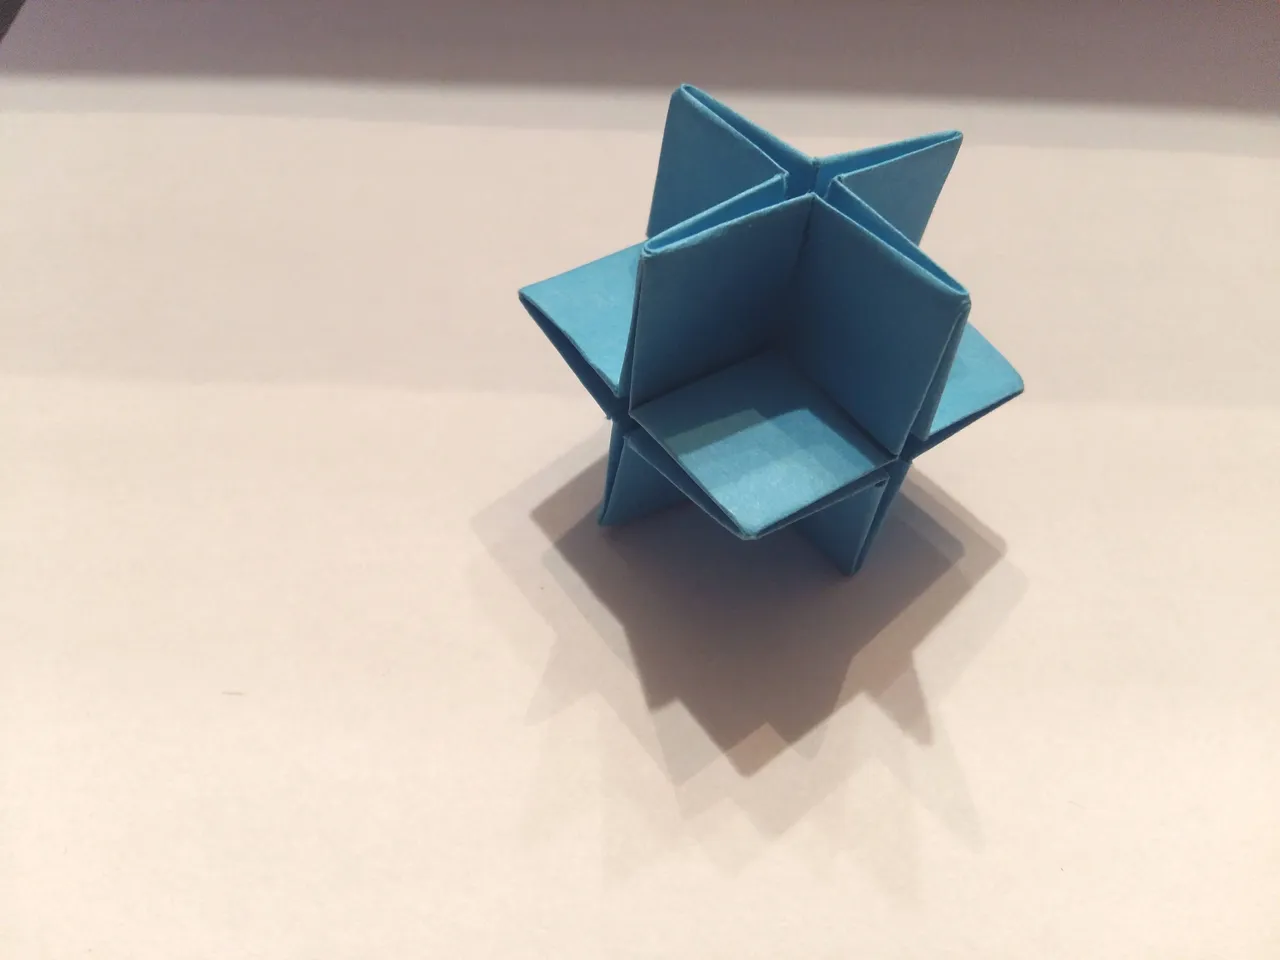
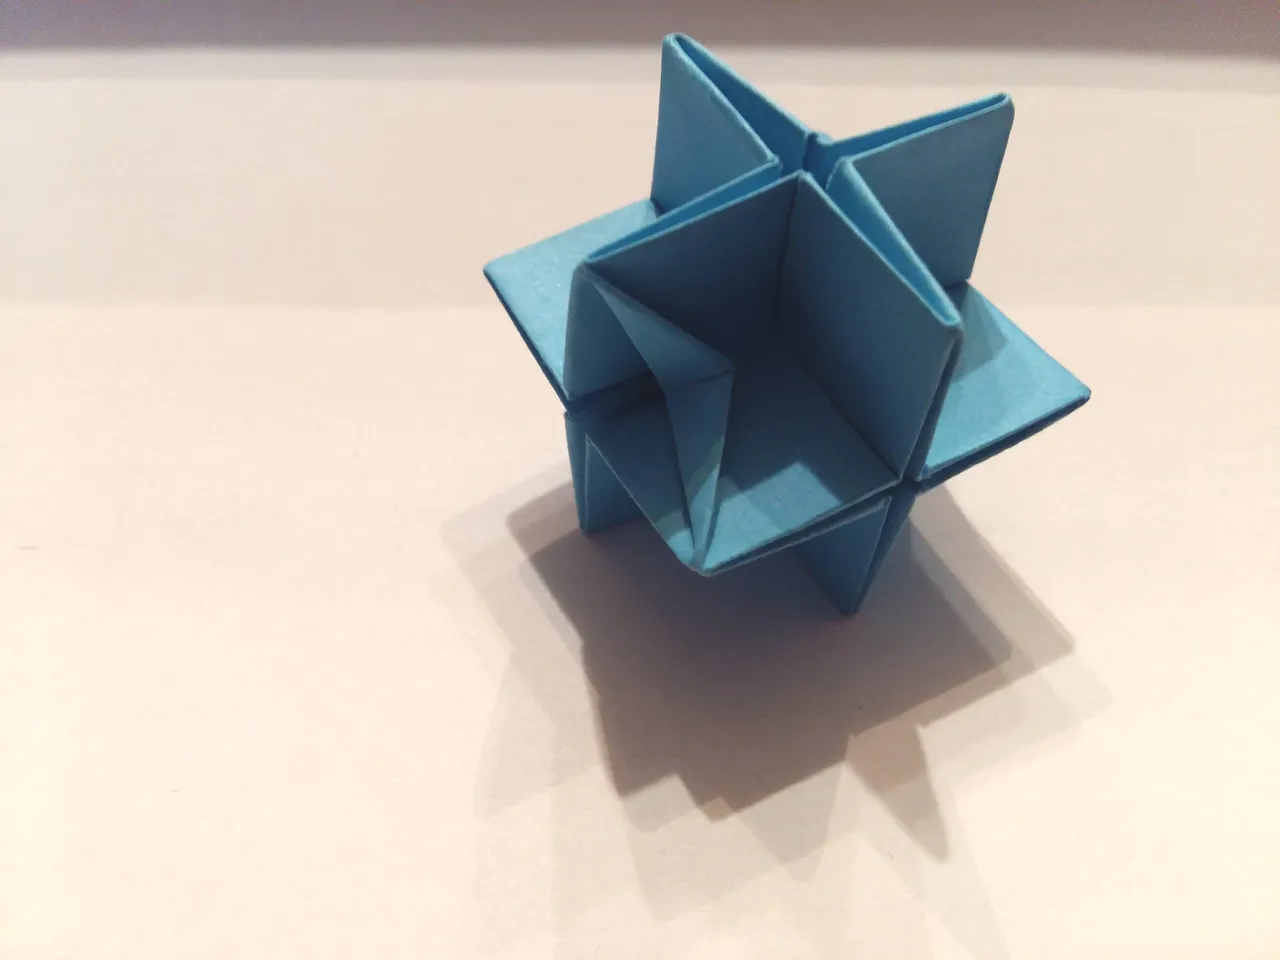
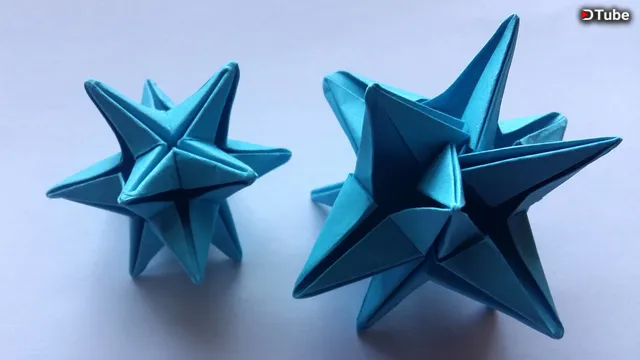
Decided to put up a better looking picture on top :)
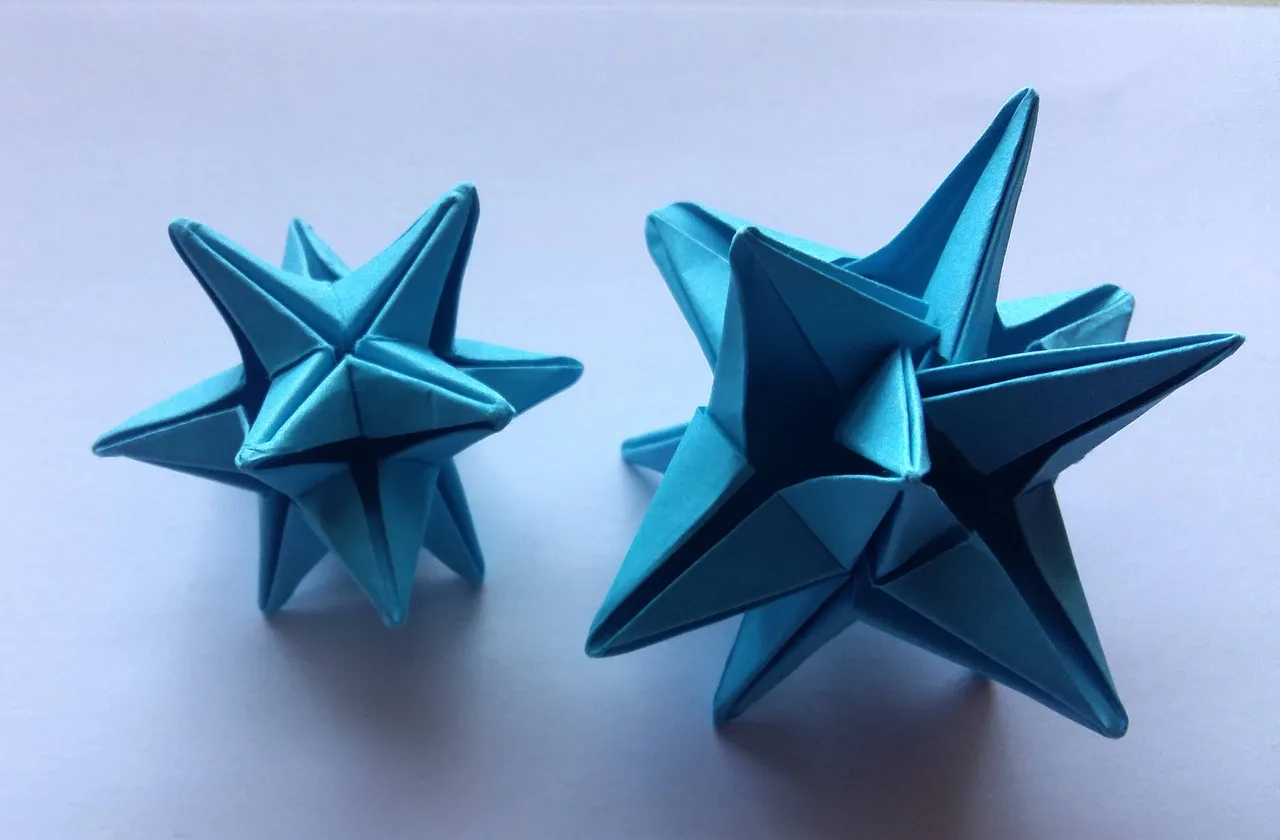
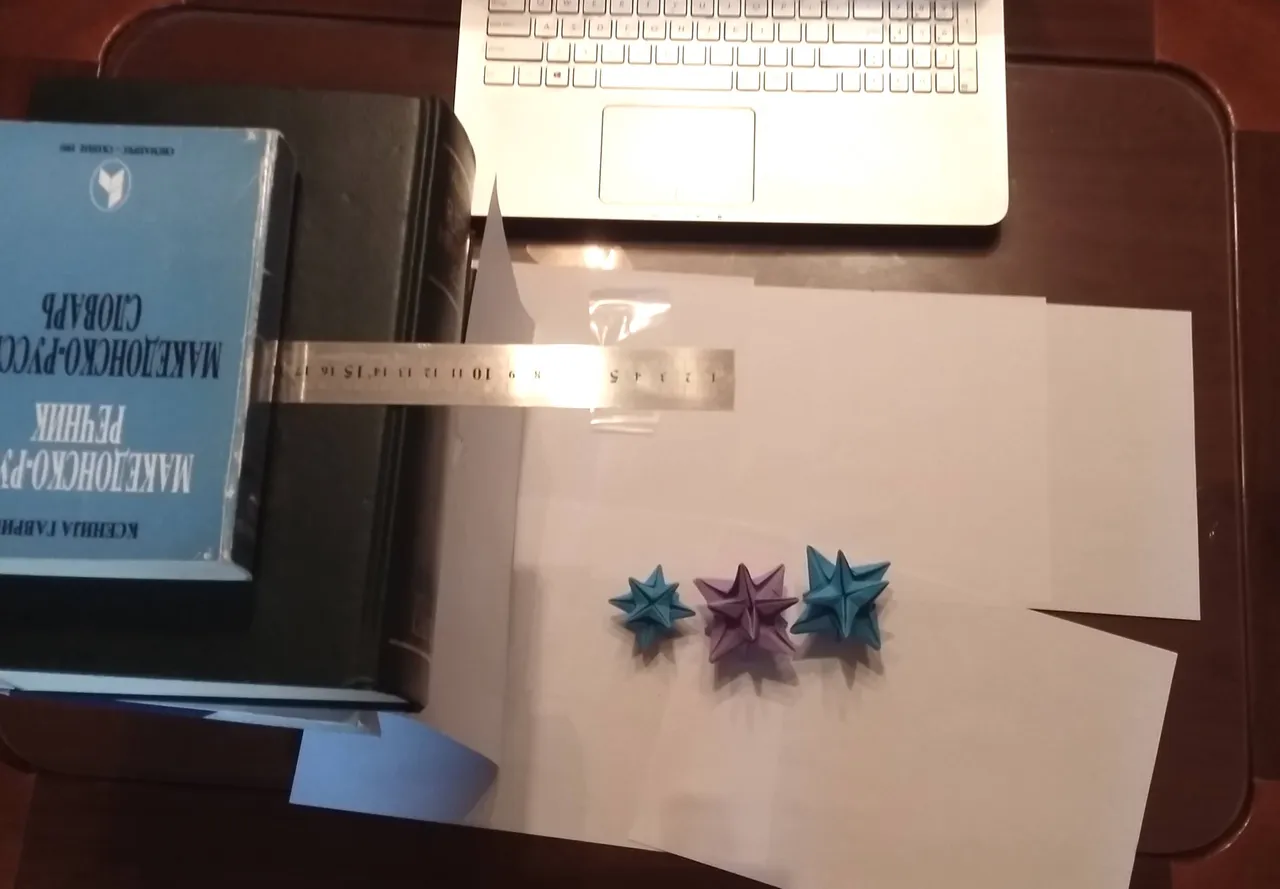
The two stars on top seem structurally the same but one is made of 6 units(designed by Philip Shen) while the other from one(designed by John Montroll). In the last steps the two are almost identical since the difference is acquiring the structure which you shape in the end and the single sheet one can't completely close. These units are a bit more complicated to conceptualize but aren't that difficult to fold.
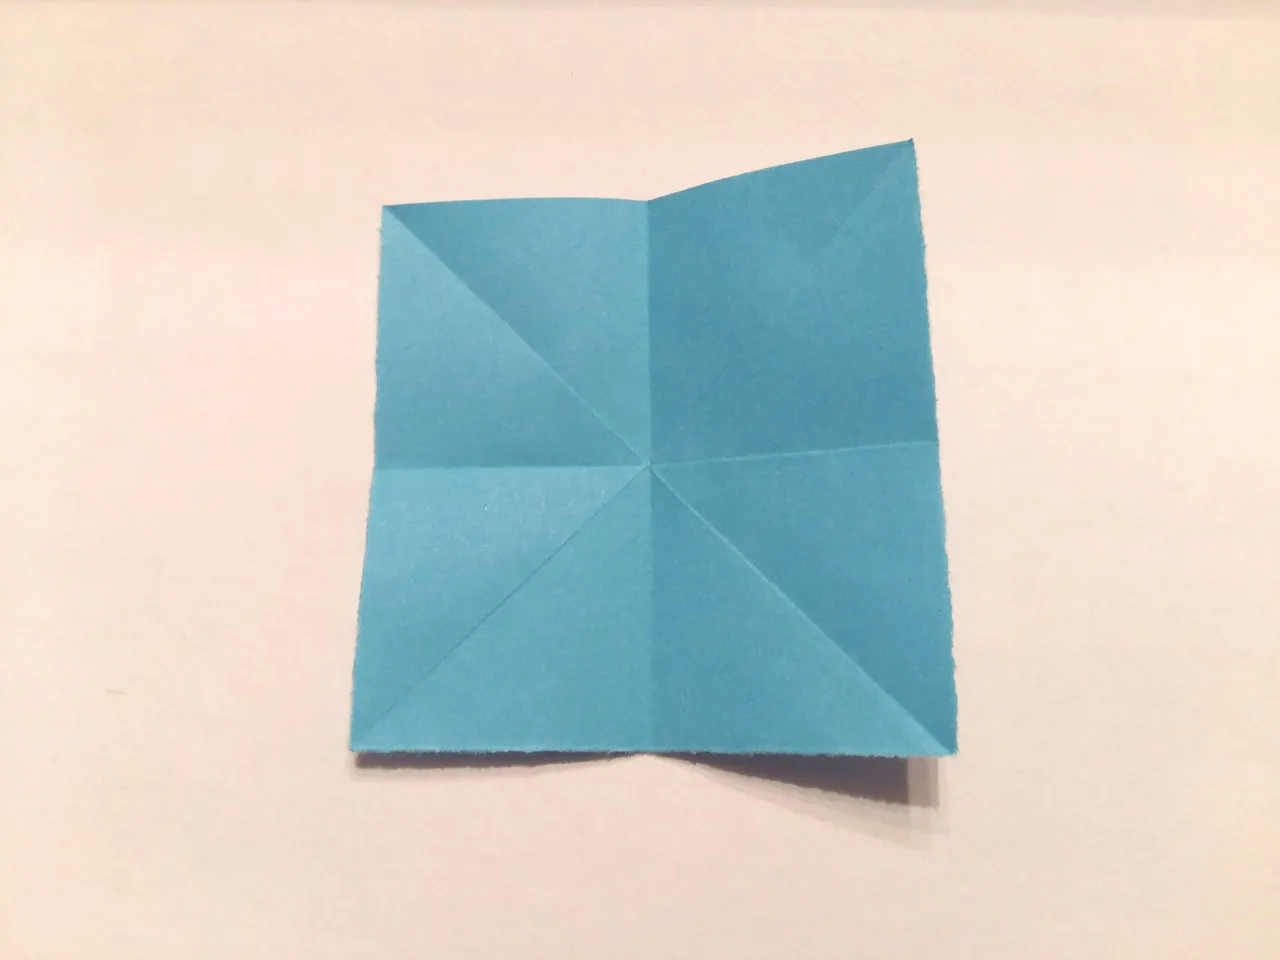
Here's the instructions for the simpler 6 unit model:
Fold the diagonals and halves
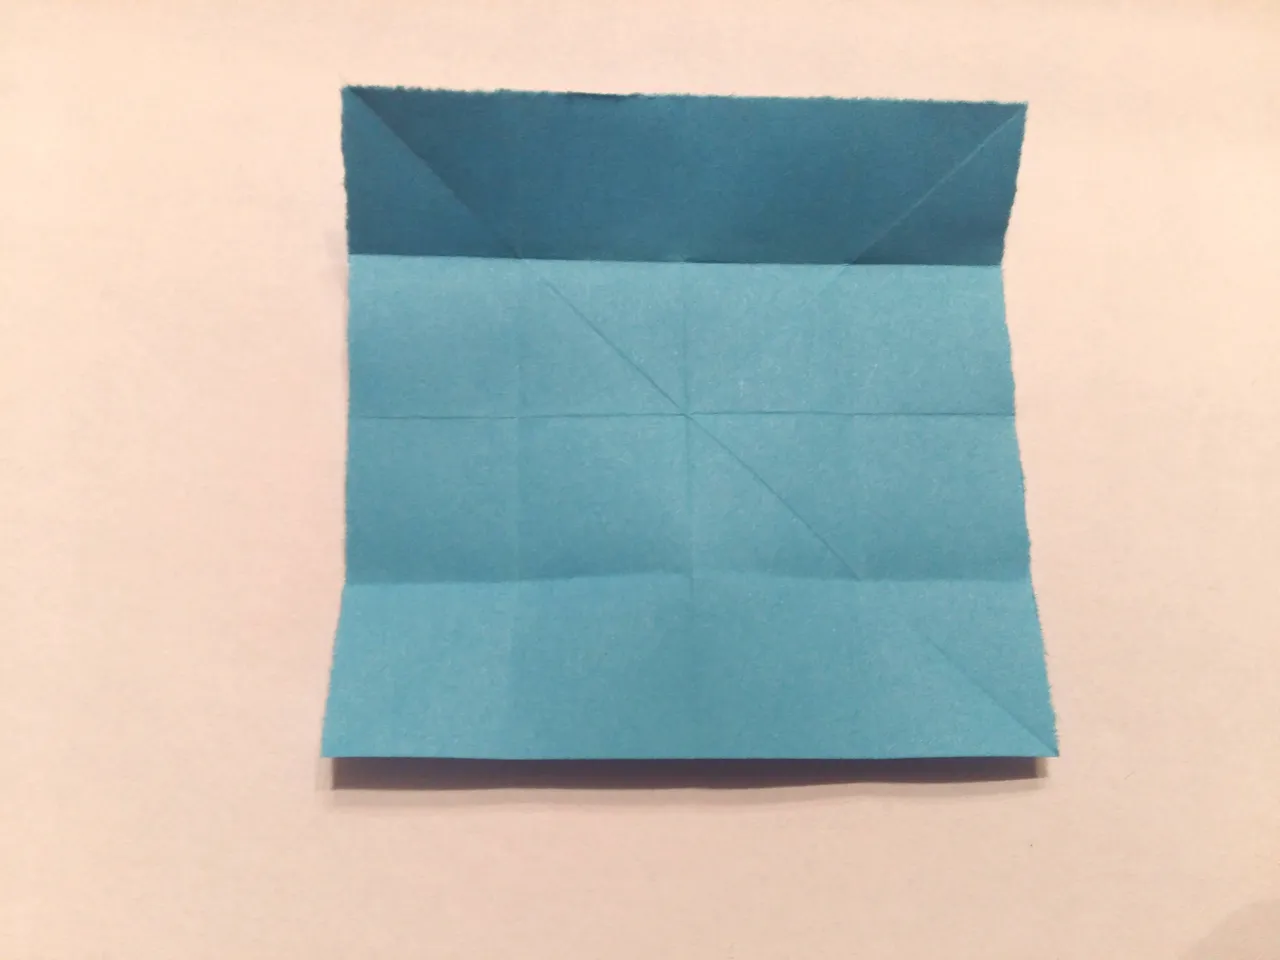
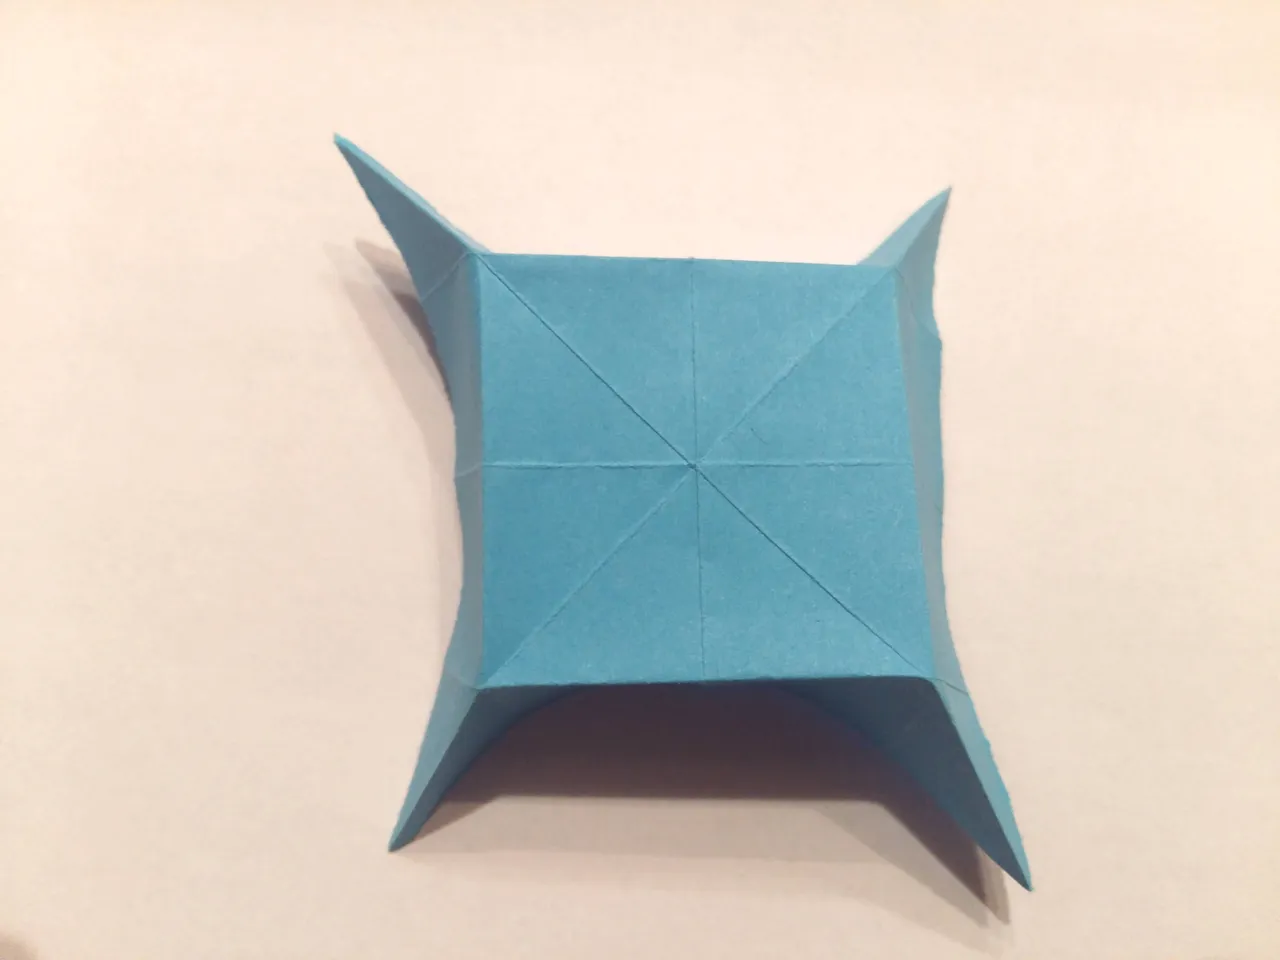
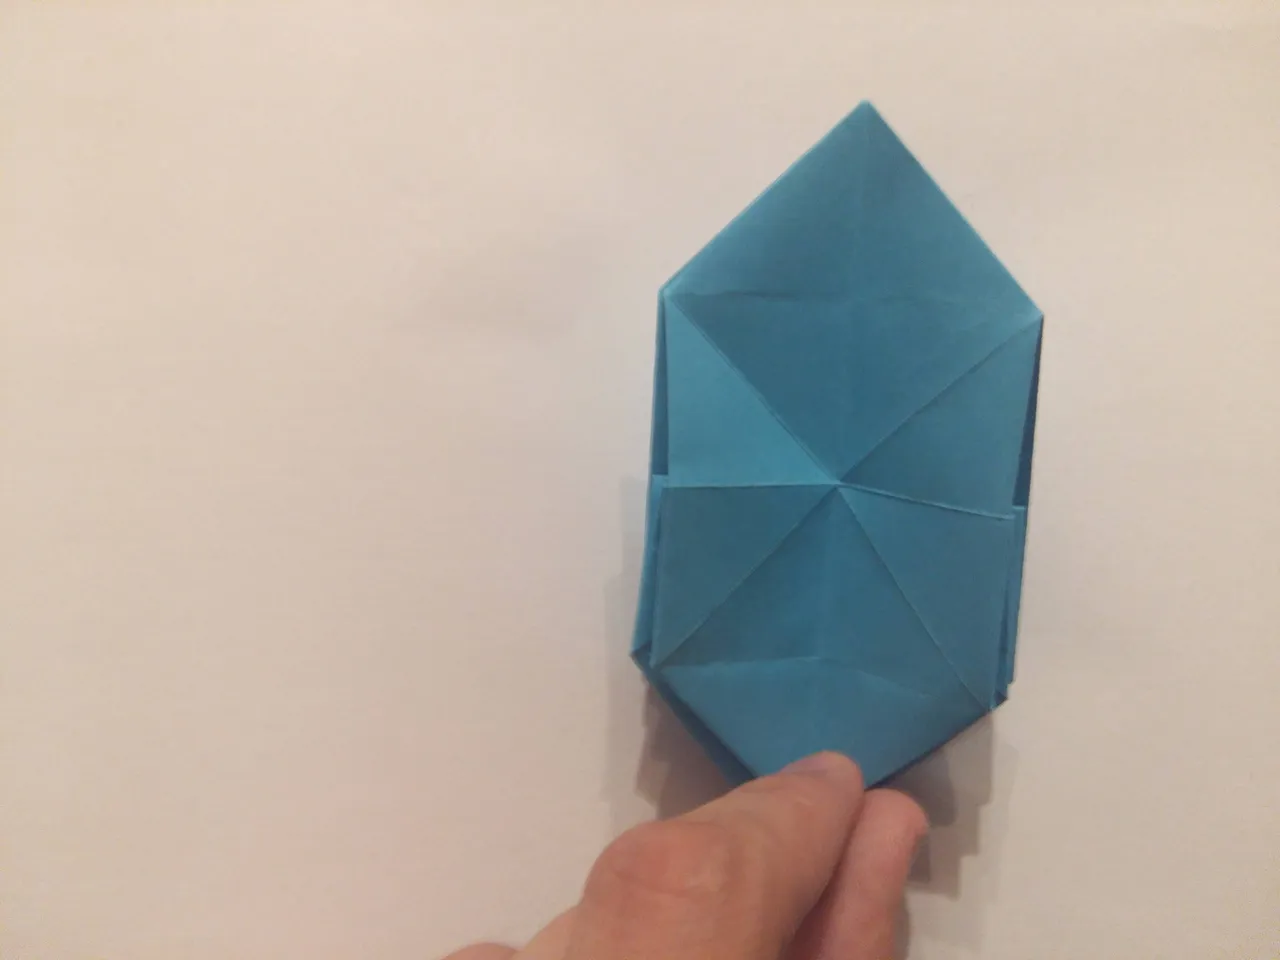
Fold towards the center from all four sides
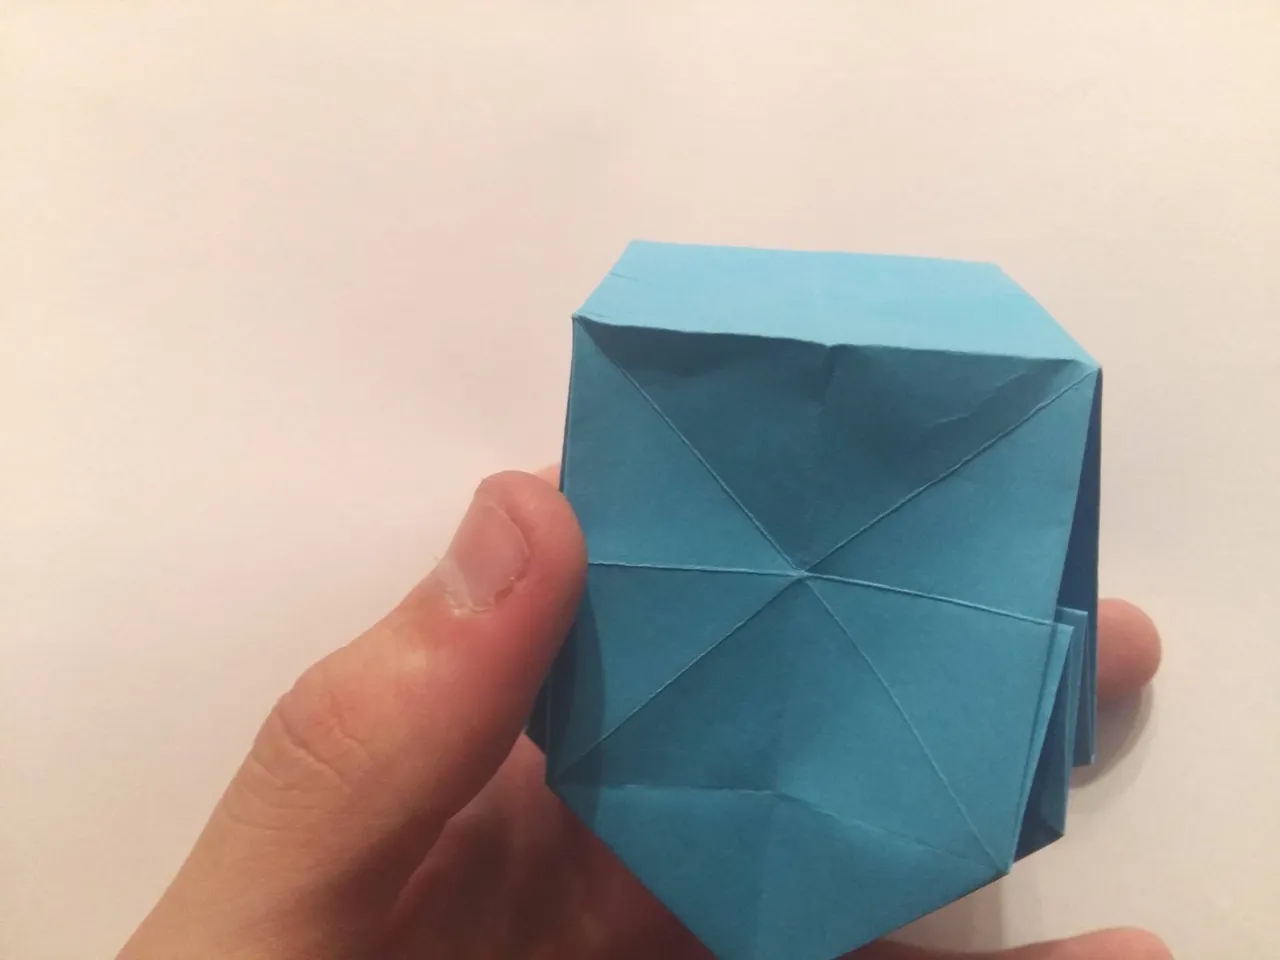
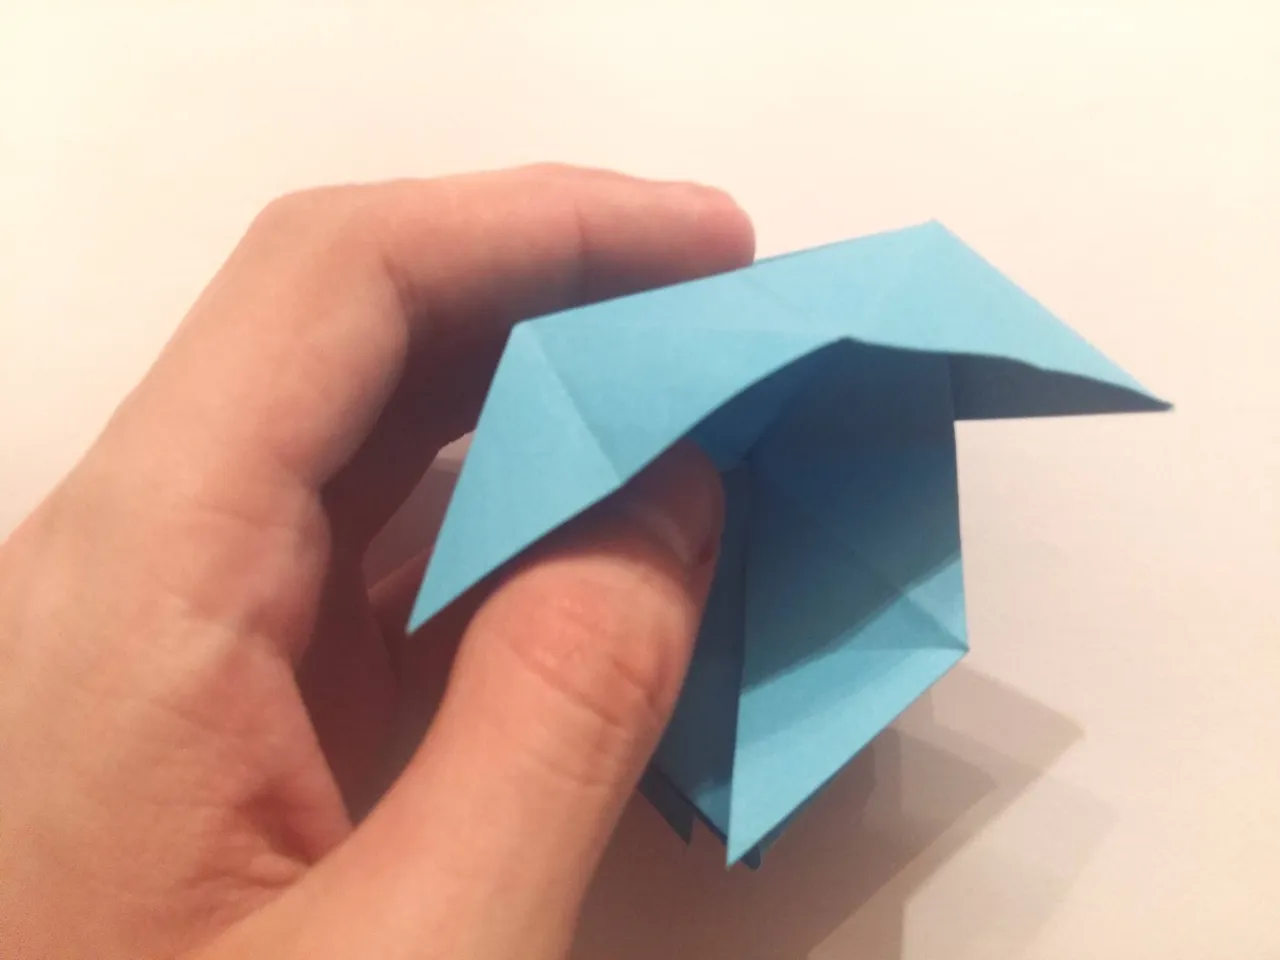
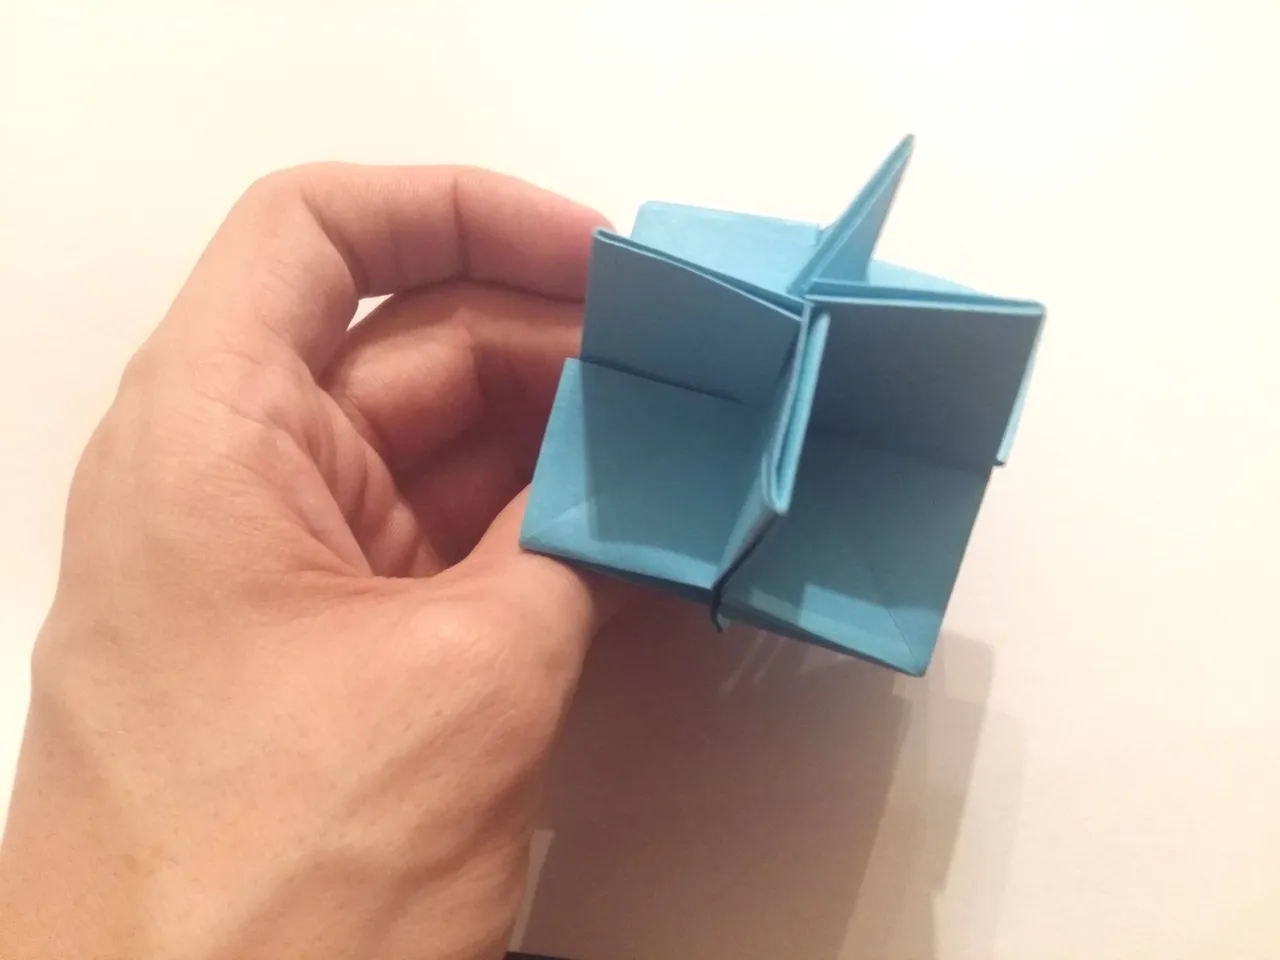
Turn the paper around and pinch the corners to make this table-like thing.
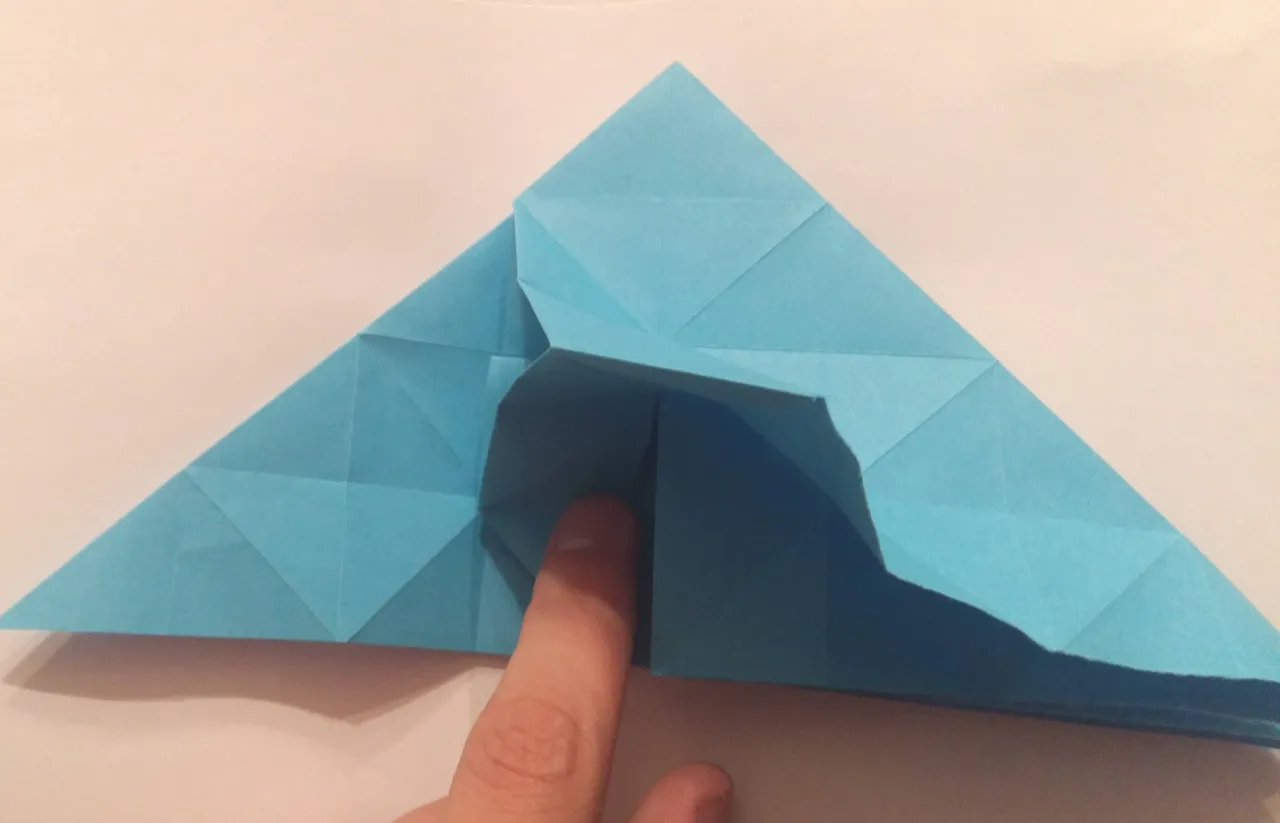
Push the middle in connecting the four points.
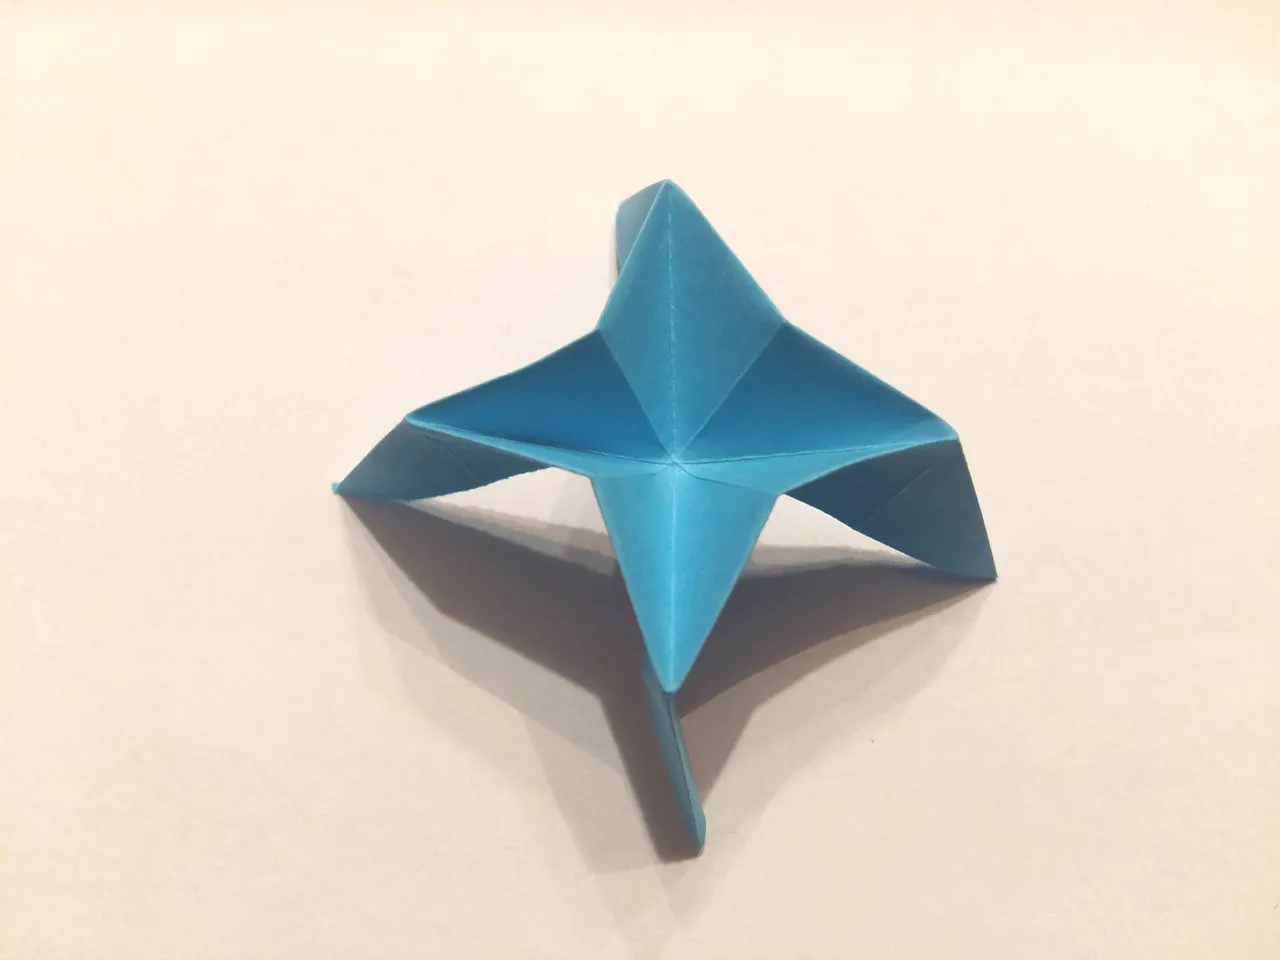
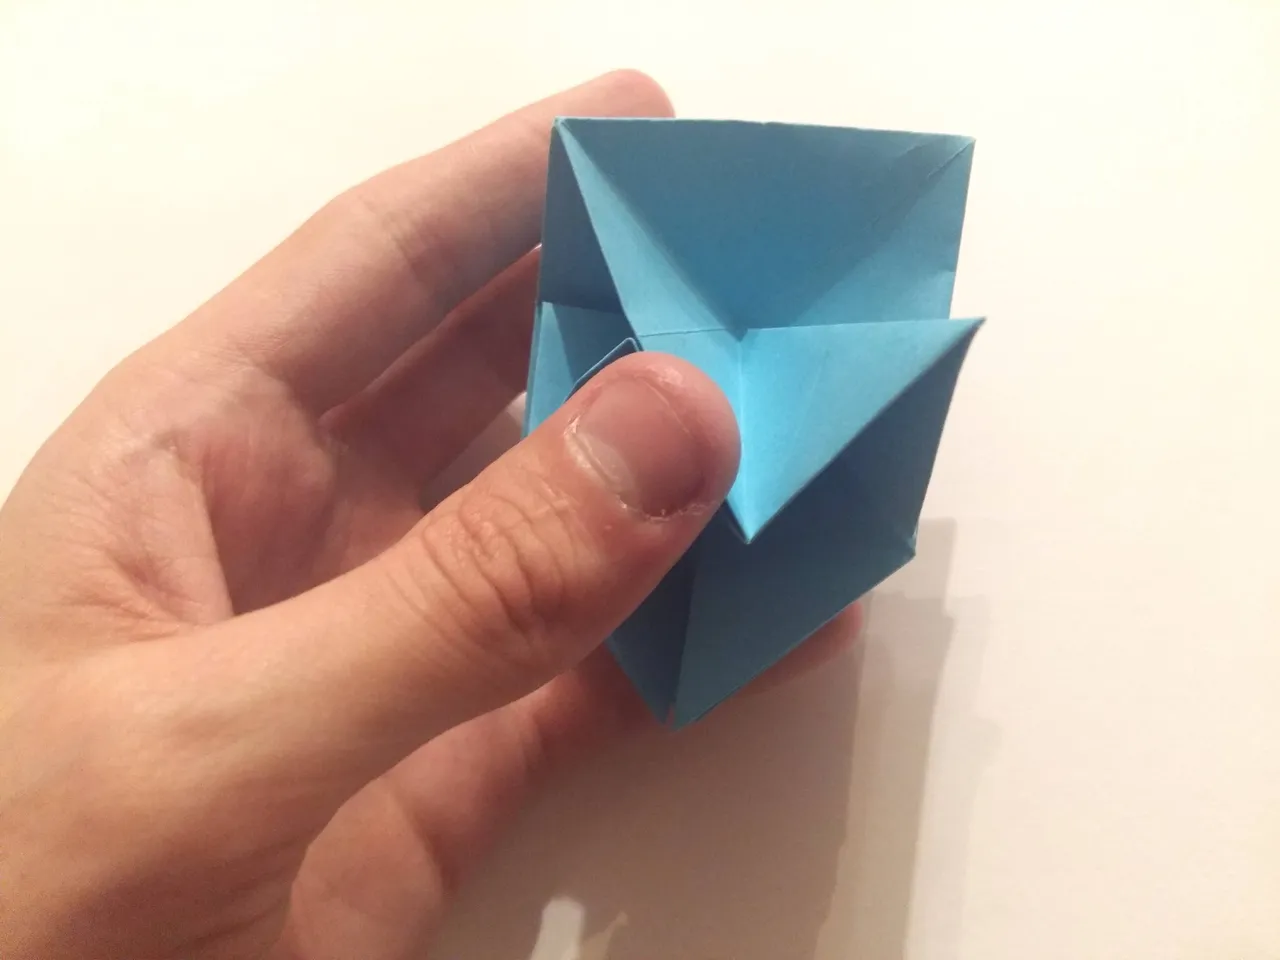
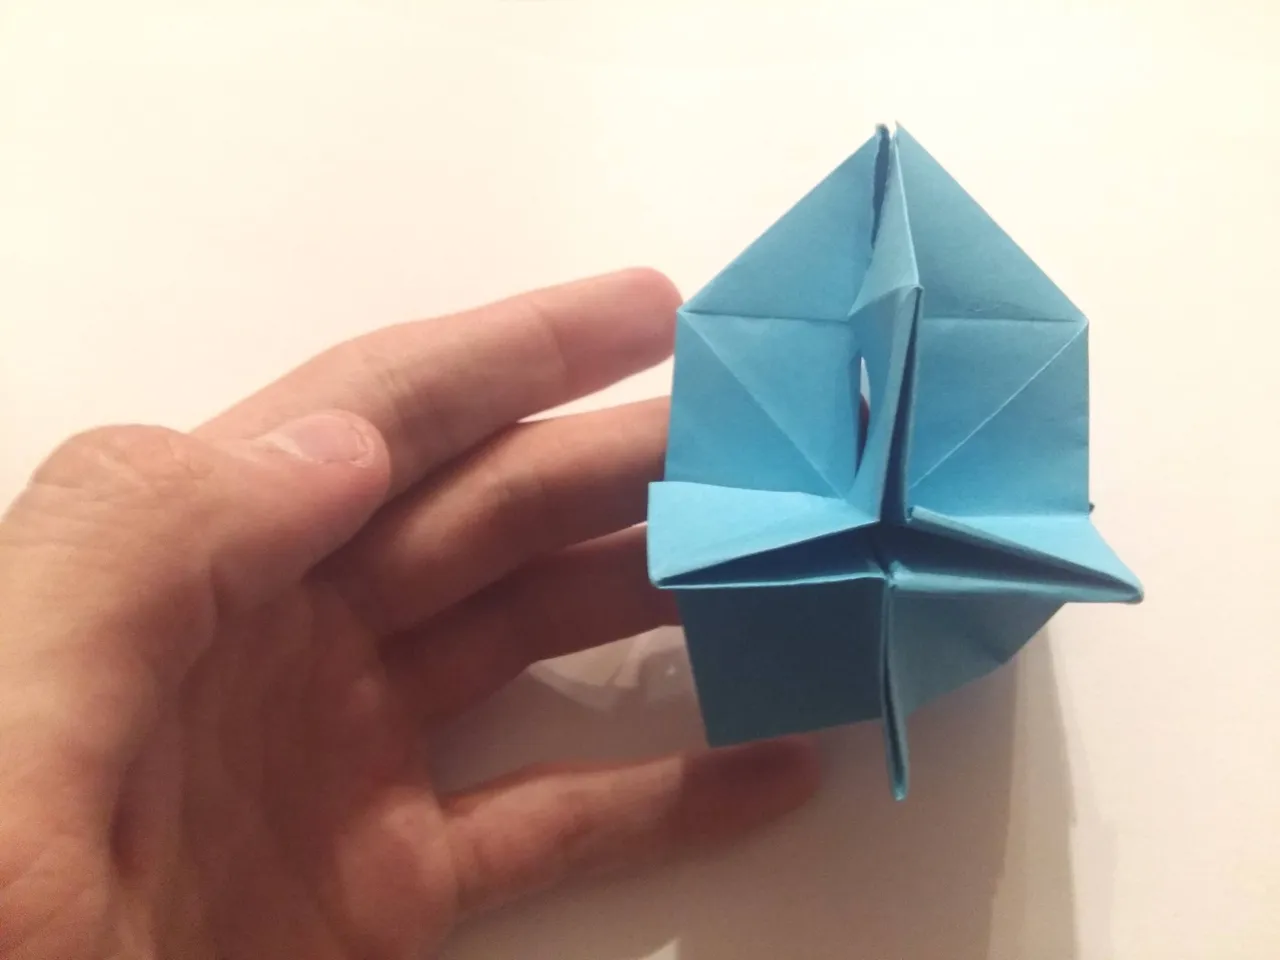
Push to opposite corner inwards
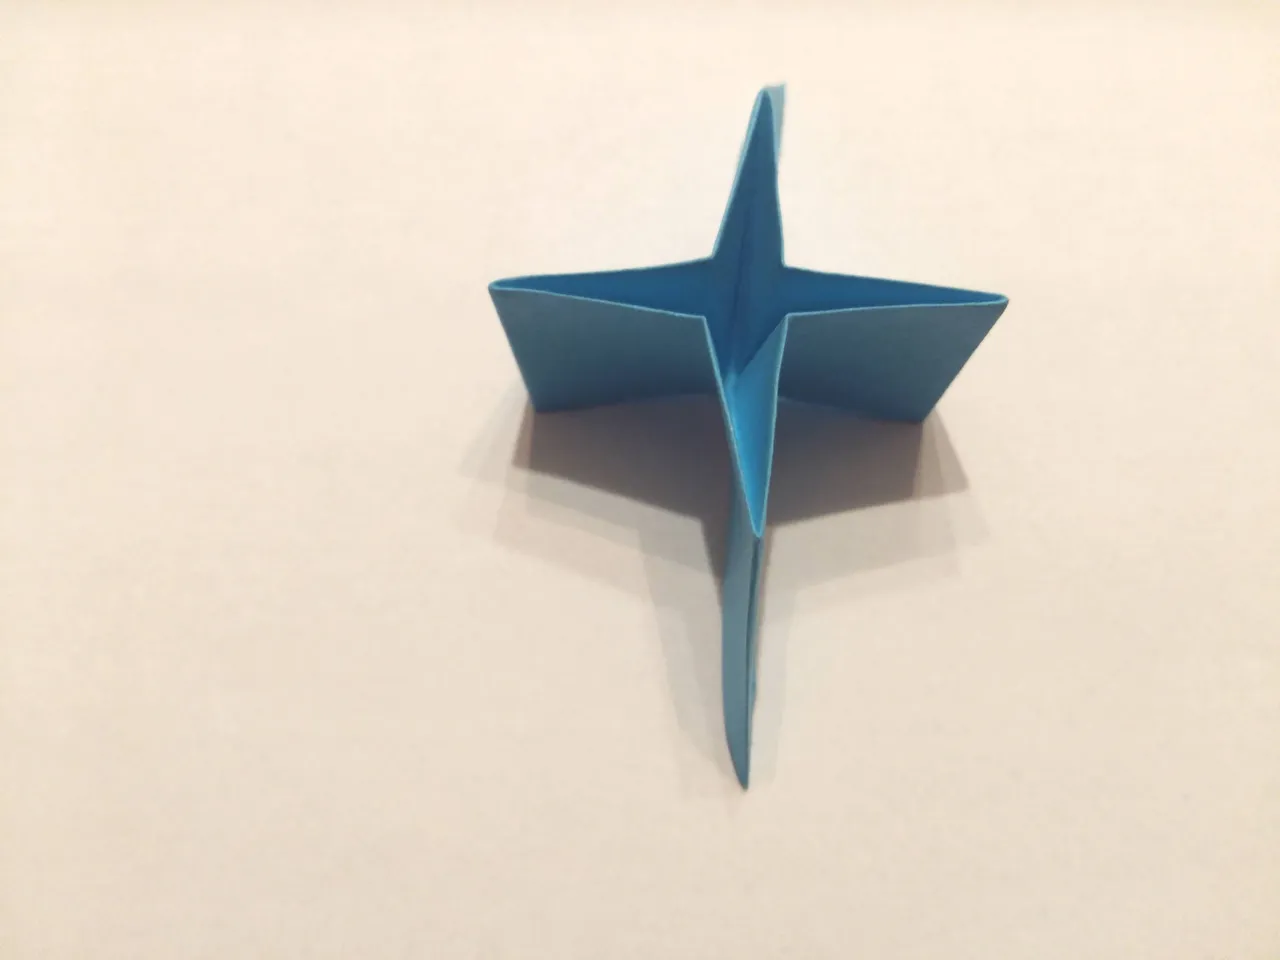
Make five more
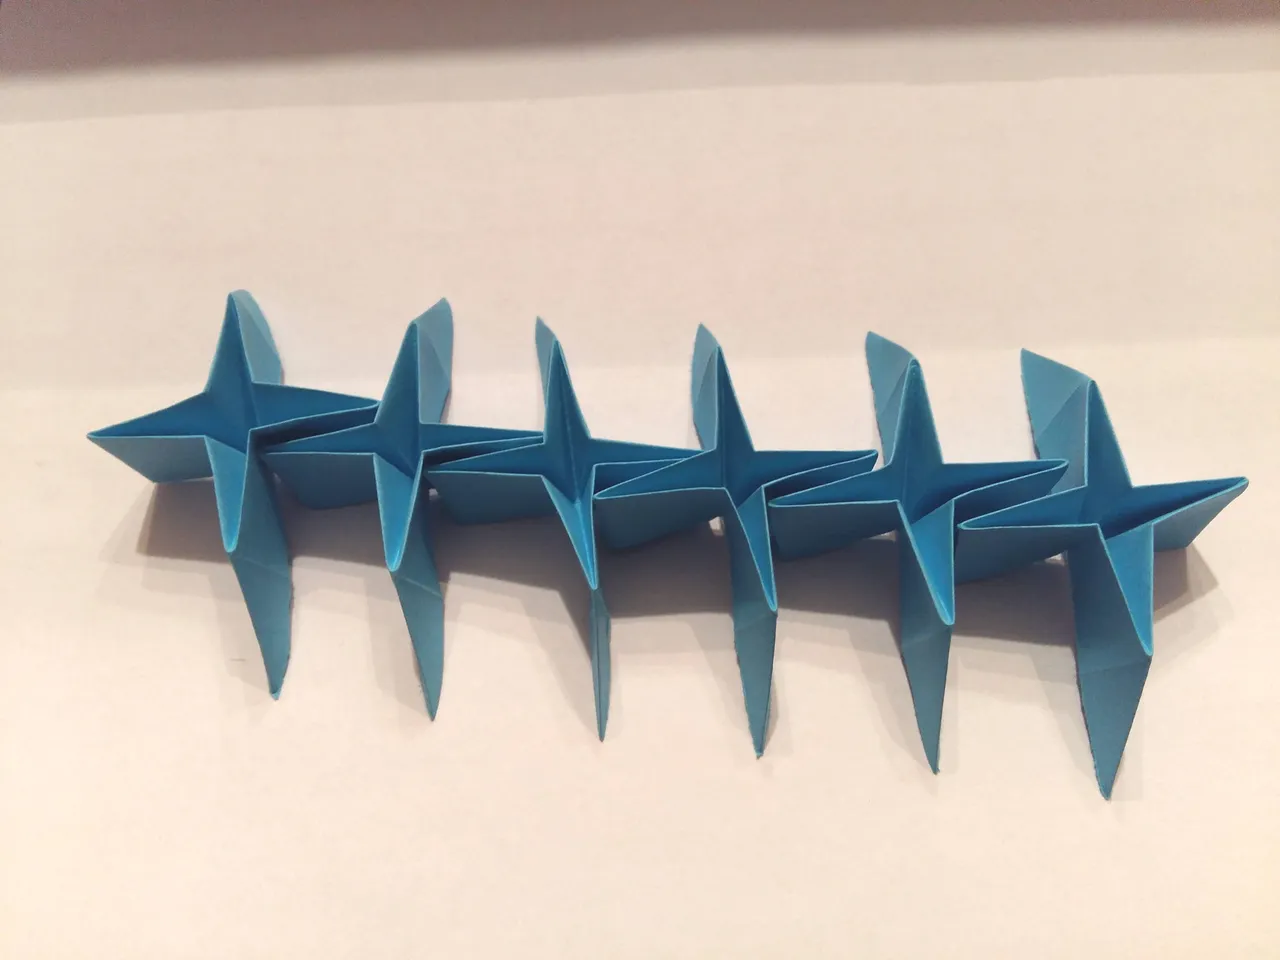
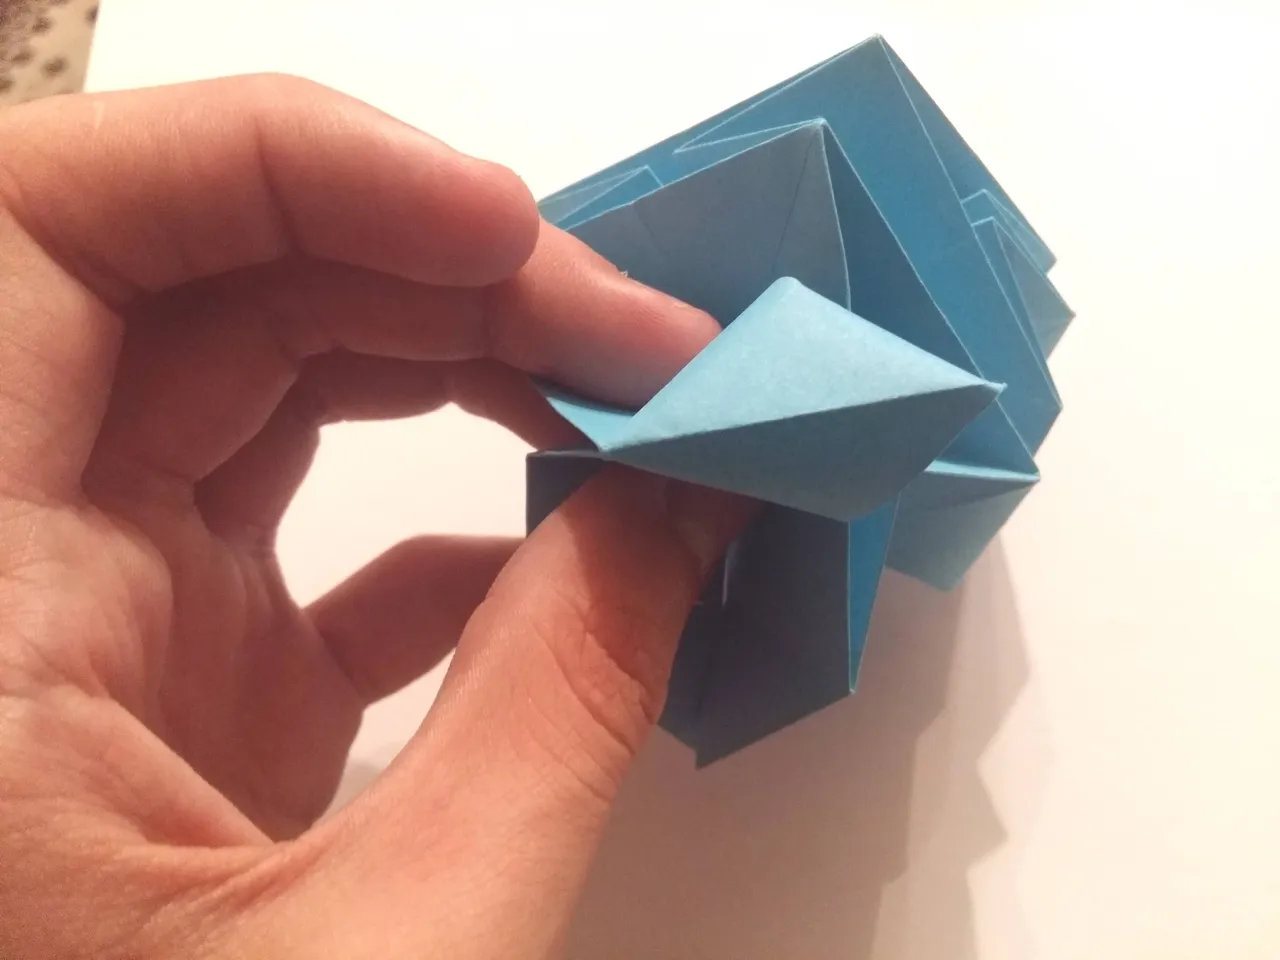
The idea is that there should be one on every side and the flat ends go into the pointed pockets
Lock in by pushing the flap
All six
Last step is the shaping which is done by pinching the corners over the diagonals(be careful no to rip the paper)
Here's the more complex model:
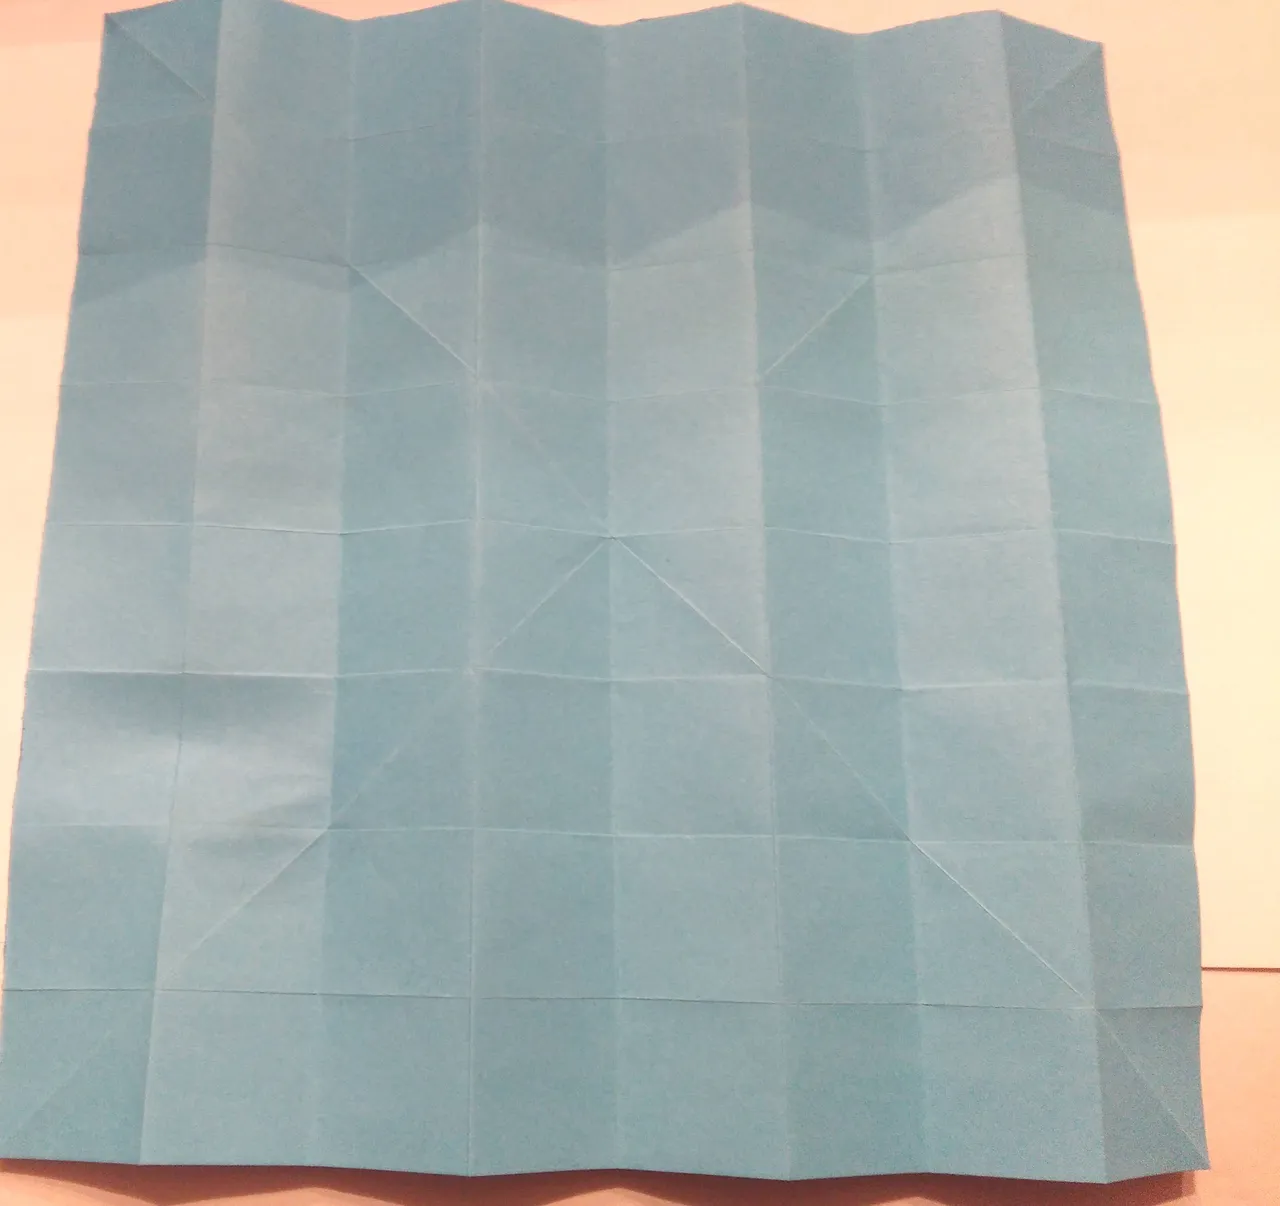
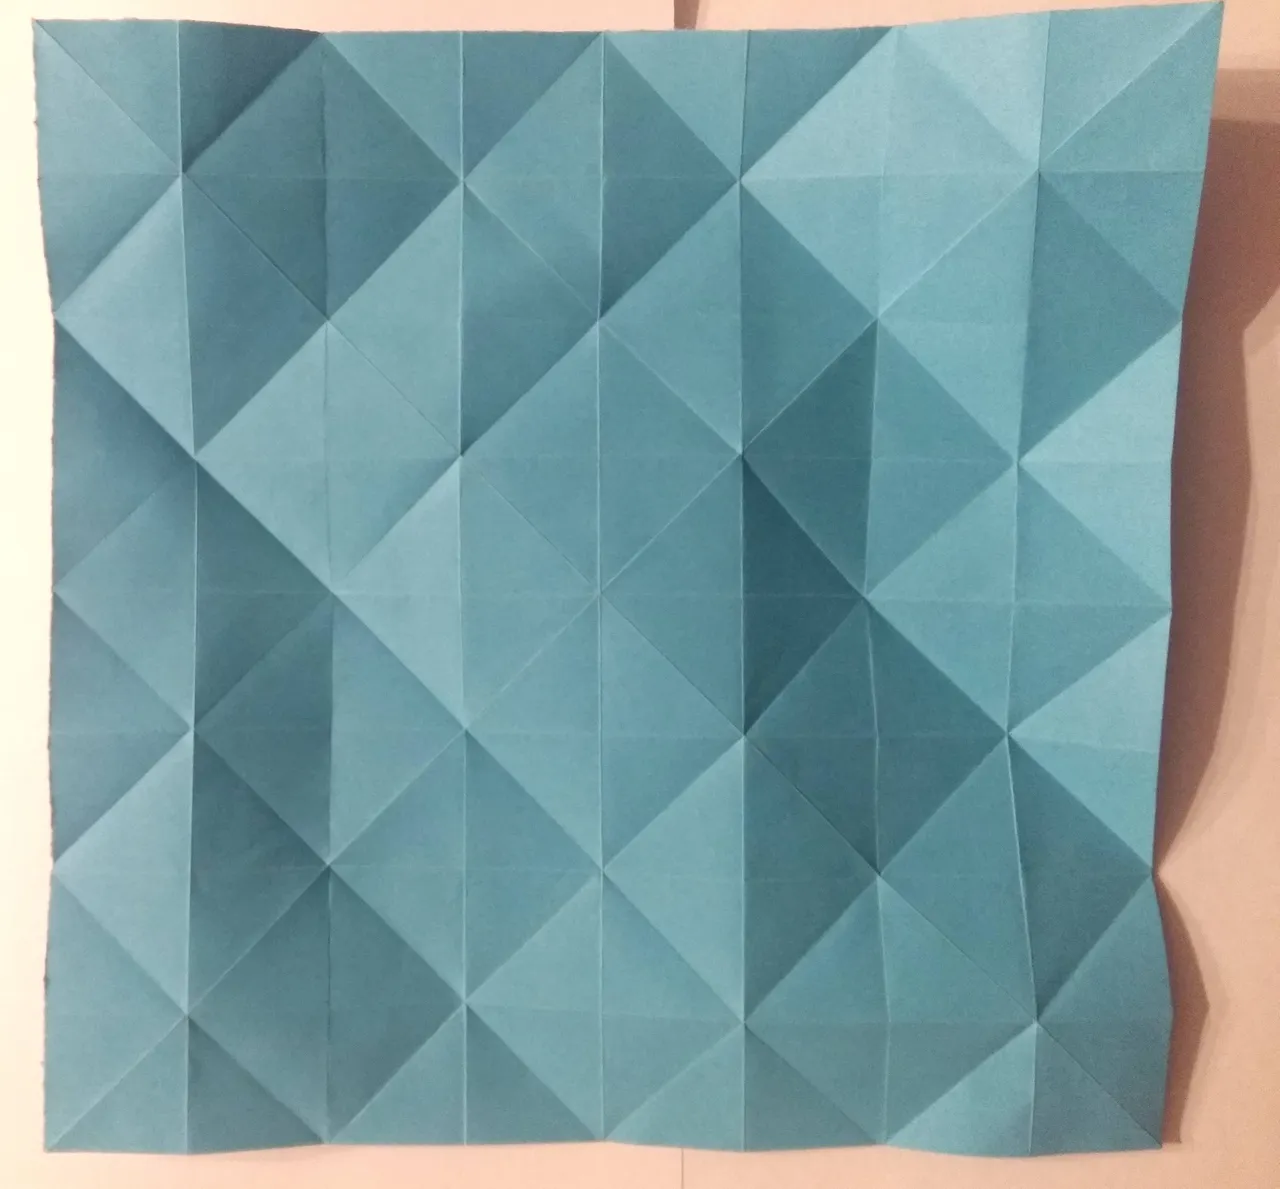
Diagonals and divide paper into an 8x8 grid
Fold corner diagonal
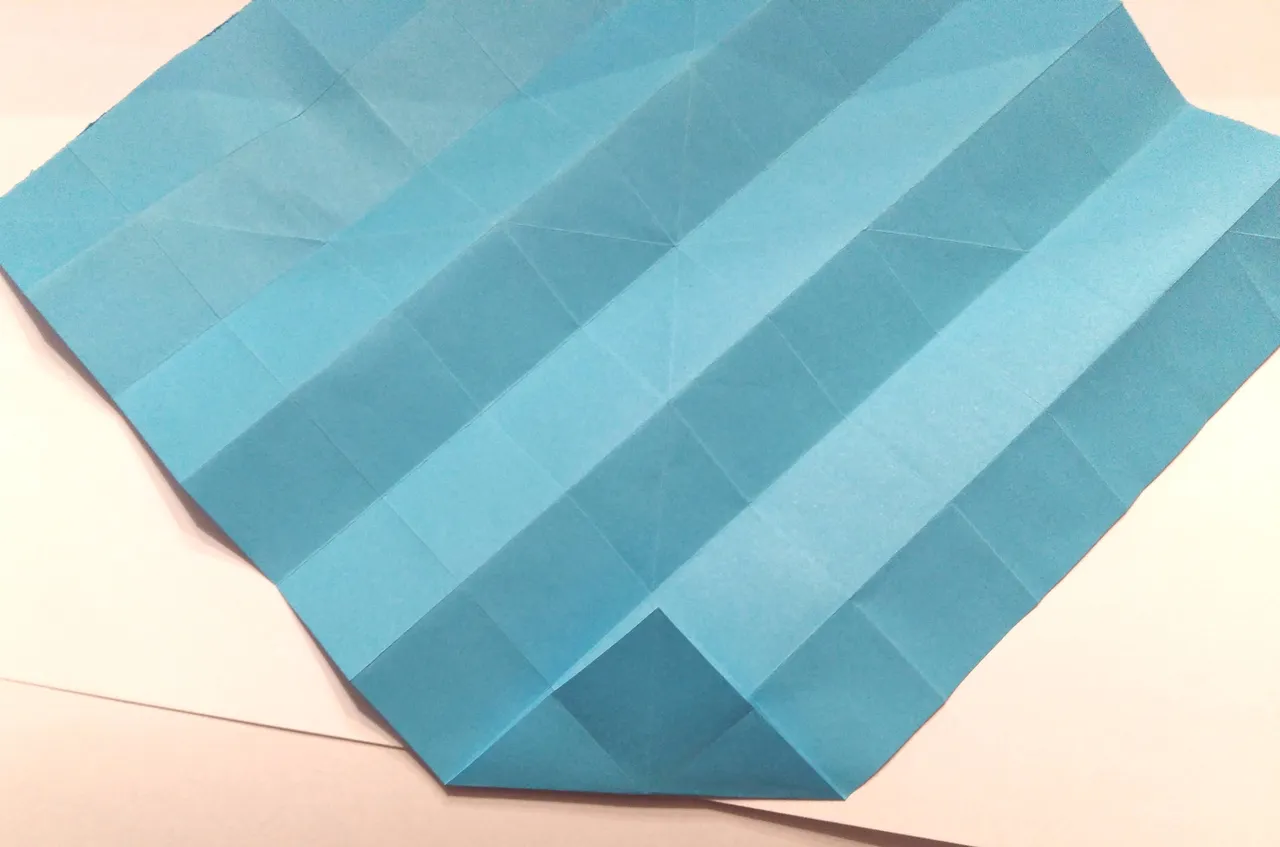
Towards the middle
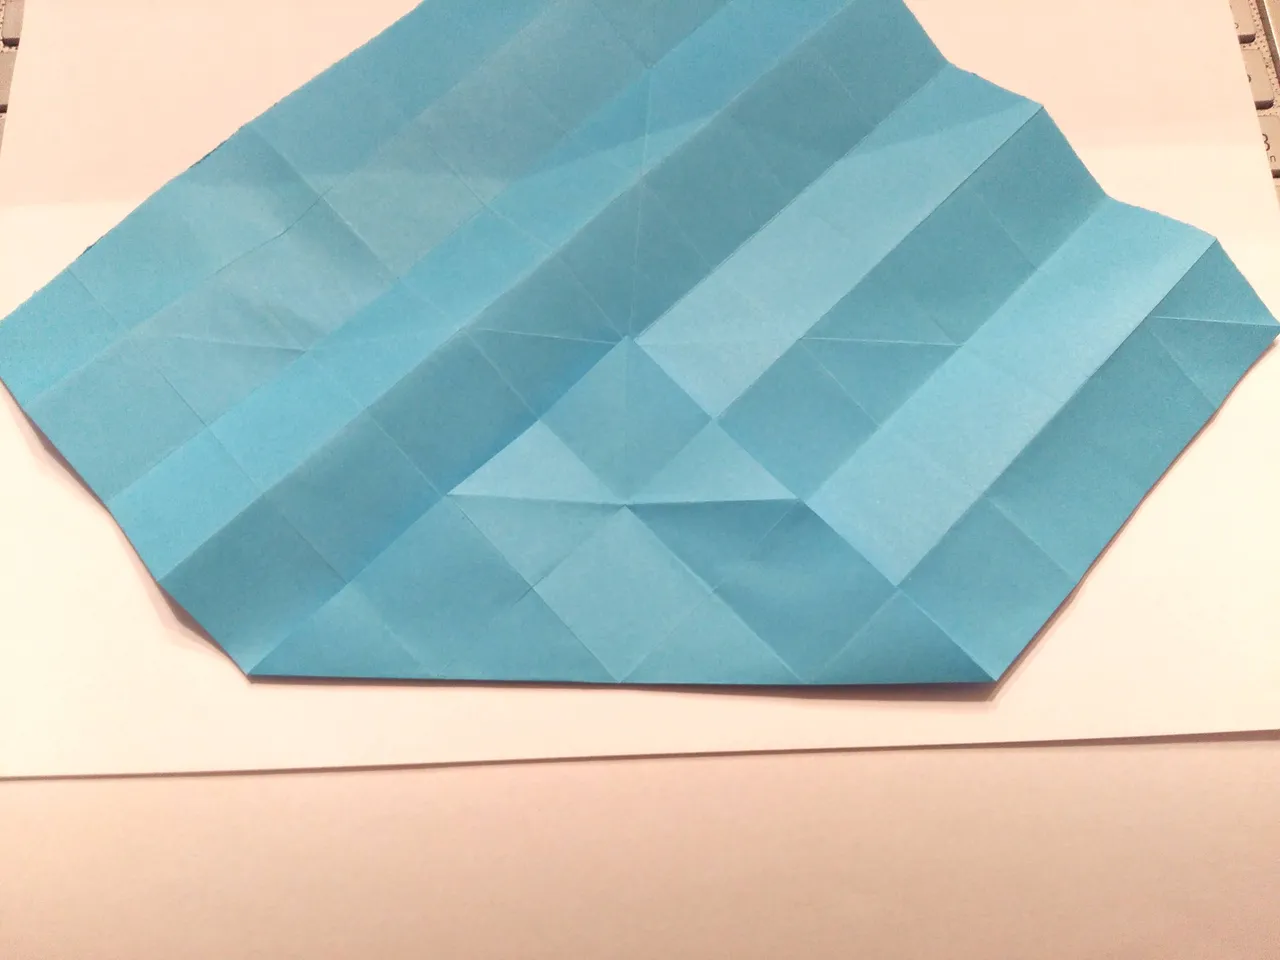
Second square from top, repeat on the other three sides
It will look like this
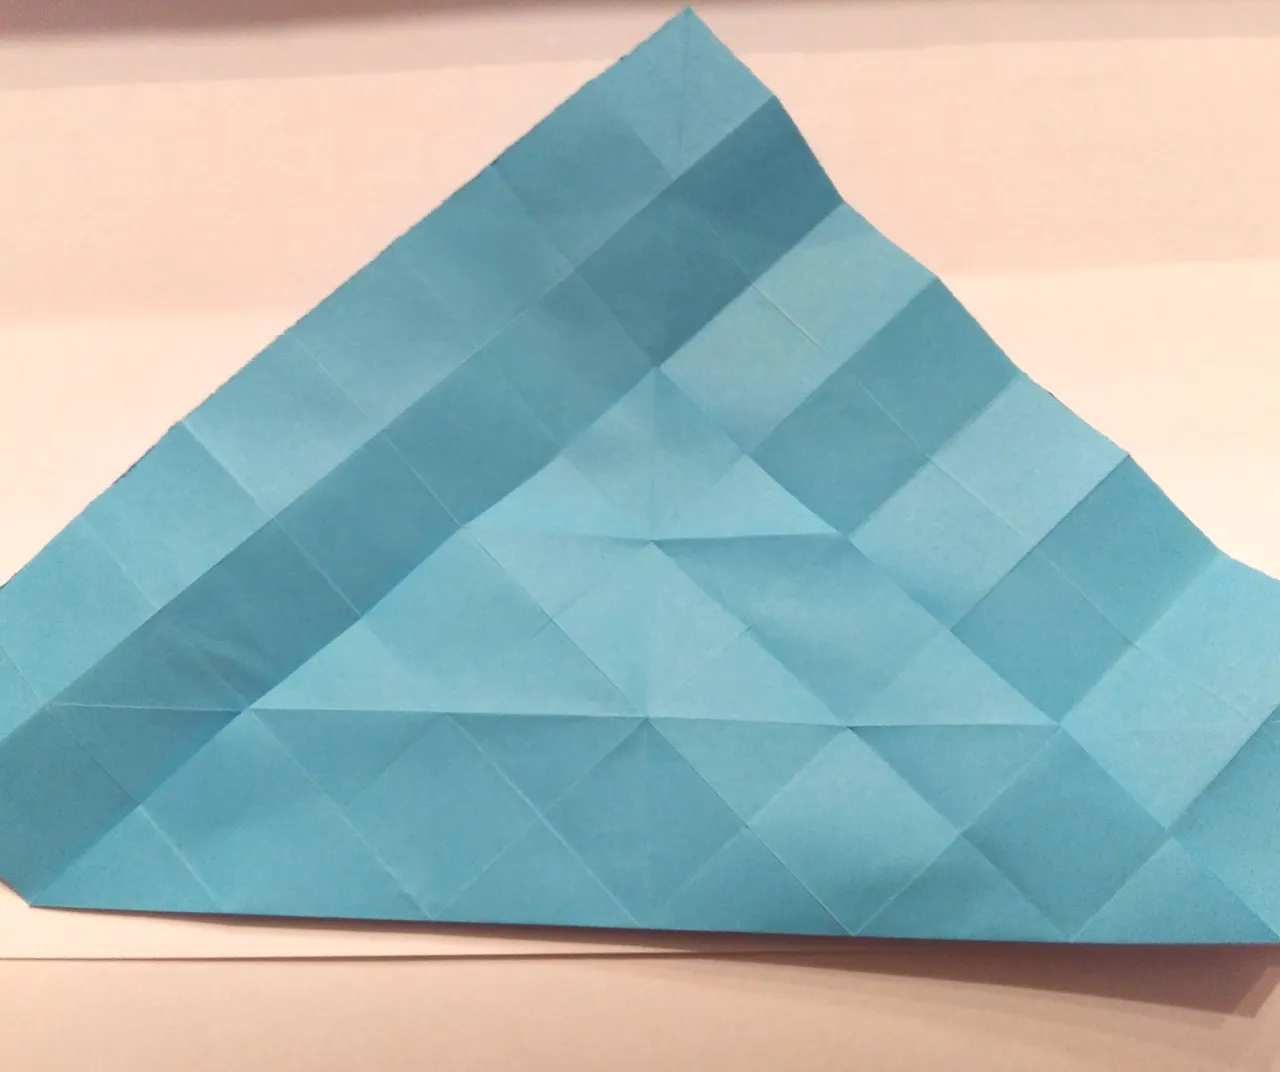
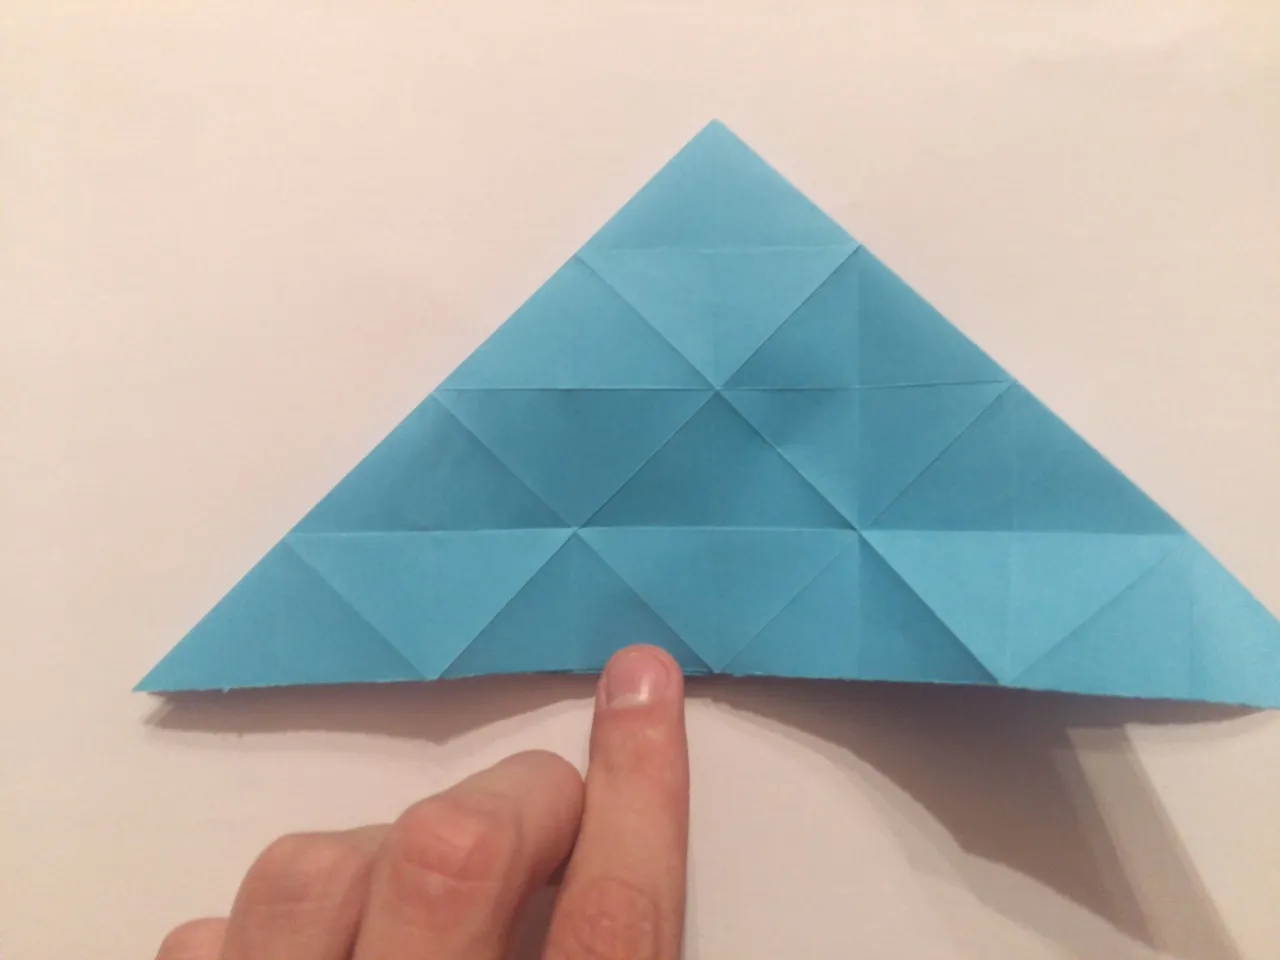
Waterbomb base
Fold the left corner towards the right side flattening it out
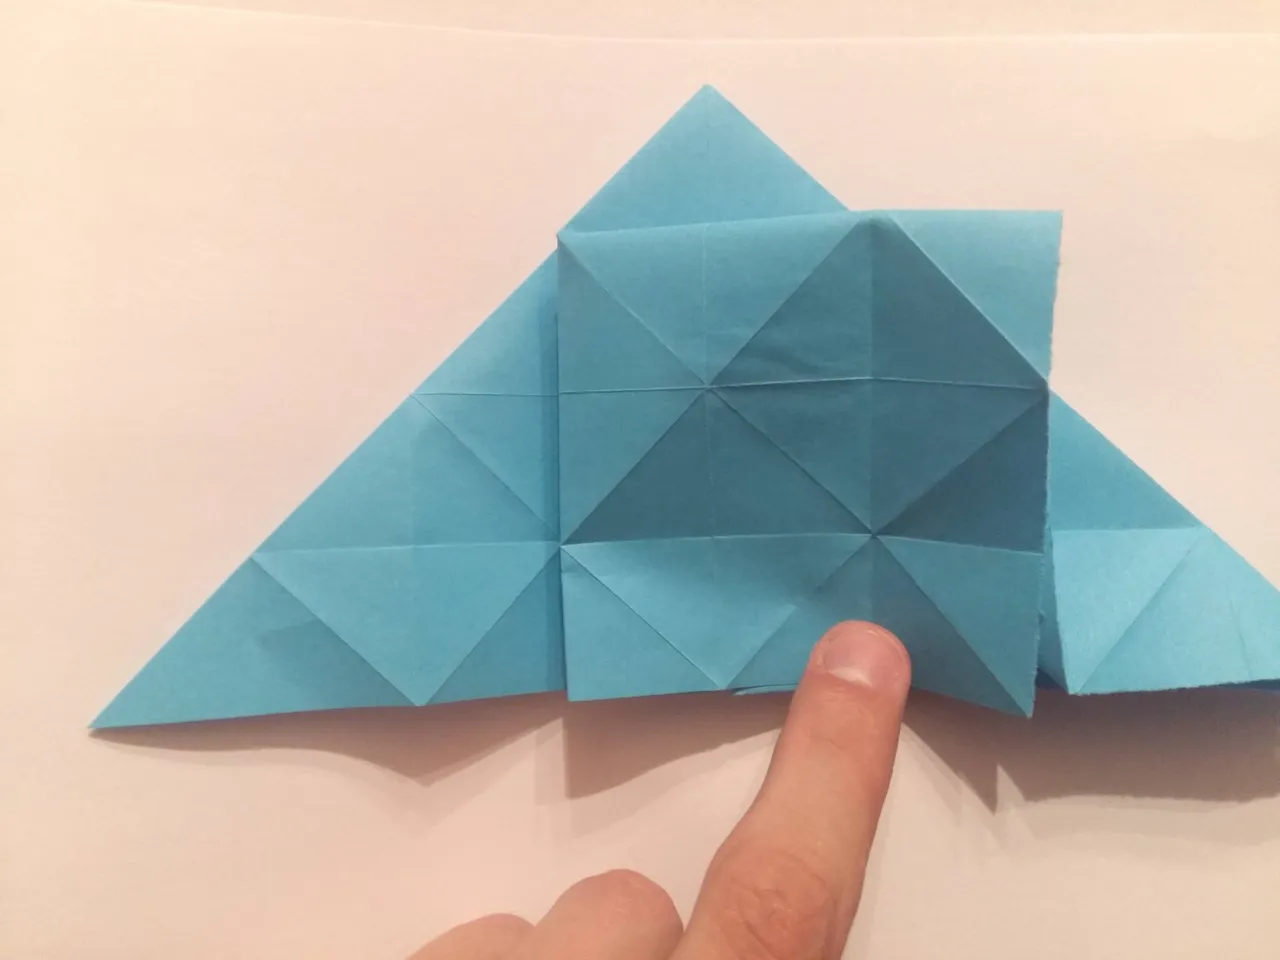
Push across the middle diagonal(top right corner will go down)
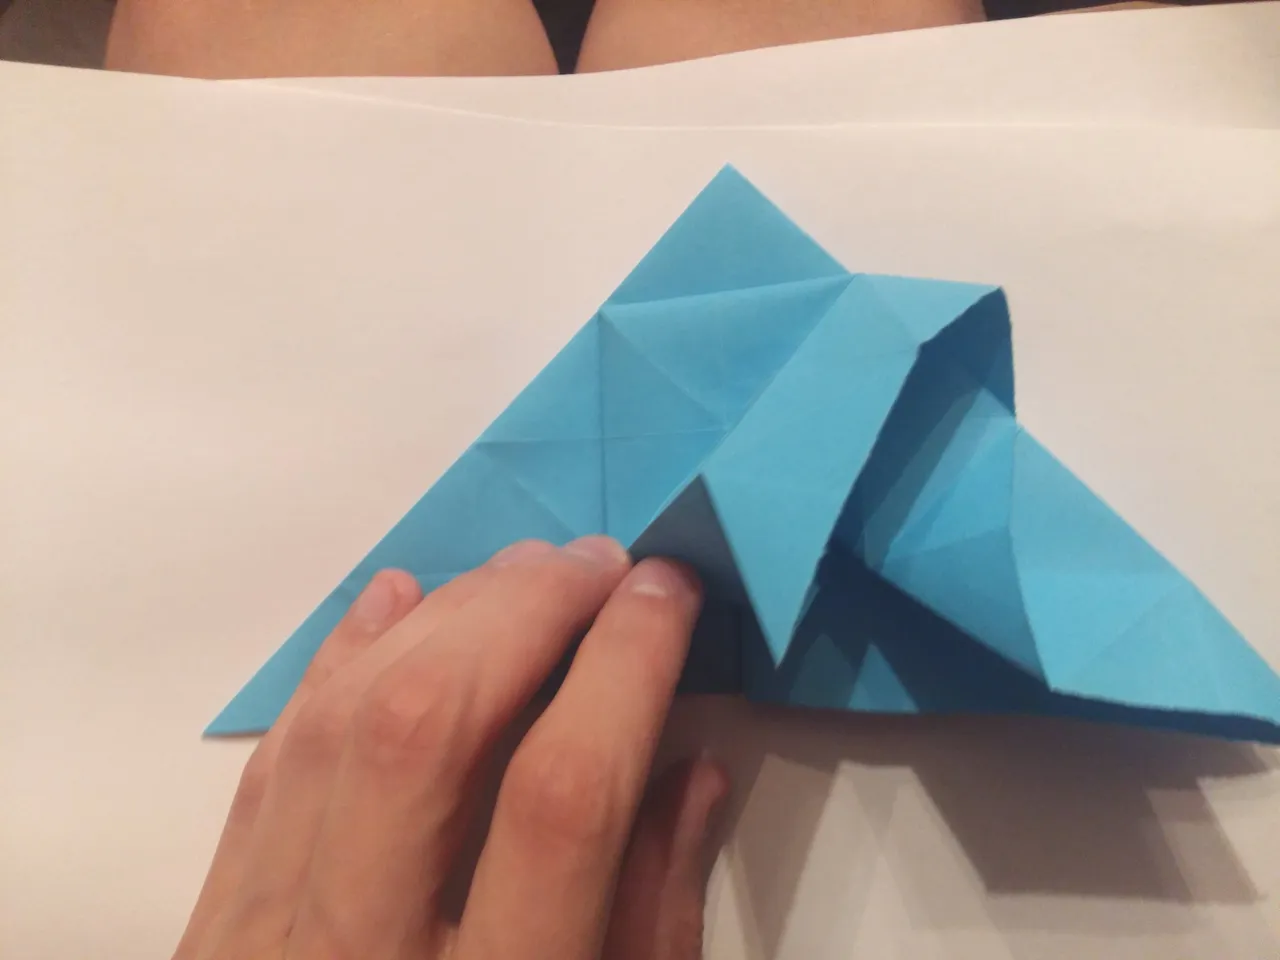
Flatten the bottom flaps and cover with front layer and repeat on remaining three sides
Now we have to collapse the top
You'll have to spread the model out a bit to make the square top and the push it in collapsing the model again
This is a tricky part, you'll have to hide the bottom corners, you push them up reversing the folds
Open up the flap and insert
Lock down just like in the six piece model (repeat on other three sides)
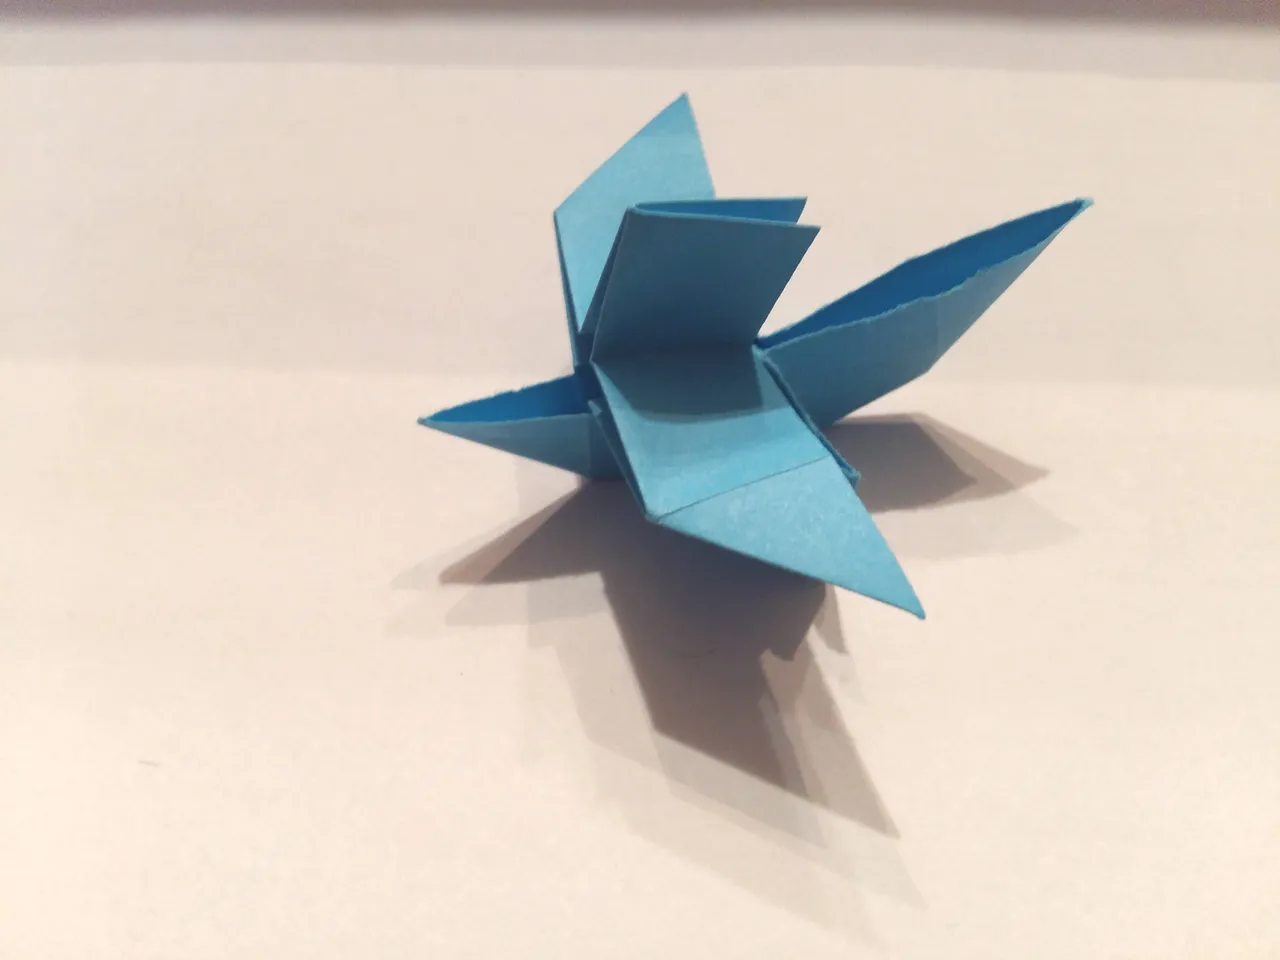
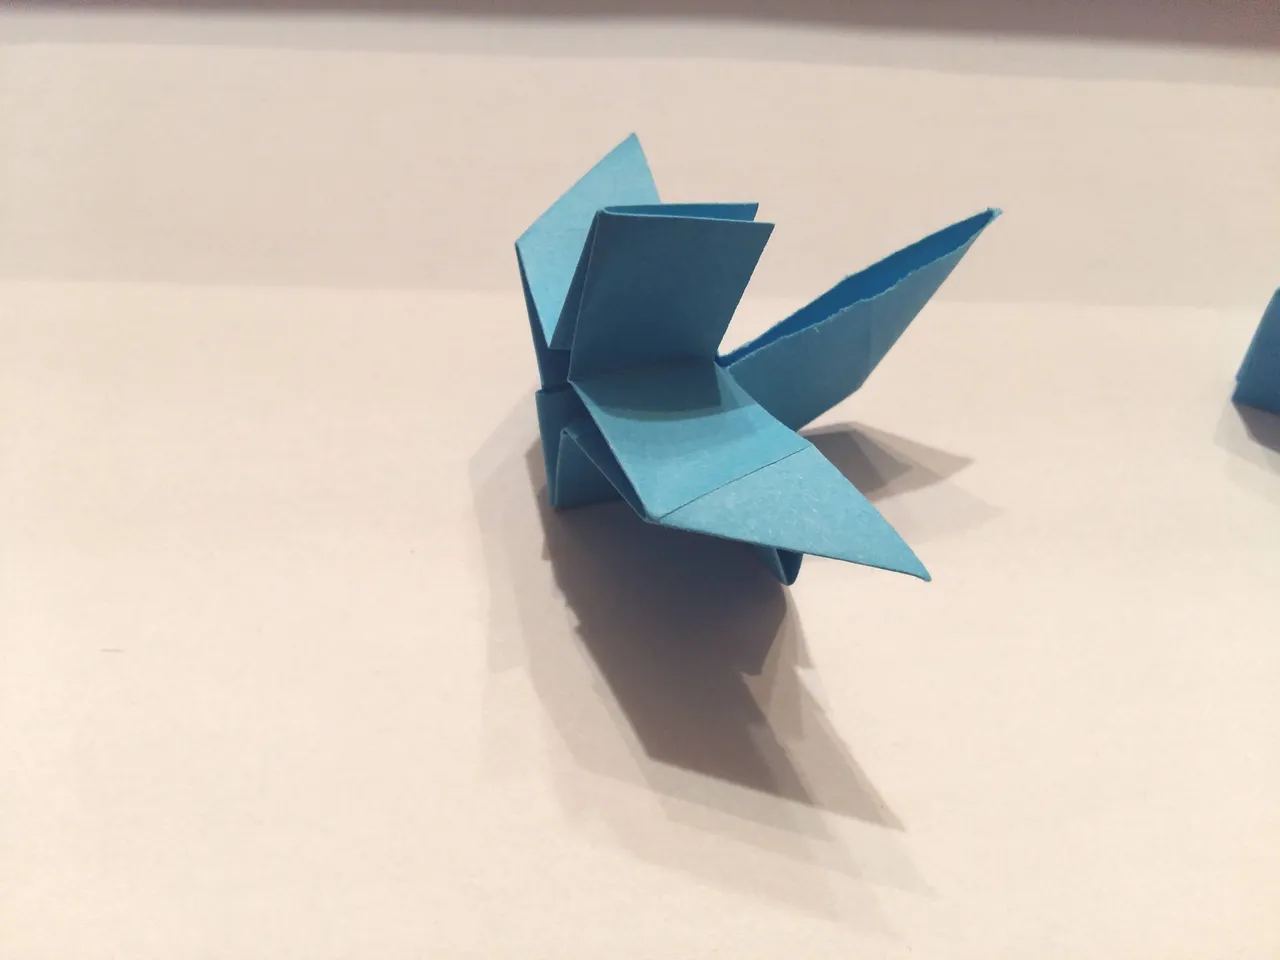
This is what it looks like when the last steps are done, looks alot more like the dix piece one now, just push the top corners in
Repeat the crimping like in the 6 piece model
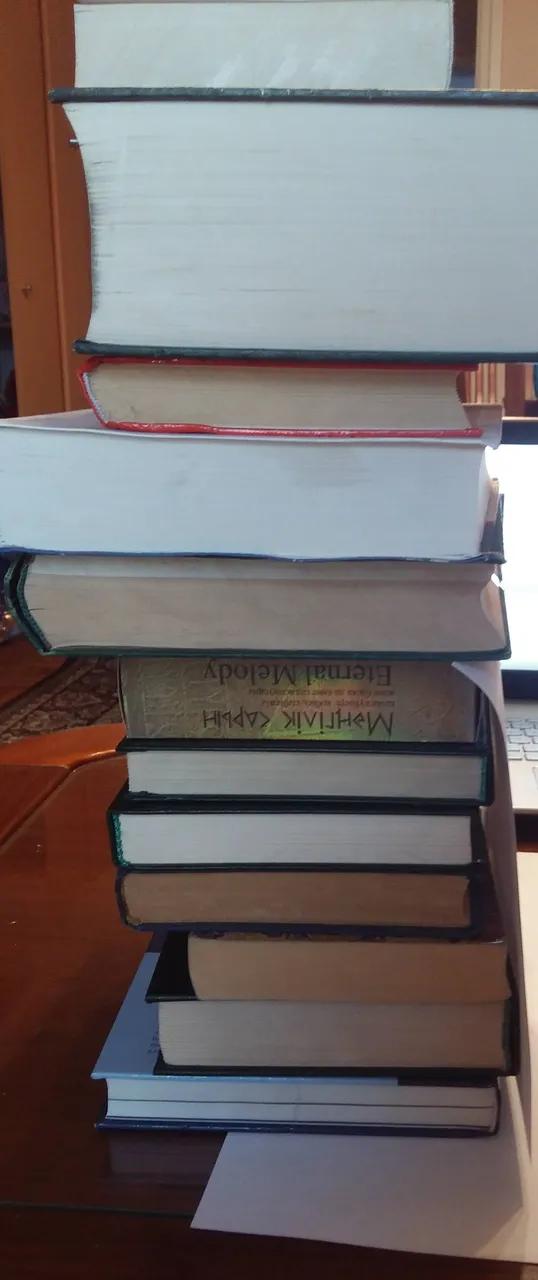
I decided to make a video of the more difficult model, making the setup was a bit complicated, I used around 10 books to lift my phone up, metal ruler to keep my phone in the center, a book on top for counterweight, tape everywhere. A sheet on the side so the book isn't seen in the video. There's a bit of shaking since the table isn't very stable and on a carpet.
Music is by Eric Satie, gymnopedie & gnossienne
▶️ DTube
▶️ IPFS
This was a really fun project with some hardships to overcome but I'm glad I finished it. Thanks for stopping by :)