Hi guys
It's been awhile since my last post, and after talking with 'the Don' @Pit-Bullion he encouraged me to get back to making steemit posts. So here goes....
I thought that today I'd share with you a piece that I have poured from start to finish.
Ok so I guess I should give you a little back story to this piece. I love stacking silver and my main goal is to collect silver as a savings vehicle for my children. My youngest boy is a real silver bug he loves coins and banknotes too. So quite a few of my poured pieces end up with him. My boy also loves all things military, sharks and dinosaurs. So today I'm going to pour him a silver soldier.
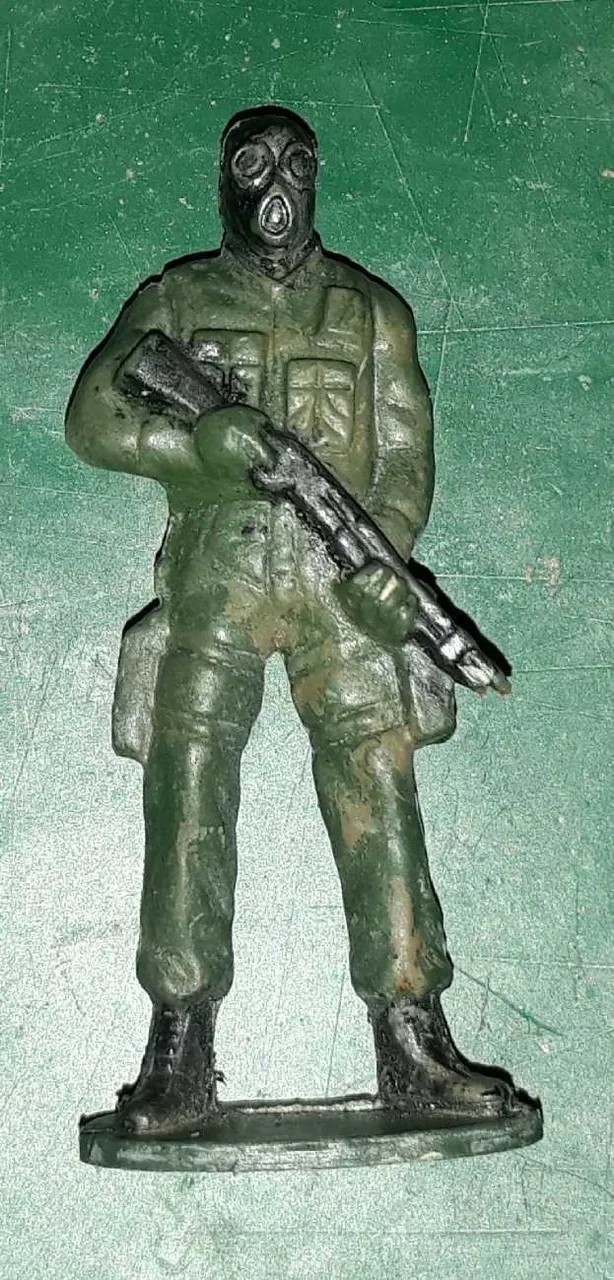
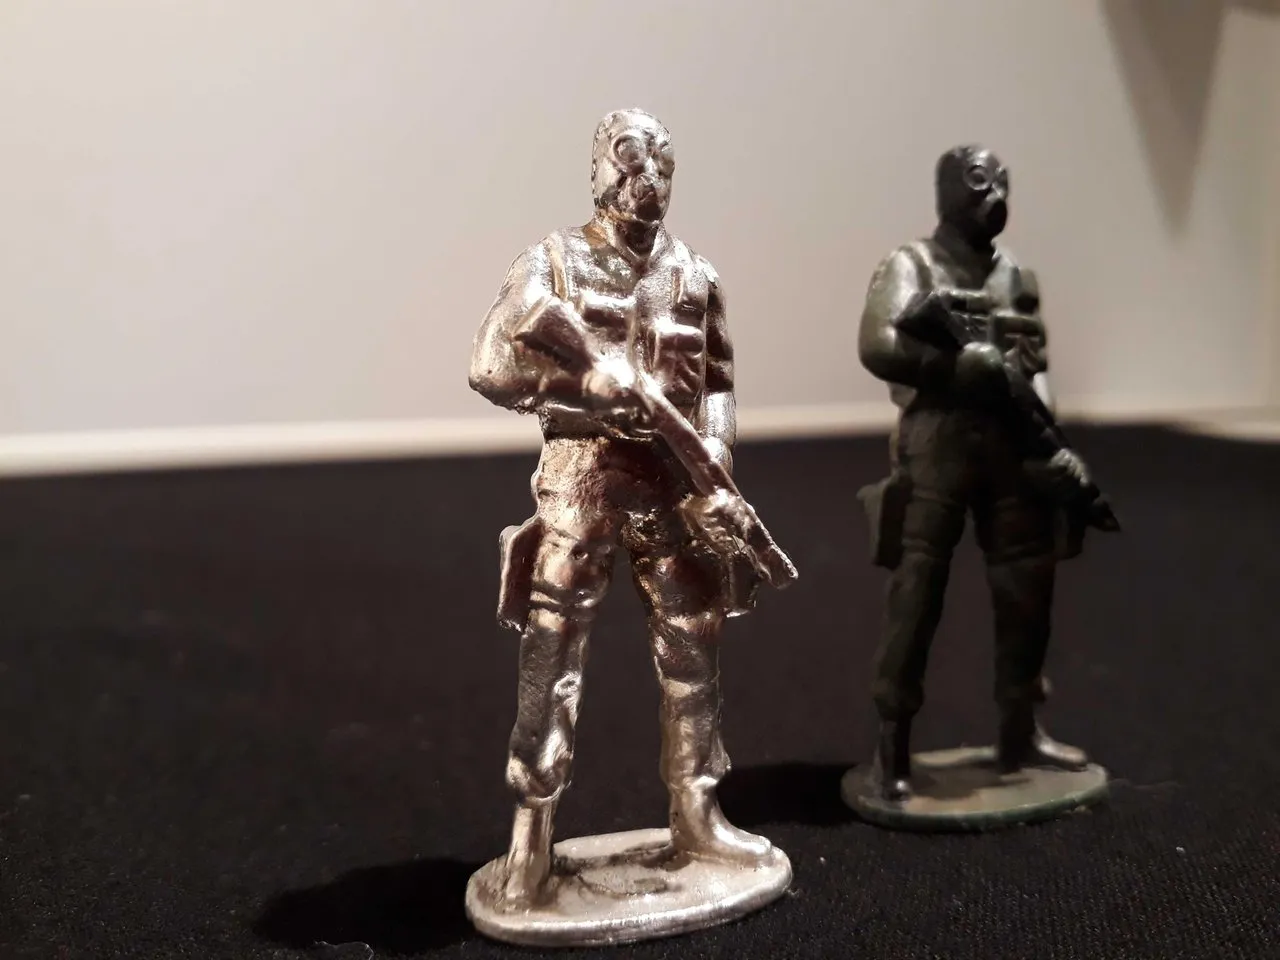
So here is the piece I'm going to use for a mold. Its just a plain old plastic soldier that you can buy from the dollar store, but we give them a little paint job to make them look nice. So next we need to get some casting rings and some delft clay.

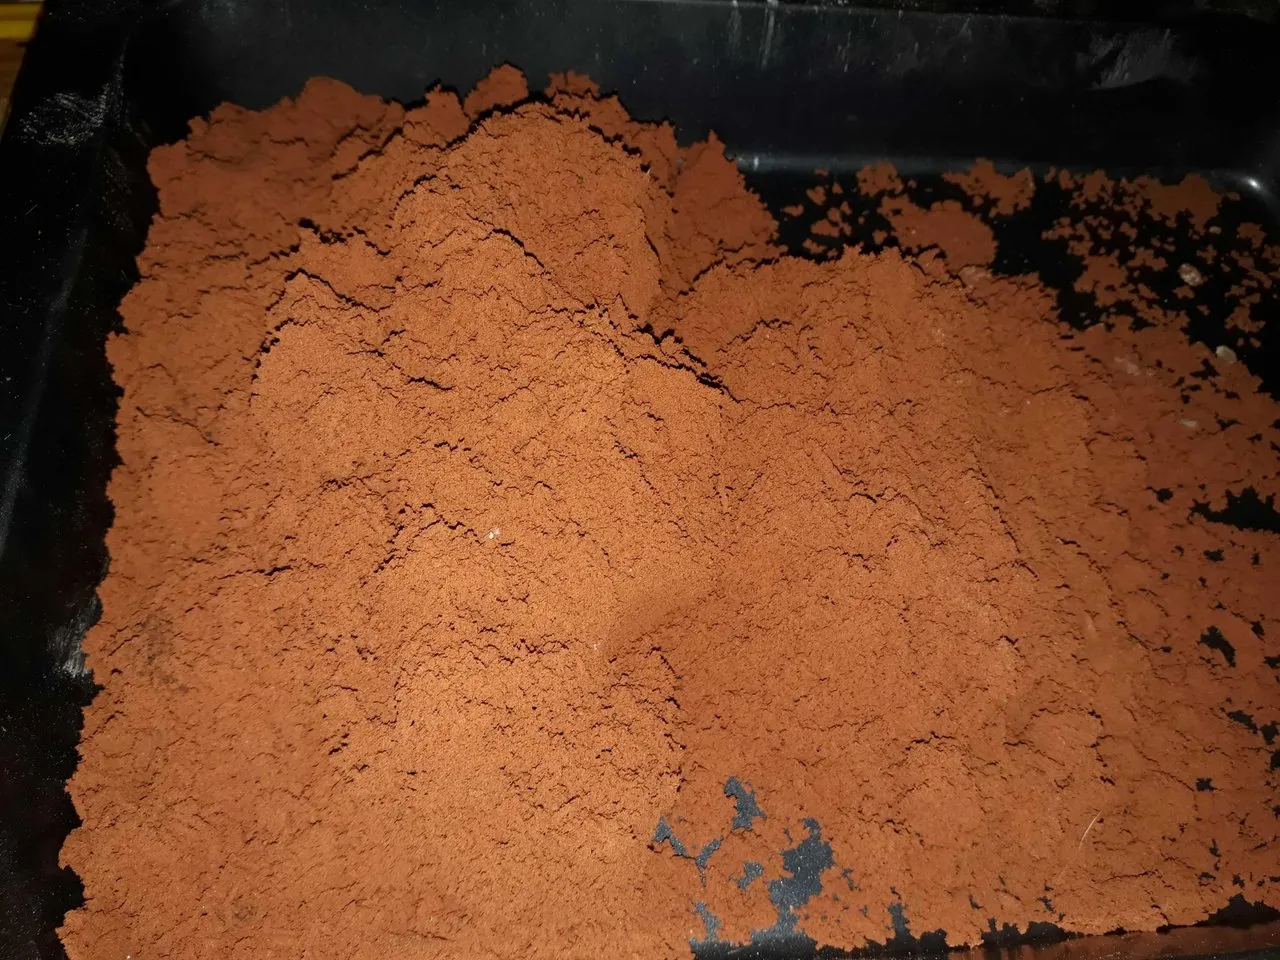
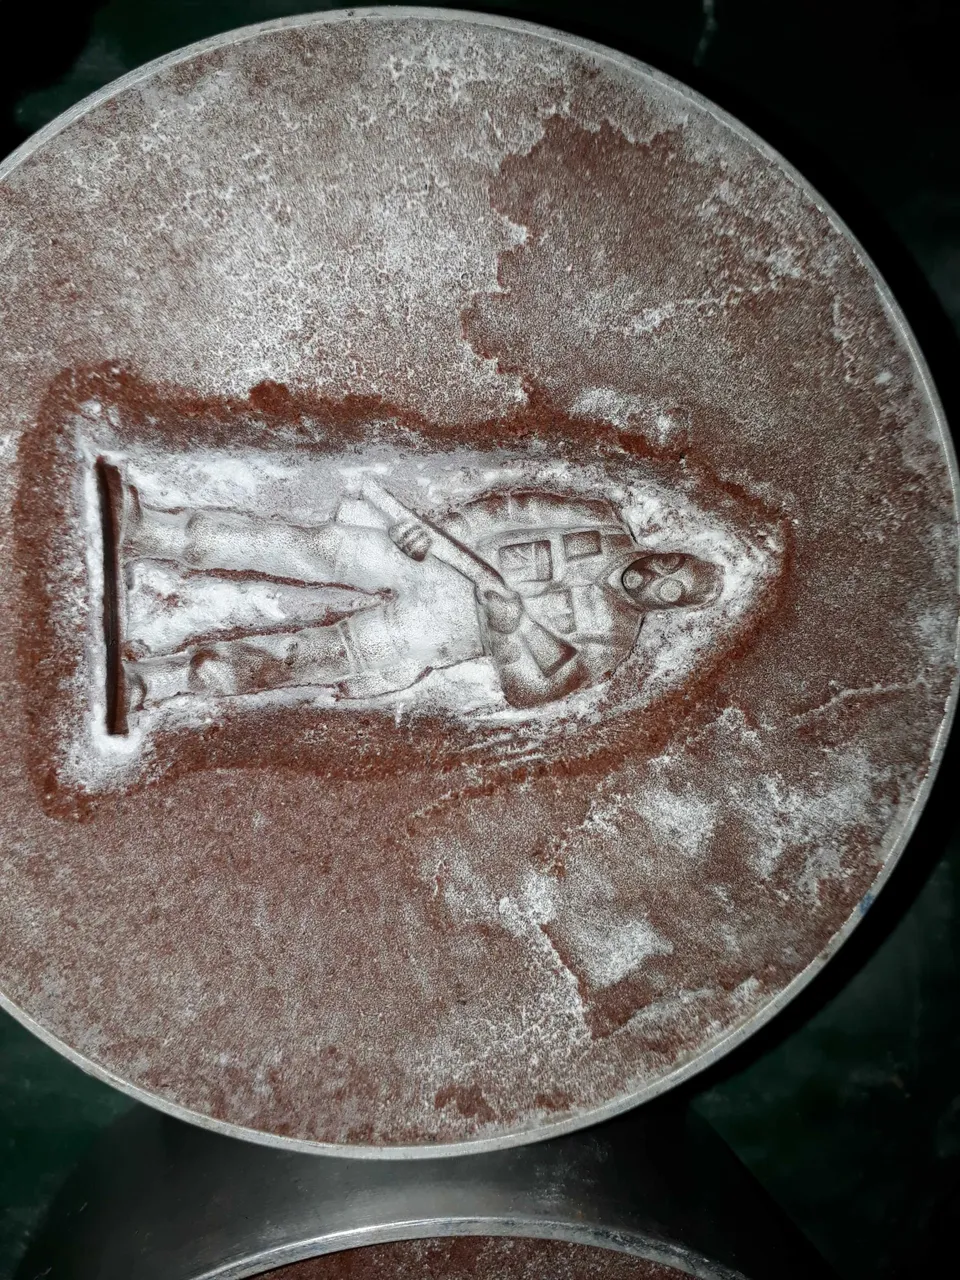
Now we place the soldier in the casting rings and start to pack the ring with delft clay.
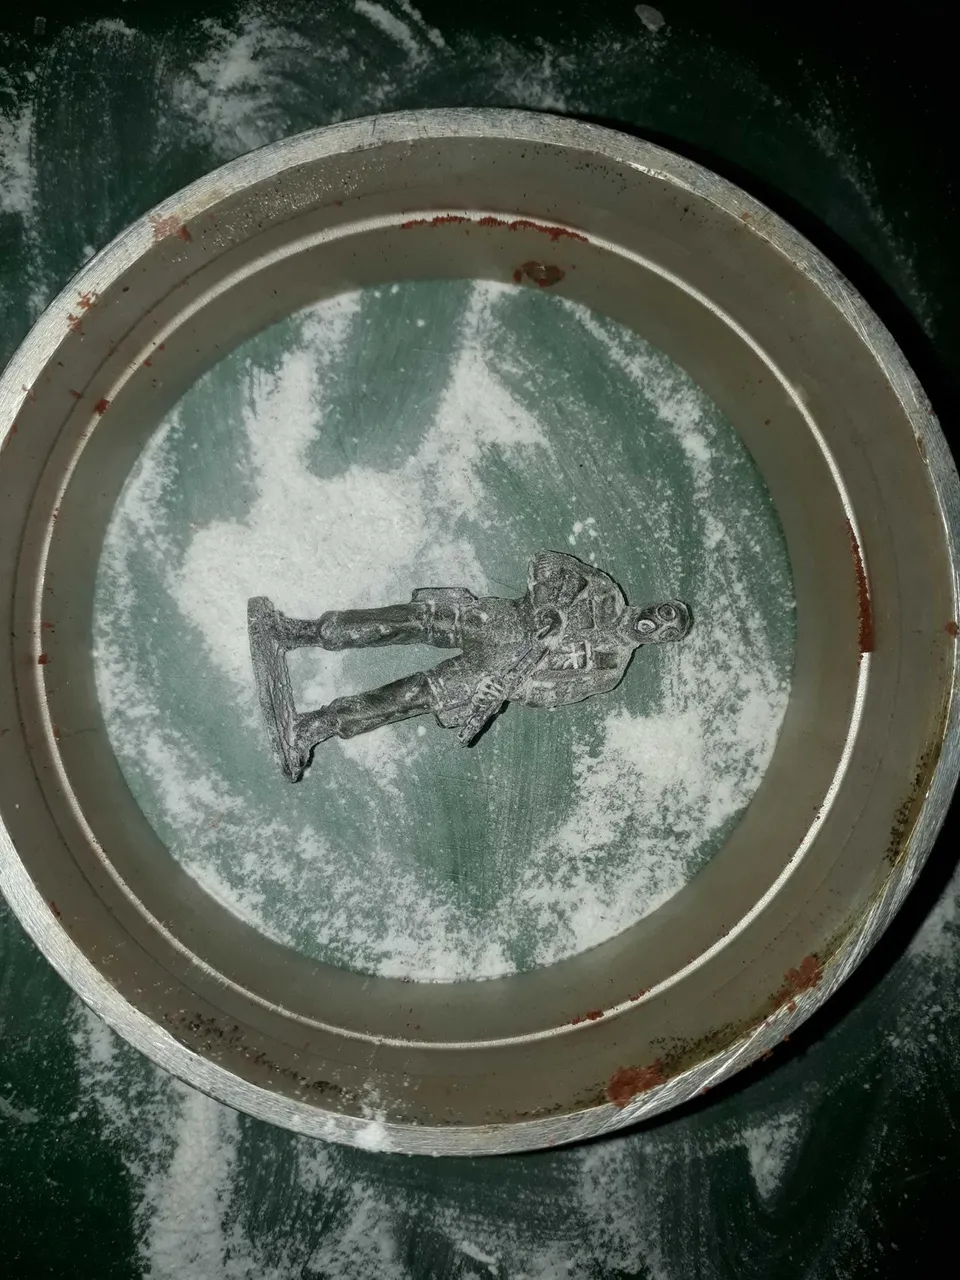
Now I remove the plastic soldier from the delft, I can't tell you how many times I've almost poured molten silver into a mould only to remember at the last moment that I'd left the casting piece still inside😐
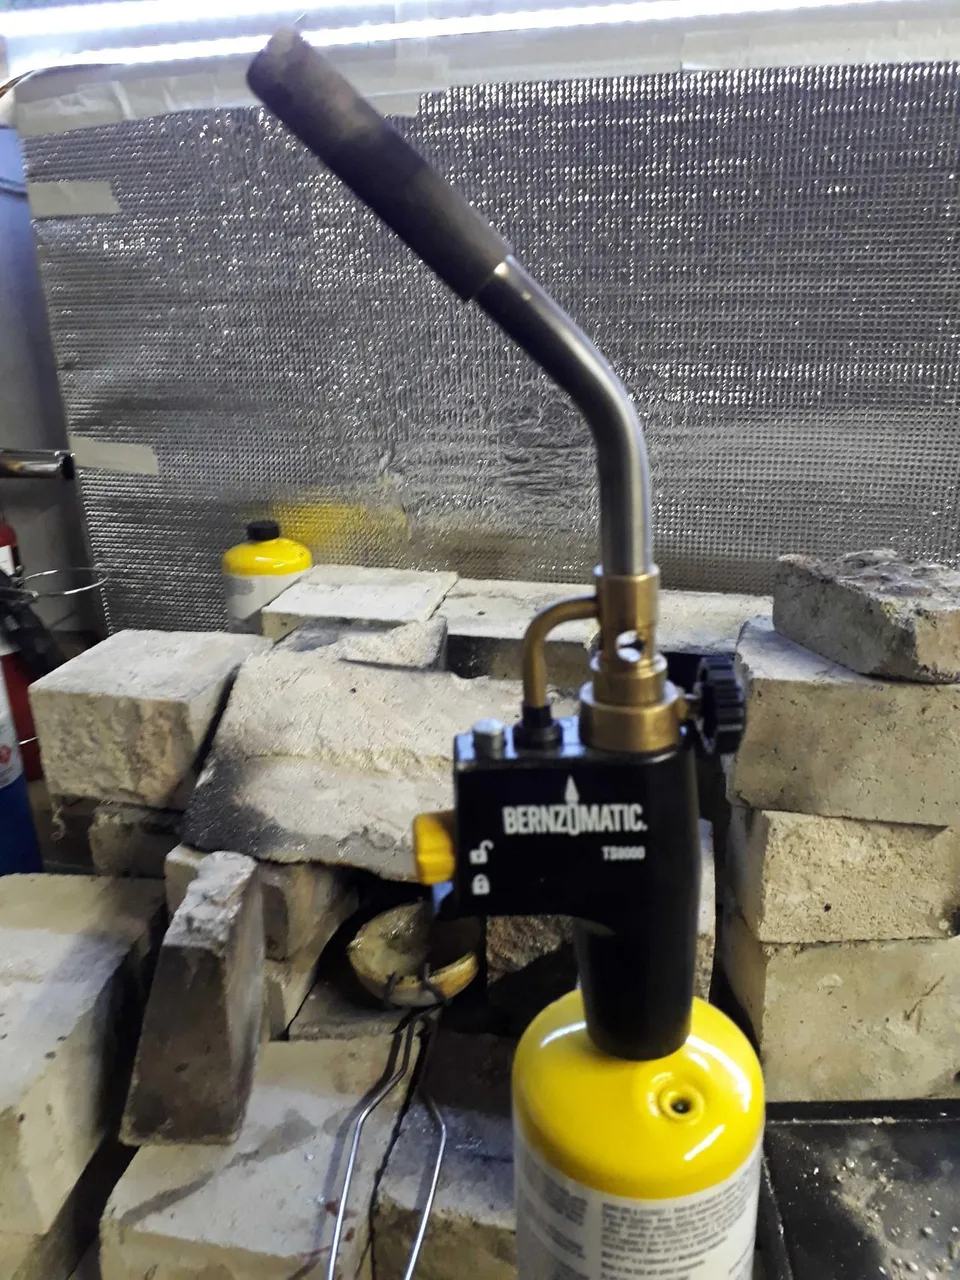
Now to melt some silver, I use a Mapp torch and crucible to melt my silver, which is usually silver ferns that I buy direct from the New Zealand Mint.
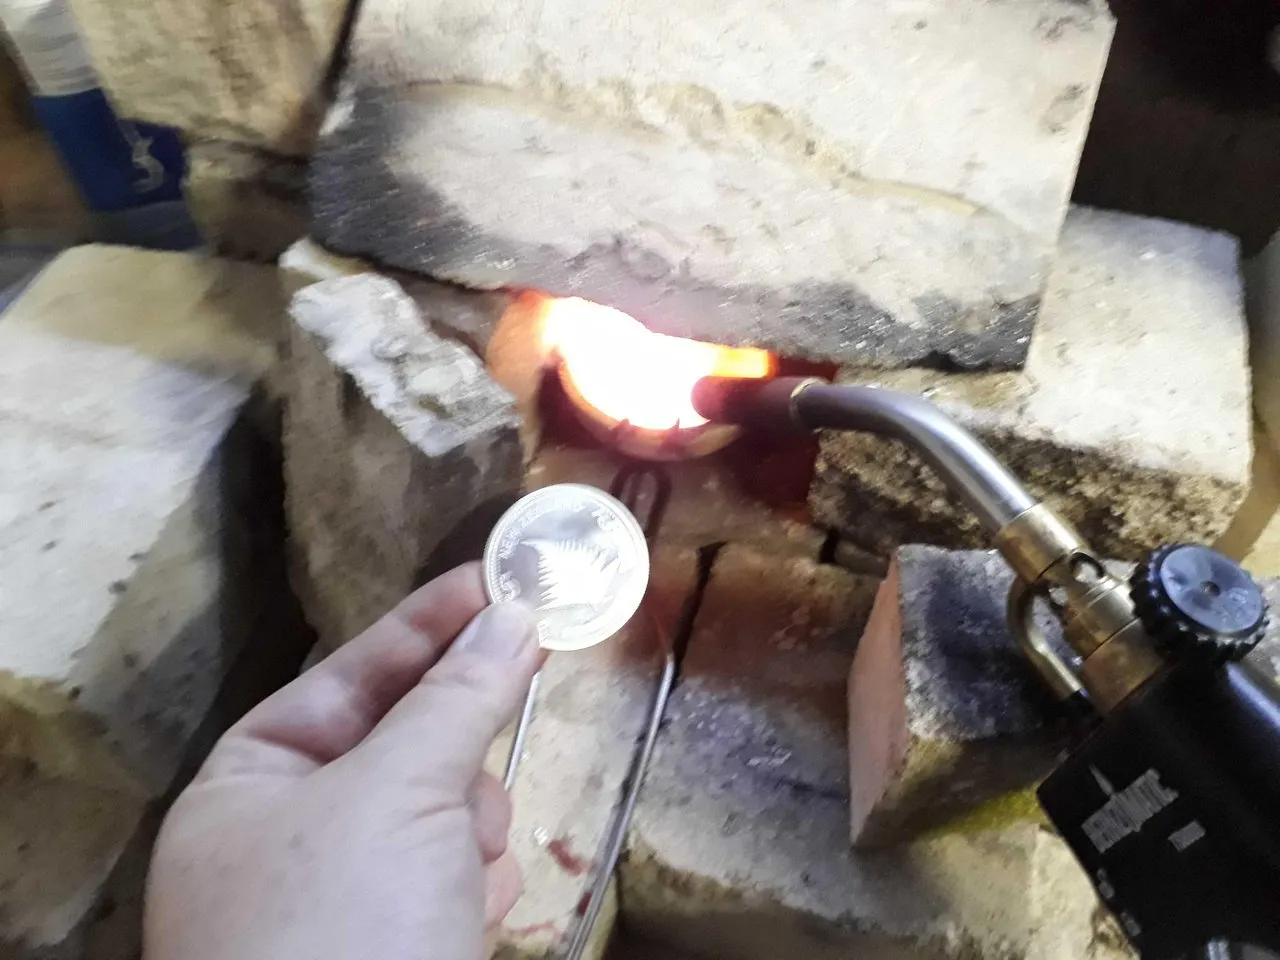
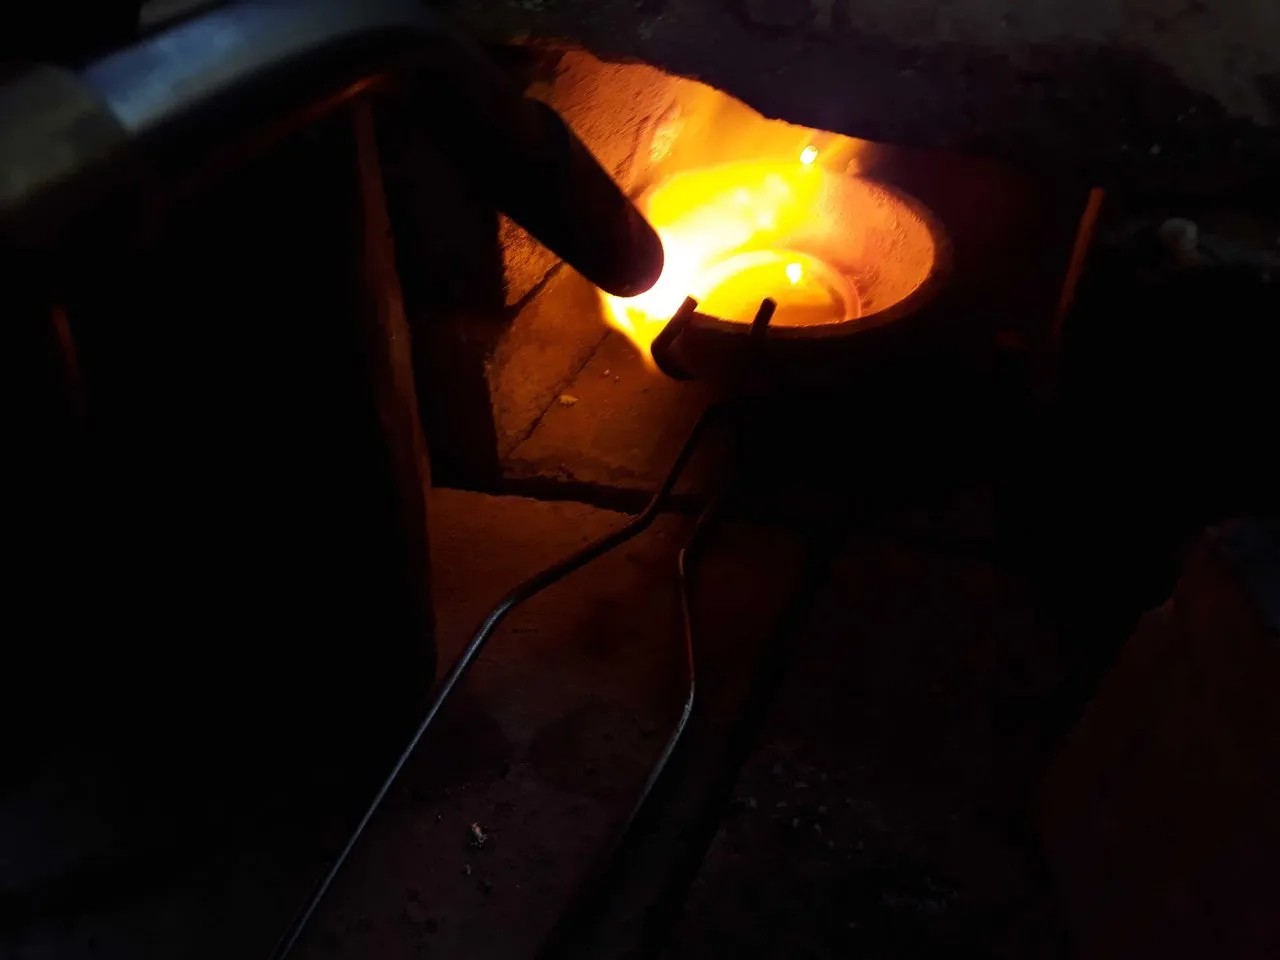
And now for the pour...

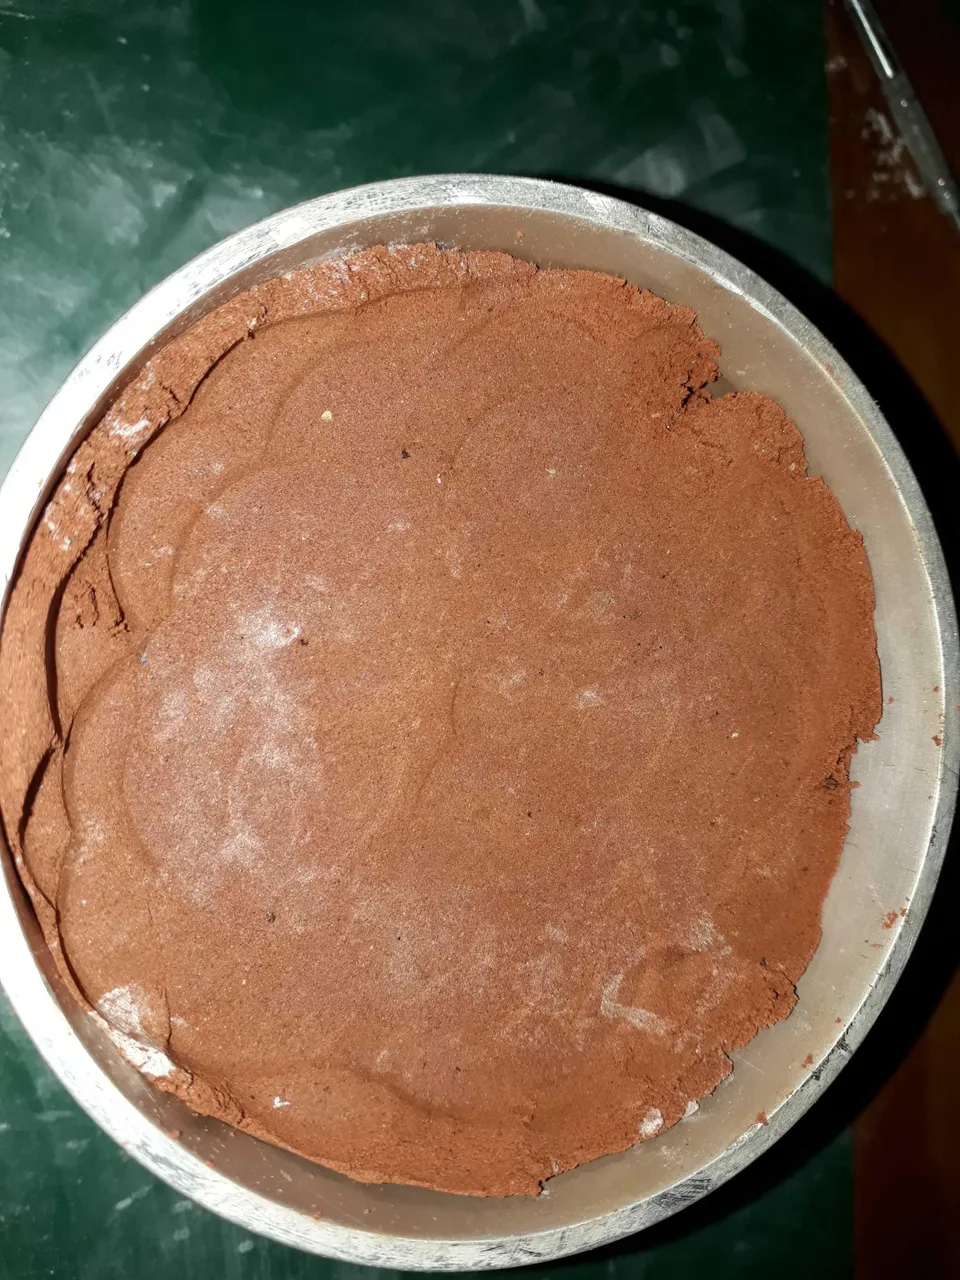
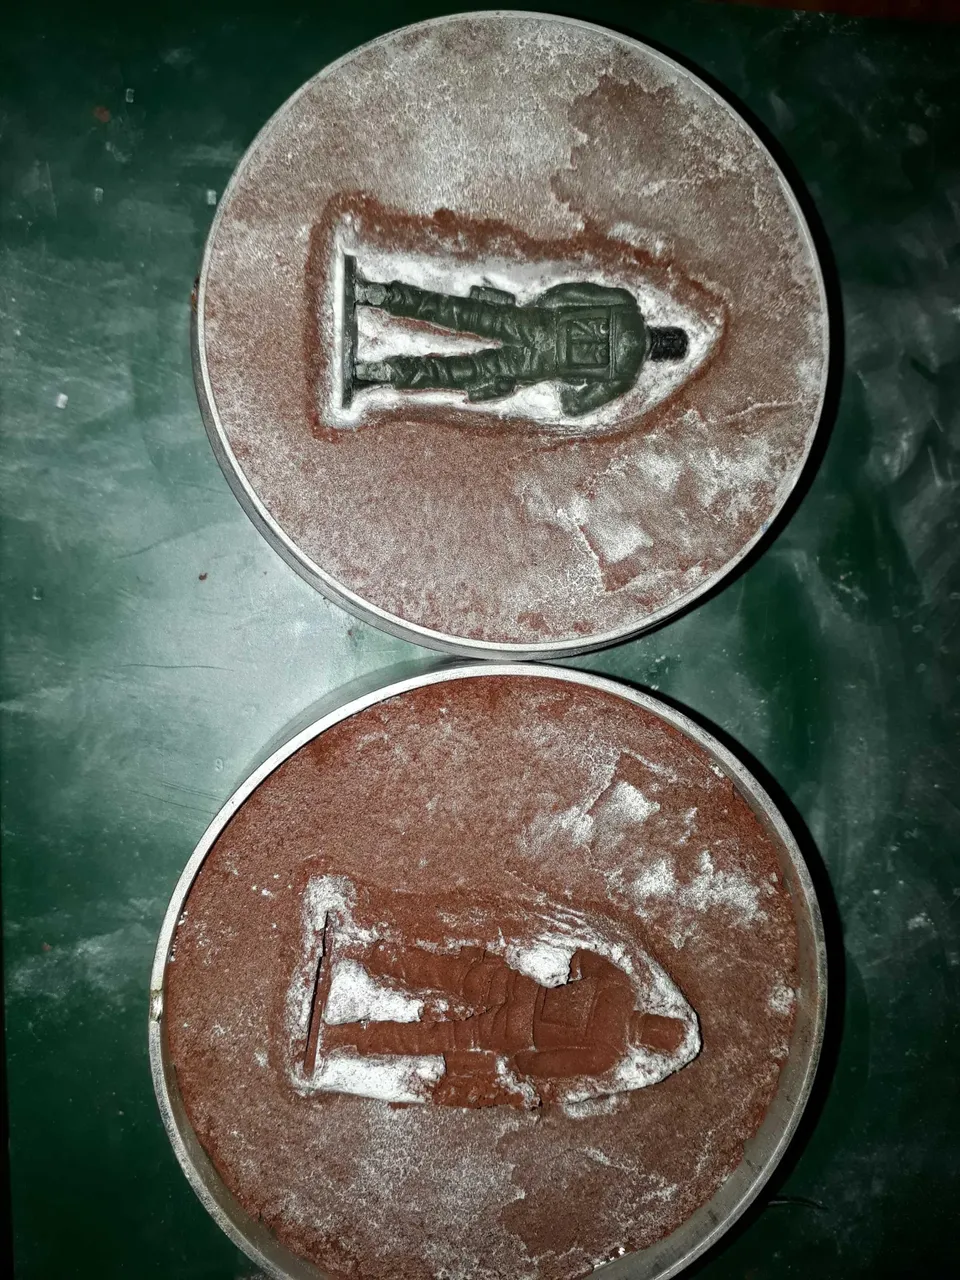
Now to open the mould...
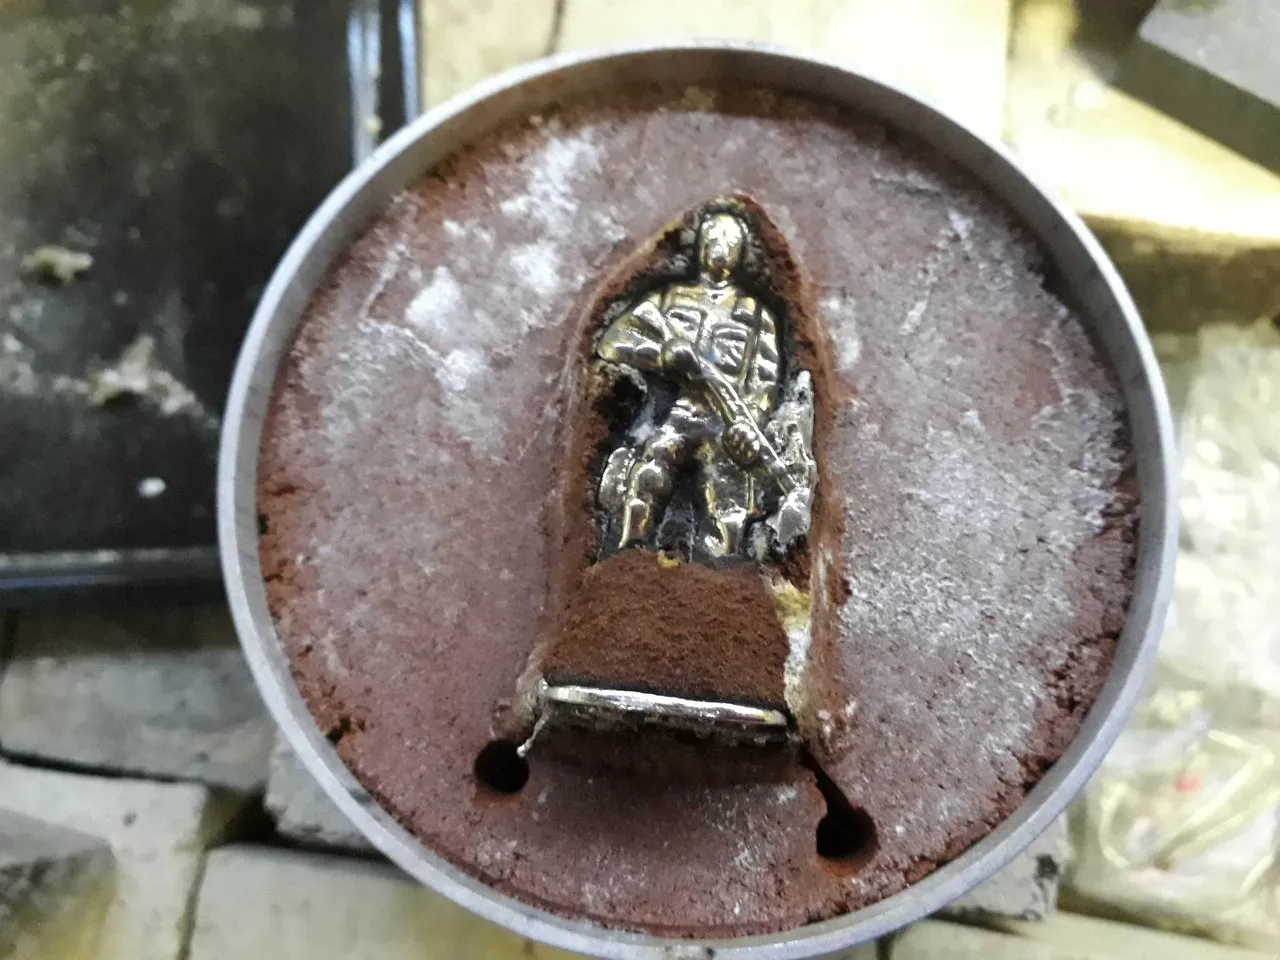
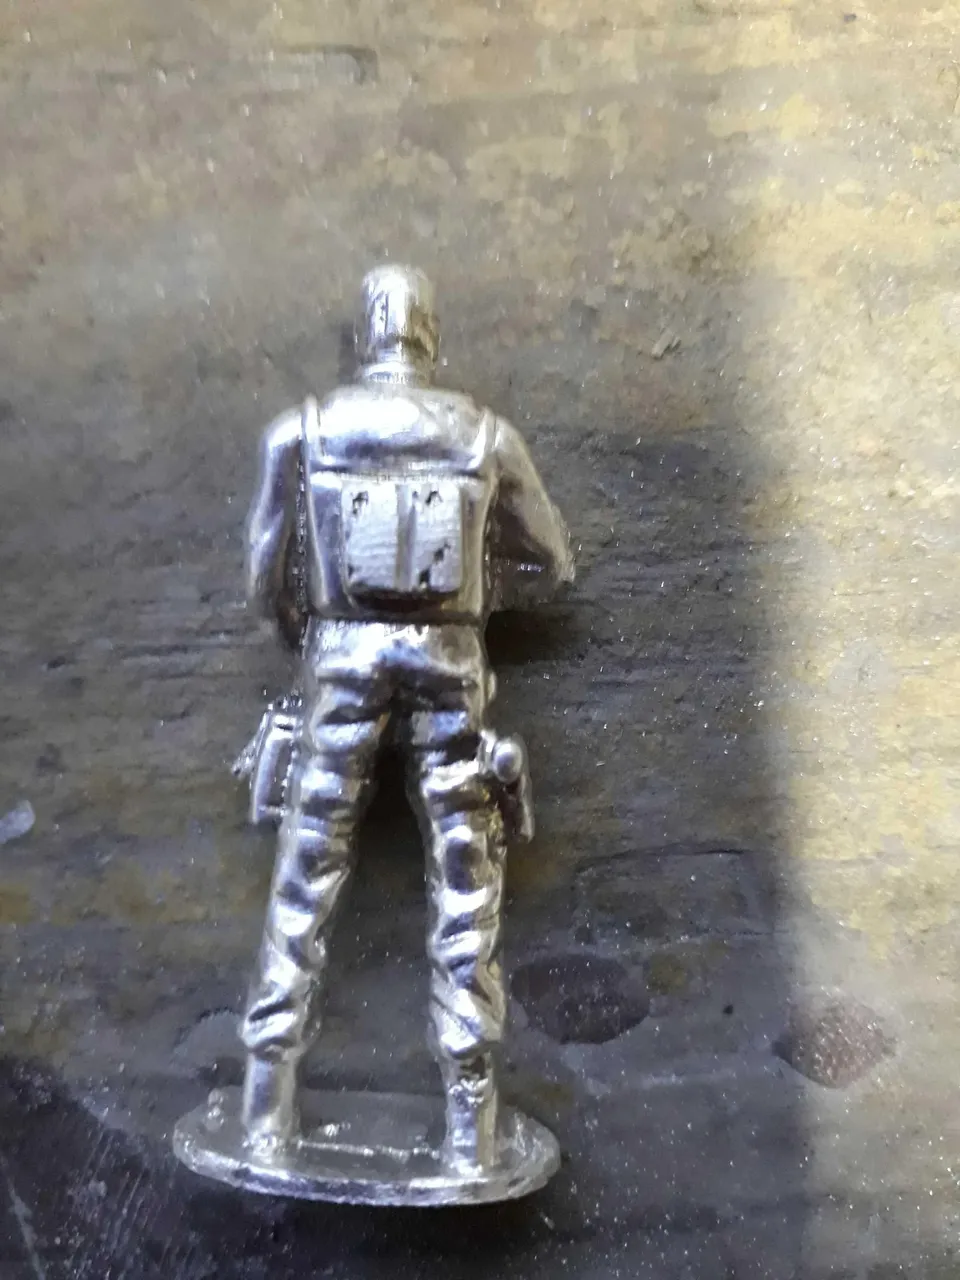
Looking not too bad 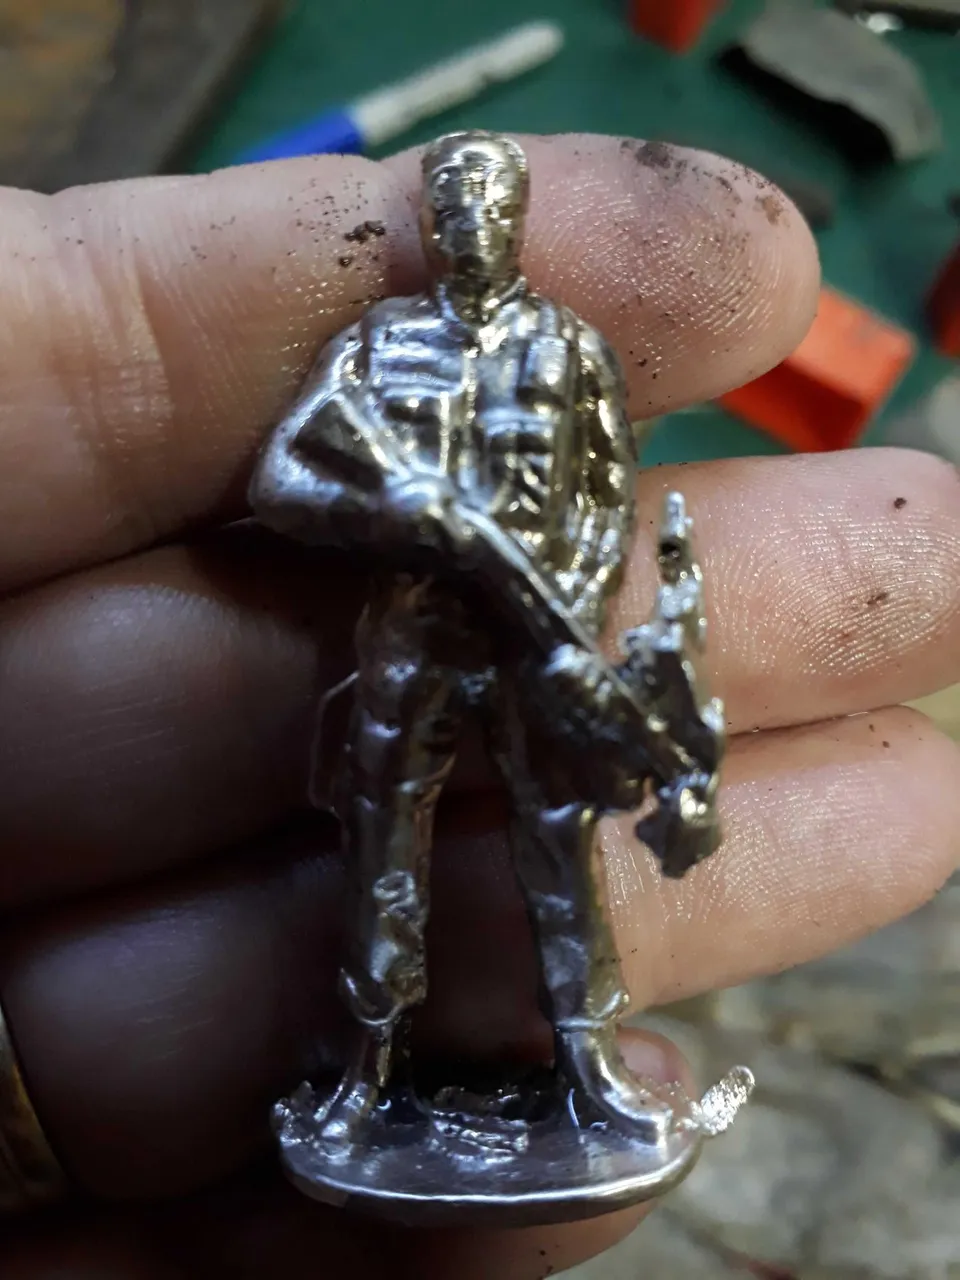
The piece has some flashing but that is easily cleaned up with a file and some sandpaper.
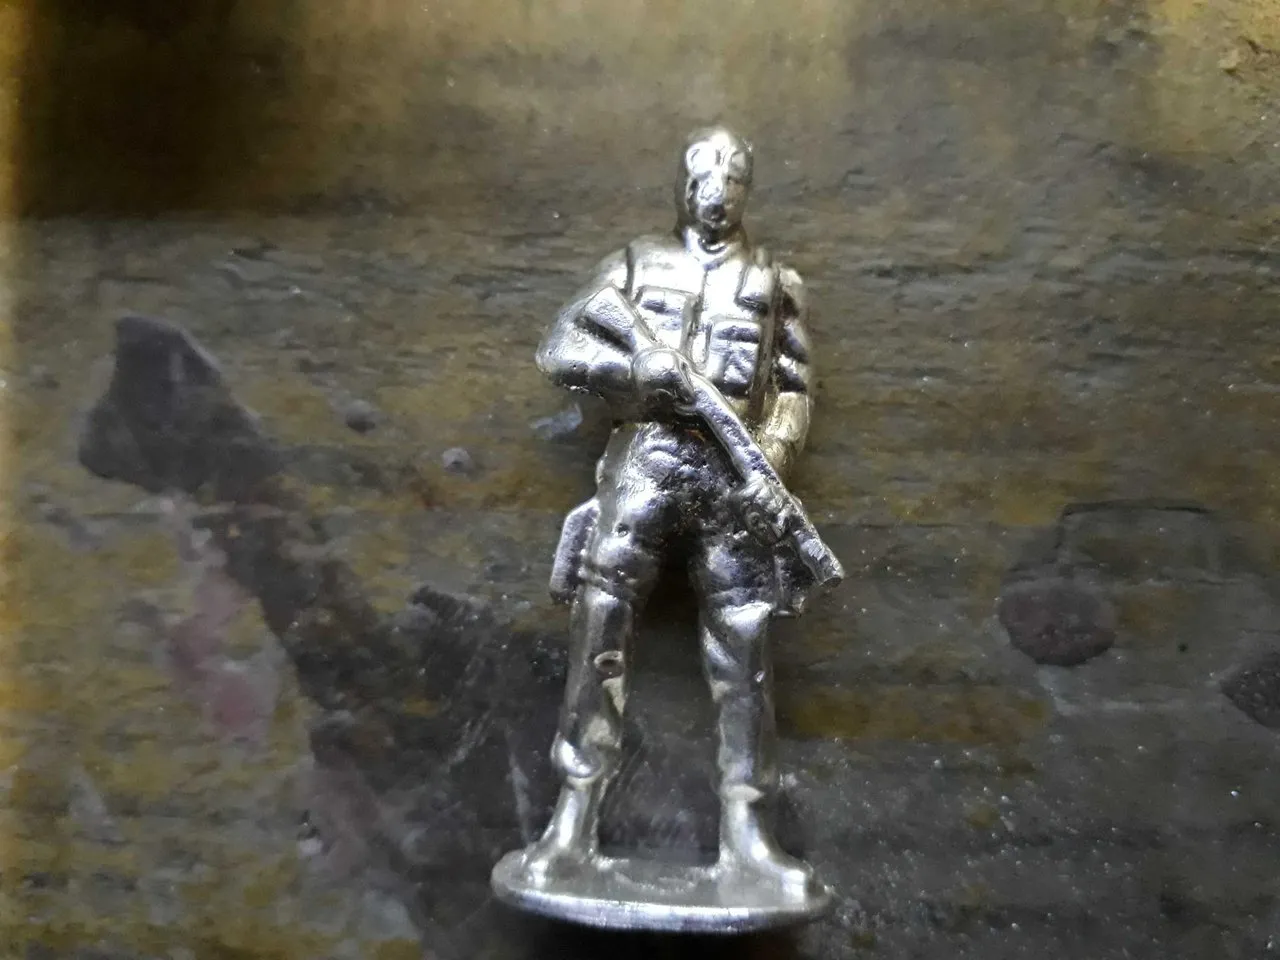
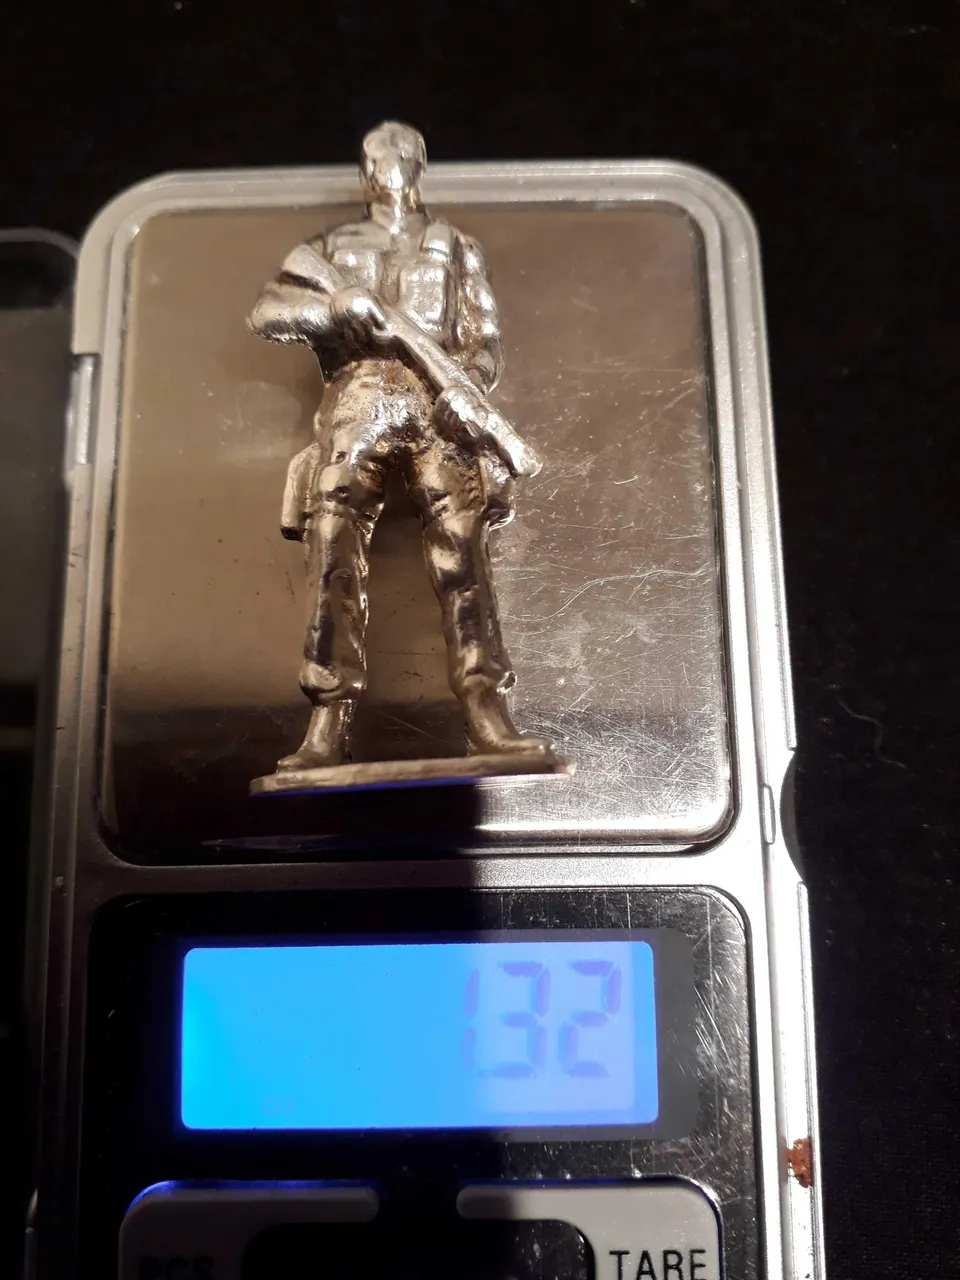
So that's my silver soldier just got to weigh it now
Well I hope you enjoyed my little post on how I make silver soldiers for my son's Silver Stacking Army.
Take care guys and I'll talk to you later.
Kiwi💕