Let me show you how you can make sure your posts reach your targeted audience, tunring them into recurring visitors.
Source
Don't Let Any Post Go By Unnoticed
Are you sure your followers never miss one of your posts? Do you think that even with tools like a personal feed and Ginabot, none of your posts go by unnoticed?
Think again.
The number of posts made on SteemIt every day is huge, and it's hard for everybody to keep up with their favorite authors. At least, for me it is.
Now, wat if I told you there is a way to make sure your loyal followers get to see every post you make. Every single one.
Don't you think that would be beneficial for your number of upvotes and comments?
Of course it would.

Offering A Subscription

You can offer them a subscription in 2 different ways. You can either offer them to subscribe to your RSS feed, so they can follow up in their favorite RSS feed reader. Or you can provide them with email updates by setting up a so called newsletter.
Either way, they will never miss another one of your posts again.
RSS Feed
Up until a couple of months ago, the Streemian website provided every Steemian with his own, personal RSS feed URL.
When the website was shut down, those RSS feed URL's stopped both your own working.
No alternative solution has been offered by SteemIt yet. This is a real shame, because an RSS feed URL is one of the most powerful tools there are when it comes to promotion.
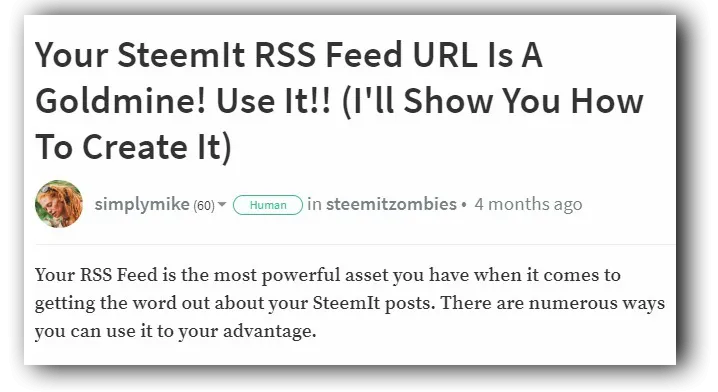
Fortunately, it is possible to create your an RSS feed URL for your own SteemIt blog in just a few simple steps.
I've outlined these steps in a post I made a couple of months ago. Next to a step-by-step tutorial on ow to create your RSS feed URL, you will also find a list of ways your blog can benefit from having an RSS feed URL.
To find out how to set up your RSS feed URL and learn how you can use it to promote your posts, click the image below:
(Sidenote: In the post, there's a mention of using Mailchimp to send out newsletters. That information is outdated. I'll show you how to set up a newsletter using a different free service in this post)
Newsletter Service
Setting up a newsletter service means that your loyal followers subscribe to your email list with their email address. In return, they will receive an email notification when you publish a new post, and will be able to return to your blog over and over again, catching every post you make.
Setting up such a newsletter service has multiple benefits: your subscribers will never miss a post again, you can send them an occasional gift or offer, you will get returning visitors and an even more loyal audience.
Below, I'll show you step by step how you can set up a newsletter service that works on complete autopilot. The only thing you need is your RSS feed URL, which you can create following the steps in the post mentioned above, and about 15 minutes of your time.
Don't worry; this post might seem long and complicated, but that's because I documented every single step of the way. It's by far not as complicated as it may look.
Let's Get Started
In the tutorial below, I used a service called Benchmark which is free to use up to 2000 subscribers and 14000 emails a month.
If you go over those numbers, you can surely afford their reasonable upgrade prices.
Simply follow the steps outlined below, and you'll have your automated newsletter set up in no time. Be sure to create your RSS feed URL before you get started!
Step 1: Create a new account at Benchmark and confirm your email address.
Step 2: Complete your profile
Step 3: Set up a new mailing list
a. To do so, click 'Create New Email'
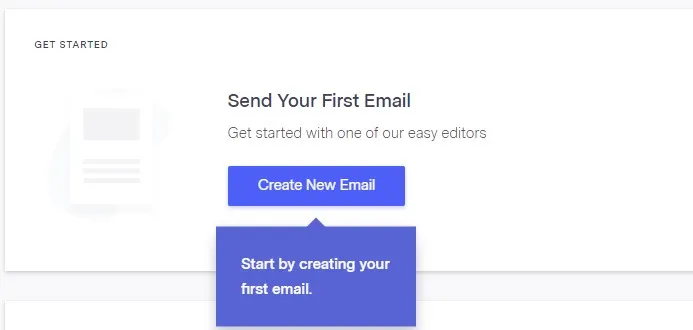
Source
b. On the next page, select 'RSS Mail'.
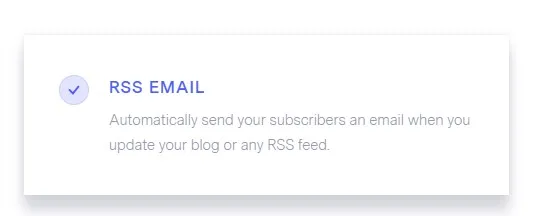
Source
c. For the easy way out, select 'Drag And Drop-editor'.
Source
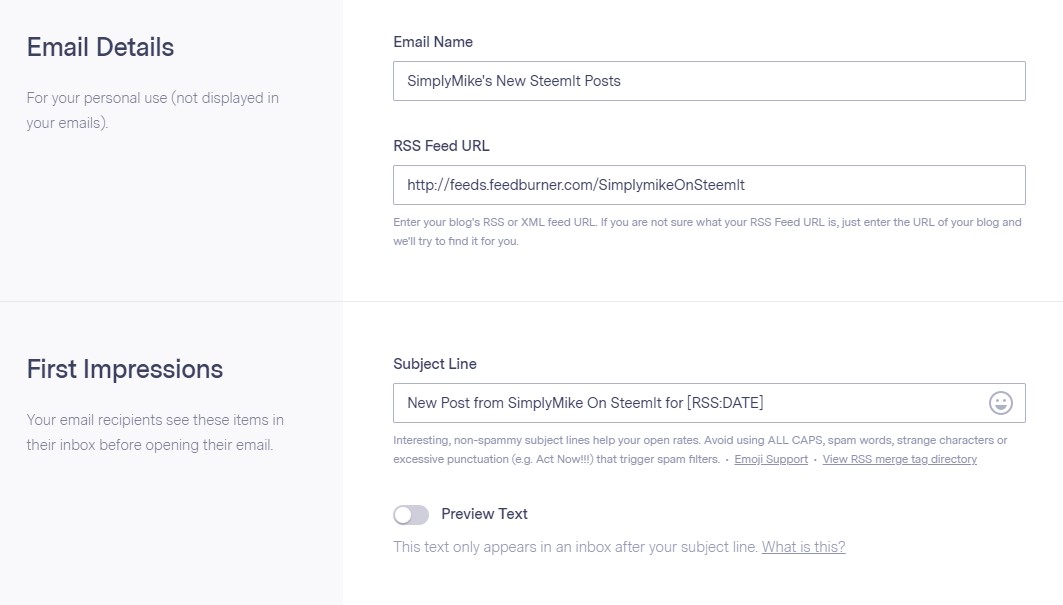
d. Fill in the details in the form.
Note: if you're using a free email address (Gmail, Yahoo etc.) you'll receive a notification that this will have an impact on your email delivery rates. If you do have your own domain, set up an email address on that domain to use. If you don't have your own domain, simply go on with your free address
Source
Click image to enlarge
e. Once you've filled in all the details, click the 'Save'-button.
f. In the next screen, click 'Create New List'.

Source
Click image to enlarge
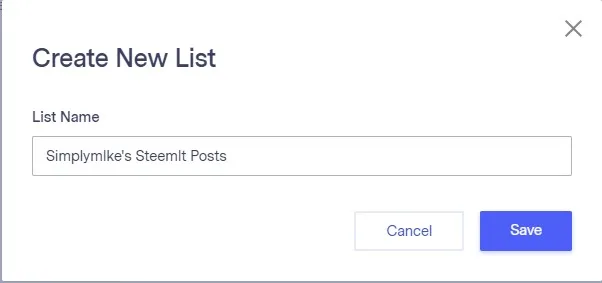
g. Enter a name for you list in the field and click 'Save'..
Source
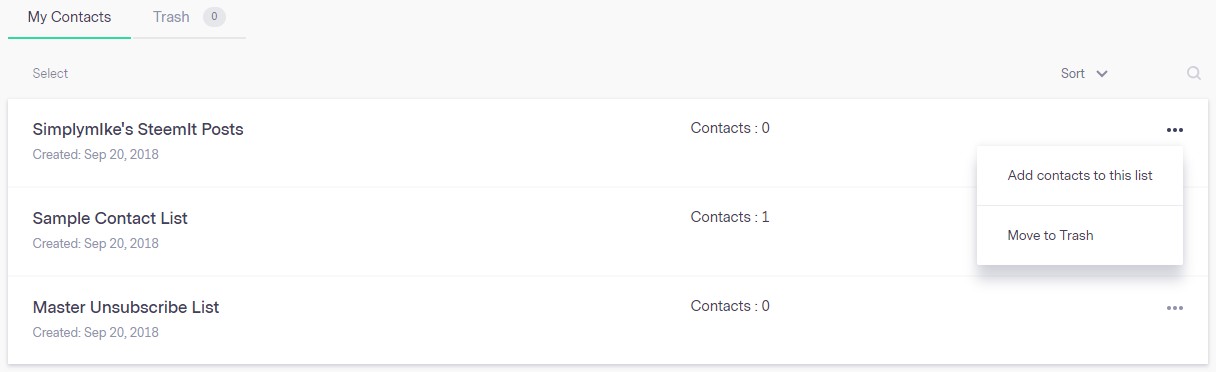
h. Click the three dots next to the list you've just created. Select 'Add contacts to this list'.
Source
Click image to enlarge
i. A popup window will open. Add your email address into the field. If you don't have a second email address, you can quickly create a Gmail address for free. Click the 'Add Contacts' button to save.
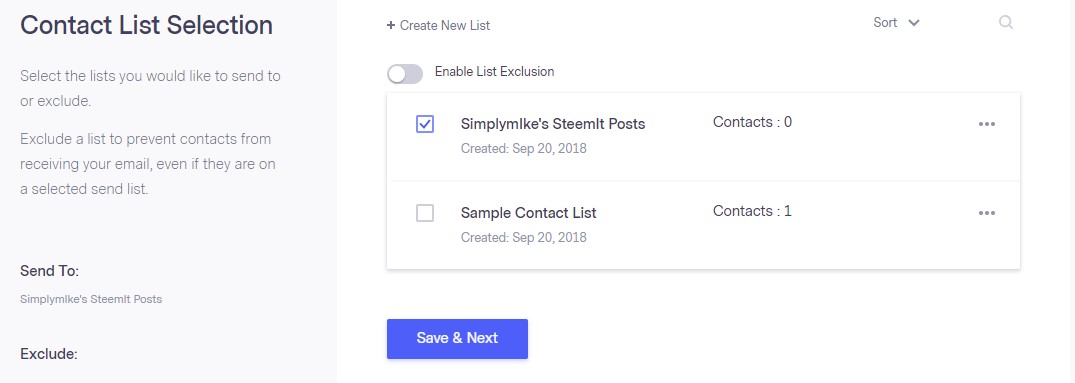
j. Back on the 'Contact List Selection' page, check the box next to the list you've just created. Click te 'Save and Next' button.
Source
Click image to enlarge
Step 4: Configuring The Email
You'll now be sent to the email editor.
a. Since you're going to send automated emails using RSS, select RSS under 'Blank Templates'.
Source
Click image to enlarge
b. Once you click the RSS layout, you'll be presented with the content of your post.
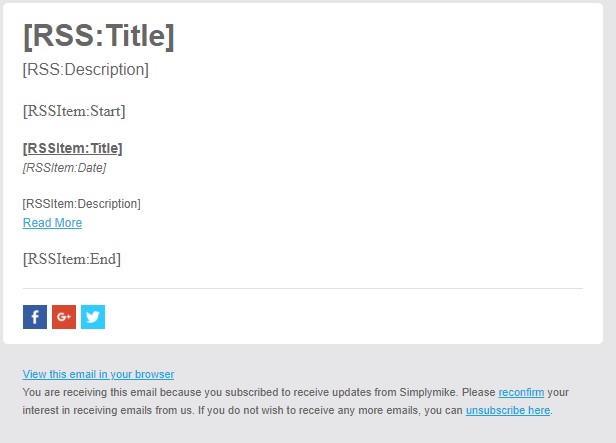
Source
Click image to enlarge
All of these fields will be filled in automatically once your RSS feed is updated and a new email is sent out.
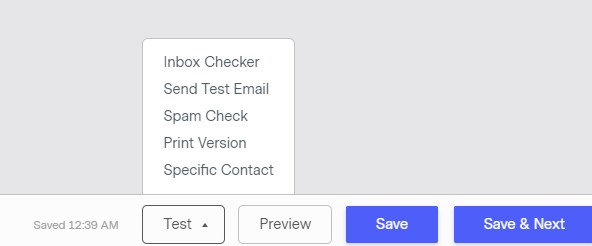
c. In the bottom right corner, you'll see a 'Test'-button. Hover over te button to see a dropdown menu appear.
Select 'Send Test Email'.
Source
Click image to enlarge
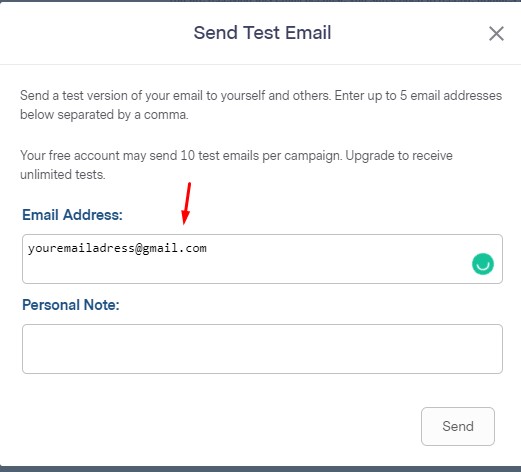
d. A popup window will open. Enter your email address in the top field and click 'Send'.
Source
Click image to enlarge
e. Now go to your mailbox to see if the email was sent, and the layout looks good. If you are satisfied, click 'Save and Next'.
Step 5: Review And Scheduling
On the next screen, you'll be able to review your settings and choose your delivery options.

Source
Click image to enlarge
Whether you want an email to be sent out every day or every week, is totally up to you. I guess that depends a little on how often you post.
Once you've selected your preferred options, click te 'Activate'-button.
If you did everything right, you'll land on a confirmation page.
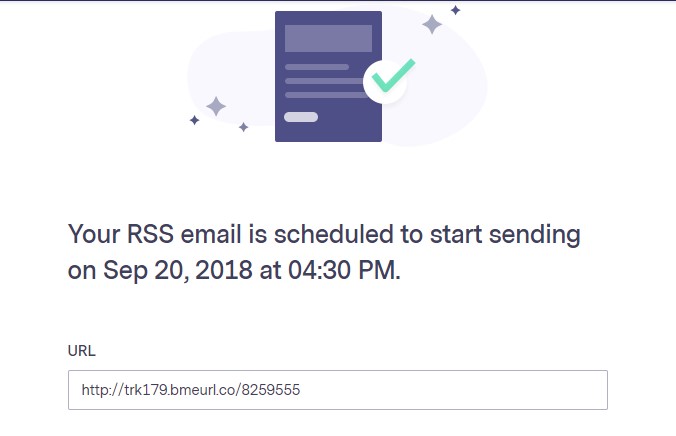
Source
Click image to enlarge
This means you've got your list all set up.
When you click 'Back To Emails' you'll be sent to a page that lists all available mailing lists. You'll see a notification that the list you've created is active.

Source
Click image to enlarge
If you want to make any changes, simply click the name of your mailing list. You'll then be presented a page that gives you the opportunity to choose to which part you want to make changes.
Next Steps
So, the hardest part is done: you've set up your mailing list.
Next, you'll need to create a subscription form, and make sure you welcome your subscribers to your list.
But before you do this, do a test run to see if everything is set up right.
For this test run, make sure you have set your scheduling option to daily, at a time in the near future.
Publish a post on SteemIt (this can also be a resteem) before the time your scheduled your newsletter to be sent out.
Important: if you've created your RSS feed URL using FetchRSS, your feed will only be updated once every 24 hours. This means you will have to wait a day for your feed to be updated and your email to be sent out.
Then just wait and check your mailbox to see whether the message was sent ot not.
If you've received the message, you can continue with the next steps.
But don't worry, you've done enough for today. I'll guide you through these next steps tomorrow. Make sure you keep an eye out for my post!
More Posts You Might Like
🏆 [Contest] Win A Free SteemMonsters Starter Pack Or A Booster Pack
Steem Monster Card Giveway (1UP Fundraiser): Undeath Priest (Rare) (+SBI Shares To Win)

Divider created with The Logo Creator