Continuing from my last post, I've shared the subject on cinematic compositions. For this post, I will touch upon my lighting setup and Lightroom settings I've used to achieve a stylized look for my client's proofs. Personally I like to give all of my proofs a little 'treatment' to simulate what a final image would look like.
That said: What I will share are my own personal opinions, experiences and tips on one example on how I photograph and process a cinematic headshot. I will also assume that the reader is familiar with basic photography and familiar withAdobe Lightroom.
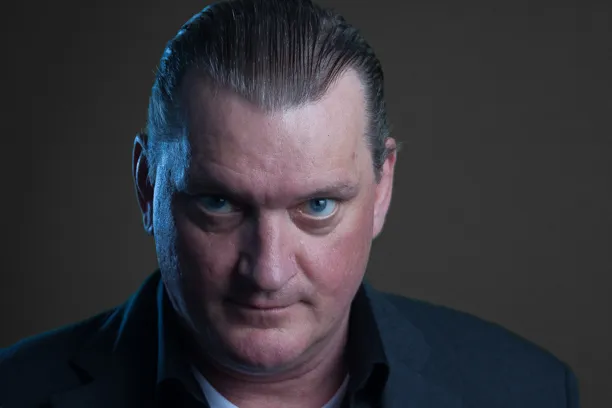
I wanted to convey 'Suspence / Thriller' in a short series of shots to add a little variety to my client's portfolio. I also wanted the backdrop to be simple and showcasing the Actor in their 'moment'.
When it comes to gear, it's all about efficiency and speed for me. The lighting set-up for this session took a total of 10 minutes to complete and I could shoot just about anywhere. This allows me to have minimal waste in set-up time, more freedom to move lights around quickly and connect with my subject without losing momentum of the shoot.
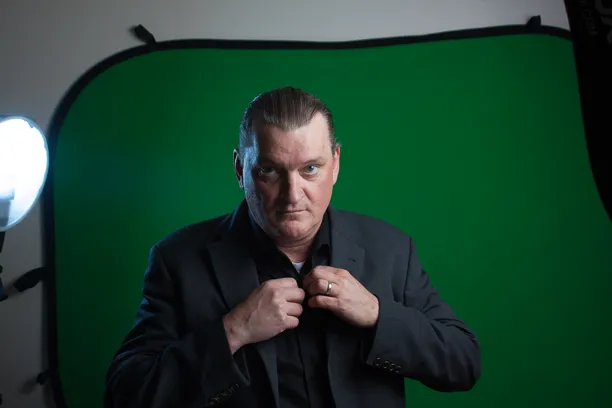
Actor Casey Hogrefe straightening up his tie and getting into the 'zone' while I did this test-shot for lighting.

Lighting diagram via http://www.lightingdiagram.com/
I'm not gonna go into detail on why lighting is so important, perhaps on another post. I started with a 3 foot square softbox, positioned at a 45 degree angle to the right of the camera as the key light and one of those Flash Disc Portable Light Modifiers from FStoppers, with a cool 1/2 CTB (3200K to 4300K) gel filter for the side rim light. Both modifiers had a Canon 600EX-RT Speedlights attached and fired with radio transmitters.
The backdrop is a 6x4 foot collapsible green screen. The general rule-of-thumb is to make sure there is no green spill on the subject and/or light spill of a different color and/or temperature that on the green screen fill lights. You must also factor in the distance from green screen and subject. Using a nice rim light behind the subject will help separate the colors with ease. My subject Casey was only standing 6 feet away from the green screen. Since I'm only capturing a headshot, I only need a little space to get what I want.
The rim light adds environment and depth and help separate the subject from the green screen. There is debate as to how to light a green screen. For motion pictures and video, a green screen should be completely covered with an even spread of light. However, it is much more forgiving with photography, because all you need to worry about is keying out the green with one still instead of hundreds or thousands frames. The flash disc provided both backdrop coverage with a nice vignetting and a nice side lighting for Casey.
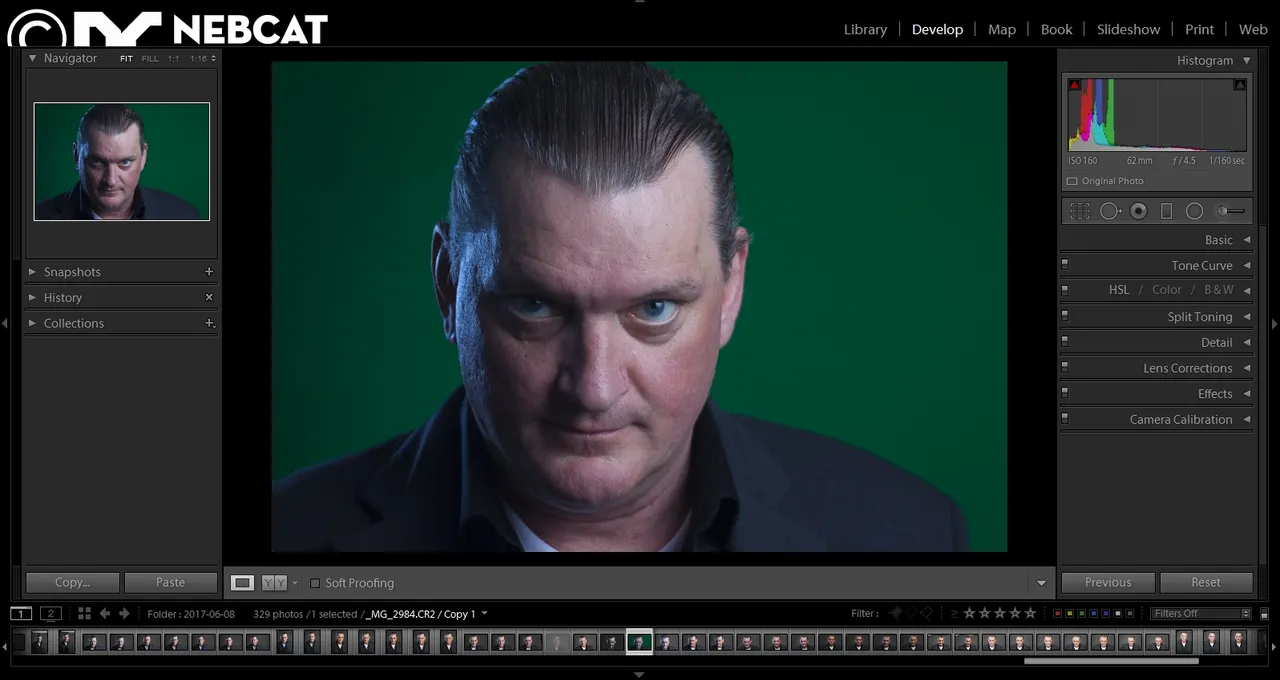
Adobe Lightroom CC 2017 - Developer Module
One thing about Lightroom CC is the ease of use, organization and non-destructive processing to the RAW images. After importing my images into Lightroom, in the Library module I chose an image I liked and went to the Develop module and took out the green straight away by going down the adjustment panel and clicked on the HSL (Hue Saturation Luminescence) tab > Saturation and took the Green and Aqua values down to -100 (pictured below).
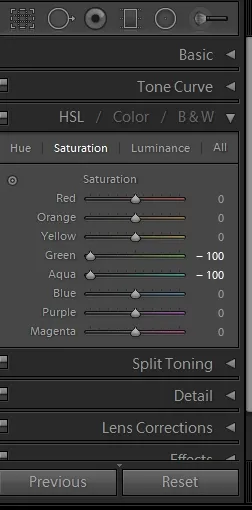
Additionally you could also adjust the Hue and Luminance values for different effects.
Green screen keyed out
Now that all the green is gone, I can focus on the style I would like to replicate for the final edit. I used the following settings.
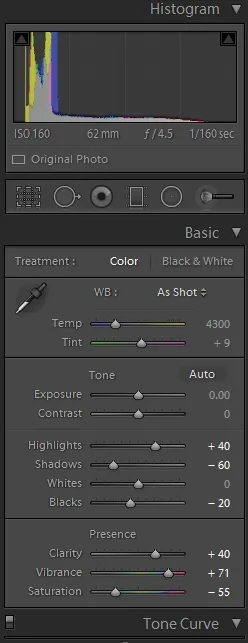

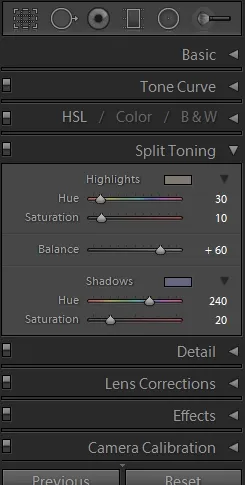
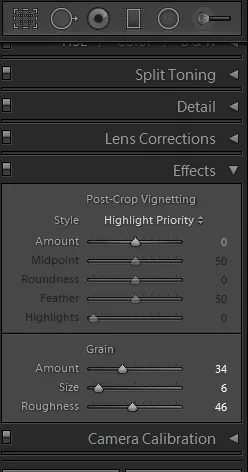

I got the look I wanted! I gave it a dramatic color grade with milky (matte) blacks that adds some depth, I added a nice split tone using cool shadows and warm highlights that evens things out and added some grain to give the image some texture. I can't really explain why, but I like it! Now it's time to adjust a few more candidates and get it ready for export for the proofing gallery.
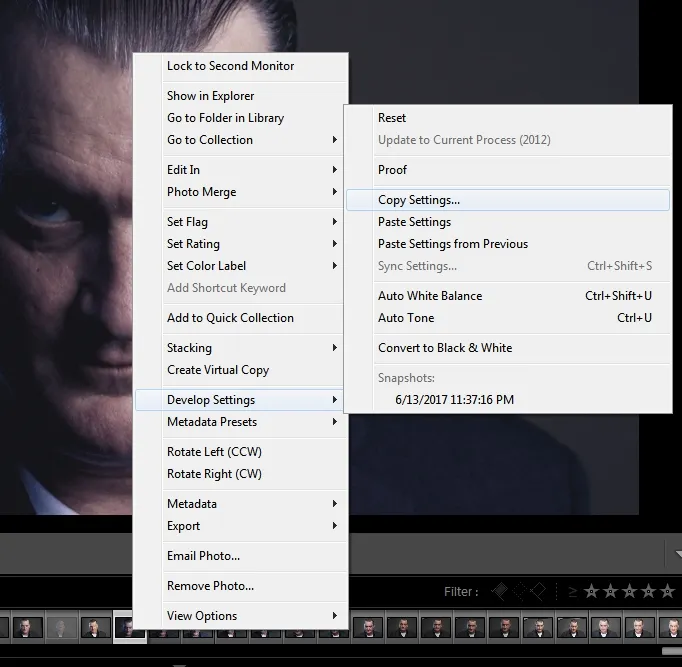
Finally, I would save these changes by copying and pasting the develop settings to your final selections by right clicking on the image and a few clicks.
I omitted anything that would physically alter the pixels of the image.

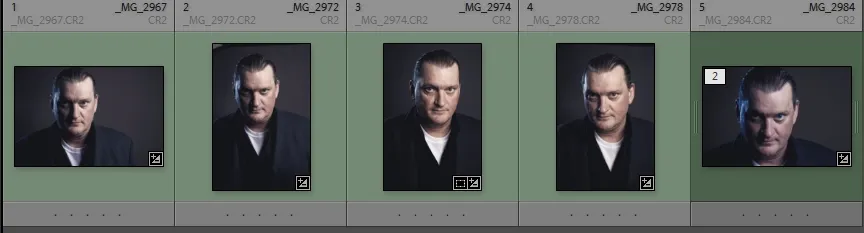
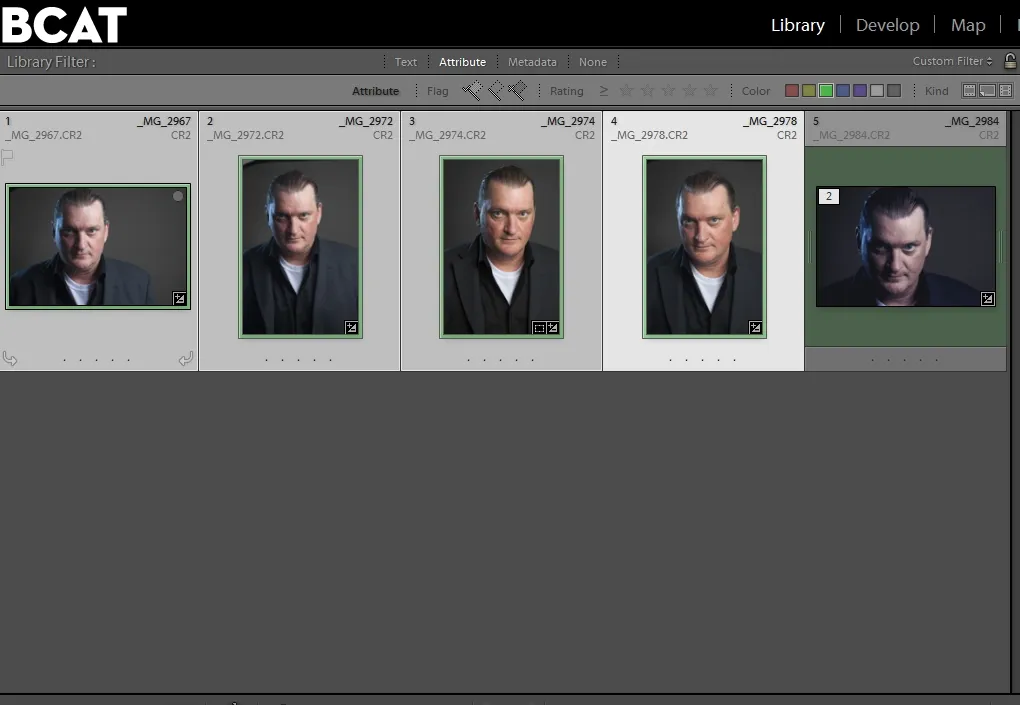
I selected all images that I wanted to paste my settings to.
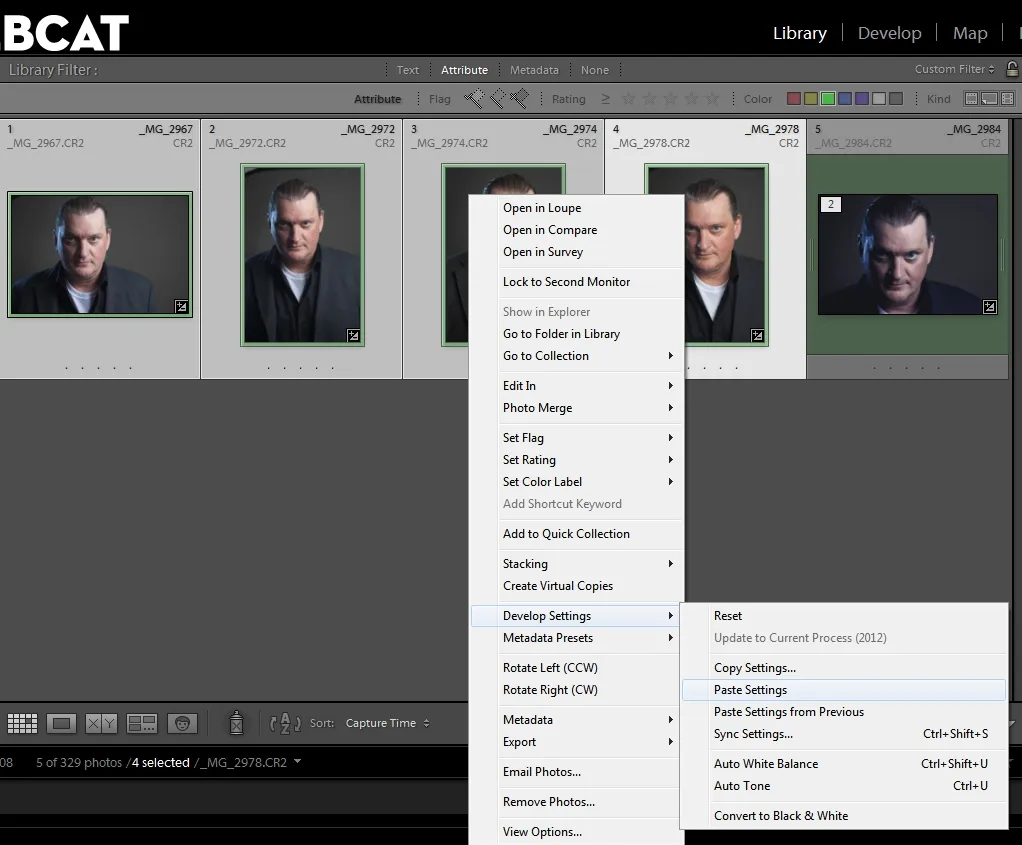
And my selected images have the exact settings.