Hello and welcome to another subpar art tutorial. Today I probably won't actually teach you anything again. I'll simply be placing some images inside this post and writing a few words that would appear to be professional until you read them.
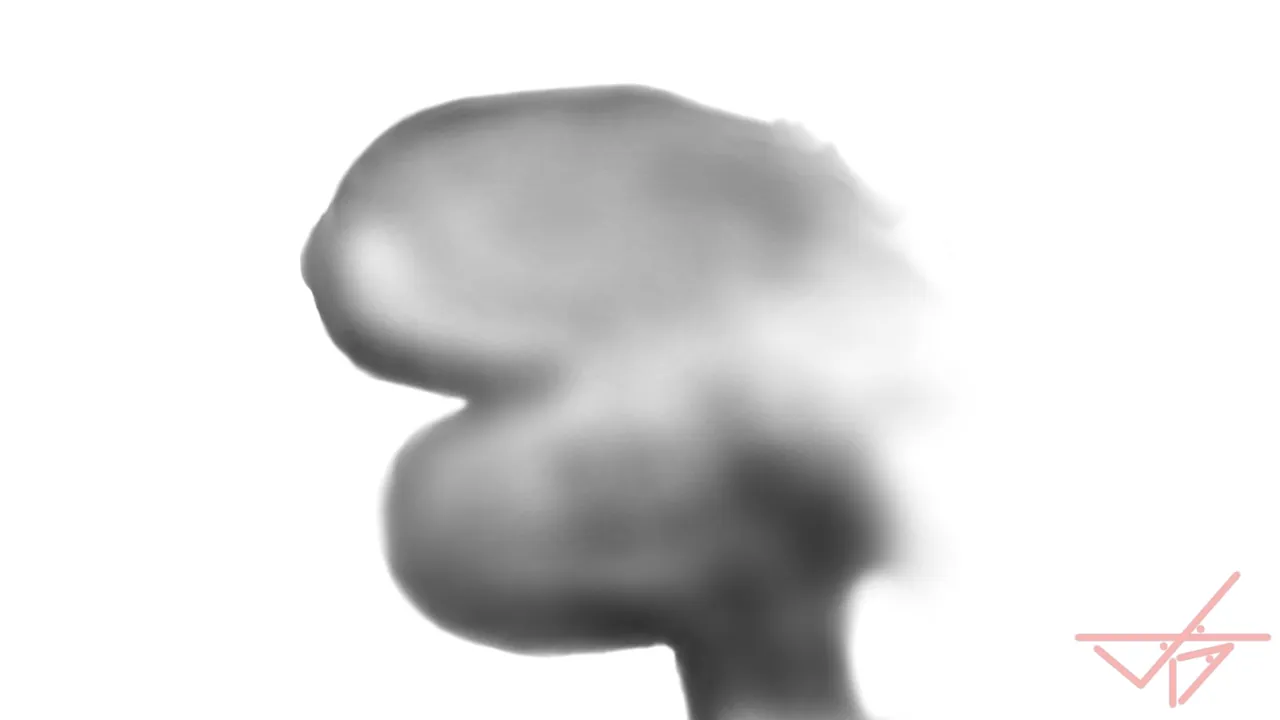
Does your Ass Face look like this?
Mine did.
Until today when I realized that looks like shit and I could probably do a better job.
Ass Face is a character I made many years ago. It's just an ass, a neck, a poorly drawn eye, a poorly drawn ear, and something that is supposed to be hair.
In the world of comics and cartoons, one is not required to make characters appear realistic. Sometimes the worse you do, the better it is, and the more money you'll make. Watch an episode of The Simpsons or South Park and account for their success if you don't believe me.
In the world of art, sometimes an artist doesn't feel like making something new, but still needs to do something, so they'll take some old work, then pretend to act like they know what they're talking about, while presenting the same old shit a different way.
If you've watched The Simpsons over the years, you'll notice how they work old clips into new shows. You'll also notice how, over the years, the characters stayed the same but showed signs of gradual improvement over time. So I shouldn't have to write anything more about this since there's no need to defend myself, plus by now I should have you convinced what I'm doing is totally normal.
Nobody likes a flat Ass Face.
If you look closely at Ass Face, you'll notice he appears flat.
That's because when I first made him, I was in a rush to get shit done. Spending another hour or more making something look better when it's supposed to be a simple joke seems kind of pointless as well.
Yet, here we are.
Lately I've noticed a few people take a shining to the free art production software suite known as Krita.
I've been using Krita for years. It has replaced every program I've tried, including the ones I foolishly spent money on, then was forced to upgrade hardware just to get something I'd never use to actually work properly; but that's a story for another day.
Upon launching Krita, you'll be instantly overwhelmed because it looks like something you'd use to control an alien starship through the cosmos.
After a few years though, you'll eventually learn what some of these buttons actually do. Trial and error is your friend especially once you realize not one of those buttons can obliterate the entire human race.
There are also plenty of tutorials far better than this, online, somewhere, I assume.
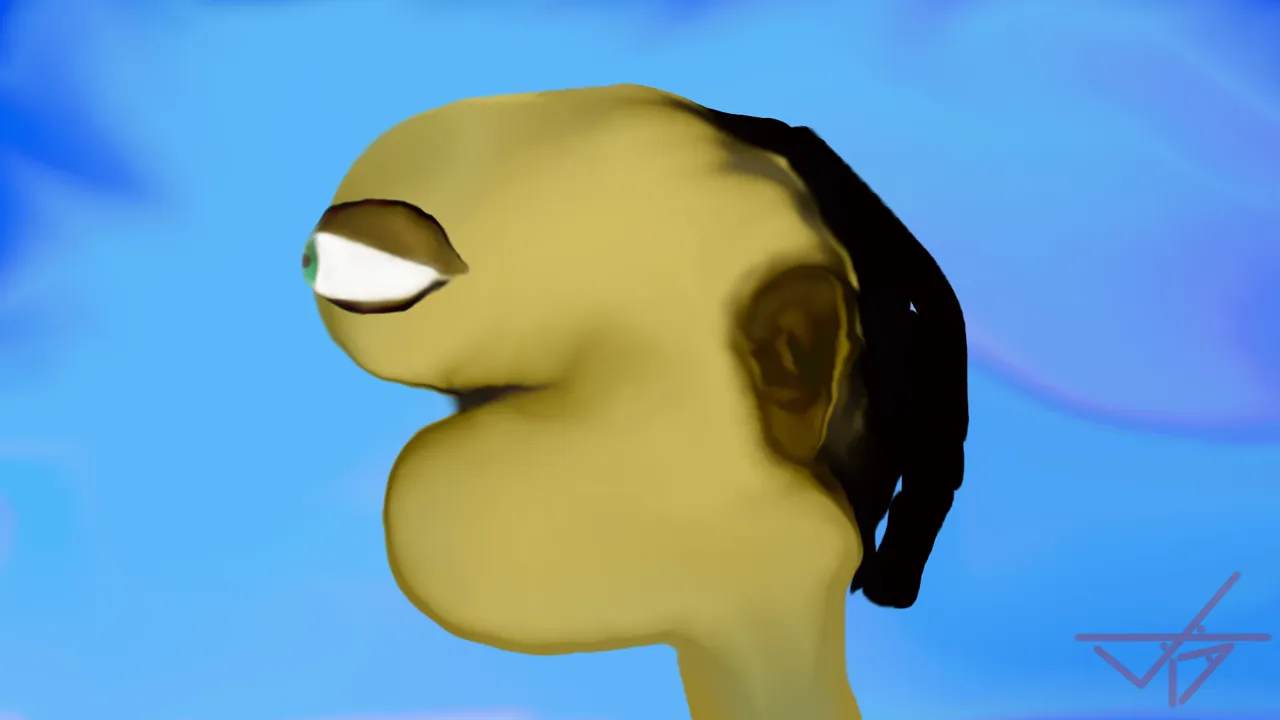
Look at my Ass Face now:
Yes, I realize many people might assume all I did was push a magic button that somehow gives Ass Face a tan.
That is not the case.
How I put?
That is a good question and I thank you for asking.
I sprayed Ass Face with a virtual airbrush. The airbrush is one of my favorite weapons I have in the arsenal and works much like the physical airbrush you'd see people painting cars with.
One can set it to spray paint on thick, or thin. It can be set to spray on large areas or small areas. Truly quite versatile, especially when combined with layers.
In digital art, one must learn many things. Using layers effectively is one of them.
Rather than treating your digital canvas like a sheet of paper, the digital artist will use many transparent layers that can then be altered individually. Quite similar to how Disney placed Donald Duck on a transparent piece of plastic, then placed that sheet of plastic on top of a painted backdrop to create the illusion of Donald standing in a field. You can then make his arm move or add in another character without having to redraw the entire backdrop.
You'll see here how I currently have six layers:
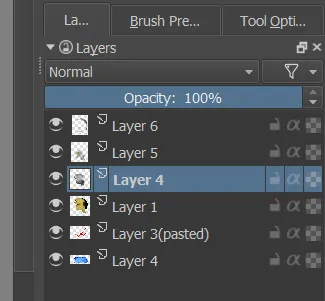
From bottom to top:
- Bottom layer 4 is the cheesy looking sky.
- Layer 3(pasted) is the signature I have saved and import into every image so I don't have to draw it each time.
- Layer 1 is flat Ass Face you saw at the start.
- Layer 4,5,6 is what gives Ass Face a nice tan.
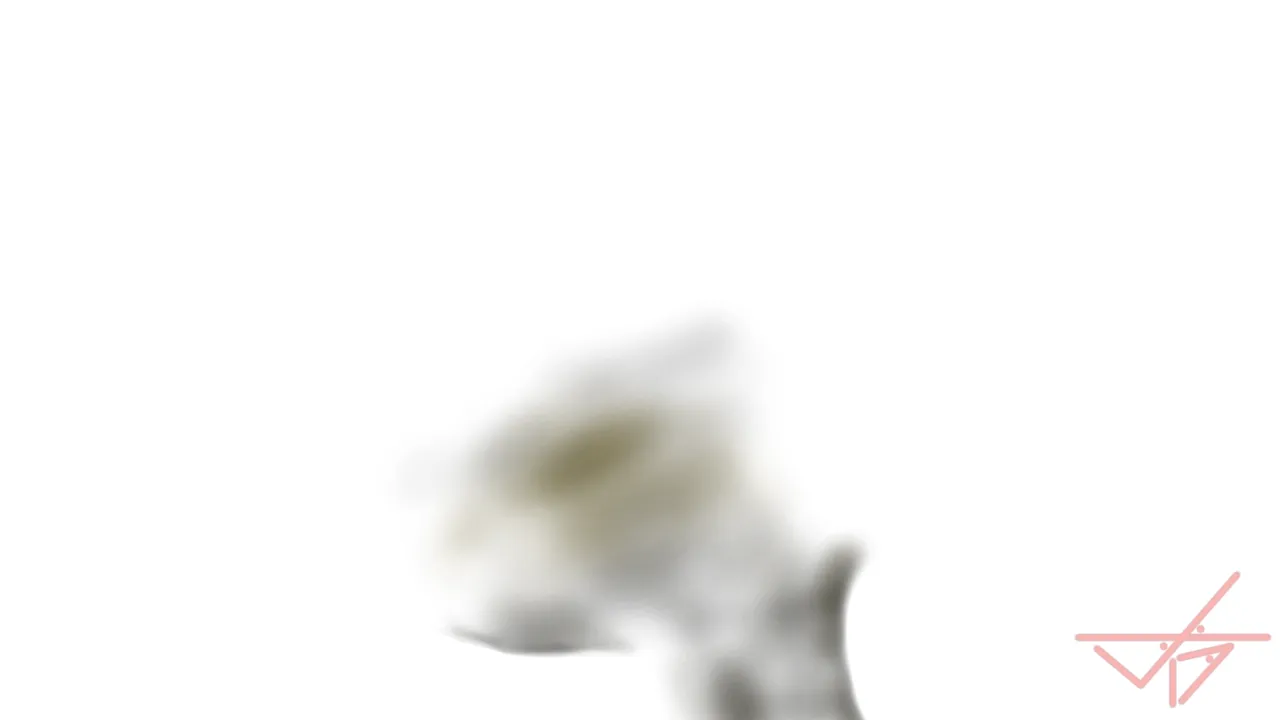
Layer 4:
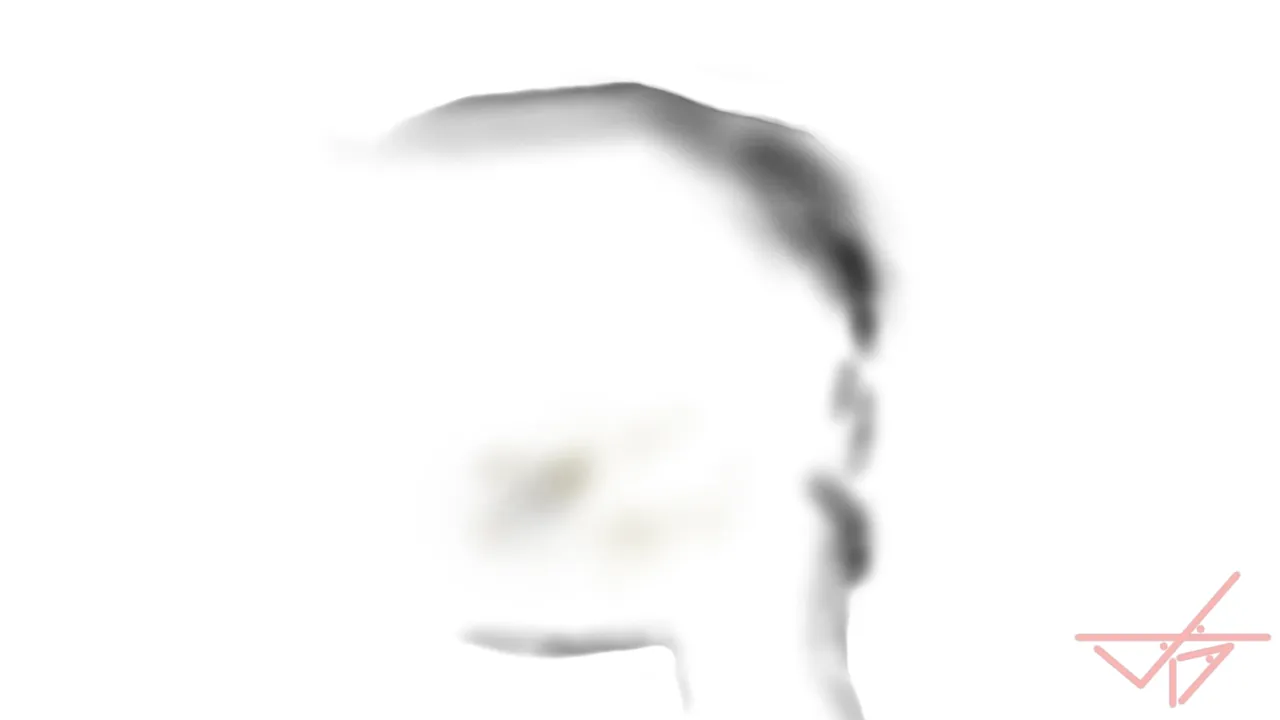
Layer 5:
Layer 6:
Rather than applying the color directly onto Ass Face, it goes on top. Then I added two more layers for fine tuning so I didn't have to piss around getting it perfect the first time. If I screw up or I'm not satisfied, I can simply delete the layer and try again; all my other work remains.
Please note I've added a solid white background layer to each of those layers above for presentation purposes only. The white does not exist in the image of Ass Face, only the paint.
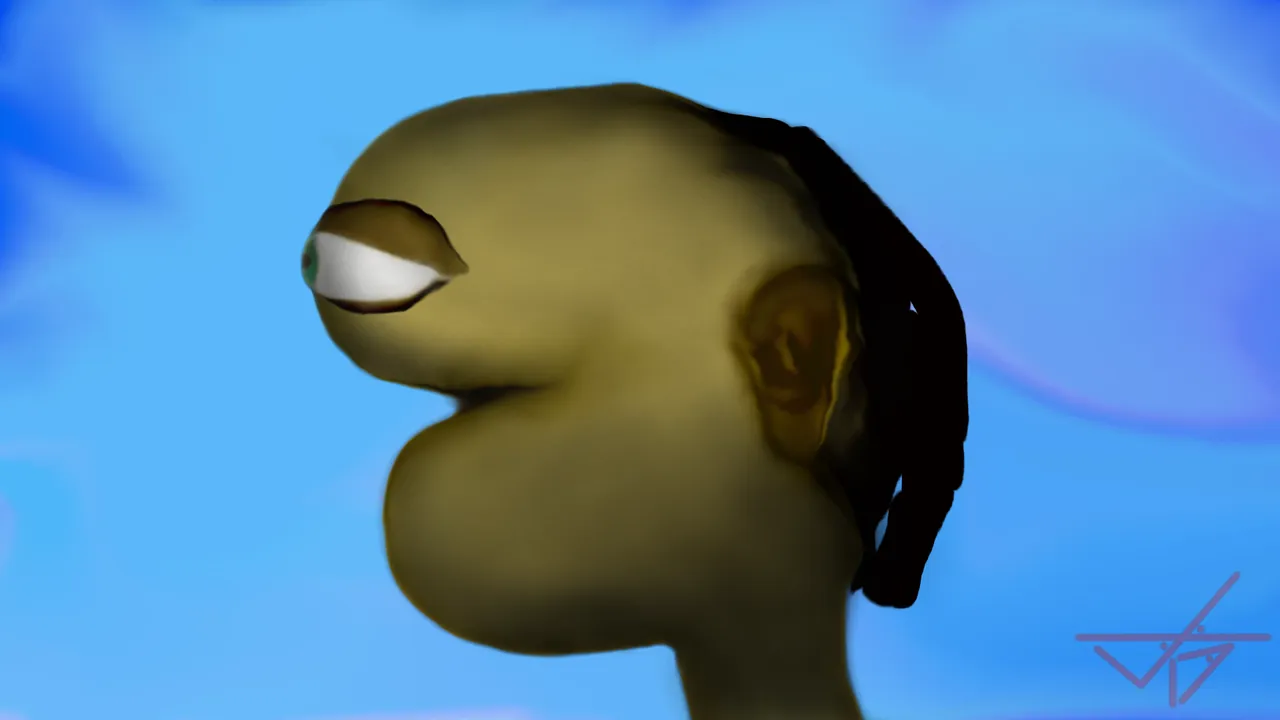
Here's an image of all three shading layers combined, along with the cheesy looking sky:
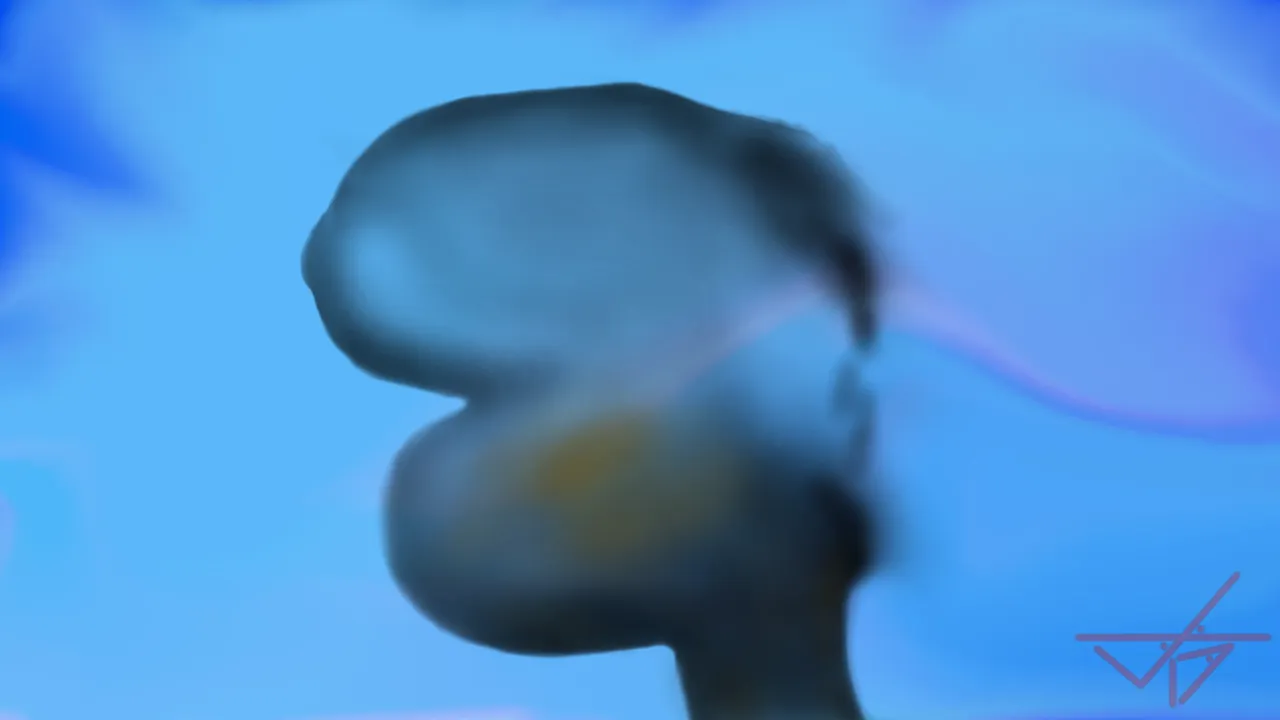
The Grand Finale
Now is the part where I make Ass Face disappear and then reappear again!
What kind of sorcery is this?
Another good question! Thank you for asking.
Once I was finished shading Ass Face, I became bored. Things only got worse while I sat here proofreading this post.
So I decided to merge all three shading layers and Ass Face into one layer. I saved the image. Then I lowered the opacity for Ass Face's layer by 5%, saved that image. I carried on lowering the opacity in 5% increments and saving the images as I went all the way down to zero, making Ass Face invisible.
I then went over to giphy.com, uploaded all the images in order, made a gif...
And called it a day.