Hiya!
Things are really hotting up in my garage. And I'm not just talking about the weather! No. I also mean emotionally.
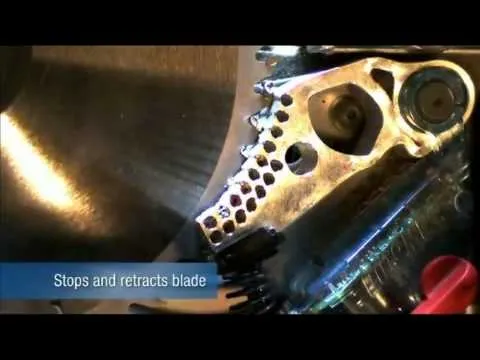
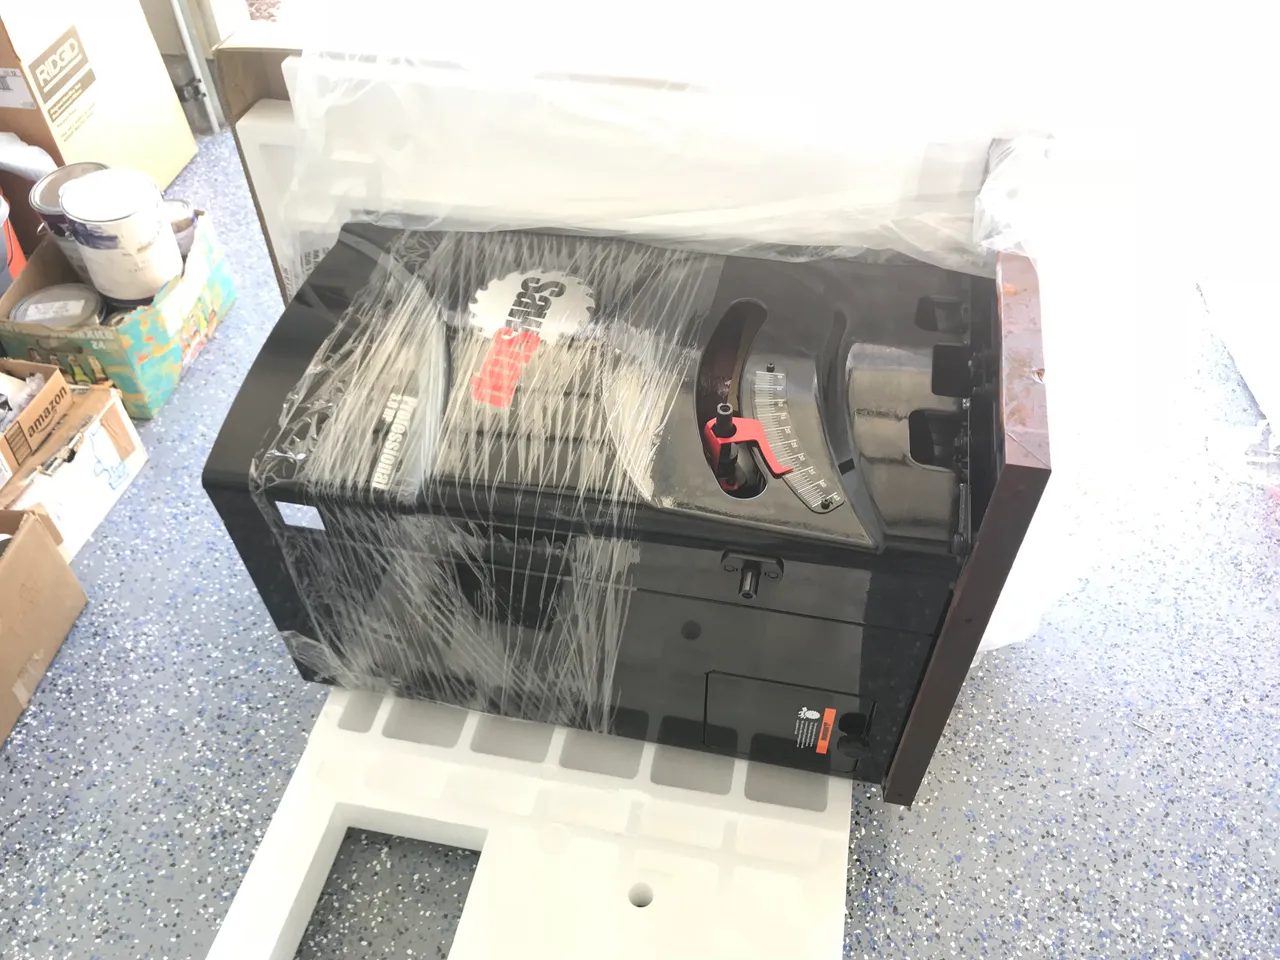
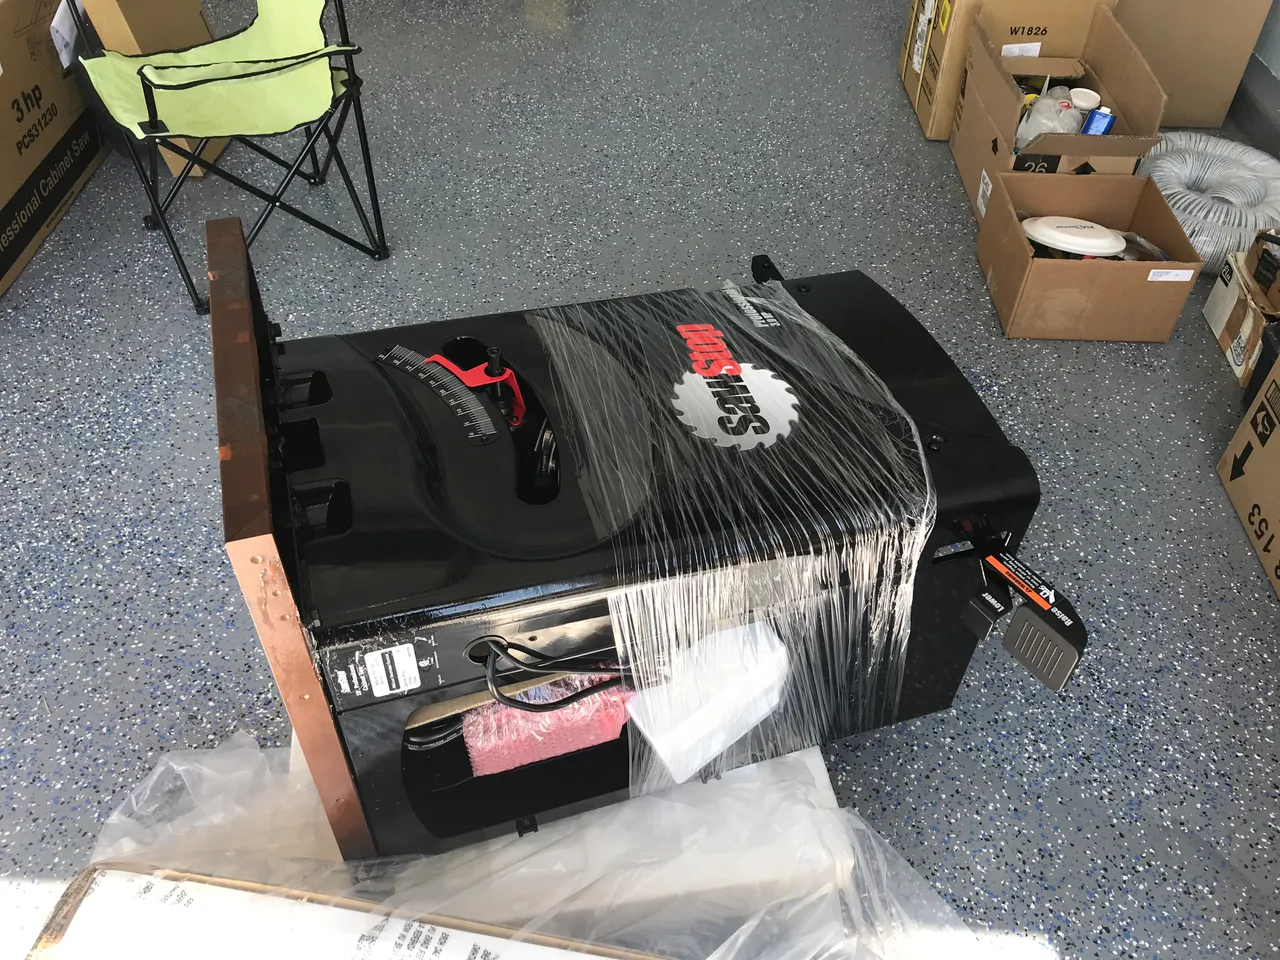
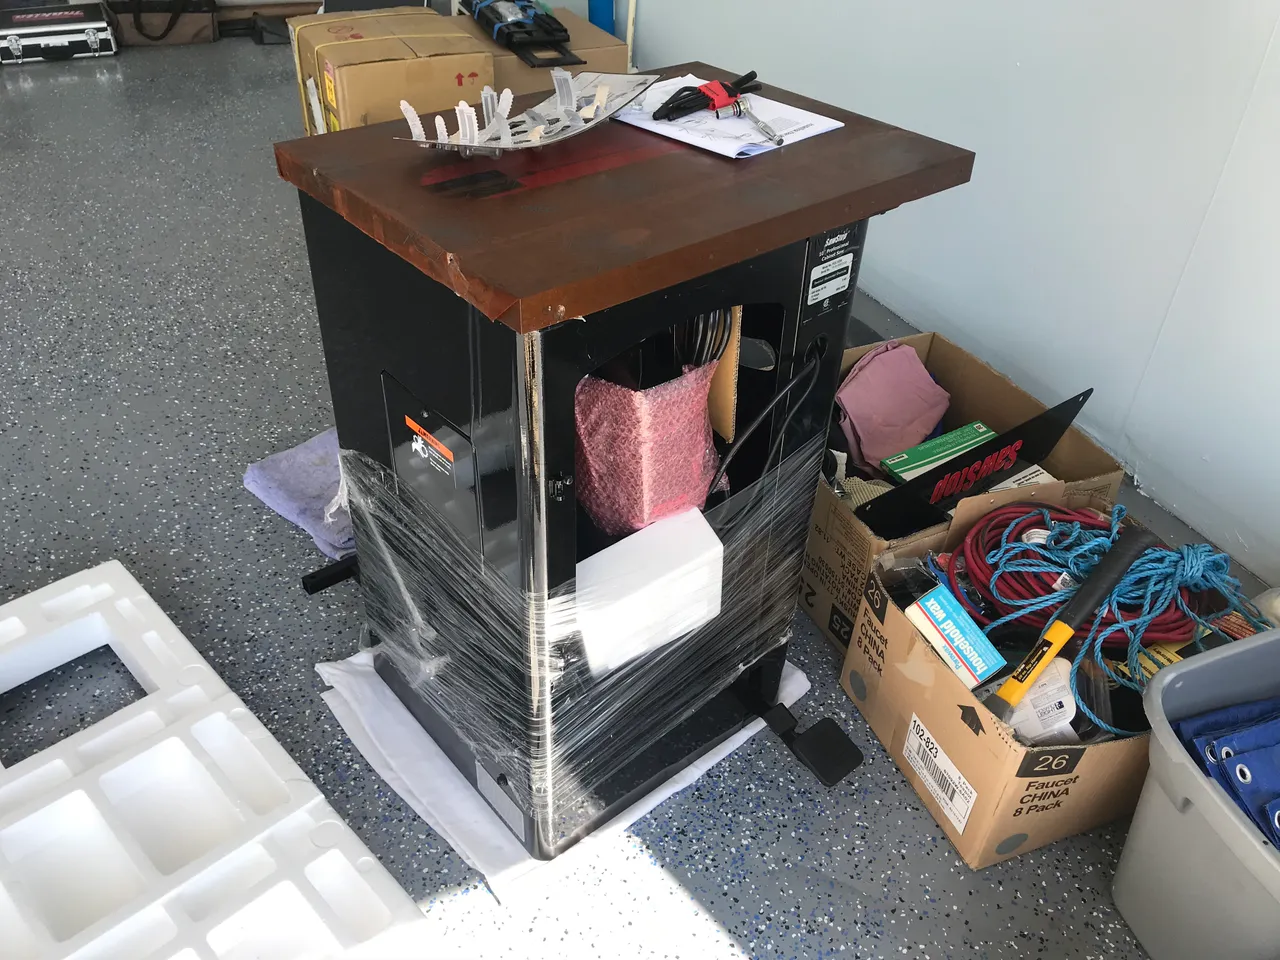
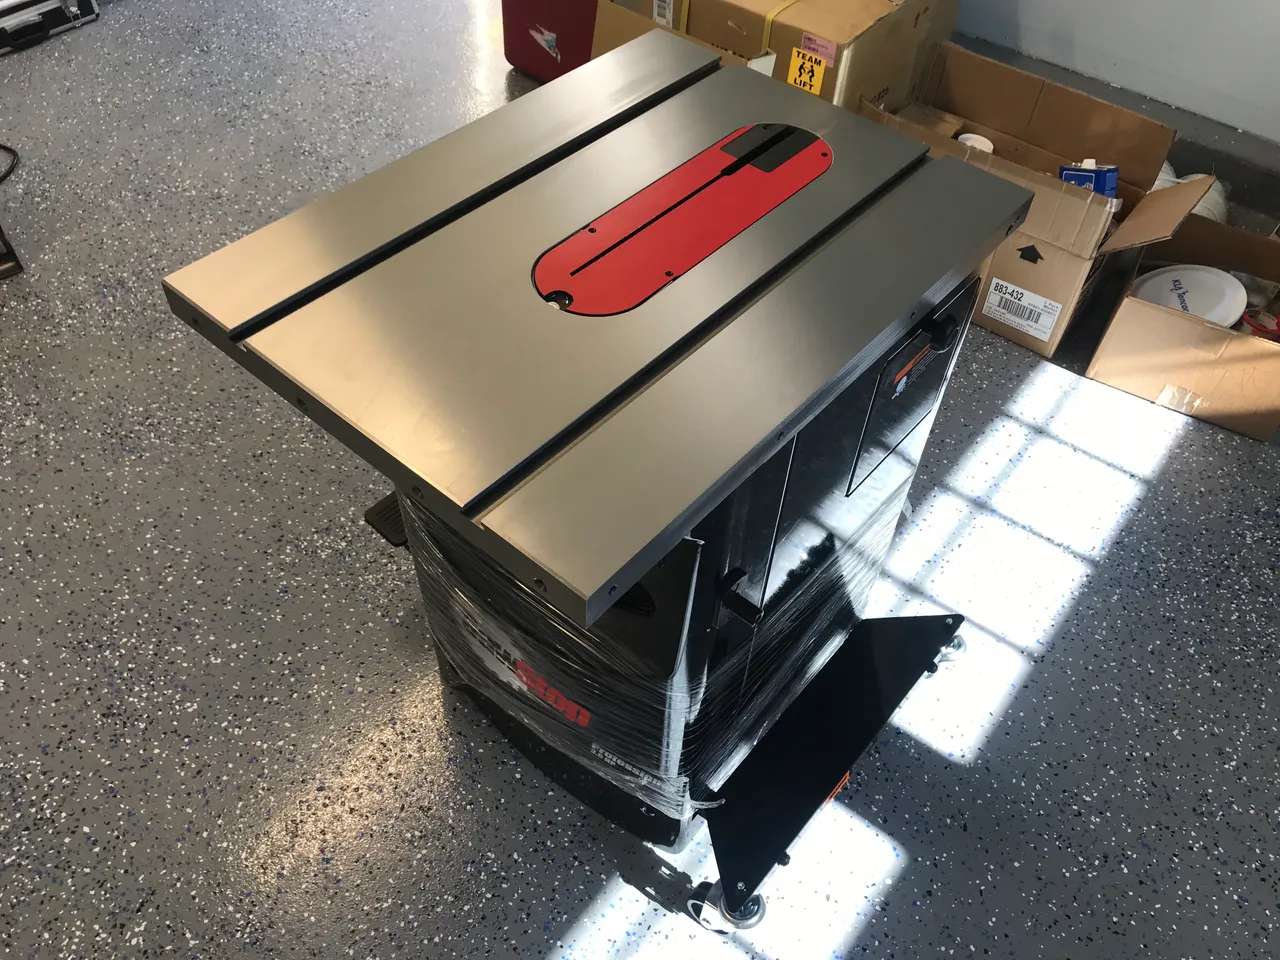
I ordered my table saw. It's a SawStop® Professional Cabinet Saw (PCS). For those unfamiliar with SawStop® let me tell you that they are the last word in saw safety and accuracy. Before we go any further, I urge you to check out this video of its revolutionary safety feature. Please.
Yes wow.
This will be the chief tool in my workshop. Much can be accomplished with it, from making shelves, to creating parts for complex objects like jewellery boxes.
Putting it together was largely a joy, and here is what happened.
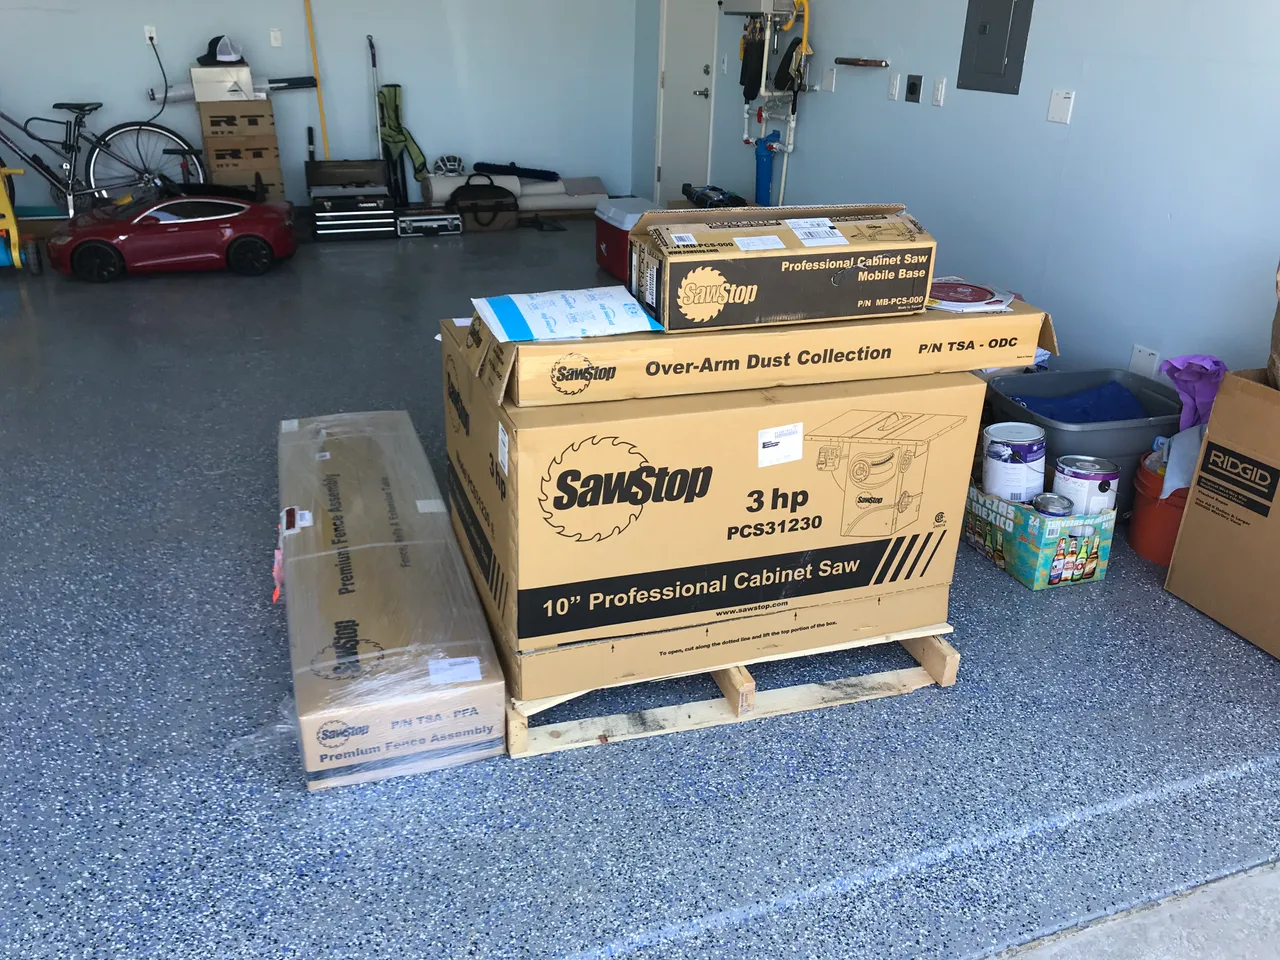
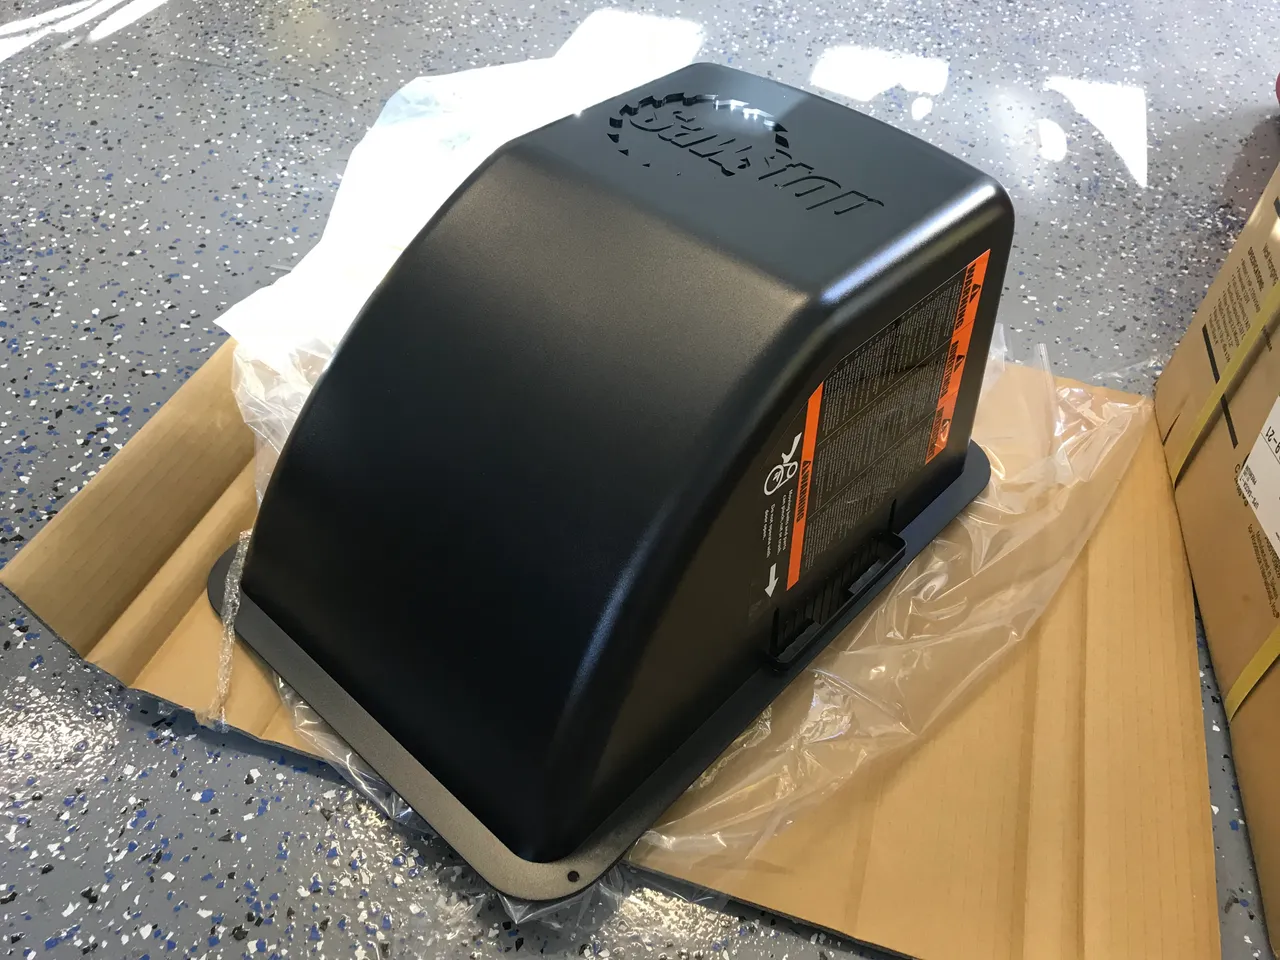
The postal man just brought this. I'll put it to one side for now.
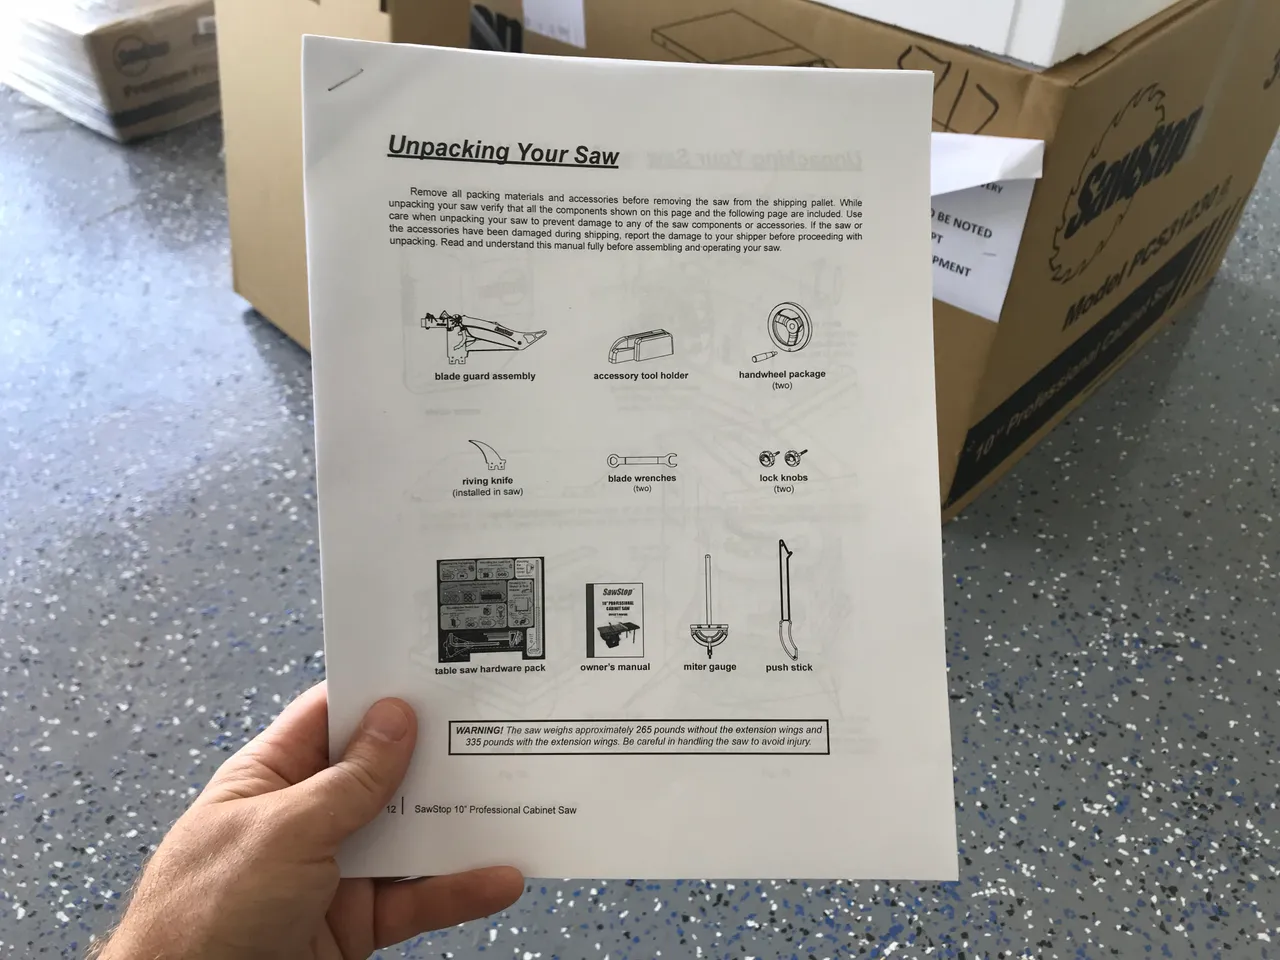
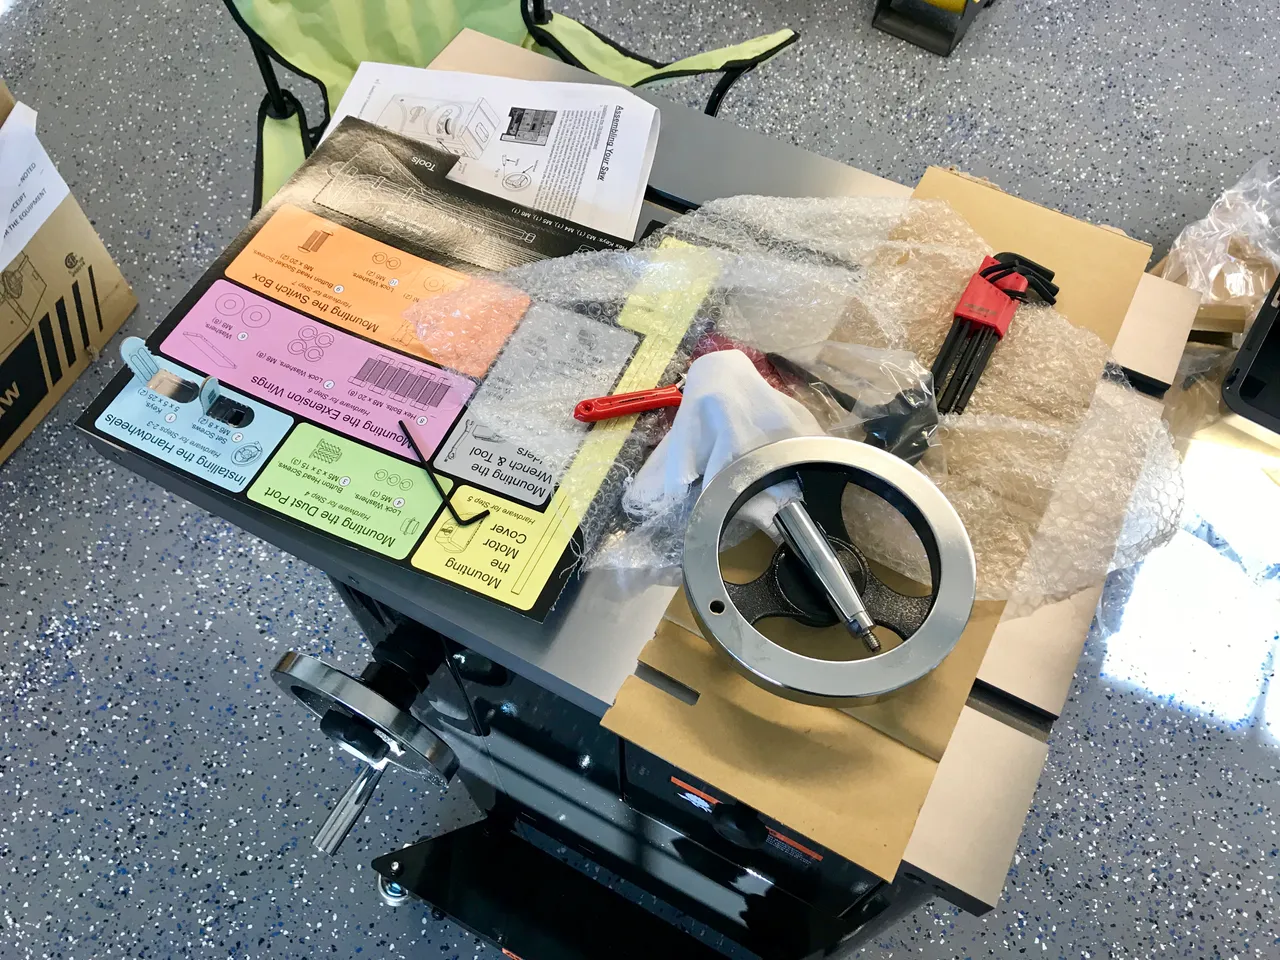
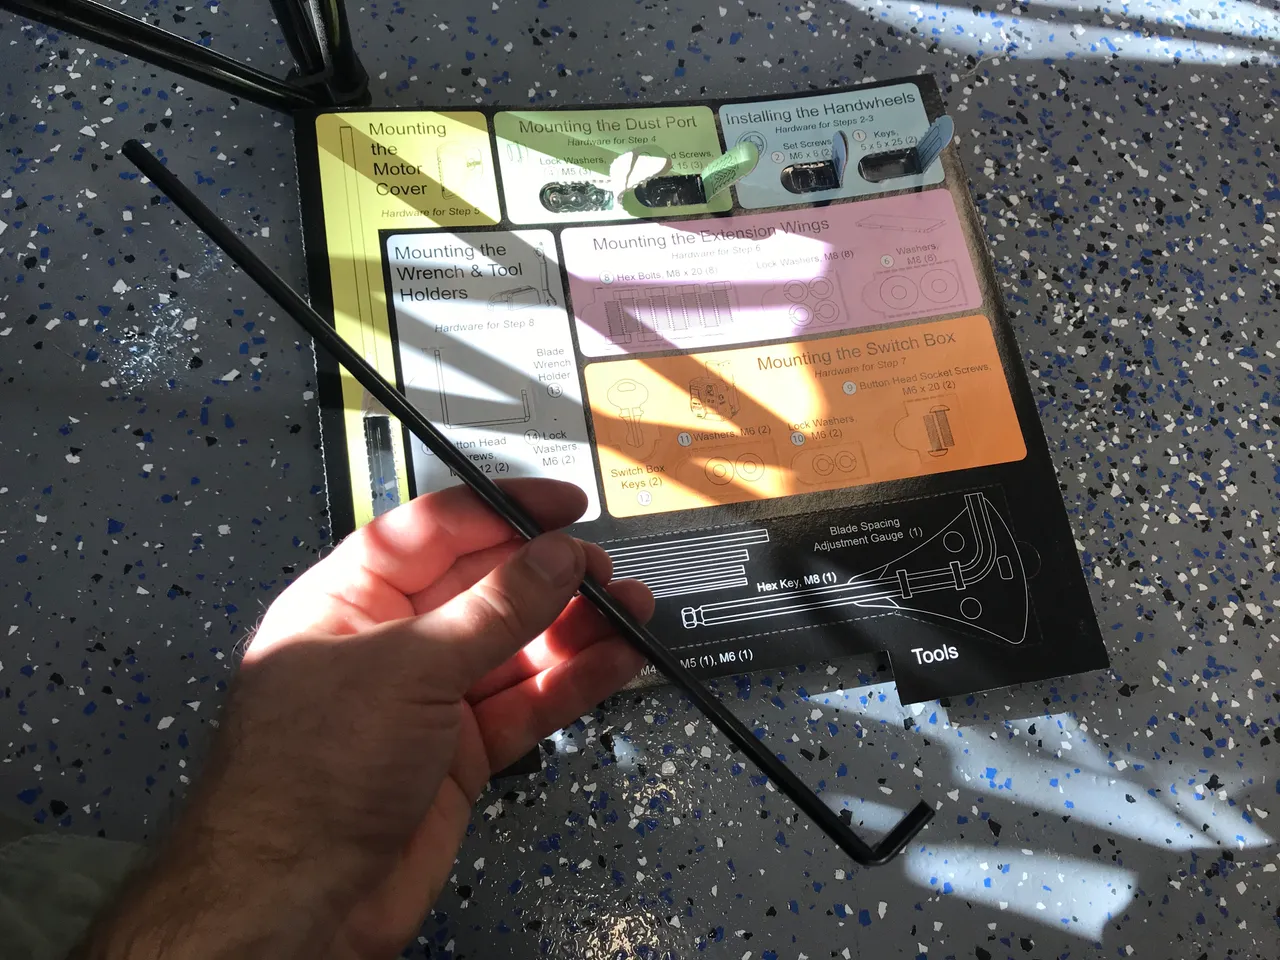
Checklist
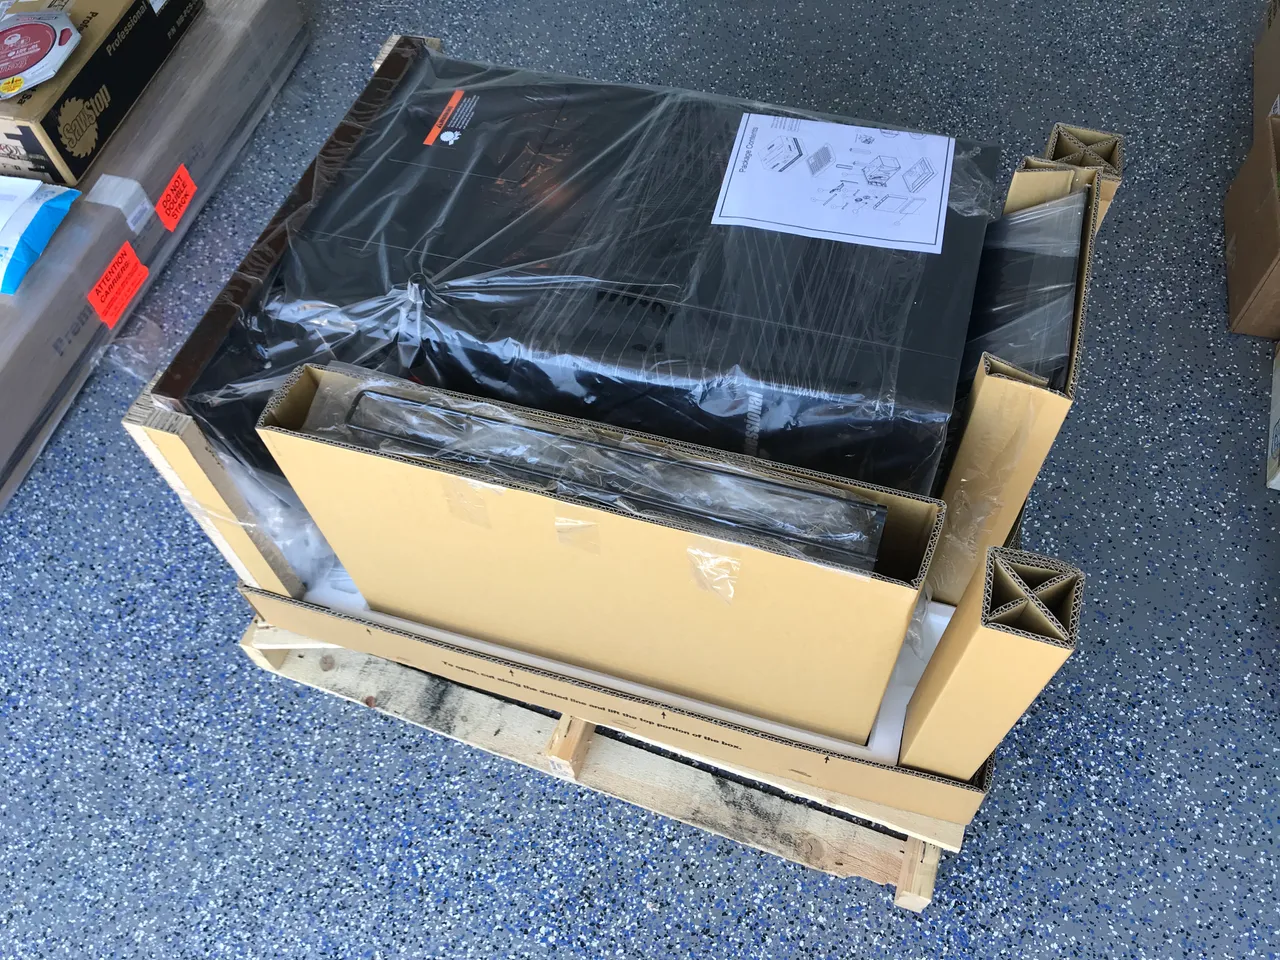
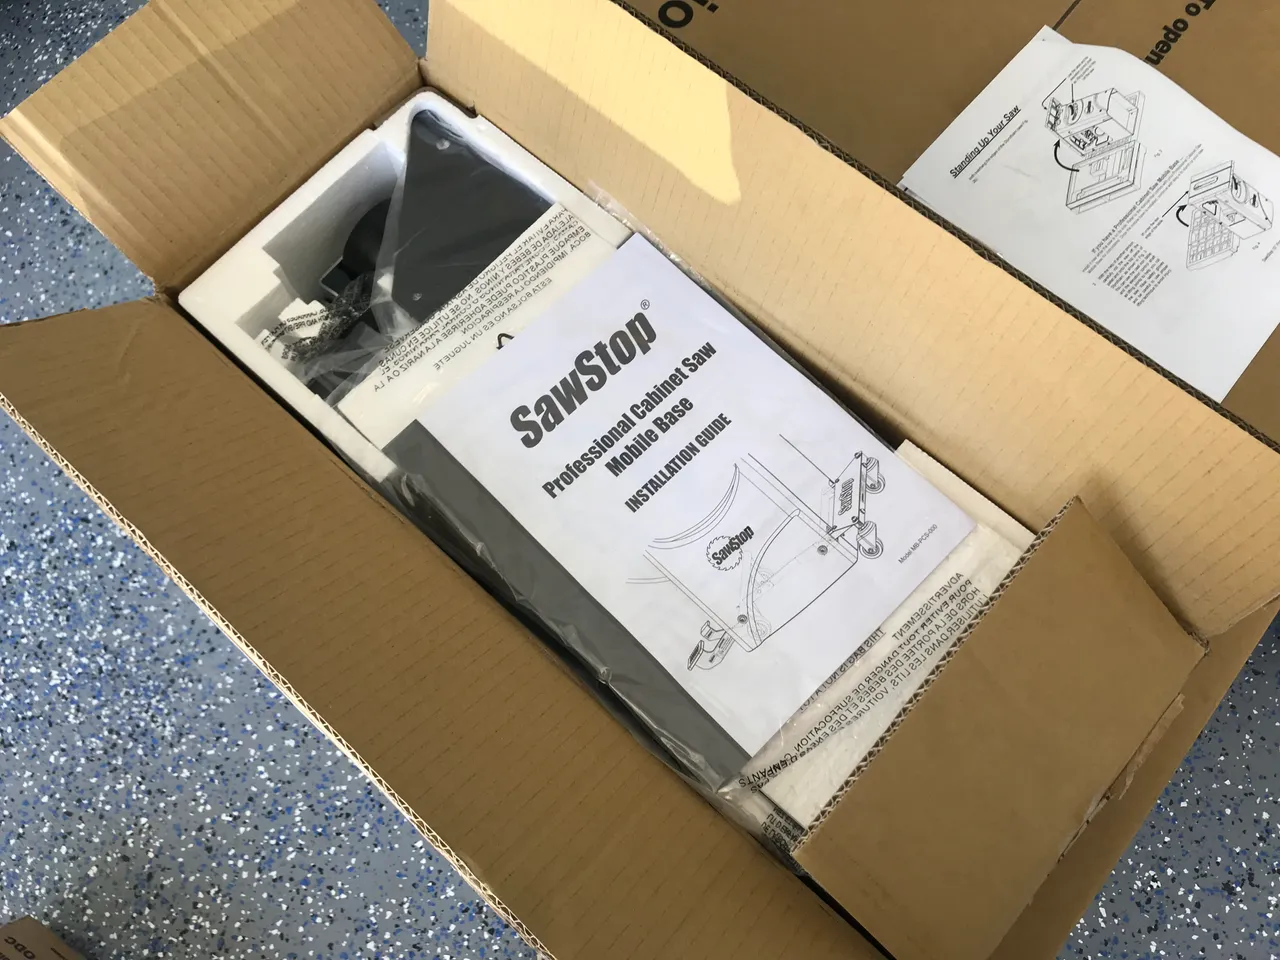
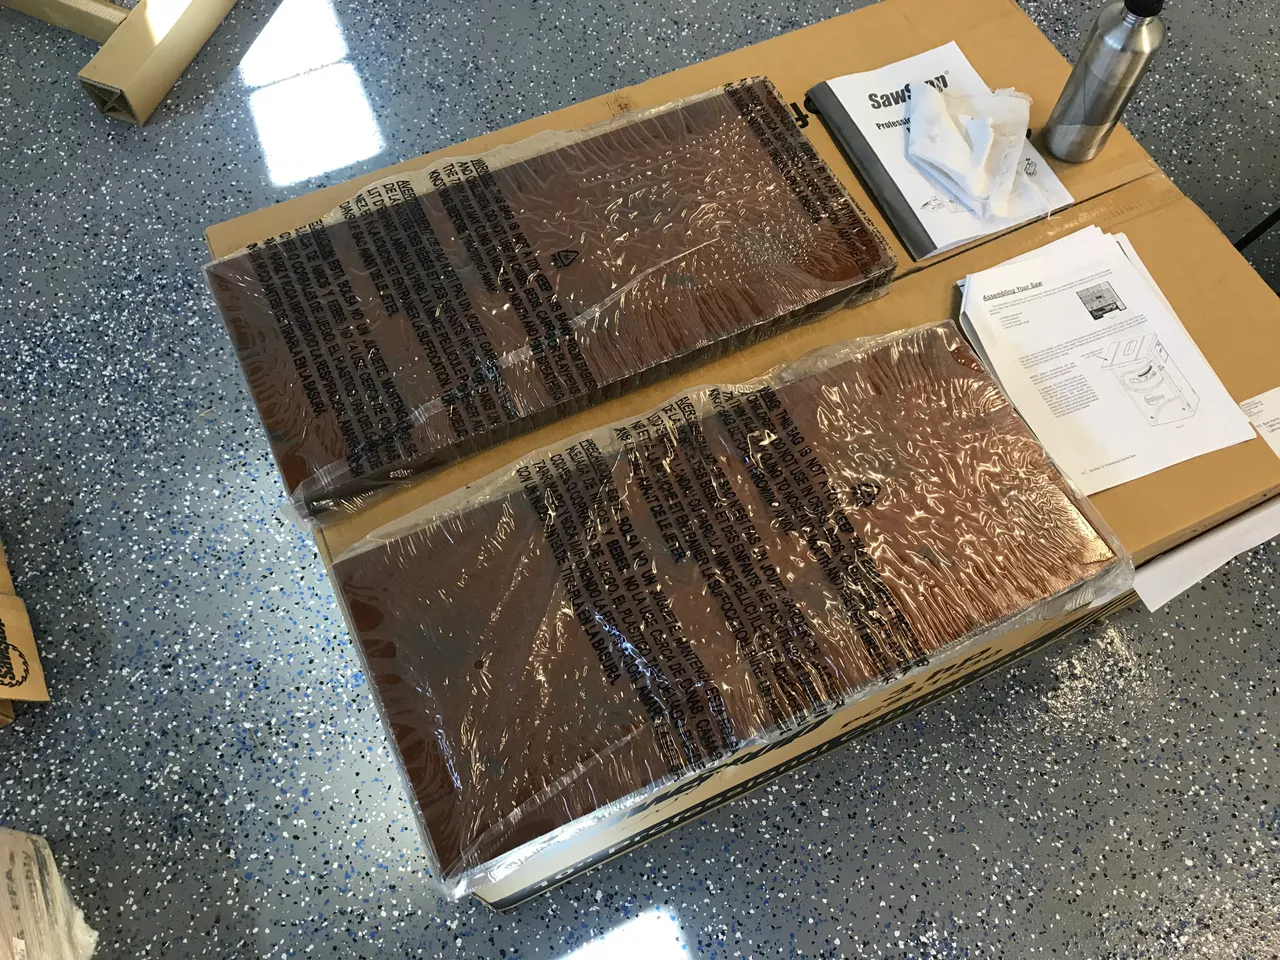
Just neatly lay all this out...
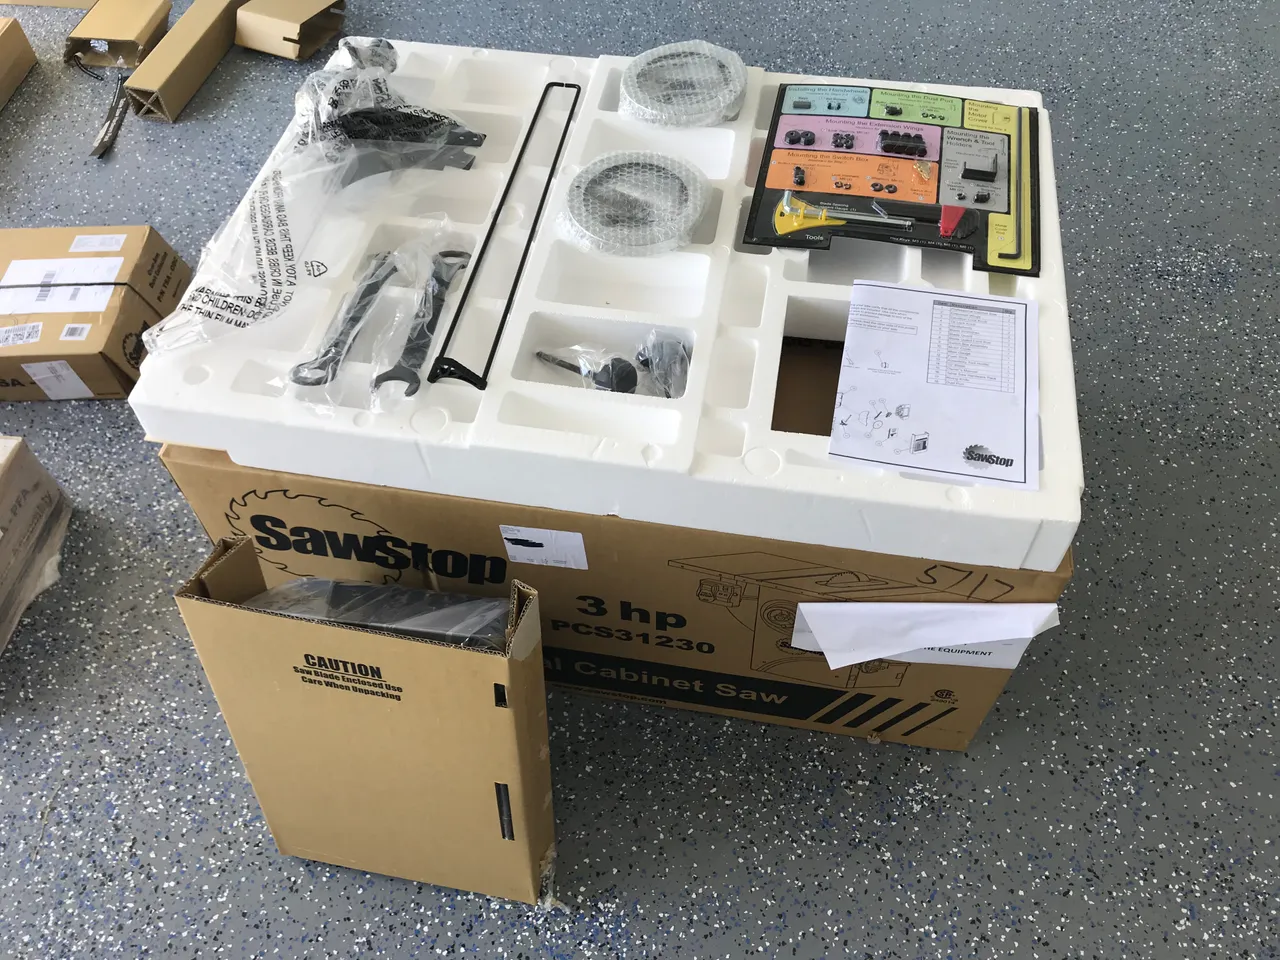
Oh... I need the polystyrene...

Lovely.
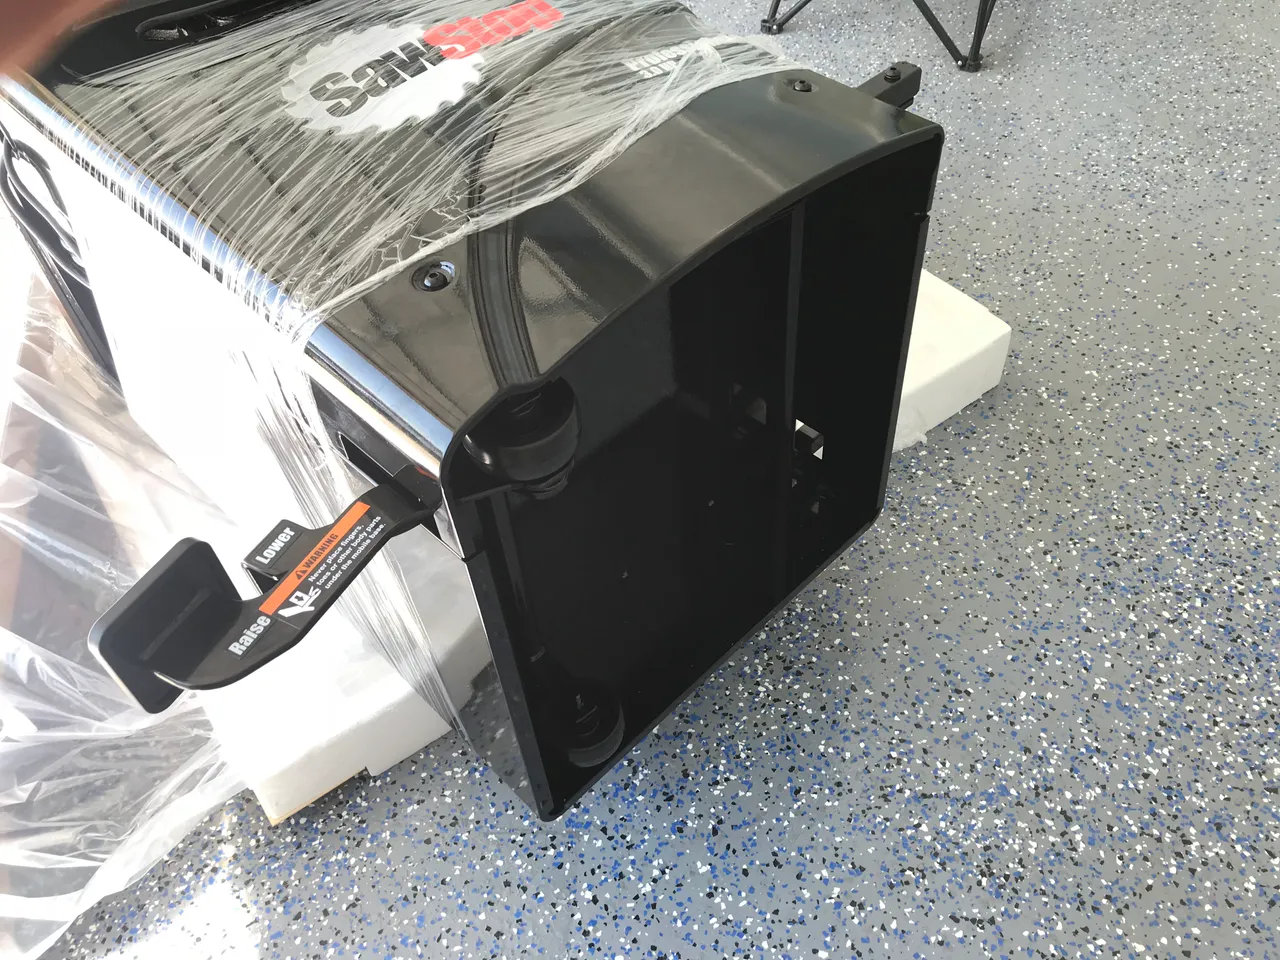
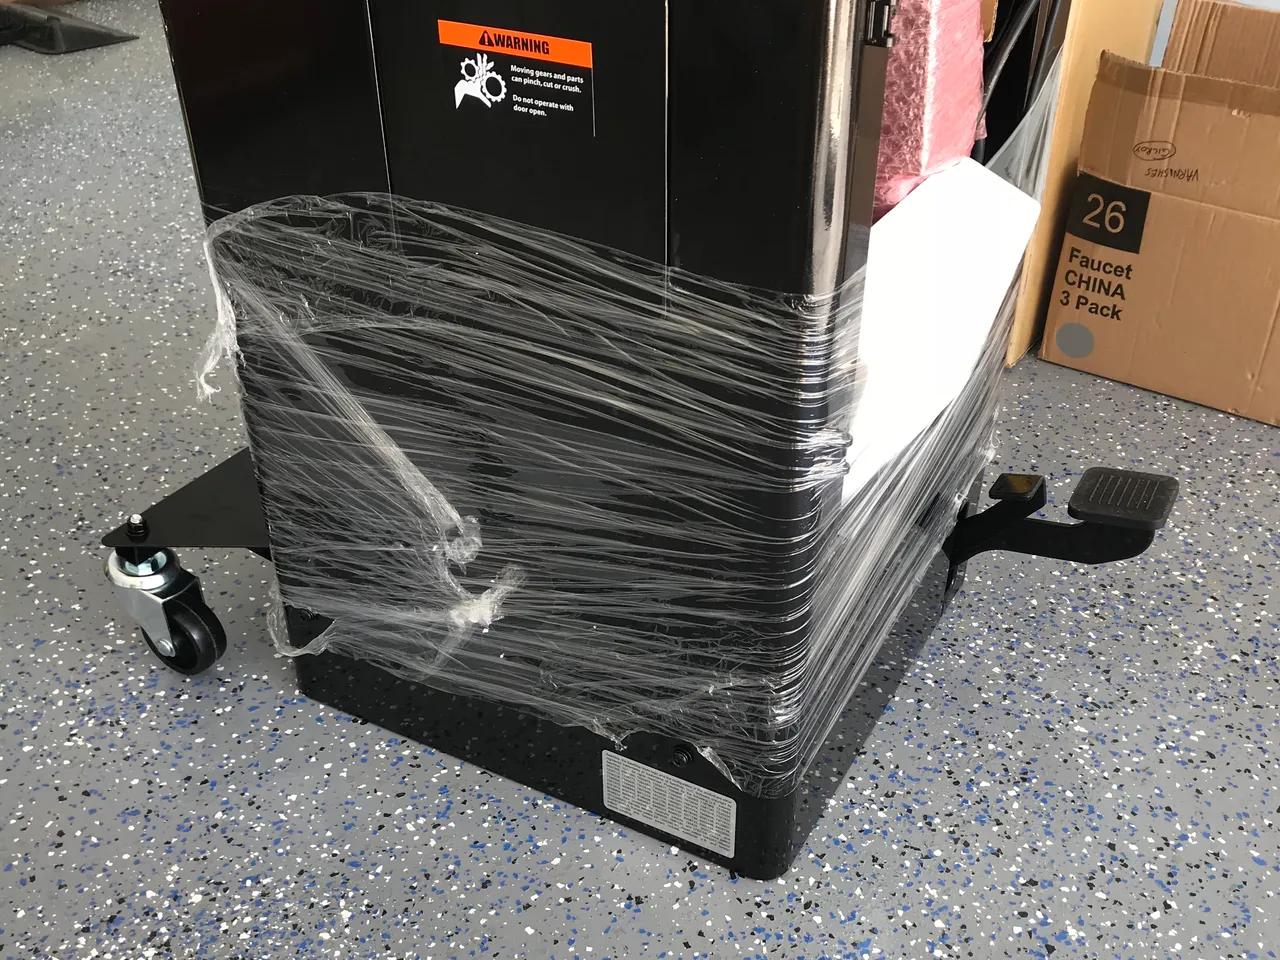
Now, before I do anything, I need to attach the mobile base. This arrived (was ordered...) a week after the saw, which was silly. But we're here now.
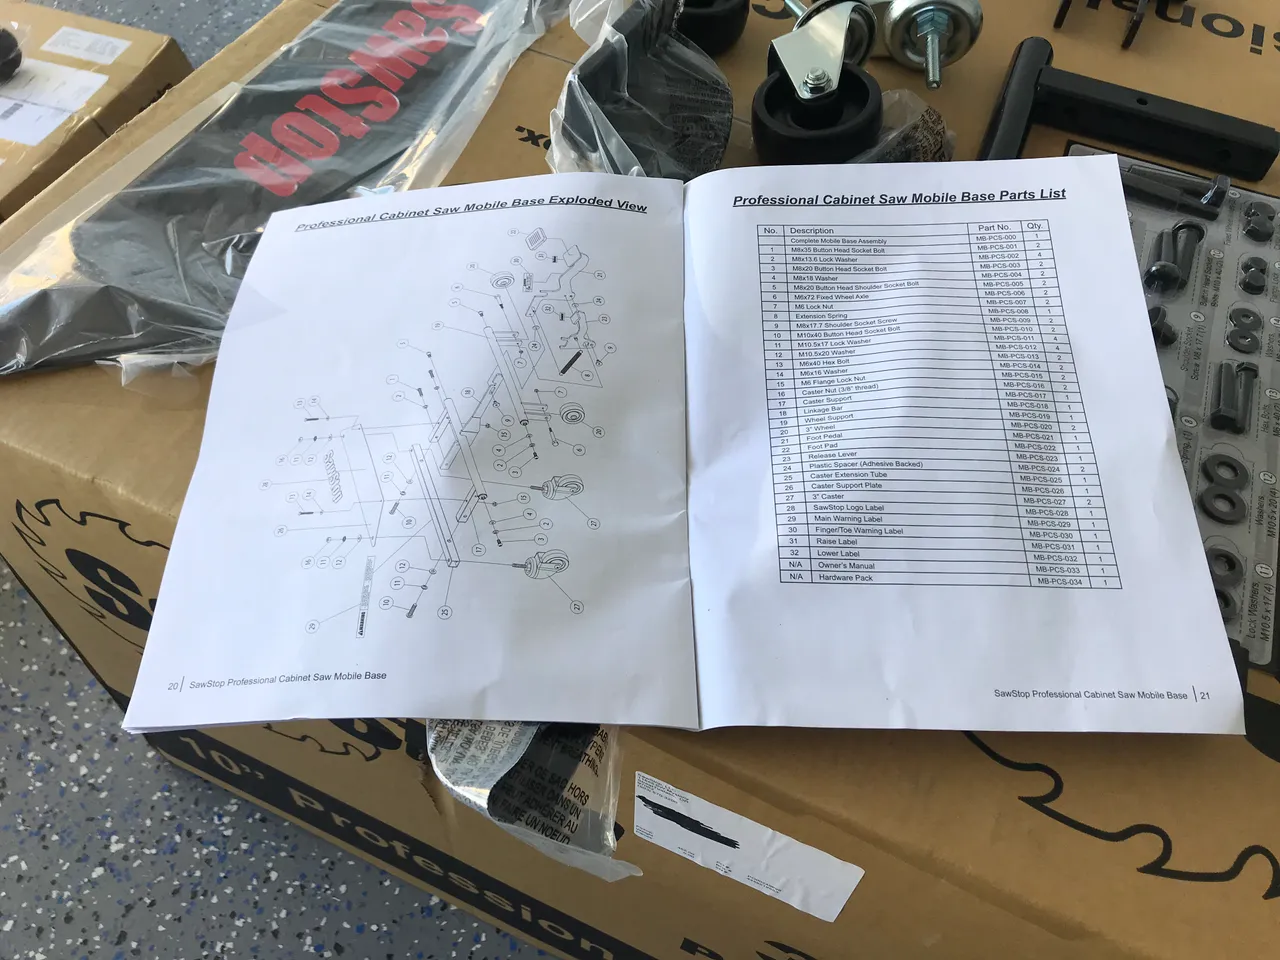
You may notice that all the necessary hardware (for this and the saw) is in delicious, colour-coded blister packs.
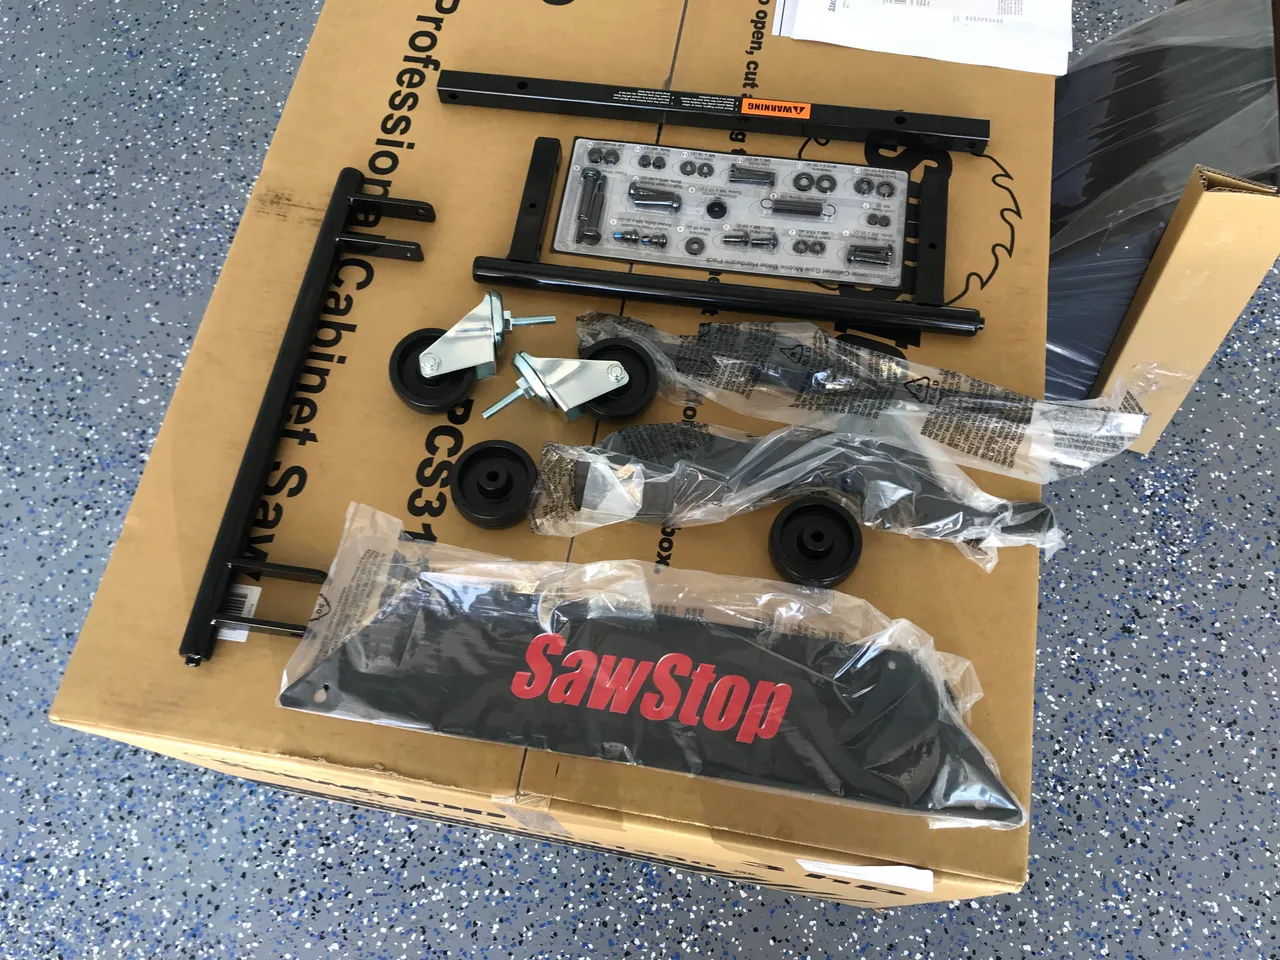
Oof, that's a lot of parts.

At this point, I noticed something was wrong. The pedal only moved about a 5 degree range. I diagnosed the problem. Where my finger is, is where the rod behind should be. I had to unbolt everything...
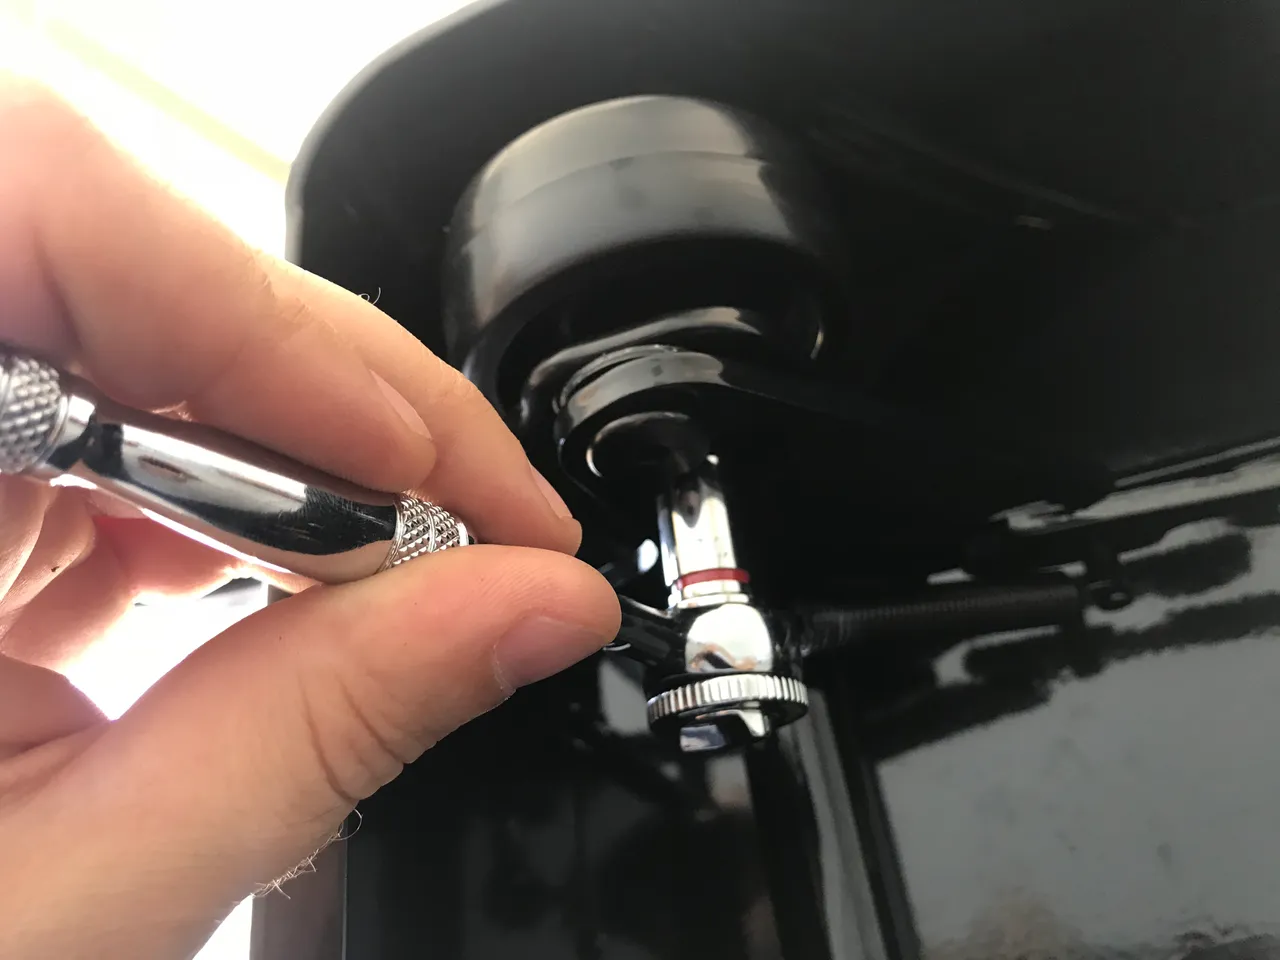
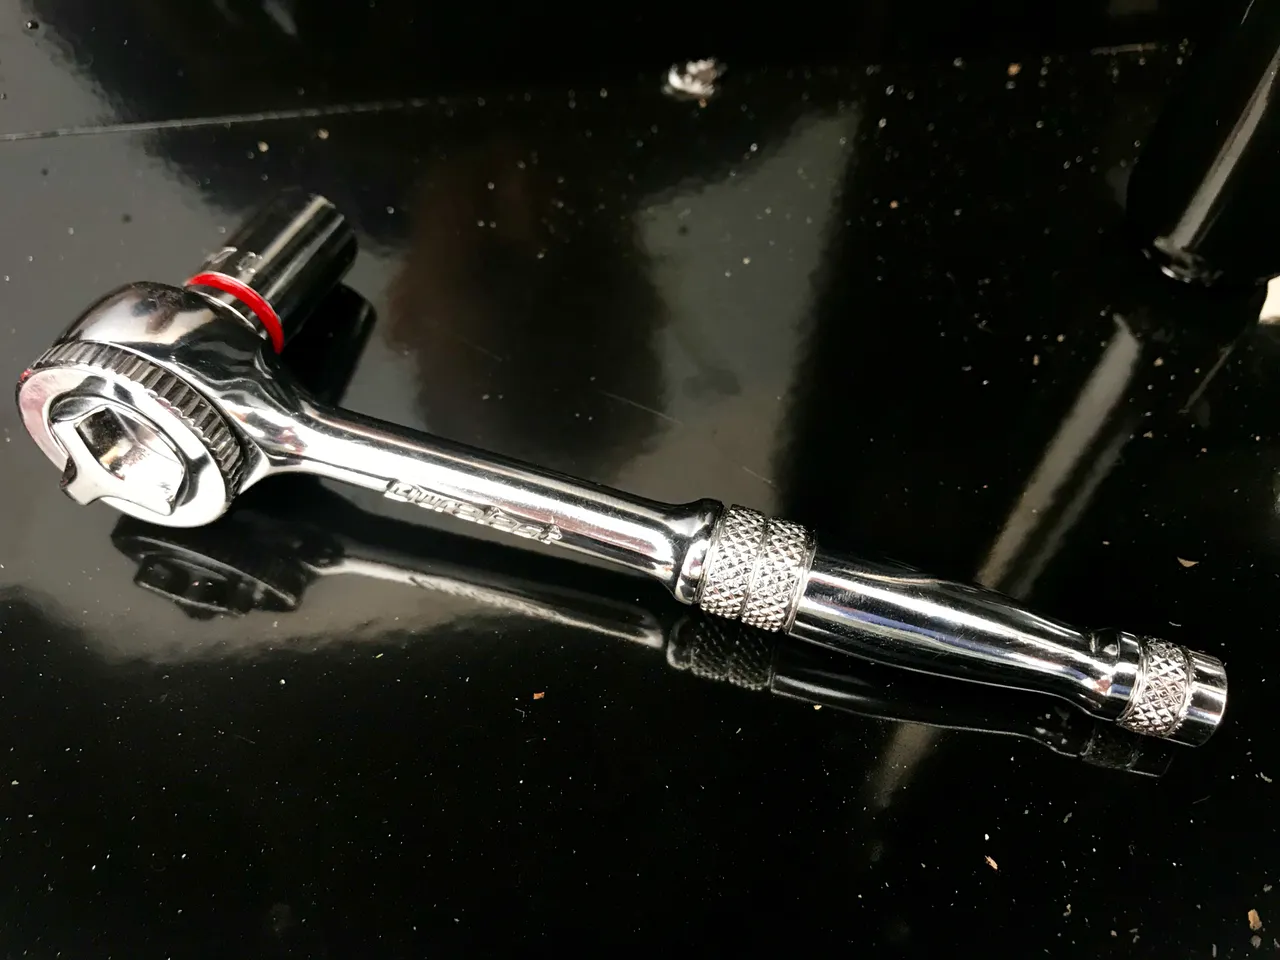
I'd like to take this opportunity to tell you about this lovely, mini Duralast® socket wrench. I bought it from AutoZone® a year ago and the checkout man applauded my choice. Little did I know how right he was. A terrific tool.
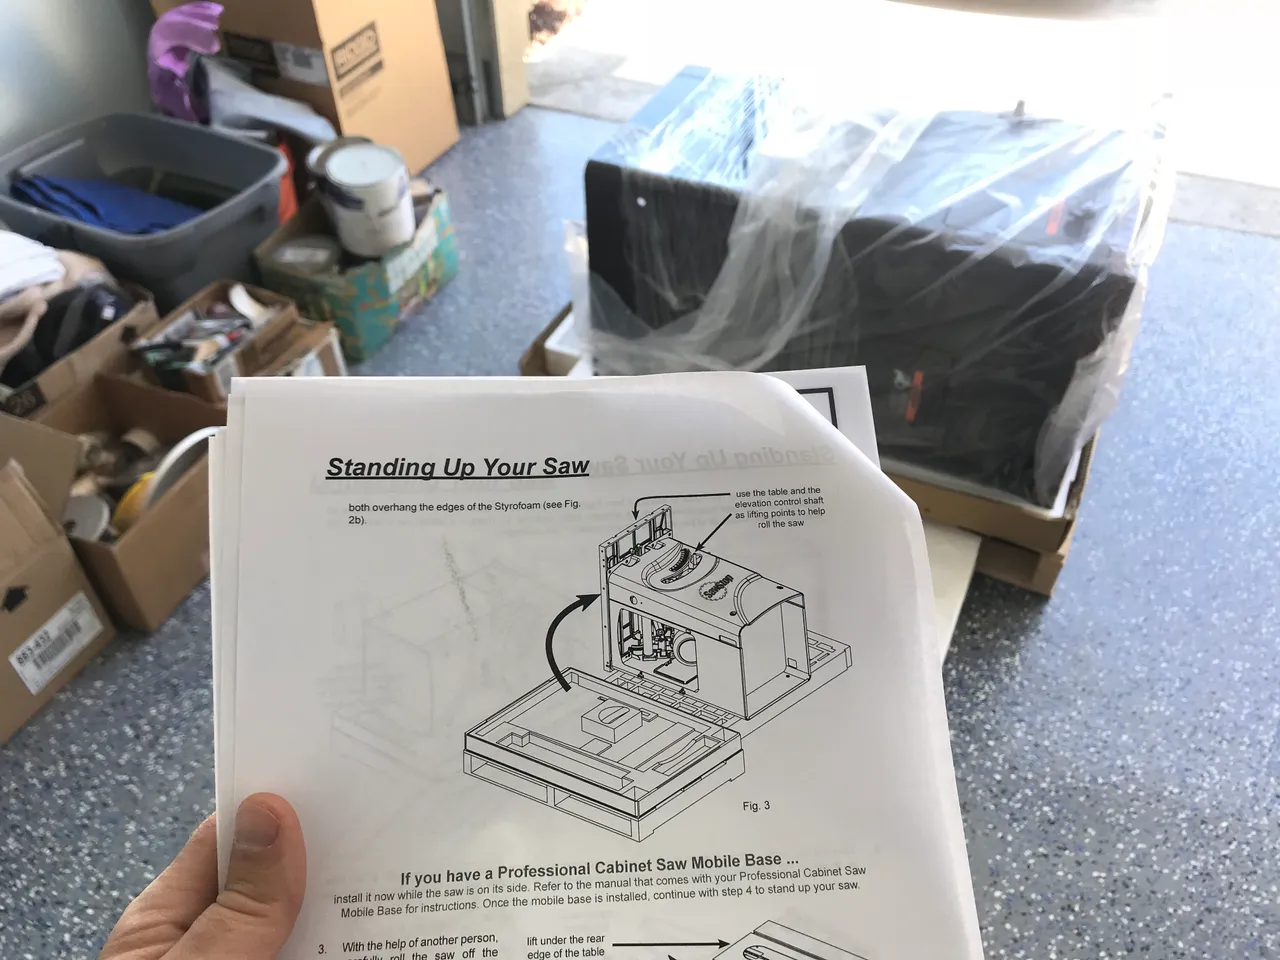
Ok. Let's stand this up. I'll need MY WIFE.
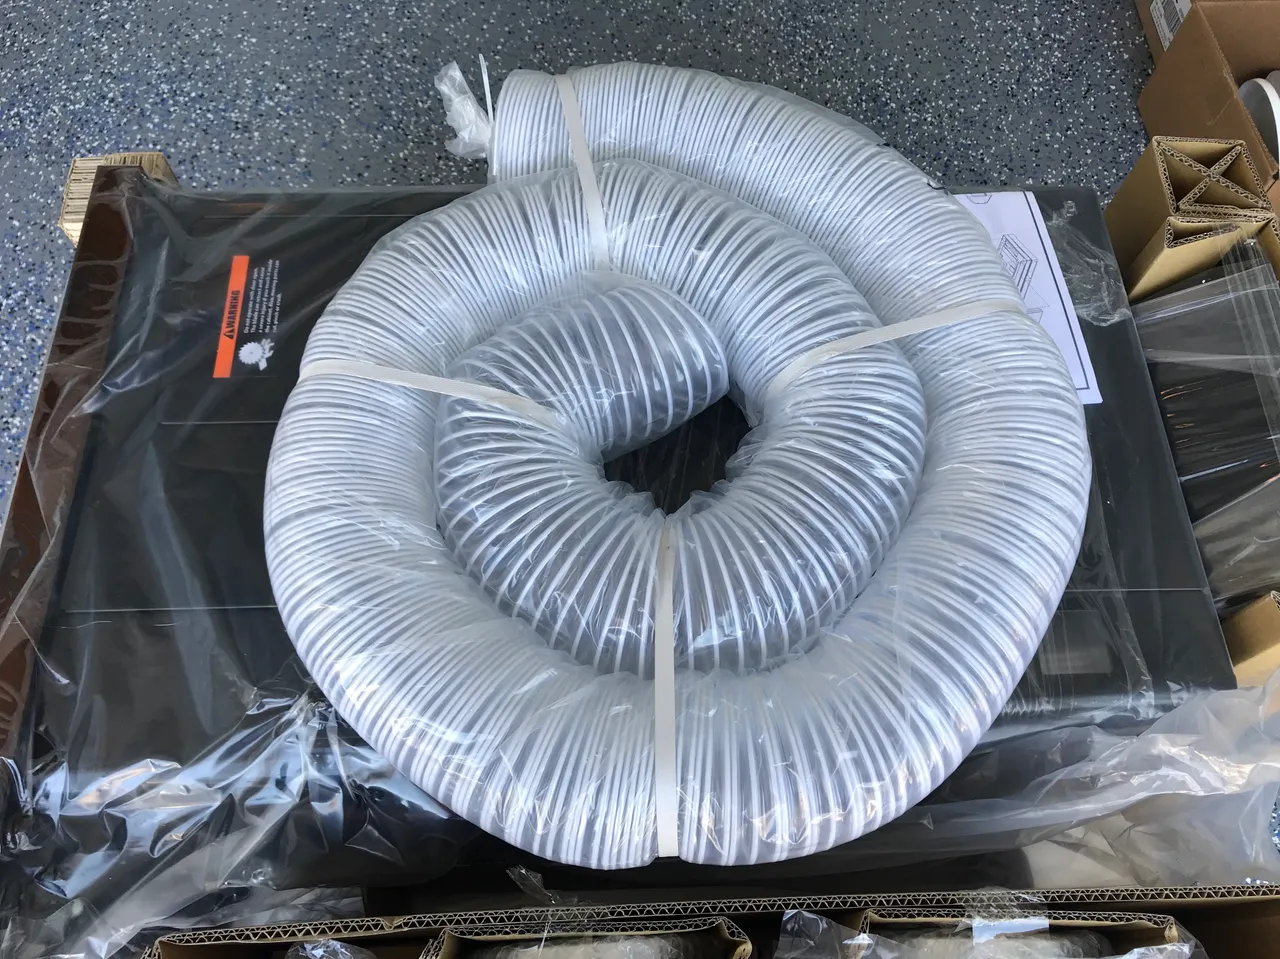
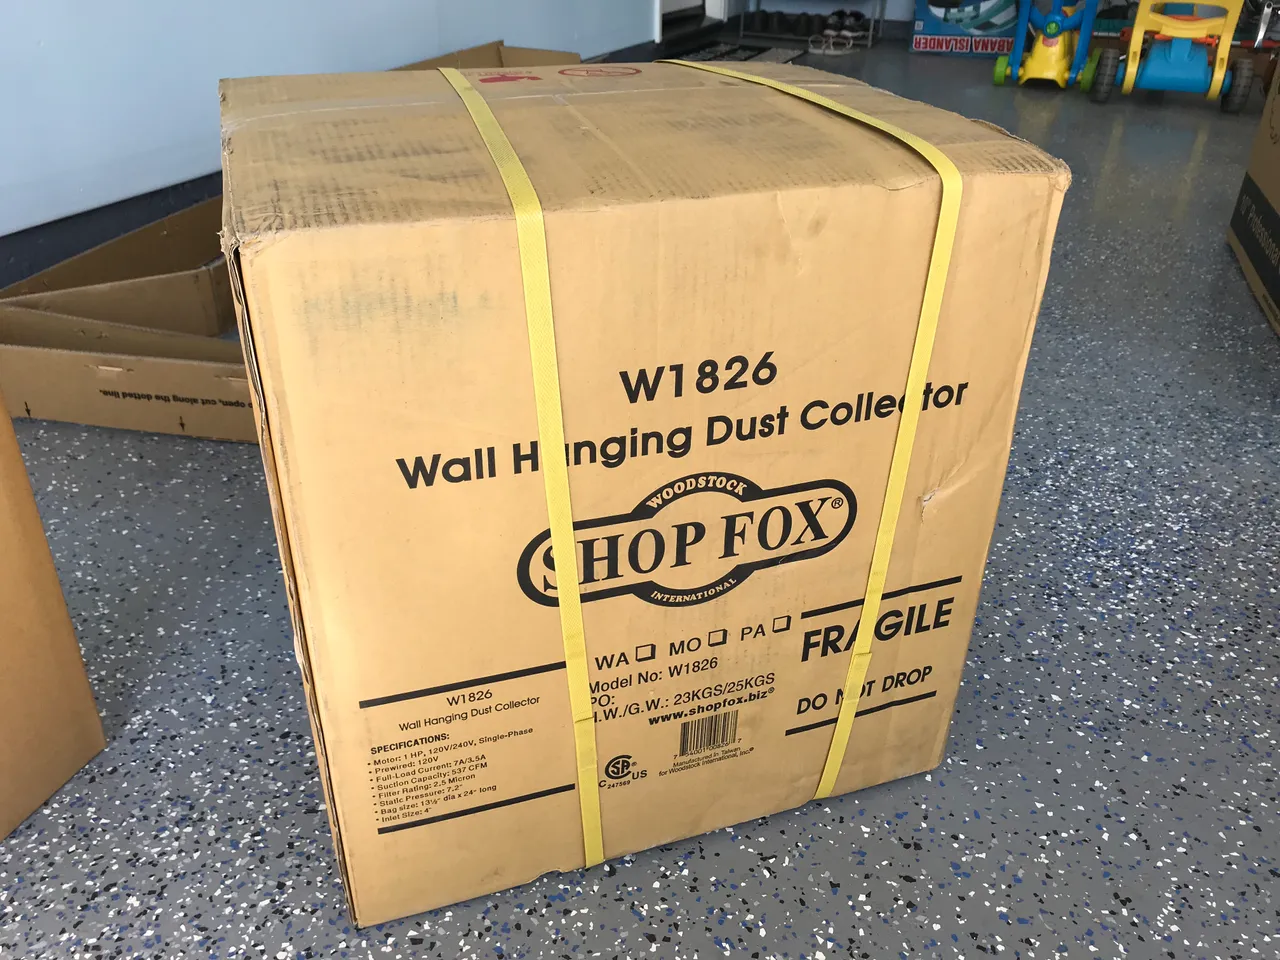
Ah, good. The UPS man just brought my ShopFox. I'll pop it to one side for now.
And...
...up
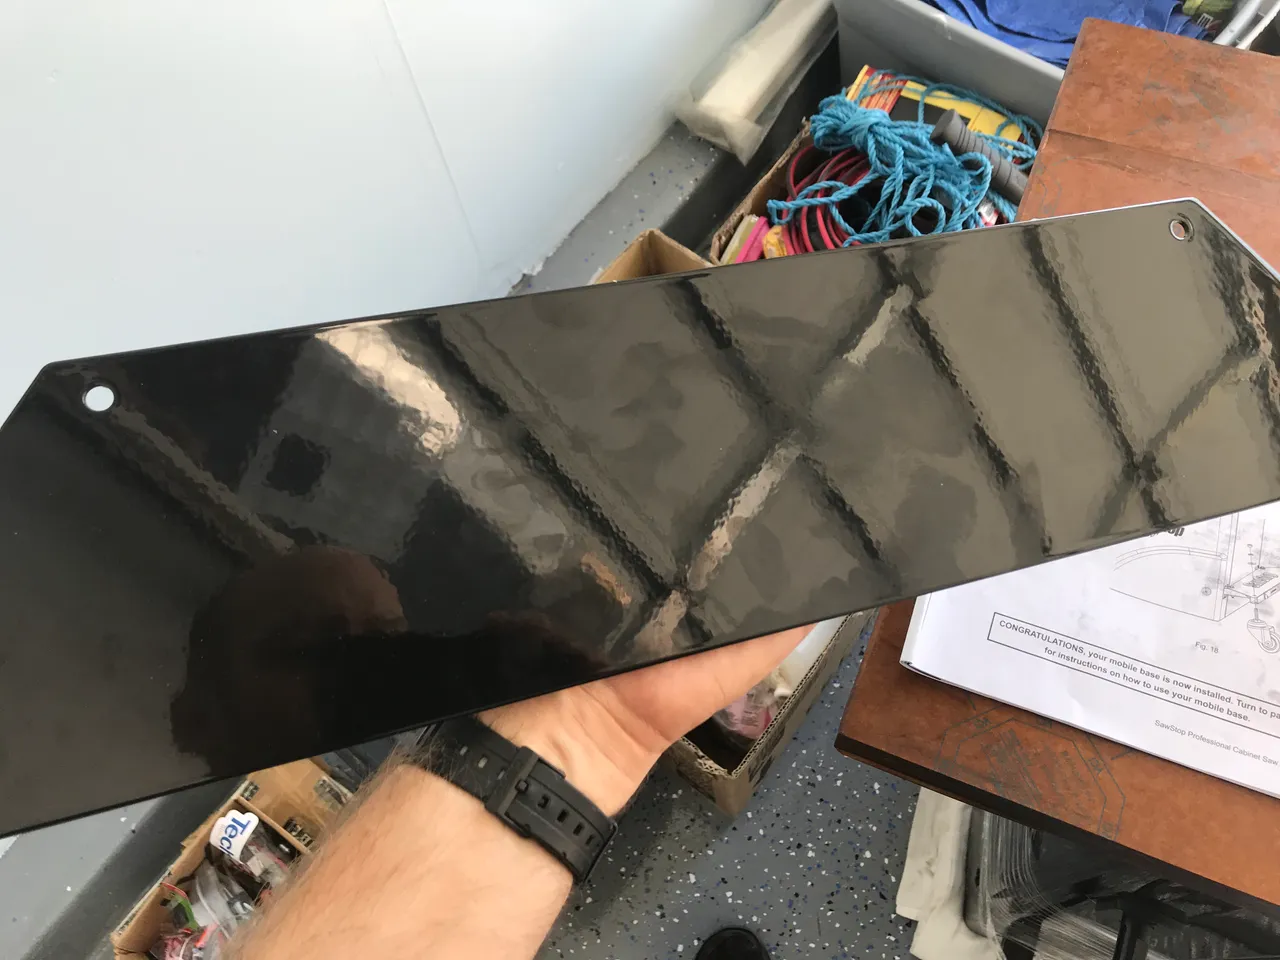
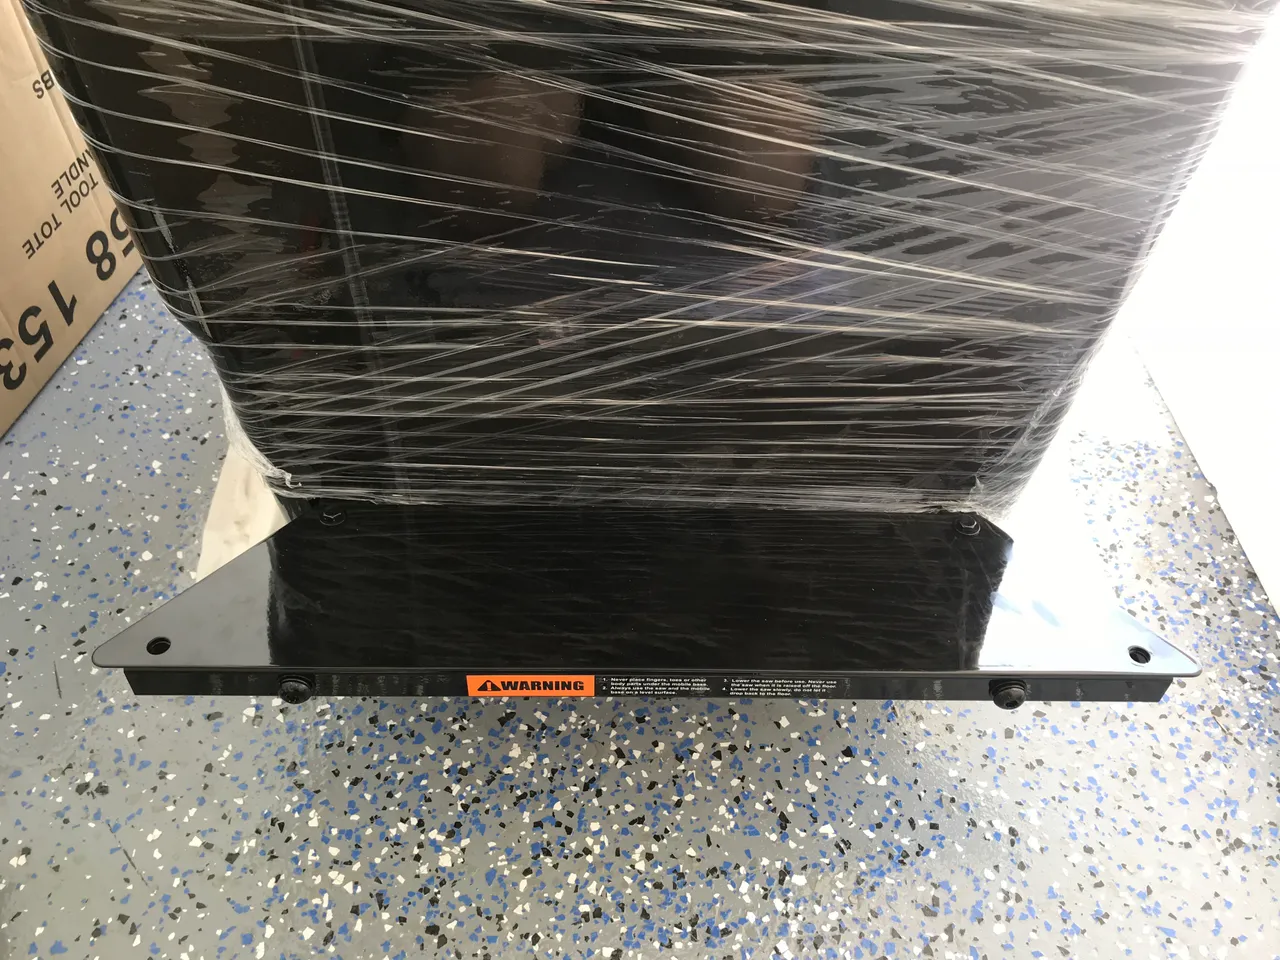
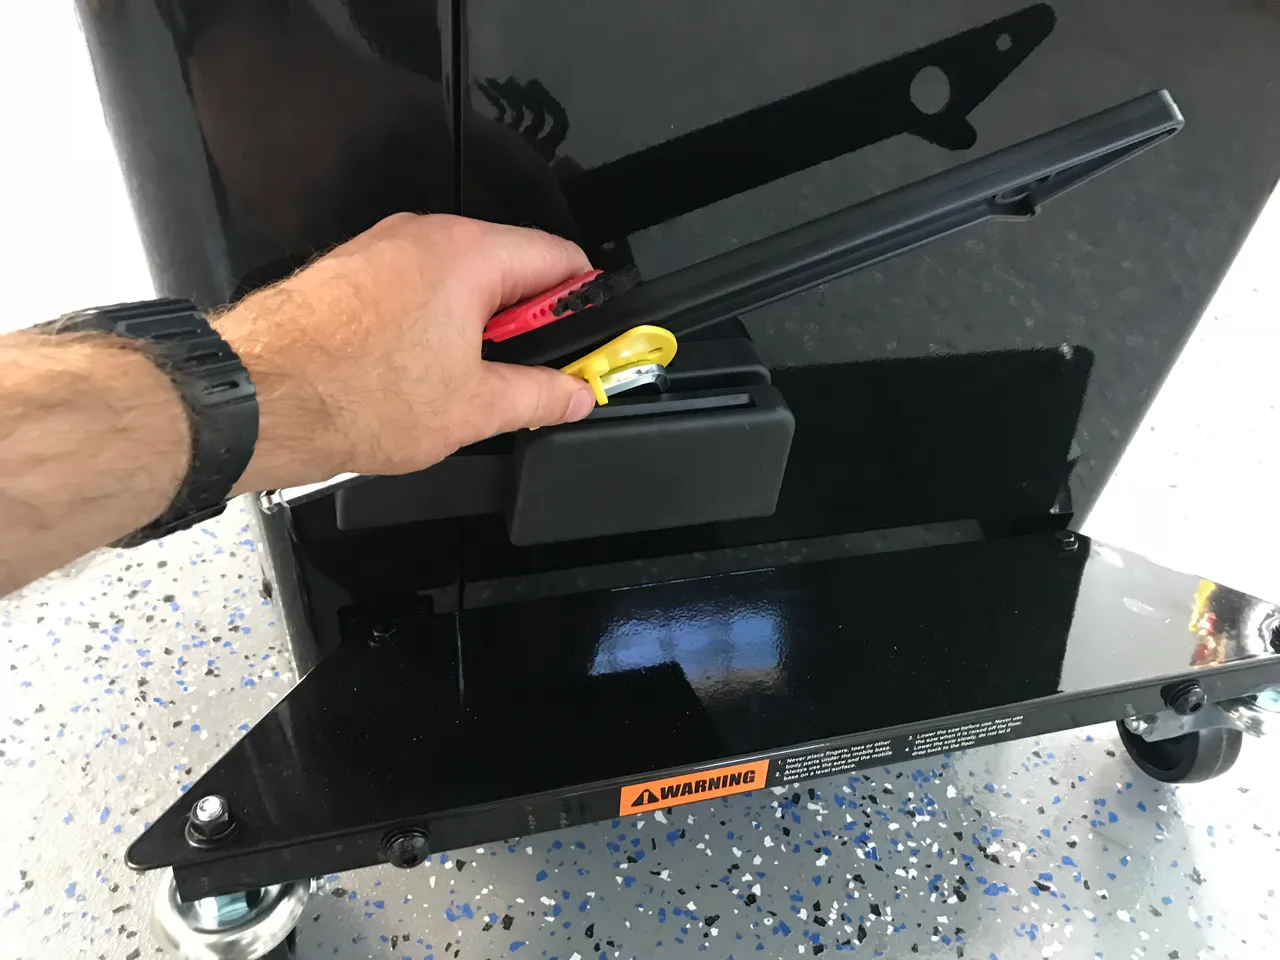
Now for the outside casters.
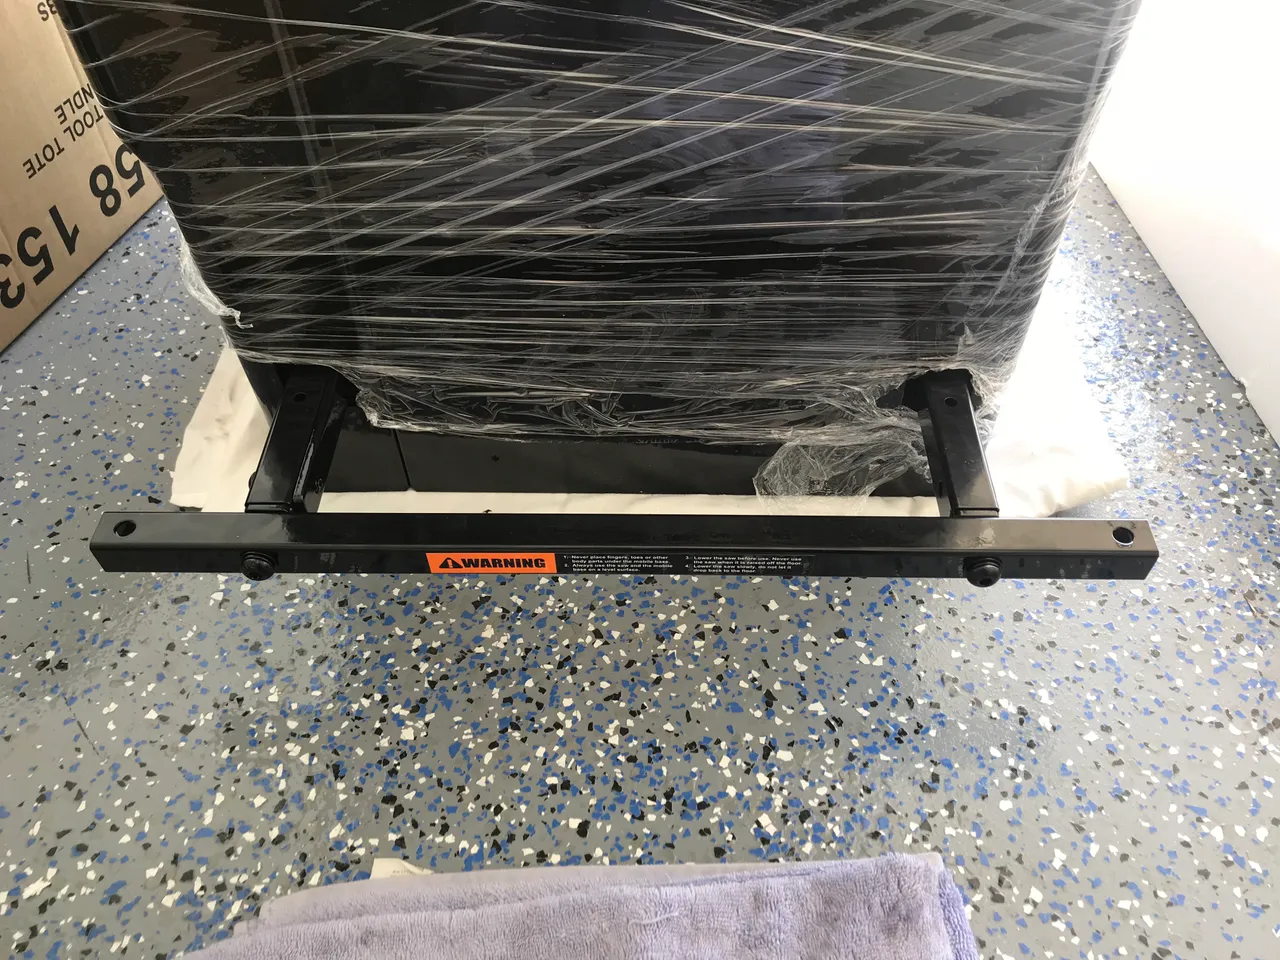
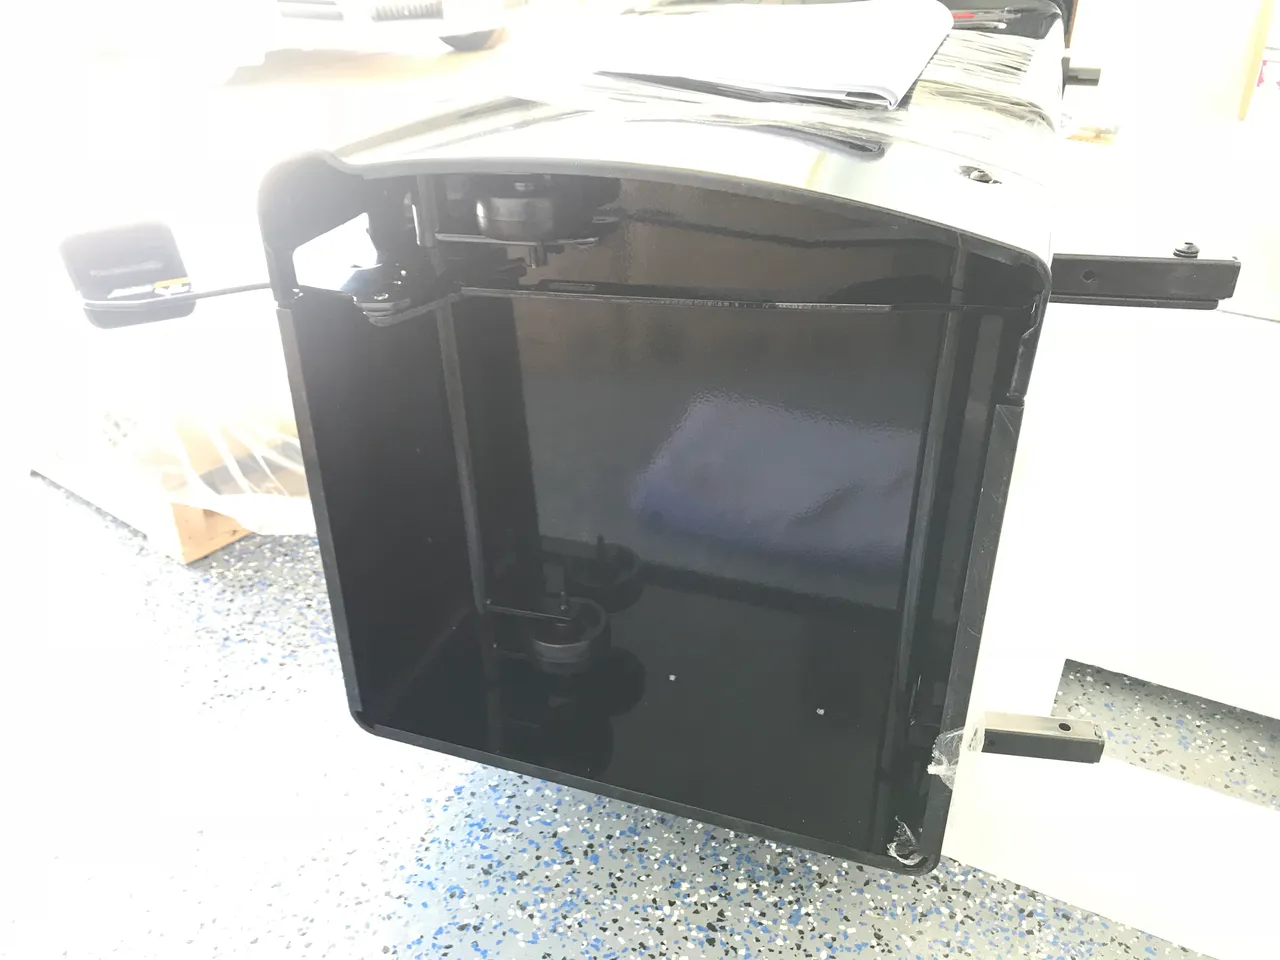
As much as I like SawStop® and want to promote them, this is obnoxious. I flipped it over.

Good.
Smashing.
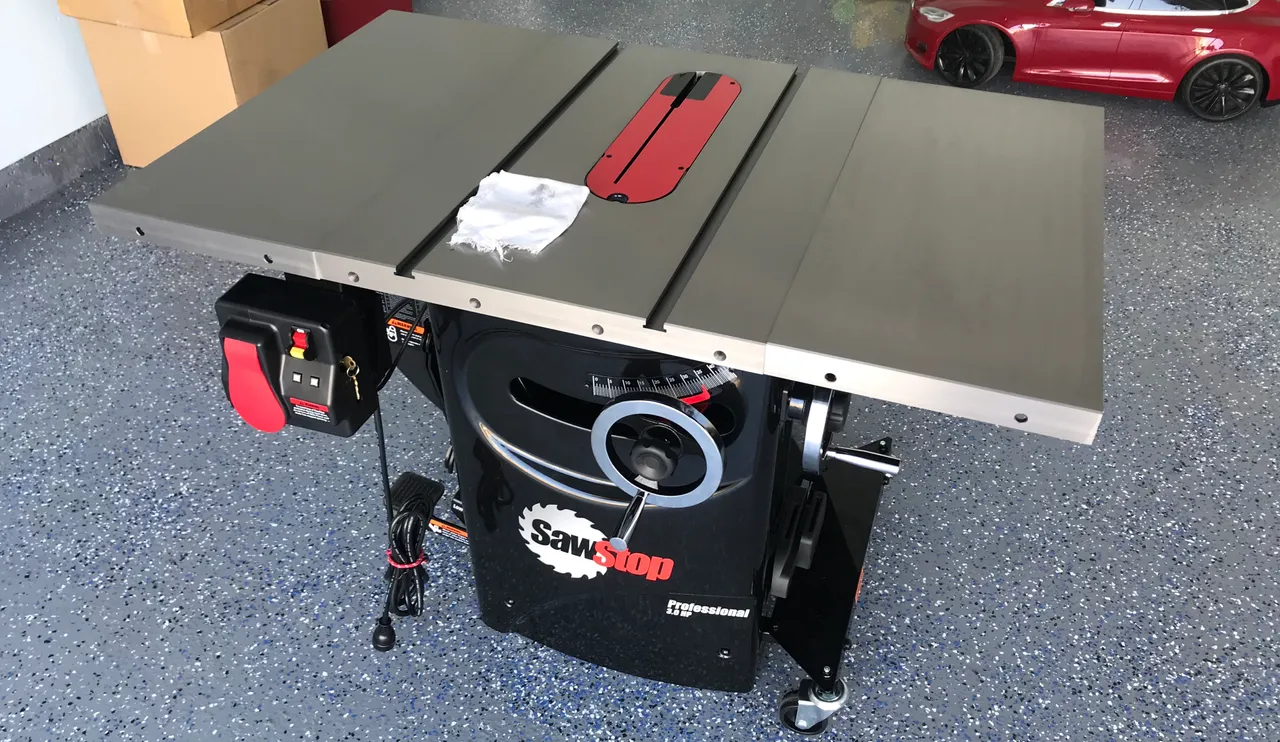
They cover the cast iron bed and wings with oil to stop it rusting in storage. There is no moisture here so it's time to remove the sloppy paper and perform a wipe-down.
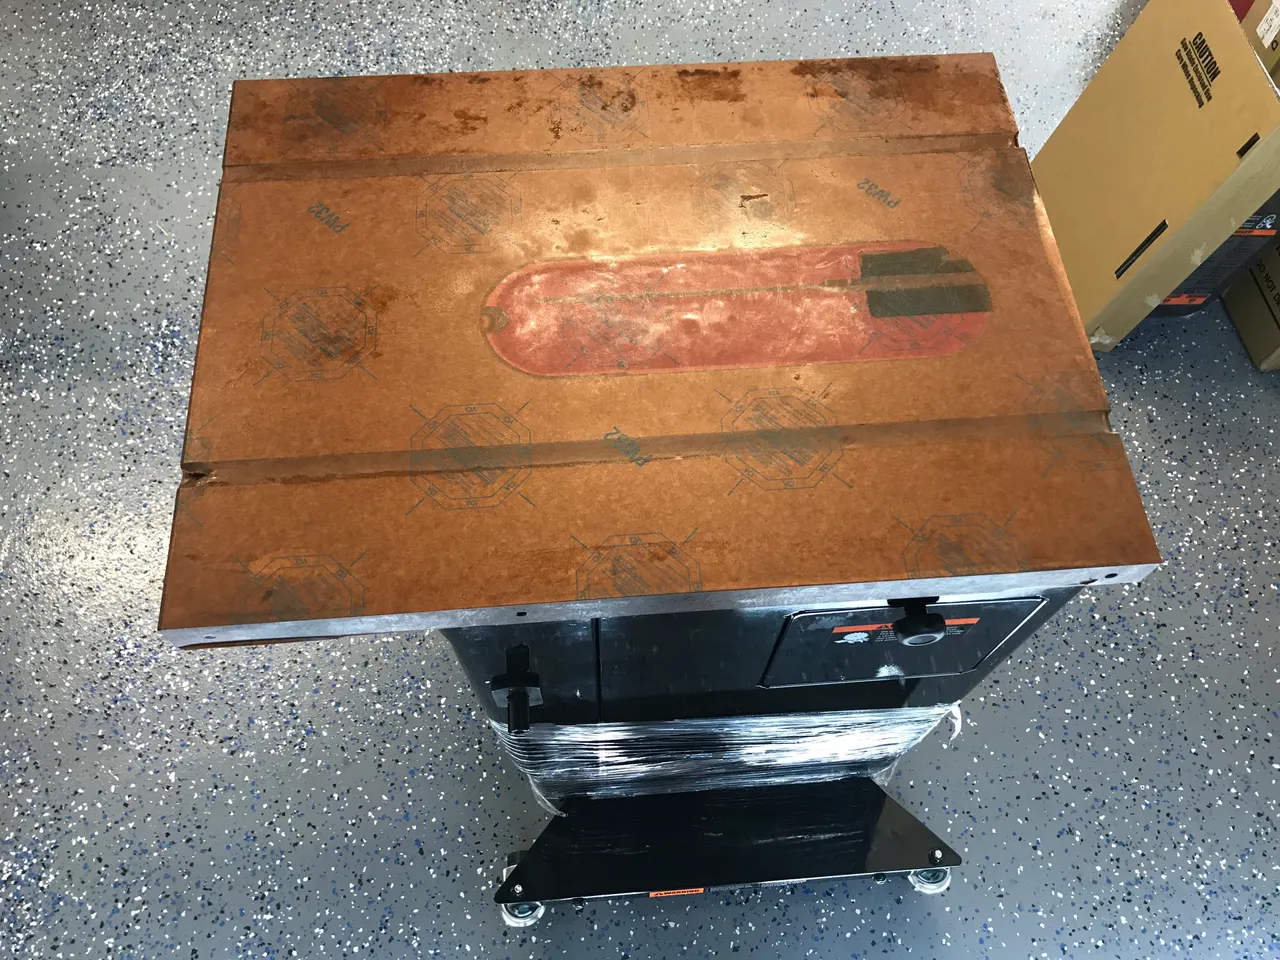
Have you ever seen anything so full of splendour⸮
Let's pop on these hand cranks.
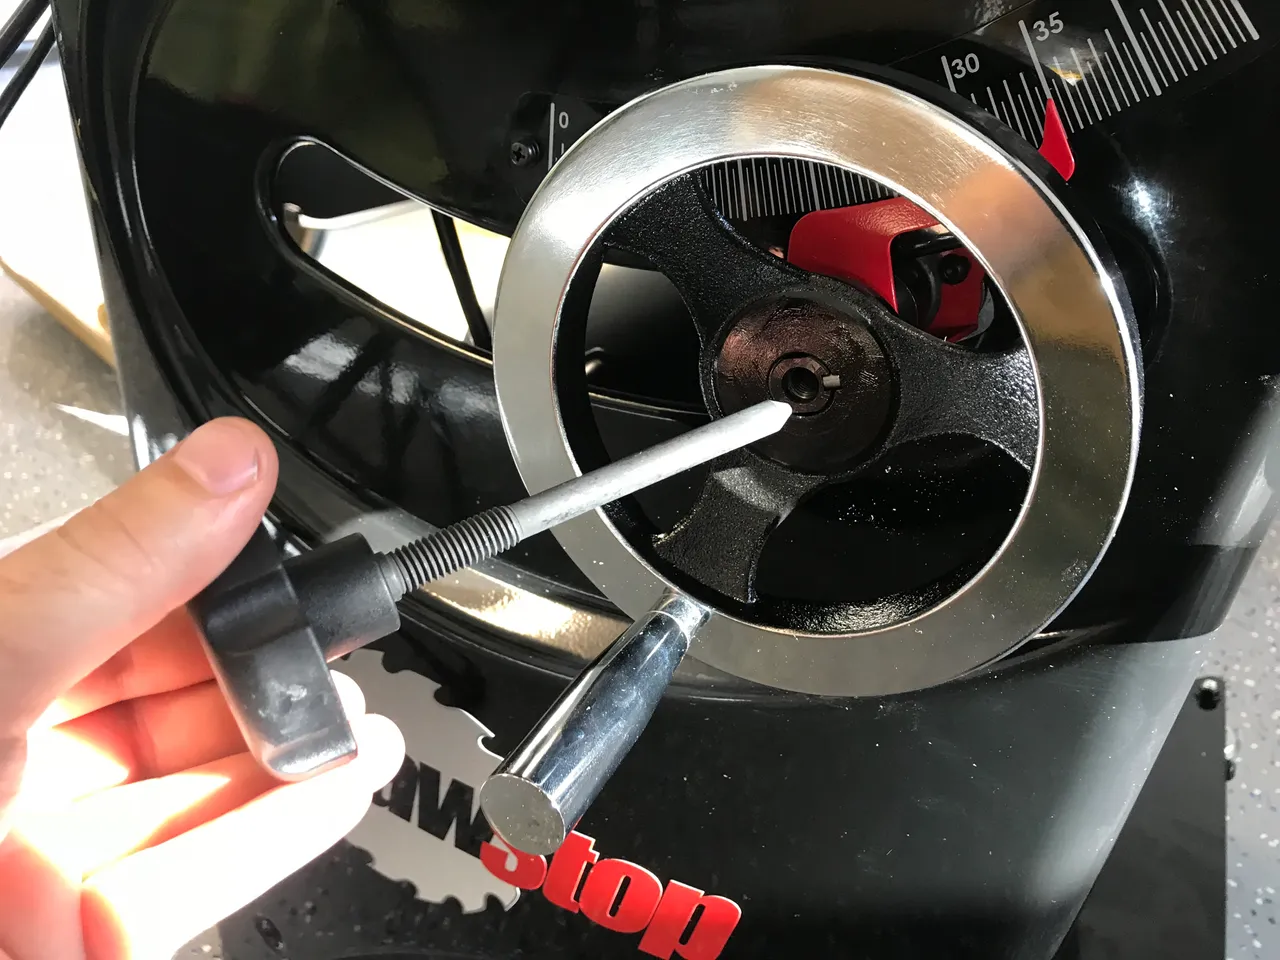
The front one controls blade height. The side one controls blade angle. The plastic knob locks in the adjustments.

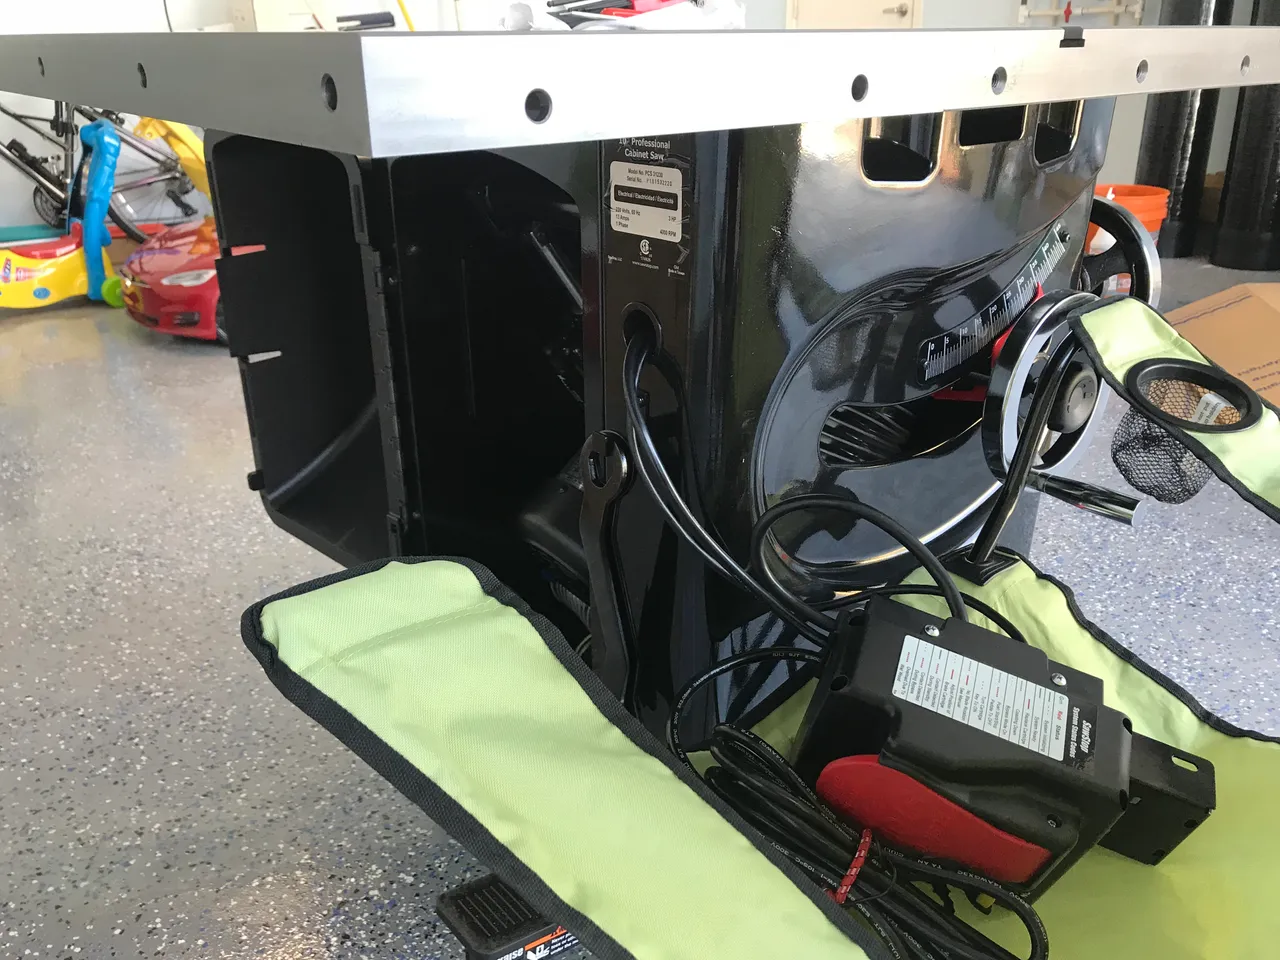
Connect the dust port. This was inside—I had to screw it to the casing from the outside.
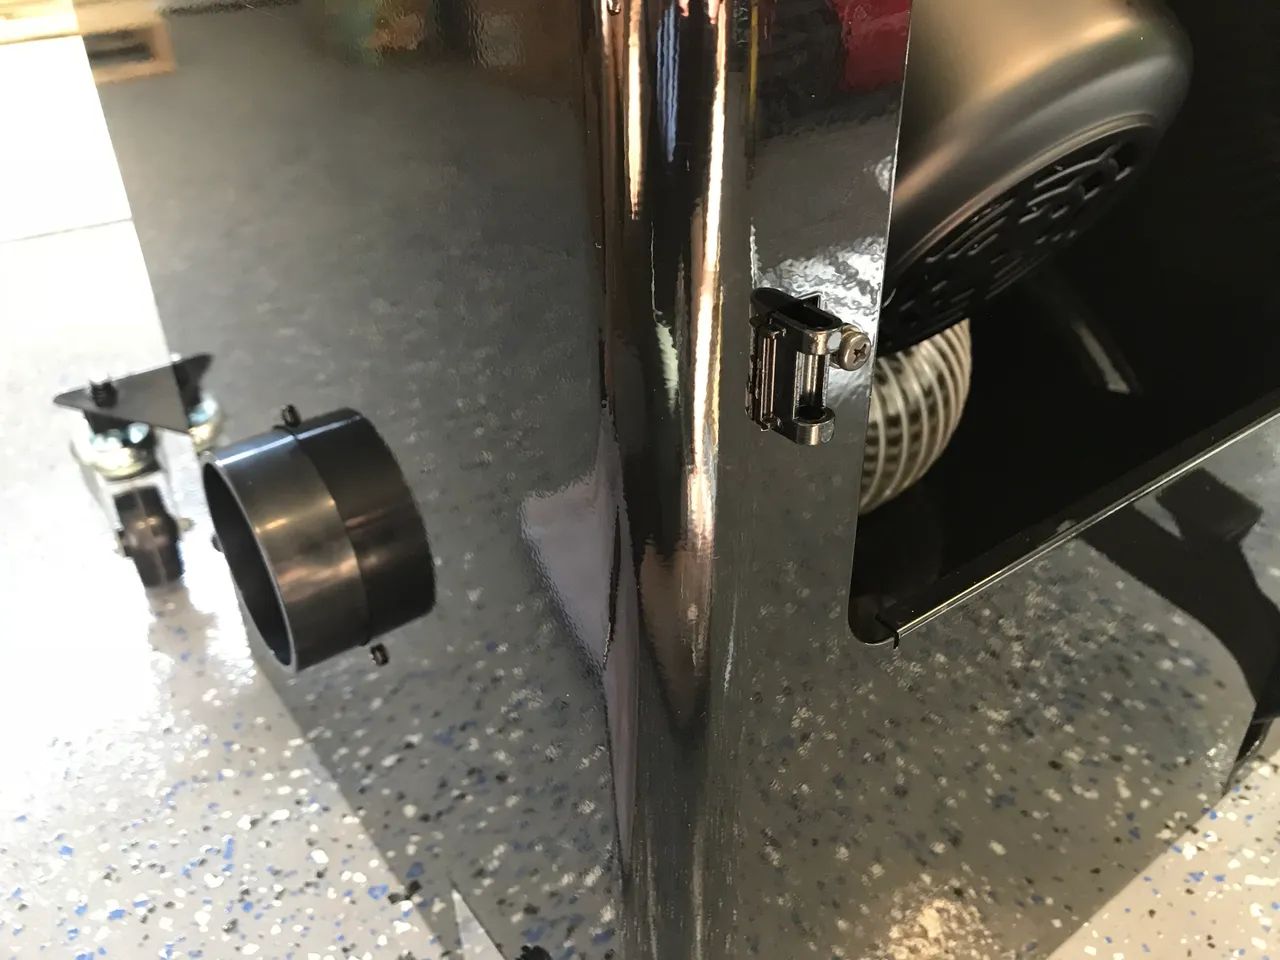
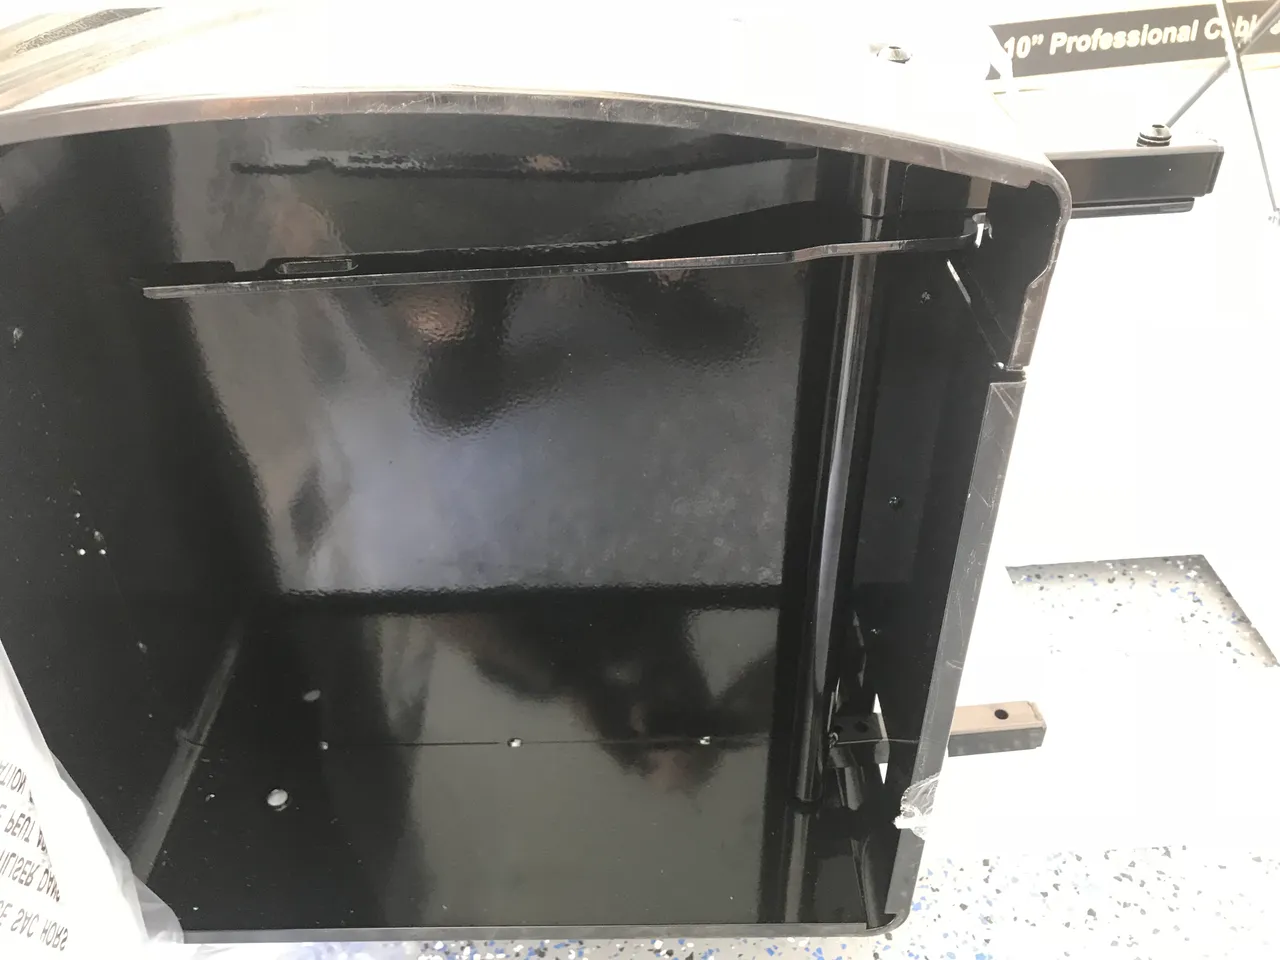
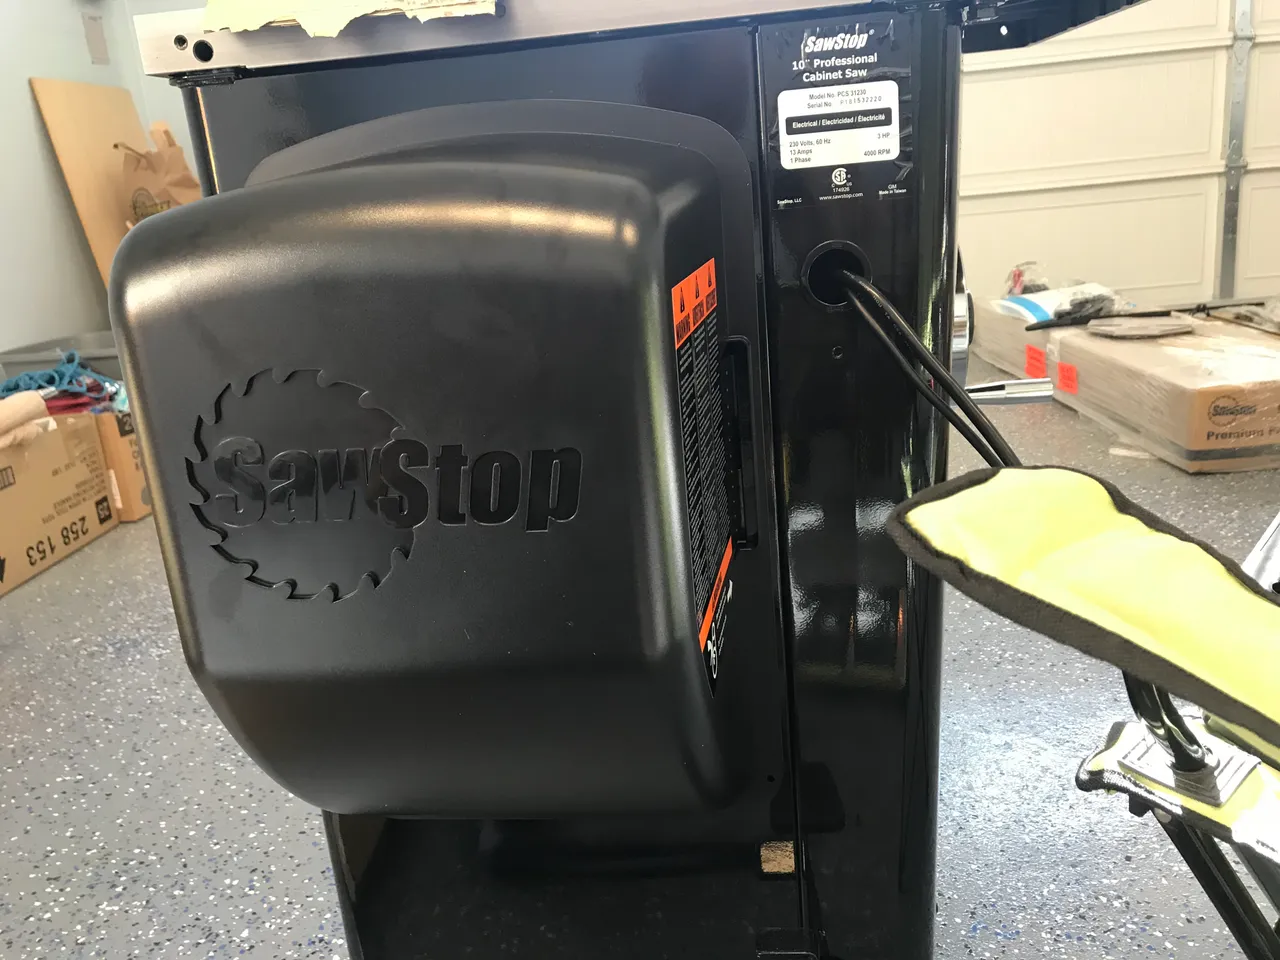
This is the motor cover. It's bulbous because when the blade is straight the motor will stick out of the side.
Just rod that in.
Good.
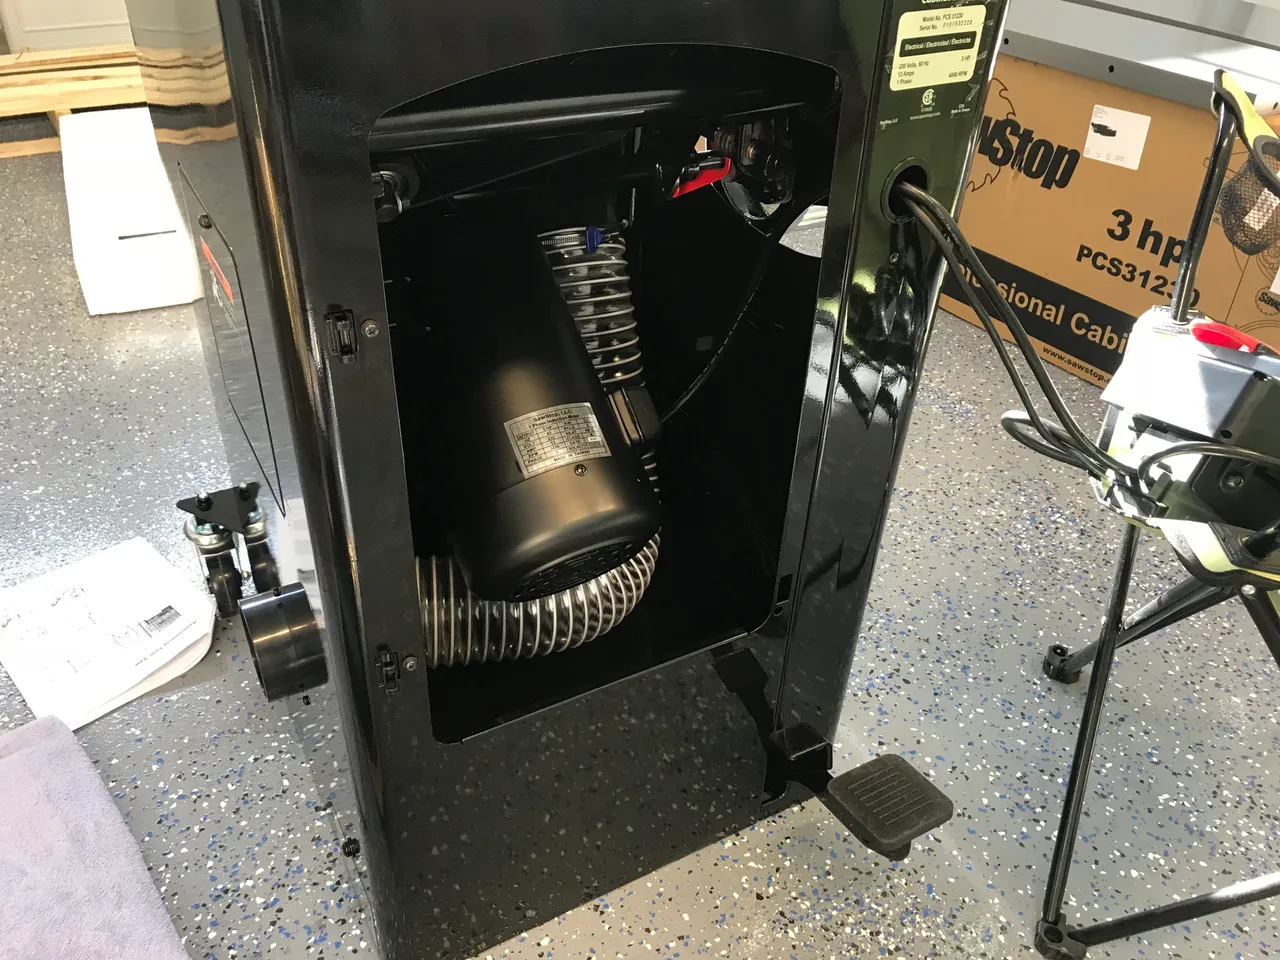
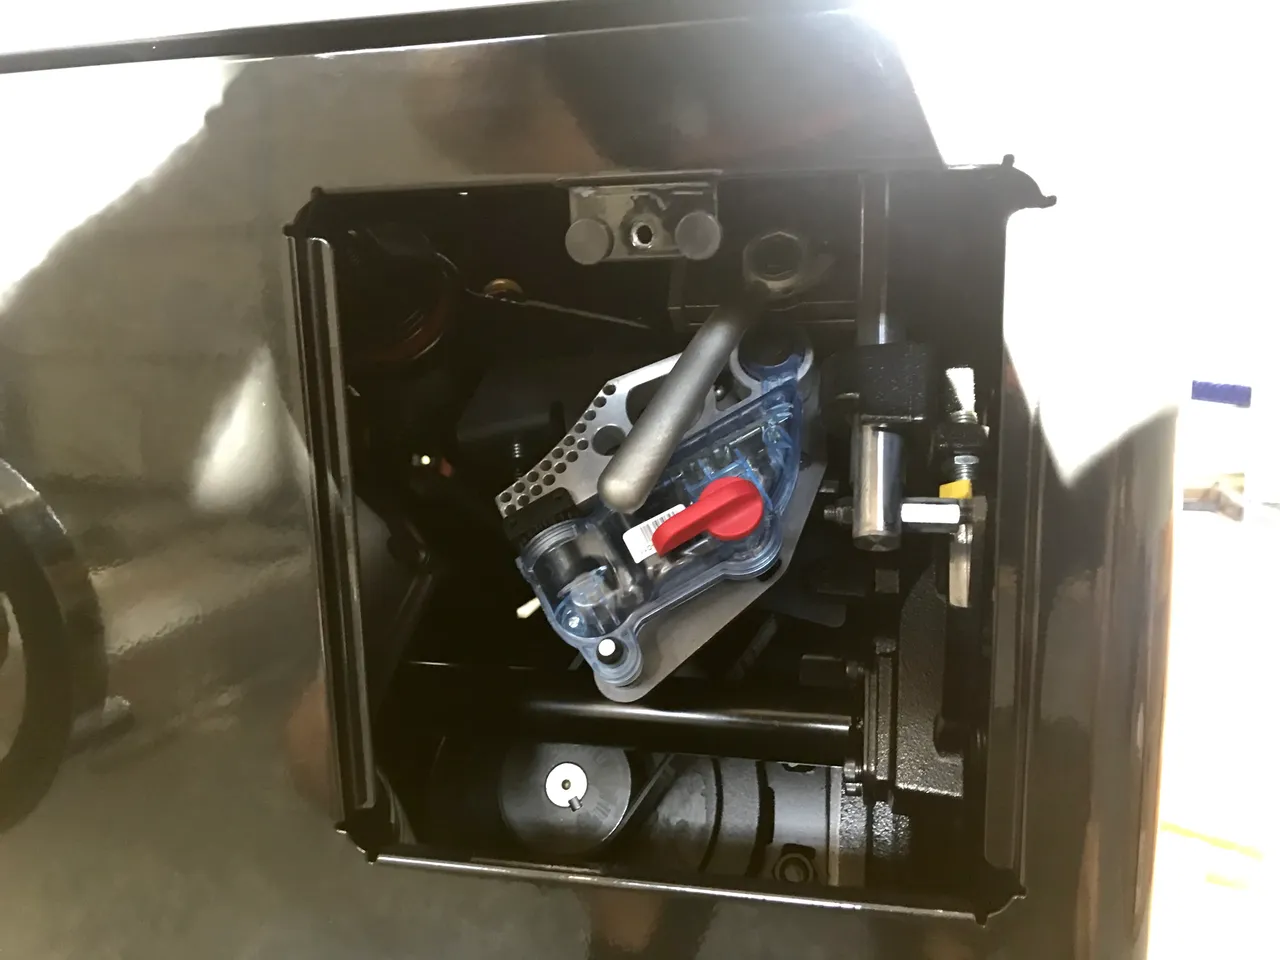
Let's take a moment to remove this panel and check out the replaceable brake cartridge. Sooooo nice. So nice.
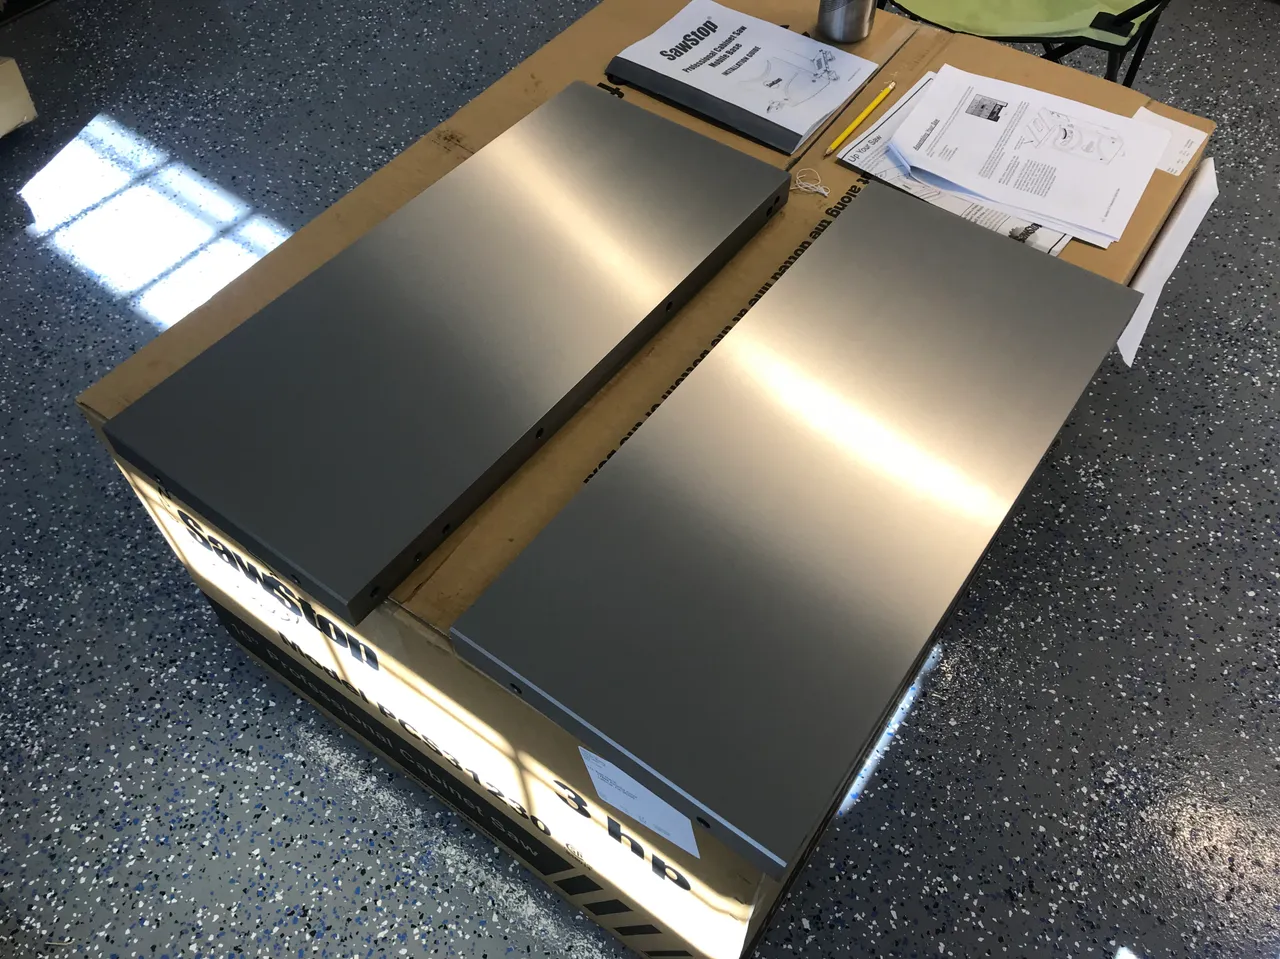
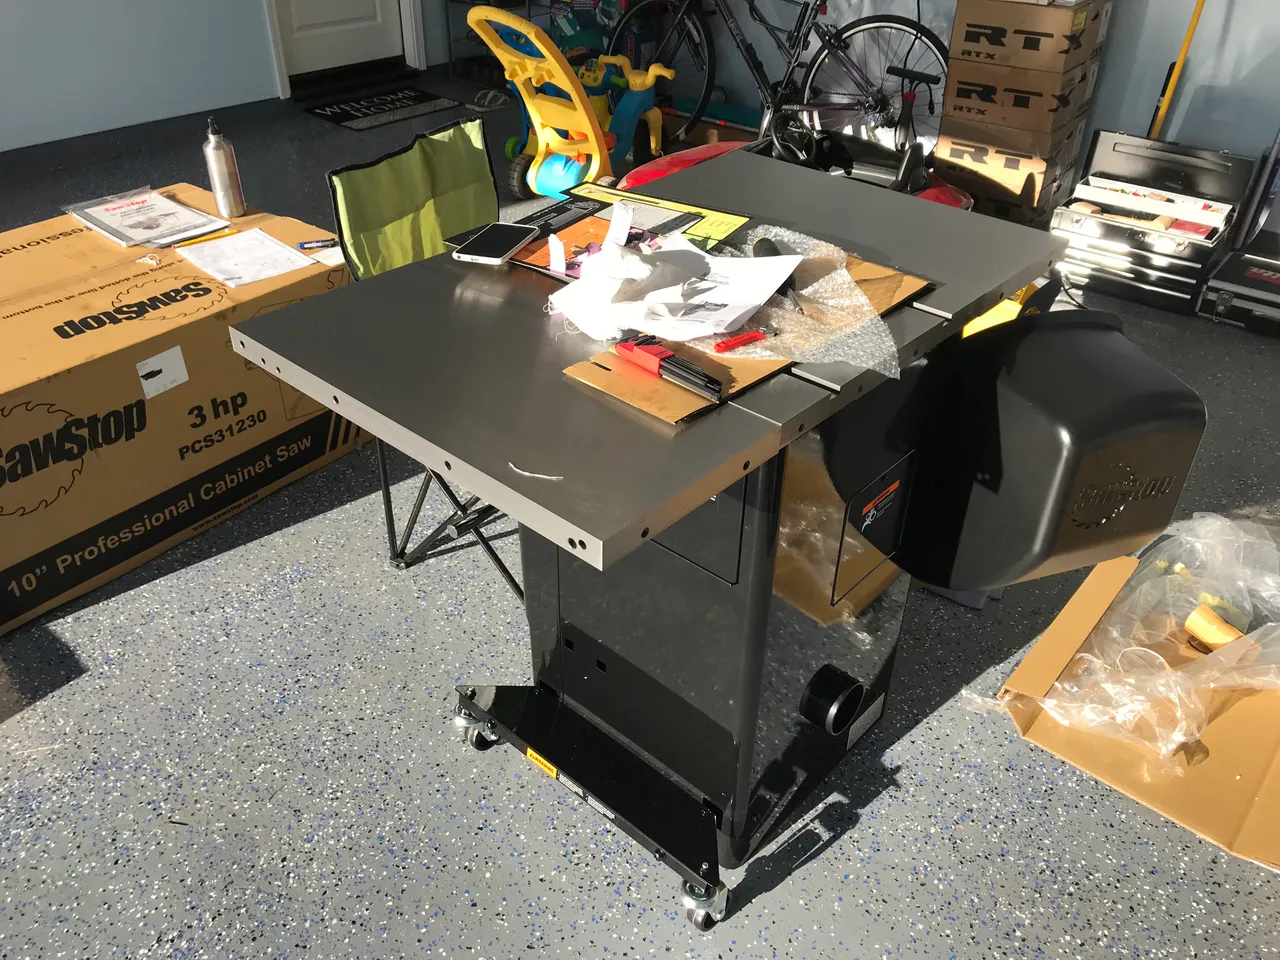
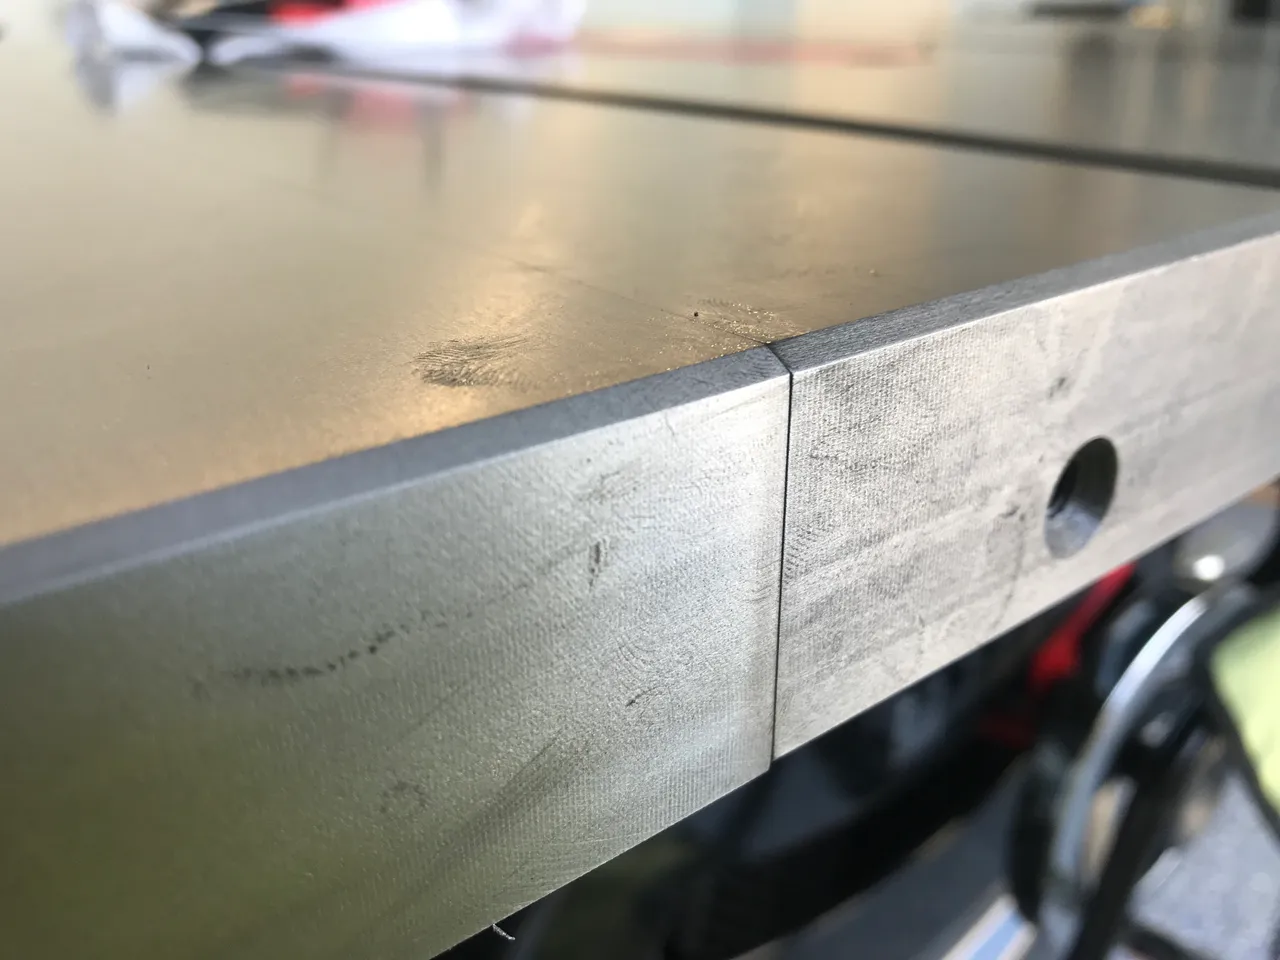
Bolt those wings on. These give me more surface area for when I cut wood.
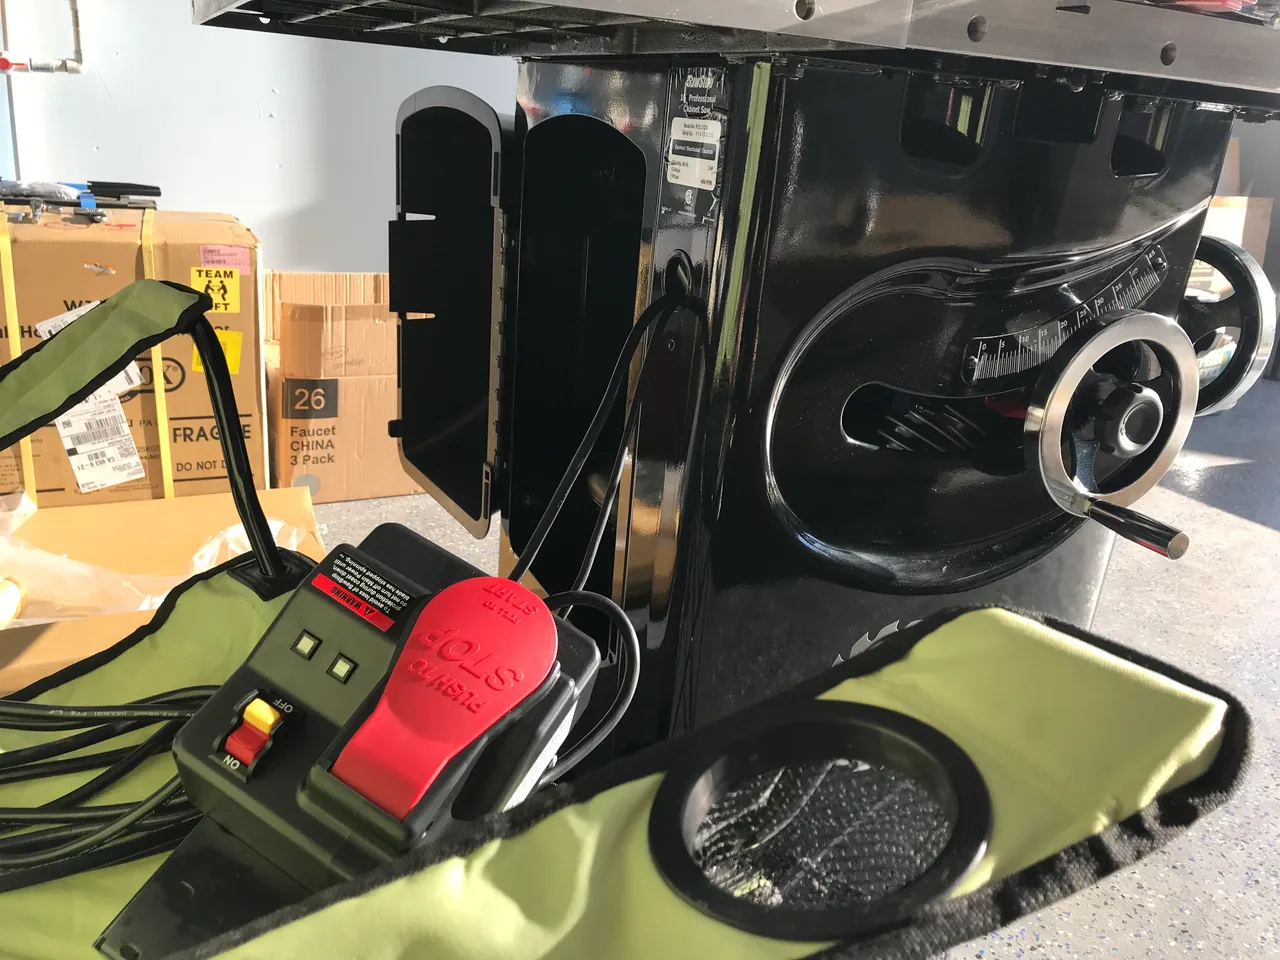
Now let's attach this switch assembly. This is a great switch, incidentally. Among other features, you can turn the saw off with your knee—very useful when you have your hands full, and in an emergency.

What's this?
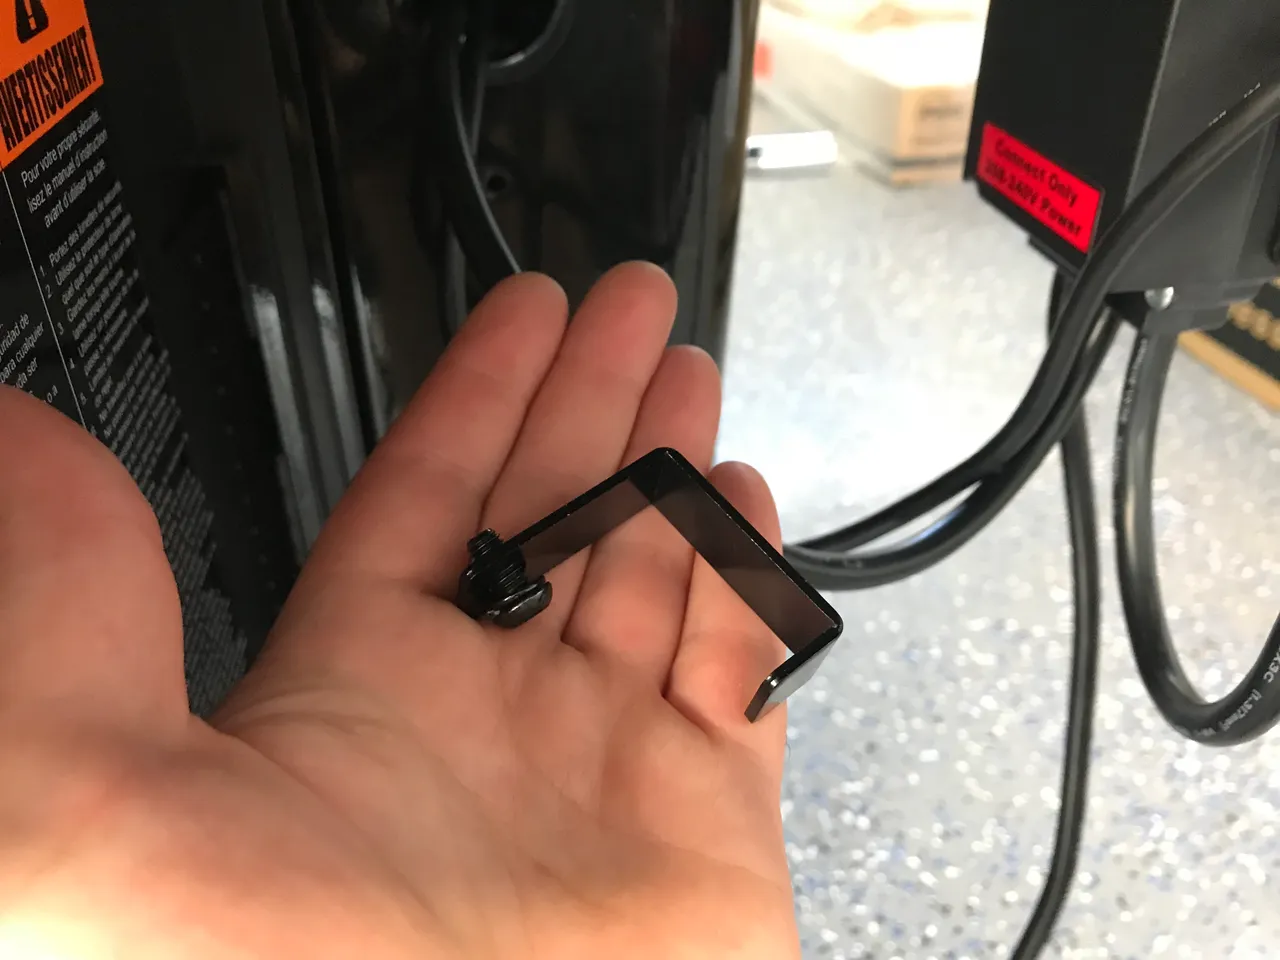
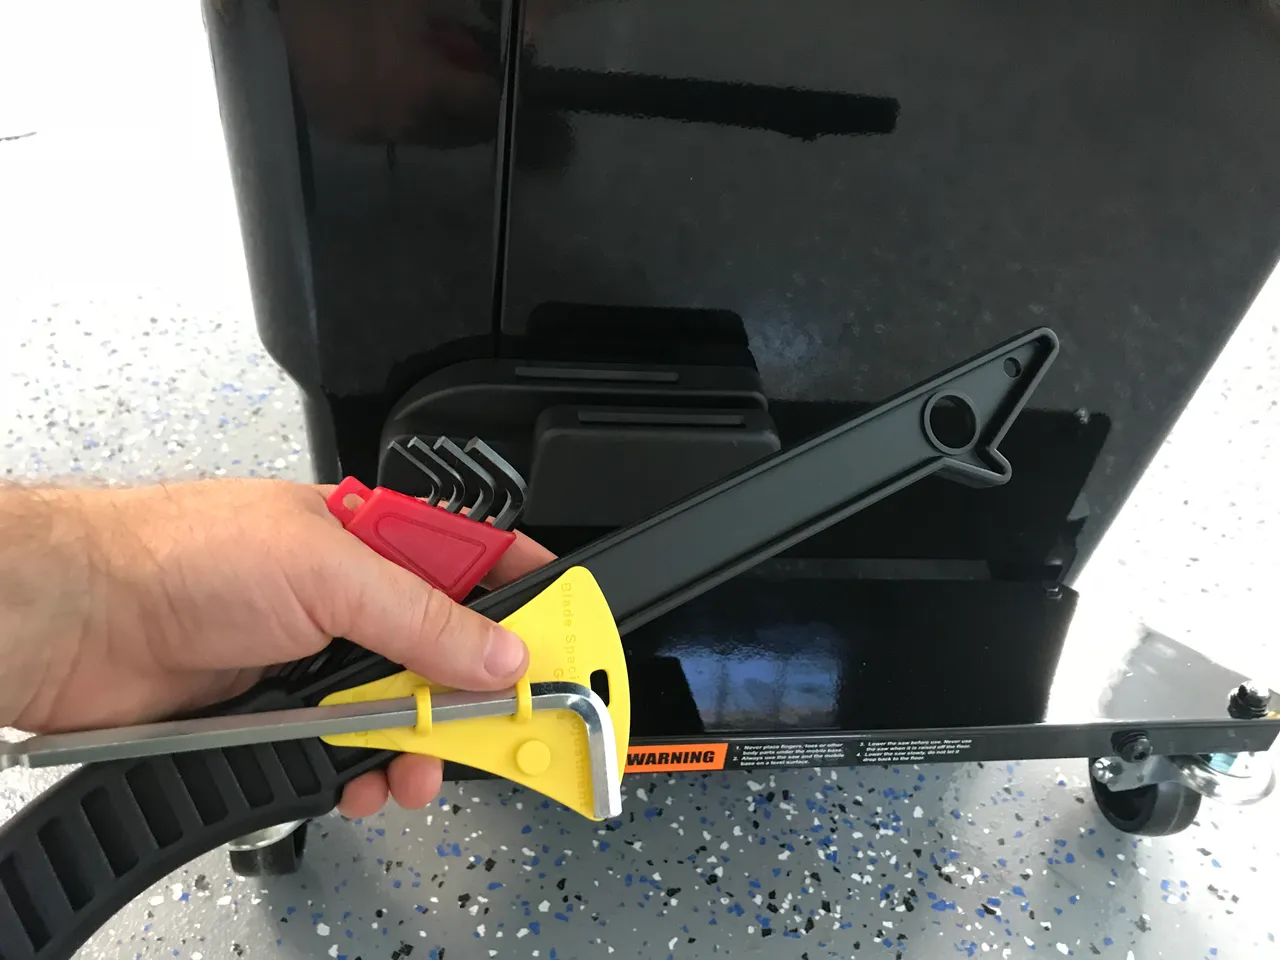
Ah. Wrenches for blade changing.
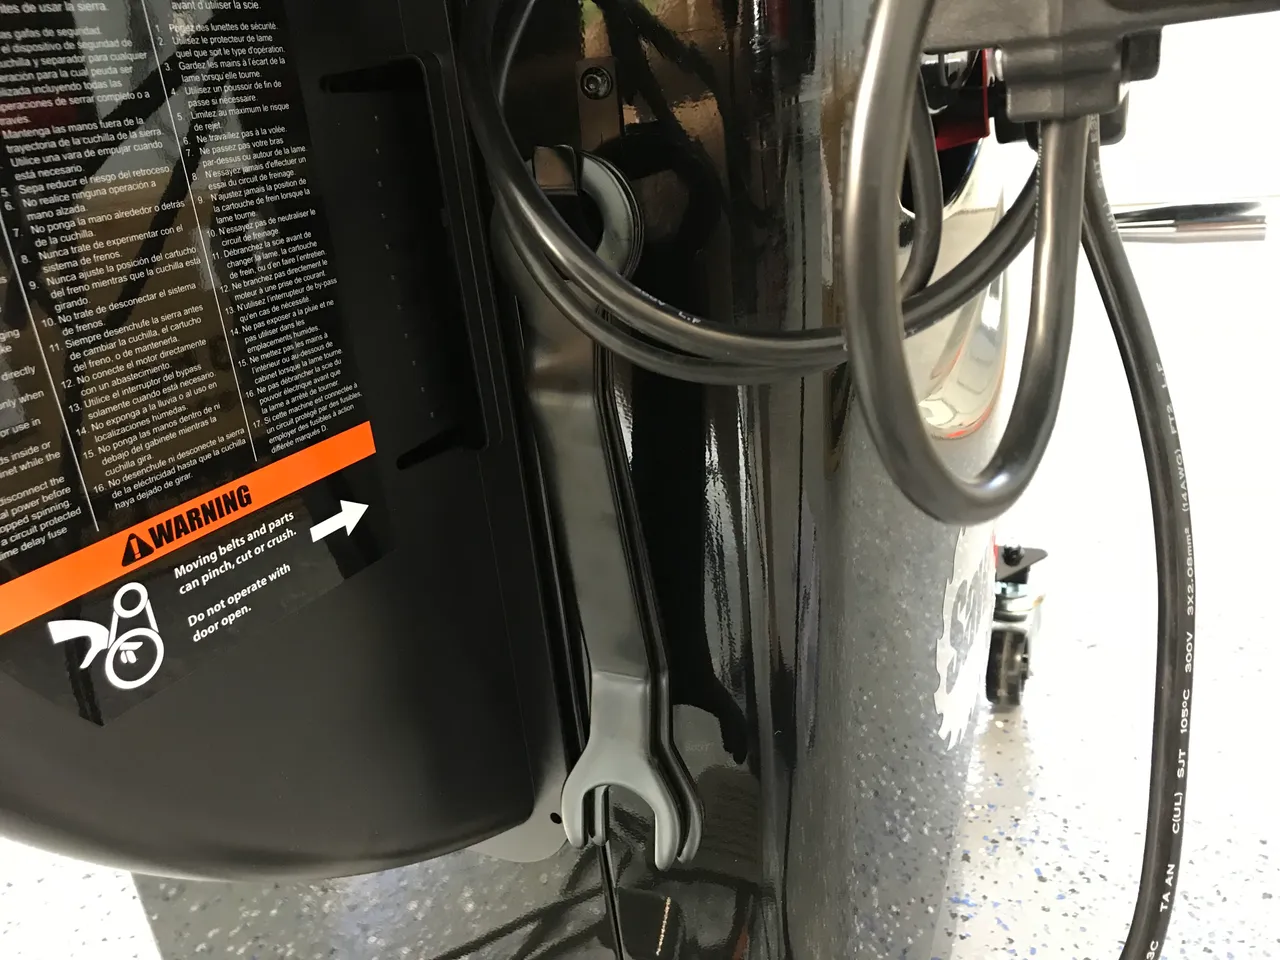
What's this?
It says it's an accessory holder. Let's introduce some accessories.
Nope. I'll research this later...
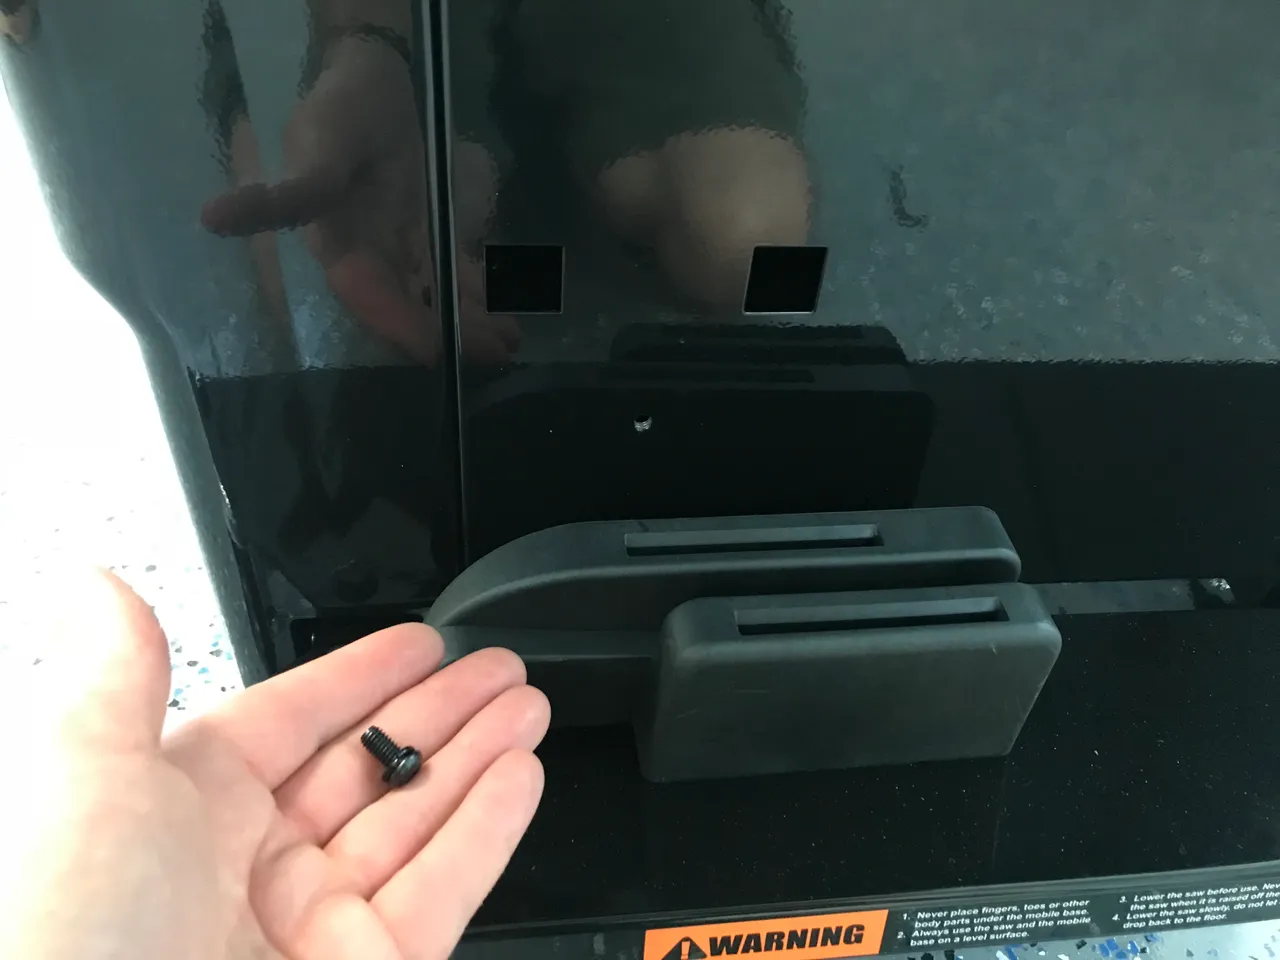
I have to remove the switch box again. I need to flush the wings to the main table.
It took a long time to make it this flush. Lot's of bolting and screwing and heaving and sweat. Very pleased with the result.
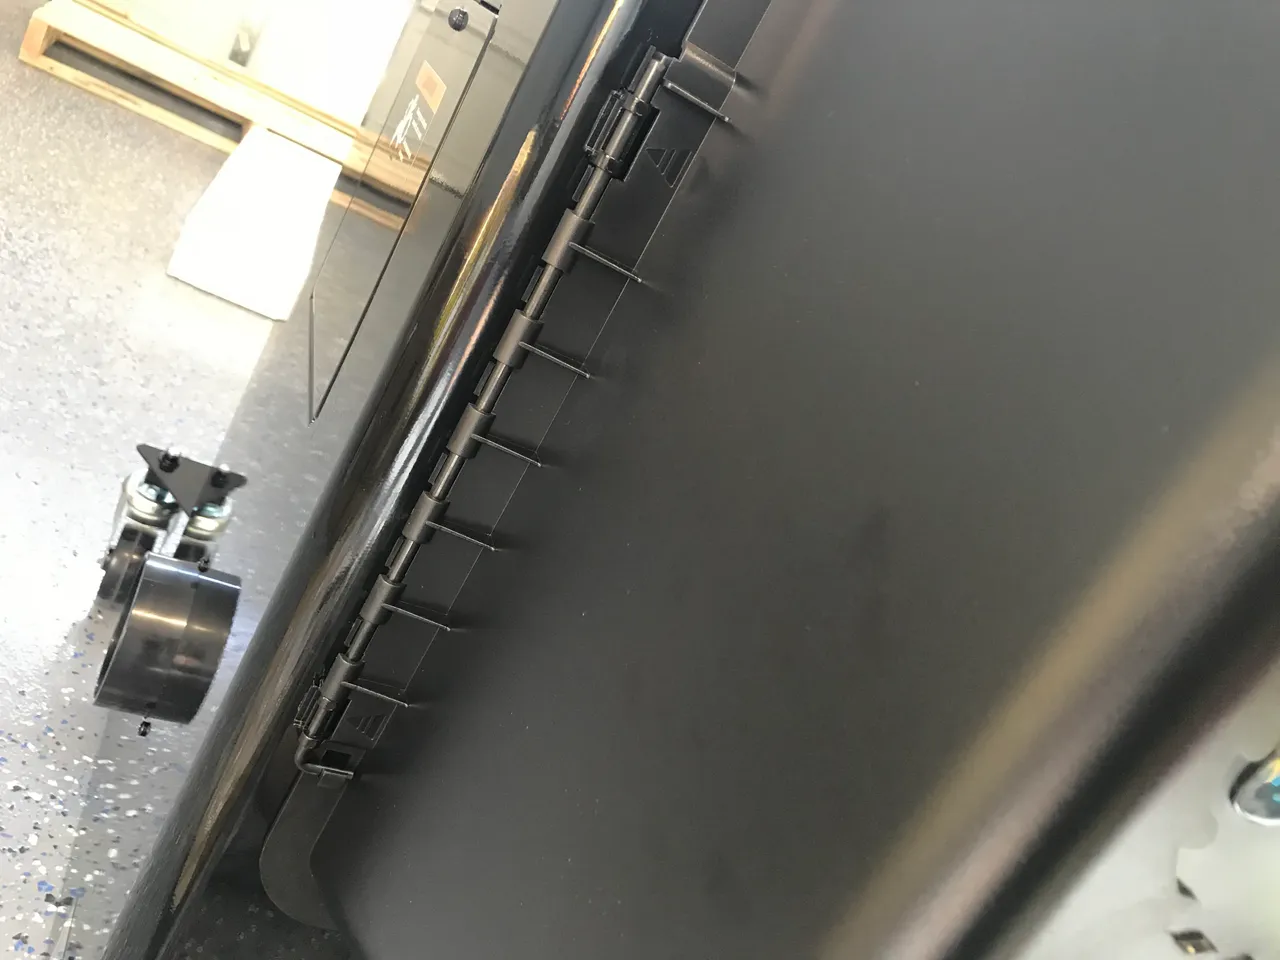
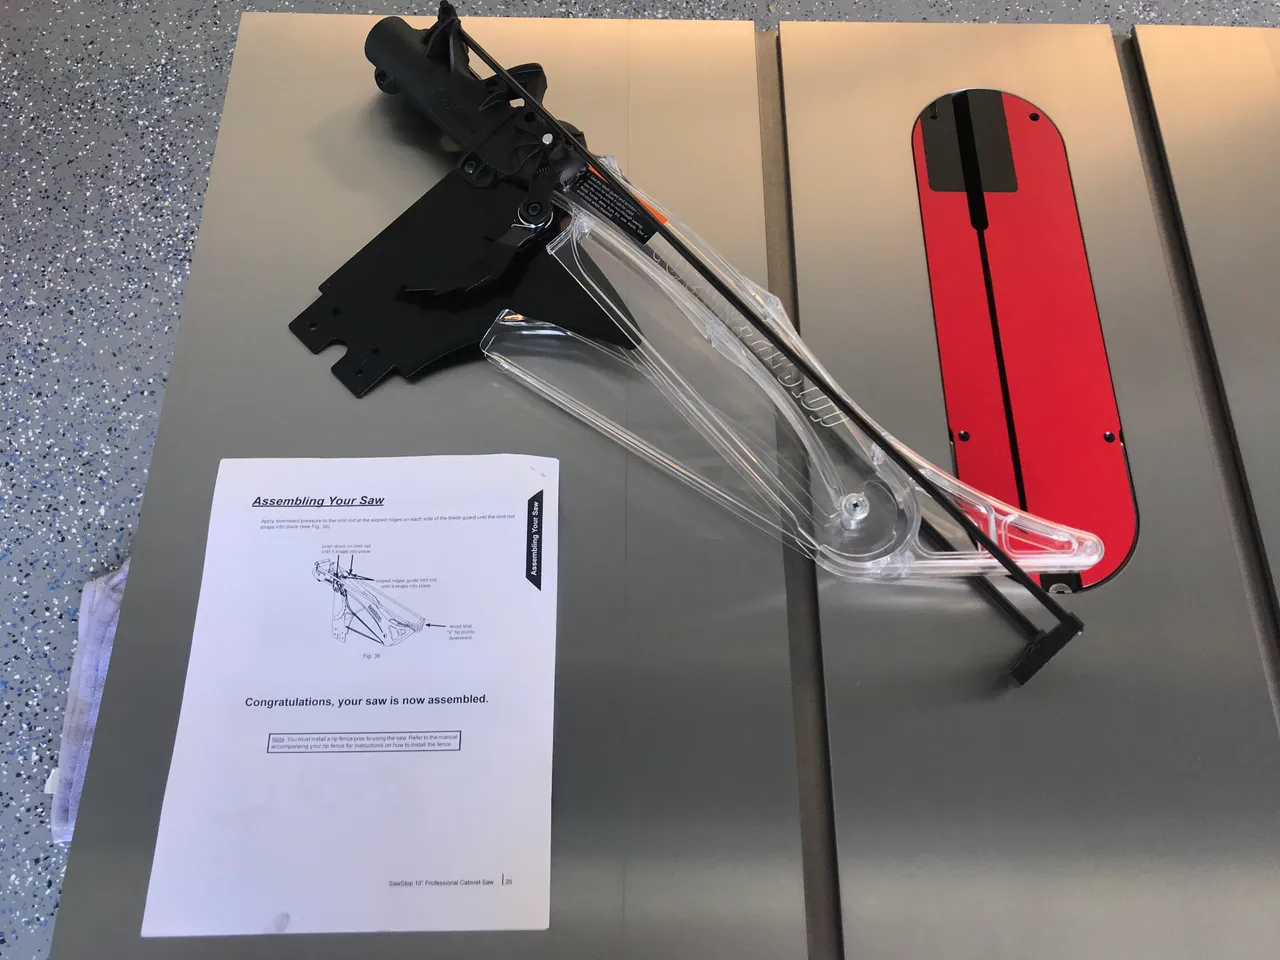
The instructions say I need to assemble this blade guard now. This encloses the blade for extra safety, and also channels the sawdust out of one spout instead of all over the fucking shop.
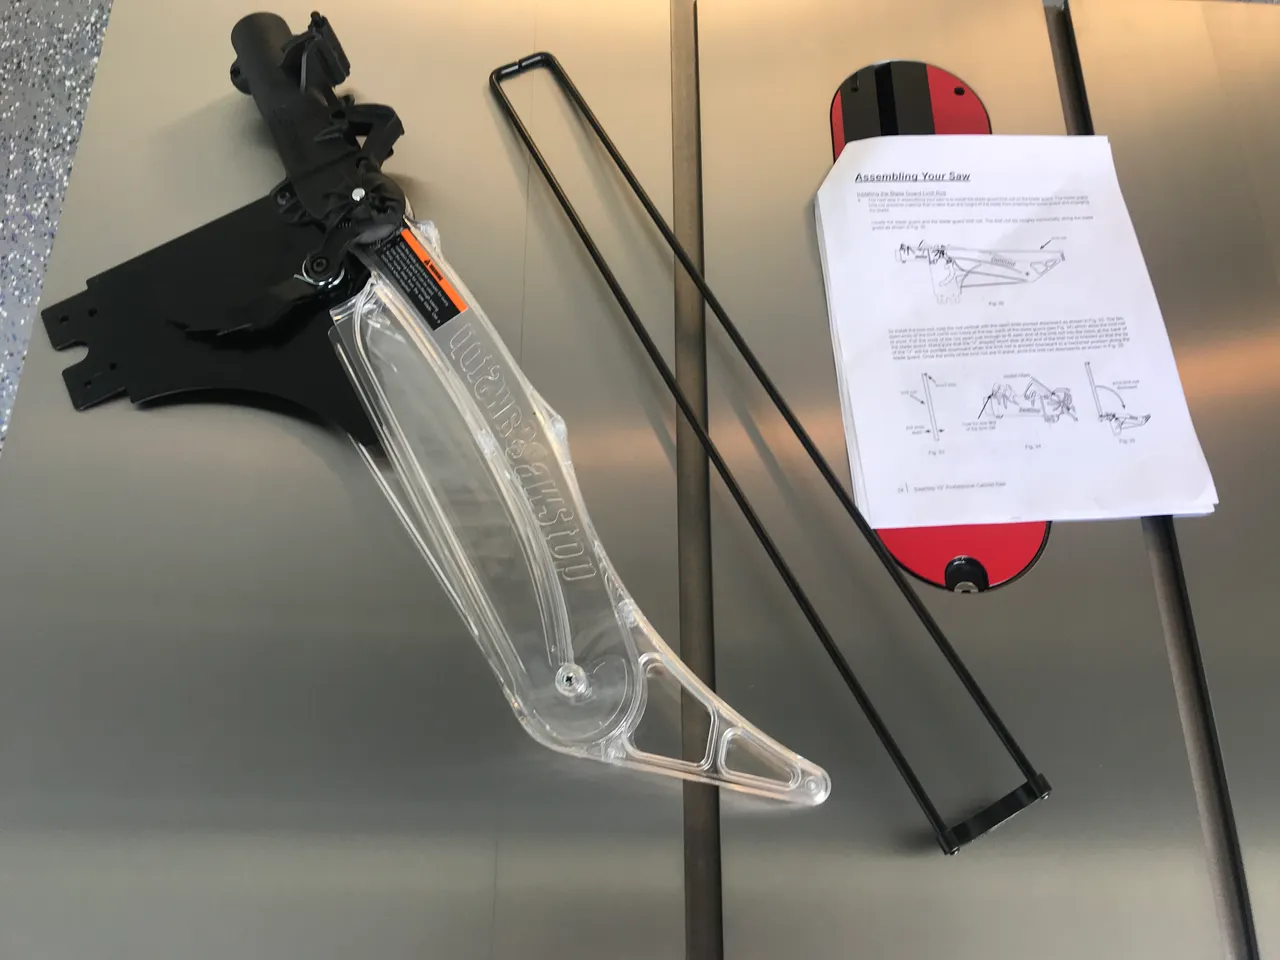
That's nice but I don't need it yet. Incidentally, that crazy top bar is to stop wood going through if it's too thick. Otherwise the wood would get stuck after passing the blade, creating some kind of nightmare.
That's good for now.

Next time we will look at the rails and rip fence, dust collection, electricity... and, if we're lucky, HANDLING WOOD.
Thanks for reading! Bye now.