

Hello my dear readers, I hope you are well and that you have or have had an excellent day. It's a pleasure for me to participate in this new contest provided by our friends from @Lacasitahive, here I leave you the link to the Contest for those who want to join.
I would like to take this opportunity to invite @eylis, @yusma21 and @damoclesart to be part of this contest. I hope they are still in time to participate as well.
Here in Venezuela we don't celebrate this holiday, although I would love it to be celebrated, because I see that in other countries, children get very excited, dressing up and going around the houses looking for candy or doing something naughty. And I know that not only the children have fun, but also the adults, because they are the ones in charge of making all those decorations around the house and they look great.
However, nowadays, many shops selling food, clothes and shopping centres have been seen decorating with images alluding to Halloween, and even in some houses you can also see some decorations, but they are very few. In the area where I live, many locals have agreed to organise a Halloween Route, which involves visiting the locals, taking children in costume to collect candy, take photos, among other things. At the end of the route, they meet at a certain place and award prizes to the children who have visited the most places and the best costume.
I have not had the opportunity to go, but those who have told me that they have gone, say that they have a great time.
Today I want to show you step by step how to make a decorative pendant for a door, with useful material and it is very easy to do. Without further ado I will show you the steps.

STEP BY STEP:
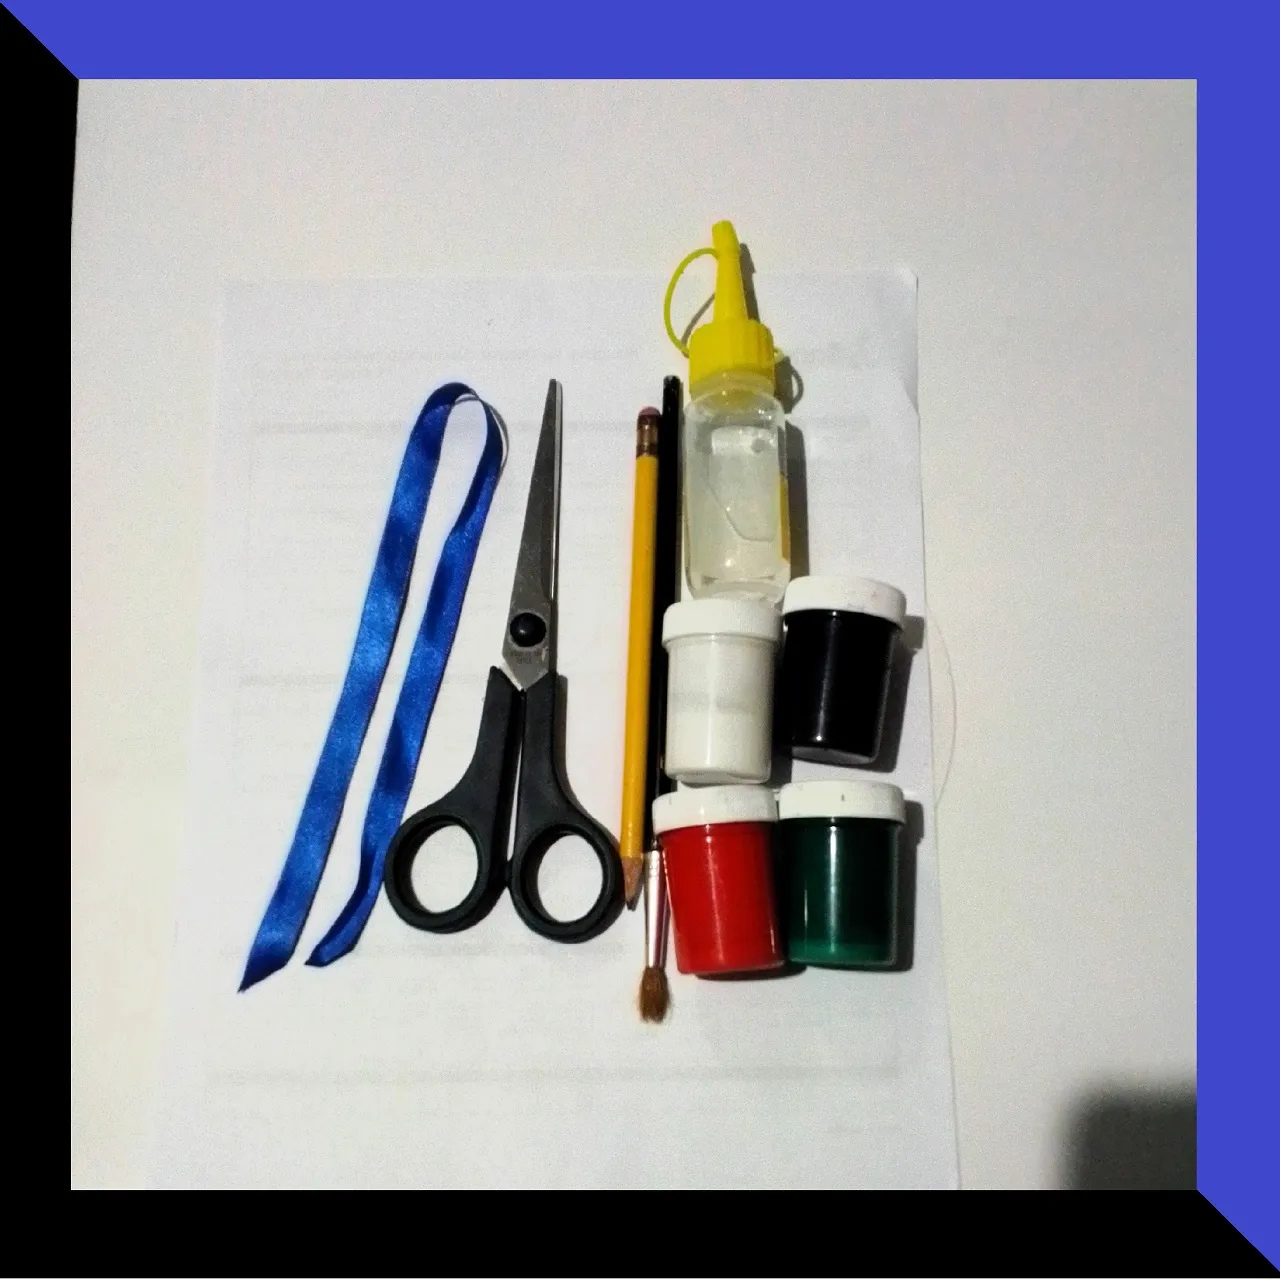
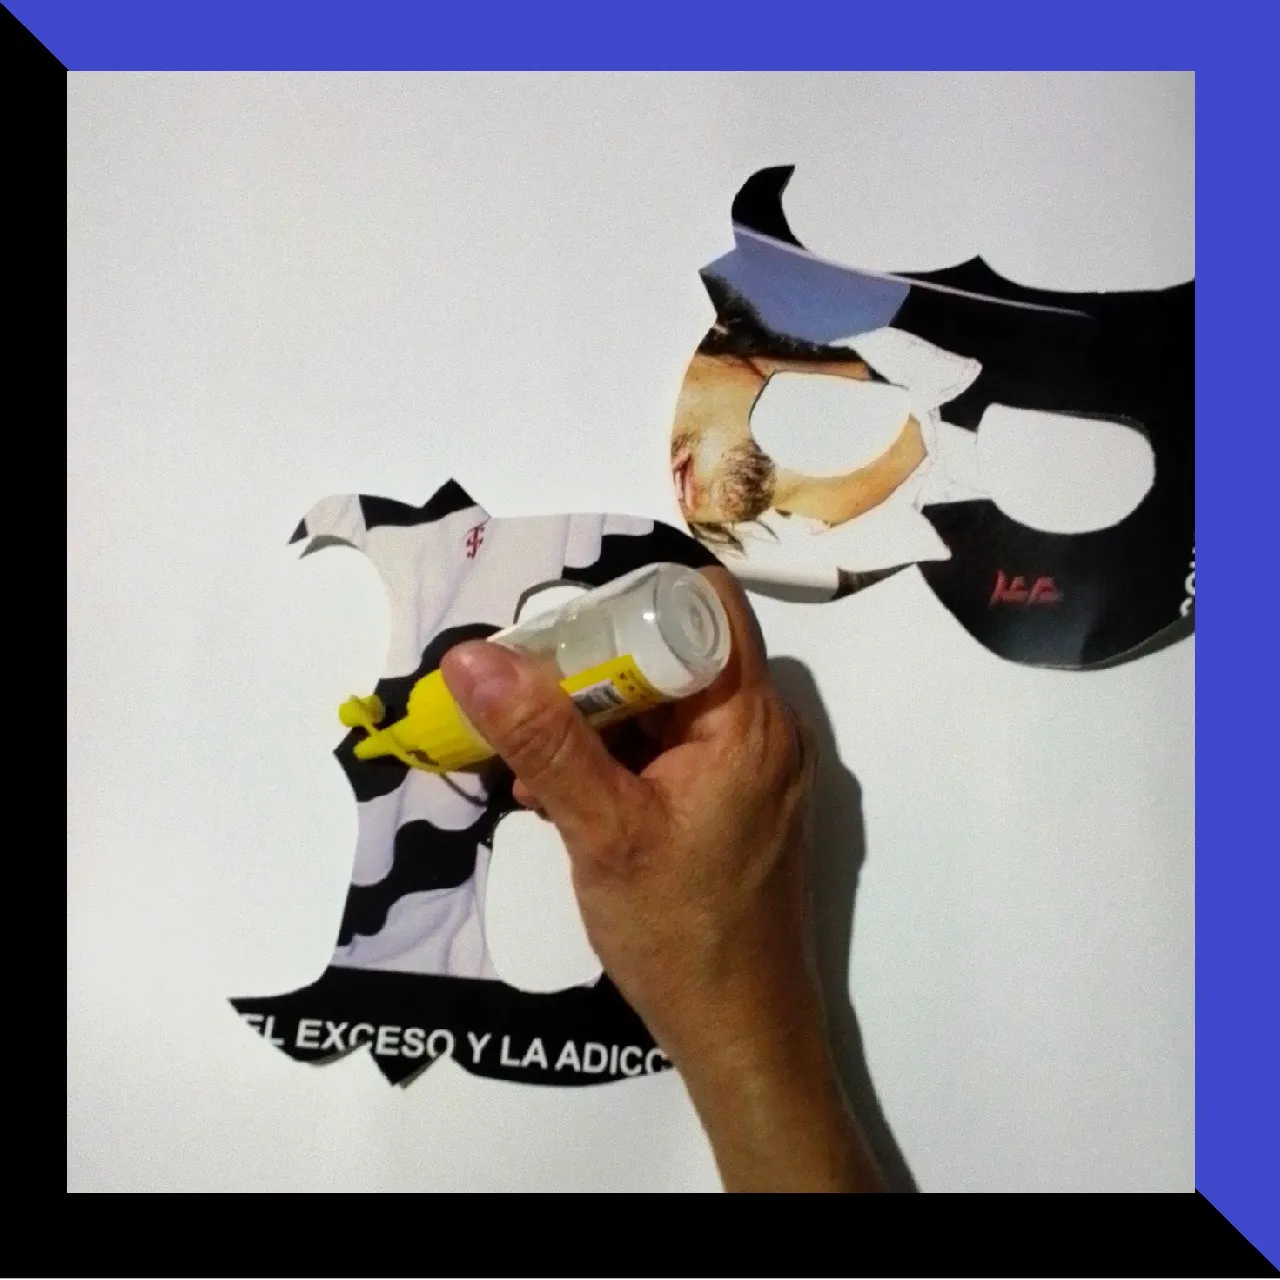
I have some posters that some kids gave me in a supermarket, they were taking them away because they were no longer useful and they were going to throw them away, so I asked them if they could give them to me and they said yes. They are like Glasé paper and that is what I will use to make this work.
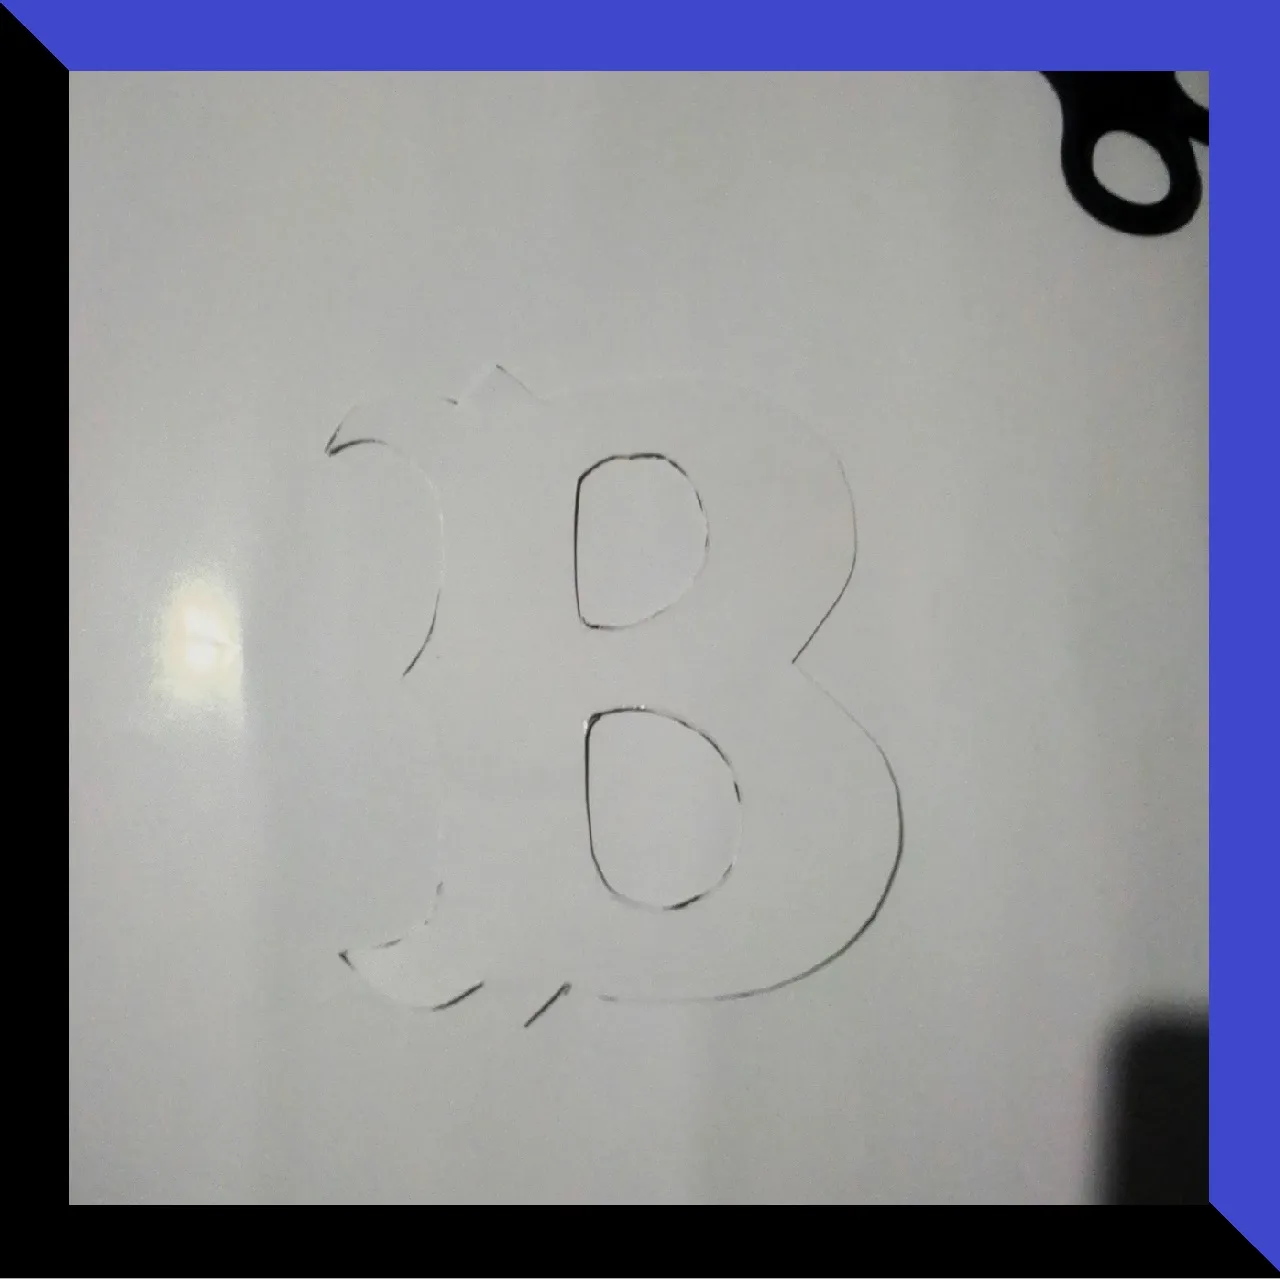
On a sheet of paper I will make a mould of the letter B, cut it out and mount it on the cardboard to cut out two of them.
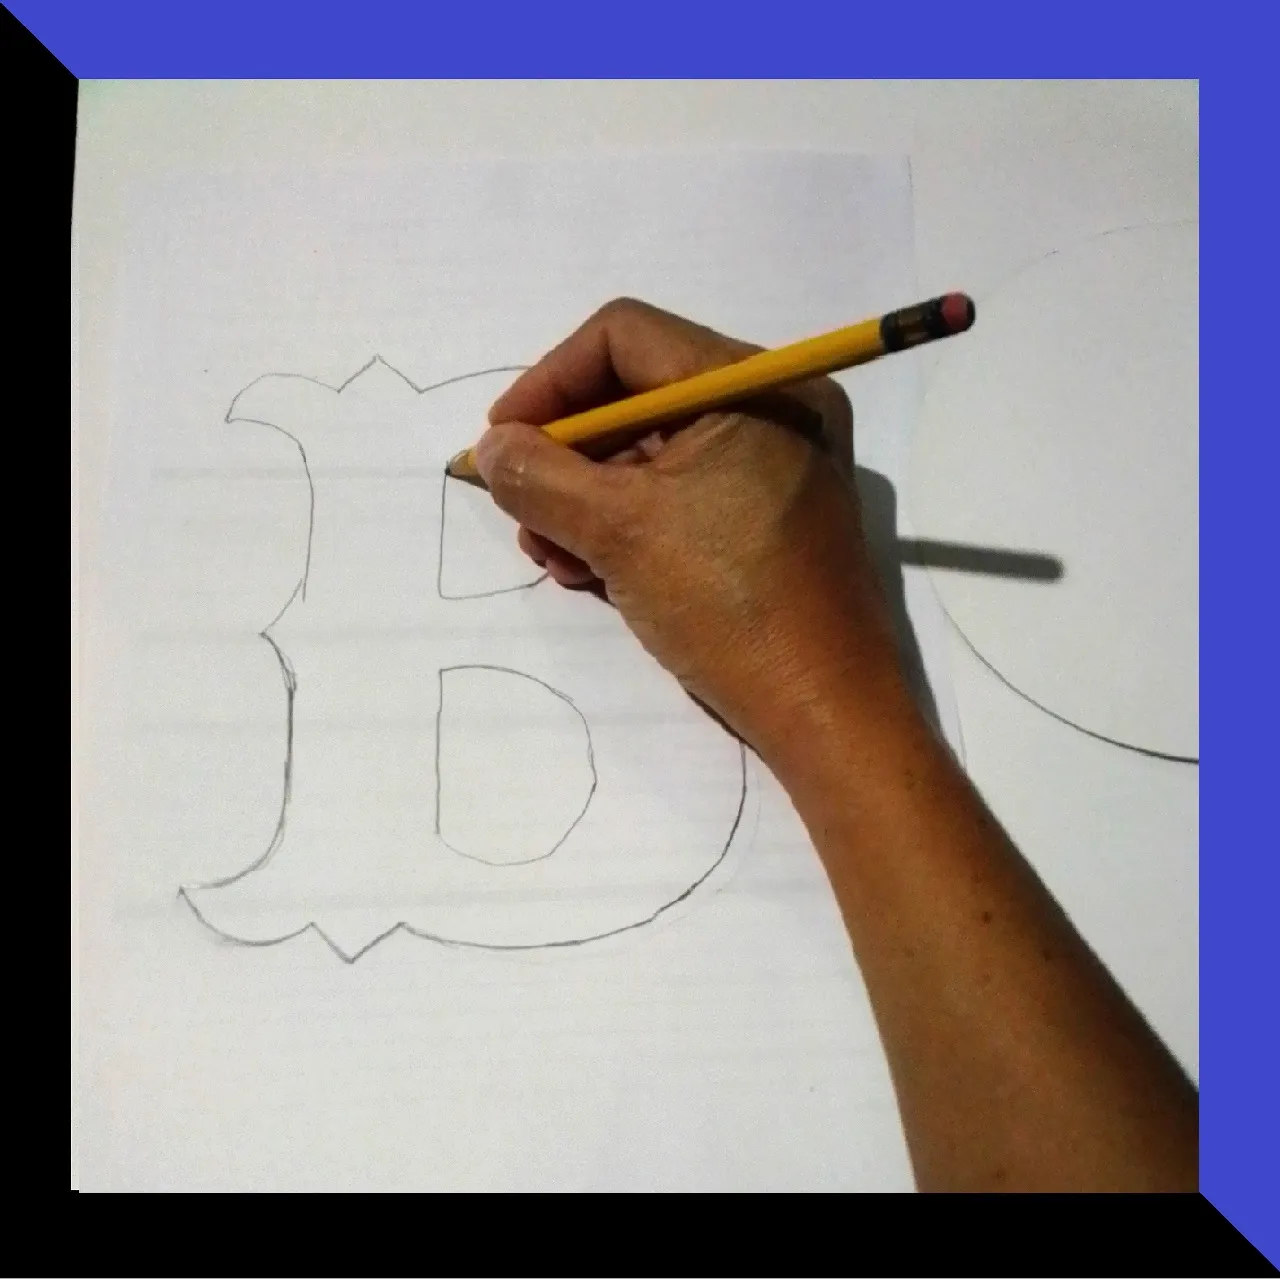
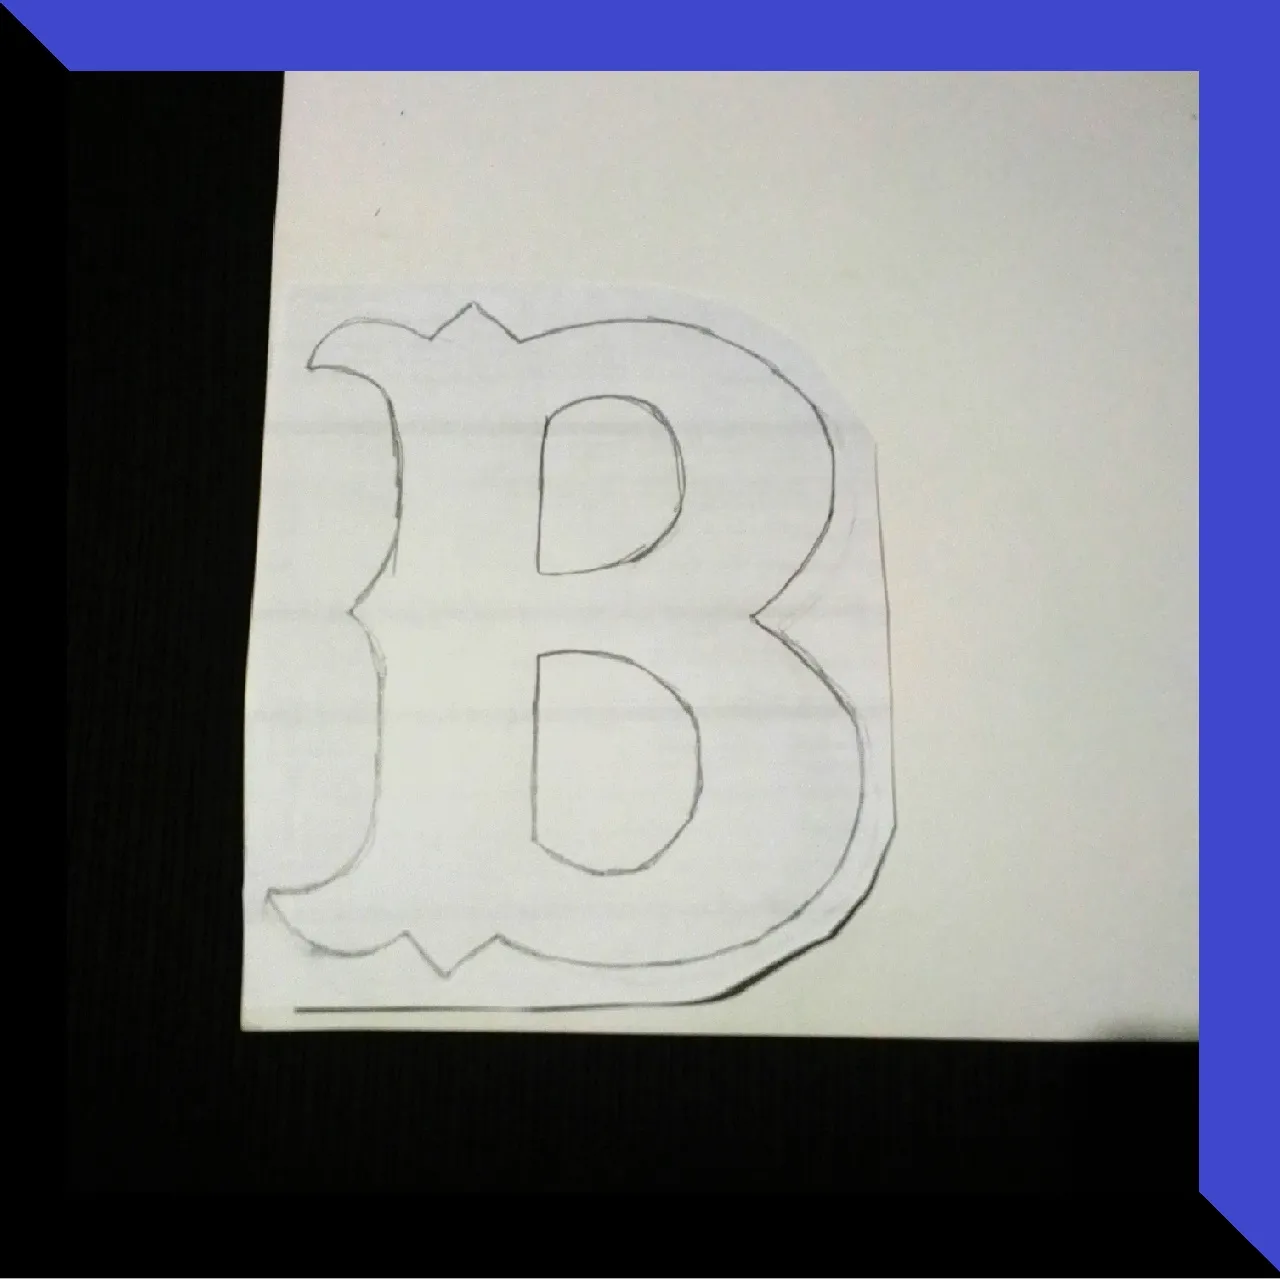
Cut it out very carefully so that it has a good finish. As the cardboard is not so hard, I cut out two letters and with the help of the silicone I will glue them together to make it stronger.
 |  |
|---|
 |  |
|---|
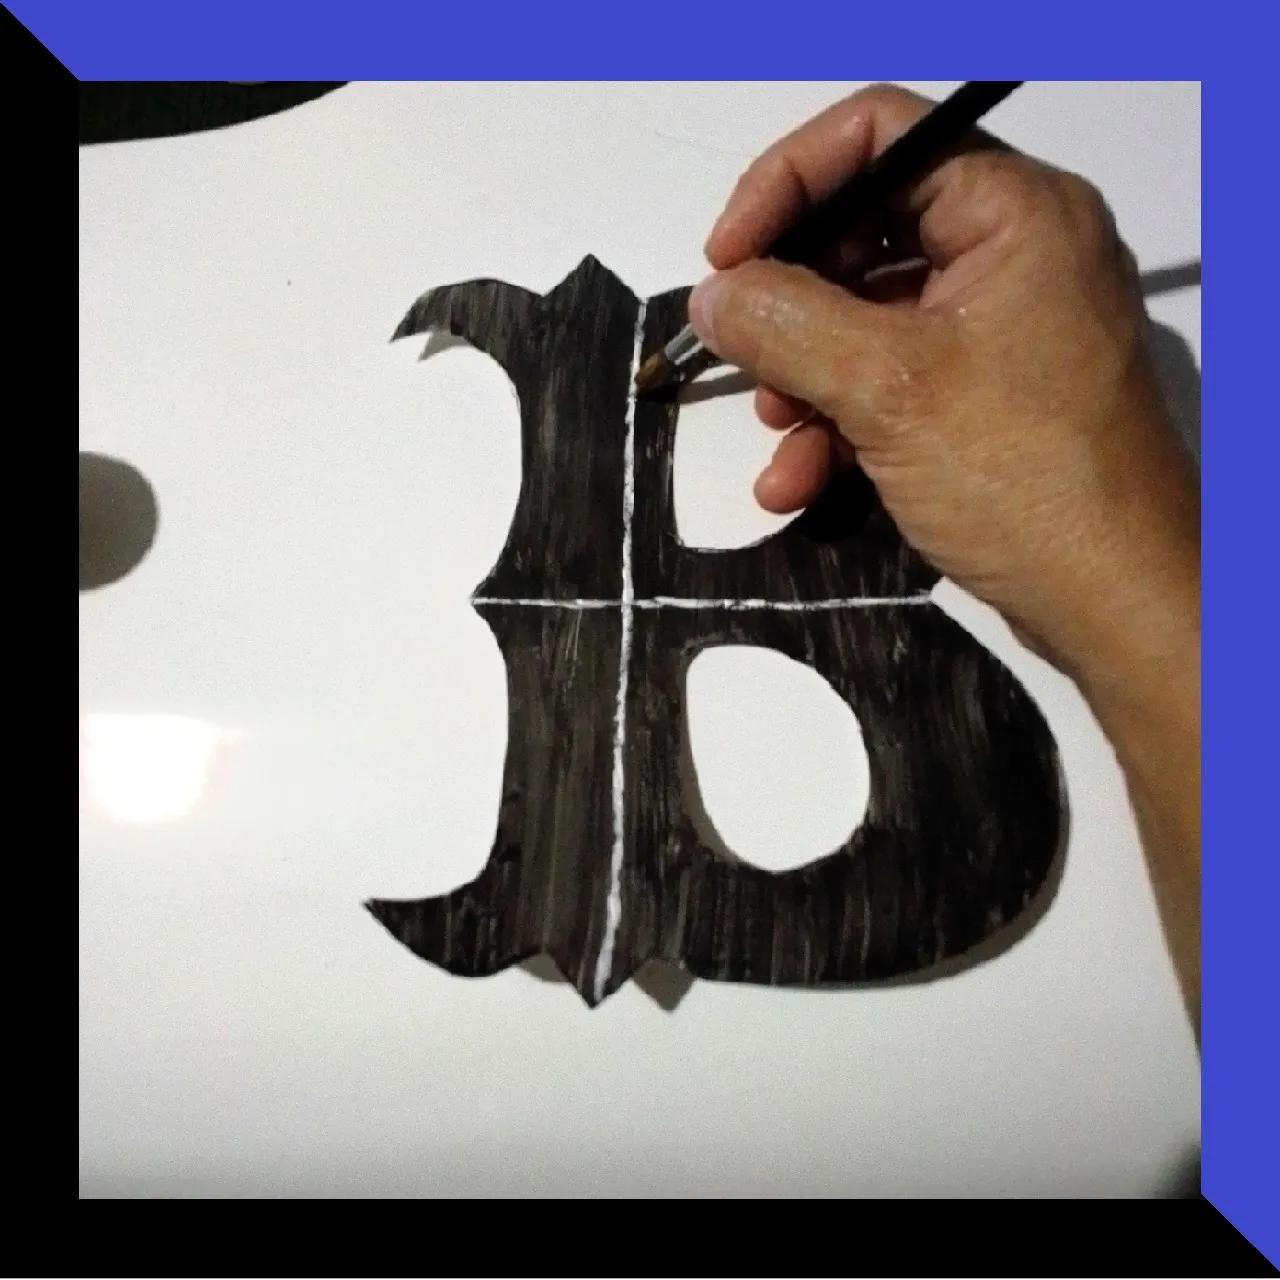
Once the glue has dried well, I proceed to paint it with the black paint.


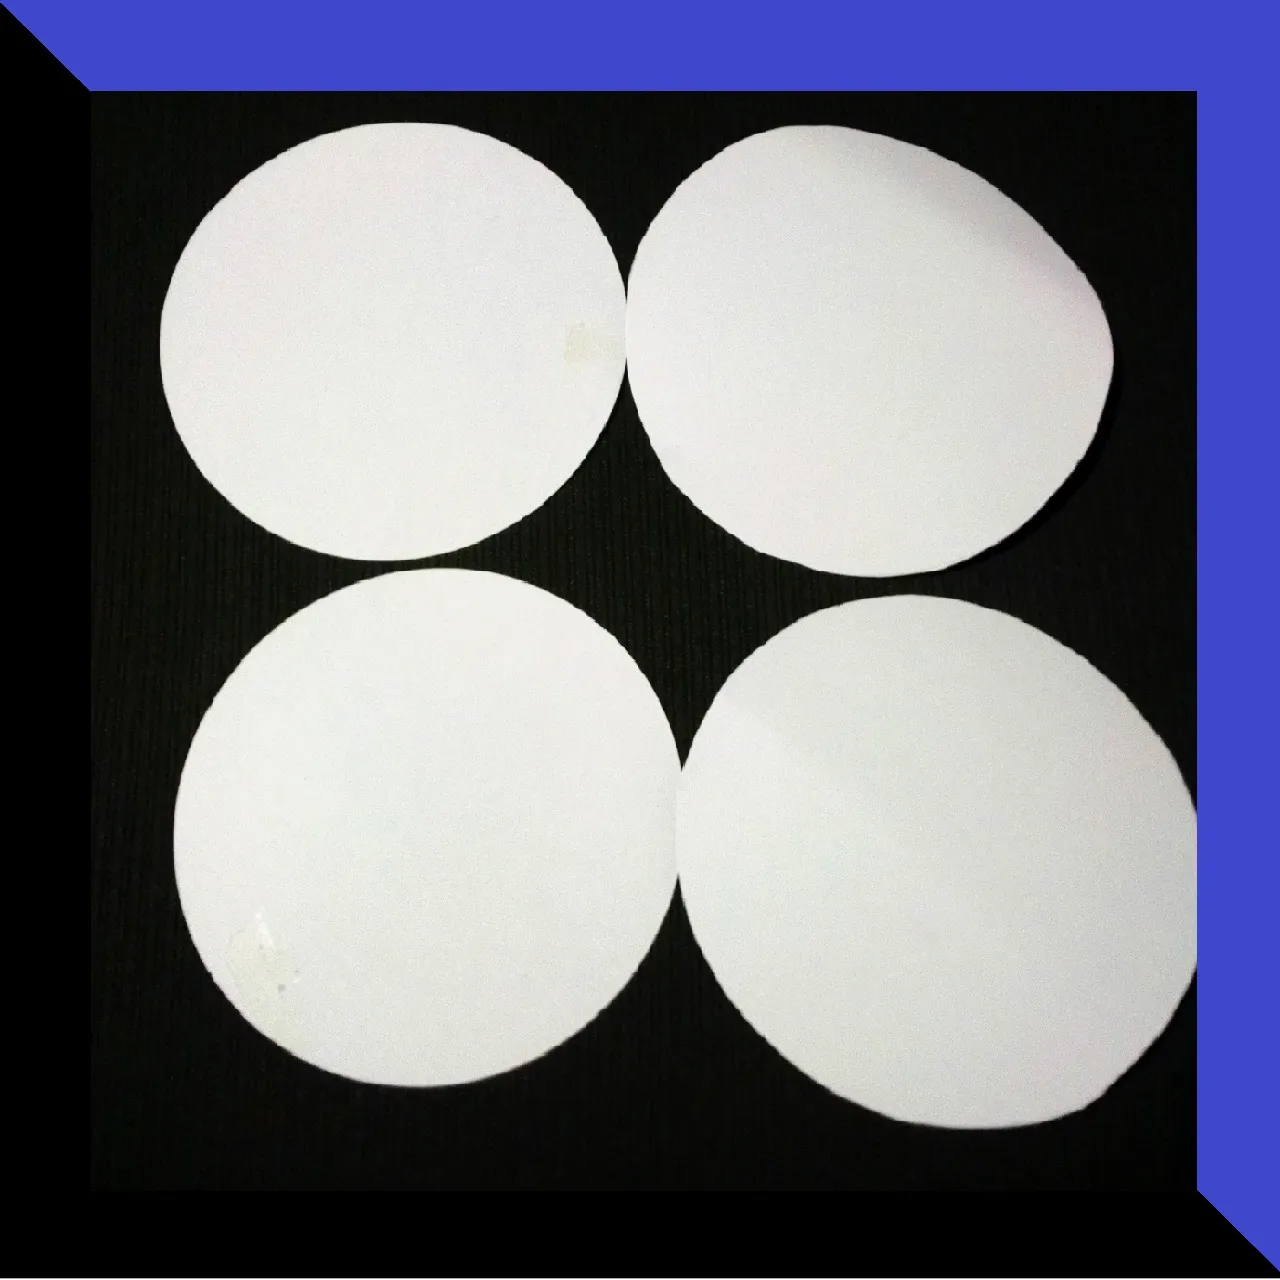
While I wait for the lettering to dry, I will cut out the other pieces. I will cut out about 4 circles, about 15 cm in diameter approximately. I'll do the same procedure as I did with the lettering, but I'll glue them together to make them harder.


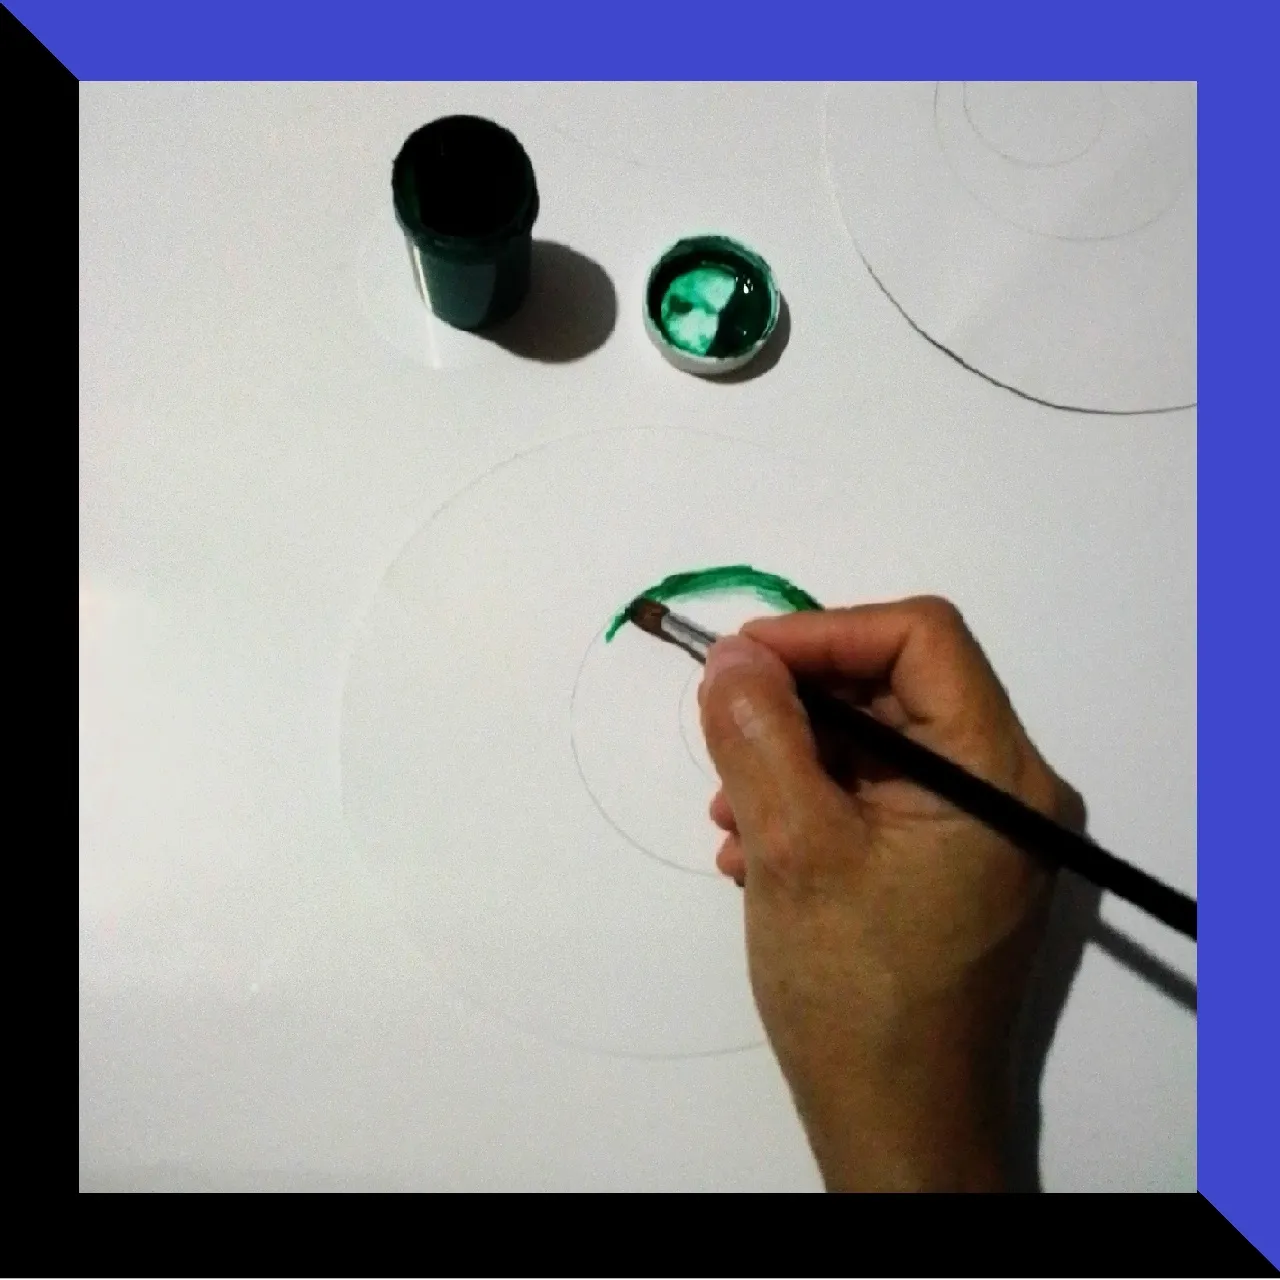
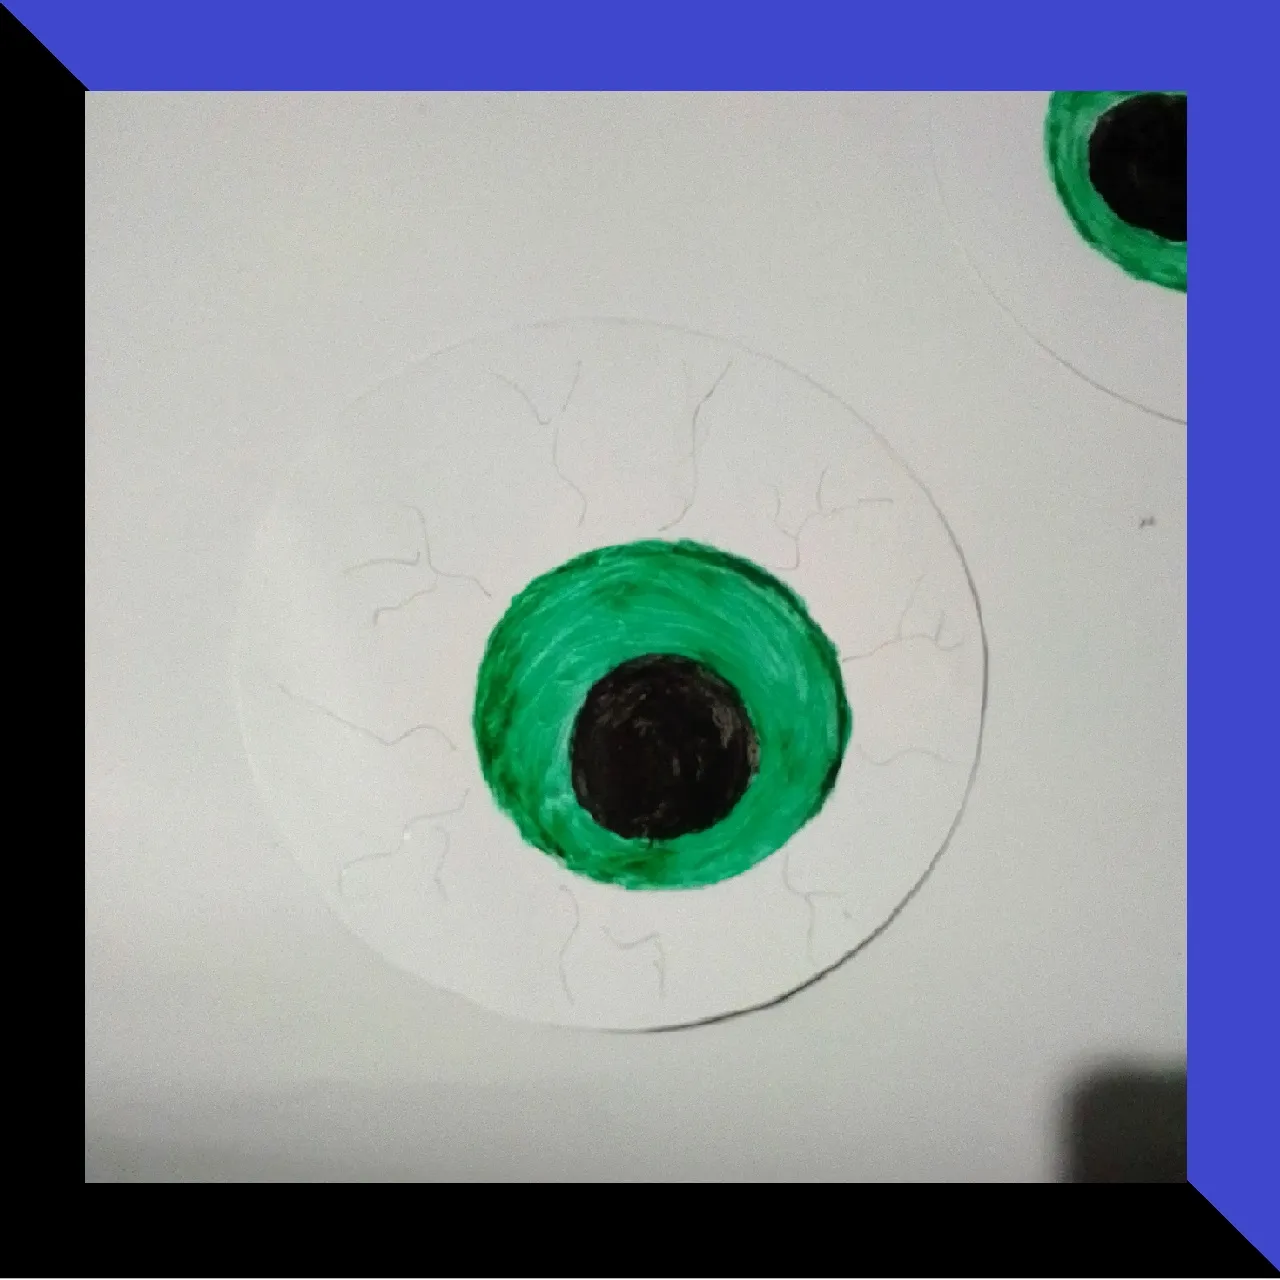
To make the eyes, on the circles, I will mark with the pencil, two more circles, one smaller than the other. And then I will paint them, the bigger one in green and the smaller one in black. As you can see in the pictures.
 |  |
|---|
 |  |
|---|
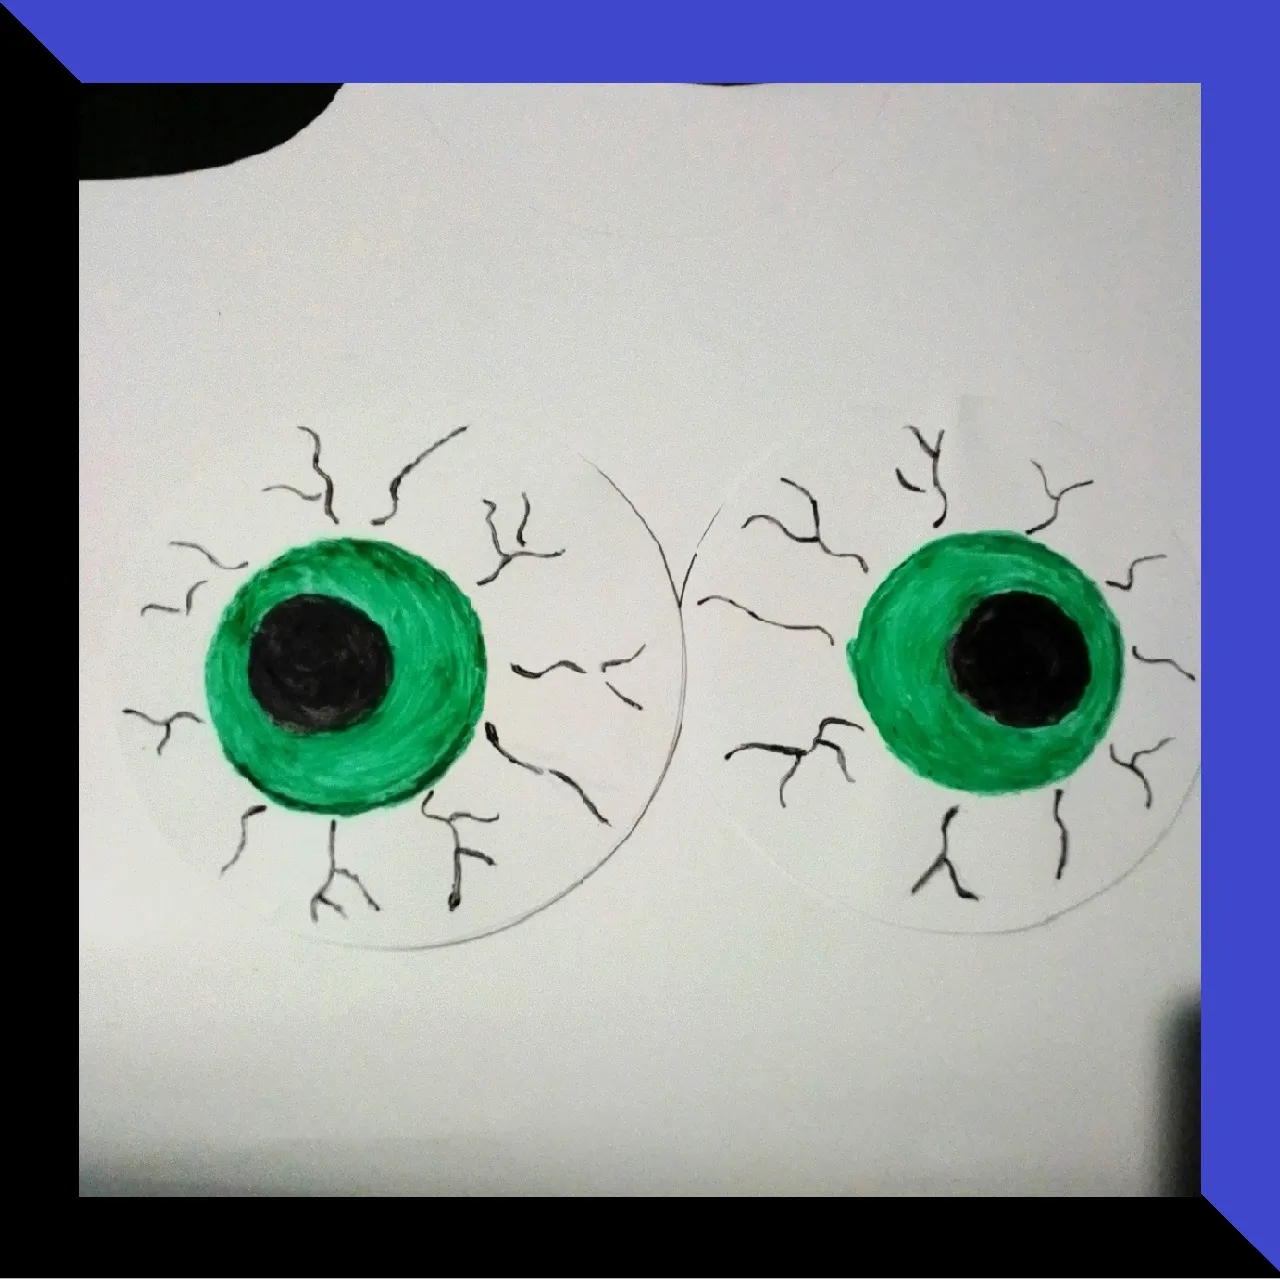
With the pencil I will mark on each eye, some rays simulating the blood vessels and I will paint them black.

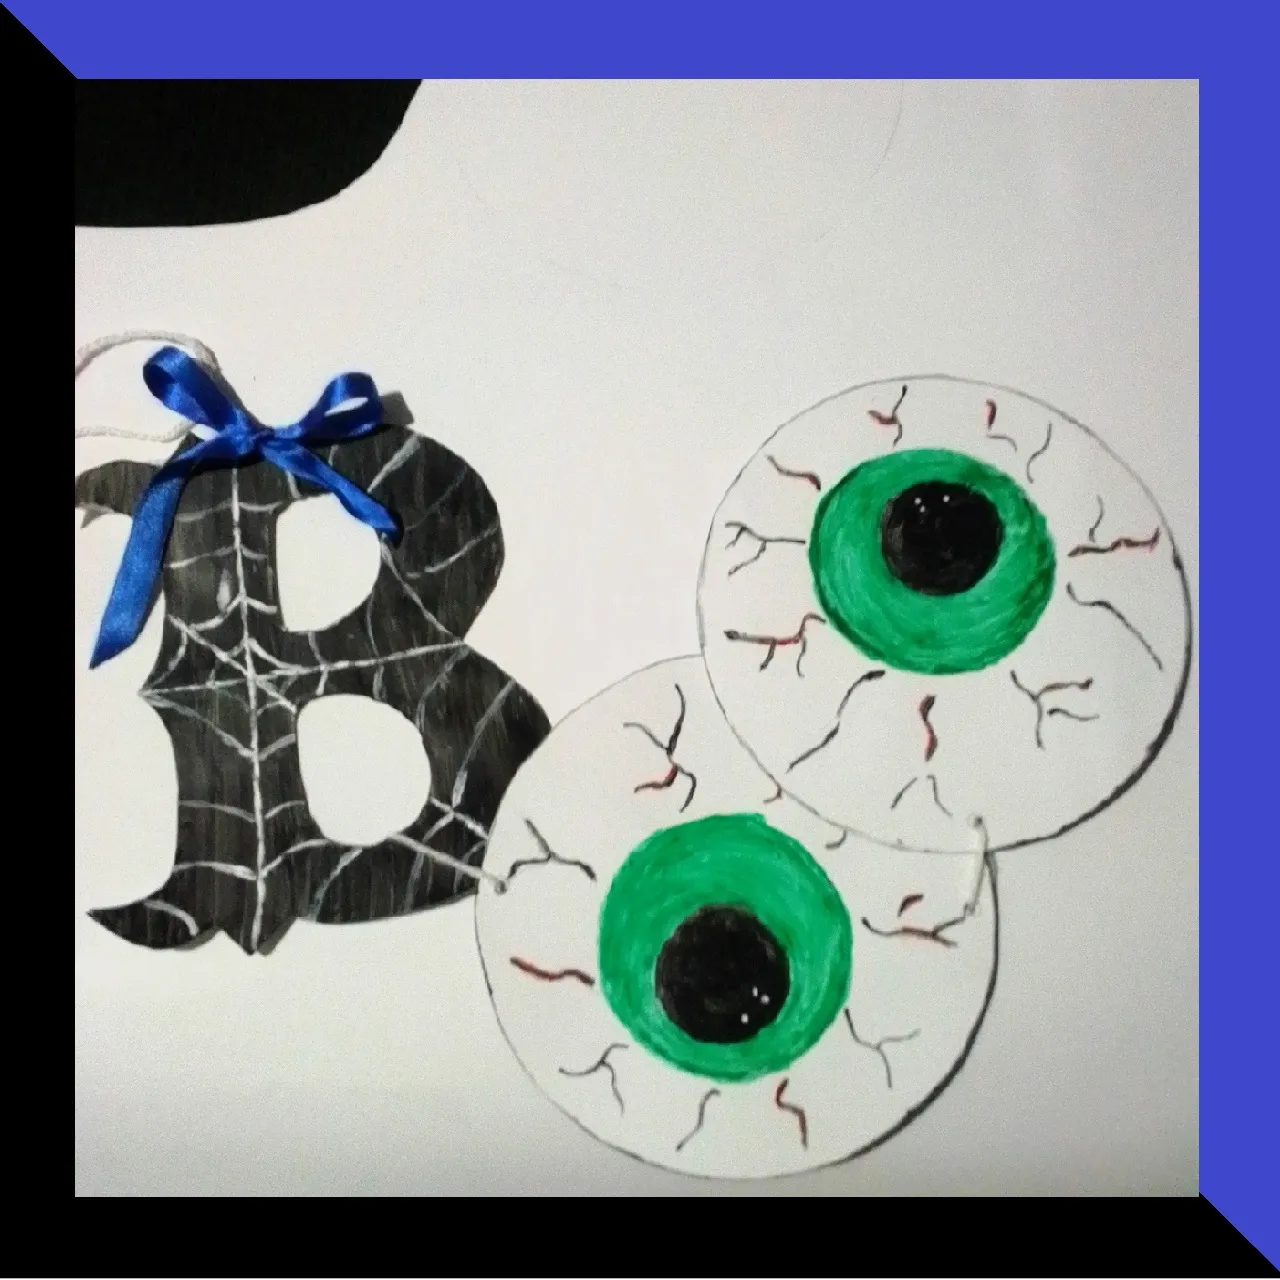
And then with the red paint, and with the help of the pencil, I'll paint some lightning bolts, just to give it a more terrifying touch. And then, with the white paint, I painted some dots on the black part of the eye, just to make it shine.


To finish decorating the letter B, I will use the white paint to make a spider's web. I will start by drawing a diagonal and vertical line and then I will make some curves all around. The result is as shown in the image.

And this way I would have all the pieces ready to use for the pendant.

In one of the eyes I will make, with the help of the scissors and the pencil, two holes and in the other eye, only one hole.
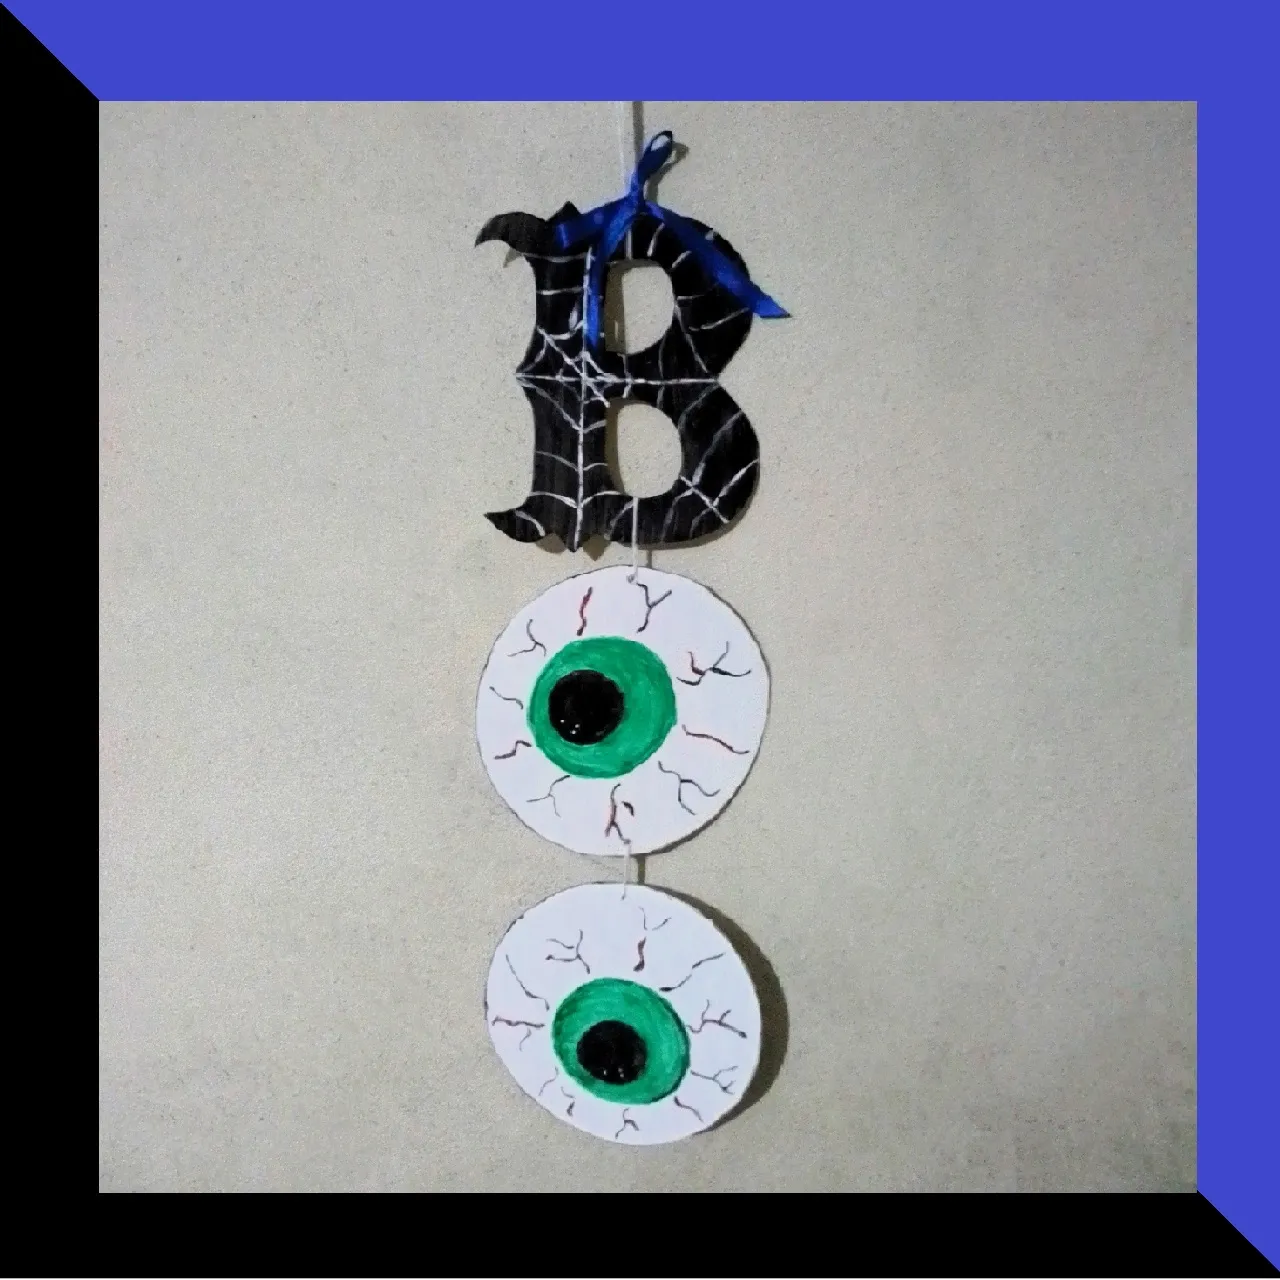
With the white yarn, I will join the eyes and the letter B. And on top of the letter, I will place a bow with the fabric ribbon, just for decoration.


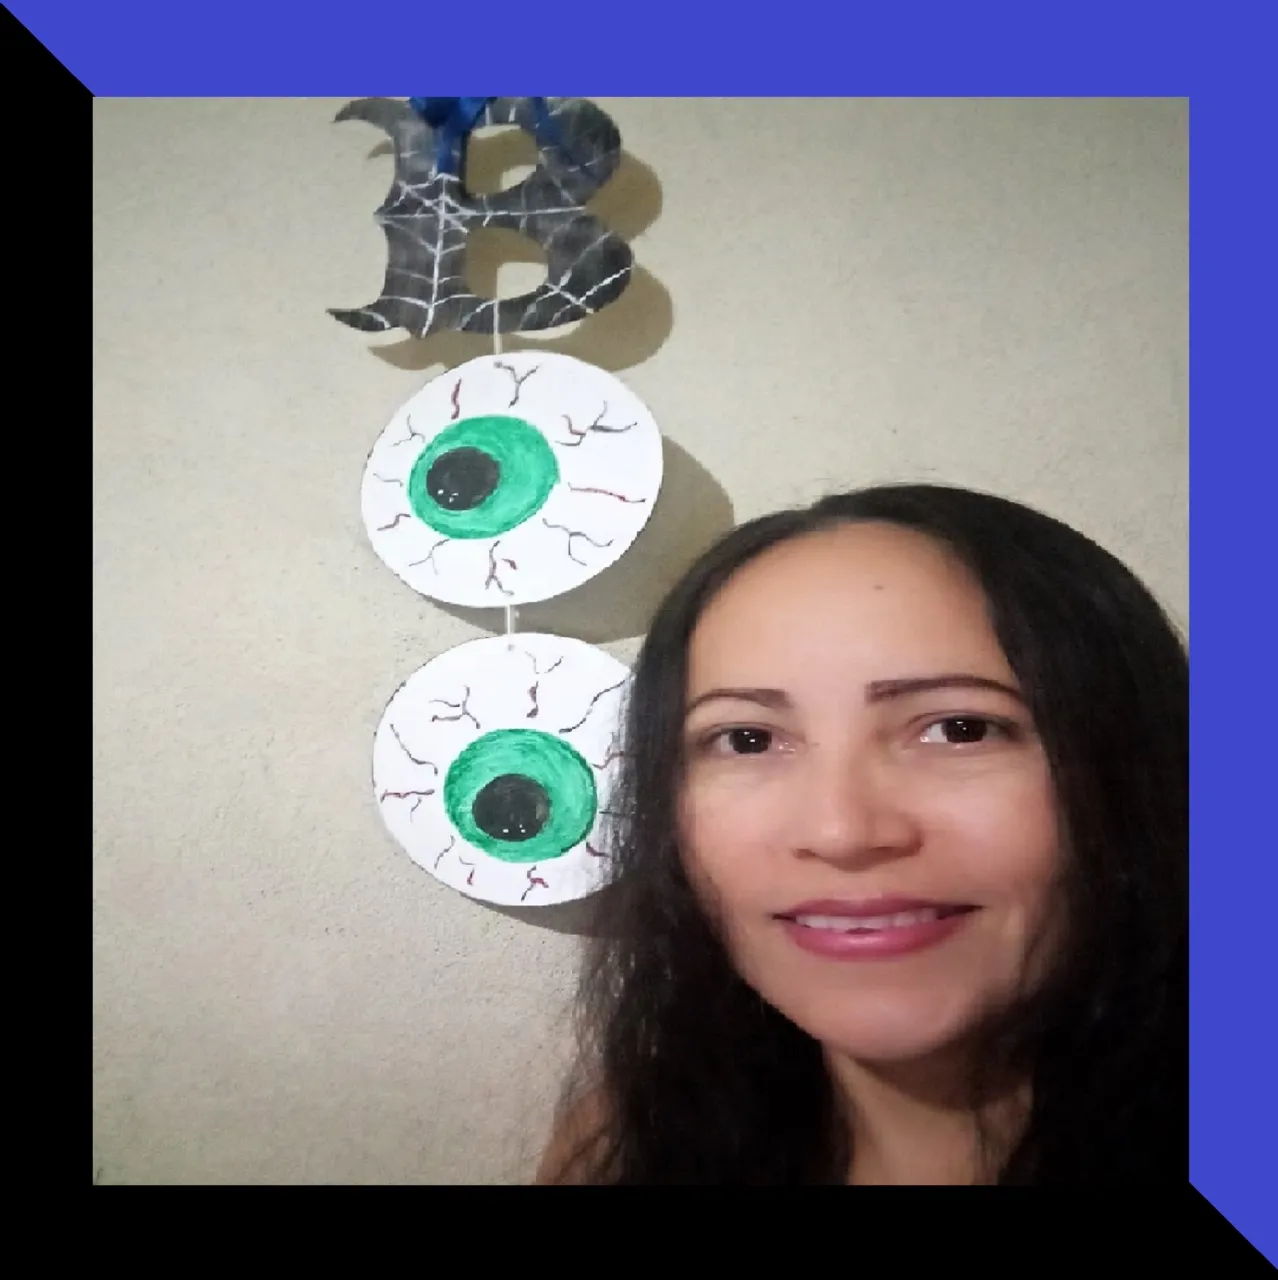
And as you can see, this is how my pendant turned out, ready to decorate the door or to decorate any area of the house.
I hope you liked this tutorial that I have prepared for you. I say goodbye as always, but not before thanking you for taking a little of your valuable time to read and visit my blog. Take care of yourselves and be well.
Content of the original creation:
🕸 All photos are mine taken and edited with my Alcatel phone.
🕷 The cover image, was made with the Canva app and edited by me.
🦇 The divider images were taken from the Canva page and edited by me in Paint.
🕸 The English translation was done with the help of DeepL. 🕷 The letters indicating the languages were taken from fontmeme.com/en/.


Hola mis queridos lectores, espero que se encuentren bien y que tengan o hayan tenido un excelente día. Para mí es placer participar en este nuevo concurso que nos proporcionan los amigos de @Lacasitahive, aquí les dejo el enlace al Concurso para aquellas personas que se quieran unir.
Quiero aprovechar la oportunidad para invitar a @eylis, @yusma21 y @damoclesart a formar parte de este concurso. Espero que aún estén a tiempo de participar también.
Aquí en Venezuela no se celebra esta festividad, aunque a mí sí me encantaría que se celebrara, pues veo que en otros países, se emocionan muchos los niños, disfrazándose y recorriendo las casas en busca de dulce o de hacer alguna travesura. Y sé que no solo los niños se divierten, también los adultos, pues ellos son los encargados de hacer todas esas decoraciones en toda la casa y les queda geniales.
Sin embargo, hoy en día, se ha visto muchos locales de venta de comida, ropa y centro comerciales, que decoran con imágenes alusivas a Halloween, incluso en ciertas casas también se aprecian ciertas decoraciones, pero son muy pocas. En la zona donde vivo, muchos locales se han puesto de acuerdo en organizar una Ruta Halloween, que trata de ir visitando los locales, llevando a los niños disfrazados para recoger dulces, tomarse fotos, entre otras cosas. Hasta el final del recorrido, se reúnen en cierto lugar y premian a los niños que recorrieron más locales y el mejor disfraz.
No he tenido la oportunidad de ir, pero los que me han contado que han ido, dicen que la pasan muy bien.
Hoy les quiero mostrar el paso a paso de como realice un colgante decorativo para una puerta, con material de provecho y es muy fácil de hacer. Sin más preámbulos les muestro los pasos.
PASO A PASO:
Tengo unos afiches que me regalaron unos chicos en un supermercado, los estaban retirando porque ya no les servía y los iban a botar, así que les dije que si me lo podían regalar y dijeron que sí. Son como un papel Glasé y es lo que usaré para realizar este trabajo.
En hoja de papel realizaré un molde de la letra B, la recortaré y la montaré en la cartulina para recortar dos de ellas.
Recorte con mucho cuidado para que quede con un buen acabado. Como la cartulina no es tan dura, recorte dos letras y con la ayuda del silicón las pegaré y así quede más fuerte.
| |
|---|
| |
|---|
Una vez que haya secado bien la pega, procedo a pintarla con la pintura de color negro.
Mientras espero que se seque bien la letra que pinte, iré recortando las demás piezas. Recortaré unos 4 círculos, como unos 15 cm de diámetro aproximadamente. Y realizo el mismo procedimiento que hice con letra, los pegaré para que queden más duros.
Para realizar los ojos, en los círculos, marcaré con el lápiz, dos círculos más, uno más pequeño que el otro. Y luego los pintaré, el más grande en verde y el más pequeño en negro. Tal como pueden apreciar en las imágenes.
| |
|---|
| |
|---|
Con el lápiz marcaré en cada ojo, unos rayos simulando los vasos sanguíneos y los pintaré de negro.
Y luego con la pintura roja, y con ayuda del lápiz, pintaré algunos rayos, solo para darle un toque más terrorífico. Y luego, con la pintura blanca, le pinte unos puntos en la parte negra del ojo, solo para darle brillo.
Para terminar de decorar la letra B, con la pintura blanca, realizaré una tela de araña. Comenzaré trazando unas raya en diagonal y vertical y luego haré unas curvas por todo el alrededor. Quedando como se muestra en la imagen.
Y así me quedarían lista ya todas las piezas a utilizar para el colgante.
En uno de los ojos realizaré, con la ayuda de la tijera y el lápiz, dos agujeros y en el otro ojo, solo un agujero.
Con el estambre blanco, uniré los ojos y la letra B. Y encima de la letra, colocaré un lazo con la cinta de tela, solo como decoración.
Y como pueden ver, así quedo mi colgante, listo para decorar la puerta o también servirá para decorar cualquier área de la casa.
Espero que les haya gustado este tutorial que con mucho gusto les prepare para ustedes. Me despido como siempre, no sin antes, agradecerle por dedicarme un poco de su valioso tiempo, para leer y visitar mi blog. Cuídense mucho y pórtense bien.
Contenido de la creación original:
🕸 Todas las fotos son mías tomadas y editadas con mi teléfono Alcatel.
🕷 La imagen de portada, fue realizada con la aplicación Canva y editada por mí.
🦇 Las imágenes divisorias fueron tomadas de la página de Canva y editadas por mí en Paint.
🕸 La traducción al inglés fue hecha con la ayuda de DeepL. 🕷 Las letras que indican los idiomas, fueron tomadas de la página fontmeme.com/es/.