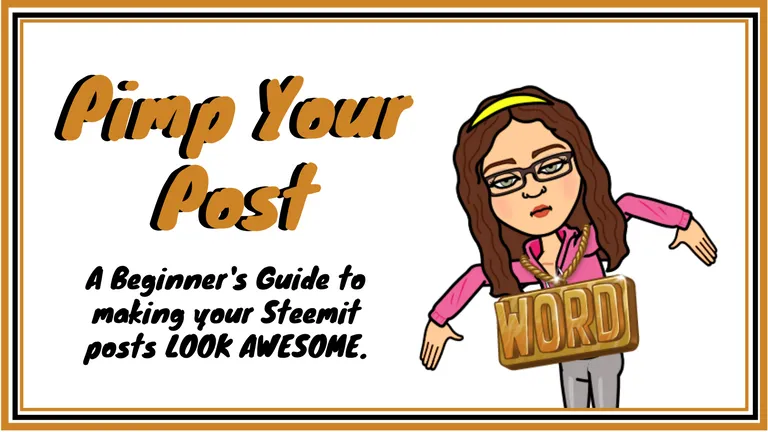
Greetings, Steemians!
It's lesson time!
🌟I'm going to present you the BEST and EASIEST tools to make your Steemit posts SHINE!🌟
Here's what we'll cover:
Markdown- The Easier HTML.
Free & Legal Images. How to find and cite them.
Cover Image - The Perfect size.
Let's start with a little Markdown.
👉First, here are some super helpful posts for even MORE Markdown.I still use these on the daily.
Markdown Tutorial. This is literally like markdown school, with lessons and everything!
Github's Markdown Cheatsheet It has it ALL.
The Ultimate Guide to Markdown. Ultimate is no joke. There are even apps to help you!
The Basics

HEADINGS
They come in all sizes. Well, 6 sizes.😏
You simply type # (hashtag) and then a space before what you want as your heading. One hashtag is the biggest and 6 is the smallest. You'll probably only use 1,2 or 3.
# Heading 1
## Heading 2
### Heading 3
#### Heading 4
##### Heading 5
###### Heading 6
Which turn out like this:
Heading 1
Heading 2
Heading 3
Heading 4
Heading 5
Heading 6
TEXT
To italicize just add a little asterisk BEFORE and AFTER the word or sentences.
*italicize*
To bold one more asterisk on each side. (Two total.)
**bold**
To italicize bold, put 'em together! (So 3 asterisks on each side.)
***italicize bold***
To add highlight, place two equal signs on either side of your word or phrase.
==add highlight==
To strike through, you'll need two horizontal squigglies... No, I do NOT know what they are actually called. It's found left of the #1 on the keyboard.😏
~~strike through~~
Edit to add: It has been brought to my knowledge, from one of our very own genius Steemit comrads, @synrg , that the squiggly is called a tidle. It checks out. 😀No one knows why... but there ya have it. Also, it's not always near the #1, it can be anywhere.😱
🍋Easy Peasy, Lemon Squeezy!🍋
👆But what about that little line right there👆???
Those are asterisks too! Or underscores OR dashes.
Just three (or more) in a row.
***
---
___
LINKS
You can add click-through links to all your text! Like I did above with the helpful Markdown posts.
You will put brackets [] around whatever you want your button or clickable text to read. Follow that with your link in parenthesis ().
It will look like this:
[Markdown Tutorial](https://www.markdowntutorial.com/lesson/1/)
And turn out like this:
Markdown Tutorial
IMAGES
Luckily, these are almost IDENTICAL to links.
It looks exactly the same, except for an exclamation mark at the very beginning. You also don't NEED to have a title. I often just leave this blank. I copy/pasted a Bitmoji directly from my browser below. As you can see, it doesn't even bring in an actual title, but the brackets are needed to complete the code.

CENTER
Time to move some stuff over!
You can center ANYTHING, all you need is to put <center> at the beginning of the word/image/etc and </center> at the end. If you do NOT put the backslash on the ending code, it will center the REST of your post from that point. I missed that once and was so confused. 😕
Example:
<center></center>
Becomes this little gem...

It's like I tooted my way to the center!
Text works the same way.
## <center>**You are amazing!**</center>
You are amazing!
🎶TO THE LEFT. 🎶TO THE LEFT.🎶 TO THE RIGHT.🎶 TO THE RIGHT.🎶
This gave me the MOST trouble. In fact, I'm a little worried about getting it right here...
Onward!
To move text to the LEFT or RIGHT of an image and wrap it around you need to set up the code EXACTLY like this (you can copy/paste this and fill it in):
<div class="pull-right">
https://i.imgur.com/BferIgz.png
</div>
TEXT WOULD GO HERE. I used the code above.
Re-cap to move left or right:
- First line is the pull code (left OR right).
- Second line is the IMAGE ADDRESS.
- 3rd line CLOSES the pull code
- 4th line is the TEXT you want to be pulled left or right.
LISTS
This is pretty intuitive. You can use -, +, or * in front of a word, followed by a space, and it will be converted to a solid DOT ●.
* This is the first choice.
- I like this too.
+ May never use the + symbol, but it's here.
- This is the first choice.
- I like this too.
- May never use the + symbol, but it's here.
BLOCKQUOTES
I think this is pretty important. Anytime you want to use the exact words of someone else, it's best to use this and then CITE your source. I also use this to simply offset parts of my blog I want to stand out.
Super simple, just add a > at the beginning of your quote.
> Blockquotes can be fun and add depth to your posts.
Blockquotes can be fun and add depth to your posts.
YOUTUBE VIDEOS
This is a basic copy/paste of the link. If you want YouTube to COUNT the views as they are seen on Steemit, you need to grab the EMBED code. Do NOT just copy/paste the URL. You WILL want to add the code to center after you bring it in. They just look better that way. 😃
Here's a little parody by my hubs. I'm the sexy blonde...
Here's what the coding looks like first:
<center><iframe width="560" height="315" src="https://www.youtube.com/embed/VrqQE01IByQ?ecver=1" frameborder="0" allowfullscreen></iframe></center>
Whoa. 😵That was a little more than The Basics.
There's more than that, but I don't want to overwhelm you too much.🙃
Next up... IMAGES!
Three weeks ago I shared this How-To on using Google to find free-use images. It was seriously the best thing I'd found in months!😍
TL;DR
Basically,
Google search whatever you want.
Click on Images.
Click on TOOLS below the search bar.
Click on USAGE RIGHTS.
Choose LABELED for REUSE or REUSE WITH MODIFICATION.
Now all images are ready for you!
To be safe, still click through to the site, to make sure it's actually free. I even like to cite those too, for full transparency.😀
Here are a few good image sites that are free use:
Pro-Tip: With that Google Image tool above you can just use Google to search ALL of those sites. Such a time saver!😍
Basic Image Editing - Free Options
I won't get WAY into it here (as this post is getting lengthy), but I DO want to touch on my two favorite FREE image editing websites:
Let me know if you want a tutorial on either of those!
Canva is pretty user-friendly and FREE.
You can upgrade to about $13/month for more features, with no penalty for turning it on or off. I sporadically pay for it, depending on what I'm needing at the time. Generally, the free version suits me pretty well.
Inside Canva you have the option to create a myriad of different social media images, all pre-loaded templates for easy using. Unfortunately, there isn't a template for Steemit Blog Cover Photo ... yet. Fortunately, you CAN create your own template using CUSTOM DIMENSIONS.
Why is this important?

Because!
COVER PHOTO SIZE
After a bit of sleuthing, I finally found the EXACT dimensions that (currently) fit into the feed on Steemit.com.
They are 256 x 144.
Or any multiples of.
That size shows up pretty small, but still looks perfect in the feed.
Other size options:
512 x 288
786 x 432
1024 x576
To create my cover photos I go to Canva and select USE CUSTOM DIMENSIONS.
It's pretty easy after that. I can upload images to use, add text, background, pictures and other elements. All your creations are stored in the Cloud for FREE. To use them you simply need to download to your device.
There ARE some things that cost. Just avoid those.😀
And finally a little about LunaPic.
I DO plan to do a tutorial on this so won't go into it now. One of the perks?
Easy uploading. You can grab an image address and pop it right on the main page. Or upload directly from your device. There are A MILLION different things/ways to edit photos. A million. 😎 I use this to scale my Bitmojis and selfies down to comment size (150 x 150).
Feel free to go play around with it. I promise to come back with a tutorial to make it easier soon.
Whew!

💥You made it!💥
All the way through! Congratulations! You're that much closer to creating perfectly engaging, high quality posts!😃
Bet you're feeling pretty great right now, huh?
I know I am. That took me all day! LOL! 😅
Be sure to bookmark this for later use. I'm gonna. 😉
If you find yourself having trouble, don't hestitate to comment with questions below or find me on Steemit.chat and I'll help any way I can.🤓
All images were created by me or from Bitmoji.com. Make your own today!
As always, thanks for stopping by!
Hugs & Kisses 💋