One of the cool things about homeschooling and 4-H is that what works for one generally works for the other. Today was one of those days.
The other night, I thought about the fact that it would be fun to make some terrariums. So today, after taking care of the chickens, we went to one of the large stores in our area and bought a bunch of supplies. We found our jars and other containers at the one thrift store which is still open at the moment.
Once home, we got to work.
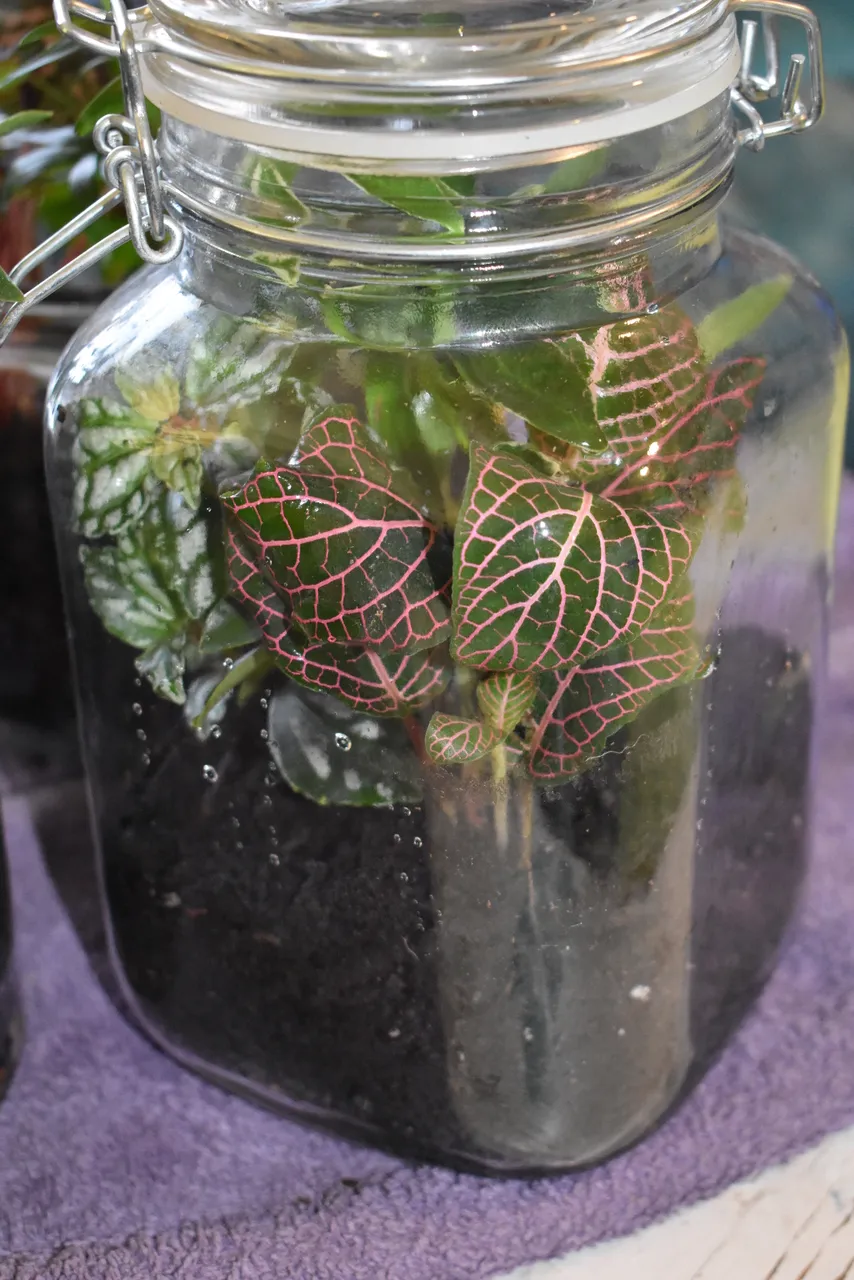
Here is the one I made to give to my mother-in-law for Mother's Day.
Building Terraria
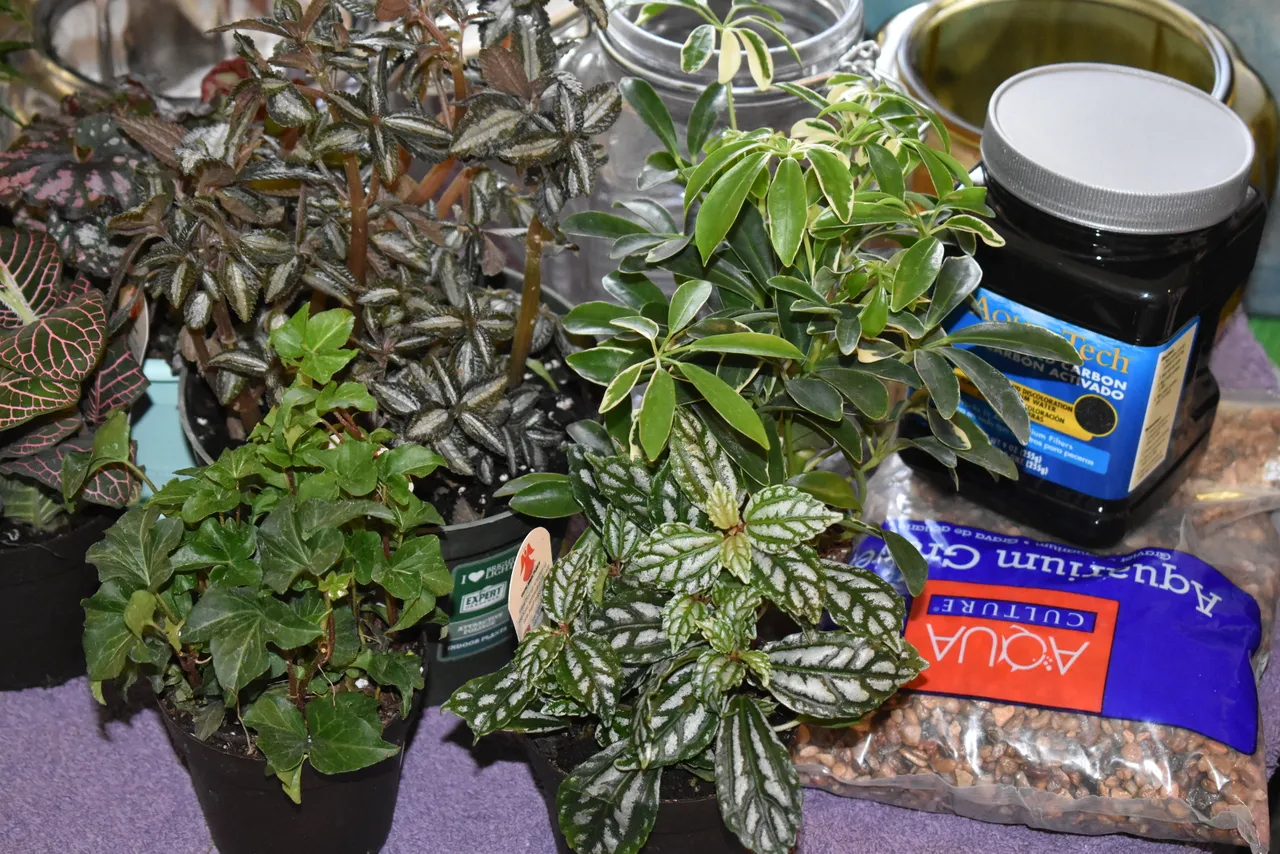
Here is the mess of stuff we bought today for this project. (Only the potting soil isn't shown here.) We bought an assortment of plants, some aquarium gravel, aquarium charcoal and some various glass containers (which I washed and dried).
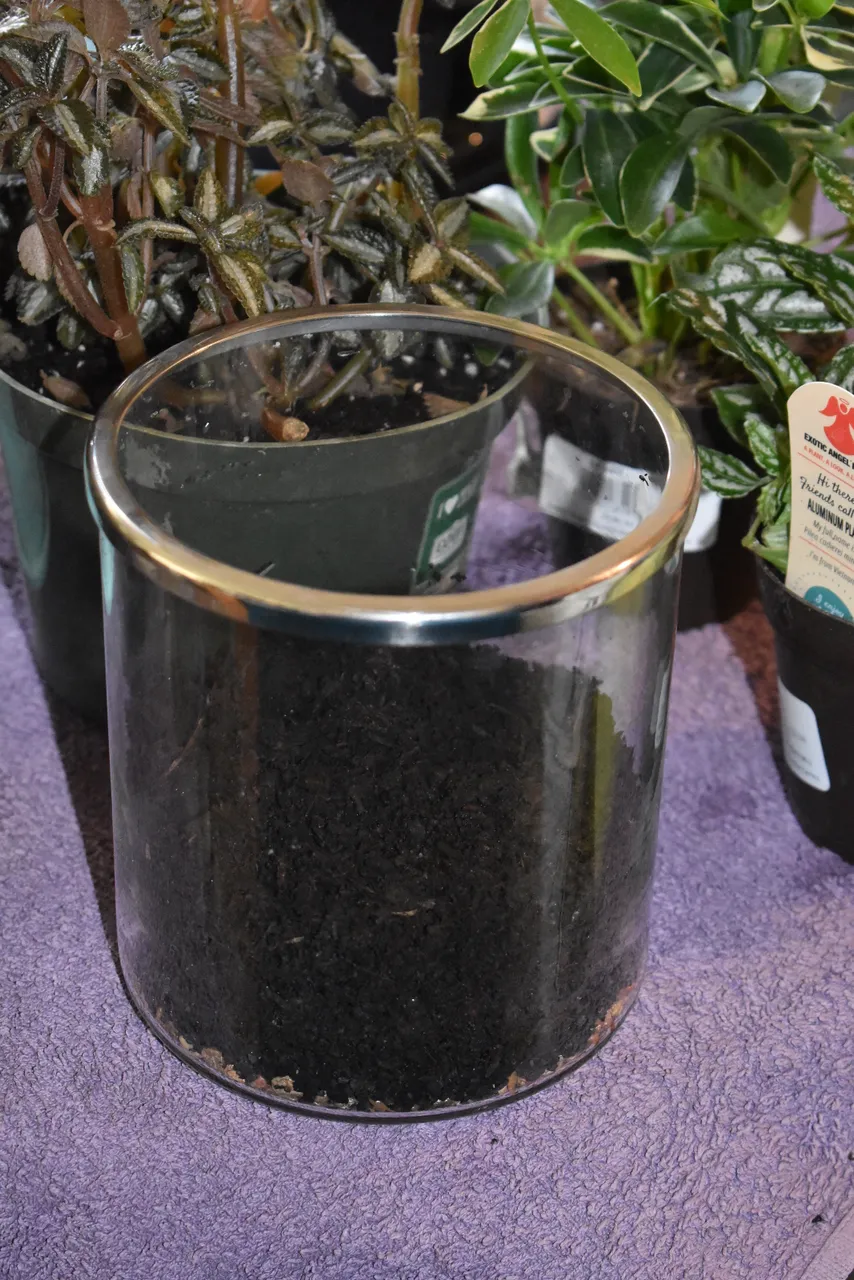
When choosing glass containers, height is important. Some of ours aren't tall enough to do closed terraria, so they will have to be open instead.
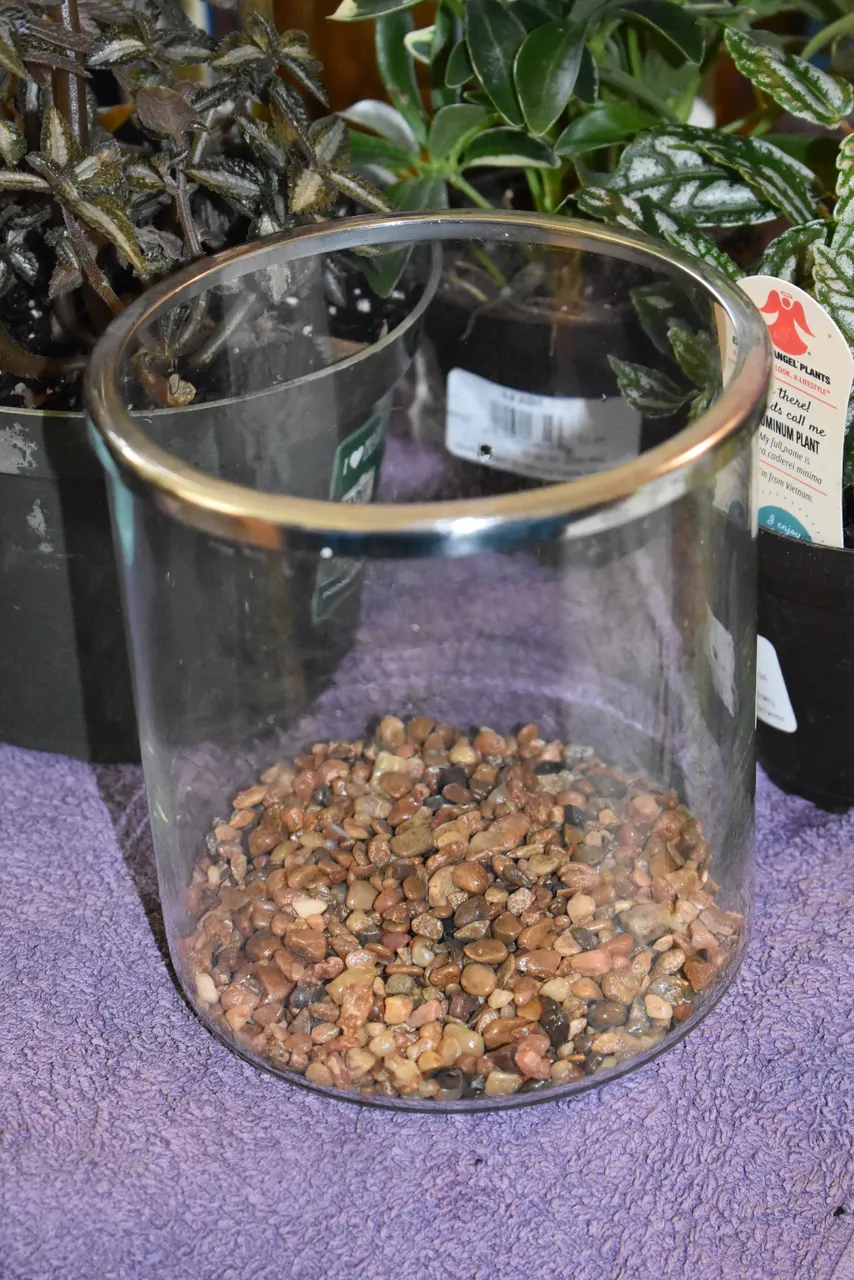
First, we have a thin layer of aquarium gravel (other types of small gravel would be fine - this was just what we found today.)
The purpose of the gravel is for drainage - important for creating a closed ecosystem.Cover with a thin layer of the charcoal. This is to filter the water as it drains from the soil.
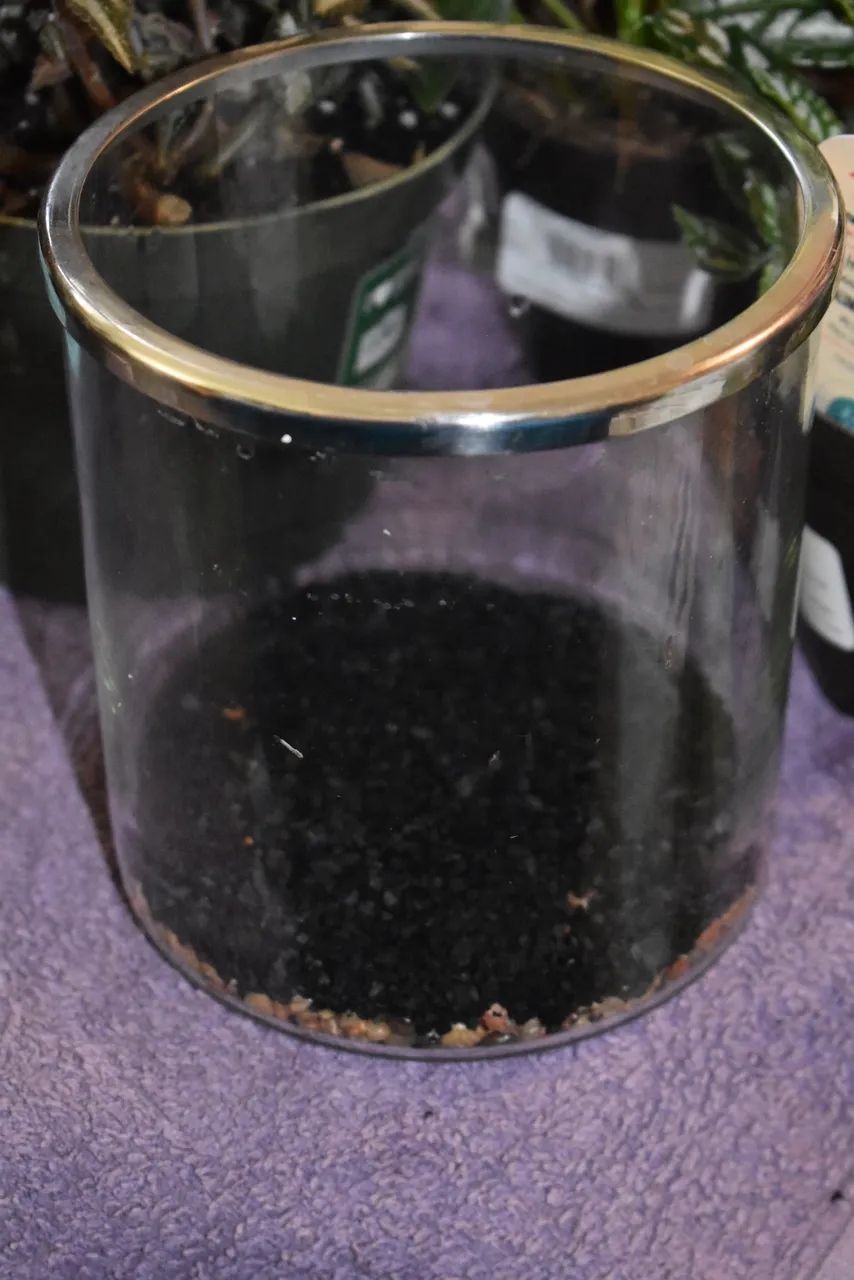
Add a layer of potting soil. You don't want too much - especially when you realize you're going to have to add some more after the plants are in.
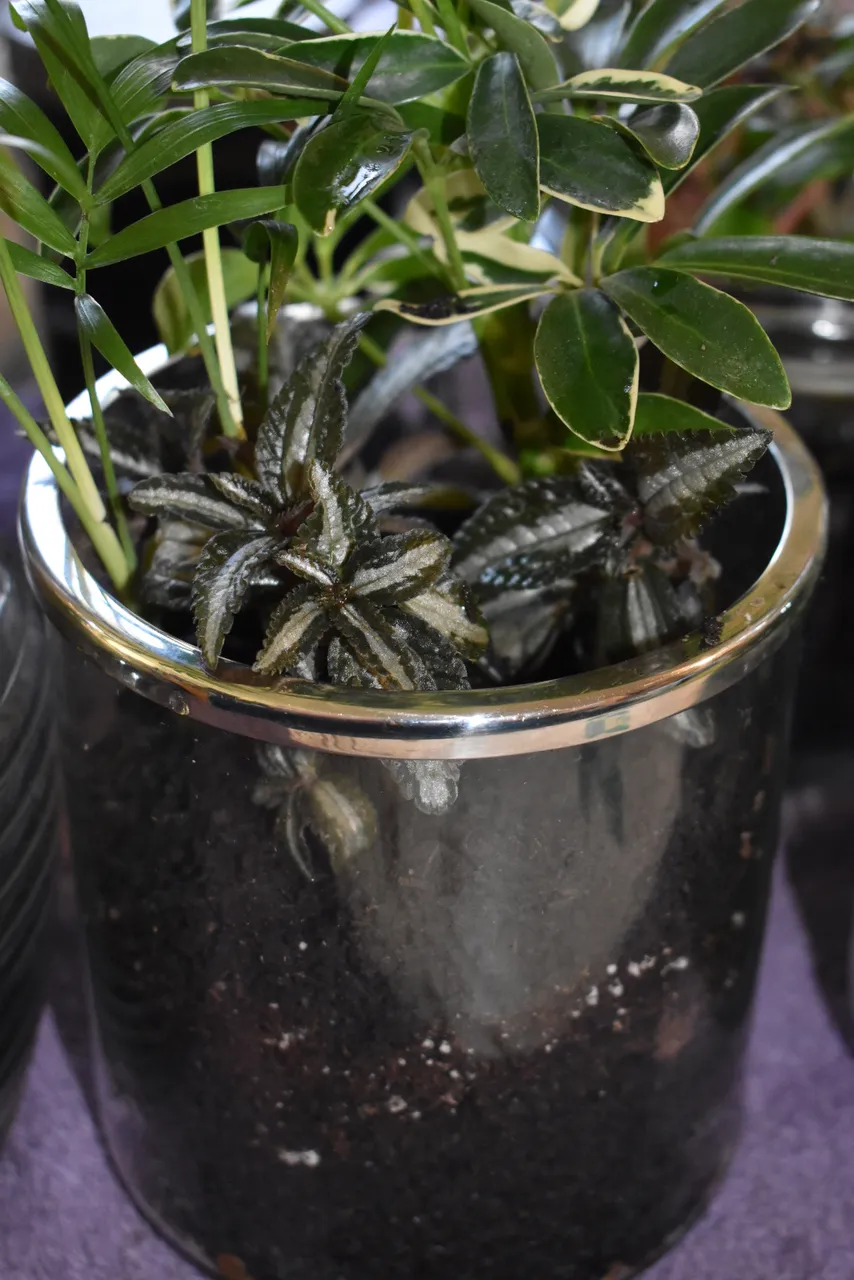
Add the plants. You don't need many, and ours were still a bit too large for the available containers, but we did the best we could.
Add other embellishments if you desire. Stones, figures, even blue candle gel ("water") are just a few examples. We didn't have space for that - and hadn't found much in the way of that sort of thing anyway... (Maybe next time.)
Here are our results.
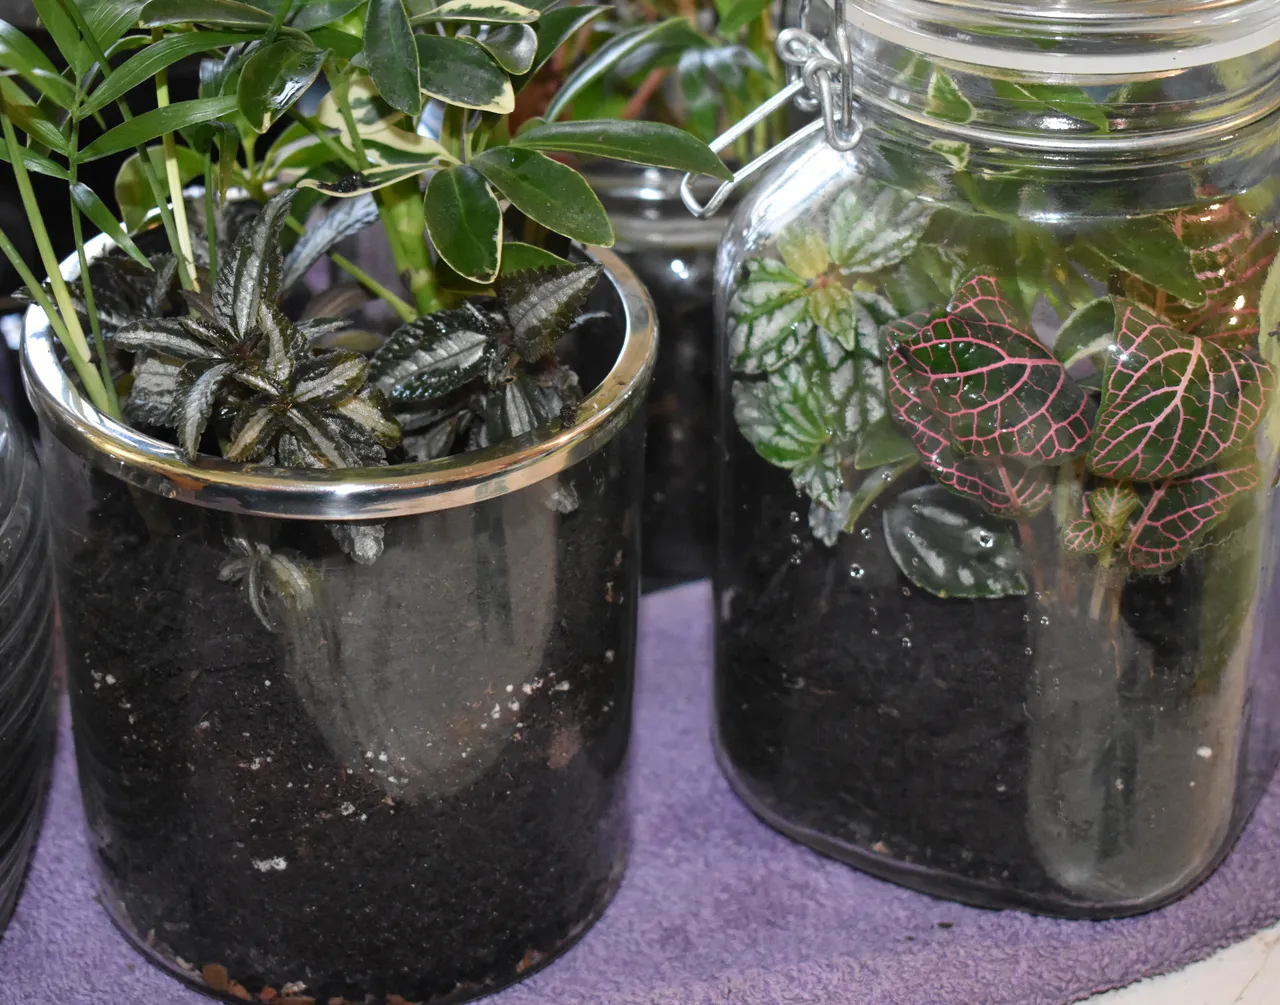
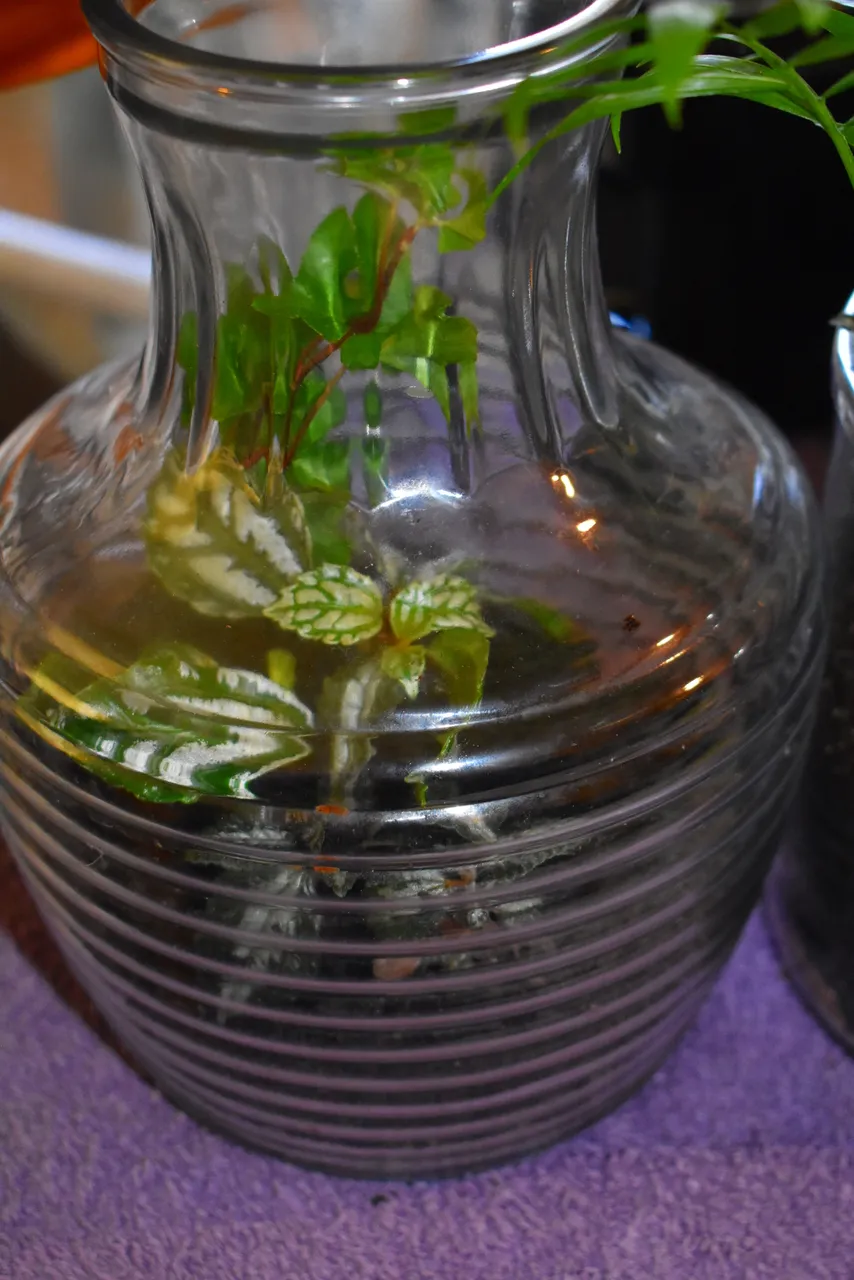
(This tall one was too narrow to fit my hand. Thankfully, my youngest is still small enough to do it... So, another consideration in choosing your glass!)
Only one gets to be a closed terrarium this time - the one for mother-in-law. Only put a tiny amount of water in. The whole point of the closed ecosystem is that the moisture is recycled within the terrariusm.
I will keep an eye on the closed terrarium for a few days. If it gets foggy, then there's too much water and I will let it air out a few hours. (I'd rather start with it slightly too damp than slightly too dry, but you really only need an ounce or two of water.)
Good luck if you try this project. Show me yours!
Photos taken today with my Nikon D7200.

Past issues...
Poultry
Chickens - A Little About Our Breeds
Chick Update and the new Warming Plate
Lori Svensen
author/designer at A'mara Books
photographer/graphic artist for Viking Visual
(Buy my work at RedBubble, TeePublic, PicFair and DeviantArt.)
verified author on Goodreads
(Buy my books at Books2Read and at LBRY)
find me on Twitter


Join The Best Natural Health Community on Hive