There are two main reasons why I like to build things myself. The first is that I'm a cheapskate, and hate to spend money on things that I can make better at home. The second is that I can make things exactly how I want them, and my homemade seedling stands are a great example of that.
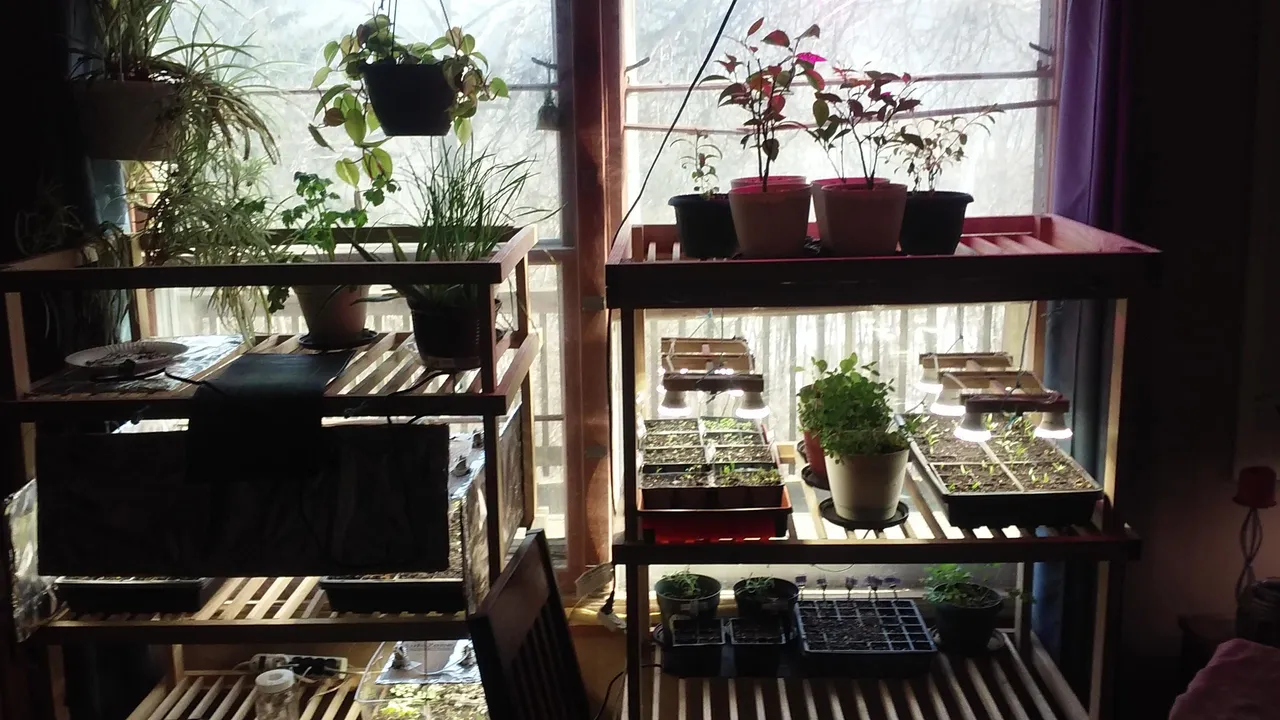
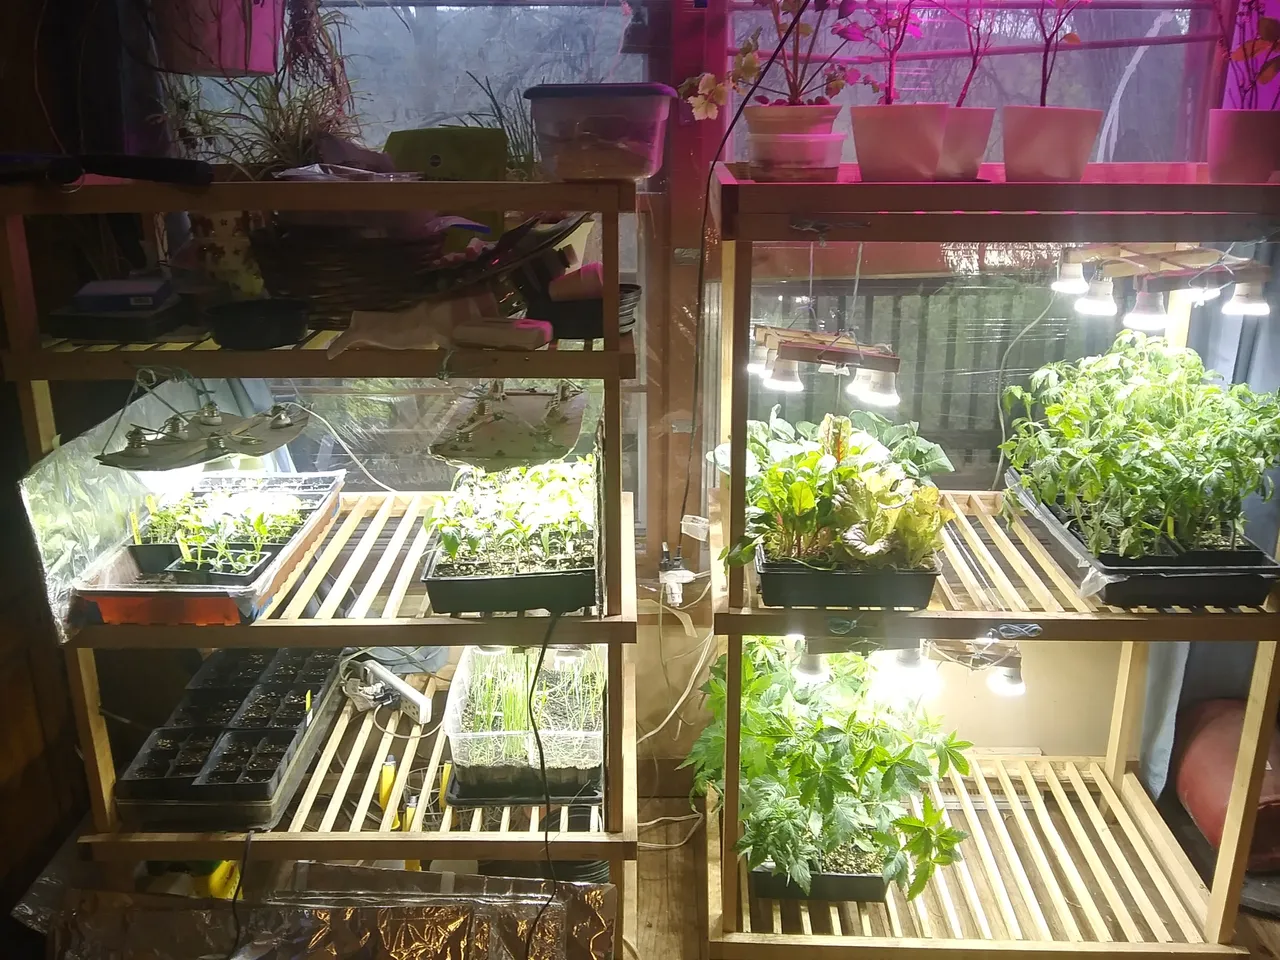
In the picture below, you can see them, but not well. Unfortunately, I never took any pics of these builds, so to date all the photos I have show them in use. These are built from strips that I ripped out of scrap pieces of lumber. This wood came from one of the few oak trees I've had to cut down here at the homestead. The one on the left was the first build. It is lightweight, sturdy, and works well for holding seedling trays. Before I built the one on the right, I realized that with this design, I could make the shelves moveable.
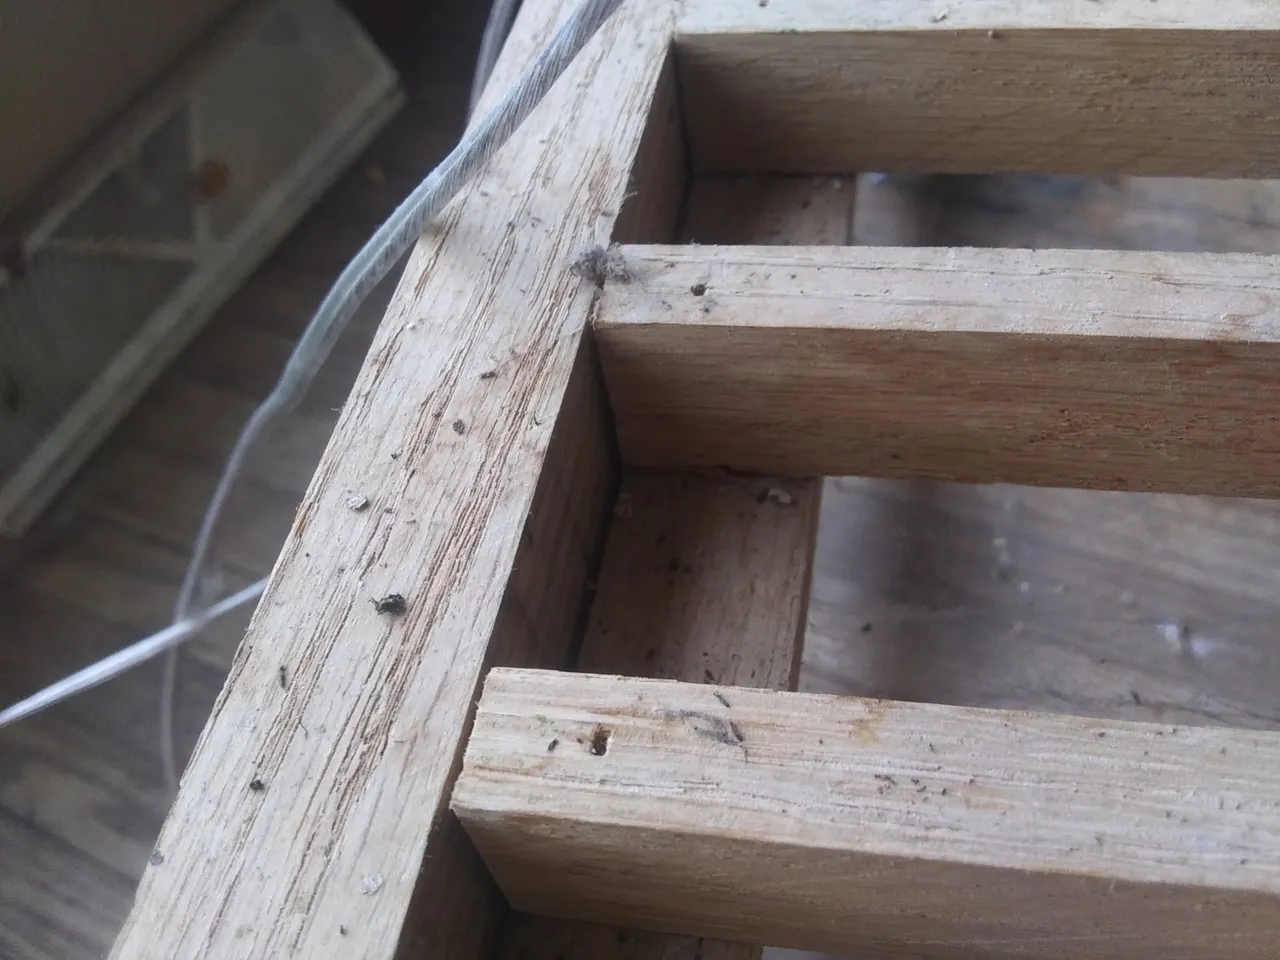
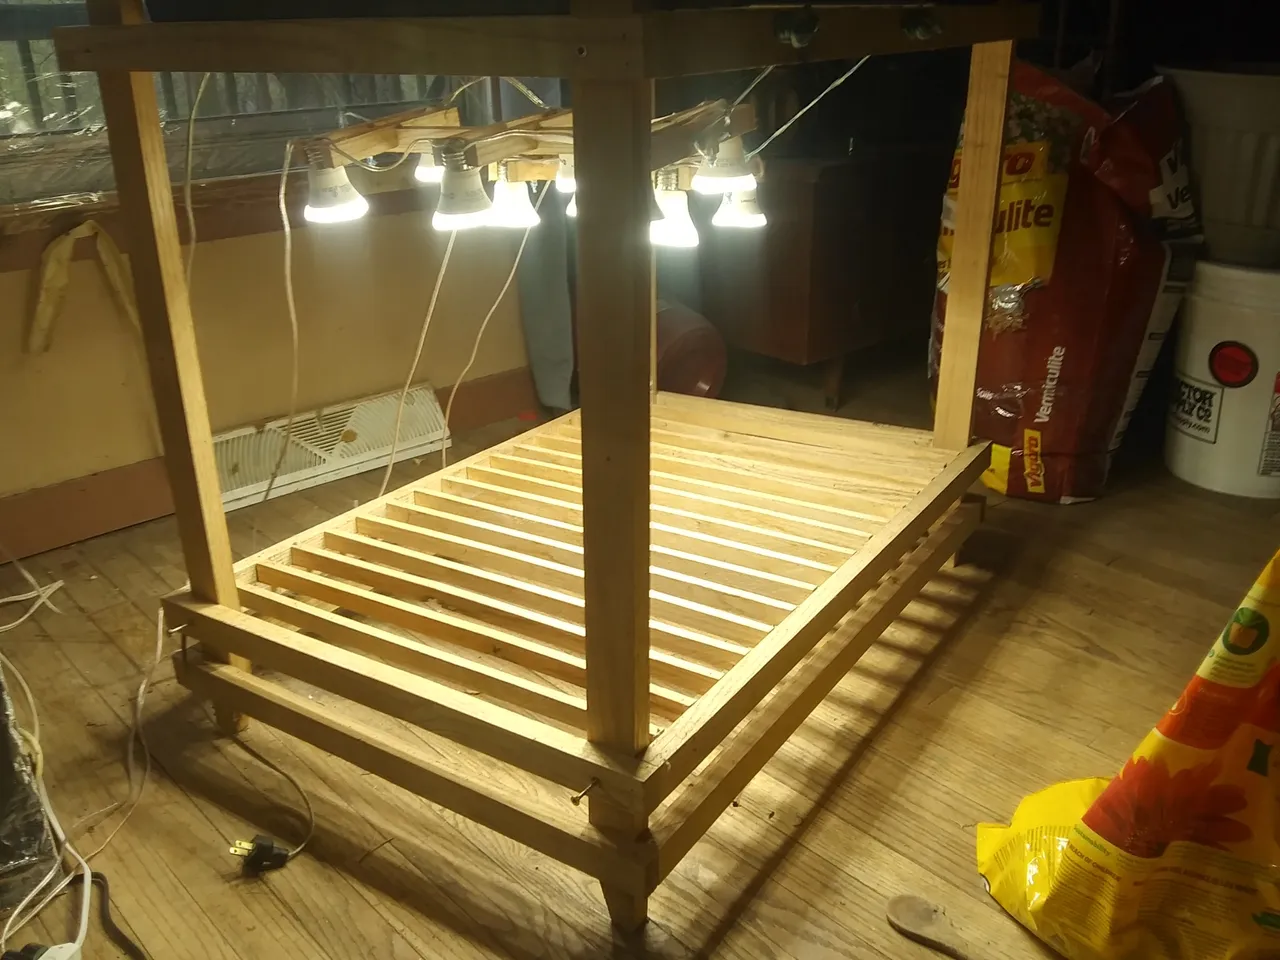
They are super simple, as you can see here. The most valuable pieces of lumber are the four legs, which need to be solid pieces the full height of your shelf. Because oak is very strong, they do not need to be very thick. I believe these are 3/4" x 1 1/2". The individual shelves are built as frames that fit around the outside of the four legs.

For the floor of the shelf, I fastened several thin stips across the width. Nearly everything on these shelves are fastened with an air powered brad nailer I got a good deal on, which worked pretty well with the hardwood. You can use whatever you have, but with this wood I would have needed to pre-drill holes if I had used screws or nails, and that's a LOT of extra work. The 'stringer' board you see underneath here isn't really necessary, but I have lots of scrap wood and this made it easier to get everything sitting level.
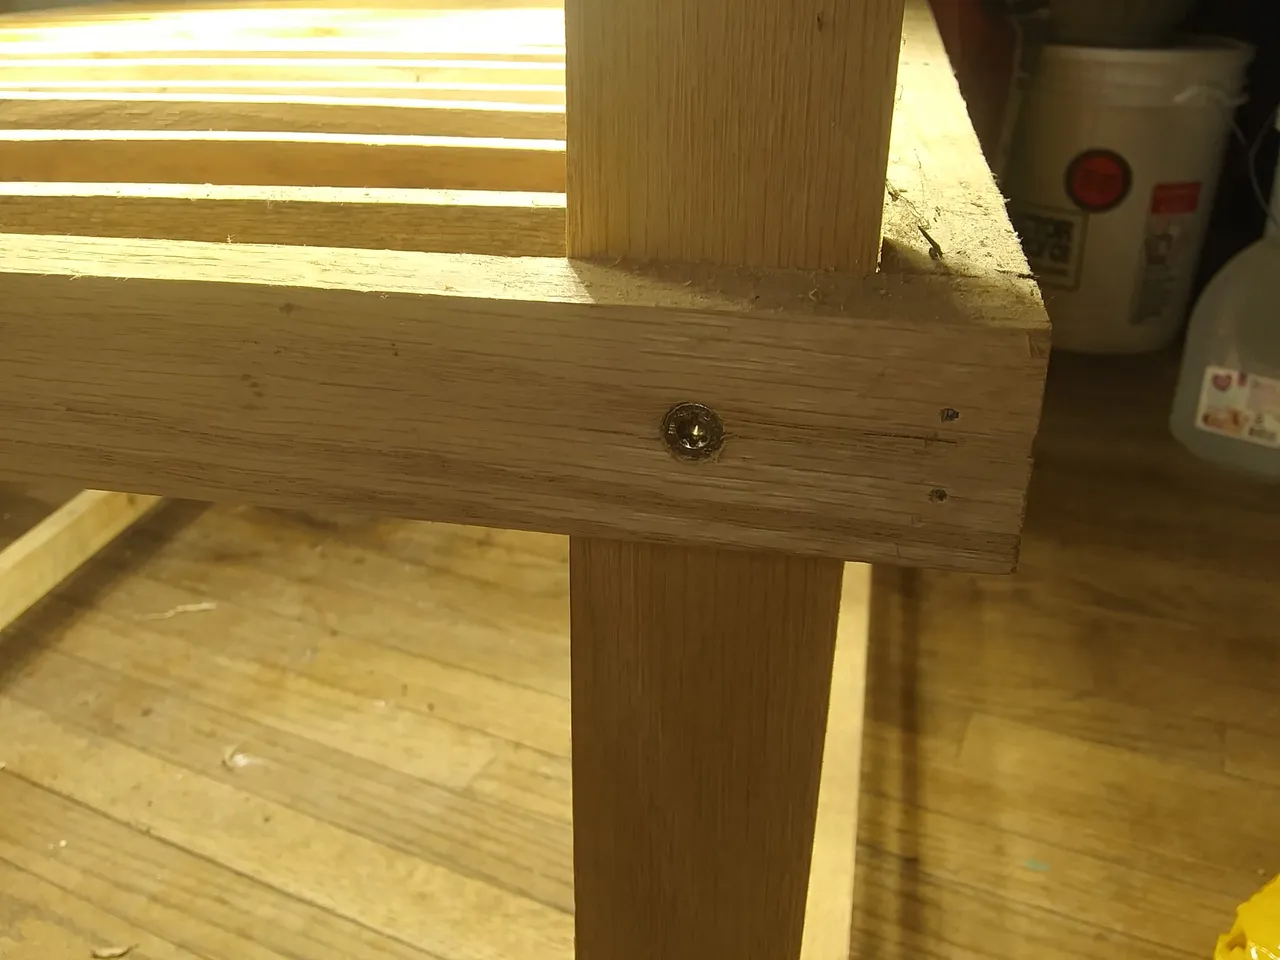
In the first build, I was smart enough to build the shelf frames first, then slip them over the legs so I could adjust the height to my taste. I was not smart enough the first time around to fasten them to the legs with screws, so the height could be readjusted later.
The lights will be another post all their own, but for this I'll just mention that they are also adjustable, so I can make big adjustments to the shelves only when necessary. I can then make quick adjustments to the lights to keep them at the right height, which needs to be done every 3 days or so.

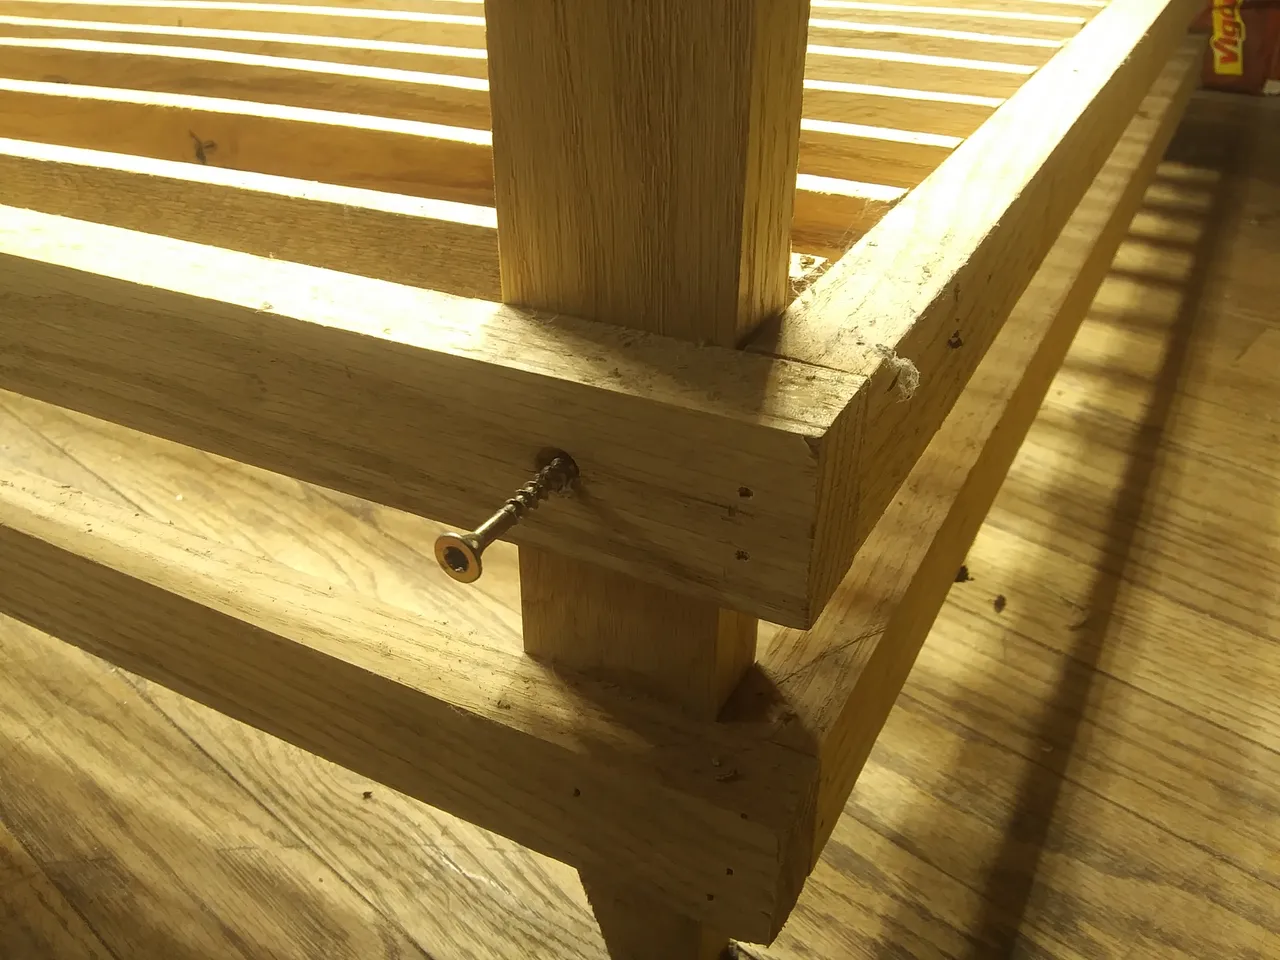
You can see here the bottom frame has no screw. Both the bottom and top frames are permanently fastened to the legs with brad nails and glue. This ensures that the whole stand doesn't collapse if I loosen all the screws on the trays at once, and helps keep the stand rigid even though it has no cross bracing.
I like to build shelves with strips like this because it keeps the shelves light and uses less material. For these seedling shelves, It's also advantageous to have the open space on the shelf floor for drainage. I put pots (or trays) that are prone to overflowing when I water on shelves above pots that do not, so the overflow waters the plants below.
And just like that, our dear young plants have room to stretch again! It took me longer to clear off the shelves and surrounding area (so I could reach the screws) than it took me to move the shelves. If you notice the drastic change between the first and last photos, it's because the first photo is one from last year. When I get around to version 1.2 of these, I'll make them just a little bit wider so each shelf can fit three seedling trays. These were supposed to fit three, but I was not smart enough to subtract the space the legs took up when I was planning.
I hope you like them, and I hope you keep coming back for more! Future posts will show how to drop trees, use a chainsaw mill to make your own boards, and how to stack and process those boards so you have usable lumber.
I would like to drop some thanks to @naturalmedicine, who has shown much love to my posts and much guidance to finding useful info in the hive.
If you have any questions, ask! Future posts will be guided by viewer interest first, my convenience second. Thank you all for your time, your votes, your help, and your contributions!