
Creativity is flowing in our house
Currently, both my daughter and I are filled with creativity. She has been at home for the third week now, as she's blessed with a cough and that means she can't attend kindergarten. Luckily it's nothing serious, she's not even feeling ill and never had a temperature rise or runny nose, but the cough needs to go completely first. I hope the little soul can go back next week as she's excited to play with her friends at the kindergarten again. Until that's the case, we'll continue with our creative spree and create lots of new things. Meanwhile, learning some new things along the way as well. I've been enjoying the fact that she's so interested in all the creative things I'm doing and wants to learn as many things as possible.
Newly found passion: Macramé
Maybe you've seen my Macramé Feather Keychain Tutorial earlier this week, I gave the keychain to the little lady and she was so excited when I did. Sometimes I'm truly in awe when I see how happy my girl is with just a small gift of a craft I made. She has been sitting with me every knot of the way (lol) and I noticed she wanted to learn this. I was wondering how this feather would turn out with a much thinner rope in pink and white, but I prefer the thicker rope as it's easier to knot. BUT then it hit me, I can make this a nice art lesson while practising some fine motor skills at the same time. She has these cute little fingers and doesn't mind knotting a thin rope as she won't accidentally wrap the rope around her finger as I do with the thin rope.
When I asked her if she wanted to learn the square knot
The answer was YES! She immediately moved the chair next to me while I was prepping the items I needed for this lesson. I have shown the step by step of the square knot in the other tutorial as well, but will share it again here because this time, my daughter is the one knotting and I'm so super proud of her that she learned this in such a short time!
Preparation
Before you can get started, let's have a look at what you need for this project.

As you can see above, not much is needed! Just a measuring tool (not even mandatory!), a keychain or something else to attach the feather to, scissors and rope to your liking. I almost forgot to mention the animal brush:

This is needed to brush the rope at the end, it will give you the best results, but if you don't have one, don't worry, you can try using another hairbrush instead.
Tip: If you use an animal brush, make sure you have protection for your working table as it will scratch the surface otherwise. I used a simple placemat which works great!
Before you start practising the knot, please make sure you have enough ropes cut at the same size. I decided I'd try cutting them at 7 inches this time, and that 25 of them should do the trick.
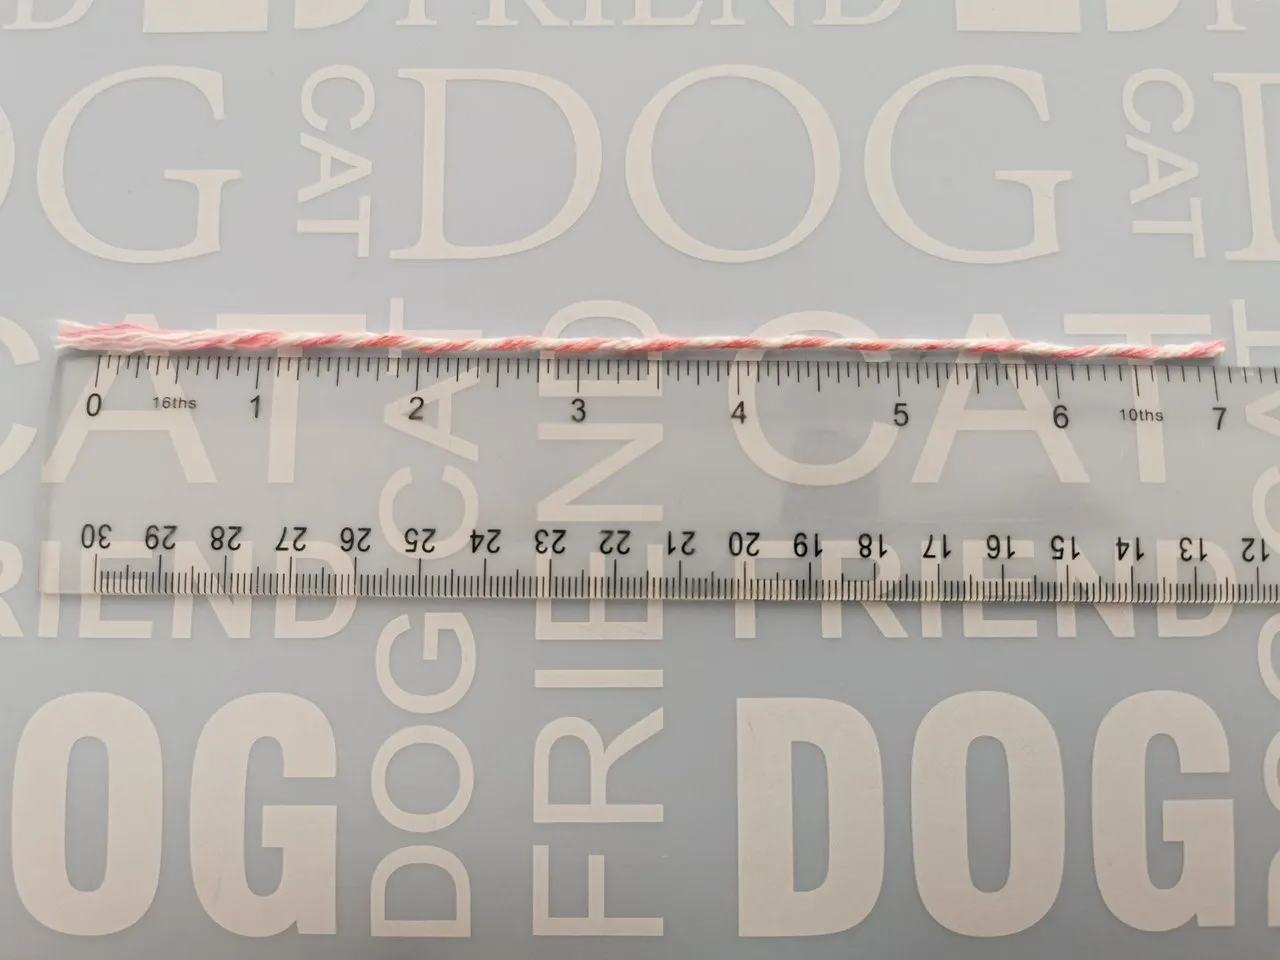
I have to admit, the size was perfect for my 5-year-old to practice the knot and with 25 of them, she could repeat the process enough times as well. If you are going to try this yourself, I'd advise you to pick the same size and 25 ropes. The feather can be trimmed anyway, but this will give the child enough room to see in detail what she/he is doing. I'm personally one that learns most by doing things and seeing what I do right or wrong, I think my daughter is thriving best through the same learning method.

The Square Knot: step by step
To create this feather, which you can attach to a keychain (or something else you like better), you will have to repeat the same process until you get to the end of the rope. Because of its repetitive nature, it's great fine motor skills practice for a child and I have to admit, it's also pretty meditative repeating the same thing for a while knowing that in the end, you will have a cool new handmade item in your collection.
What's important to know is that you switch sides constantly. You start with the left end of the rope and after this knot is done, you start on the right, then left again and right, etc. After some knots you will see in a blink where you ended if you forgot and are in doubt, it took me one project to learn this. You will be able to learn this just as quickly as I did and teach it to your child as well.
As some things are hard to explain in words, below I documented every step of the process. I was the teacher and only showed the first two knots before the kiddo took matters into her own hands.

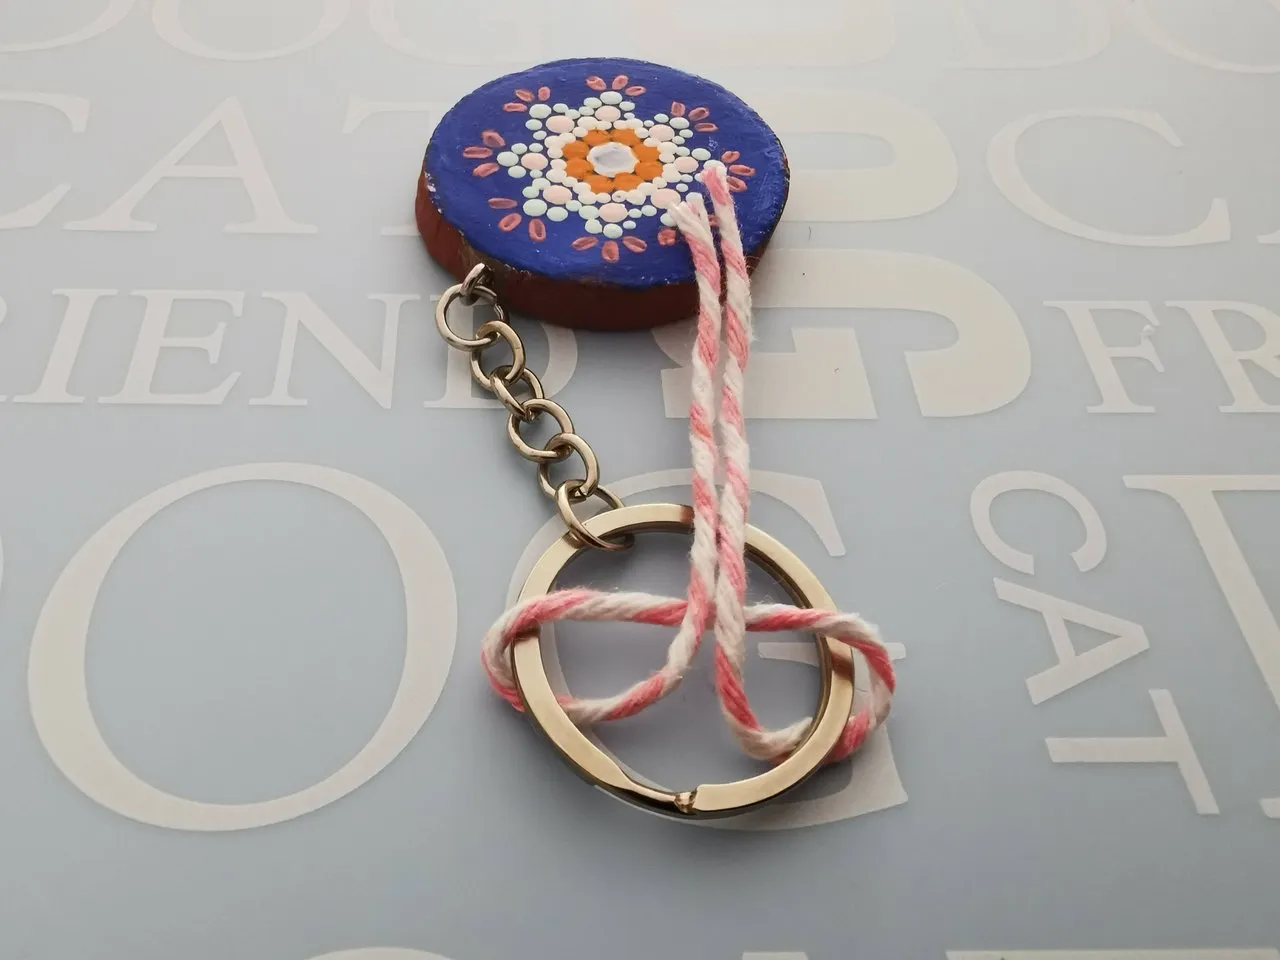
First, place the middle of the rope folded double on top of the keychain as shown above.
Now take the ends of the rope and move them upwards under the ring, up through the rope. It will look something like the image above.

Now slowly pull to tighten the knot so that you will have two even lengths of rope.

Congrats, this was your first knot! Now the best part: learning the square knot and teaching it to your child :)
Place another rope under the rope you'll be knotting, and make sure it's placed in the middle to have even sides.

Remember: Start left Place the left side over the middle part and place it as shown in the image above.
My daughter immediately said: hey, that looks like a dancing doll. Do you see it? I do!

Hold the rope in place while moving the right rope down on top of the left rope. See the image above.

This can be tricky, but I promise you, it's easy after a few times! The right rope now needs to be moved under the middle rope as shown above.

And now move the end of the same rope upwards through the left circle as shown above. You will now see the beginning of a knot.

Slowly pull both ends of the rope so that the knot can be tightened. I have constantly done this together with my daughter, as it's much easier together, and this way you can also make sure that the knot is made in the middle and tight enough. Tada! This one is made by me as I had to show her the way.

This one she did with some guidance explaining that we have to do the exact opposite as when we start on the left. While showing her, I also let her tell me what to do, to see if she was remembering the steps. Which went surprisingly well!
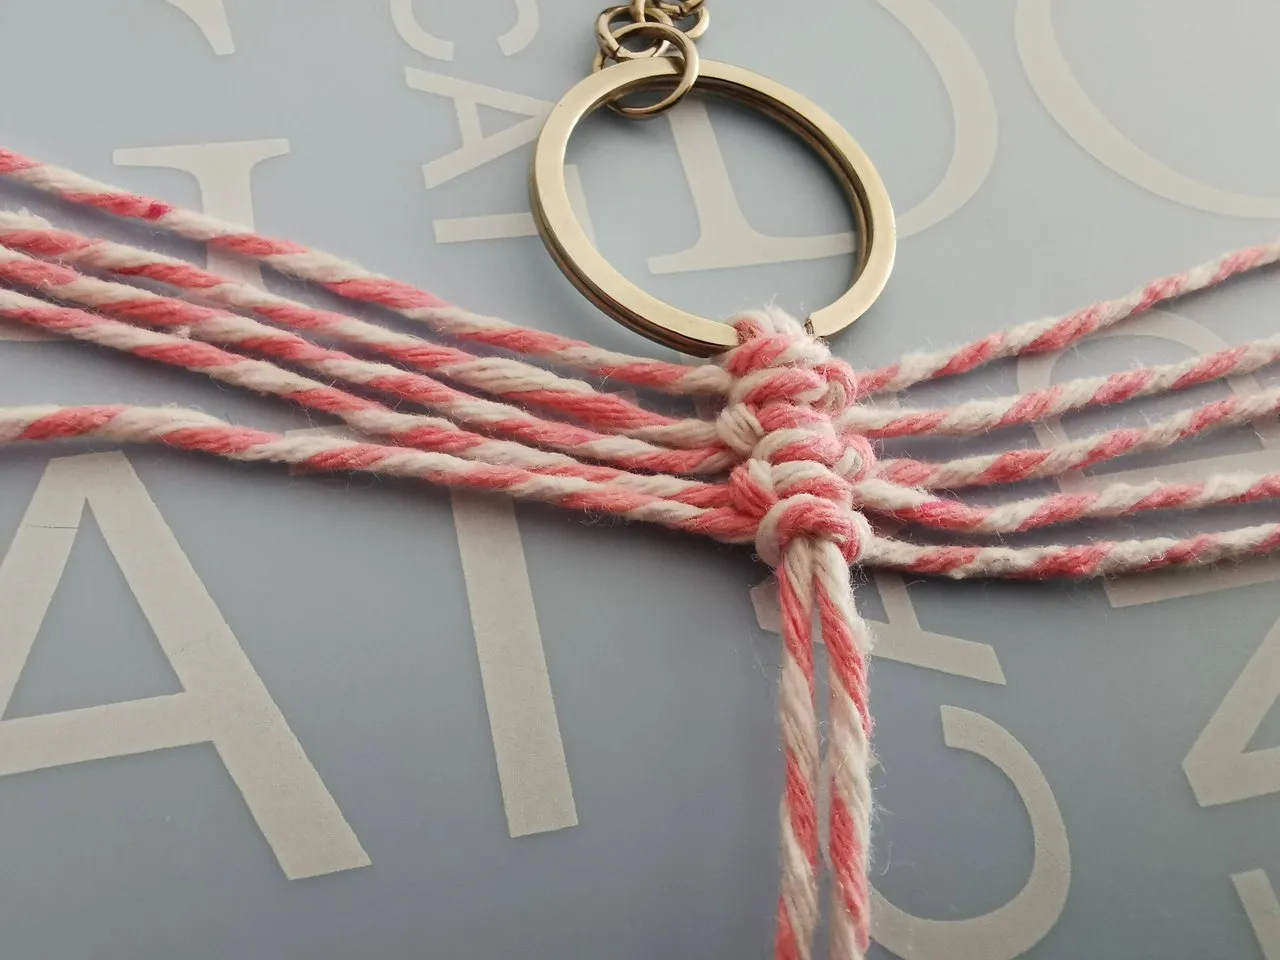
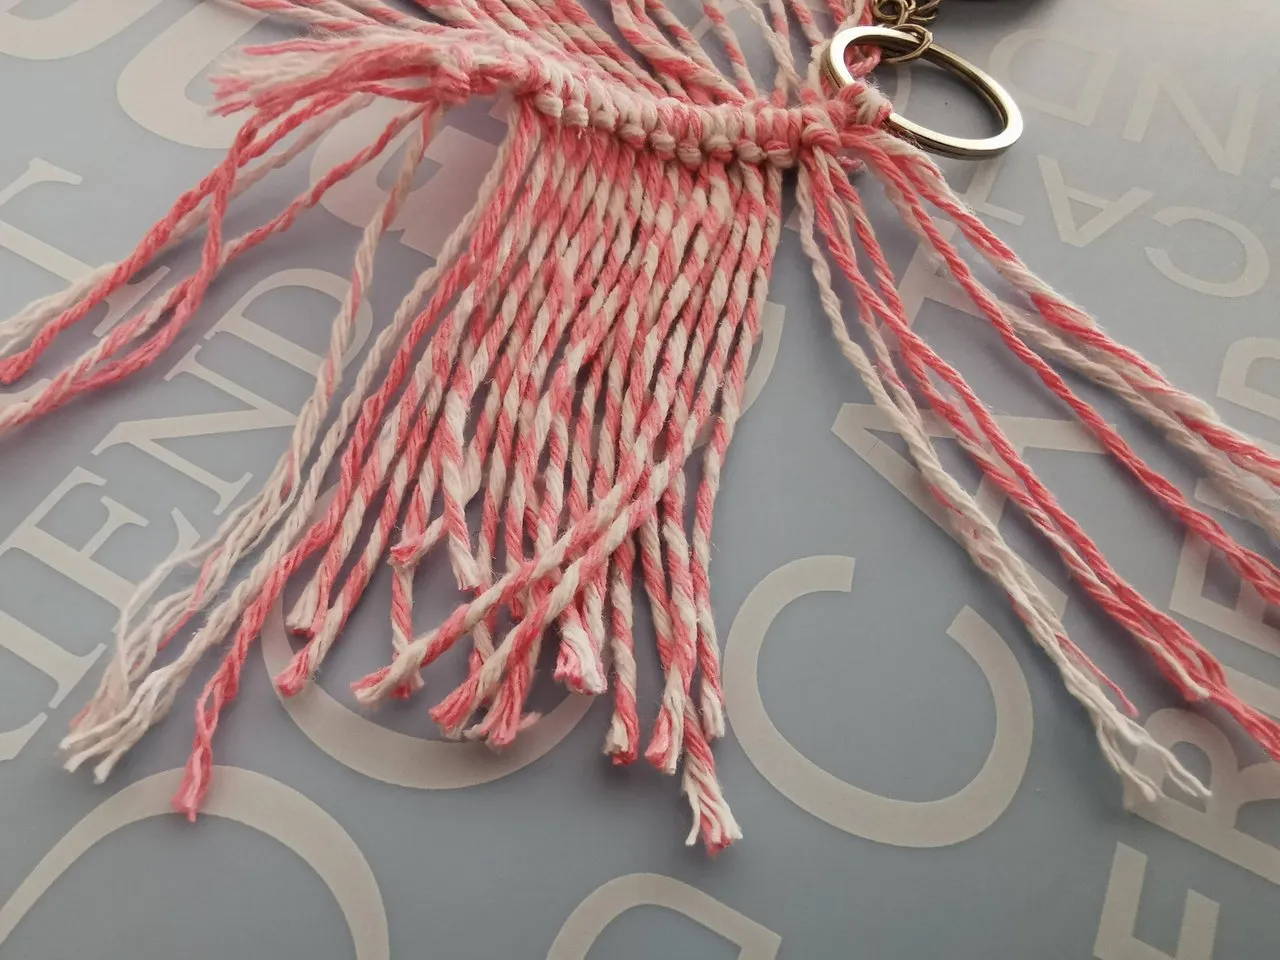
All the other knots are made by my daughter, she made a few errors being confused with left and right, therefore I told her on what side to start and then she knotted them. I held the rope in place and together we slowly pulled one end each to tighten the knot.

Would you look at that, see how well she has knotted all of these? So proud of her!
This is the end of the knotting session! If you managed to make it this far and learned this knot by heart, congratulations! If not, don't worry, just create another one and I promise you that you will not forget the technique anymore. Practice makes perfect!
The trimming and combing part
We tried untangling the rope first, which was a big pain as the rope kept twisting back into place, so I decided to trim the rope to the right size first.
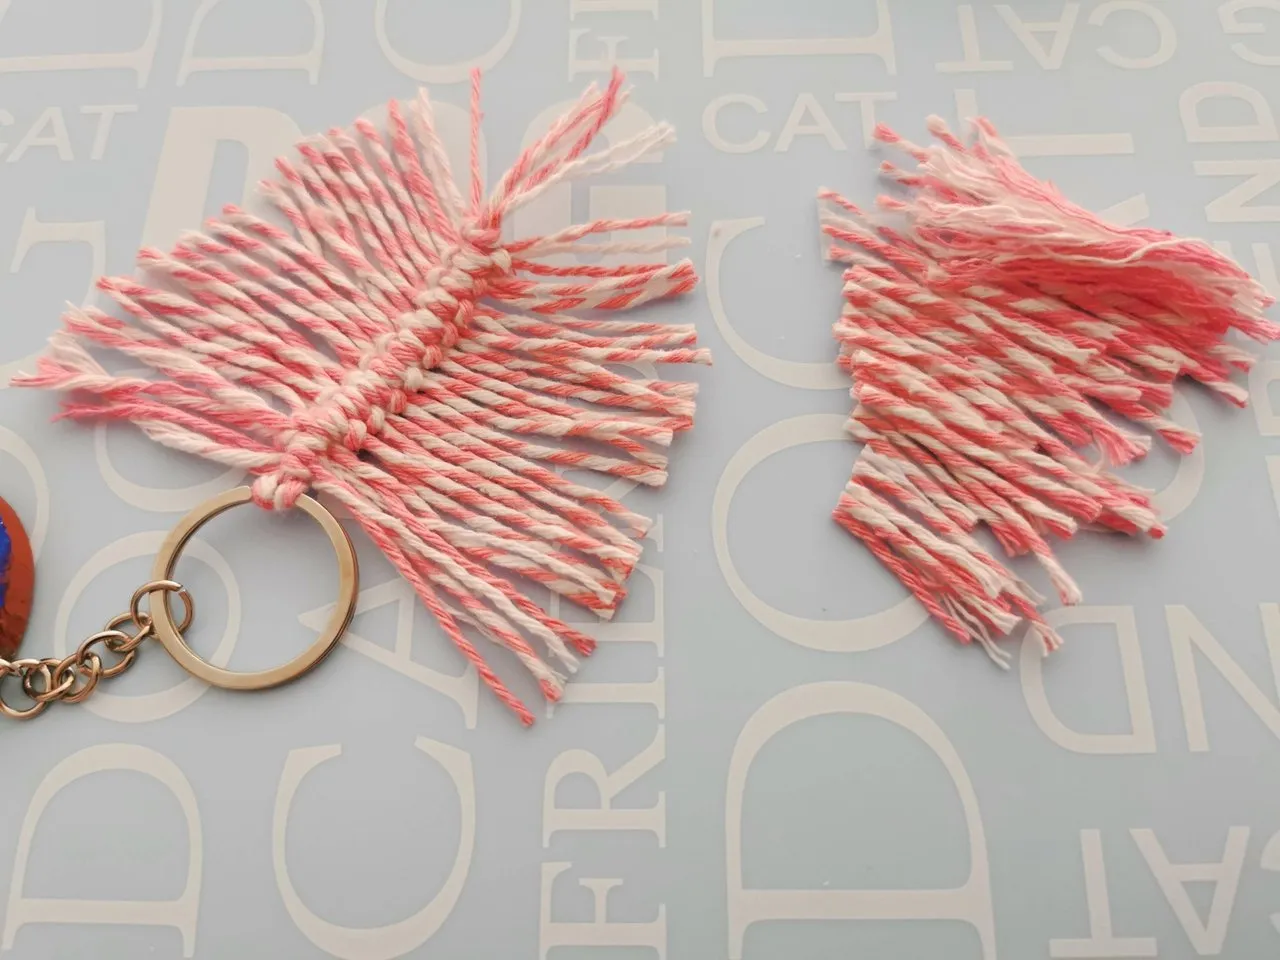
Depending on your child's age, they may be able to do this on their own, mine is a little too young to cut this in the right model, so I took this task upon me.
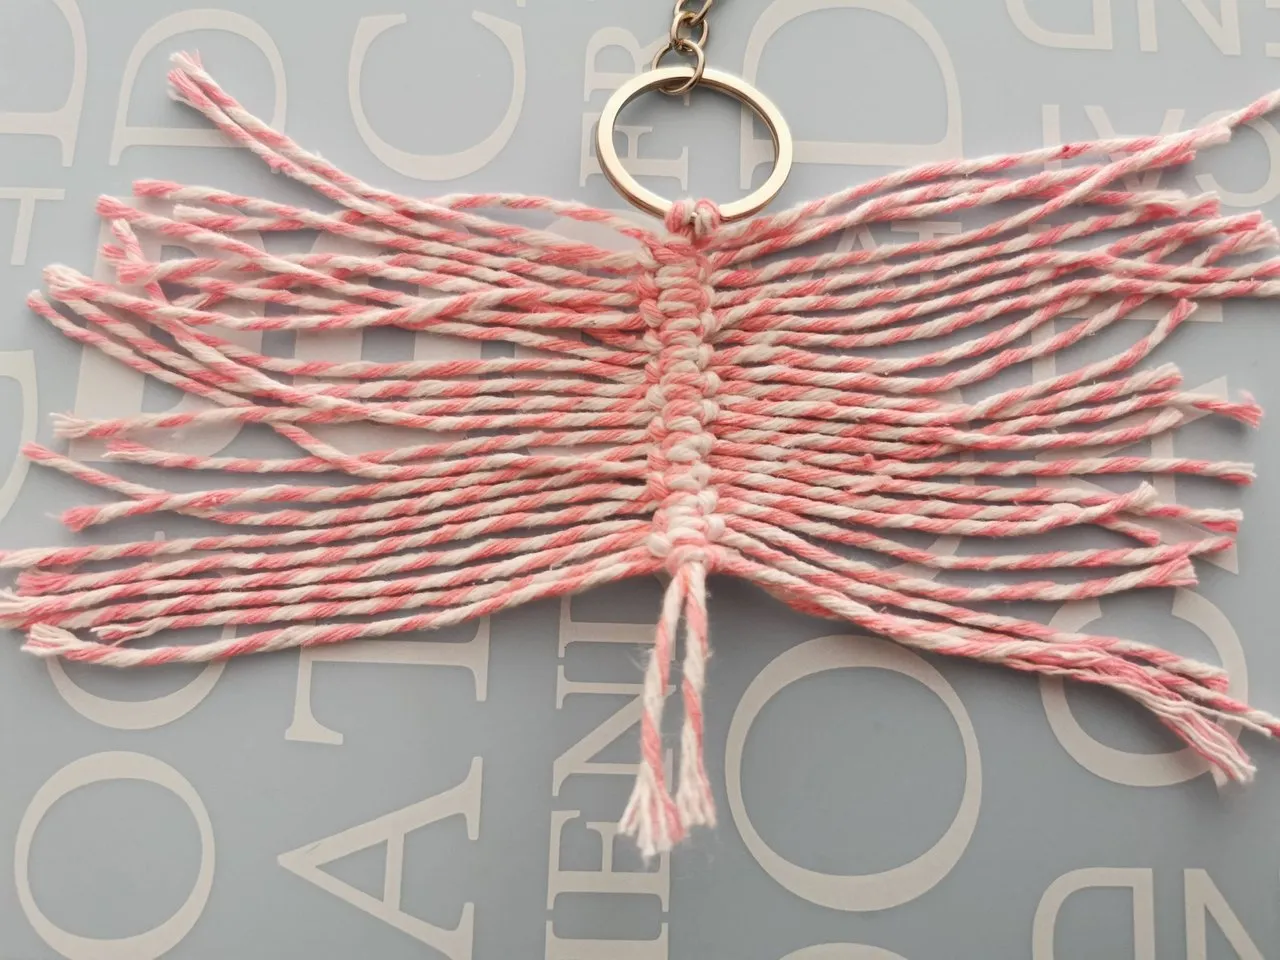
This way it will be much easier to untangle the rope. This is a task that I let my daughter help with. Even more so, I let her do it all alone at some point as she was much more patient! Don't worry if the form is not 100% right yet, this was mainly to make the untangling and brushing part easier.

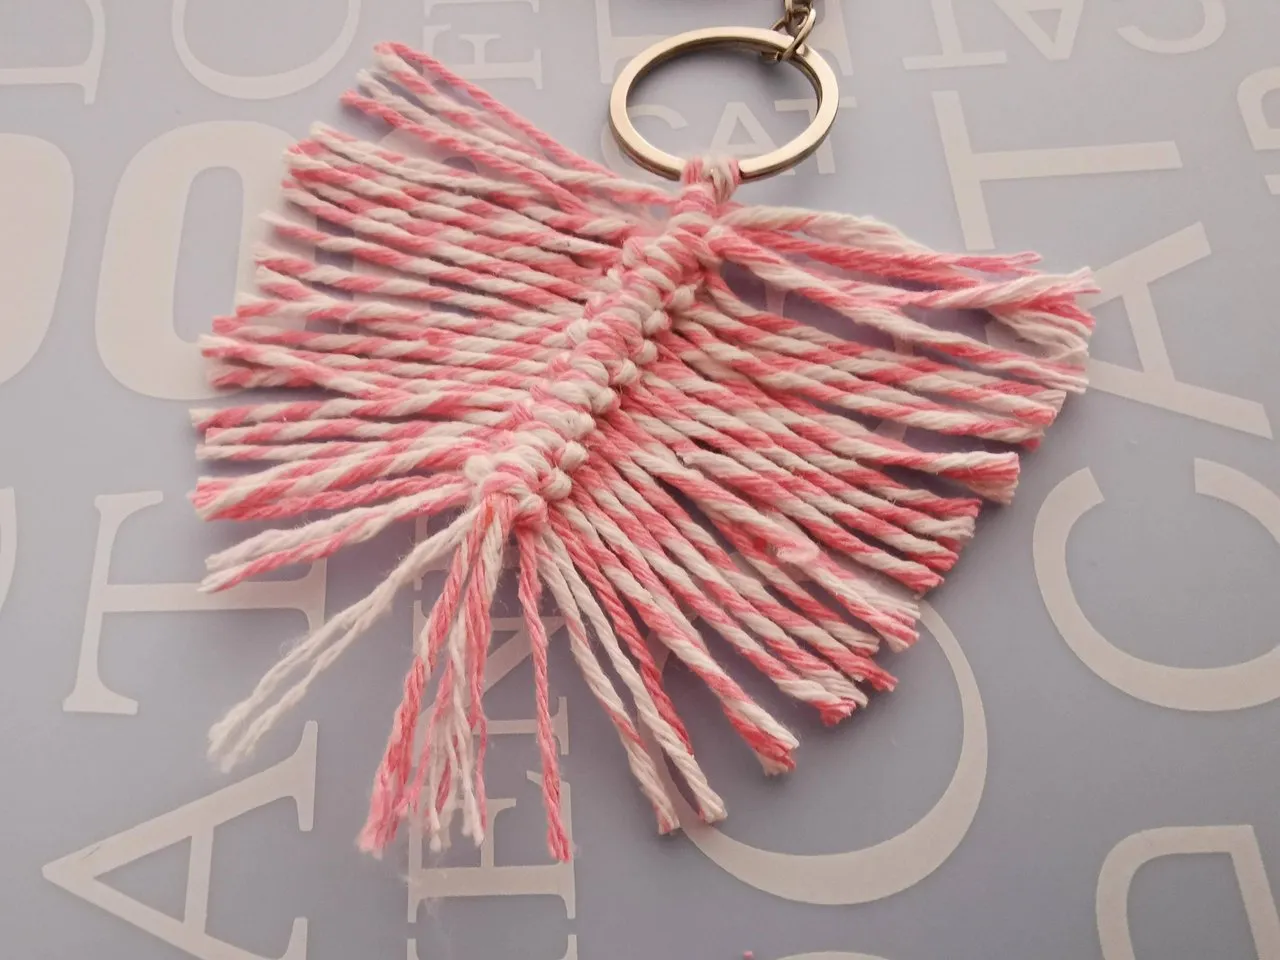
Try to place the brush as close to the knots as possible, and slowly brush through the rope. At some point, they will look as in the image above. I personally love the soft look and feel. If you let your child do this part, make sure you keep an eye on him/her as these brushes will truly ruin the surface when not protected.
Time for the final trim, and it's time to call it a wrap!
The end result
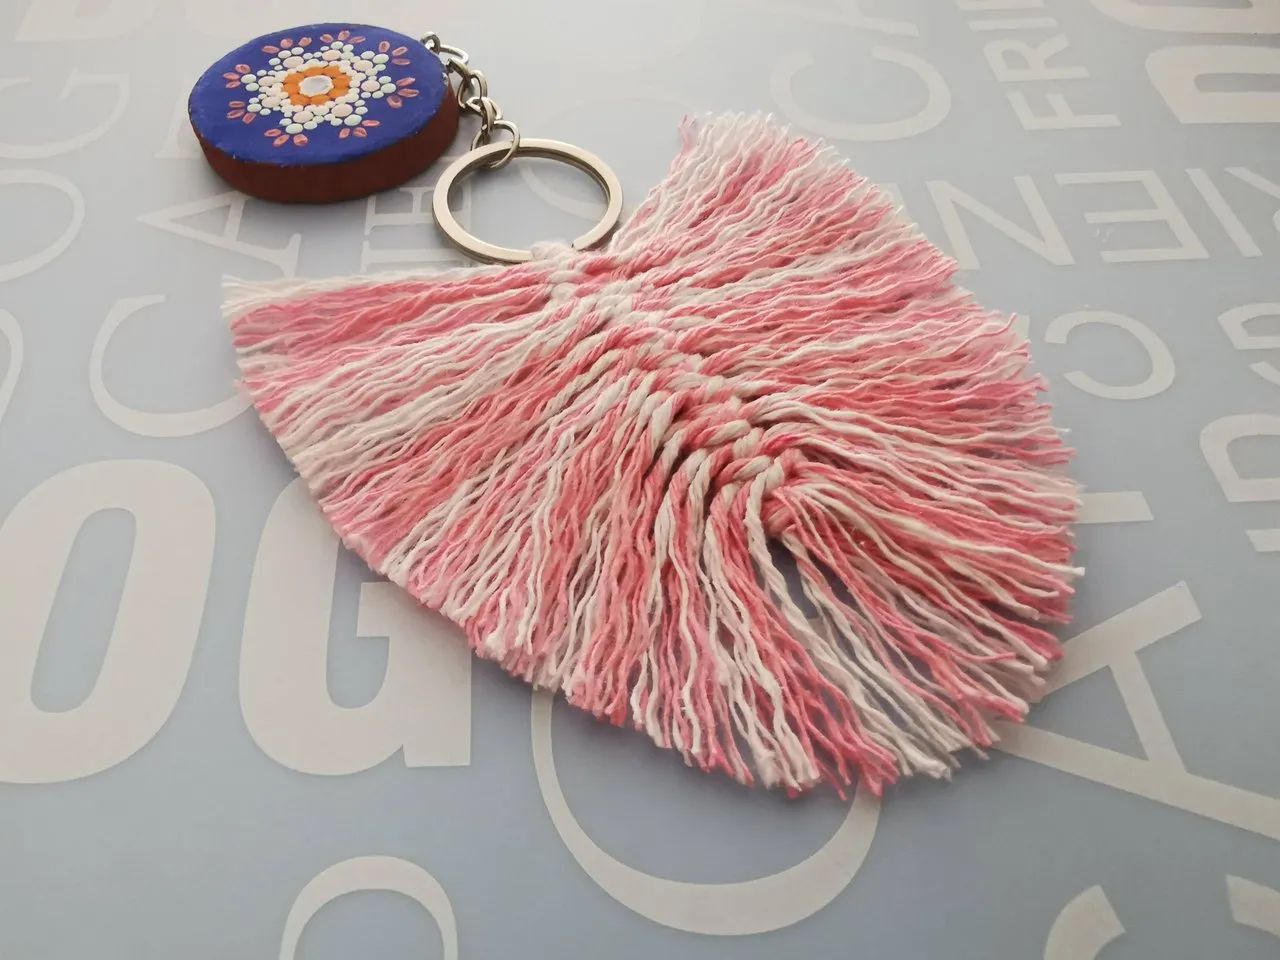
What do you think? Does it look cute and soft? I'm so proud of my little girl that she was super focused and learned this square knot so quickly. I expected that I'd need to assist much more, but in the end, the knotting was all her! I only assisted in keeping the work in place to make the knotting easier and brushing and trimming it at the end.

Fun fact: A day after she made this feather, I let her try to make this knot again, and she remembered every step! This mommy is proud.. And now she has two feather keychains, and one of them is created by herself, how cool is that?

I hope you enjoyed this lesson as much as we did, and maybe you will start practising this with your child as well. It's a fun project that's great for their fine motor skills and you only need a few items which you probably already have in your house. I'd love to see some pictures in the comments if you gave this one a try!