Hello friends 💕💕💕💕 I hope you are doing well.
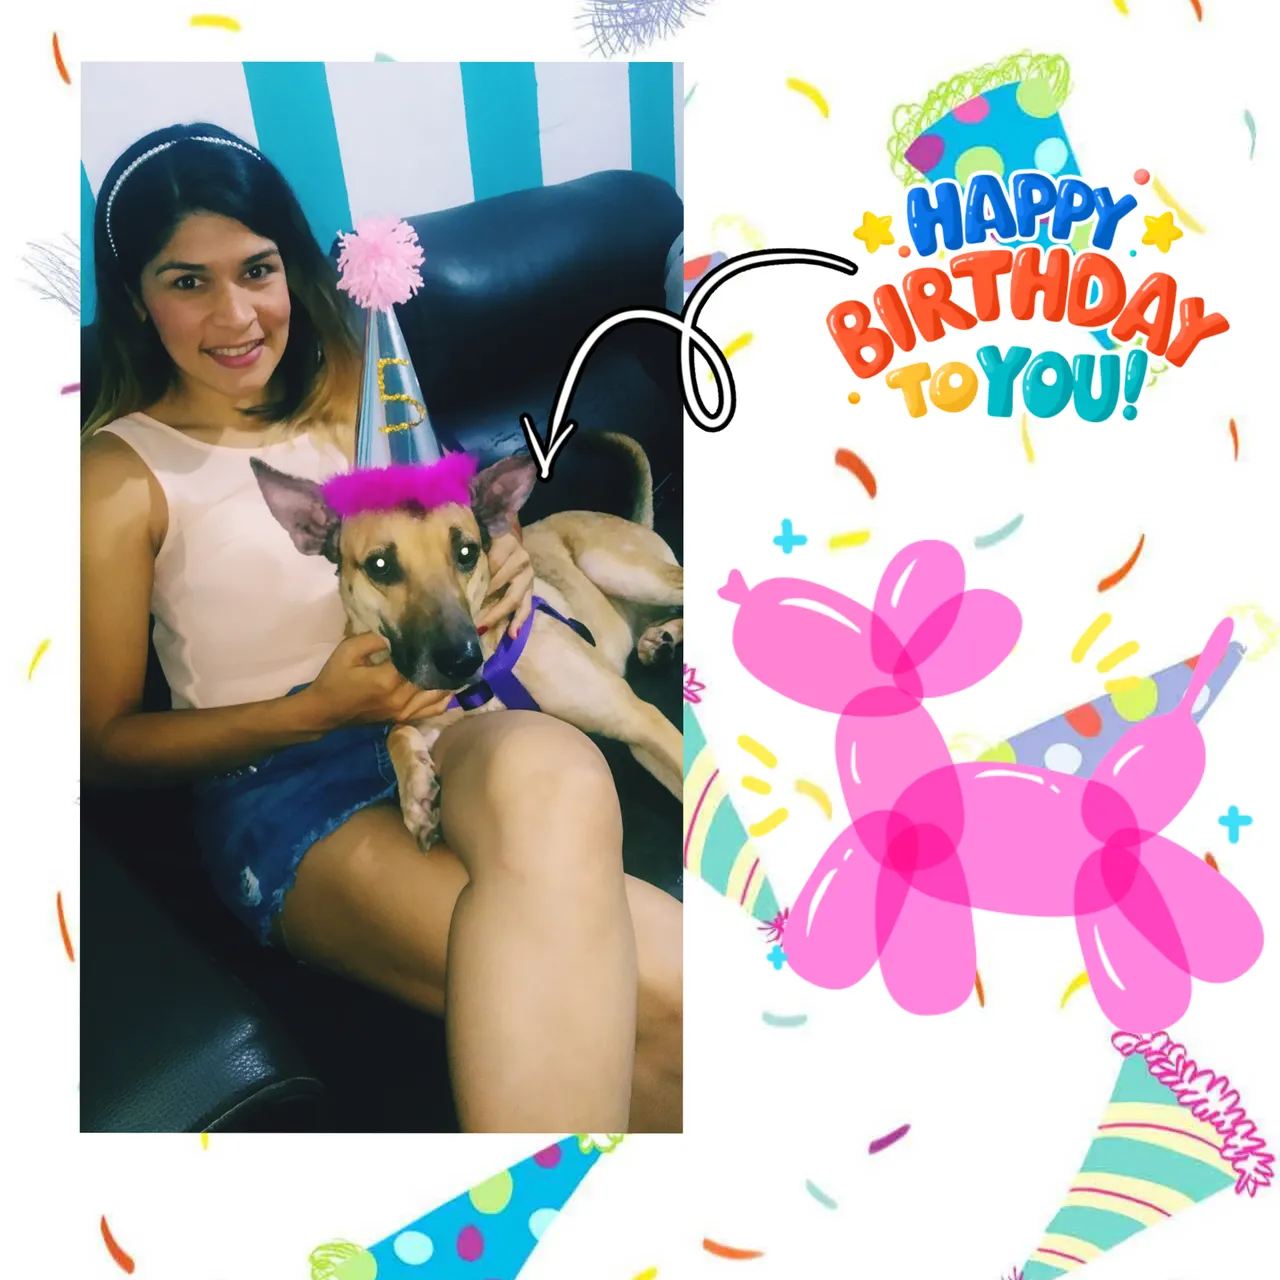
Ayer mi perrita Kila cumplió 5 añitos, y para hacerle su respectiva foto del recuerdo, le elabore un gorrito de cumpleaños.
Yesterday my dog Kila turned 5 years old, and to make her respective photo of the memory, I made her a birthday hat.
Yo siempre compro estos gorritos pero esta vez quise hacerlo yo misma, me pareció que es fácil de realizar y podemos decorar como más nos guste.
I always buy these beanies but this time I wanted to do it myself, I thought it was easy to make and we can decorate as we like.
Los materiales que vamos a necesitar son los siguientes.
1 pedazo de cartulina para el molde.
1 lámina de cartulina tamaño oficio del color que más les guste.
15 cm de elástica fina.
Una regla.
Tijeras.
Silicón caliente.
Estambre del color que más les guste.
marabú.
The materials we will need are the following.
1 piece of cardboard for the mold.
1 sheet of office size cardboard in the color of your choice.
15 cm of thin elastic.
A ruler.
Scissors.
Hot glue.
Yarn in the color of your choice.
marabou.
Procedimiento:
Procedure:
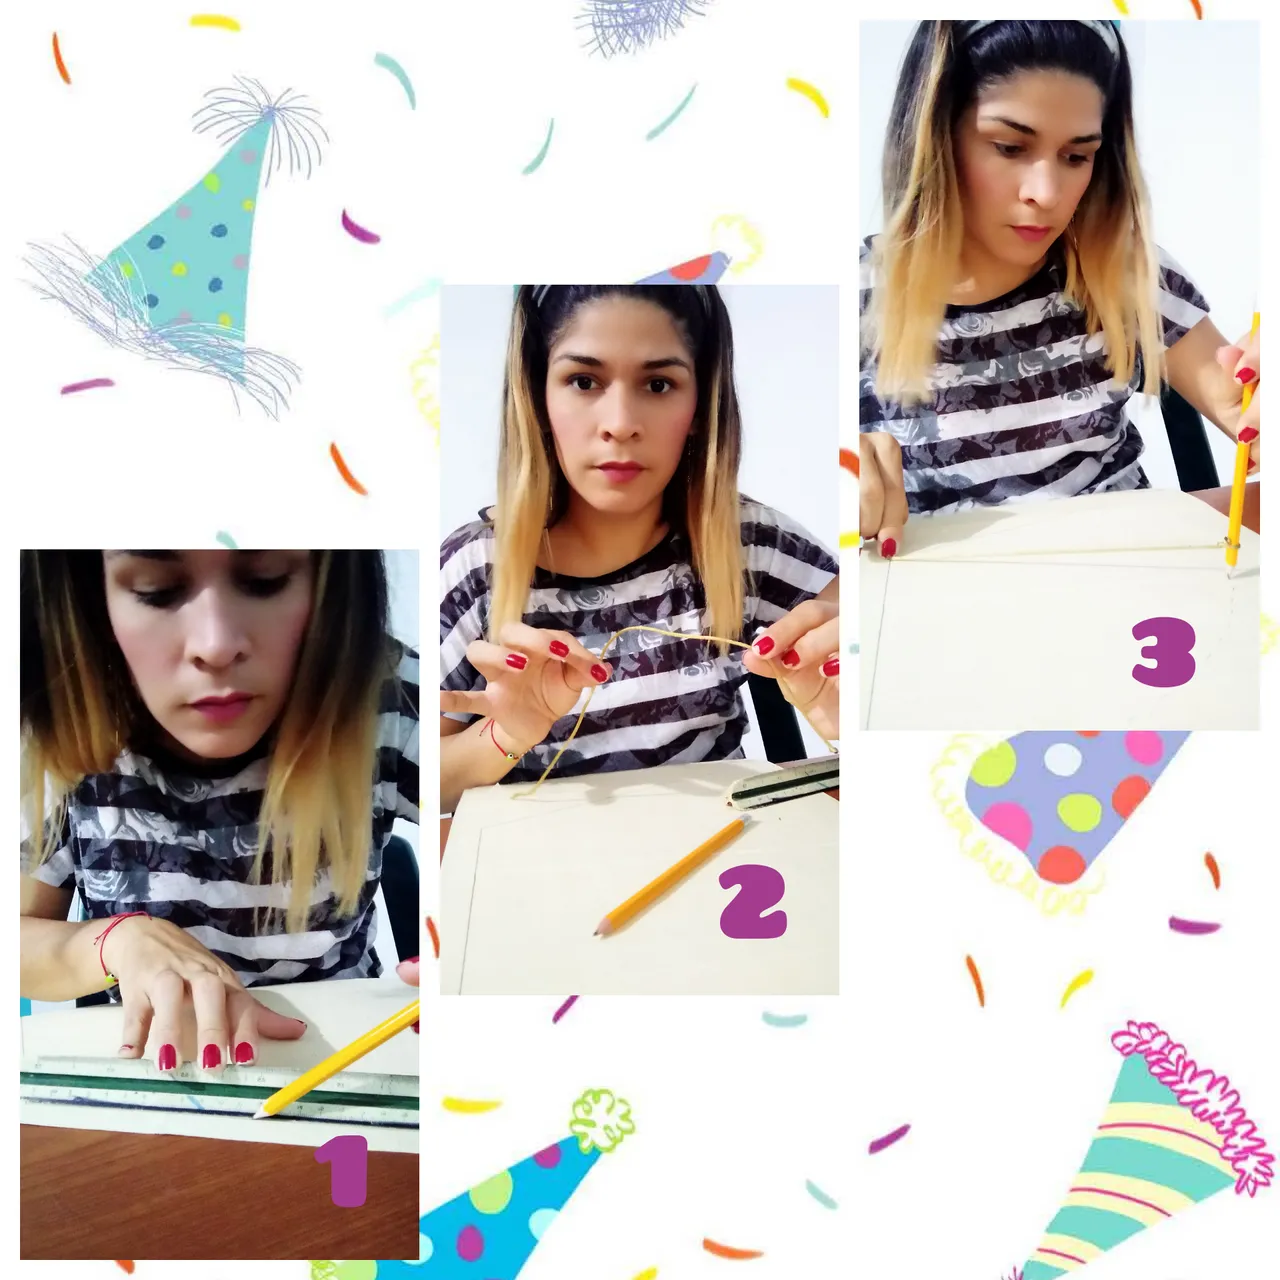
We will start by making the mold, we will use a cardboard and we will mark 23 cm on one side and mark a perpendicular line of 90° and then we will mark 23 cm but a little more open than the 90° like 110° more or less. Do not be complicated in these degrees, in the image you can see the shape and you can do it by eye percent. Then to make the curved part we will use a technique used by ancient mathematicians, I used this technique because I don't have compasses. We draw a string to the pencil, and place the tip of the string at the junction of the lines and place the pencil at the end of the line and holding the tip of the string we move the pencil to mark the curve from end to end.
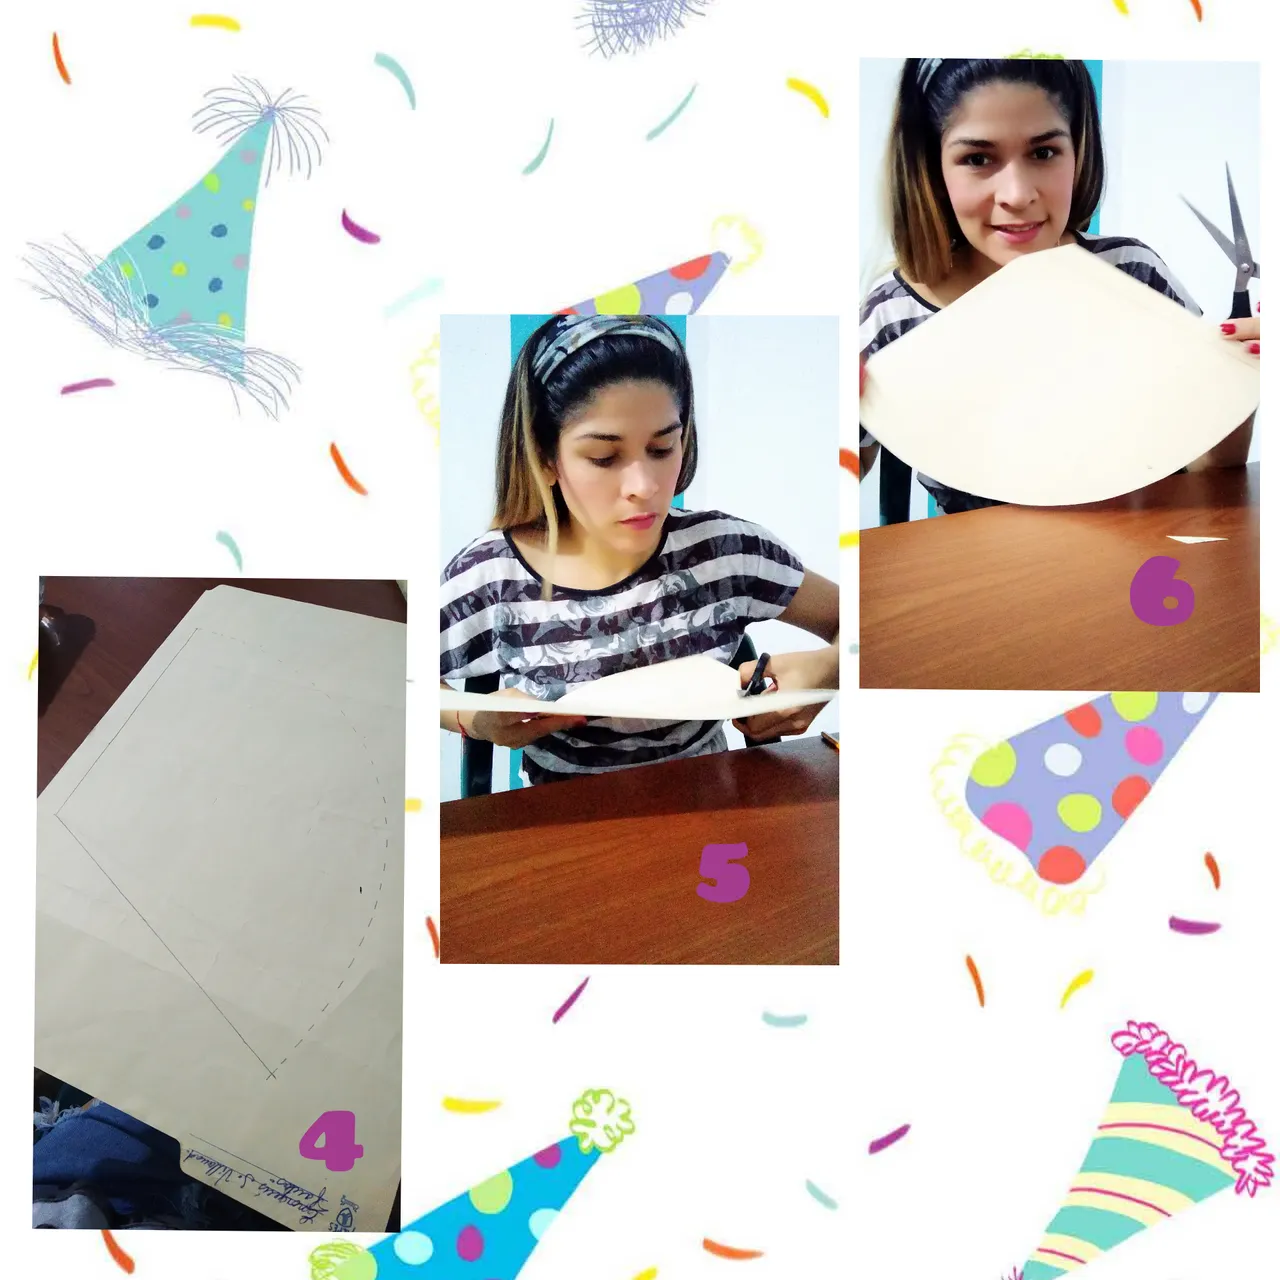
Once we have everything marked, we cut it out. It will look like a fan, we cut the top tip and a little in one of the corners, as shown in the photo.
Con nuestro molde listo, marcamos la sobre la cartulina por el lado que no tiene el color.
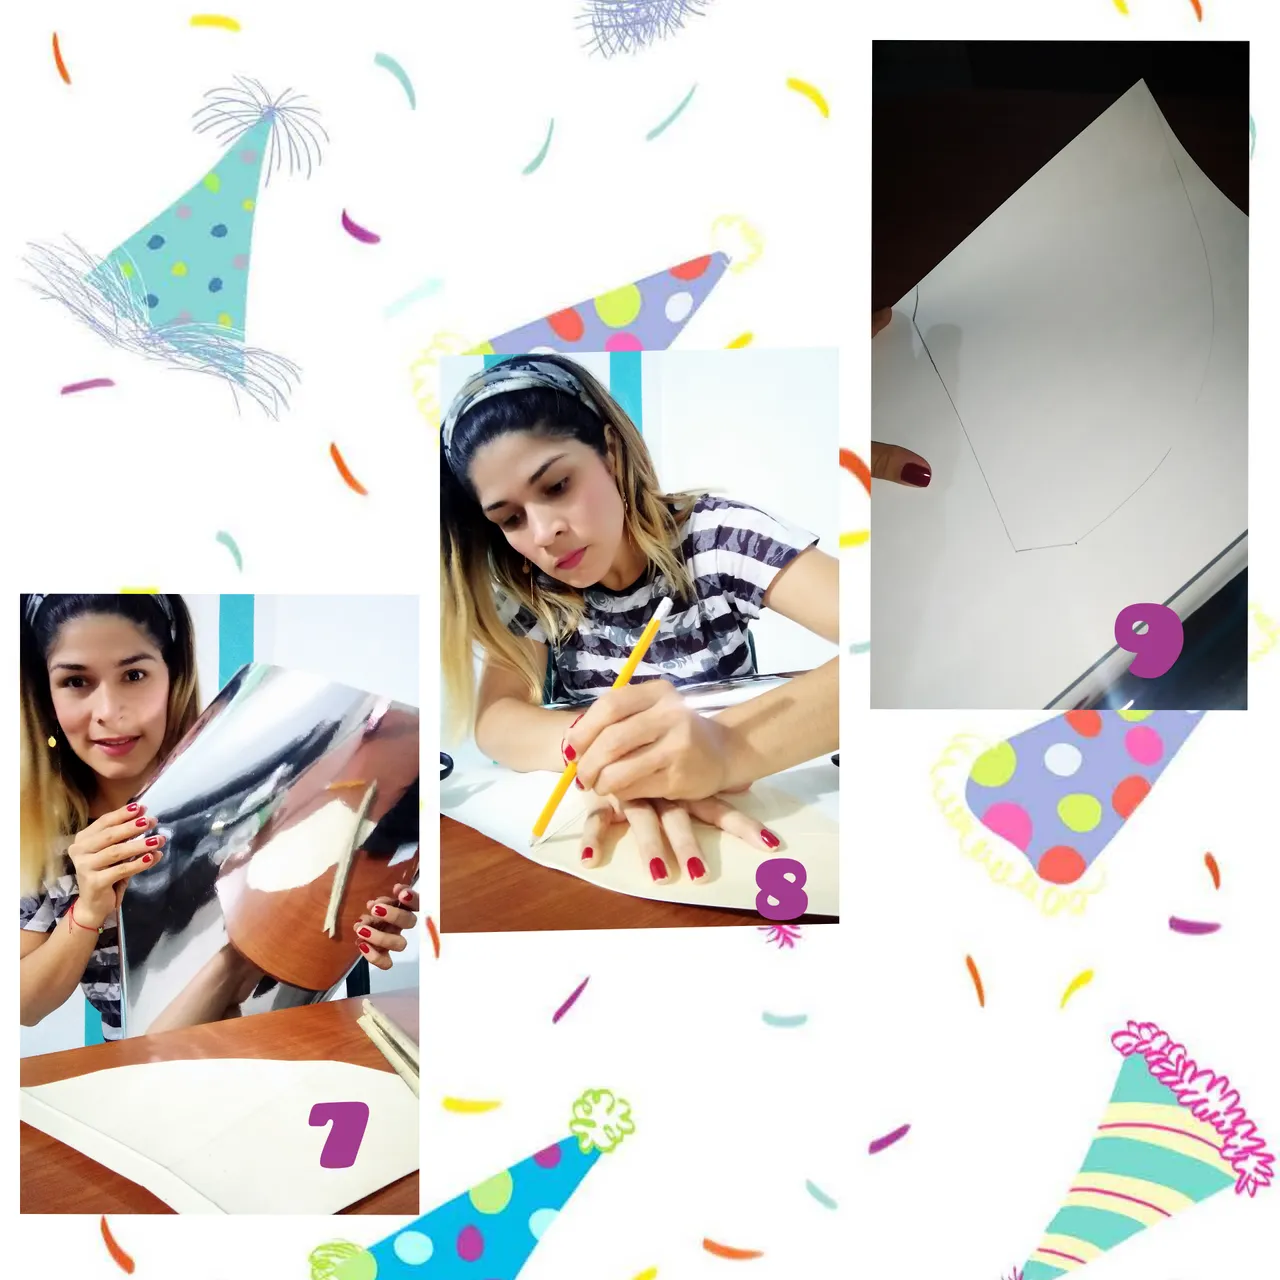
With our mold ready, we mark it on the cardboard on the side that does not have the color.
Recortamos la cartulina, y la esquina que le hemos cortado un poquito la doblamos hacia adentro para que nos facilite a la hora de pegar.
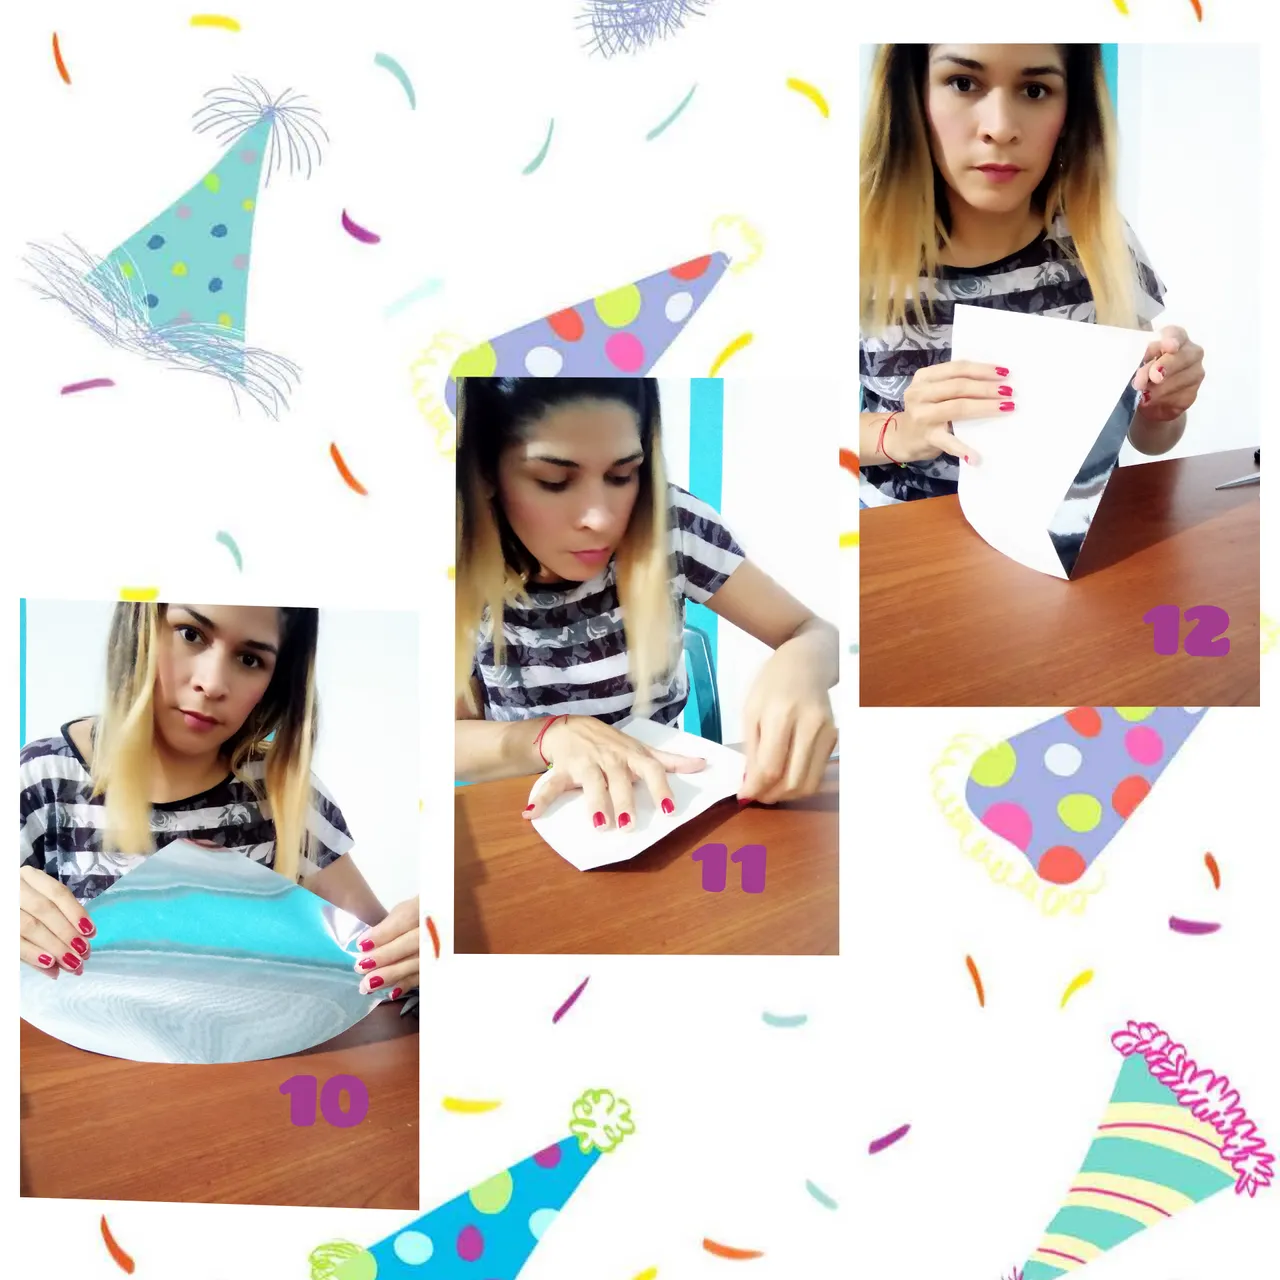
We cut out the cardboard, and the corner that we have cut a little bit, we fold it inwards to make it easier to glue.
Luego con silicón caliente o cualquier pega pegamos los extremos.
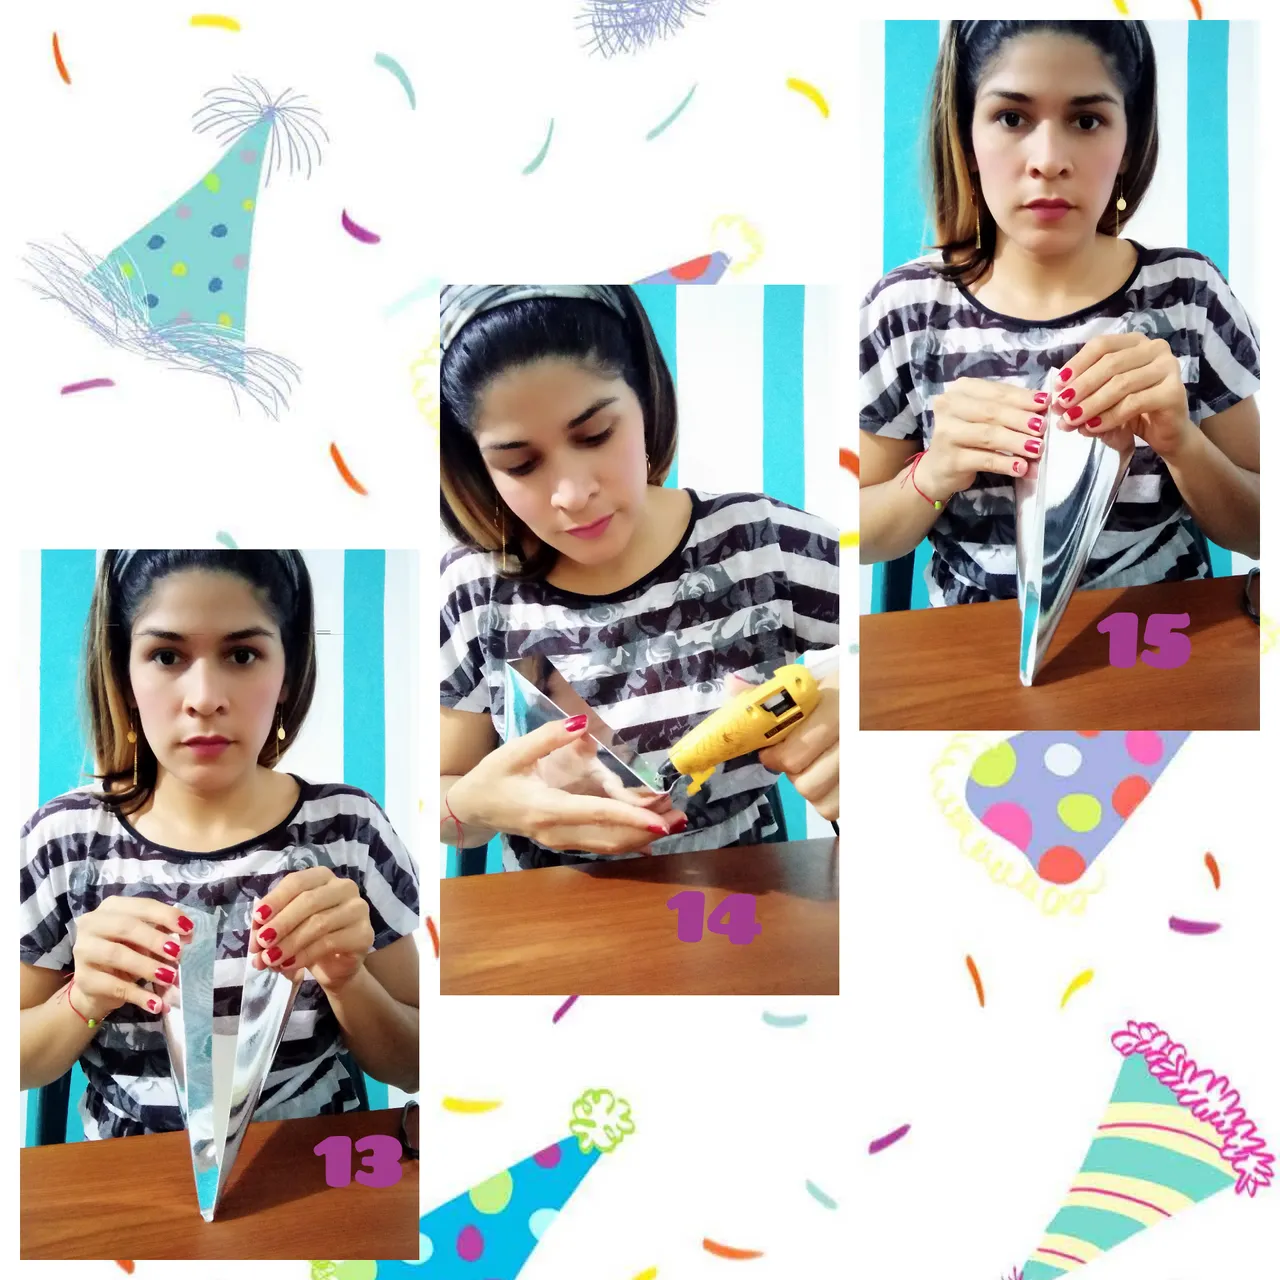
Then with hot silicone or any glue we glue the ends.
Y así tendríamos listo nuestro cono, ahora nos toca decorar.
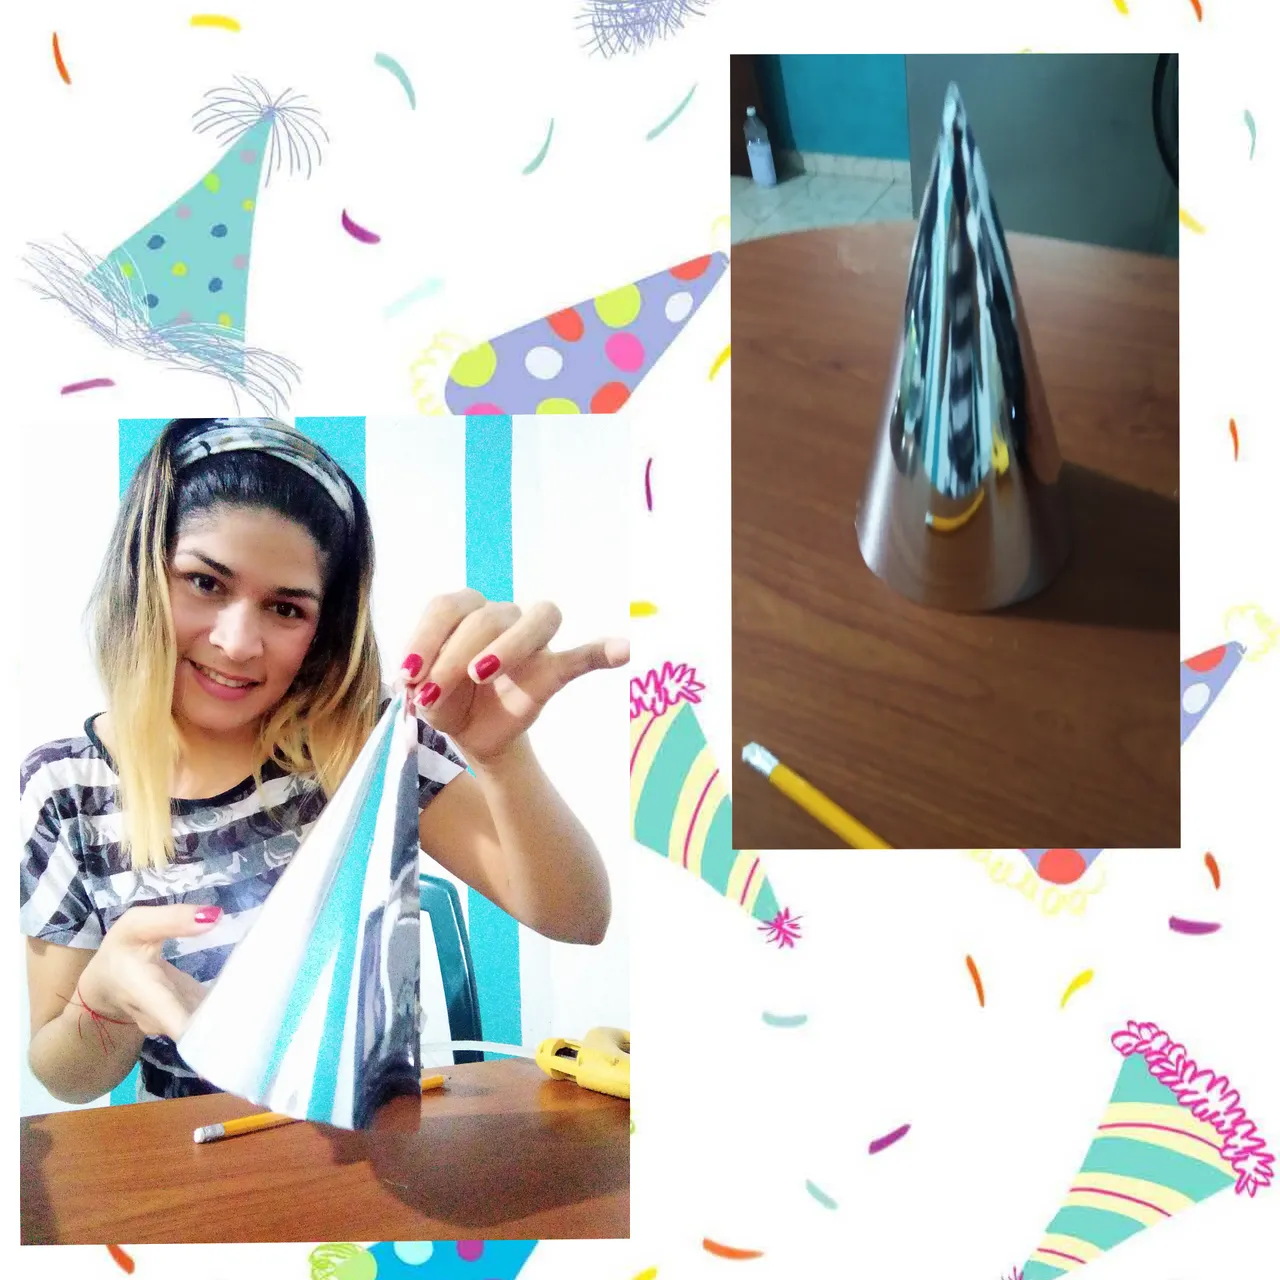
And so we would have our cone ready, now it's time to decorate.
Corto un trozo de marabú del tamaño dela circunferencia y la pegamos con silicón.
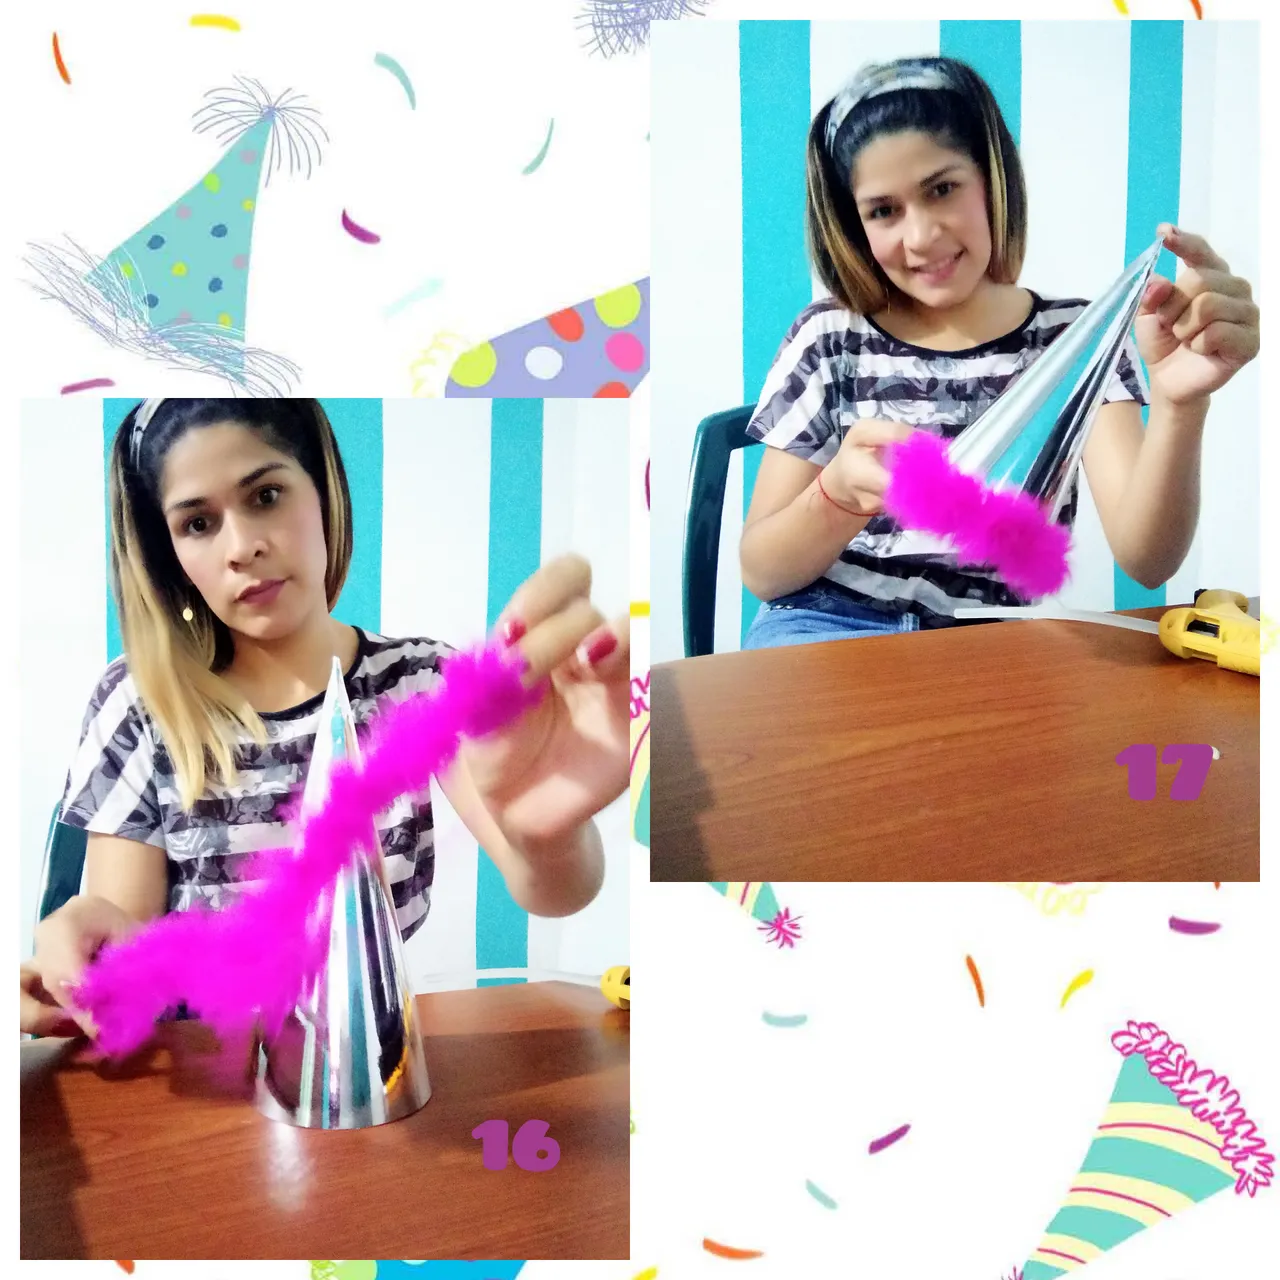
I cut a piece of marabou the size of the circumference and glue it with silicone.
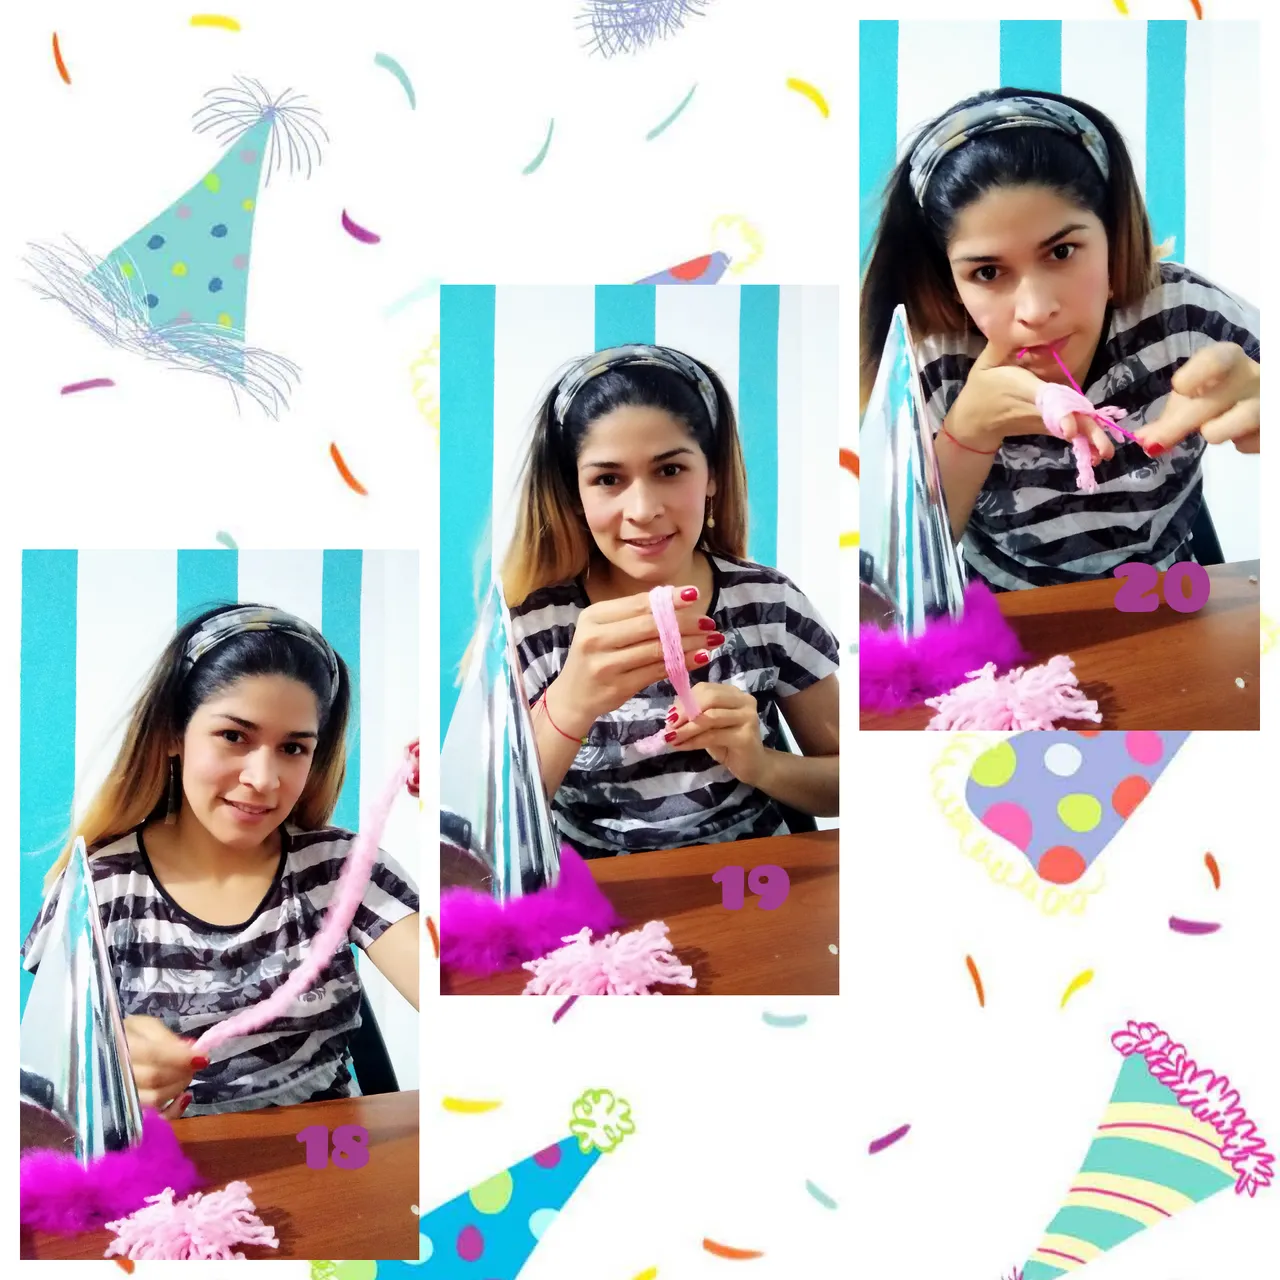
Then we make some pompoms with the yarn, we twist the yarn on the four fingers of the hand, we twist as many times as we want and tie it in the middle. Then we cut with the scissors to shape the pompom
Pegamos los pompones en l punta de nuestro gorrito con silicón.
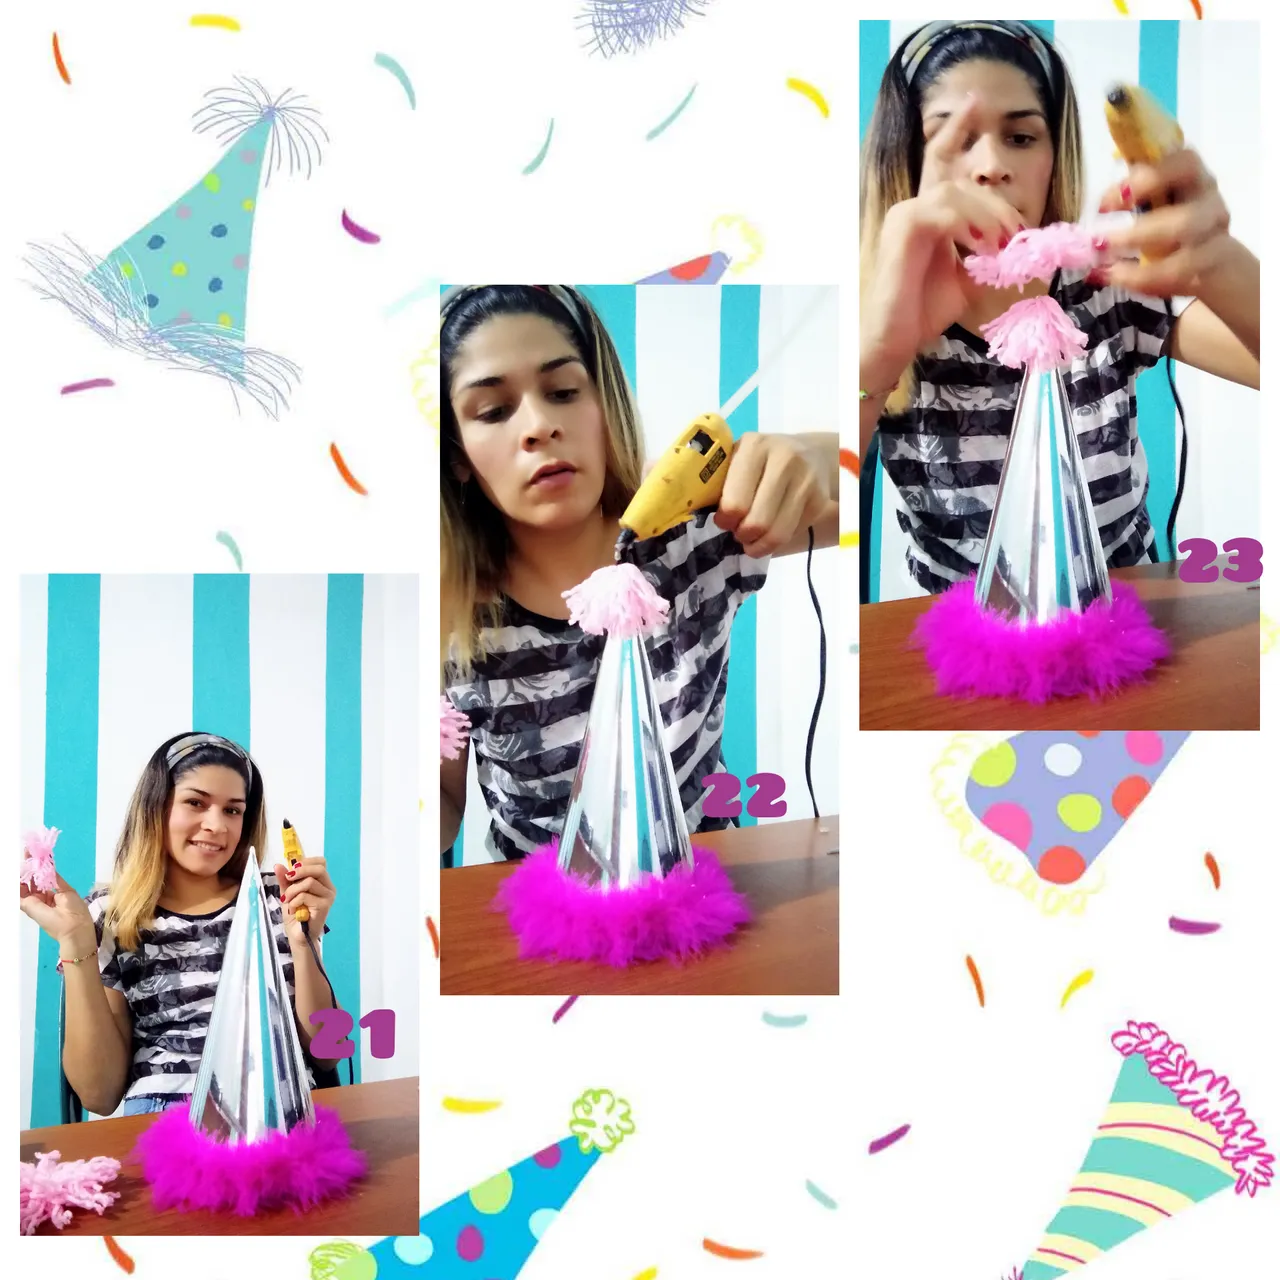
Glue the pompoms on the tip of our beanie with silicone.
Con un saca bocados hacemos unos huecos en los extremos y atamos la elástica.
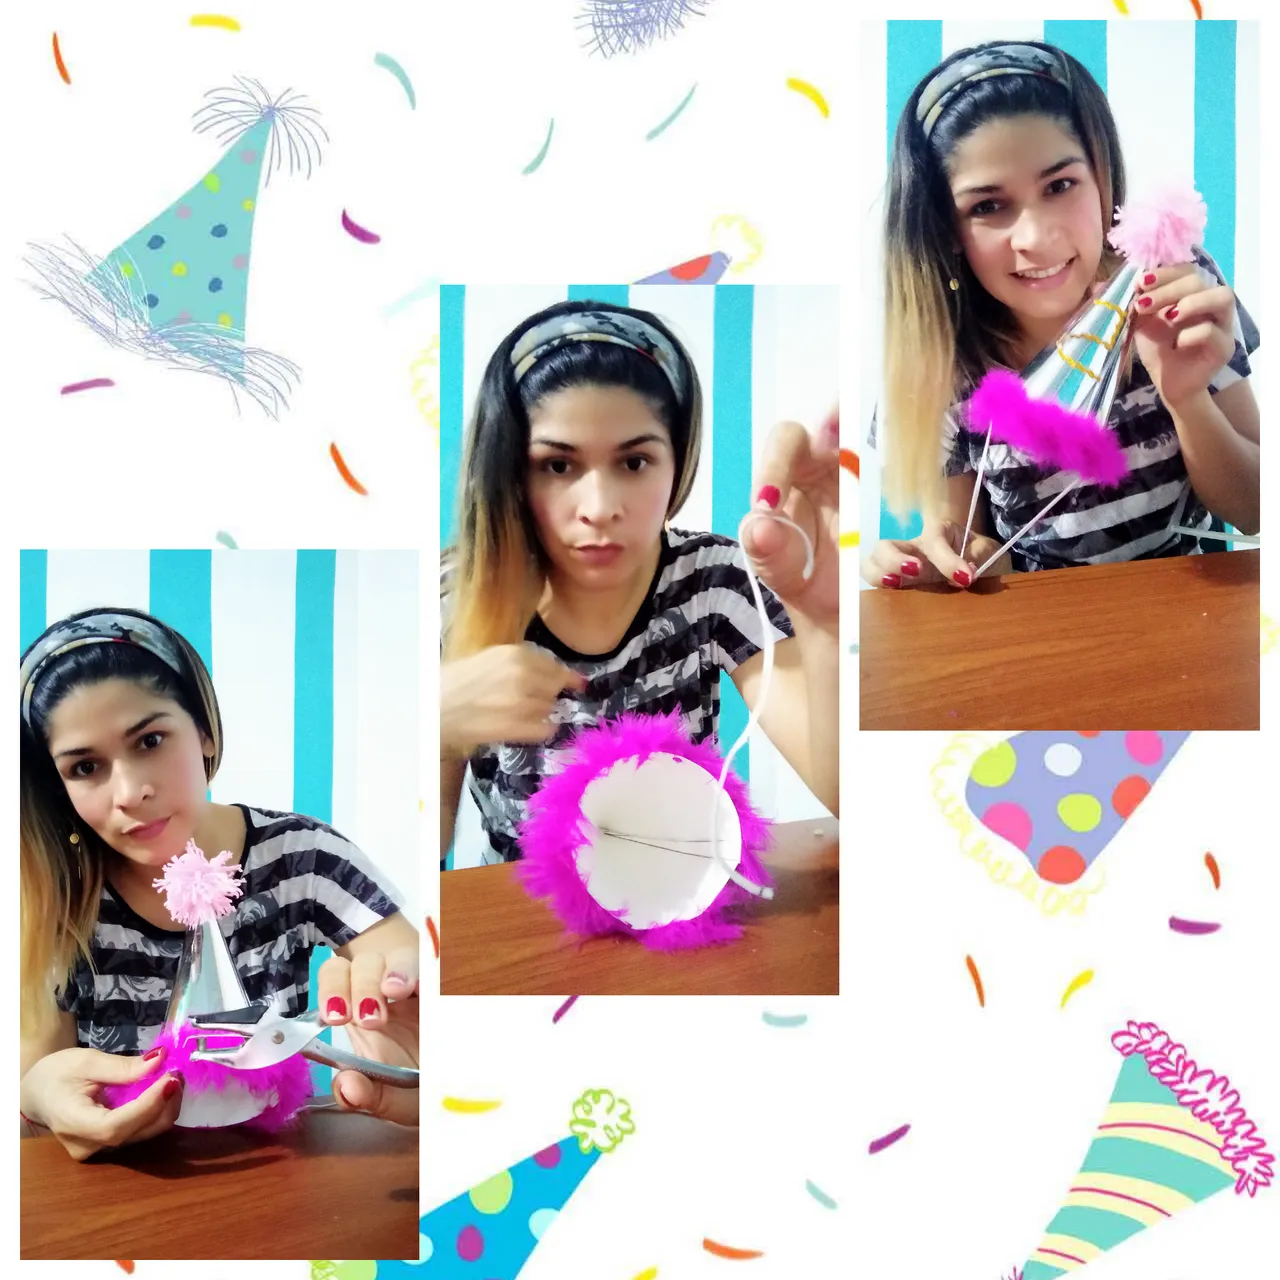
With a punch we make some holes at the ends and tie the elastic.
Así quedaría listo el gorrito de cumpleaños de mi Kila, yo adicional le pegué un bueno 5 😍
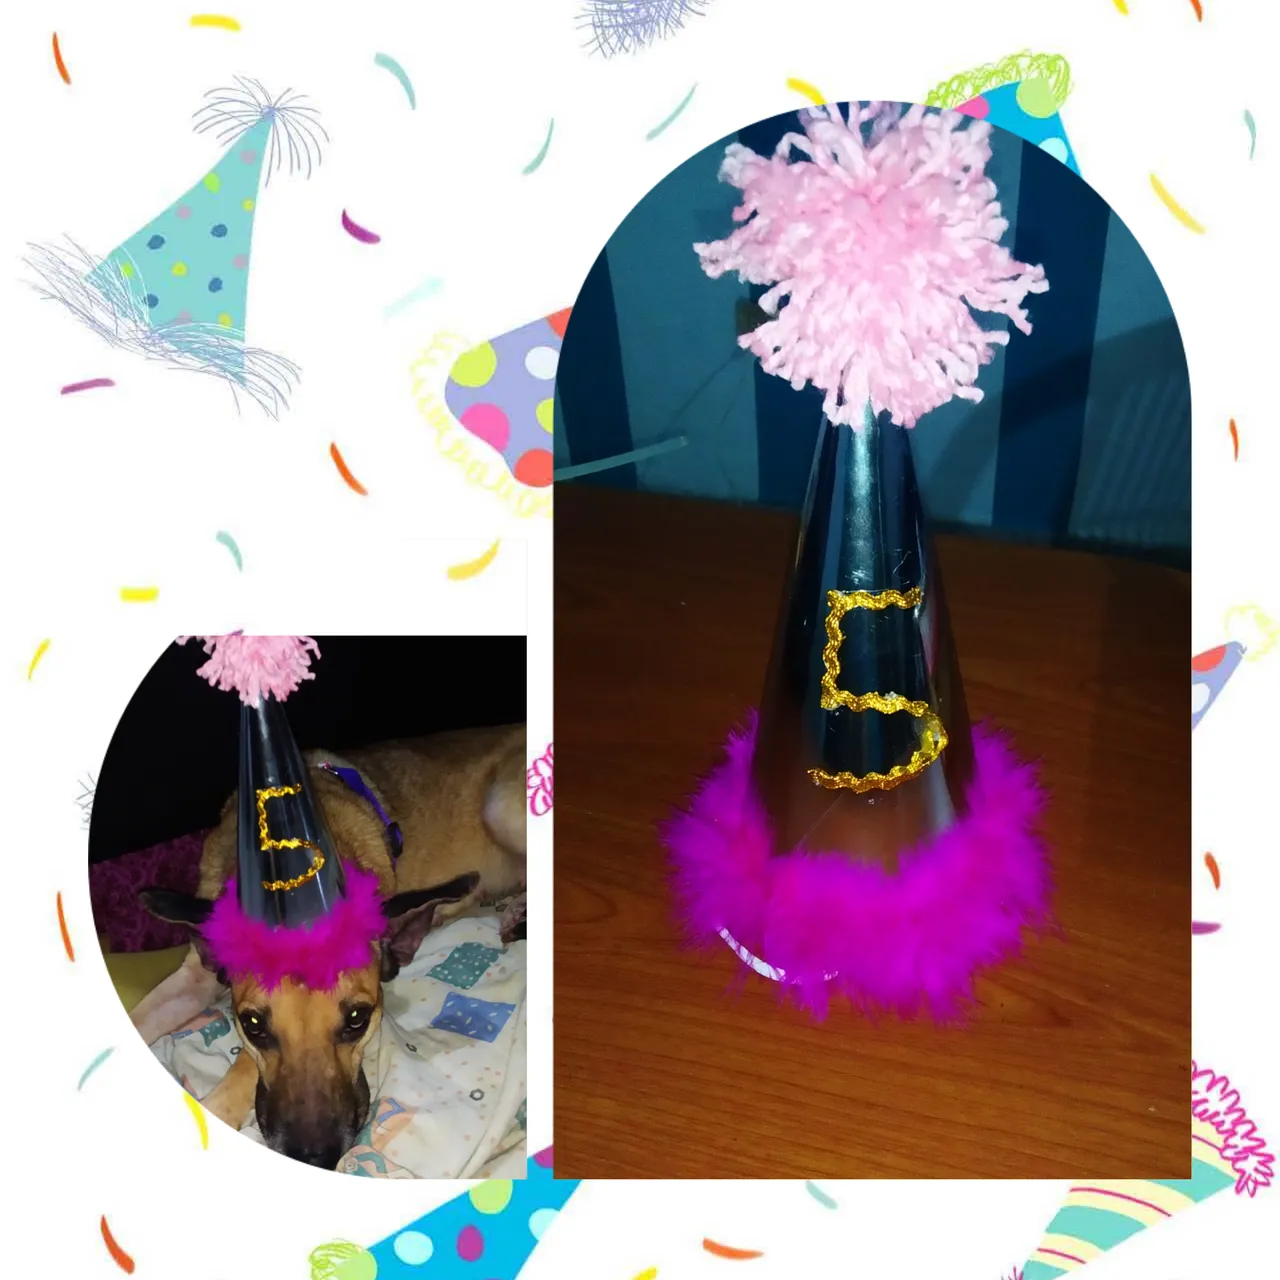
This is how my Kila's birthday hat is ready, I gave her a good 5 😍.