Hello friends, good vibes everyone.

We are going to take up the photographic issue a bit on the blog since we have not touched anything in this world for several days and I consider it is time for new material. Today's topic has to do with how we show, how we make the photos and the process or the rules behind all this wonderful task.
As I have always said, taking photos is not just taking a camera and taking the shot, believe it or not, it is a bit more complex. Although it is true that previously I touched on this topic very superficially, this time I decided to make a publication a little more explanatory so that it can be a little better understood.

This is one of the most important rules when it comes to photographic composition. Why? - Well, because it is one of the first things you learn, either because it is easy to understand and because once you start using it, the results improve considerably.
Basically it has to do with the way in which all the elements are distributed within the frame of a photograph, generating a certain attraction to some points of interest, points that can be seen in the reference photo that I put before them. With this rule what we will achieve is to capture the viewer's attention to the points of greatest strength and that our photos have much more balance and depth.
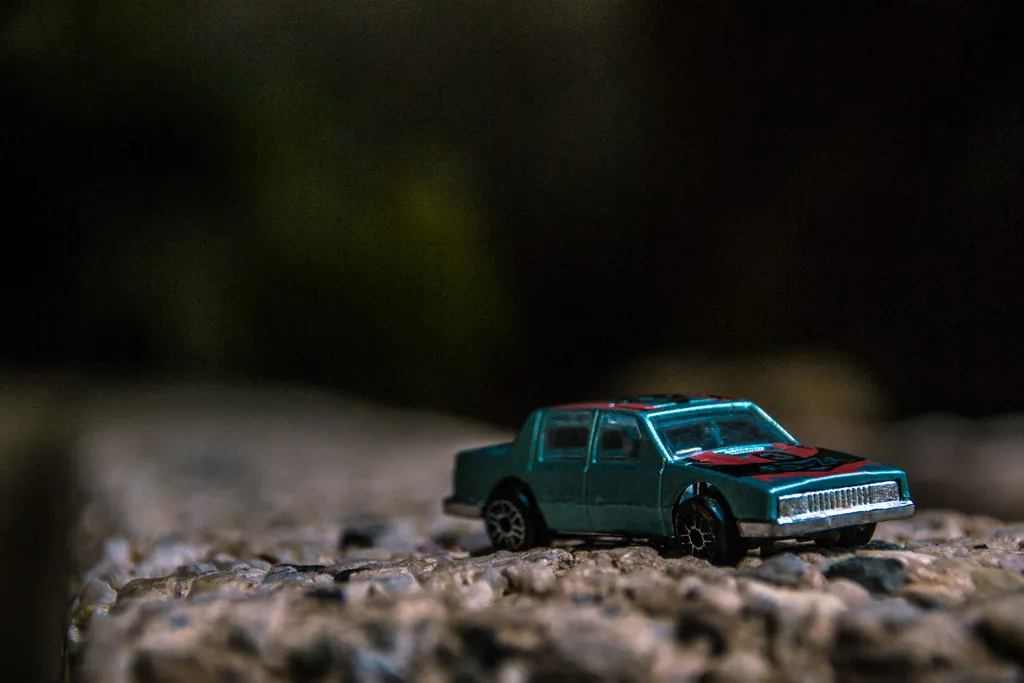
If you realize in these photos that I took precisely to show you with examples this rule you can see how the main object, in this case the toy car, is located in the BOTTOM TWO points where it is supposed to be the greatest points of interest. If you look closely, the photos are in harmony at the level that what we want to highlight does it and this is simply because the toy car IS NOT in the center of the frame.
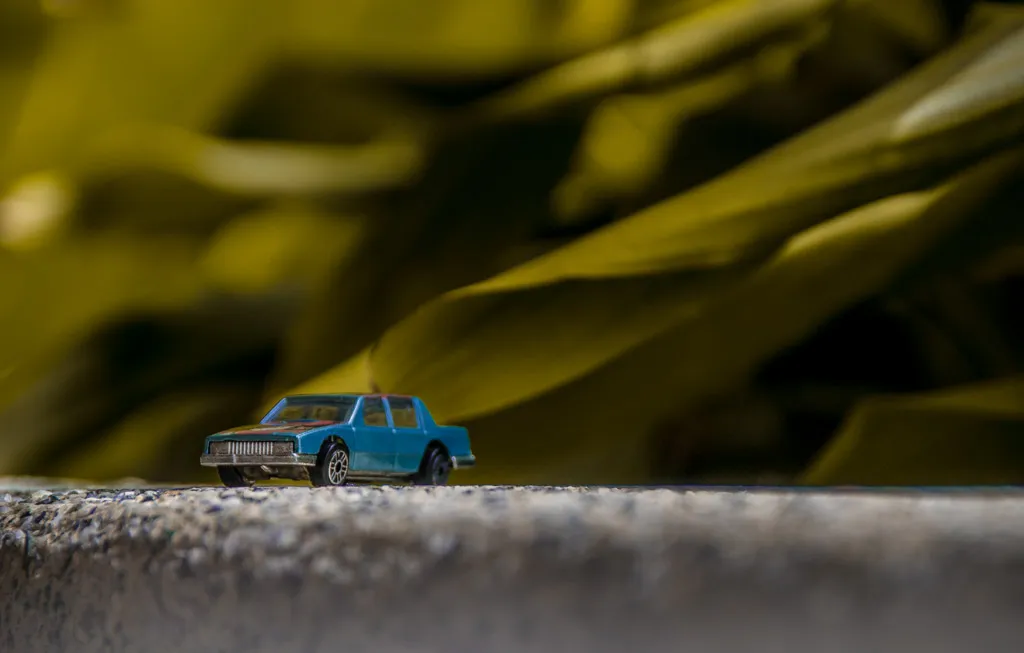
Este es un ejemplo de lo que NO SE DEBE HACER.
This is an example of what SHOULD NOT BE DONE.
As I explained to you, when the subject is located in the entire center of the photo, it loses a lot of strength and stops being attractive, it does not attract the attention we are looking for. This is why I recommend that whenever you go to take a photo, whether of an inert object such as a person or animal, try as much as possible to use the guide of the rule of thirds.
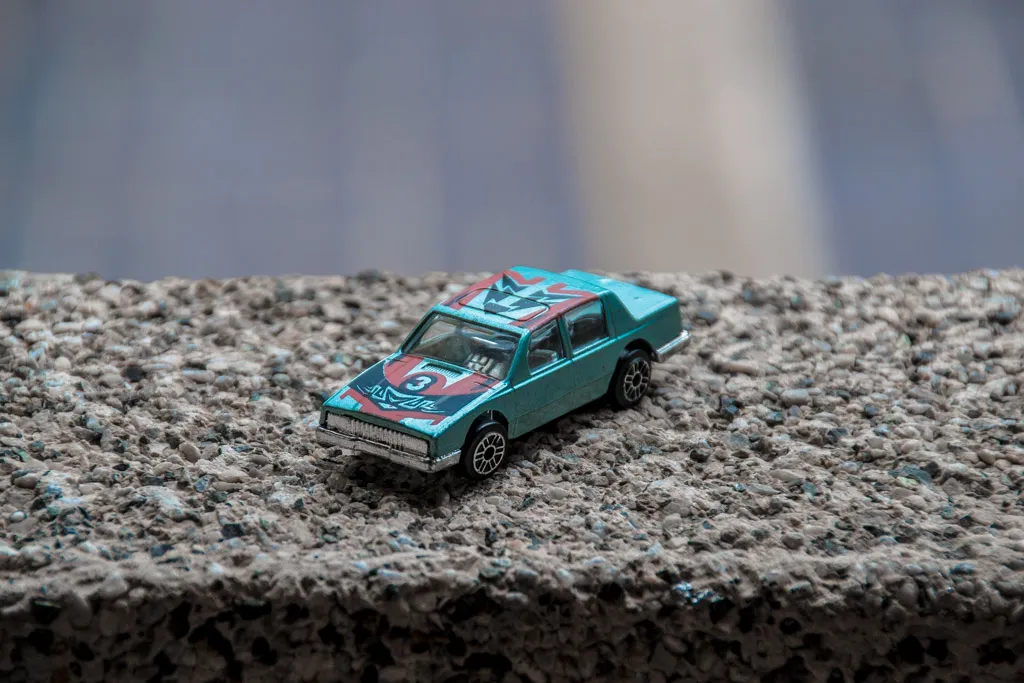
This time the points of interest used were the TWO in the TOP part of the grid. It may seem like a small thing but it really is not, the photographs improve a lot if we decide to use this method when taking photos or a photographic session.
And be careful, we cannot correct this as we would like when we are editing or developing. If we want to apply it correctly, it has to be at the time we are taking the photos with our camera. It may be a bit difficult at first to locate these points and put everything into practice but over time that is achieved.
The cameras today come with a built-in grid so that they can use it as a guide or reference and help each other and achieve better captures. Take many photos, practice and train the eye, that is the only way in which little by little you will be able to perfect the look and obtain the results you hope to have.
¡Un abrazo a todos, nos vemos en la próxima!
Las fotos de los ejemplos son de mi propiedad realizadas con una cámara Nikon D3100.
Well my people for today is everything, I hope you liked it.
¡A hug to all, see you in the next one!
The photos of the examples are my property taken with a Nikon D3100 camera.