Welcome to the next installment of my WALKTHROUGH | Series. Today I wanted to look at a new piece I've created - Passing Time
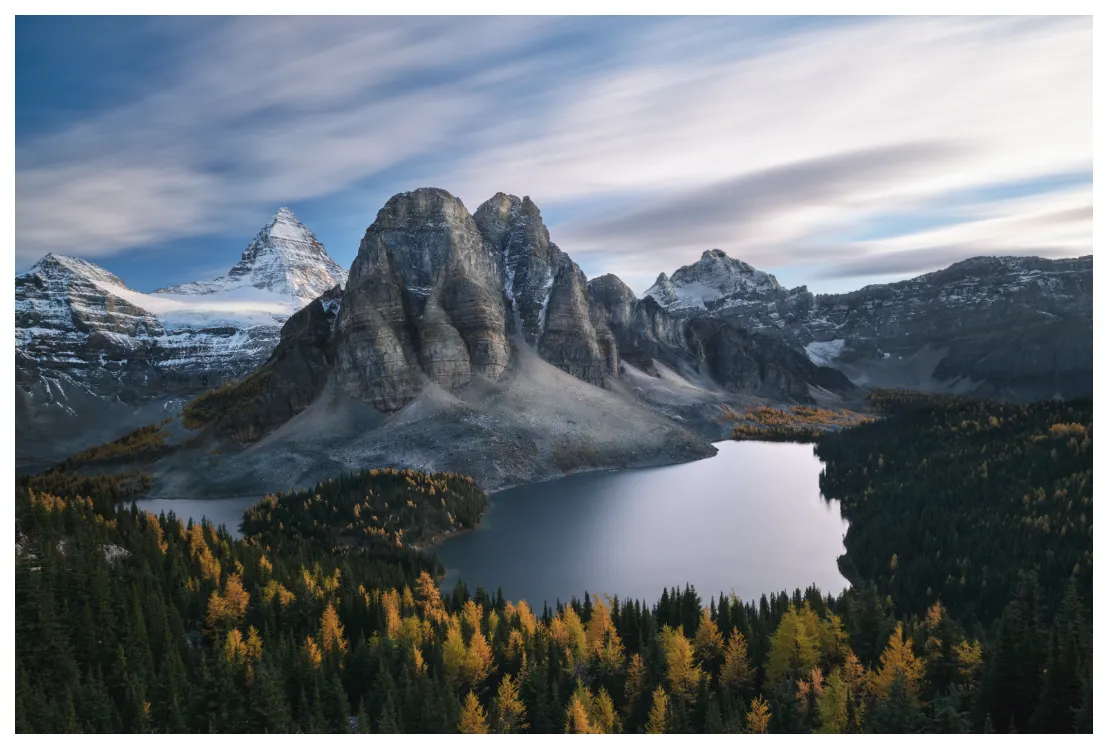
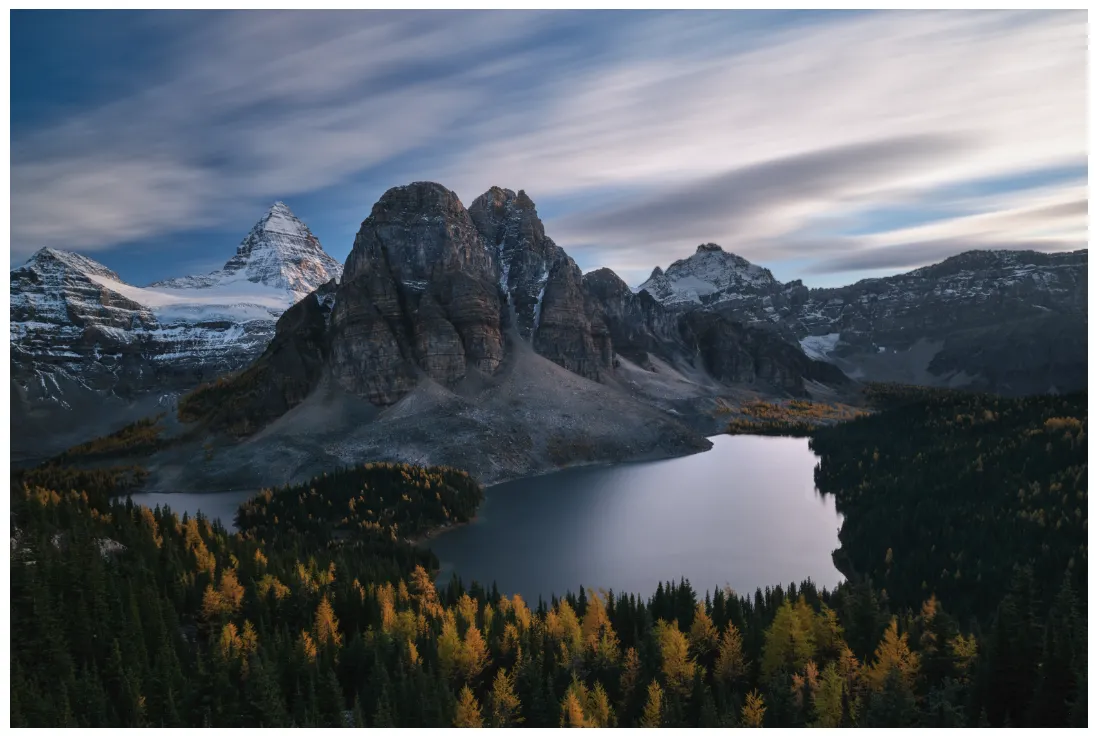
FINAL IMAGE
As per usual we'll start with the final image so that we have an idea of what the final product will look like.
In Camera Technique
The first step in creating an image like this is of course the in-camera technical issues. When creating an ultra long exposure in the middle of the day a regular camera settings wont work. To get around the extreme exposure times I used whats called a neutral density filter - specifically a 1000ND or 10Stop filter. a 1000ND means it removes 10 full exposure stops of light. This lets me slow down my shutter speed from a 1/15sec to 15 full seconds. This is huge! Especially in the middle of the day.
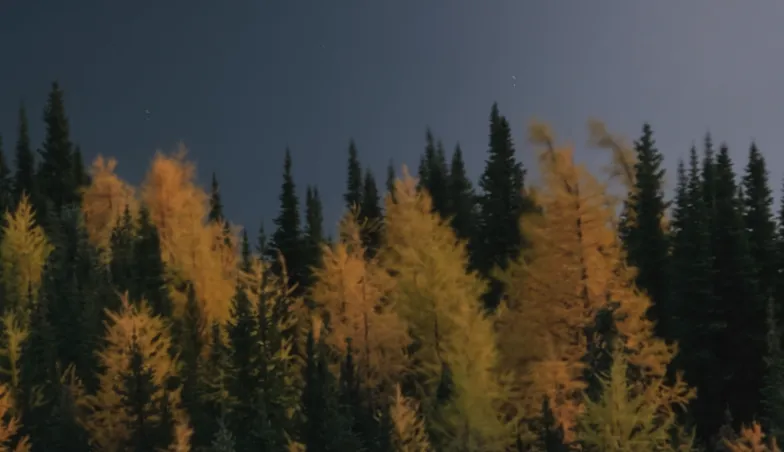
The results are an image with streaked clouds like this RAW unedited image here.
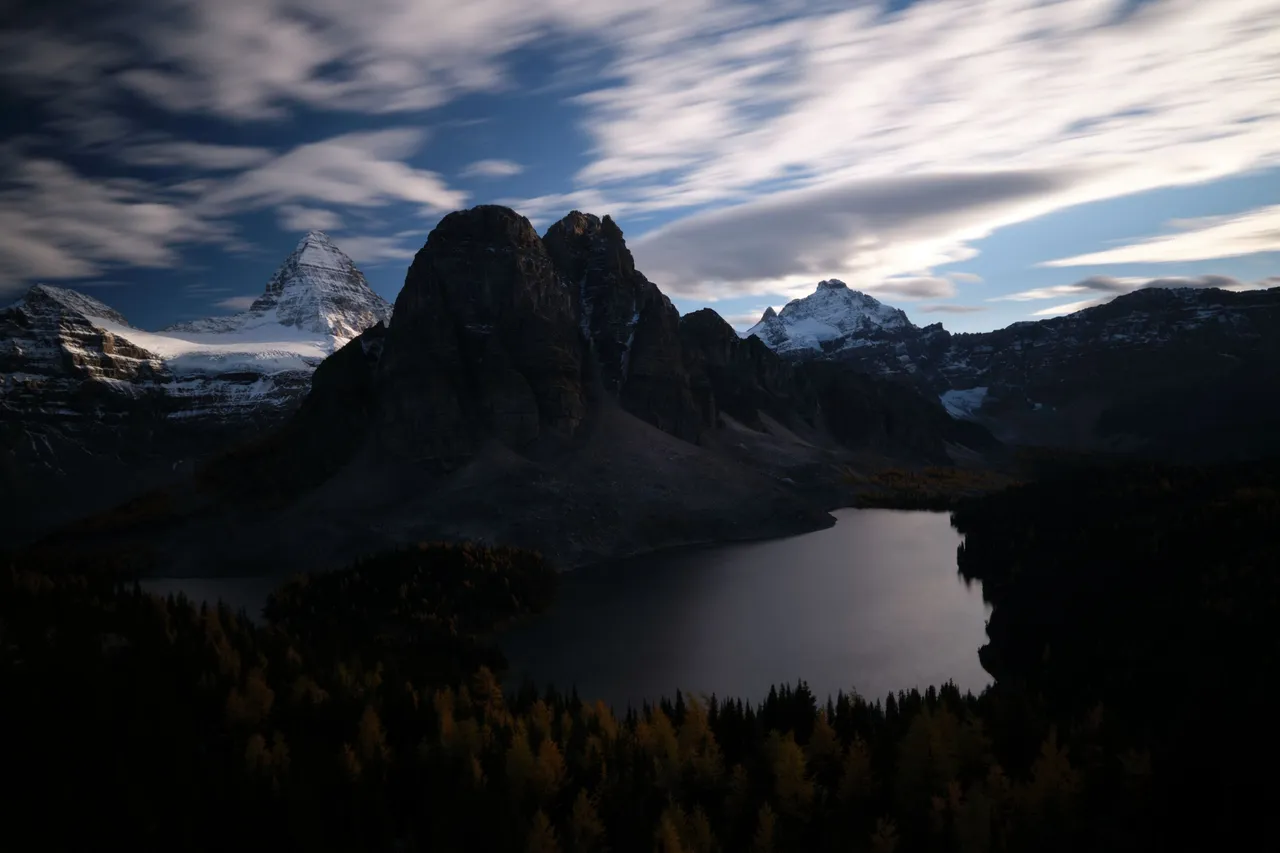
Now you'll notice this image is quite dark. Thats because I wanted to make sure I didn't overexpose the clouds too much. Since the clouds are what I need streaked I created a series of images. Using some basic exposure corrections we end up with our images ready to be merged and blended.
Stacking the Shot
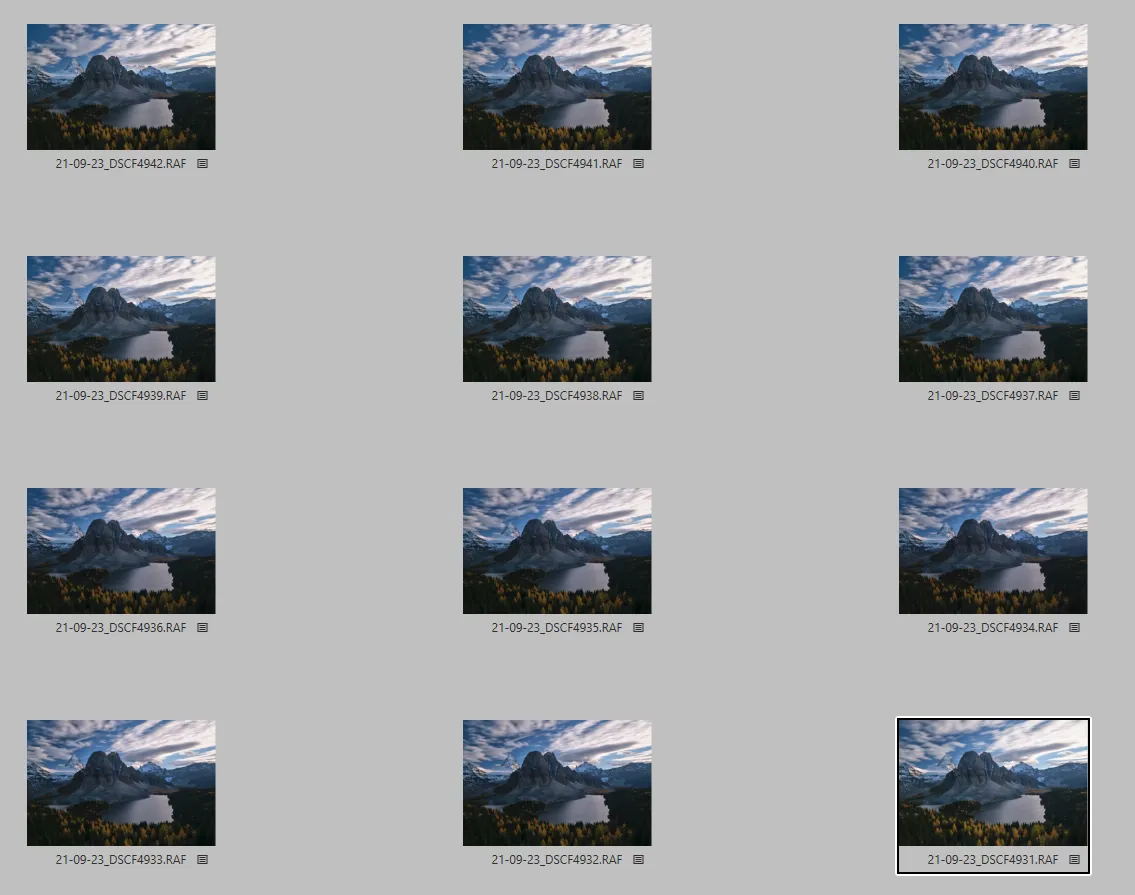
I used 21 images stacked together for this image... surely more than I needed. But I took this many in the field to make sure I had the files I needed and figure I may as well use them all! Combining these images will allow use to create an effect of an even longer exposure. Instead of being onlyy 15sec long, it will now look as though I shot the image for (21images x 15Sec = 315Sec) just over 5 minutes.

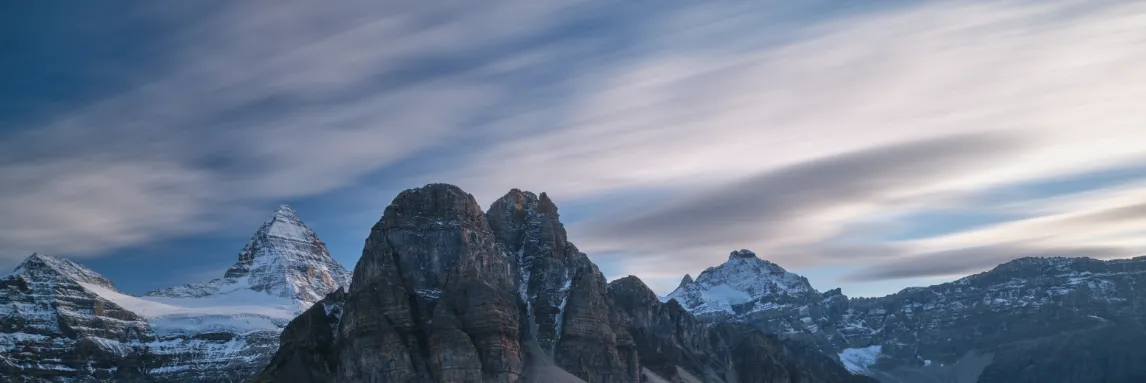
Now, the initial stack results in these chopped clouds. An effect some enjoy, but personally I'm not a fan of. So instead of the automatic median blend mode I switch my layers to mean blend mode. This will give us that silky smooth look.
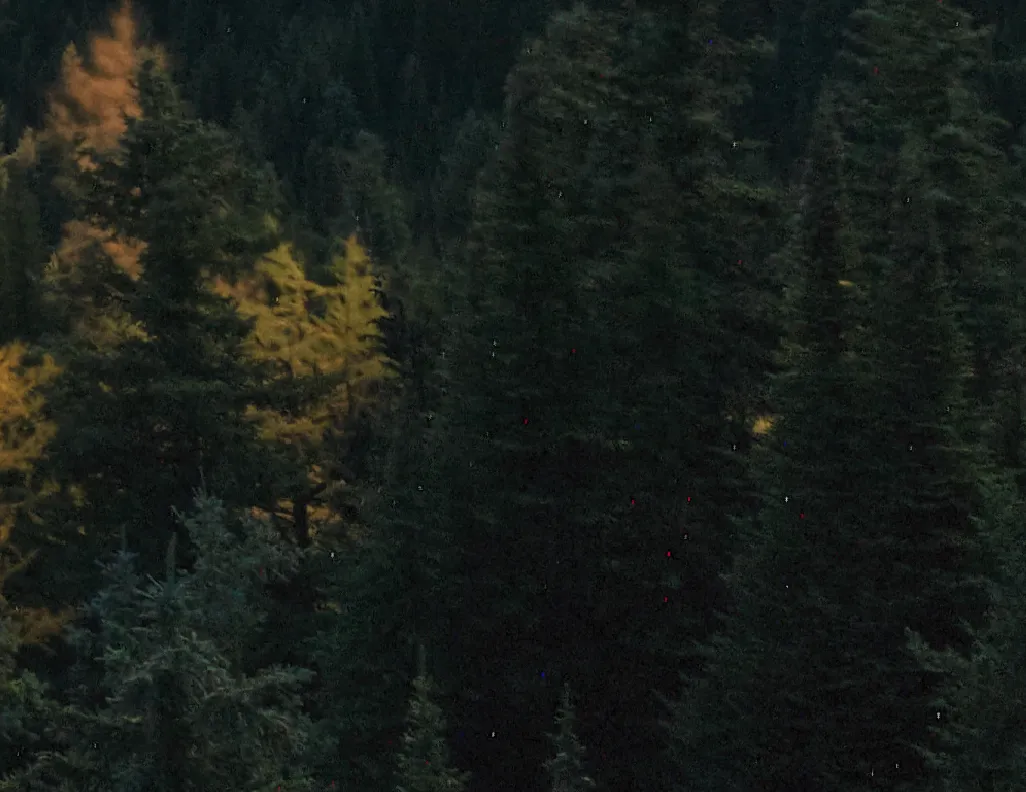
Something to be careful of when using a mean or median blend is artifacts created from objects that moved during the shooting process. You can see below in the screenclip how these shifting trees are now blurred and muddied together. We'll fix this by masking out these objects and letting only a single and sharper image of the foreground show through. You can do this easily in Photoshop or Affinity Photo.
Another thing to be aware of is noise! When taking such long exposure noise gets introduced where you may not want it... so take a quick peak for noise. You can see a particularly bad spot of noise here.
After some additional adjustments - warming, dodge/burn, exposure, vibrancy - we end up with the final image. At least, the final color image.
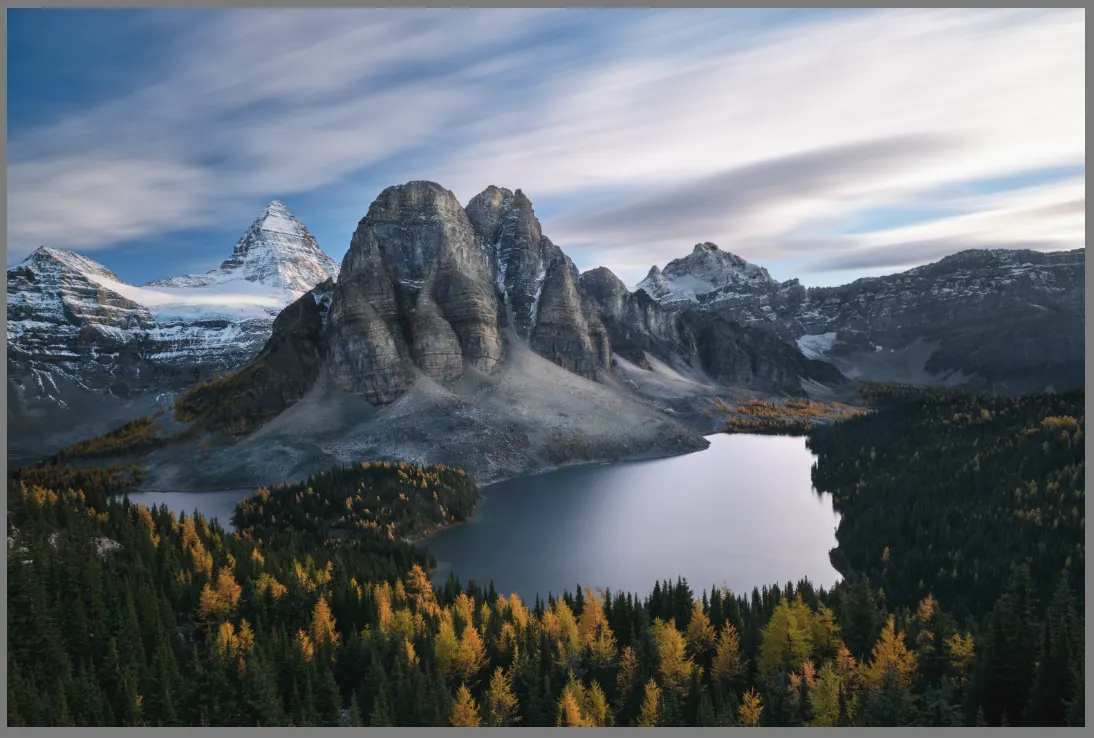
You can see how much a different the dodge/burn and brightening can make just by themselves! The final image on the left has a lot more life to it now just with the simple act of accenting some of the rock faces, adding some brightness to far off glacier, and darkening the crevasse in between.
Now. I'm a big fan of black and white. So on shots like this I always think a B+W version should be made. For this one I'll lean towards a warm variations - brightening the warm tones and darkening the cold tones. Adding a little more contrast we end up with an image like this one.
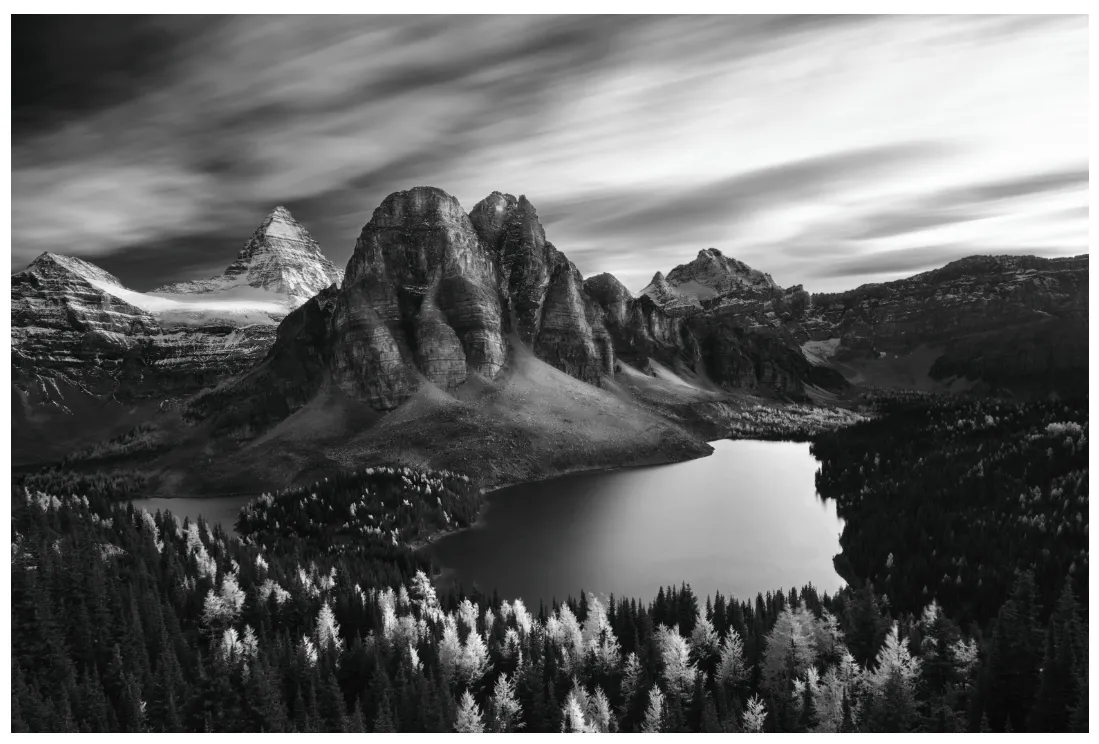
For me, this piece becomes timeless with the b+w adjustments.
I hope you've enjoyed this walkthrough of my edit! As always, if you have any comments, questions, or critiques please feel free to leave them in the comments below for me to answer.
Cheers,
Dyptre
Want to see more of my work or support me? Follow me on HIVE or checkout my work at these links below
Website: wwww.dyptrephotography.ca
Instagram: https://www.instagram.com/dyptre/
Twitter: https://twitter.com/dyptre
All images are owned and created by Dyptre www.dyptrephotography.ca