In itself, the art of hanging is not very complicated, but what can be complicated is being extremely fussy and mastering all the different aspects of the actions involved.
To make a long story short, the idea is to take measurements, those of the artwork and those of the wall where it will be hung, transfer the measurements to the wall, drill, install a suitable hanging system and finally, install the artwork in question. Simple as that, isn't it ?
In a few days time I have a mission at a private home, so I'm going over my equipment again. Why not make a small photographic report of this occasion ?
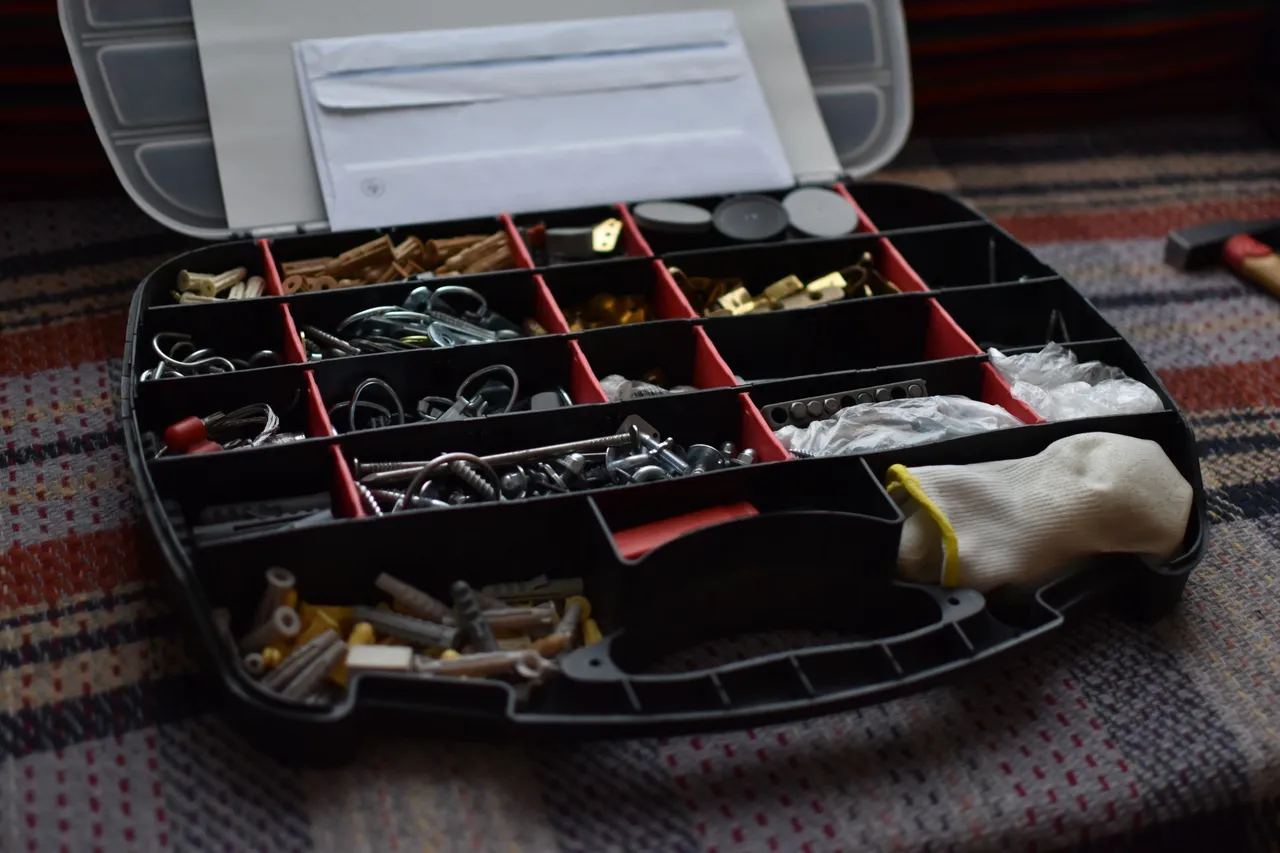
This is my little hardware case. This is where I keep almost all my screws, cables and other fastening systems. Over the years, my stock has grown and the idea is that I can respond to all types of problems anyway.
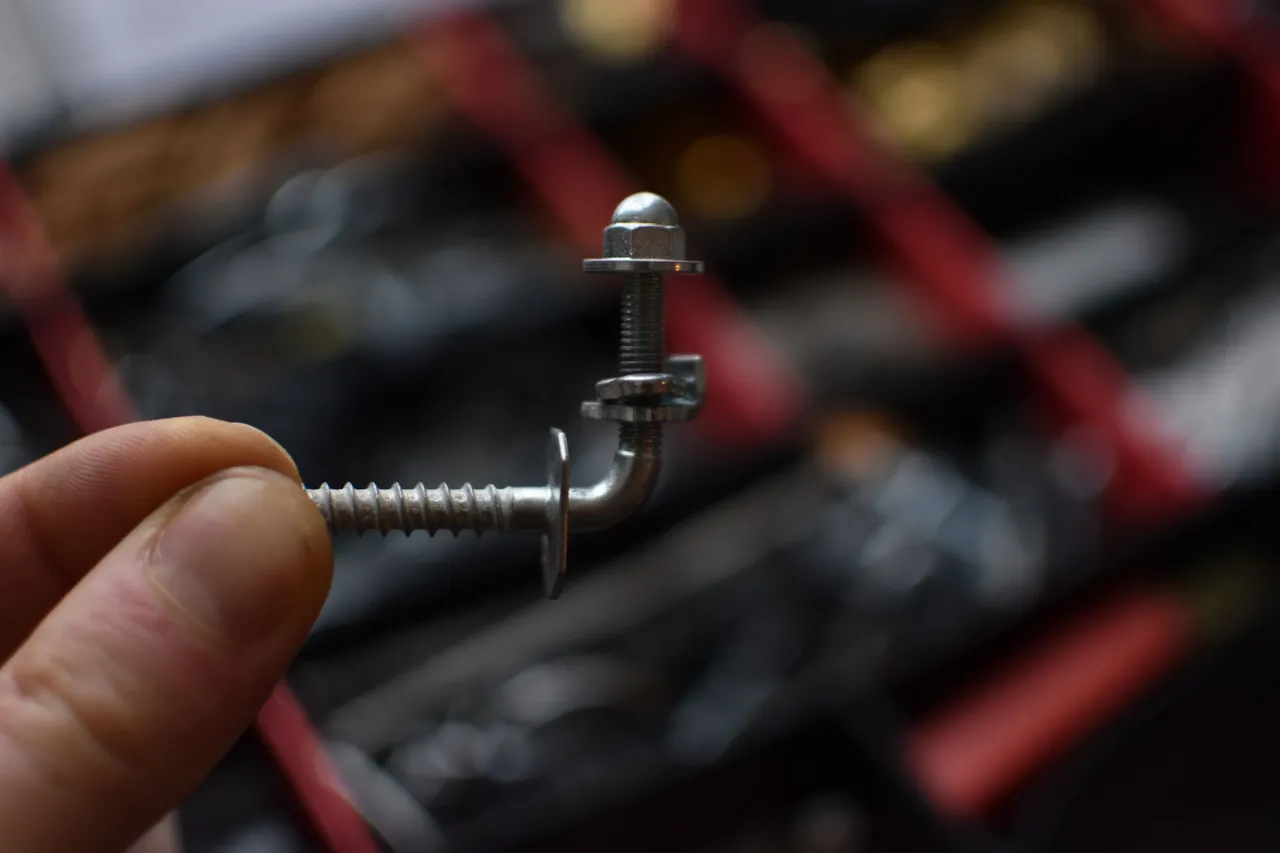
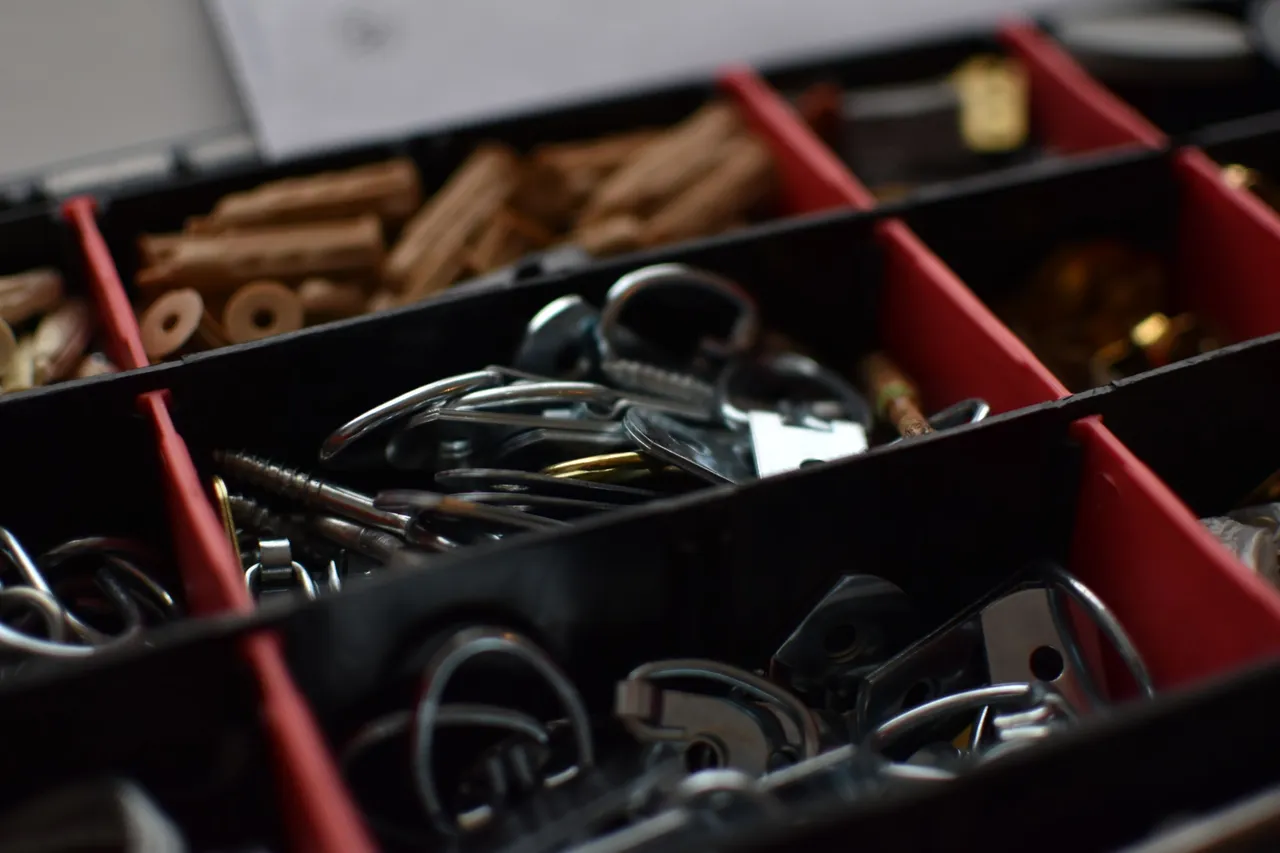
Here, it is a "temart", a kind of improved hinge that allows to hang the work and to secure it at the same time. This is done with the small metal bar and the bolt that finishes it off. This is one of the systems we use quite often.
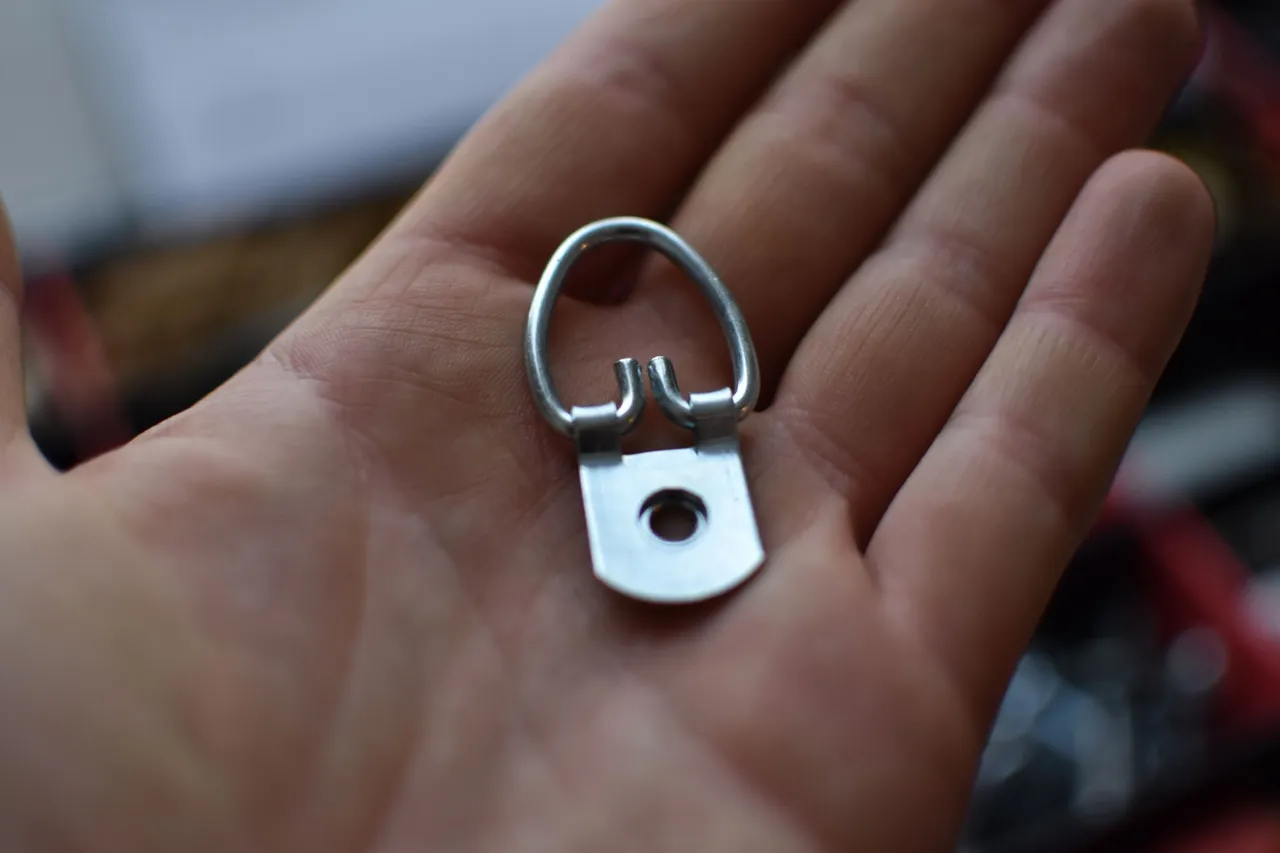
Above, you have a " bellière ", a kind of loop with one or more holes which allows to fix the system to the back of the frame of the work. There are all kinds, but we will see that later...
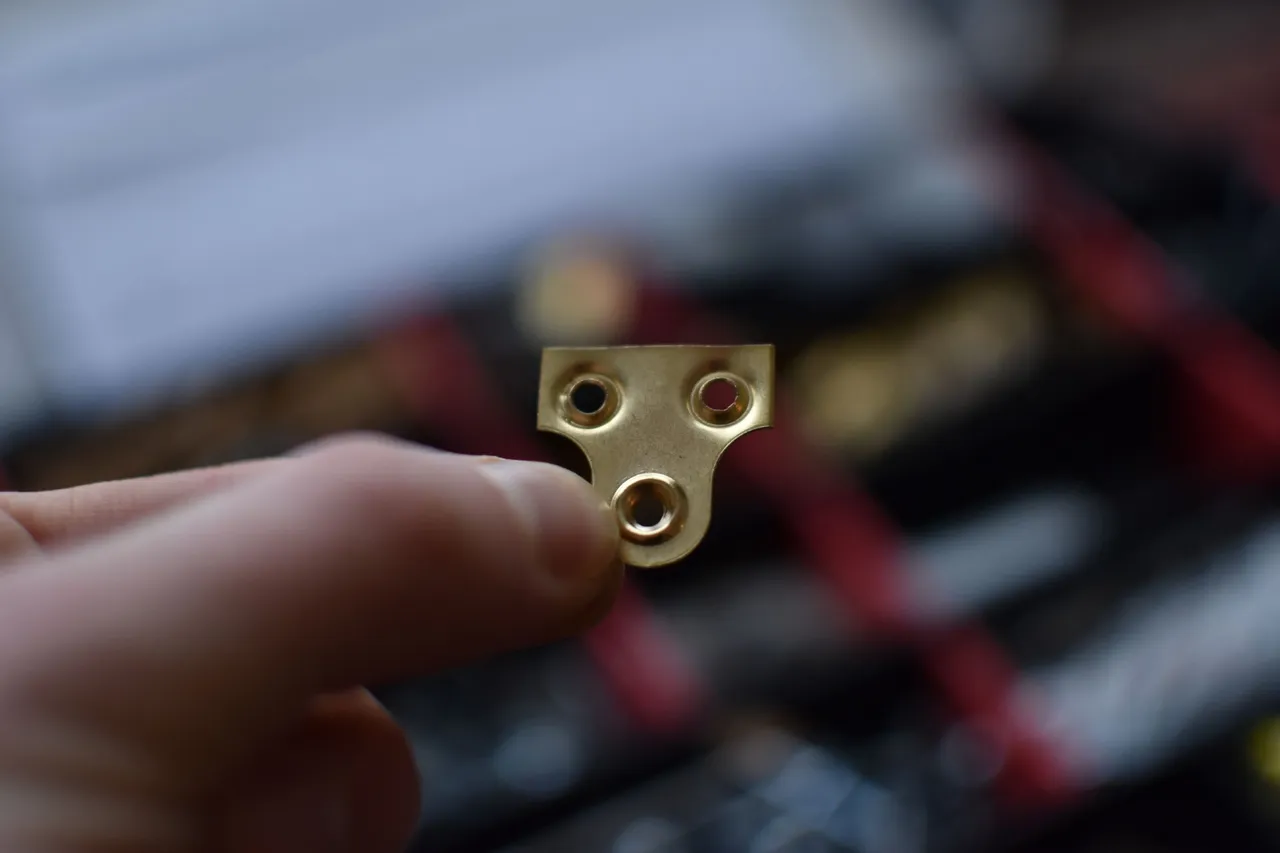
Here it's a mirror plate, like the loops above, you put that on the back of the frame of a canvas. It is used to secure and is usually underneath. It can also be used to hang the work. The legs are therefore visible, but it is always possible to paint them afterwards !
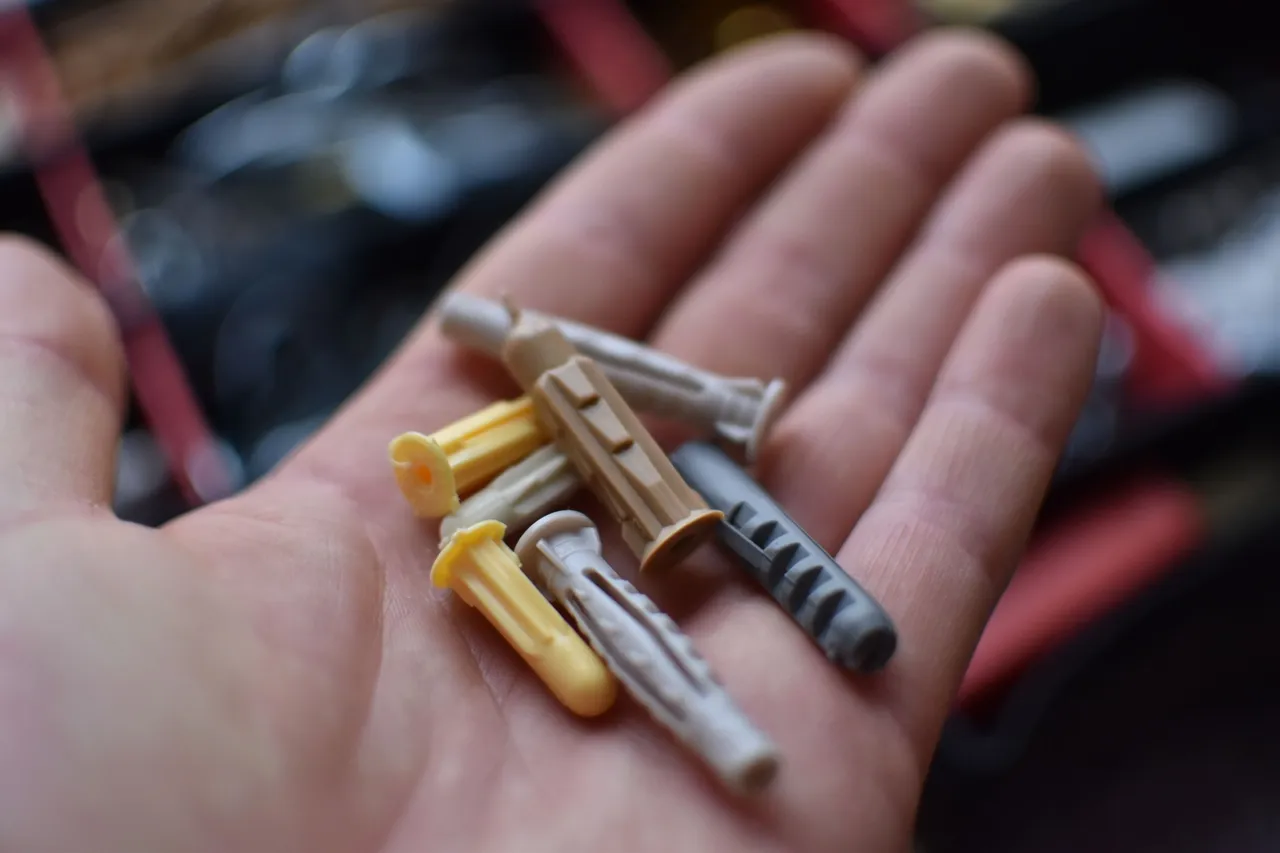
Some wall plugs. Here too, there is a wide variety of possibilities, depending on whether your wall is made of brick, concrete or plaster.
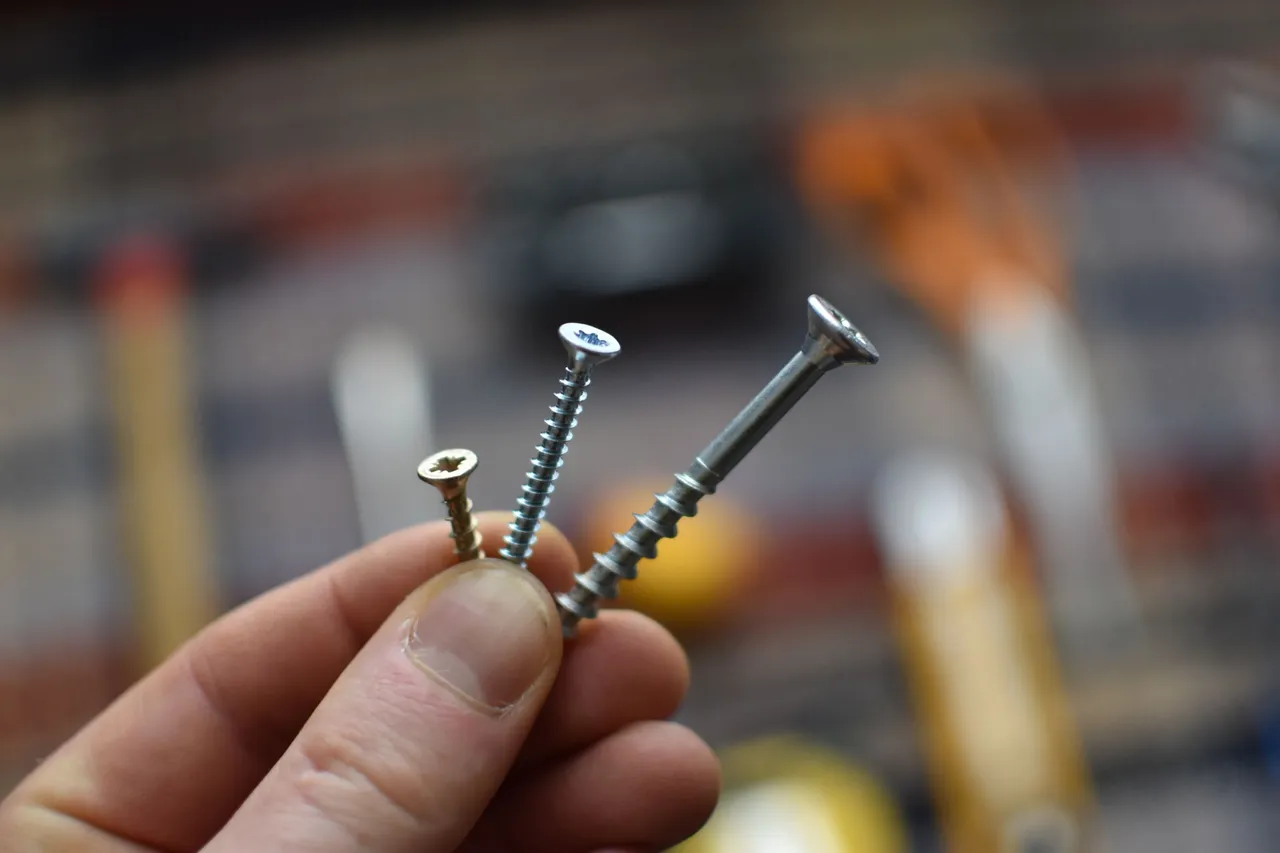
In the same way, I have all types of screws. Whether it is to fix a hanging system on the work or directly in the wall to hang photographs for example.
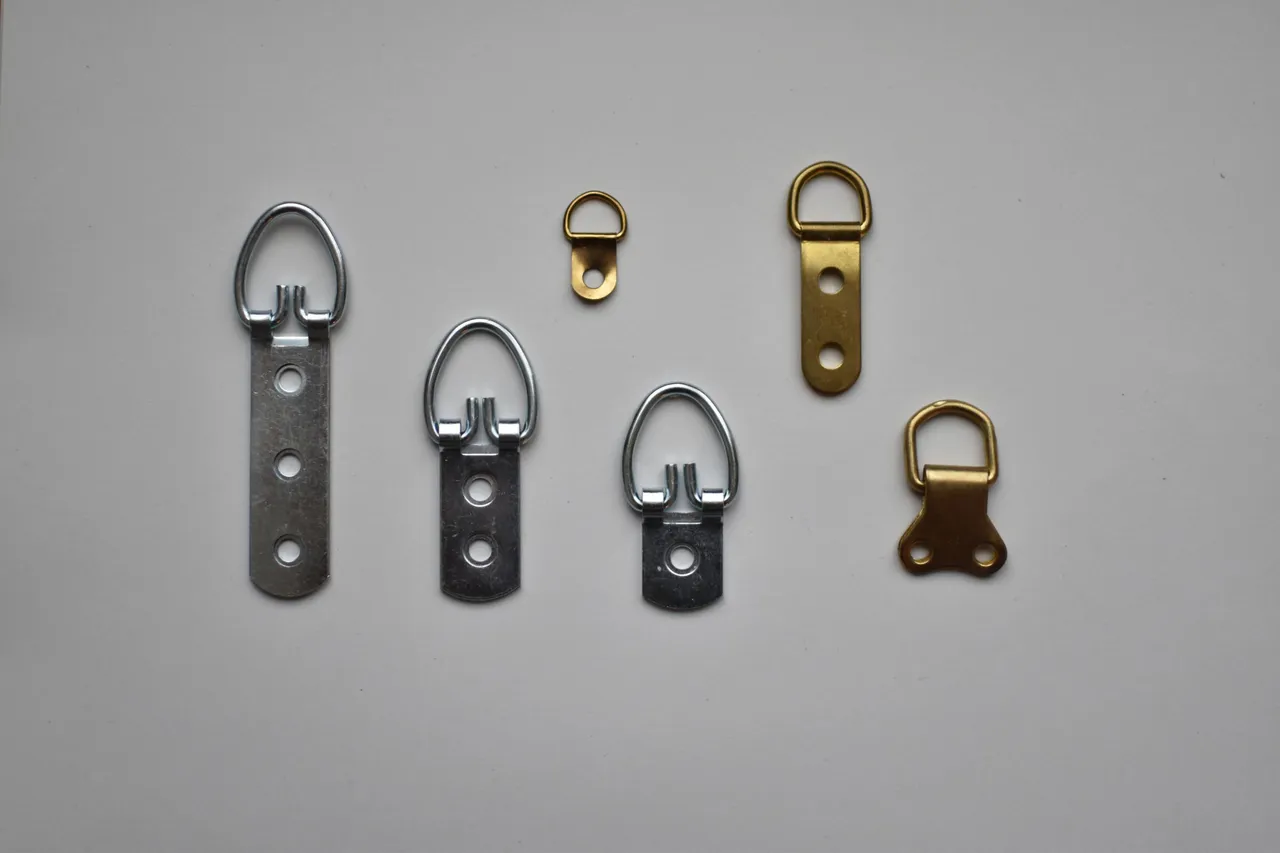
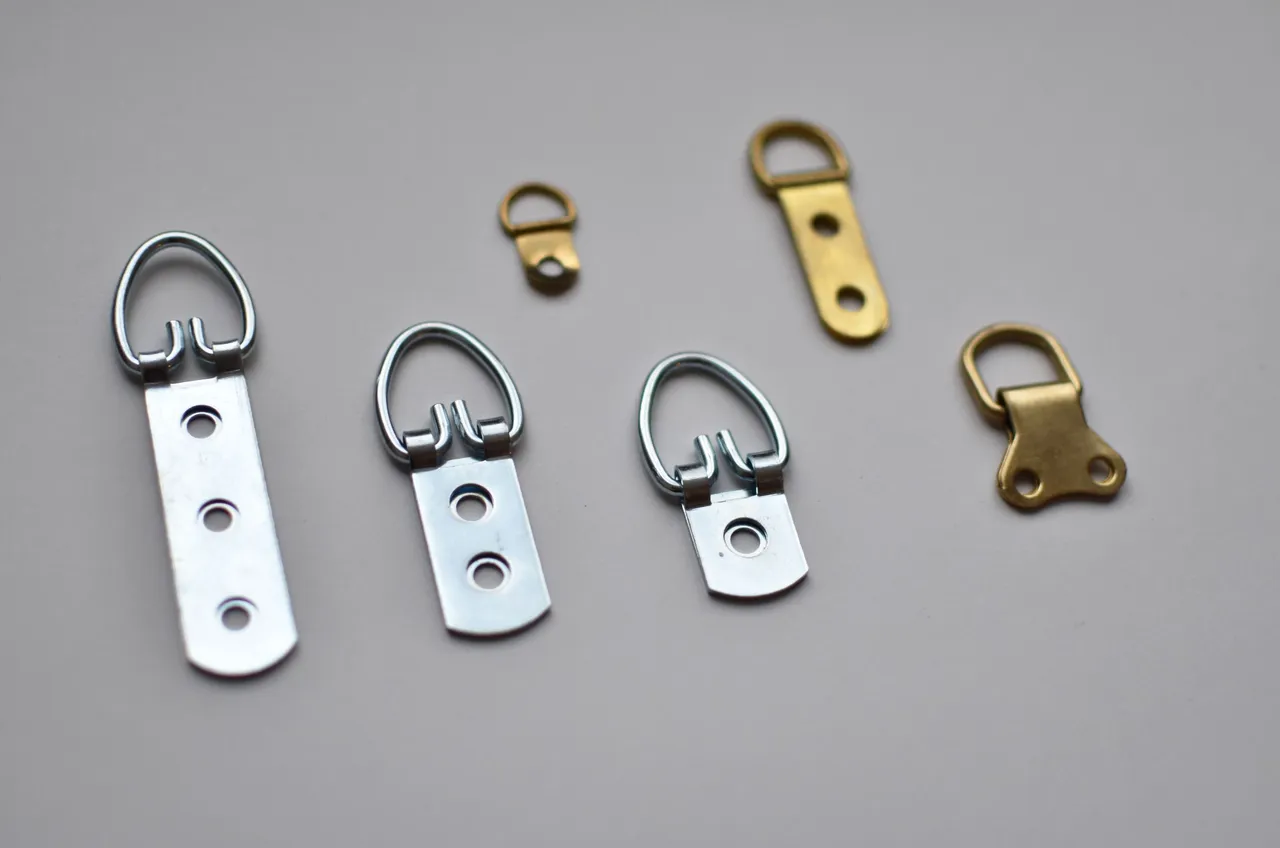
Here is a small collection of these buckles...
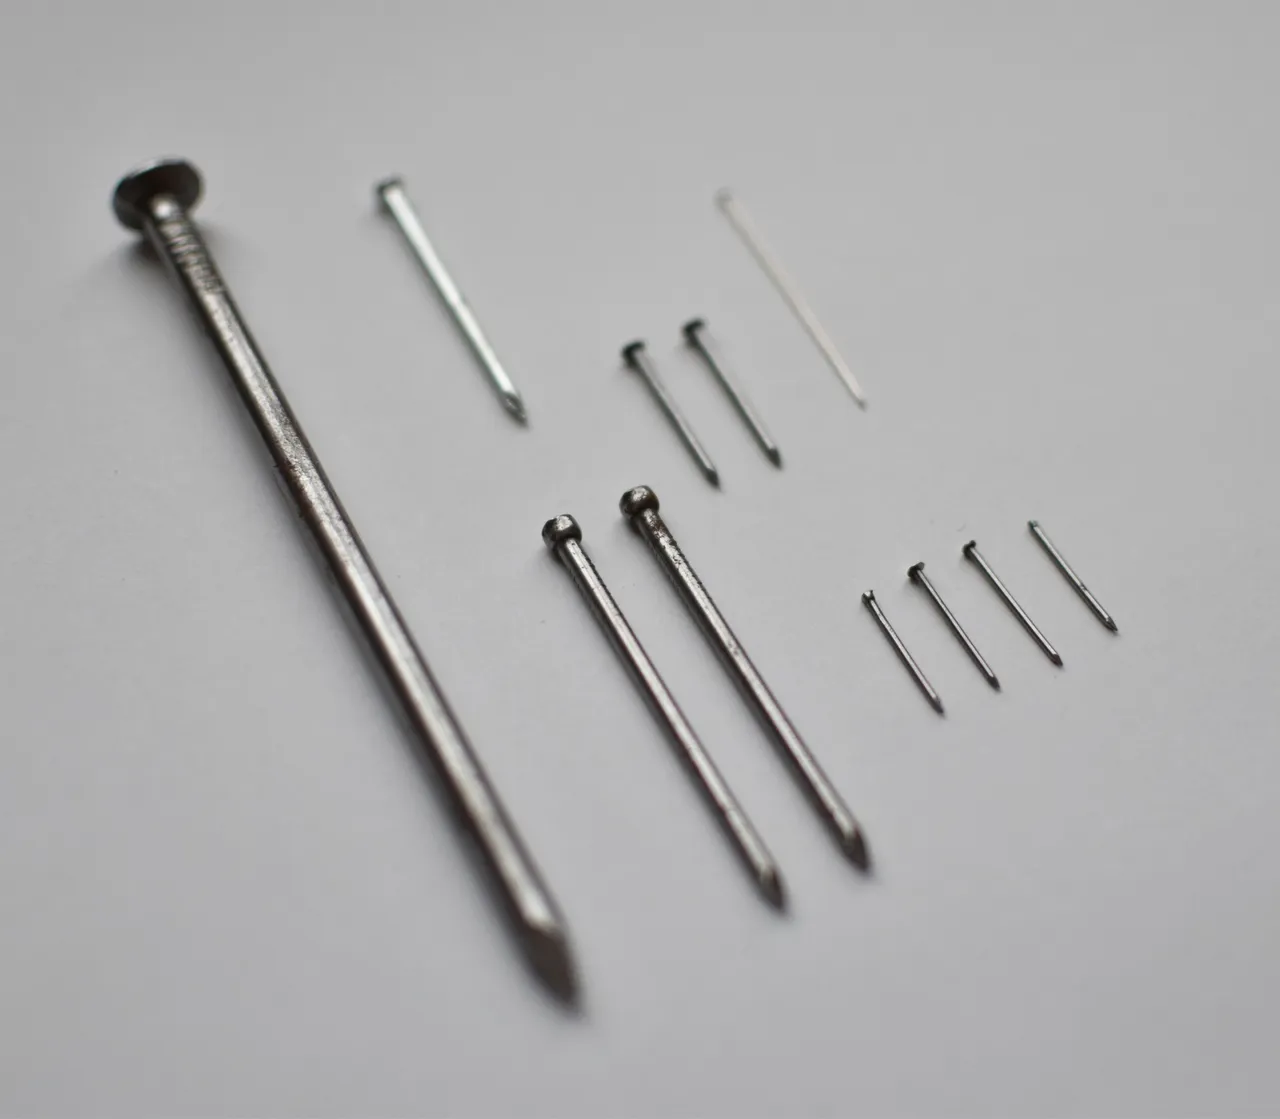
For nails, it's the same ! It goes from the carpenter's nail - because you never know ^^ - to the tiny pin :)
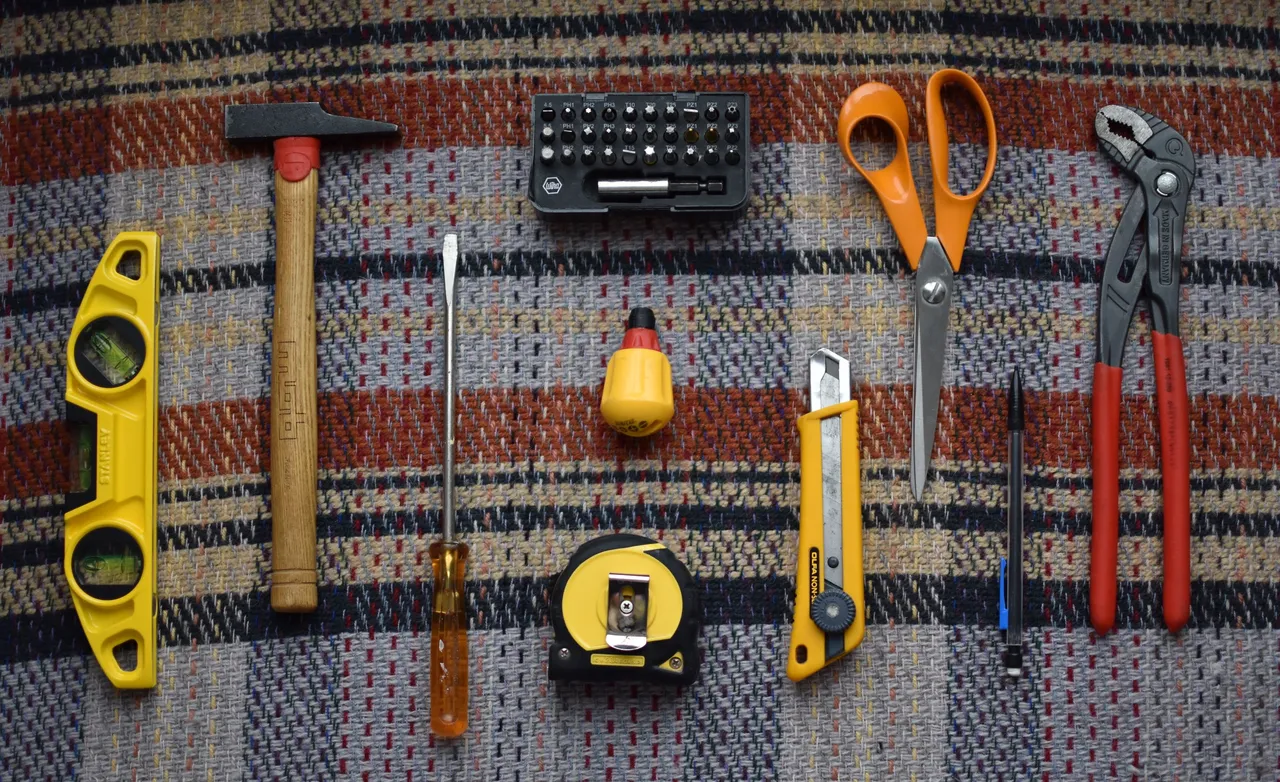
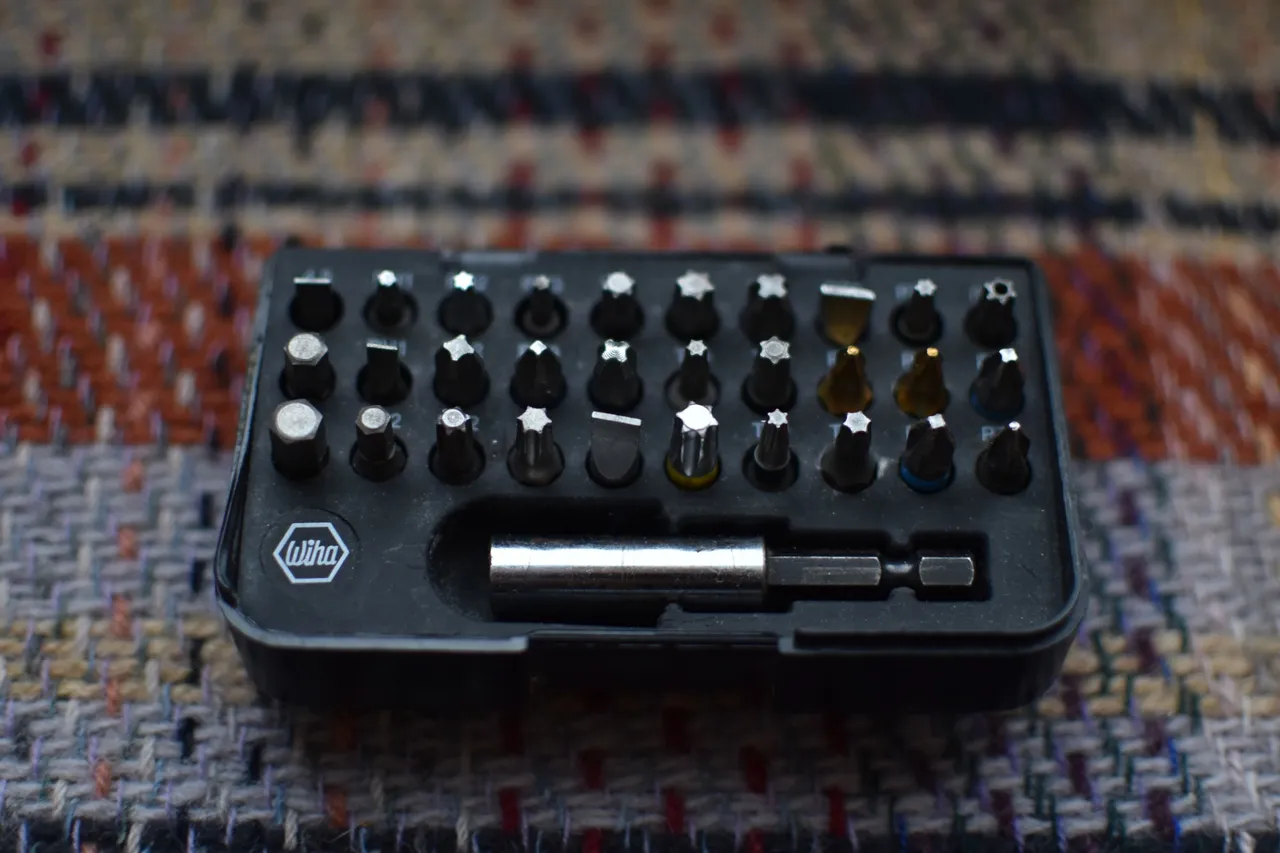
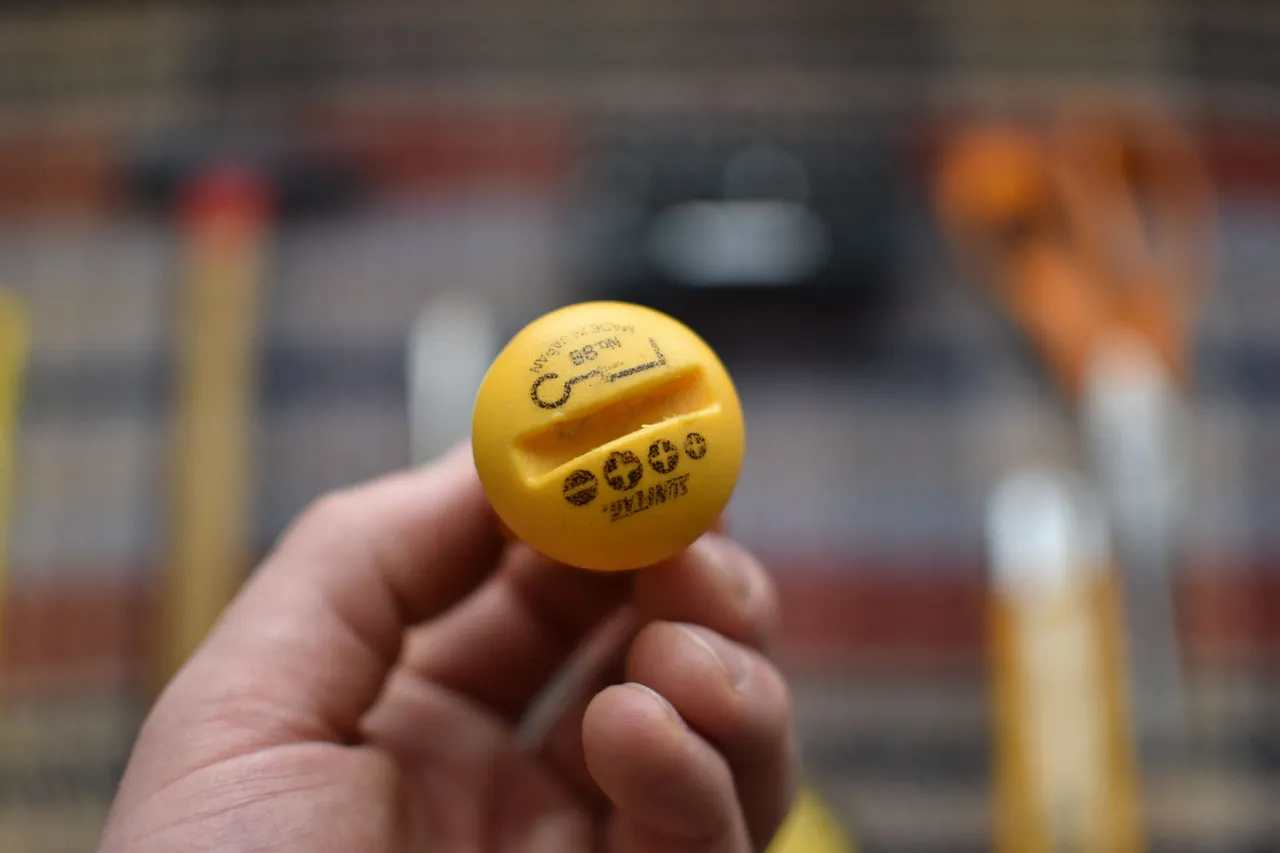
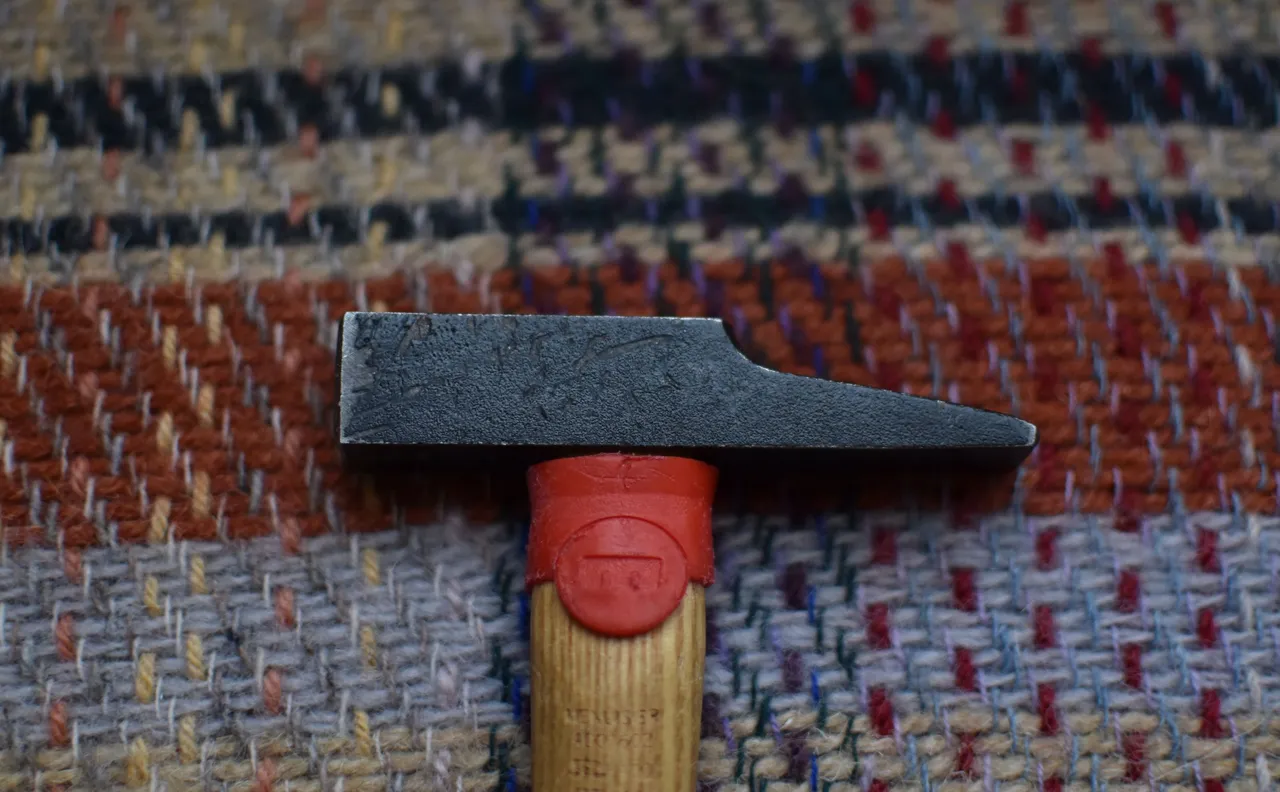
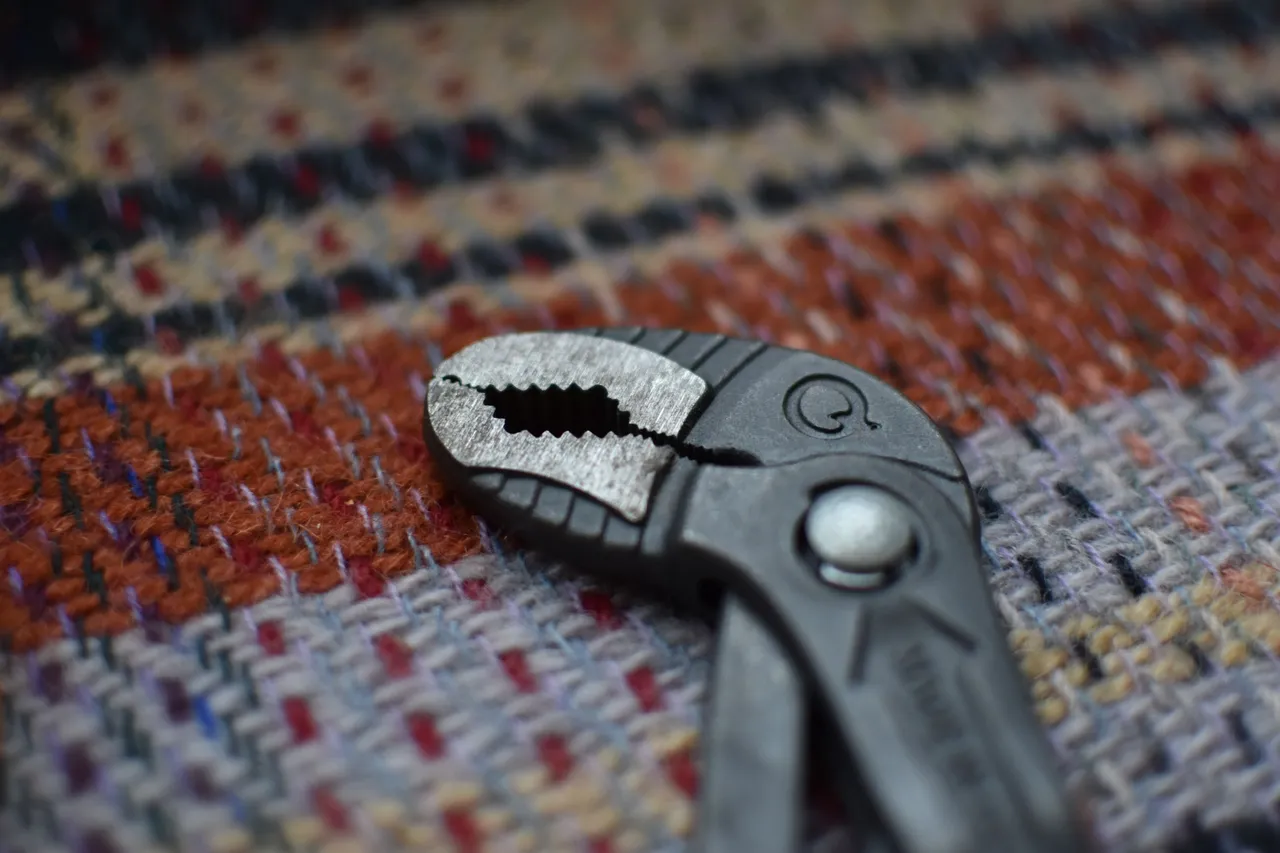
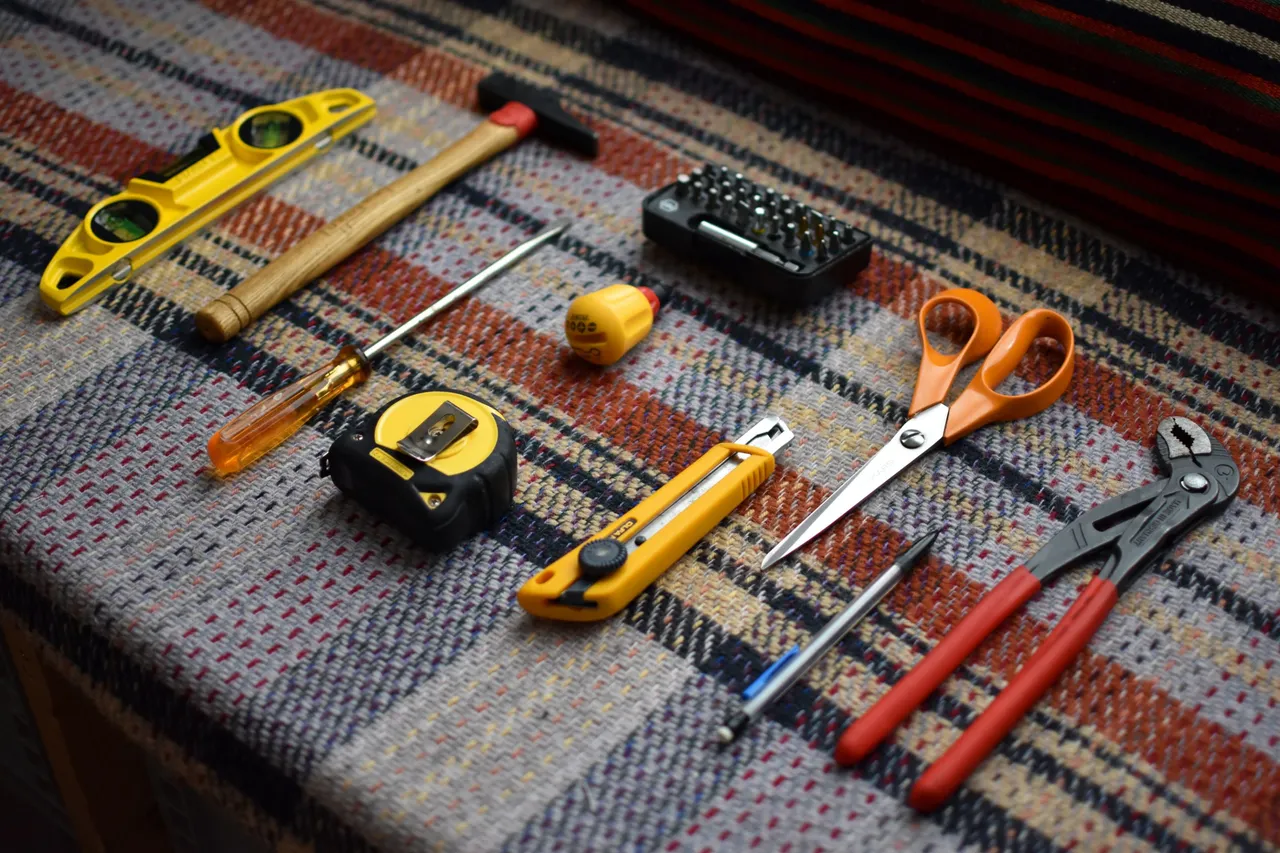
These are my basic tools. I never leave home without these! I didn't go with my drill bits or other heavy and cumbersome power tools !
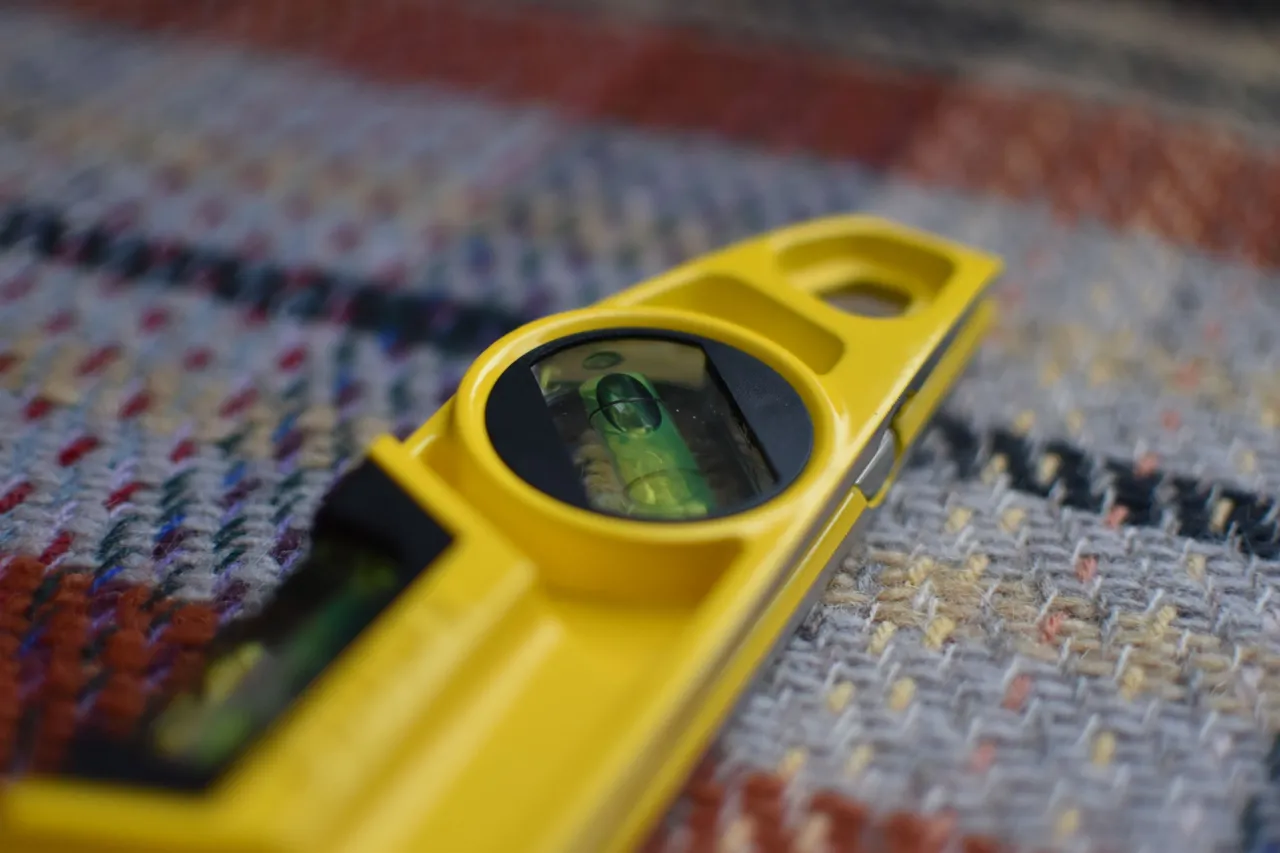
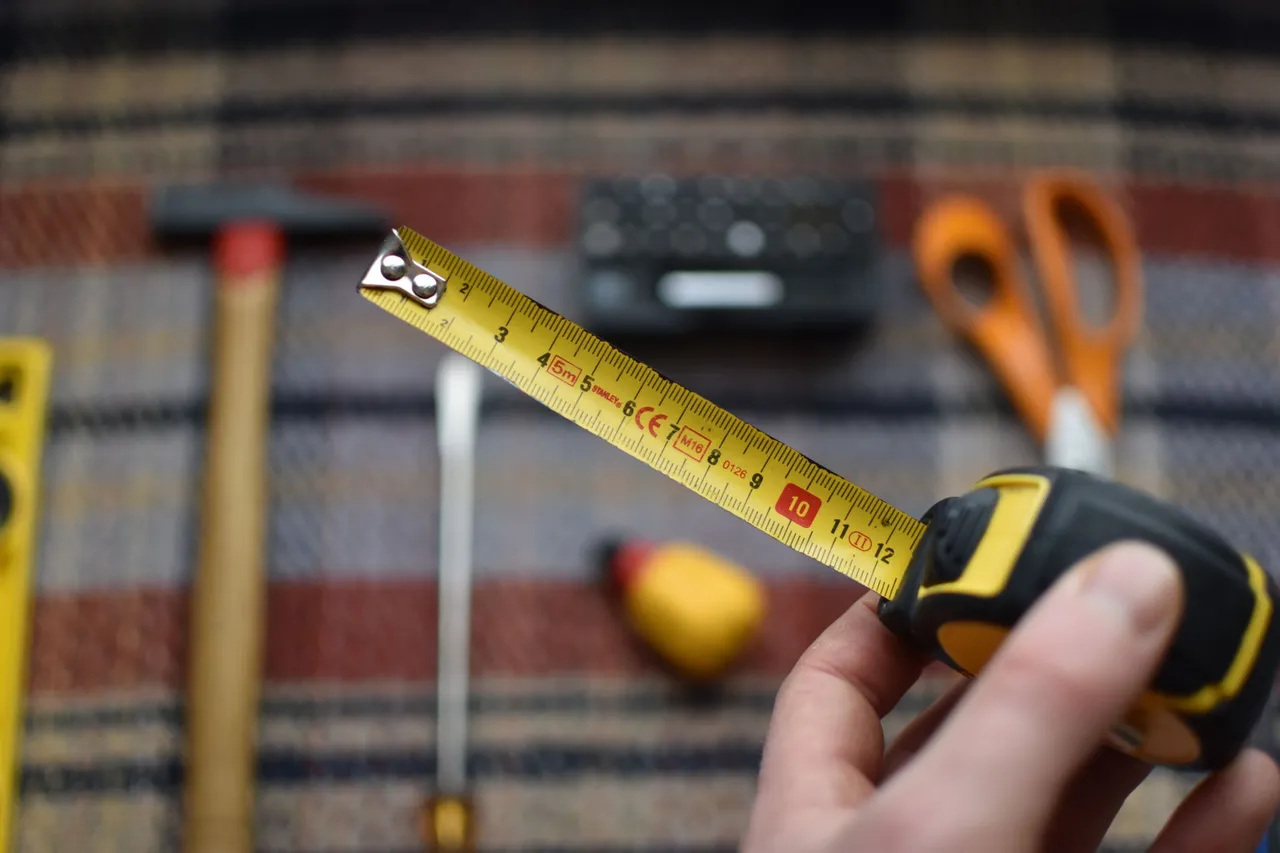
From left to right, you have : my bubble level, my hammer, a flat screwdriver, a box of bits for the screws, the yellow object, it's a tool to turn the hinges and put them in the wall. Then you have my tape measure, my cutter, my pair of scissors, my mechanical pencil because it is essential to be precise and finally, a multi-function pliers.

That's it, I think we've covered it all :D !
Of course, we always take much more material than we really need ! I hope you enjoyed these pictures and that the subject interested you :)
Don't hesitate to ask me any questions or requests for clarification. Thank you for reading ! Take good care of yourself and see you soon,
<3
You can find information about my camera in this article. Please note that all these images are mine, please ask my permission to use them.
En soit, l'art de l'accrochage n'est pas très compliqué, ce qui peut l'être en revanche, c'est d'être pointilleux à l'extrême et de maîtriser tous les différents aspects des actions que cela implique.
Pour la faire courte, l'idée est de prendre des mesures, celles de l'oeuvre et celles du mur où celle-ci va être accrochée, de reporter les mesures sur le mur, de percer, d'installer un système d'accroche adéquat et pour finir, d'installer l'oeuvre d'art en question. Simple comme tout, non ?
D'ici quelques jours, j'ai une mission chez un particulier, alors je repasse en revue mon matériel. Pourquoi ne pas faire alors un petit reportage photographique de cette occasion ?
Là, c'est ma petite valise à quincaillerie. C'est là que j'ai presque toutes mes vis, mes câbles et autres systèmes d'accroches. Au fur et à mesure des années, mon stock s'est étoffé et l'idée est que de toute façon, je puisse répondre à tous types de problématiques.
Ici, c'est un "temart" une sorte de gond amélioré qui permet d'accrocher l'oeuvre et de la sécuriser en même temps. On fait cela avec la petite barre métallique et le boulon qui vient terminer le tout. C'est un des système que l'on utilise assez souvent.
Ci-dessus, vous avez une "bellière" un sorte de boucle avec un ou plusieurs trous qui permet de fixer le système à l'arrière du cadre de l'oeuvre. Il en existe de toutes sortes, mais nous verrons cela plus loin...
Ici, c'est une mirror plate, comme pour les boucles d'au-dessus, on met cela à l'arrière du cadre d'une toile. On l'utilise pour sécuriser et elle est généralement en dessous. On peut aussi l'utiliser pour accrocher l'oeuvre. Les pattes sont donc visibles, mais il est toujours possible de les peindre par la suite !
Quelques chevilles pour les murs. Là aussi, il y a une importante diversité suivant que votre mur soit en briques, béton ou en plâtre.
De la même façon, j'ai tout types de vis. Que cela soit pour fixer un système d'accroche sur l'oeuvre ou bien directement dans le mur pour accrocher des photographies par exemple.
Voilà une petite collection de ces boucles...
Pour les clous, c'est pareil ! Cela va du clou de charpentier - parce qu'on ne sait jamais ^^ - à la toute petite épingle :)
Voilà mes outils de base. Je ne part jamais sans ceux-là ! Je ne suis pas parti sur mes mèches ou d'autres outils électriques plus lourds et encombrants !
De gauche à droite, vous avez : mon niveau à bulles, mon marteau, un tournevis plat, une boîte d'embouts pour les vis, l'objet jaune, c'est un outil pour tourner les gonds et les mettre dans le murs. Vient ensuite mon mètre ruban, mon cutter, ma paire de ciseaux, mon porte-mine car il est indispensable d'être bien précis et pour finir, une pince multi-fonction.
Voilà, je crois que l'on à fait le tour :D !
Bien-sûr, on prend toujours bien plus de matériel qu'il n'en faut vraiment ! J'espère que ces images vous aurons plût et que le sujet vous aura intéressé :)
N'hésitez pas à me poser vos questions ou demandes précisions, je vous remercie pour votre lecture ! Prenez bien soin de vous et à très vite,
<3
Vous pouvez trouver des informations sur mon appareil photo dans cet article. Veuillez noter que toutes ces images sont de moi, veuillez me demander la permission pour les utiliser.